 Garmo team
What are product variant images?
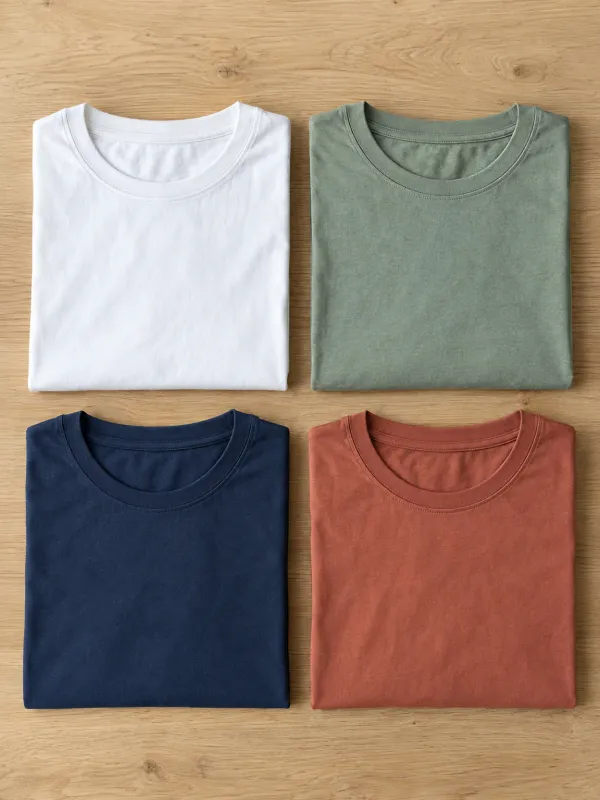
Product variant images are photos linked to one option of a product, usually a colour, sometimes a material or a pattern. When a shopper picks “navy” on the product page, the gallery switches to the navy photos. Without them, a buyer sees an ivory sweater while ordering a burgundy one, and that is one of the most common reasons for returns and “not as pictured” reviews.
The rule is simple: every colour you sell gets at least one photo of that colour, framed the same way as the others. Sizes rarely need their own images; colours, finishes and prints always do.
There are two ways to get them: photograph every colour, or photograph one and make the others with an AI clothes color changer. Most brands end up using both, depending on the fabric and the colour.
Which images does each variant need?
Not every image has to be repeated for every colour. This is the minimum that keeps a colour selector honest.
A main image per colour
Same framing, same pose or fold, same background. This is the image the swatch switches to.
A fabric close-up per colour
Texture reads differently in dark and light shades. One close-up shows the real tone and weave.
On-model images for best-sellers
Your two or three strongest colours deserve a full set on a model; the rest can share angles.
Shared images
Size chart, care label and packaging can be the same for every colour.
How to shoot colour variants so they line up
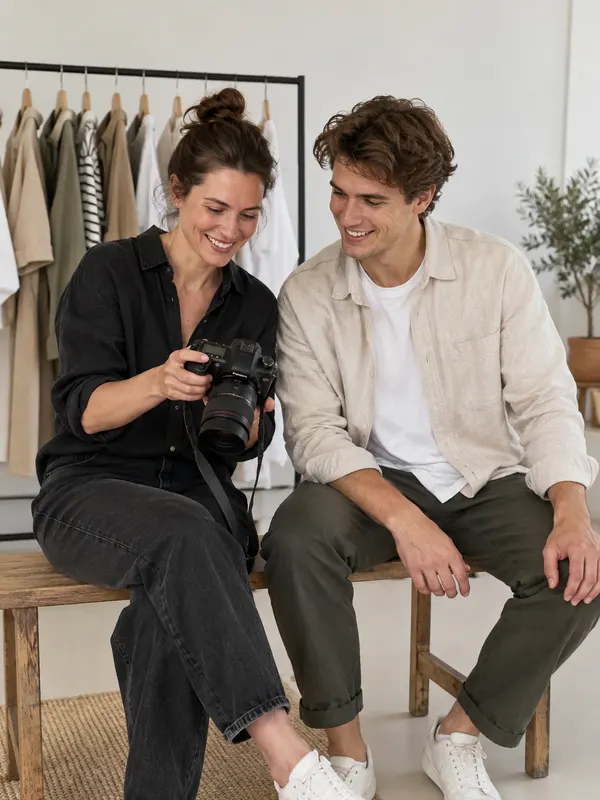
The goal is a set where only the colour changes. Shoot every variant in one session, without moving anything between them.
- 01
Fix the camera
Phone or camera on a tripod, same height and distance for every colour. Mark the product position with tape.
- 02
Lock the light
One window or one lamp, no mixed light. Lock exposure and white balance on the first shot so the camera does not adjust per colour.
- 03
Repeat the fold or pose
Fold each garment the same way, or ask the model to repeat the exact pose. Mismatched sleeves look like different products.
- 04
Check the extremes first
Shoot the lightest and the darkest colour before the rest. If white is not blown out and black still shows detail, the middle colours will be fine.
- 05
Name files by SKU and colour
A name like tee-0412-navy.jpg saves mistakes when you attach images to variants.
Getting the colour of each variant right
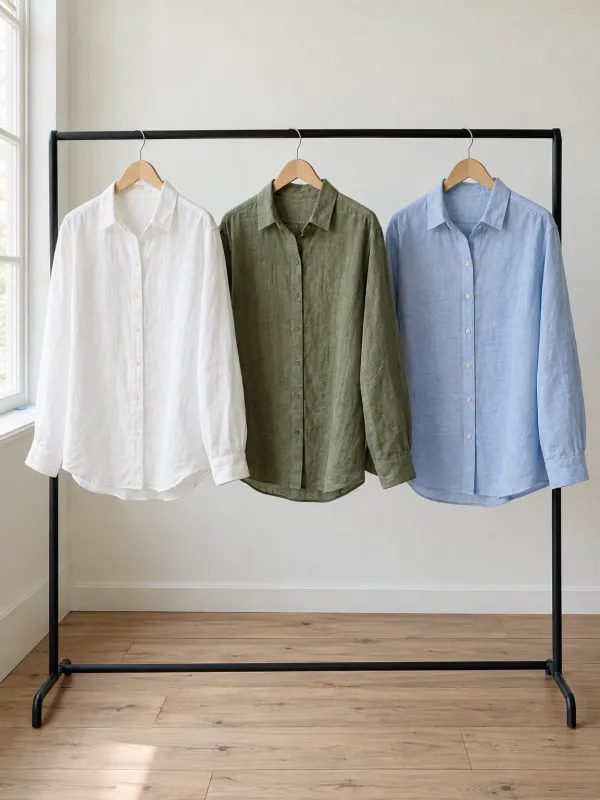
A variant image is only useful if the colour is right. Shoot a white or grey card in the first frame of the session and correct every image to it, so all colours shift by the same amount. Then hold the real garment next to the screen in daylight and compare; dark navy and black, or sage and khaki, are the pairs that most often swap on screen.
Keep a physical swatch of each colour next to your desk and write its hex code in your product sheet. That code is what you match the edited image to, and what you type into a colour changer. The full method is in the guide to product photography color correction.
White and black need extra care, because cameras push them towards grey. The guides to photographing white clothing and black clothing cover the exposure tricks.
Linking images to variants in your shop
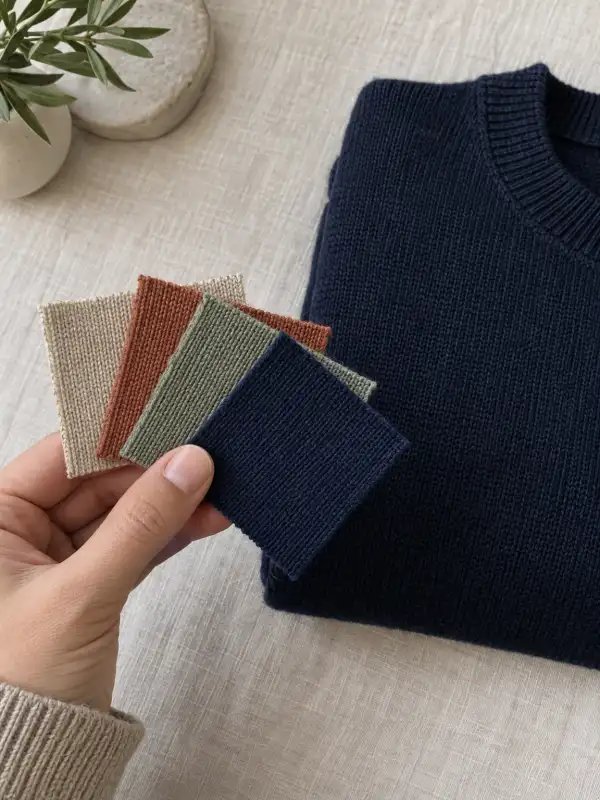
Most shop systems let you attach an image to each variant, so the gallery changes when the shopper picks a colour. WooCommerce’s variable product documentation (checked on 12 November 2026) says each variation can have its own primary image, and since WooCommerce 11.1 a whole variation gallery; when a shopper picks a variation, the product gallery swaps to that variation’s images.
On Shopify and on marketplaces, the idea is the same: upload all colours to the product, then assign each image to its variant. Keep the same size and shape for all product variant images so the page does not jump when the shopper switches; the guides to the Shopify product image size and the WooCommerce product image size give the numbers.
Whatever the platform, only show colours you actually sell. eBay’s picture policy asks that photos represent the item accurately, and a variant image in a colour that is out of stock or does not exist misleads the buyer just as much.
Making product variant images from one photo with AI
If a style comes in eight colours and you have one sample, AI can make the other variant images. Upload the photo, on a model, flat or on a hanger, pick a swatch or type the hex code, and Garmo recolours only that garment. The model, the pose, the light, the background and the texture of the fabric stay as they were, so every colour lines up with the original.
If the photo shows more than one garment, name the piece to change, for example “shirt”, and the trousers stay untouched. Each colour is one image and uses one credit; the first 3 images are free. Solid colours work best; on stripes and prints you can change the main colour, but check small pattern details closely.
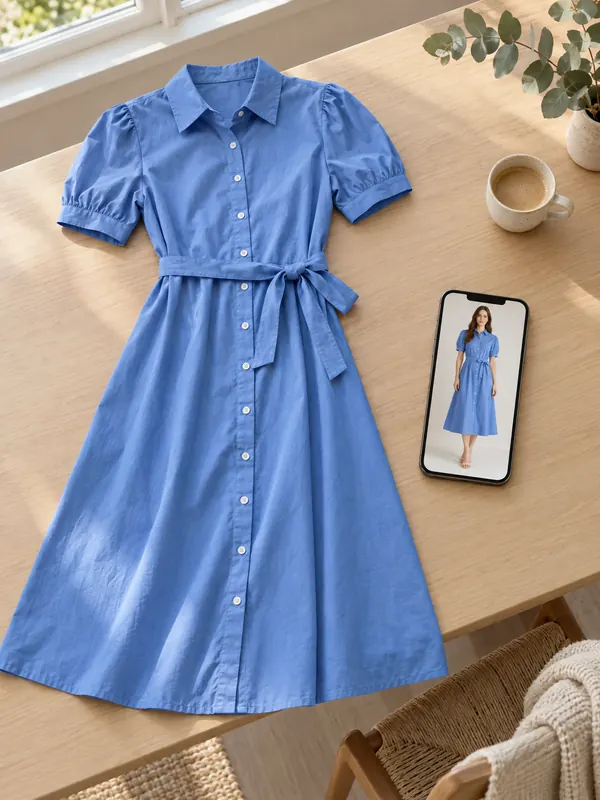
No model photo yet? Put the clothes on an AI model from a flat or hanger photo first, recolour that image, and use the AI pose changer for a second angle of the best-selling colour.
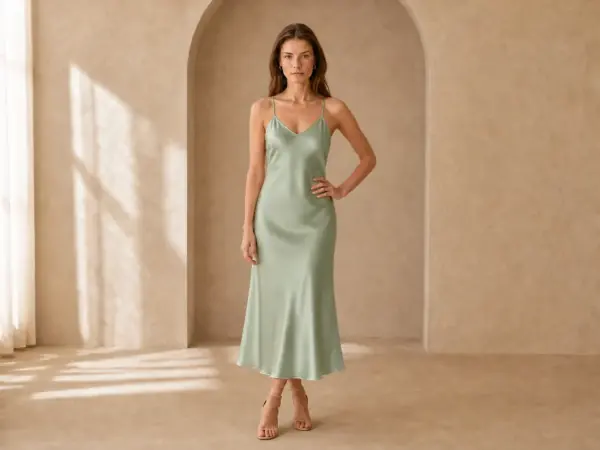
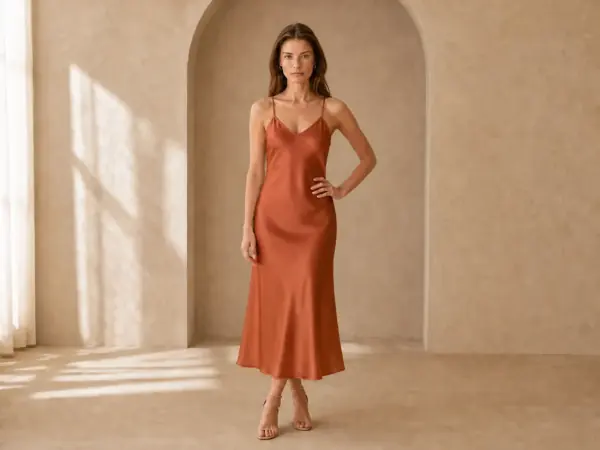
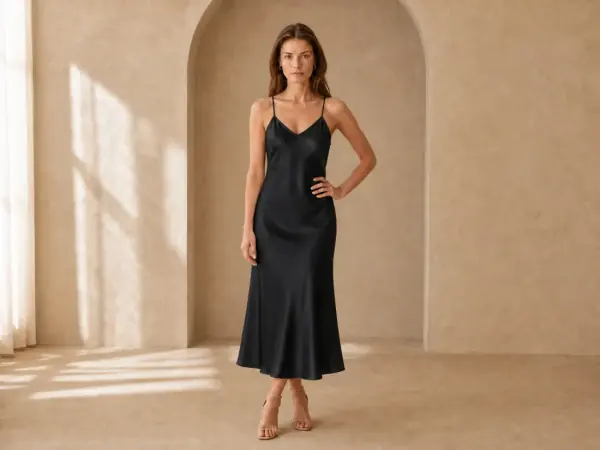
Pick a colour
Every colour, from one photo.
Shoot one colour, get the rest: same model, pose and light, only the garment changes.
When you should still photograph every colour
AI recolouring follows the fabric of the original. When the fabric itself changes with the colour, photograph the real piece.
Black and very dark shades
Dyed black fabric often has a different sheen than the light version. Check a real sample.
White and undyed
White may be a different, unbleached base cloth with its own texture.
Marl and heather
Mixed-yarn colours have speckles that a flat recolour does not create.
Metallic and coated finishes
Foil, lurex and patent react to light differently from plain fabric.
Prints and colourway patterns
A new print is a new product. Photograph it.
Colour variants from one photo
Each garment was photographed once; the other colours were made from that photo.
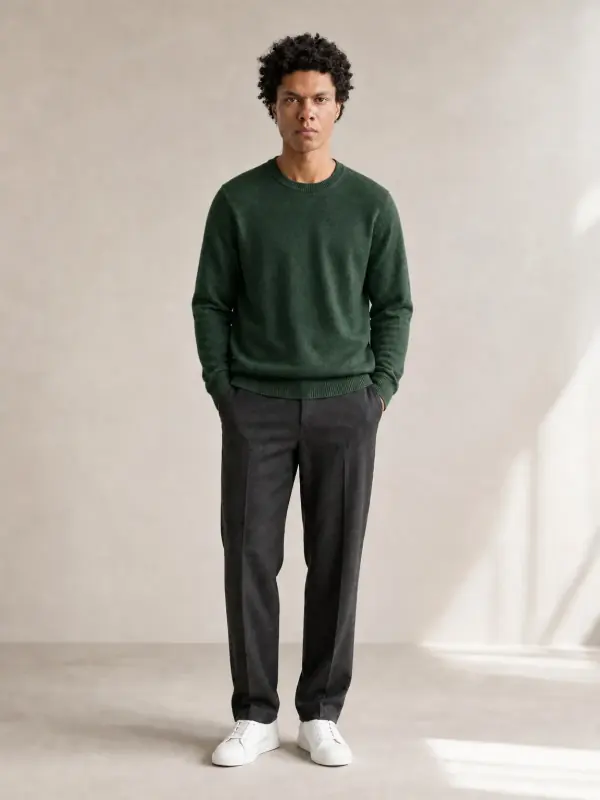
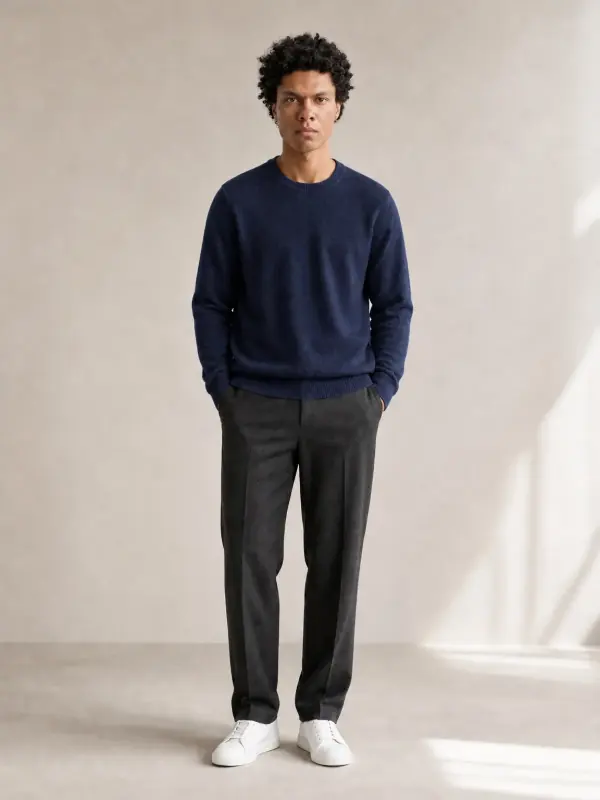
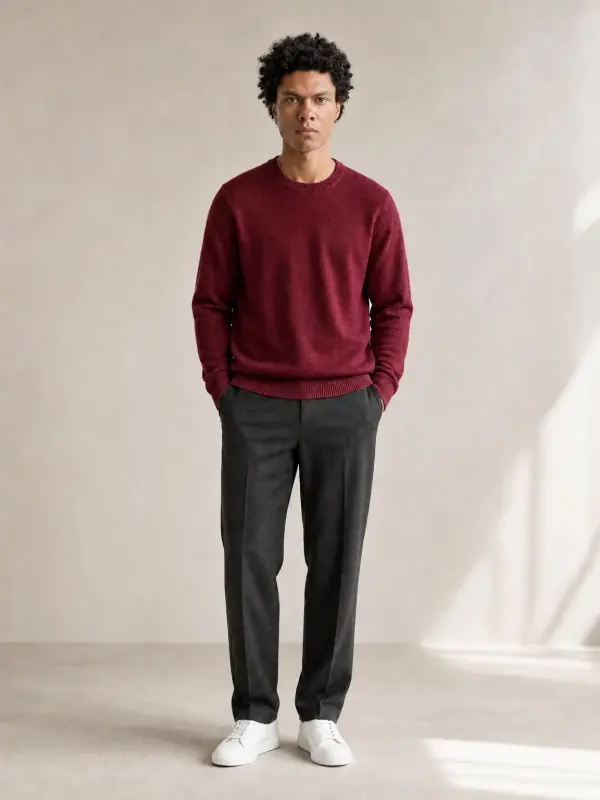
Merino sweater in four colours
One oatmeal sweater, then forest green, navy and burgundy. The knit ribs and the folds at the elbows follow each colour; the trousers stay untouched.
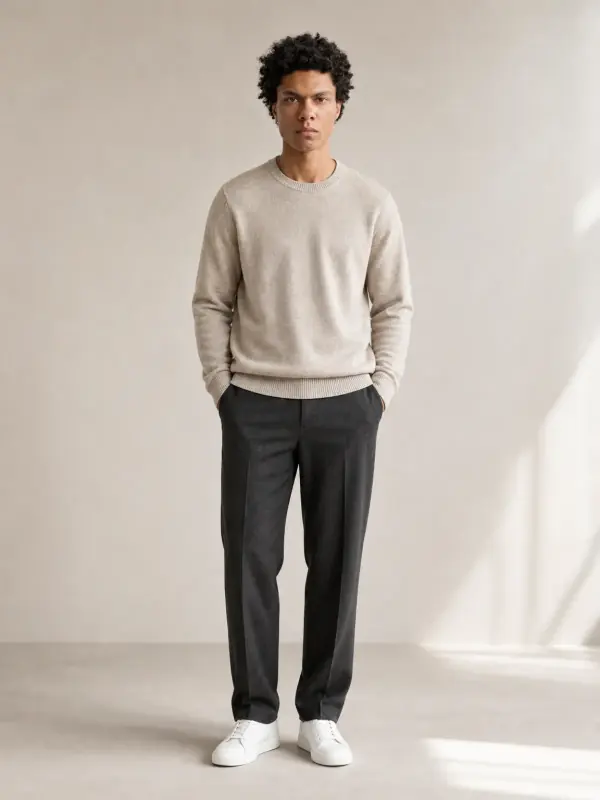 Your photo
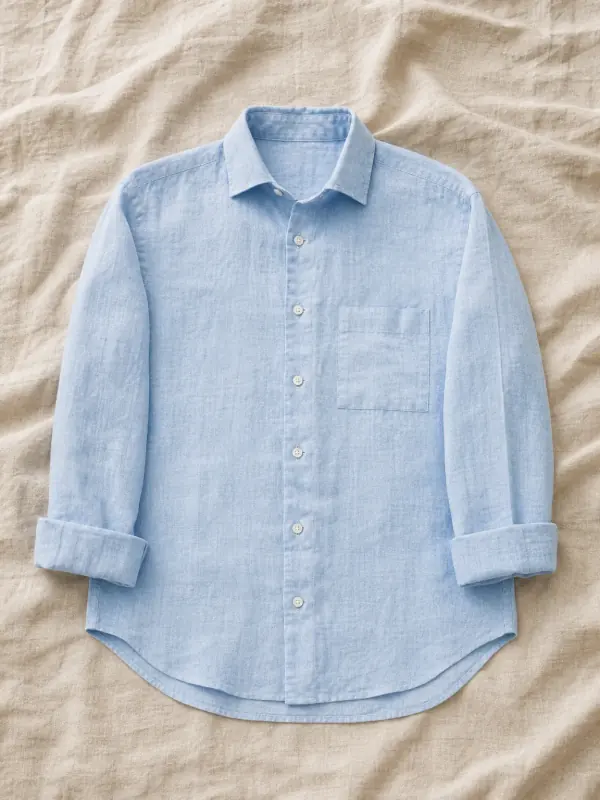
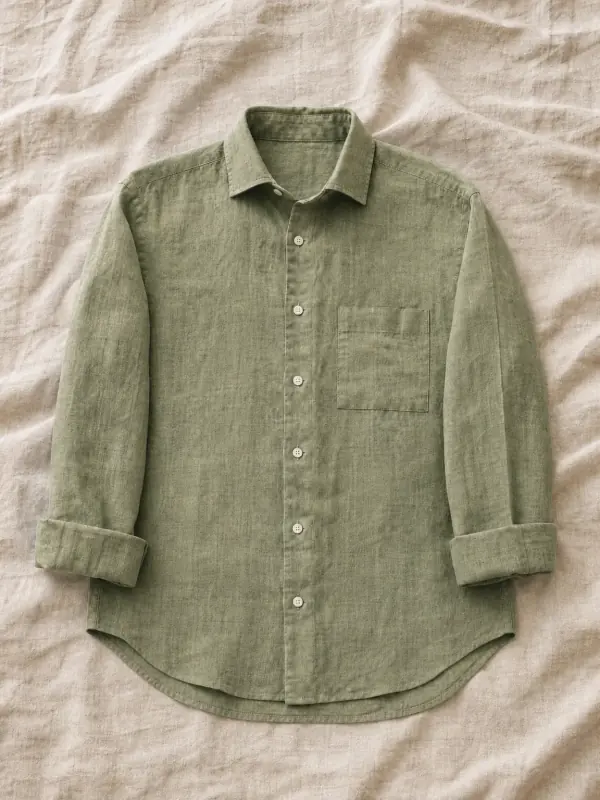
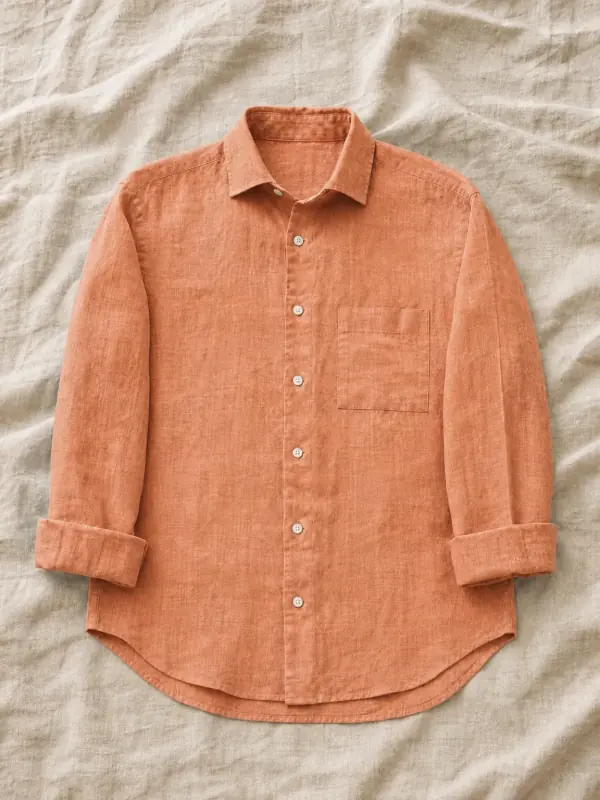
Linen shirt as a flat lay
Colour variants without a model: a sky-blue linen shirt becomes olive and terracotta, with the same white buttons and slub.
 Your photo
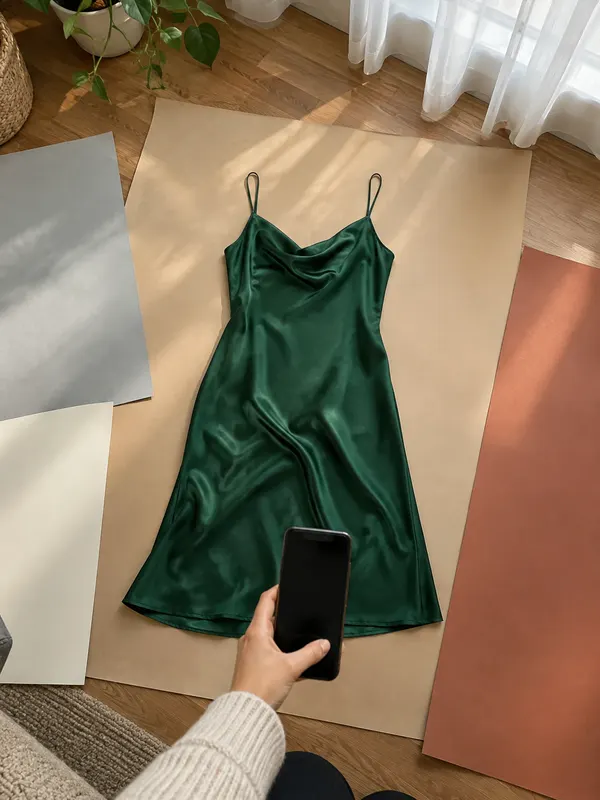
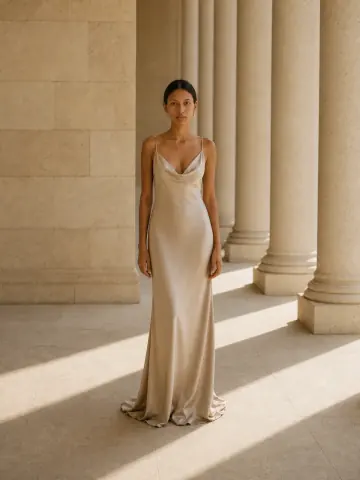
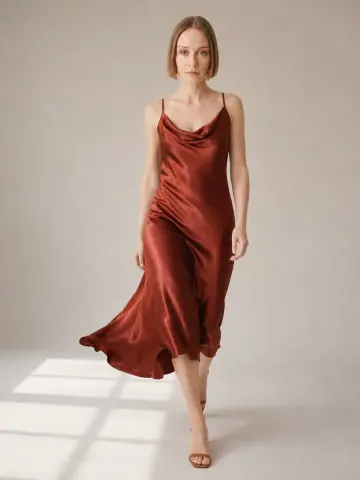
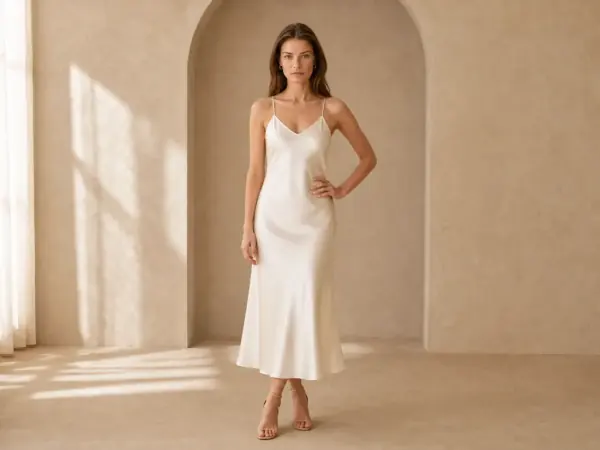
Satin slip dress
Satin is hard to recolour because highlights must follow the new shade. The drape and thin straps stay the same in every variant.
Your photoQuestions about product variant images
Do I need a photo for every colour variant?
Yes, at least one main image per colour, so the gallery shows what the shopper is ordering. Size variants usually share images. Close-ups and on-model photos can be limited to your best-selling colours.
How do I add variant images on Shopify?
Upload all colour photos to the product, then open each variant and choose its image. Use the same size and framing for every colour so the page does not jump when shoppers switch.
Can I use AI to create colour variants of my product?
Yes, as long as the colours exist. An AI clothes colour changer recolours the garment in a photo and keeps the model, pose, light and texture. Match it to the hex code of your real fabric and only publish colours you actually sell.
Why do my colour variants look different on screen?
Usually because the camera adjusted exposure and white balance for each colour. Lock both on the first shot, include a grey card and correct all images to it.
Which variant image should be the main product image?
The colour that sells best or shows the shape most clearly, usually a mid-tone. Very dark and very light colours hide detail in small thumbnails.
Tools for colour variants and on-model photos
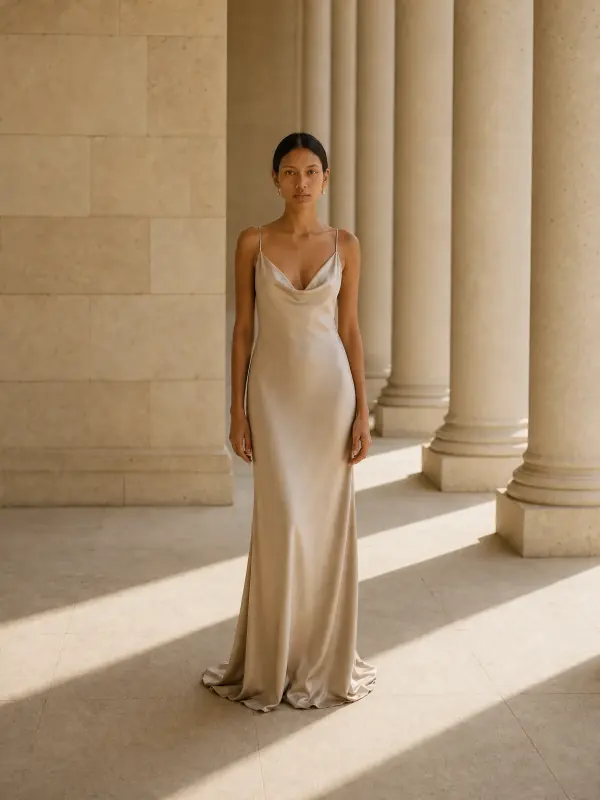
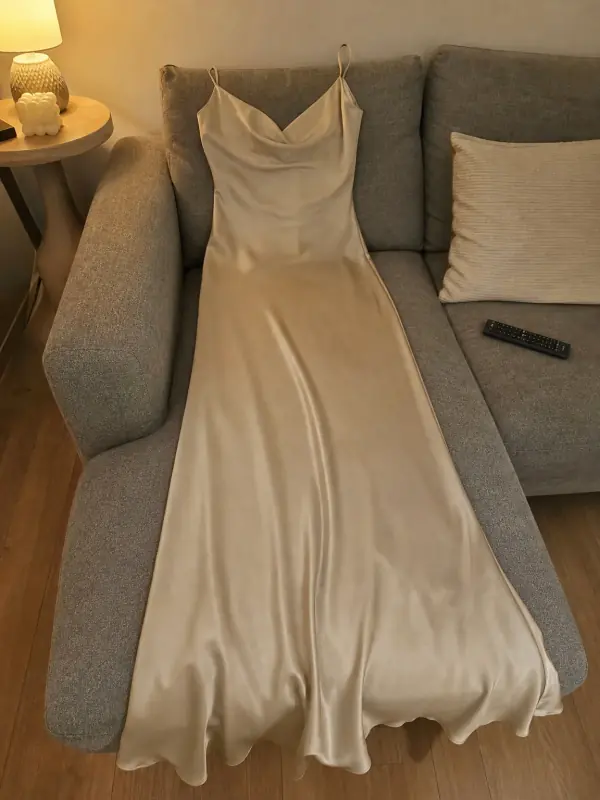 Put clothes on an AI modelUpload a photo of a top, trousers, dress or jacket and see it worn by an AI model, in studio, street or editorial settings.
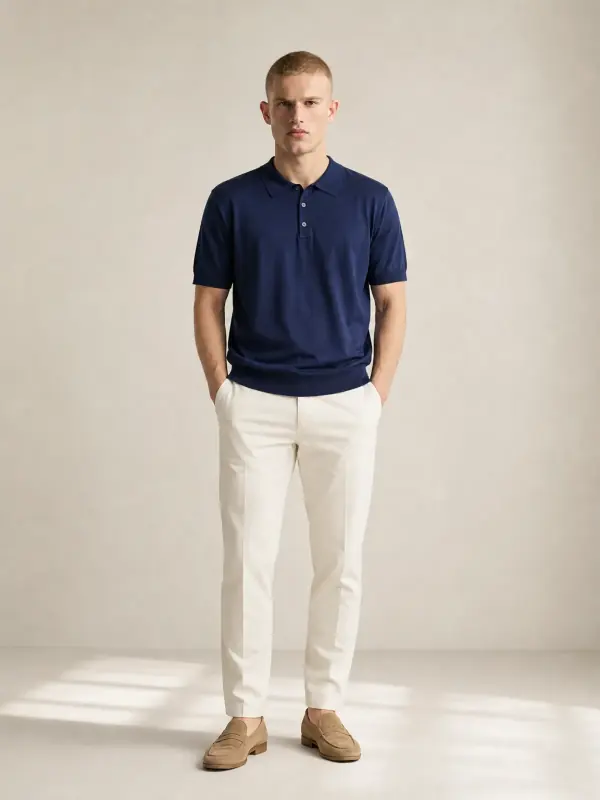
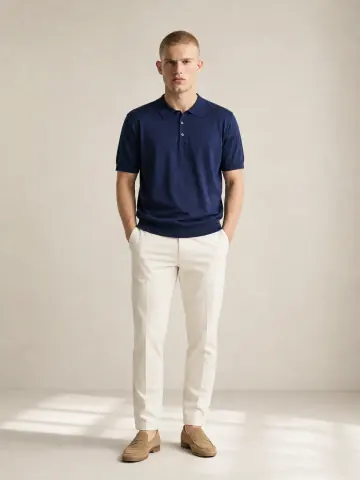
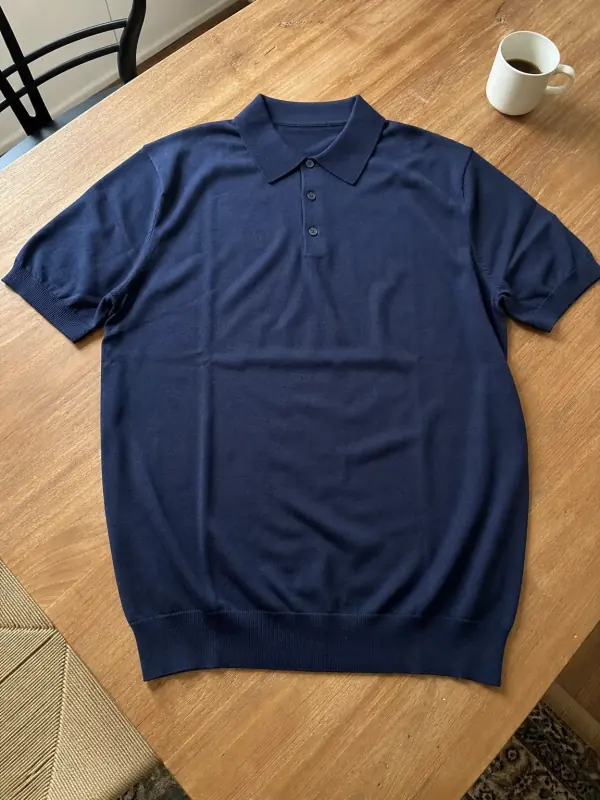 Shirts and tops on modelShirts, blouses, polos and t-shirts worn by a model, styled with simple bottoms so the top stays the focus.
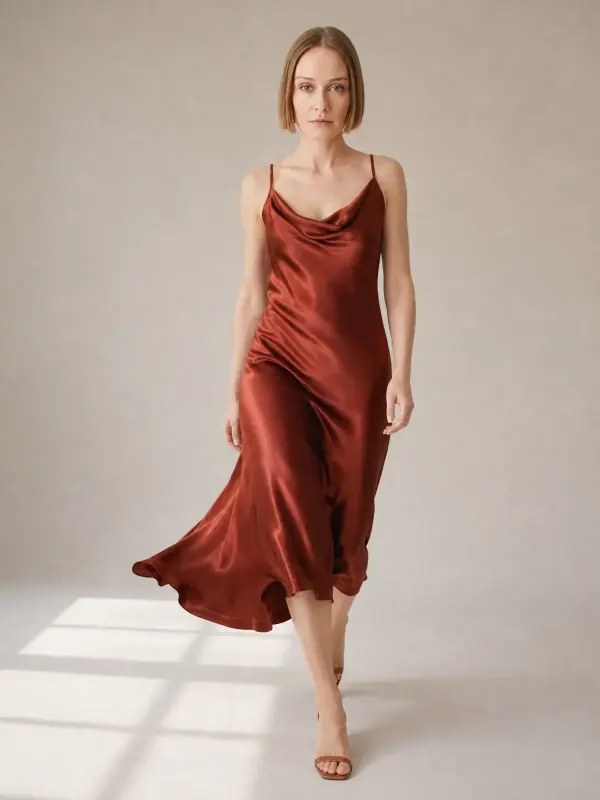
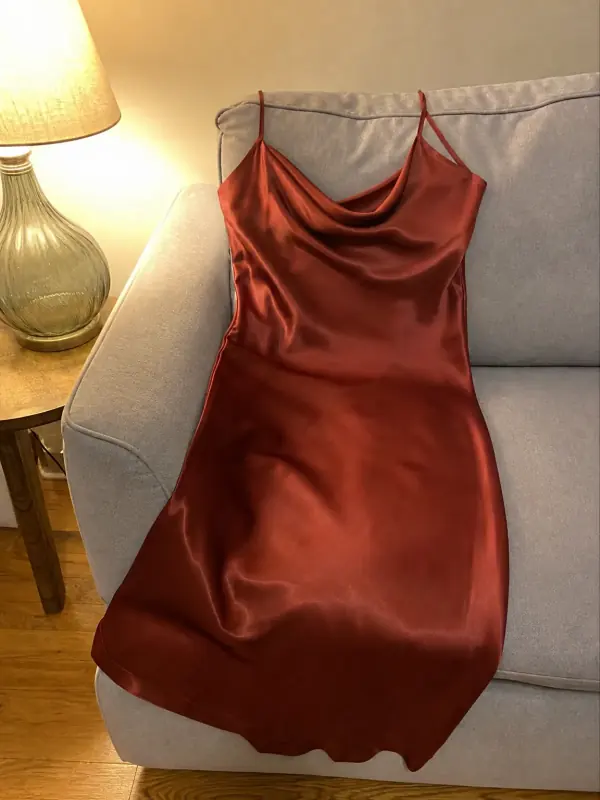 Dress on model AISlip, maxi and knit dresses worn by a model, with walking frames that show how the skirt moves.
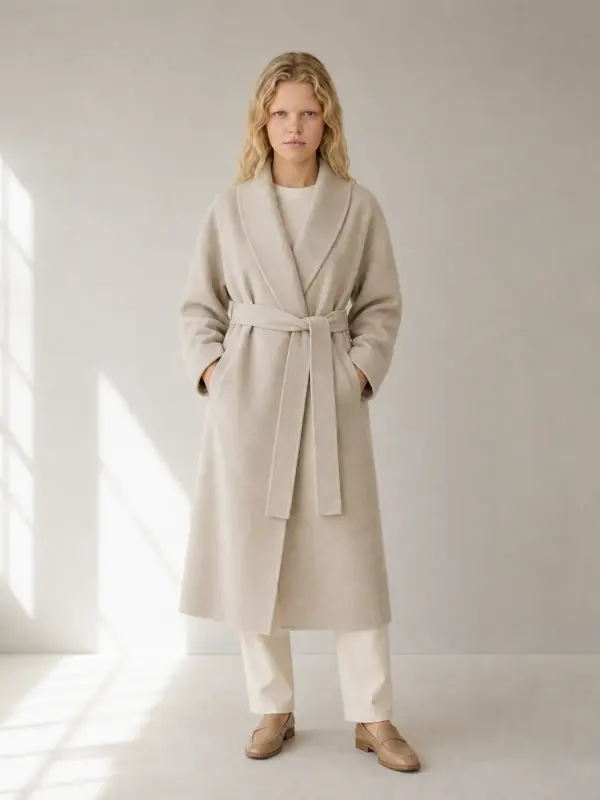
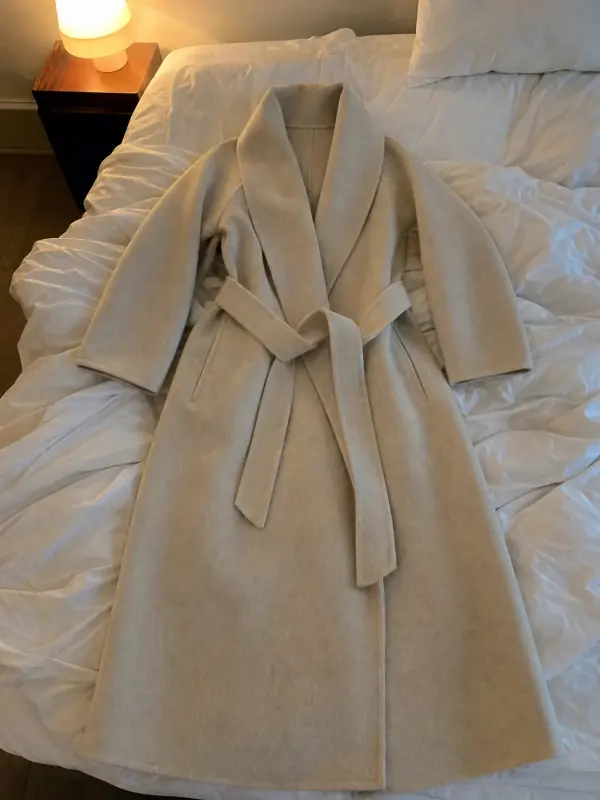 Flat lay to modelLay the garment flat, take one phone photo and get it worn by an AI model from three angles.
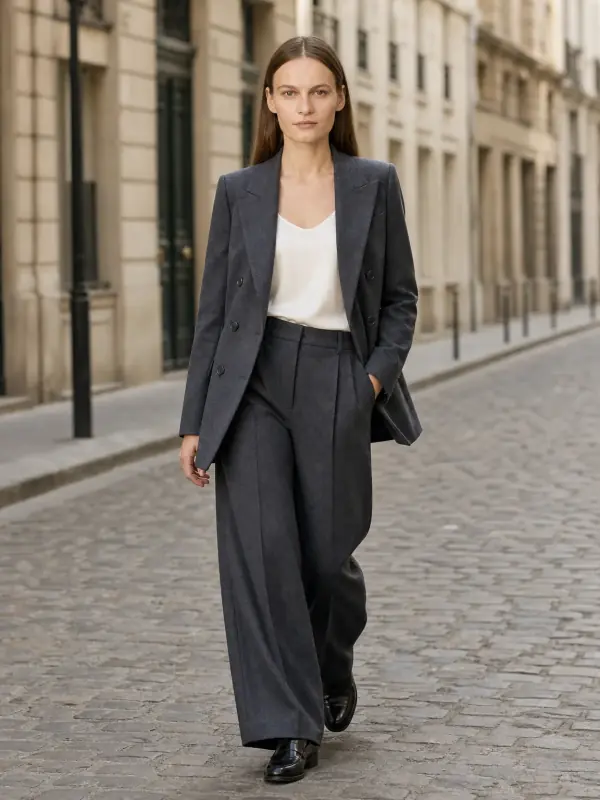
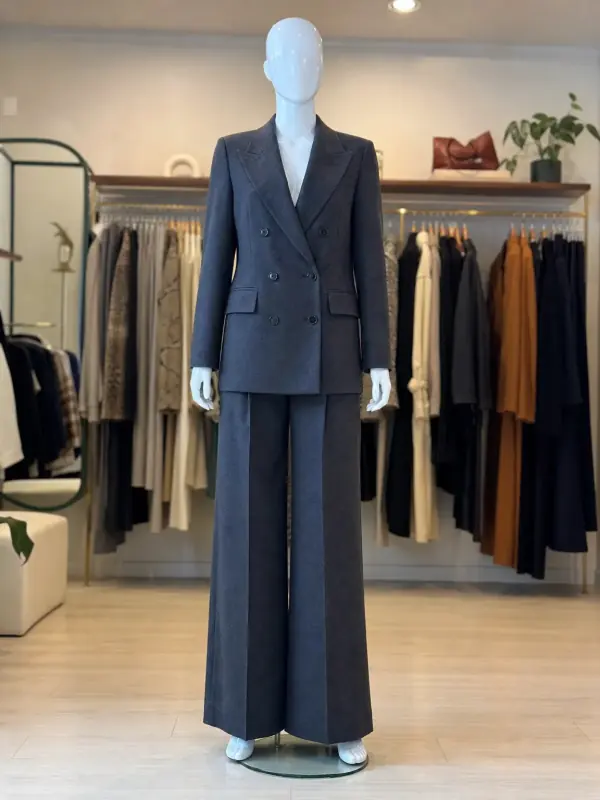 Mannequin to model AIAlready shoot on a mannequin or dress form? Upload that photo as it is and get the same piece worn by a model.
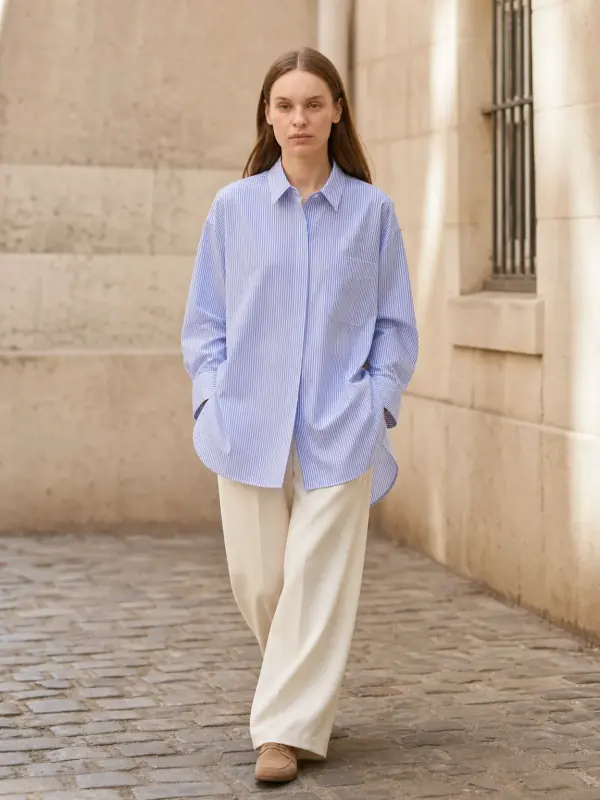
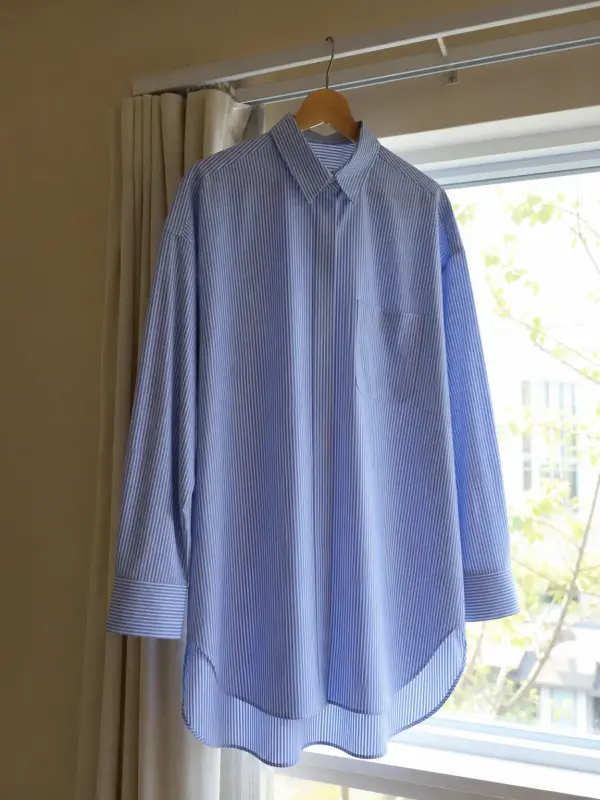 Garment to model AIHang the garment on a door or a rail, take one photo, and get it back worn by a model.