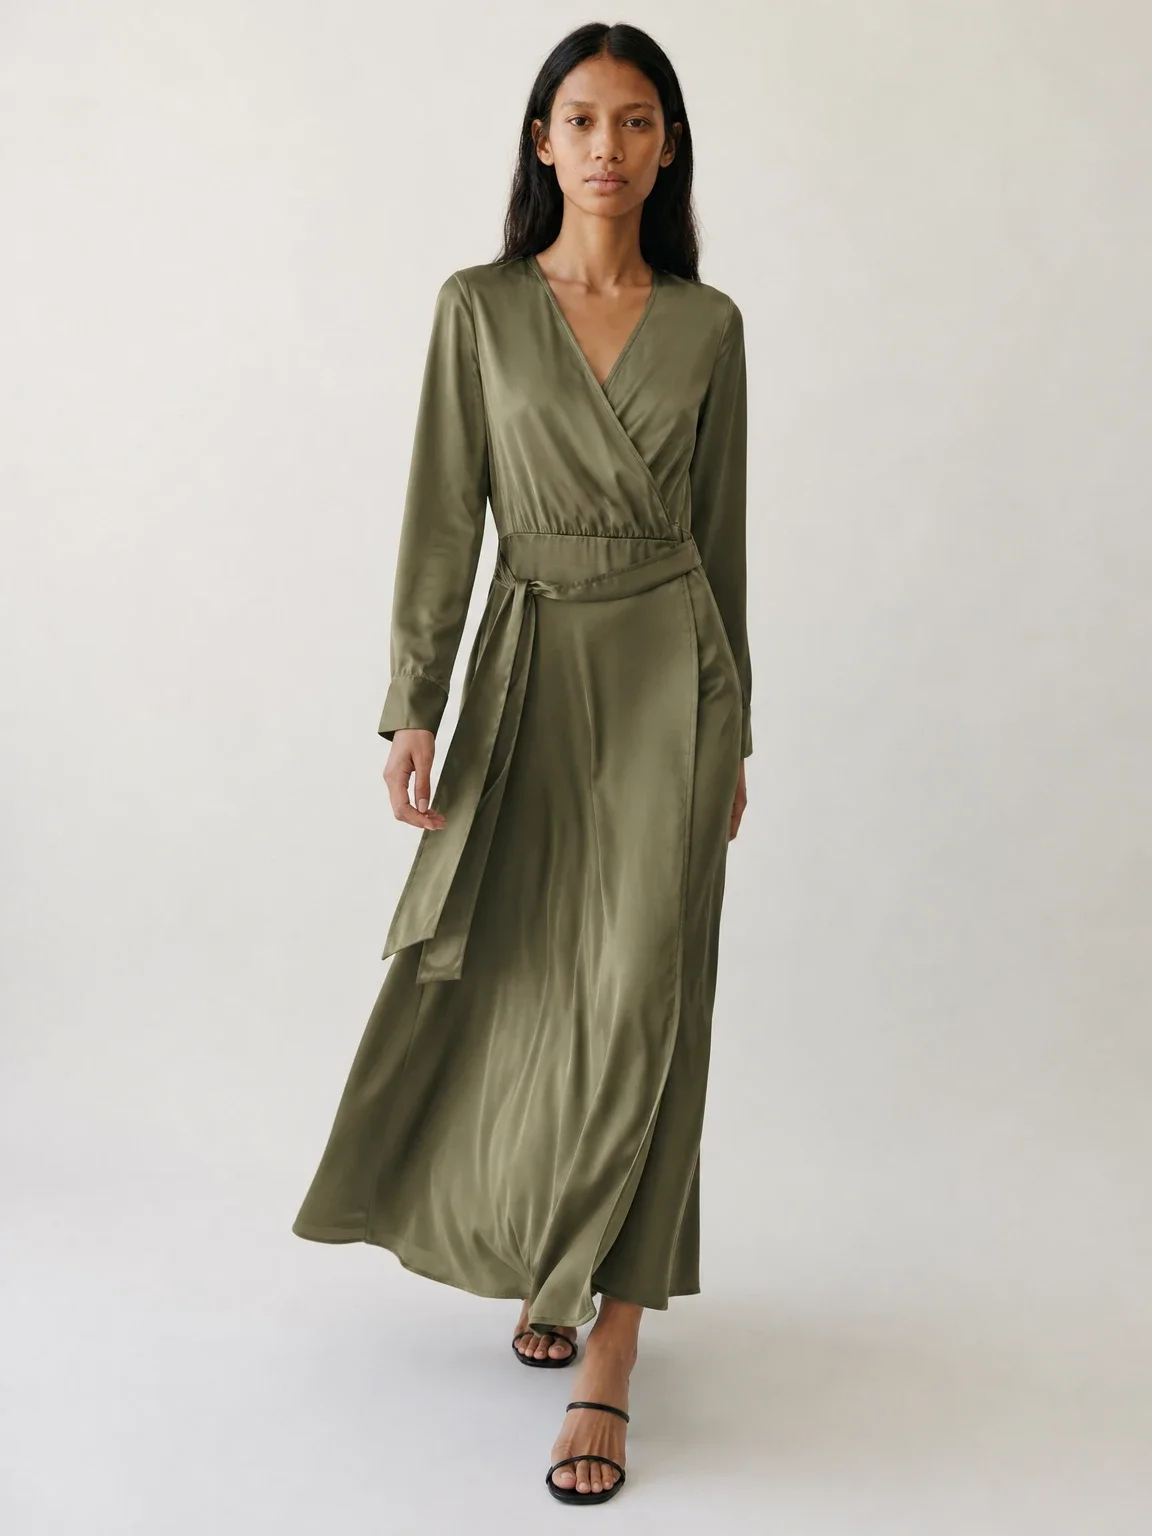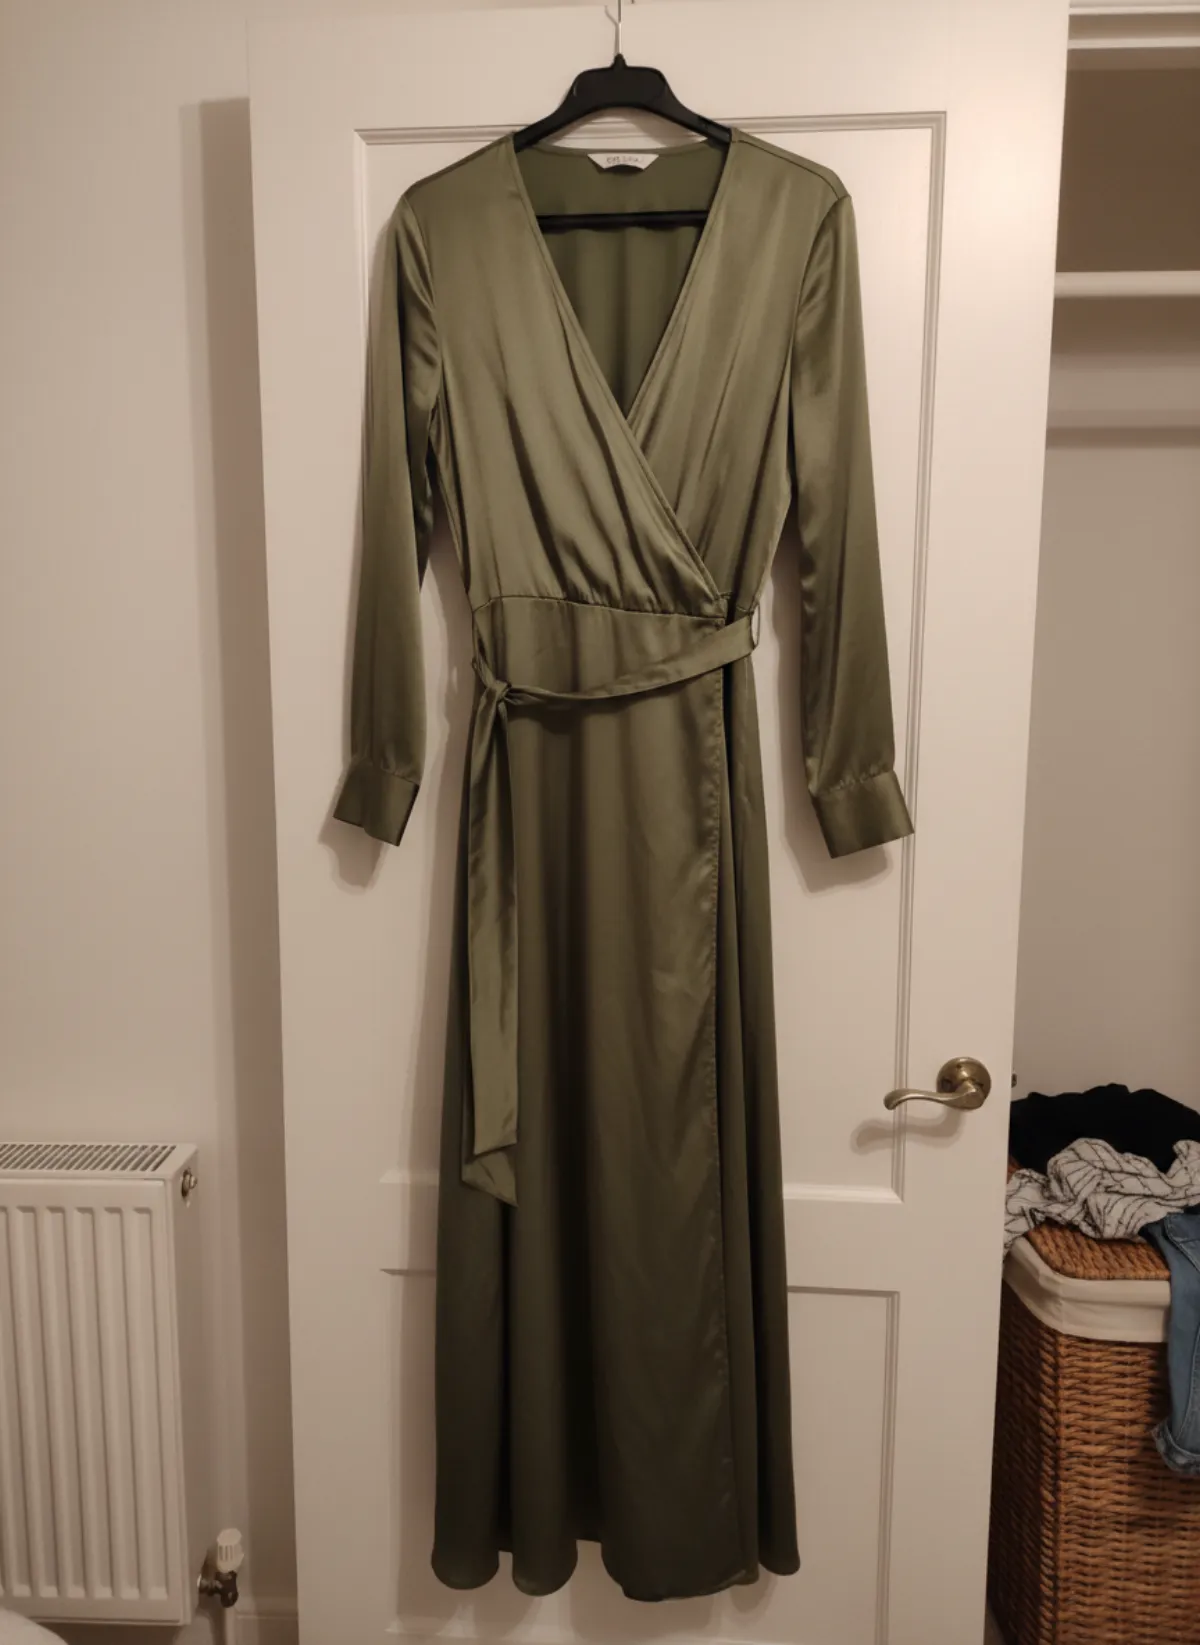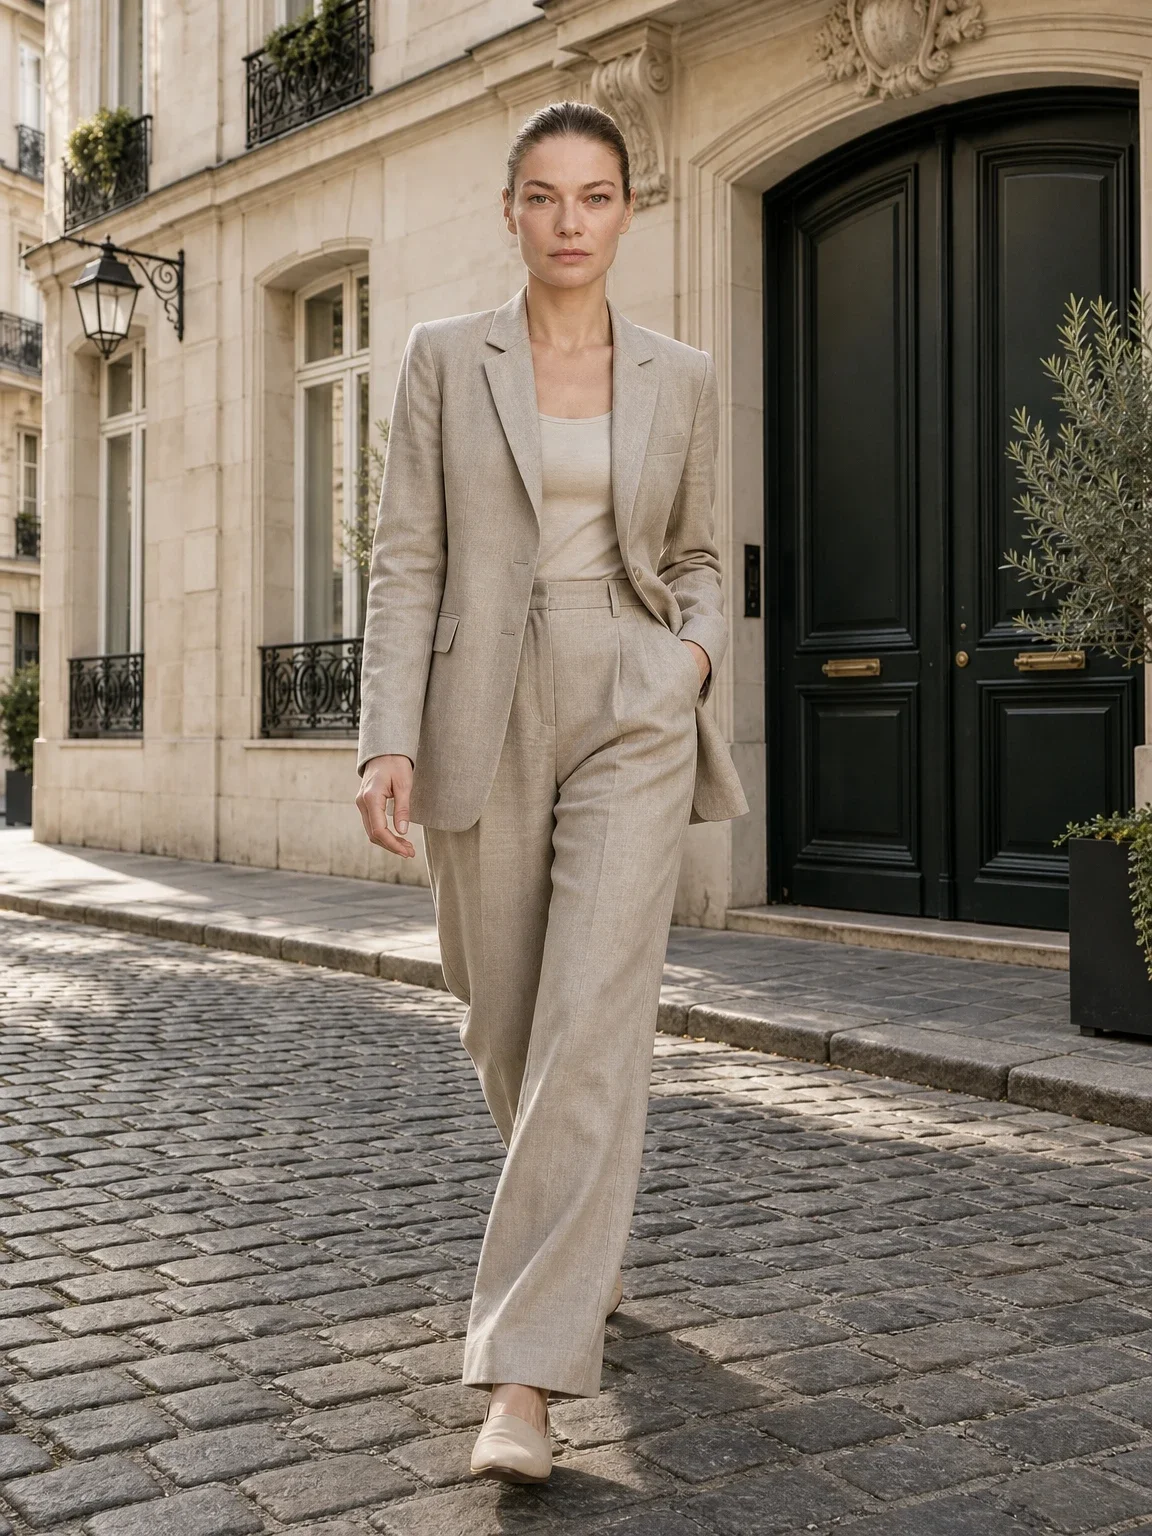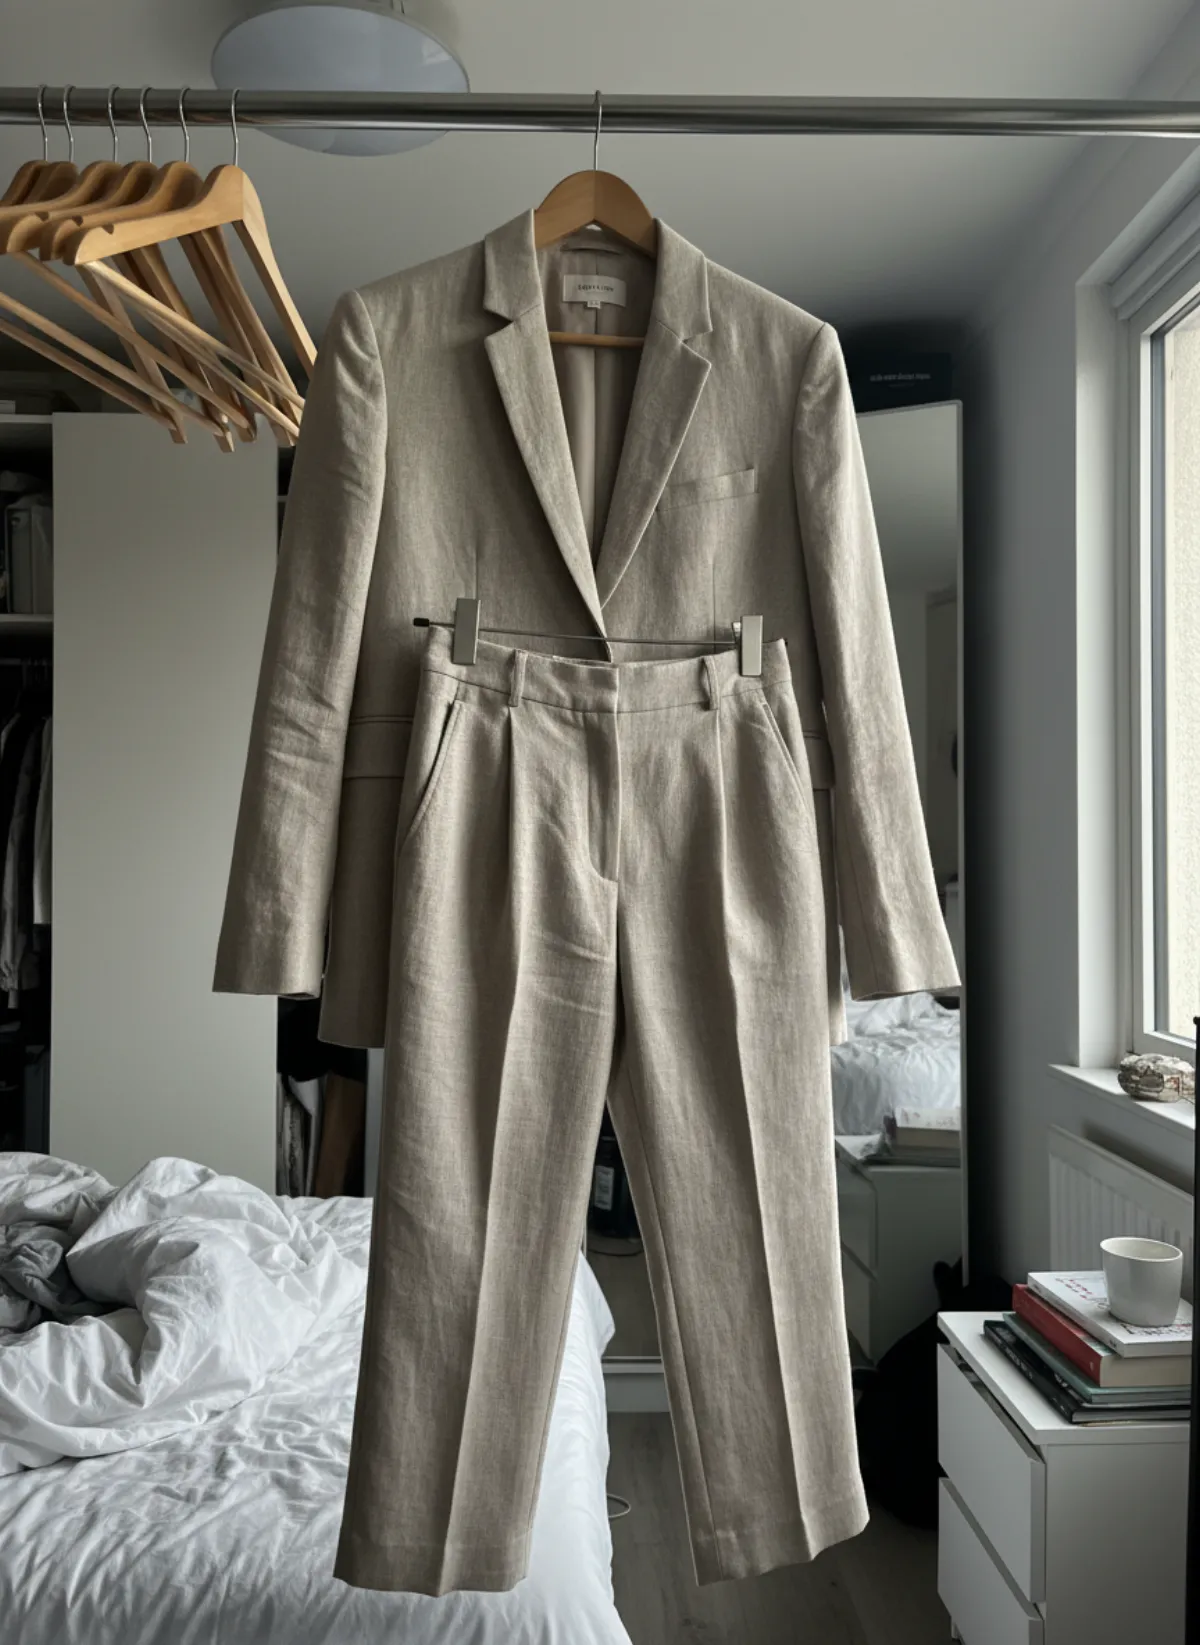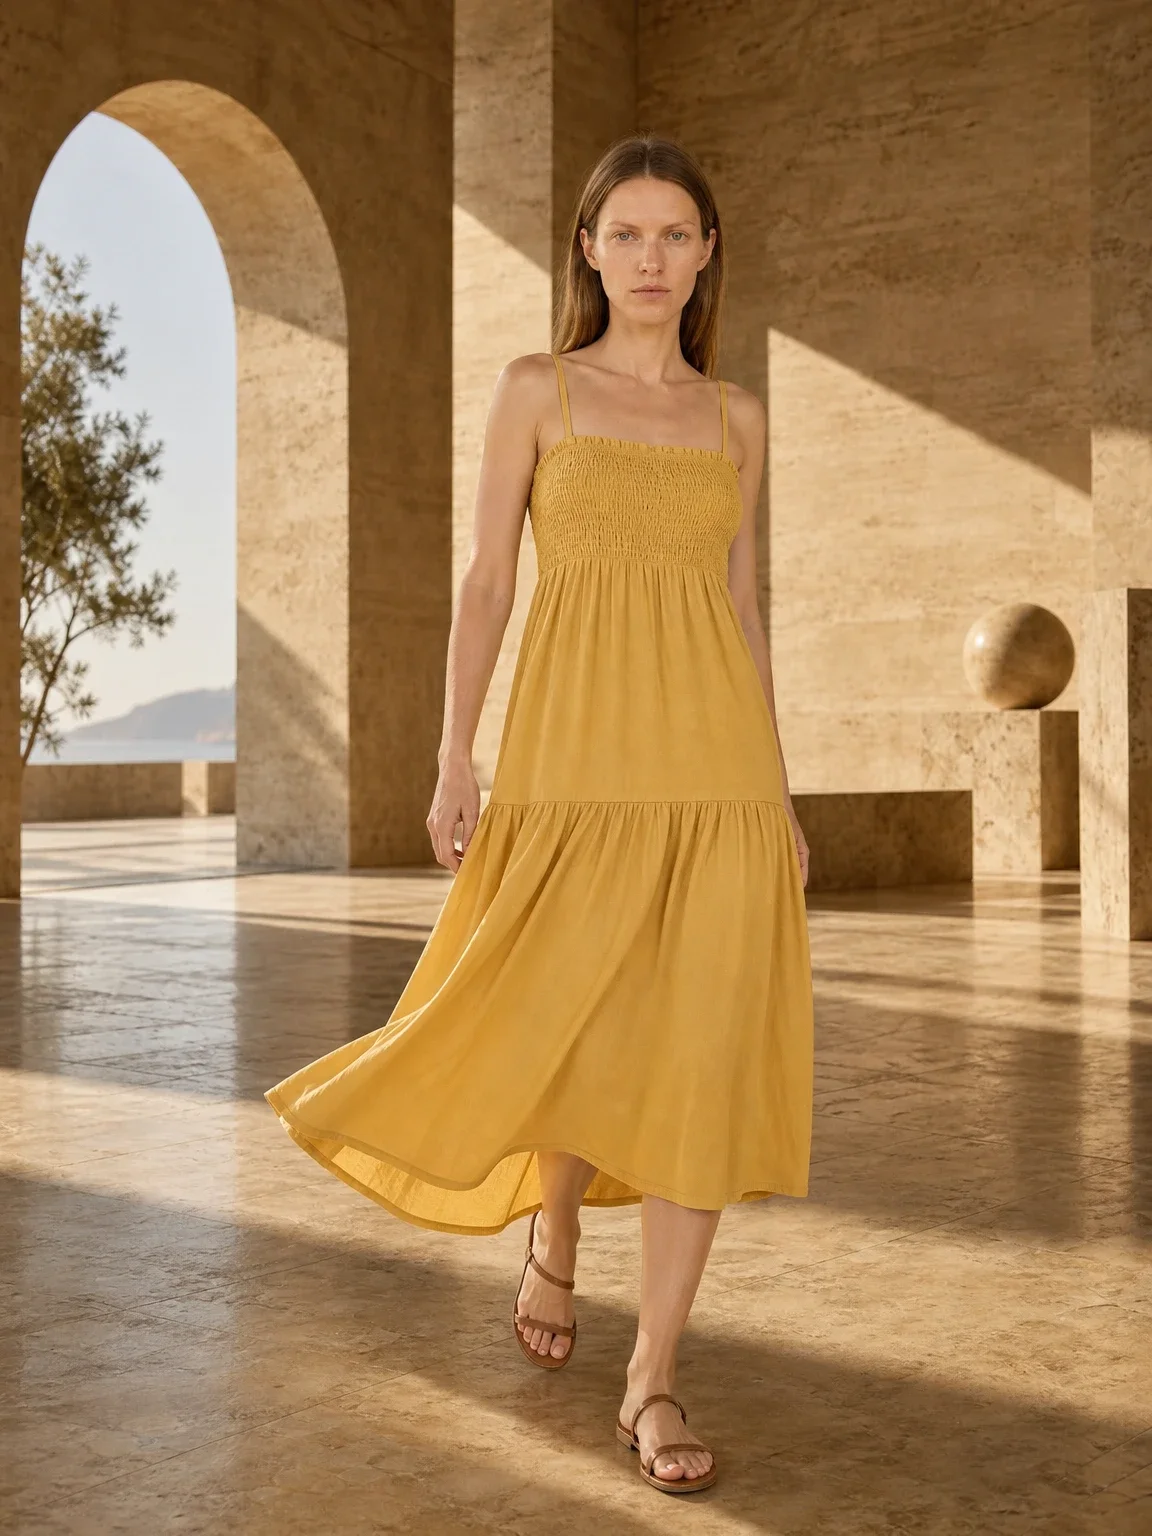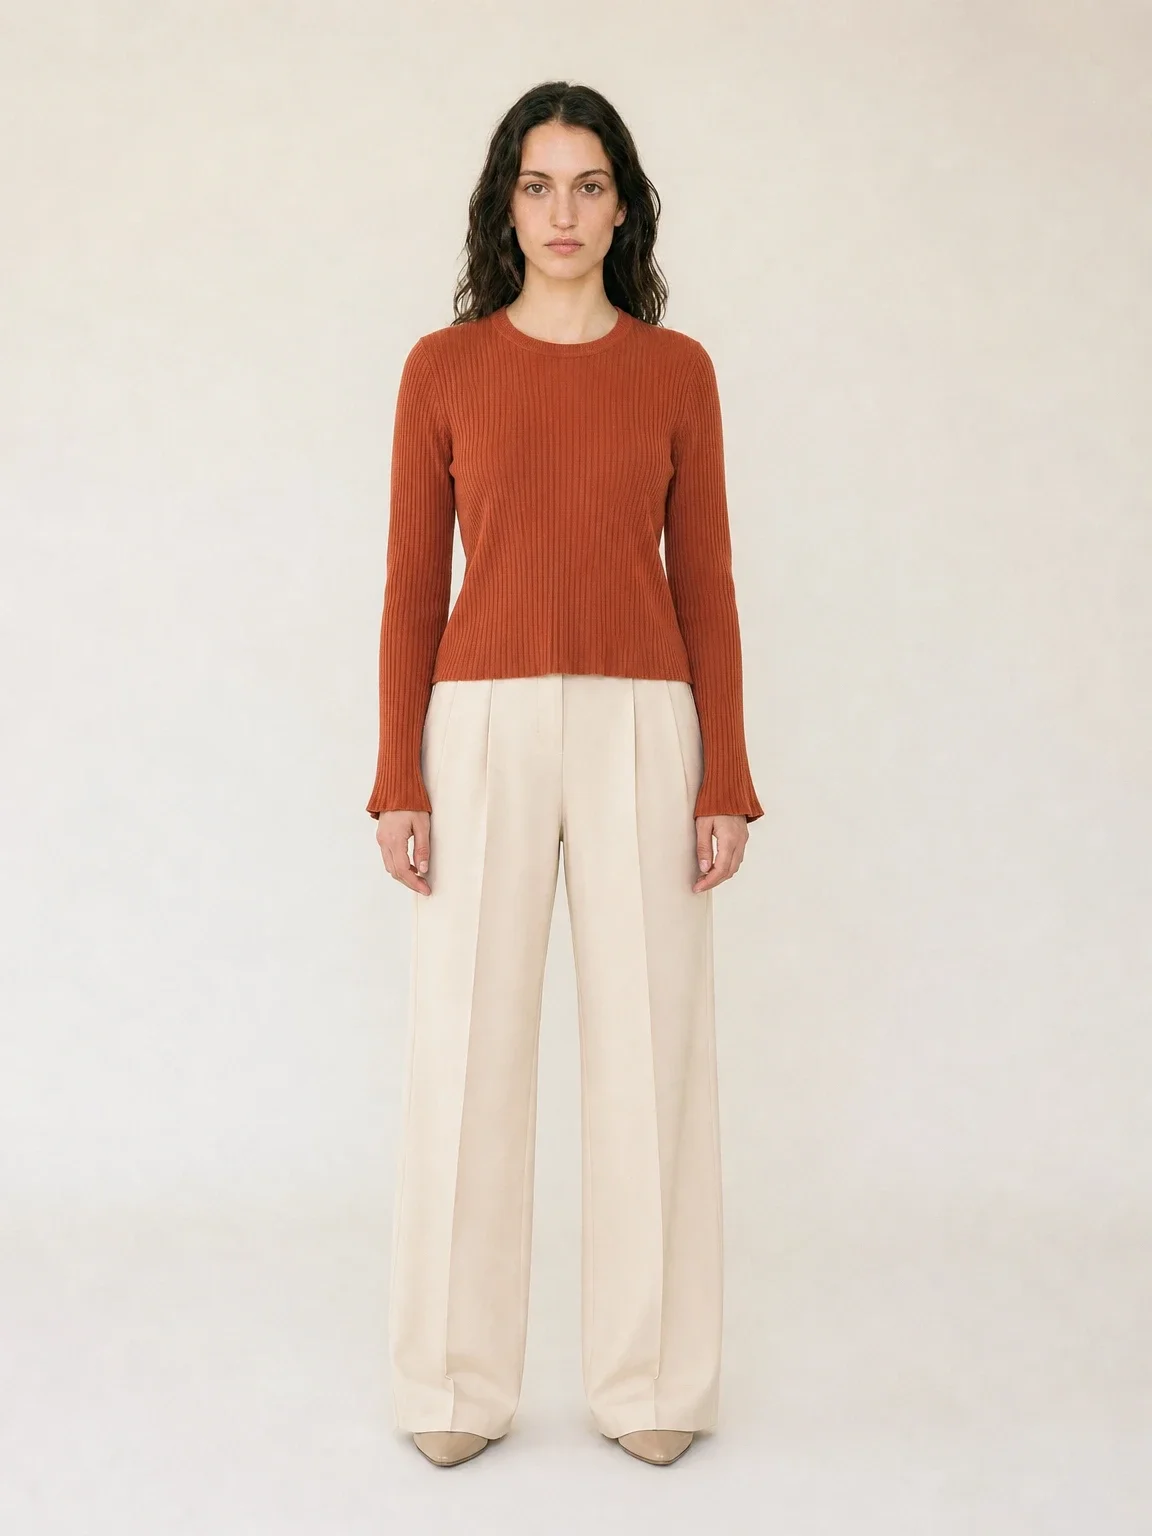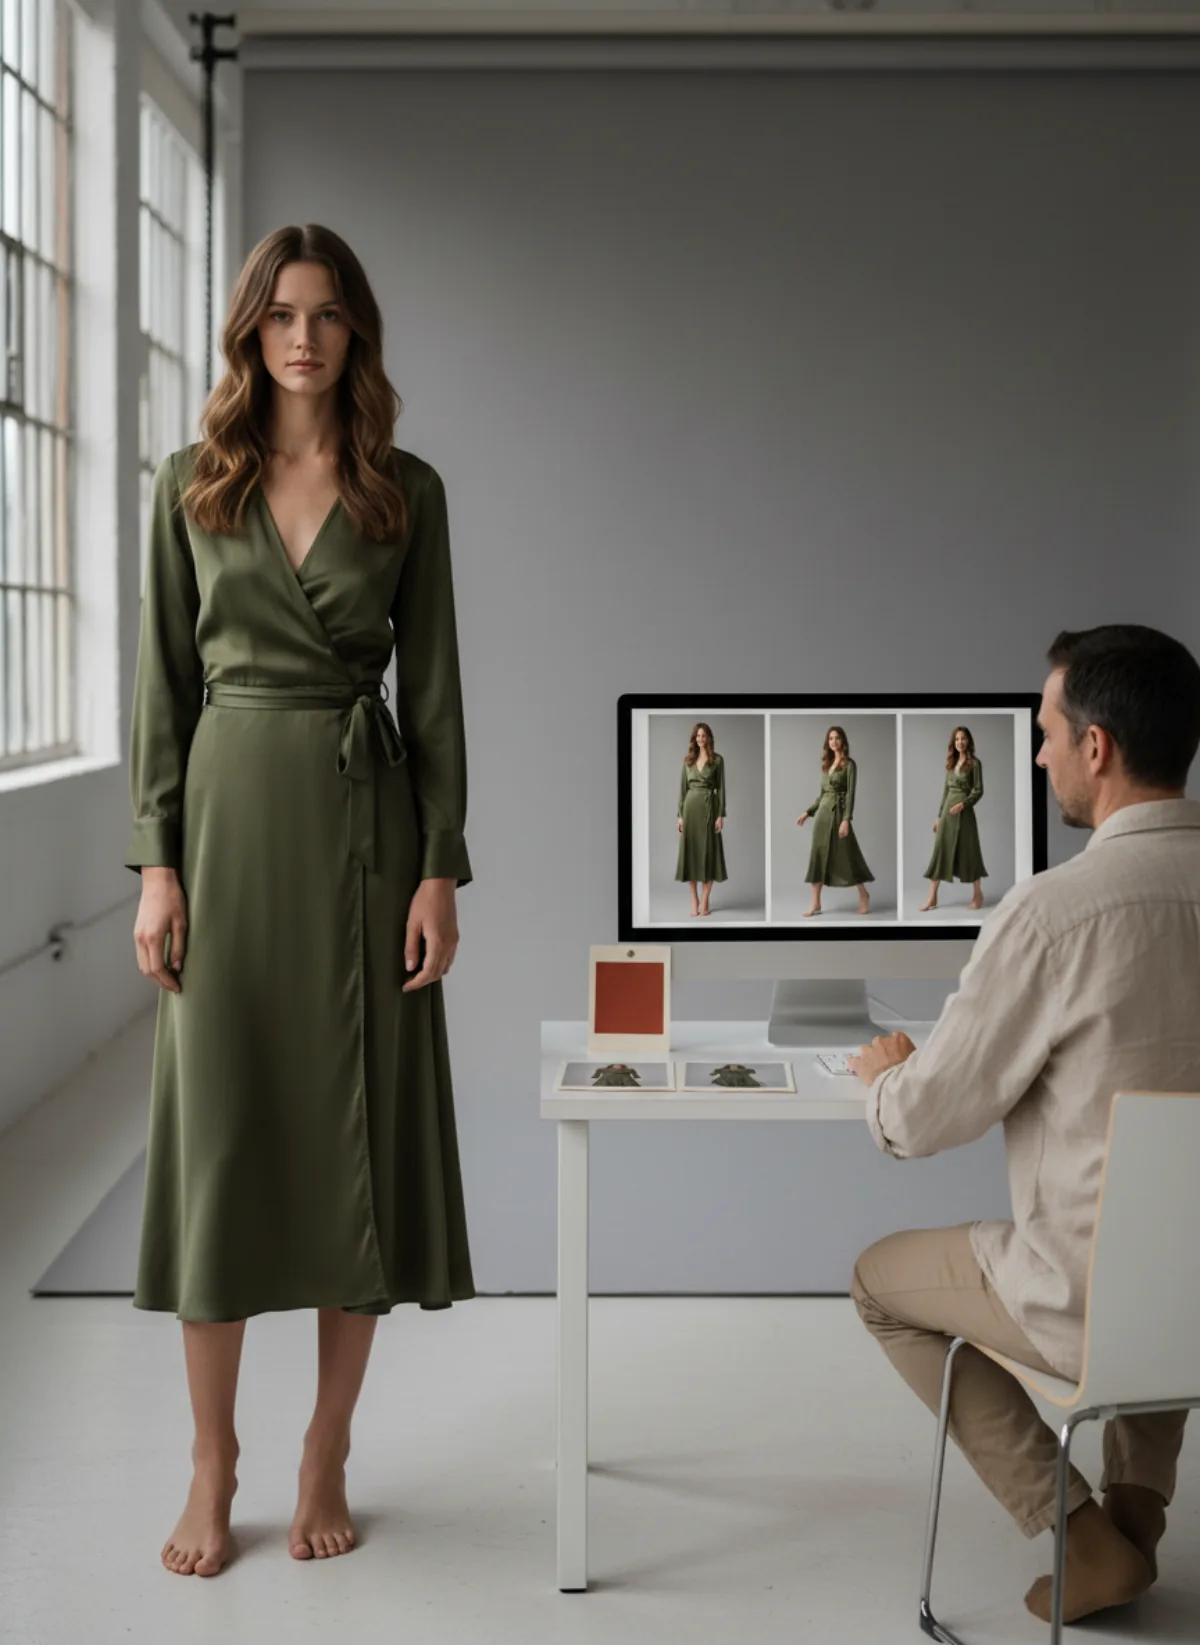
What consistency actually means
Consistency is more than using a similar face. Shoppers should recognise the same person through facial structure, age range, hair, skin tone and overall presence. They should also recognise your brand through crop, lighting, colour treatment, pose vocabulary and background. When those signals change at random, a product grid feels assembled from unrelated suppliers even if every individual picture looks polished.
Start by separating model identity from campaign styling. Identity should remain stable; styling can change with seasons. An AI fashion model generator lets you choose a repeatable model and apply that person to different garments. A summer collection may use brighter light and relaxed poses while winter uses deeper tones, yet the recurring face keeps the catalog connected.
Do not promise that generated people are exact digital replicas across every frame. Small variations can occur, particularly with extreme angles or obscured faces. Consistency therefore means a controlled, recognisable range supported by review, not blind acceptance of every output. Before you spend time writing prompts, see why AI prompts for clothing brands are often unnecessary for product photos.
Build a one-page model brief
Treat the model as part of the brand system, not as a last-minute generation setting.
Identity
Record the approved model, age range, hair, expression and features that must remain recognisable.
Framing
Choose standard front, three-quarter, walking and detail crops for product pages and campaigns.
Art direction
Define light, background palette, contrast and the amount of retouching your brand accepts.
Product truth
List non-negotiable garment details such as print placement, seams, length, hardware and colour.
A repeatable workflow for a full collection
First, choose three representative products: one simple, one typical and one difficult. The difficult item might contain a large print, asymmetric cut, sheer layer or unusual fastening. Run this small set before processing the whole collection. If the chosen model and direction work on all three, you have a useful production template rather than a lucky result.
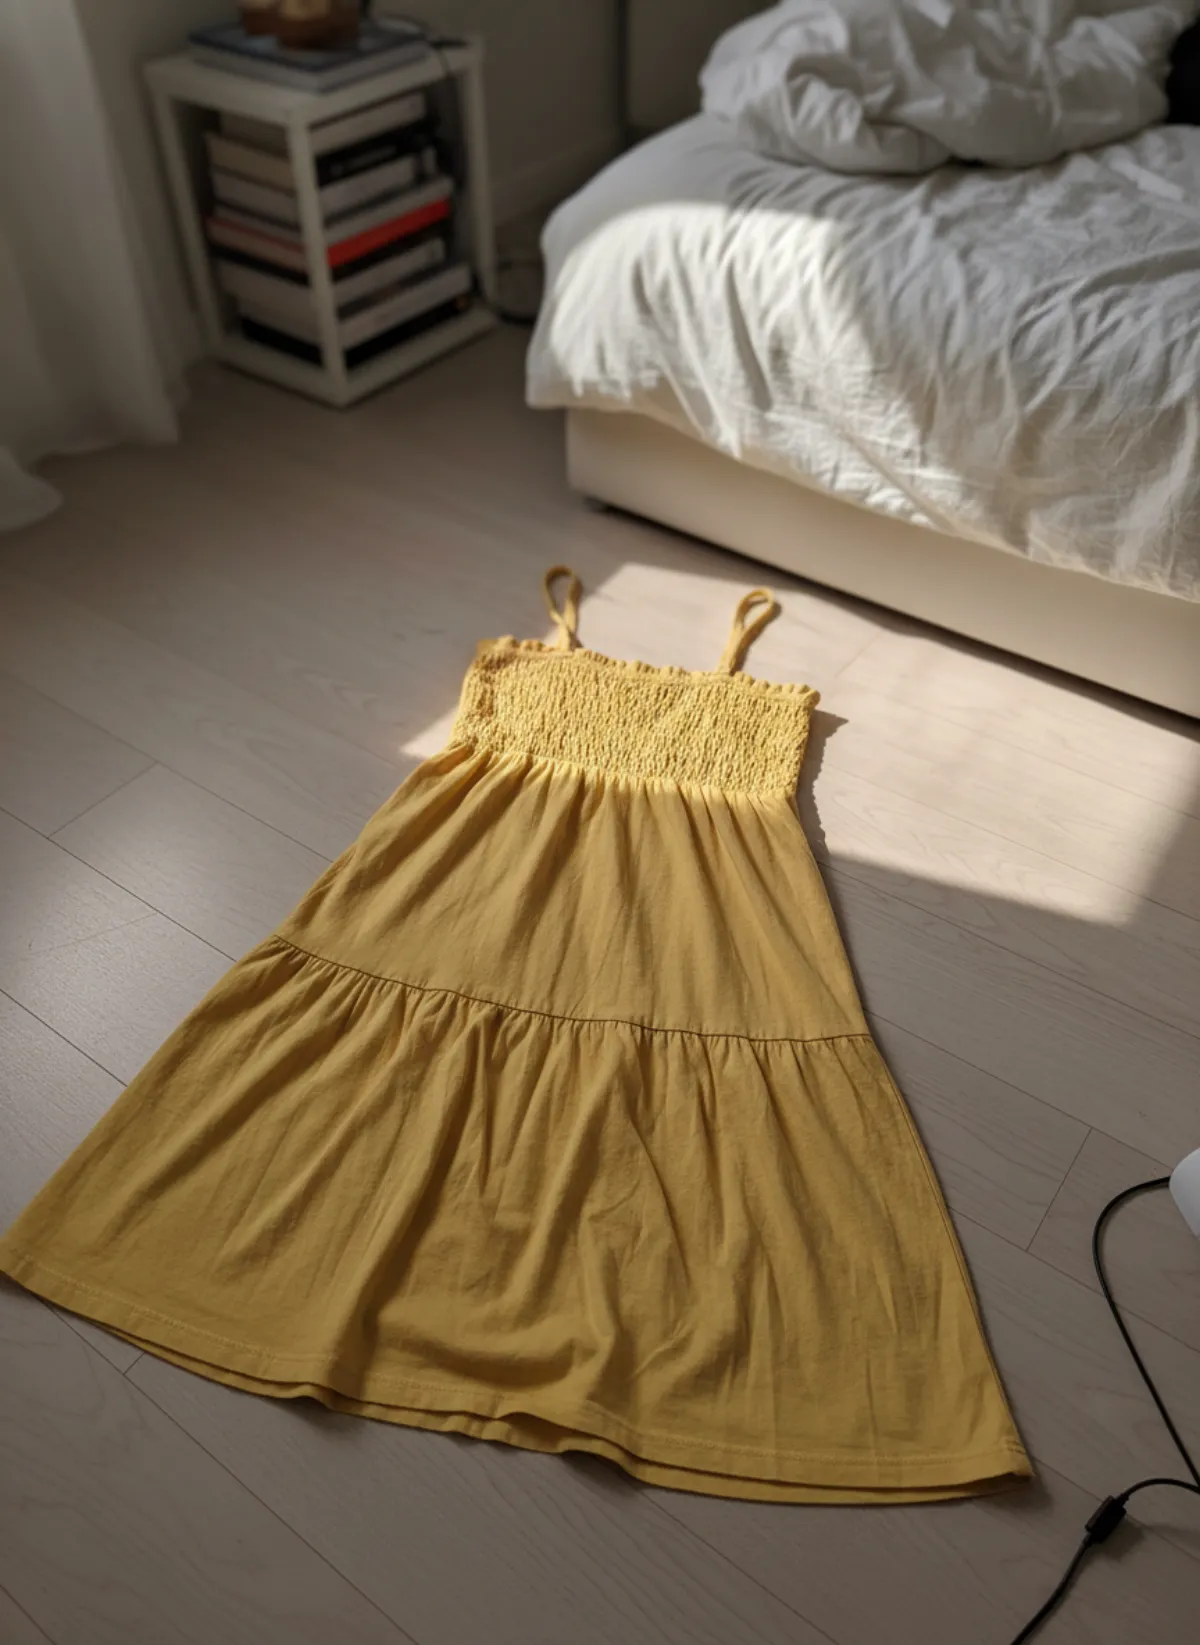
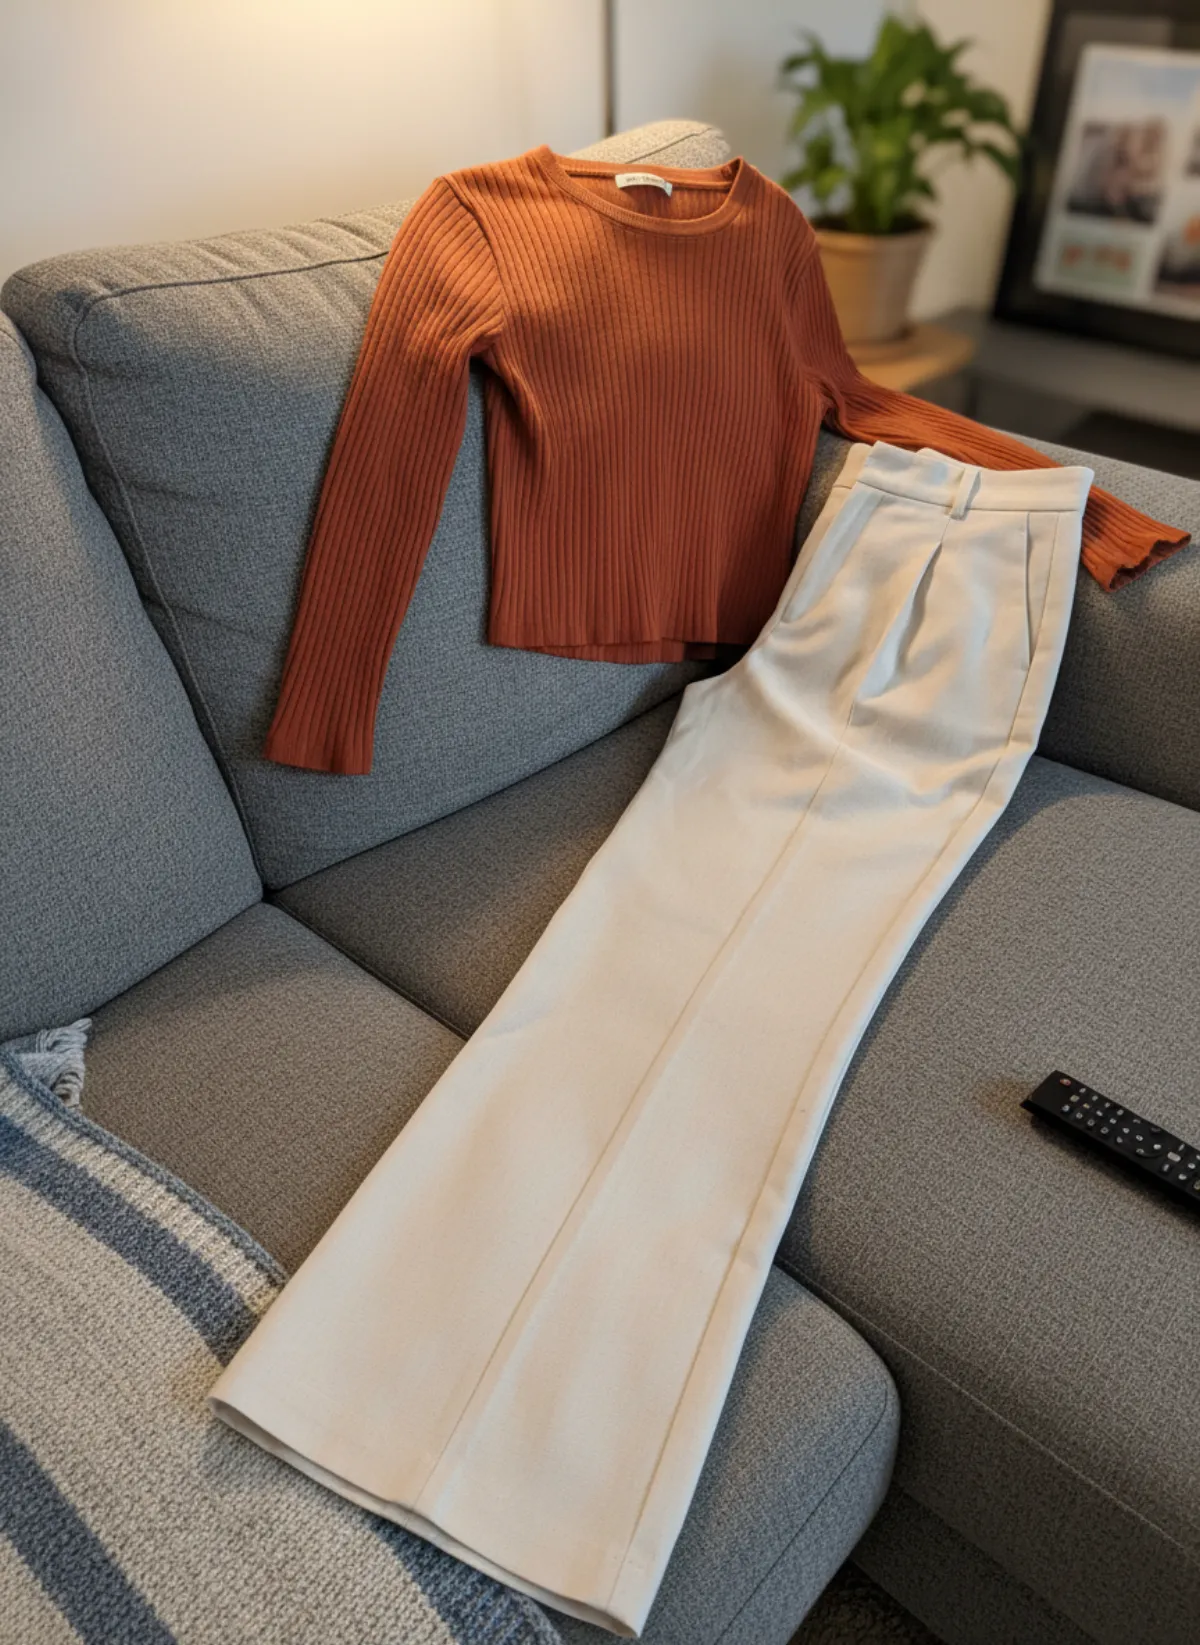
Next, prepare clean product references. Photograph the whole garment, keep sleeves and hem visible, avoid hard shadows and include a separate detail image when construction matters. The guidance in our clothing photography guide also improves source images used for generation. AI cannot reliably preserve information that the reference hides.
Create a master look with the approved model, background and front-facing pose. Then use the clothing-on-model workflow for the remaining SKUs, changing one variable at a time. Approve front views first, then three-quarter or walking frames. This makes errors easier to trace and prevents a whole batch from drifting in different directions.
Finish with a side-by-side grid review. A single image can look convincing while breaking the collection when seen beside its neighbours. Check face, apparent height, skin rendering, camera level, headroom, garment scale and background temperature across at least twelve thumbnails.
Protect product accuracy while you scale
The source photo remains the authority. Compare every approved frame with it at full resolution, especially neckline, buttons, pockets, logos, print repeats and hems. Our ten-product accuracy test explains why visually attractive output still needs a product-level check.
Use a simple status system: approve, regenerate or send to a physical shoot. Regenerate when the visual direction is right but a correctable detail is wrong. Use a real shoot when fit itself is the claim, the material is highly transparent or reflective, or hidden construction cannot be inferred safely. The goal is not to force every SKU through AI; it is to choose the lowest-risk method for each image.
Keep the original product photo on the product page whenever it provides useful evidence. Generated on-model images can explain silhouette and mood, while close product photographs prove texture and construction. Together they answer more questions than either format alone.
Turn approved choices into a brand system
Save the model name, approved reference frame, pose set, background family and crop ratios in a shared brief. Add two examples of what is outside the system: perhaps an overly dramatic pose and a background that clashes with your palette. Negative examples help reviewers make faster, more consistent decisions.
For marketplaces, keep the first image simple and product-led; reserve expressive poses for later gallery frames and social campaigns. The AI model photoshoot can create several coherent views after the core identity is approved. If you need pose ideas, use the fashion model pose guide to select a compact set rather than improvising for each garment.
Review the system at collection boundaries, not after every product. A deliberate seasonal update feels like creative direction; constant micro-changes feel accidental. Keep what customers already associate with your brand and change only the elements that support the new collection story. If you want range as well as consistency, read our guide to diverse AI models for ecommerce; for a seasonal campaign built on one model, see the AI lookbook generator guide.
AI model generator questions
Can an AI model generator keep the same person in every image?
It can keep a recognisable approved identity across a controlled set of poses and products, but extreme angles and hidden faces may vary. A fixed model profile and collection-level review are essential.
How many AI models should a fashion brand use?
Begin with one primary model per clear audience or collection role. Add another only when it serves a real sizing, demographic or creative need; too many identities weaken recognition.
What source photo gives the most accurate result?
Use an evenly lit, sharp image showing the complete garment without folds, cropping or obstructions. Add detail references for prints, fastenings and texture.
Should every product use the same pose?
No. Keep a small repeatable pose family: front for comparison, three-quarter for volume and walking or seated views for selected campaign images.
When is a physical model shoot still better?
Choose a physical shoot when exact fit, movement, transparency, technical performance or a real ambassador is central to the claim.