One bag, three useful points of view
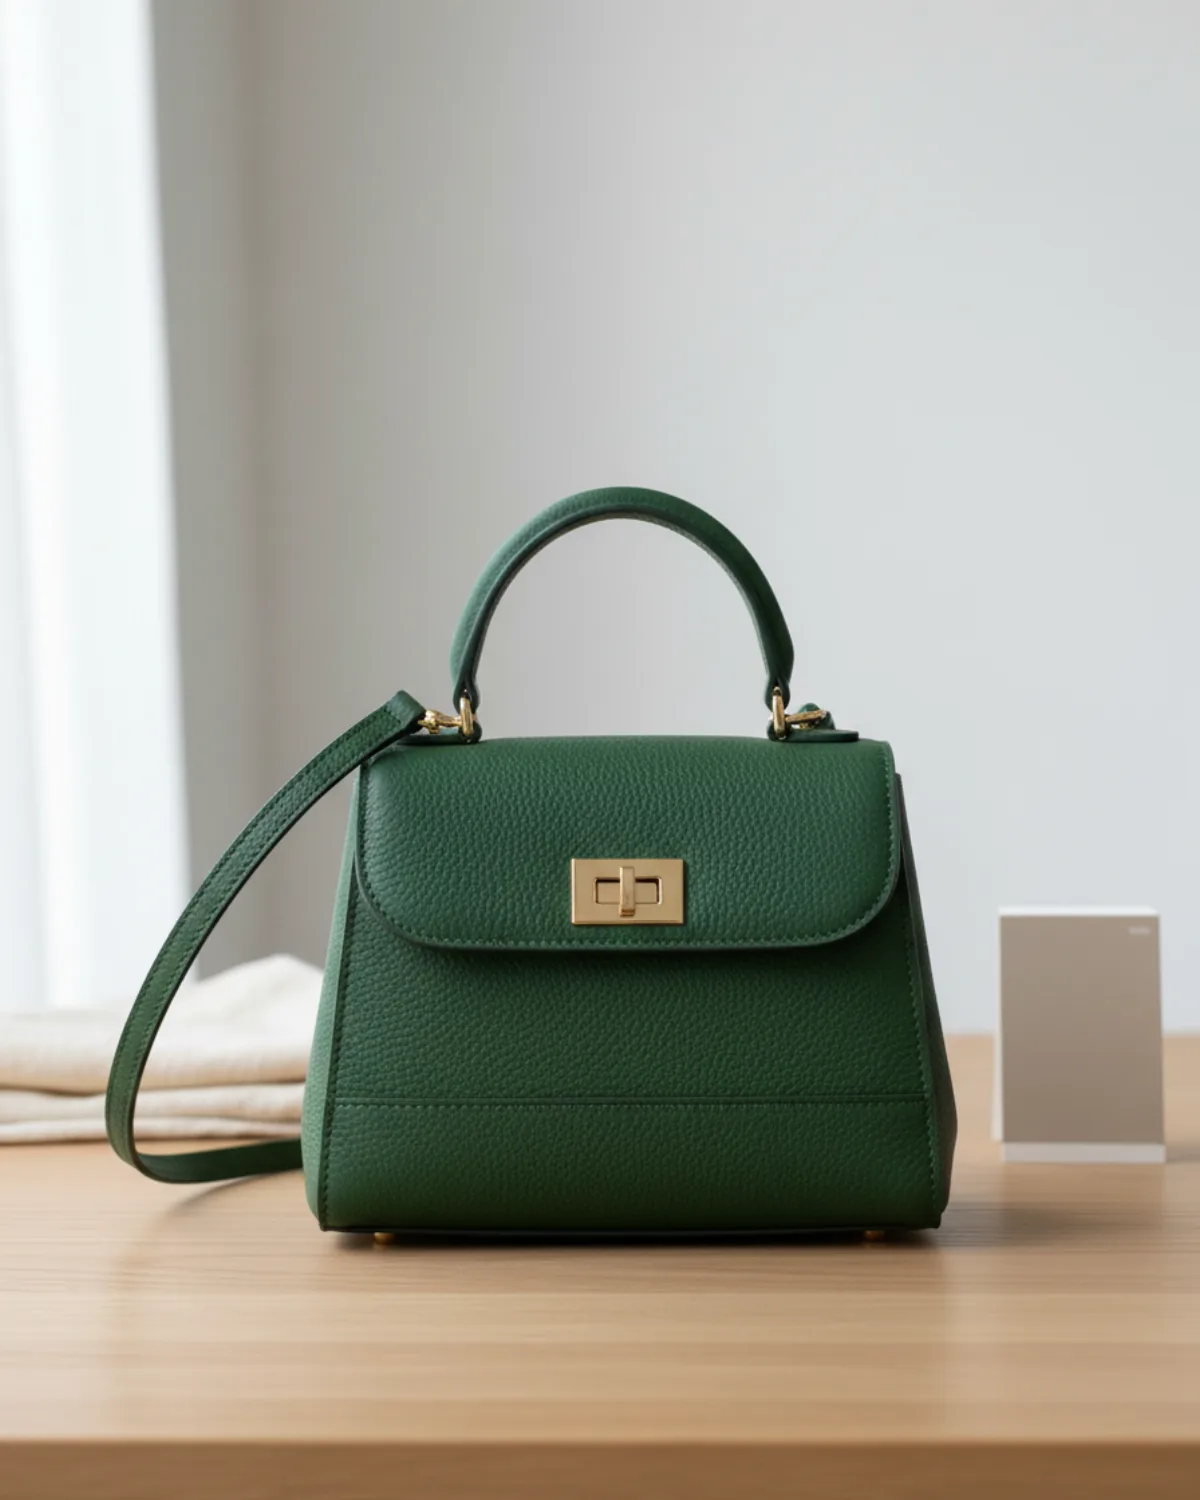
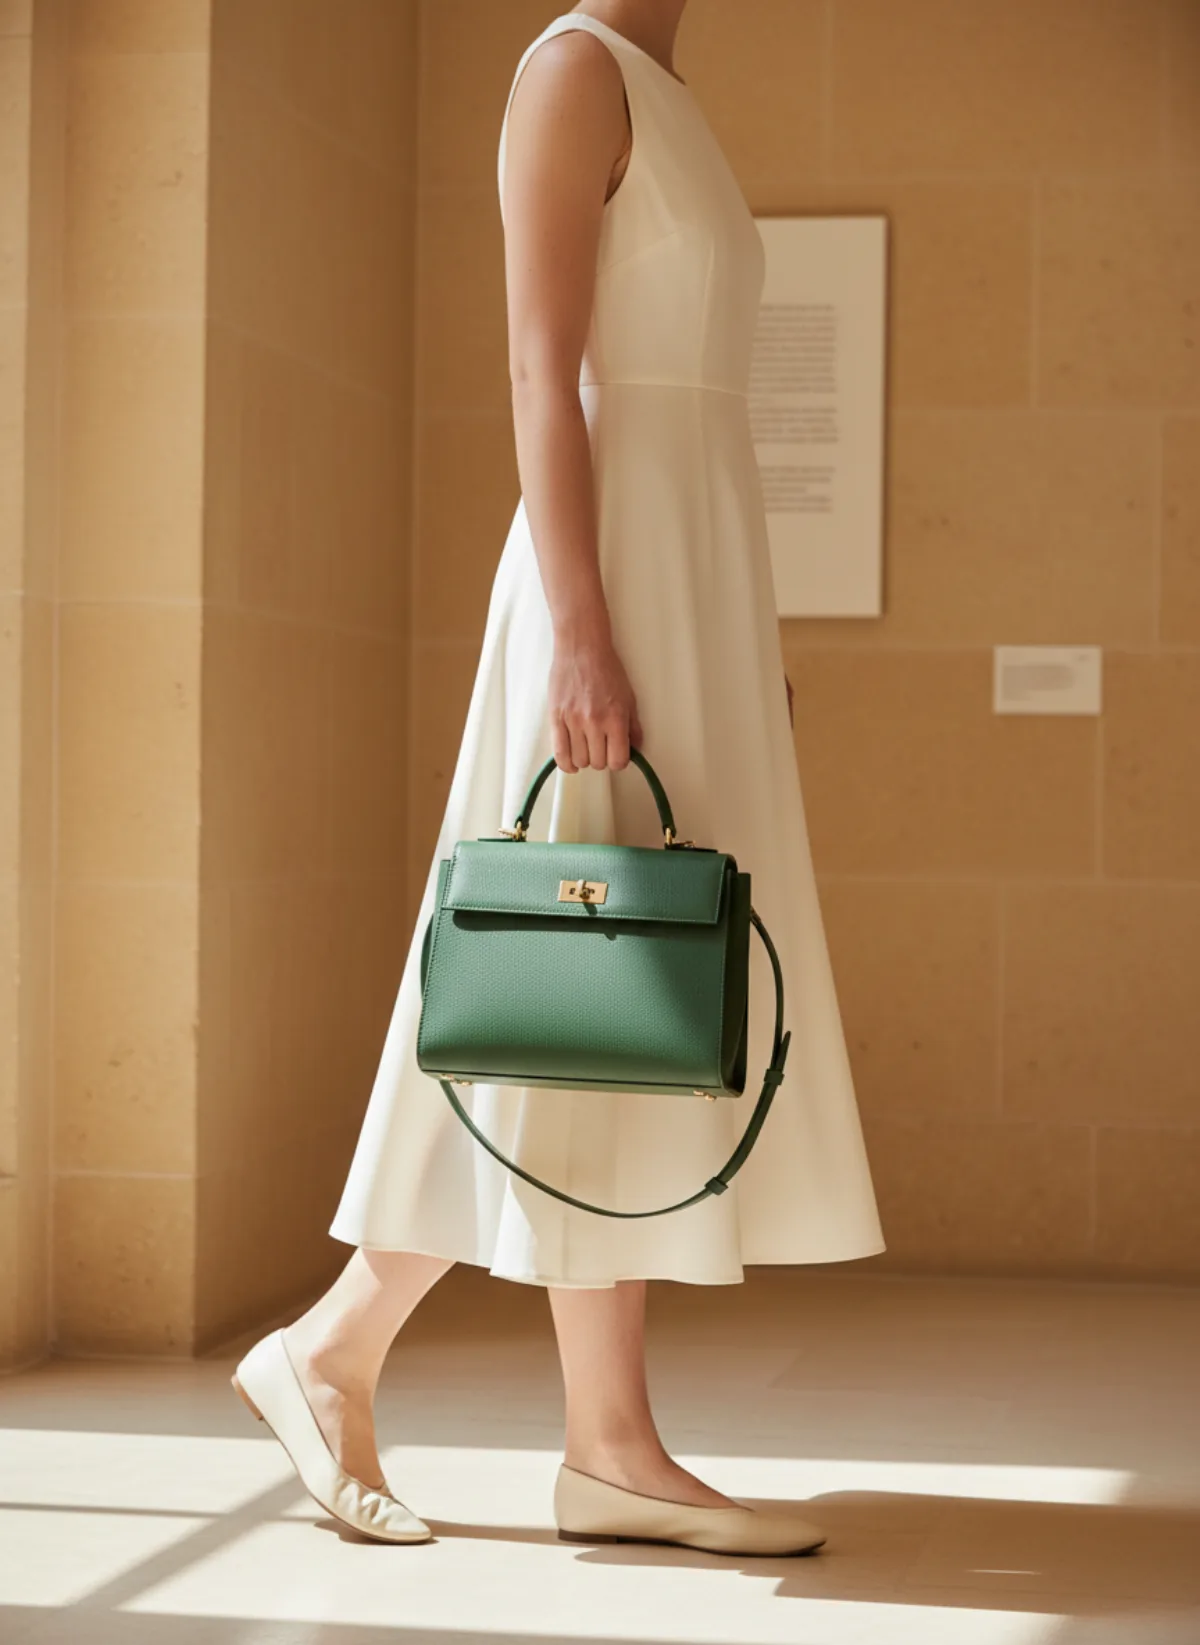
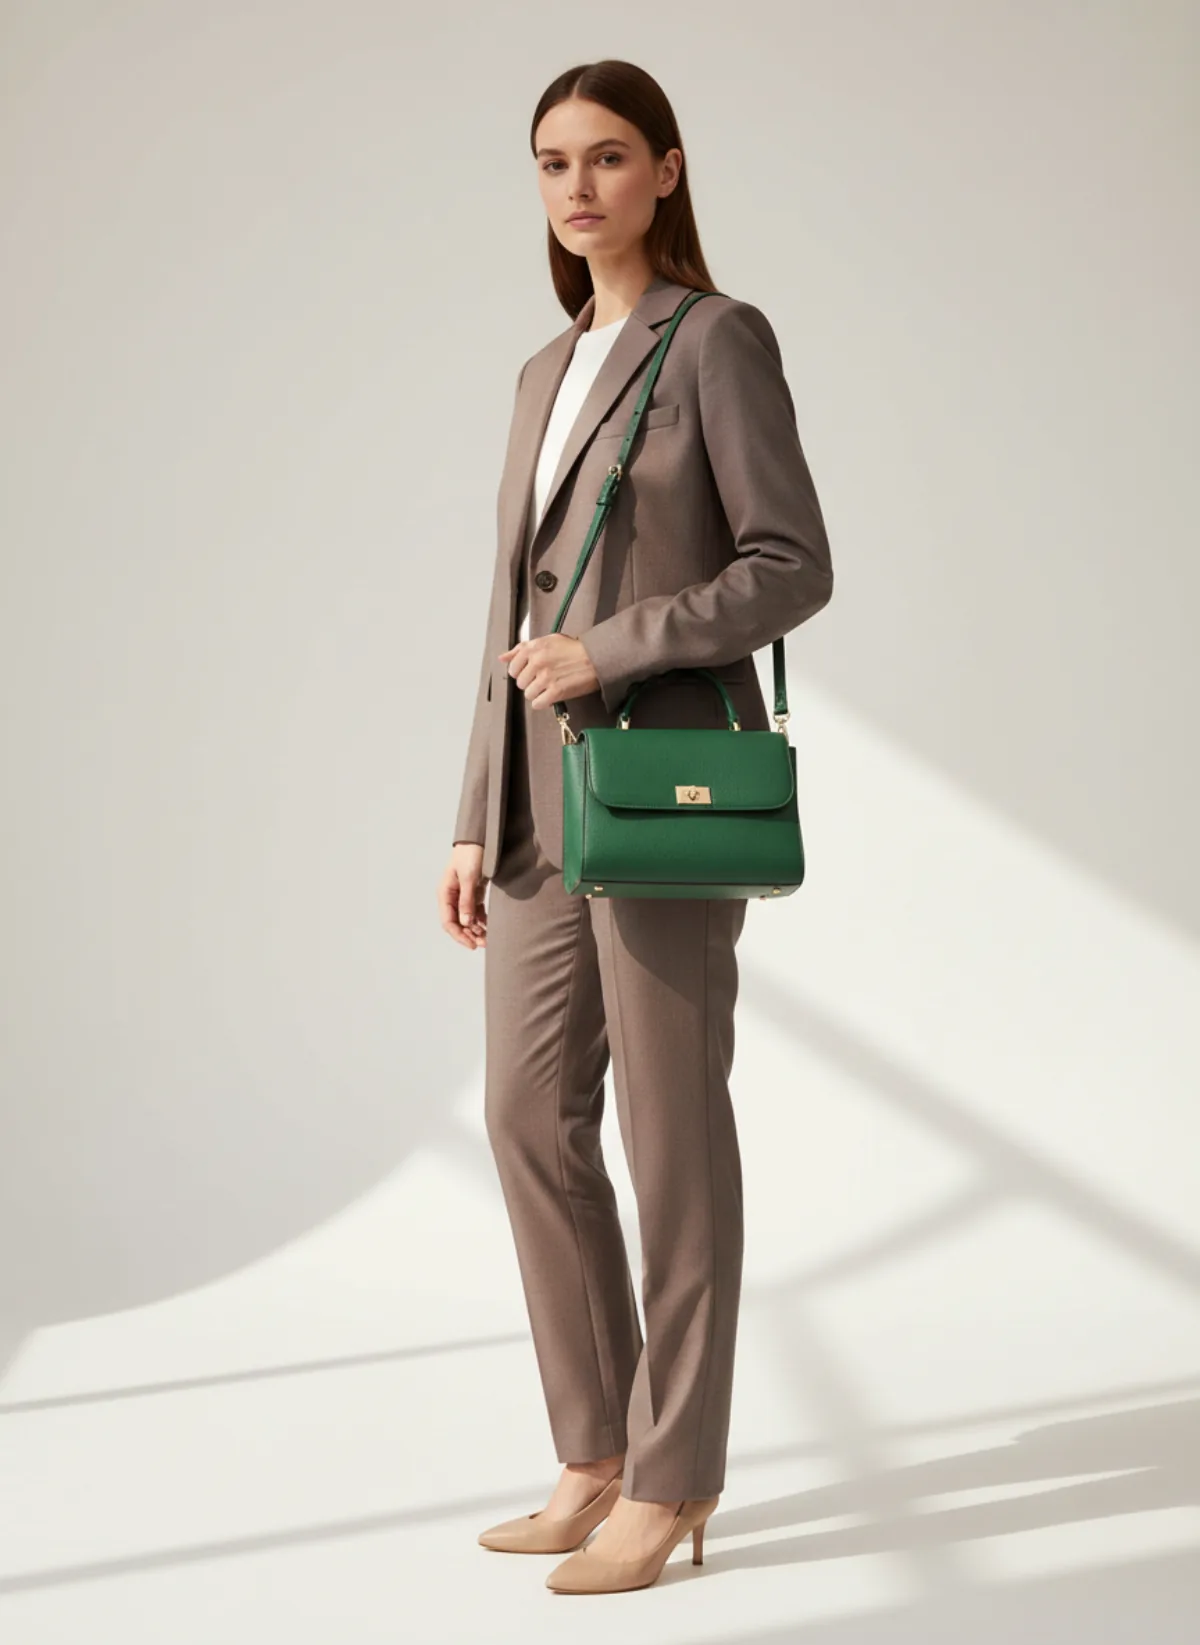
The source frame establishes the real product. The two carried frames give shoppers human-scale context without pretending to replace dimensions.
Structured green top-handle bag
The clean source makes the body, flap, handle, strap and gold closure visible. The hand-carried result explains how the bag sits beside the thigh; the shoulder result makes strap drop and high-hip placement easier to read. Review every hardware connection and keep the original product image in the listing.
 Your photo
How the bag workflow works today
Bags currently run through Garmo's Other category and free-shoot flow. Upload the product, choose how many images you want and select an aspect ratio. Add an optional brief such as “full-body model holding the bag by the top handle, product unobstructed.” The system interprets the object and builds varied commercial scenes around it.
This is not a dedicated bag pose builder. There is no bag-specific model picker, scene picker or fixed carry-position menu yet. The brief guides the result, so describe the view that matters: held by hand, on the shoulder at the high hip, or crossbody at the low hip. Generate alternatives and select only the frame that matches the real product.
Free shoot is useful when a conventional product cutout does not explain how the bag feels in an outfit. It is less suitable when you need a precisely matched campaign model across dozens of SKUs. For a broader people-led workflow, explore AI product photography with models and plan the bag frames as a complementary set.
From source photo to carried image
1. Prepare the bag
Fill it lightly so the real silhouette holds, clean the surface and arrange every removable strap exactly as it will be sold.
2. Photograph all defining details
Use soft daylight and keep the complete body, handles, strap clips, closure, corners and feet visible. Avoid hands covering the source.
3. Add measurements to your notes
Record width, height, depth, top-handle drop and adjustable strap range before generation. Capacity and fit cannot be proven from pixels alone.
4. Write one clear carry request
Ask for one model, one bag, a full-body or three-quarter frame and a named position. State that the product must face the camera and remain unobstructed.
5. Inspect at full size
Compare shape, seams, pockets, clasp, hardware count, handle attachments and strap length with the actual SKU. Reject invented details.
Show scale without making an exact-size claim
A model gives the eye familiar reference points: hand width, forearm, hip and torso. That context quickly separates a mini bag from a medium day bag. It does not guarantee exact scale because body proportions, lens perspective and generation can change the apparent size. Put the real centimetre or inch measurements next to the gallery.
Use a straight three-quarter view for the first carried image. Keep the bag near the body but not pressed into clothing, and leave enough space to see every edge. A close crop makes the product look larger; a wide full-body frame can make it look smaller. Use one consistent framing system when customers compare colourways.
Capacity needs its own evidence. If a phone, laptop or bottle fits, photograph those objects inside the real bag or list the internal dimensions. Do not use a generated scene as proof that a device fits. The carried image communicates proportion and styling; the product copy carries measurable facts.
Briefs that produce clearer carry styles
For a top-handle view, try: “Full-body adult model in a simple neutral outfit, carrying one bag by the short top handle beside the thigh, bag facing camera, complete strap visible, no other accessories.” For a shoulder view: “One bag on the right shoulder, resting at the high hip, strap attachments visible, arm slightly away from product.”
For crossbody, name both the direction and endpoint: “Strap crosses from left shoulder to right low hip, front of bag visible, nothing covering the closure.” Avoid broad prompts such as “make it fashionable.” A precise physical request gives you a more useful frame and a clearer rejection checklist.
Change only one variable at a time. First establish a reliable carried view, then test a different outfit or setting. If pose, environment, crop and wardrobe all change together, it becomes difficult to tell why the product shifted. A small controlled set is stronger than six unrelated campaign pictures.
Six checks before publishing
Silhouette matches
Body width, depth, corners and flap shape agree with the source.
Hardware is unchanged
Closure, rings, clips, feet and their colours have not multiplied or moved.
Straps make sense
Every strap begins and ends at a real attachment and follows gravity.
Product stays visible
Hands, sleeves and hair do not conceal the feature the image should explain.
Measurements are written
Width, height, depth and strap drop appear in the listing copy.
Real photo remains
The original product view stays in the gallery as the factual reference.
Pricing
- Starter$9 / month25 images a month · from $0.36 per image
- Collection$19 / month100 images a month · from $0.19 per image
- Studio$39 / month250 images a month · from $0.16 per image
Start with 3 free images, no card needed. Then pick a plan; each image uses one credit and yearly billing gives you two months free. See all plans
Bag on model AI questions
Can Garmo put a bag on a model?
Yes, through the Other category and free-shoot workflow. Upload the bag and request a carried view in the optional brief.
Can I choose an exact bag pose?
There is no dedicated bag pose menu today. Describe top-handle, shoulder or crossbody placement in the brief, generate alternatives and review the result.
Will the image show exact bag size?
It gives useful human-scale context, not a measurement guarantee. Always publish real width, height, depth and strap-drop figures.
What source photo works best?
Use a sharp, evenly lit view with the complete bag, handles, closure and strap attachments visible. Keep the background simple and avoid cropped edges.
Should I keep a real bag photo?
Yes. Keep real product and detail photographs for colour, material, hardware and condition; use generated carried views as additional styling context.
Guides for better product photos
Practical posts from the Garmo blog that go with this tool.
Bag on model AI
Show handbag proportion and carry style with a measured source, precise brief and product-level quality check.
Photographing handbags
Prep, setup and the nine shots that sell a handbag, from the base and lining to a carried photo for scale.
AI collection shoot cost
A transparent calculator for the real cost of producing a fashion collection with AI.