Why handbag scale disappears in a product-only photo
A mini bag photographed close can fill the same frame as a large tote photographed from farther away. Without a hand, hip or torso, the eye has no stable reference. Even a familiar phone placed beside the bag can mislead when perspective changes. That is why a clean product image and a carried image answer different questions.
The product frame is best for material, stitching, hardware and exact colour. The carried frame explains overall presence, likely handle clearance and where the body sits on a person. Use both, and place written width, height and depth beside them. Visual scale should clarify numbers, never substitute for them.
Garmo now handles bags through its Other category and free-shoot workflow. The bag on model AI tool explains the current route and its limits: you guide the carry style with a written brief rather than choosing from a dedicated bag-pose menu. The source photo matters most; our guide on how to photograph handbags for sale covers stuffing, light and the nine shots a listing needs.
Record the measurements before generating
Measure the widest body width, vertical height excluding and including the handle, maximum depth and empty weight. Then record top-handle drop: the clear distance from the underside of the handle to the top edge of the bag. That value helps explain whether a handle is hand-only or can pass over a wrist or forearm.
For a removable or adjustable strap, record shortest and longest usable drop. Strap length and strap drop are not interchangeable: total length measures the material end to end, while drop describes the vertical distance from shoulder to the top of the hanging bag. List both when they matter.
Capacity is a separate claim. Note opening width and interior dimensions, then test real objects such as a specific phone, wallet or laptop. Do not conclude that an item fits because a generated model image makes the bag look large. Photograph capacity with the actual SKU.
Build a source image that protects product identity
1. Shape the real bag
Fill it lightly with tissue so the silhouette, gussets and base match normal use without becoming overstuffed.
2. Clean every surface
Remove dust, fingerprints and loose fibres from leather, textile, hardware and edge paint before photographing.
3. Show attachments
Arrange the handle and detachable strap so every clip, ring and anchor is visible. Hidden connections invite invented hardware.
4. Use soft, neutral light
Diffuse a window or large lamp. Avoid hard glare on polished metal and coloured room light that shifts leather tone.
5. Keep a reference set
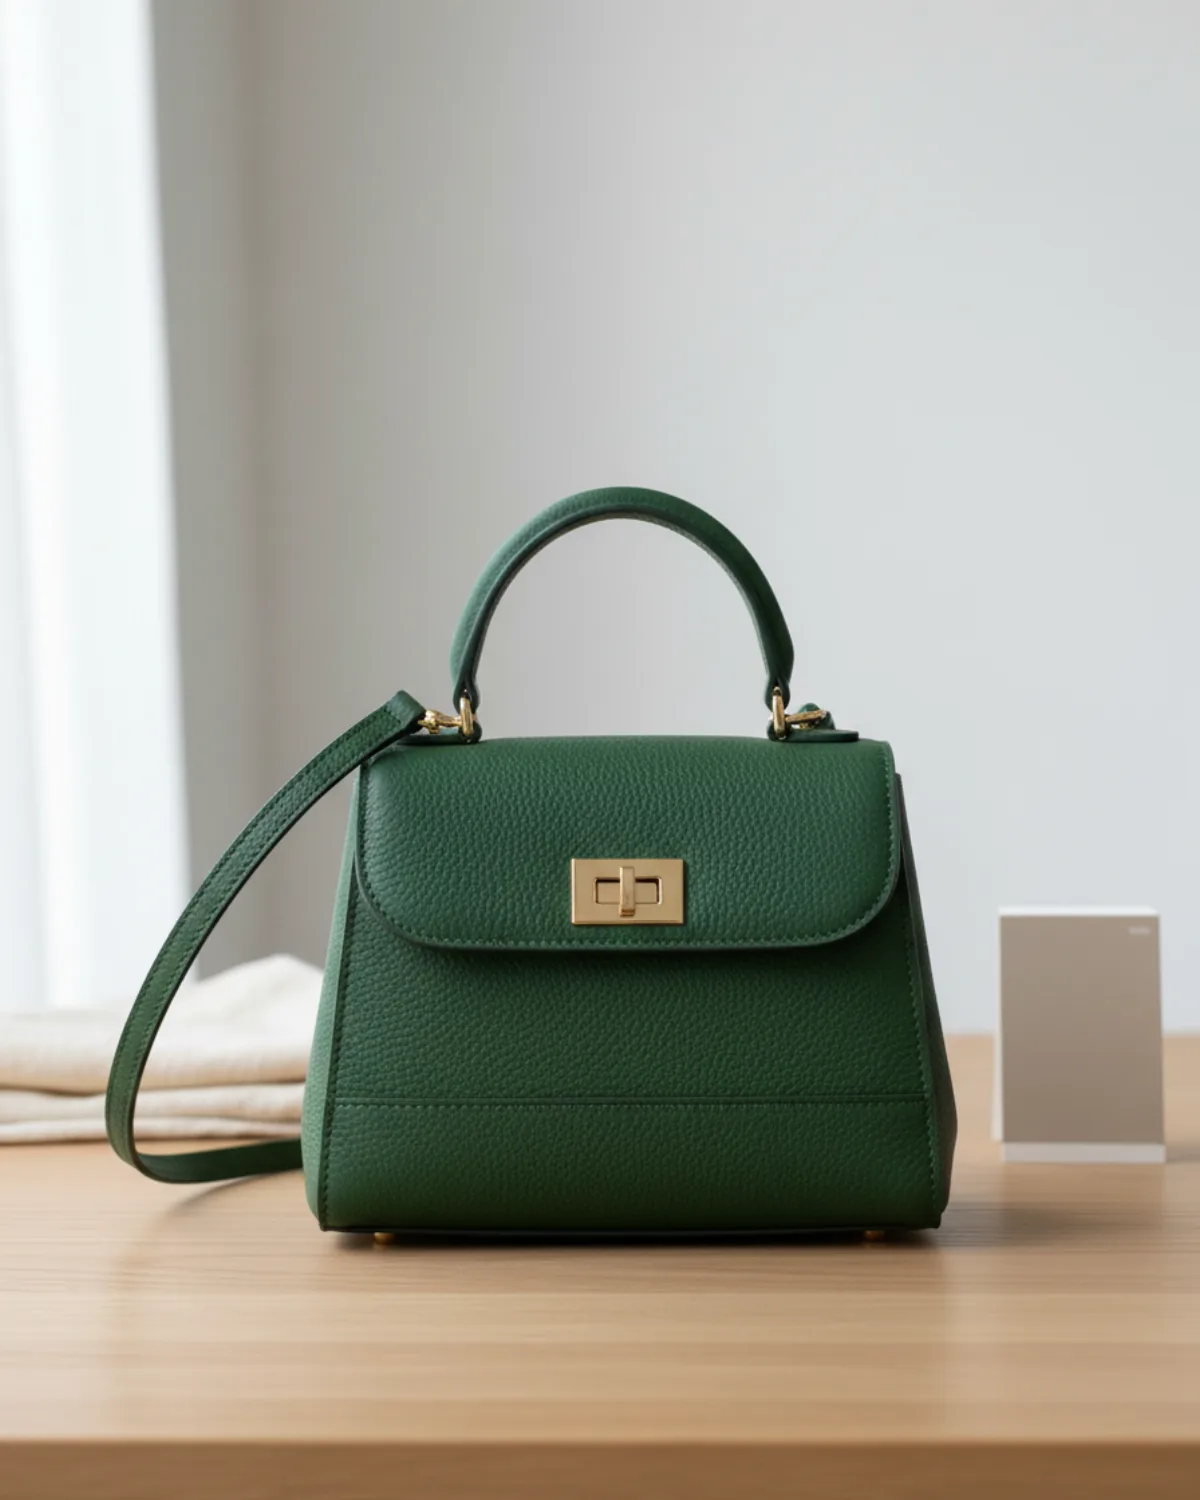
Photograph front, back, side, base, interior and hardware close-ups even if the main upload is one clean three-quarter view.
One source, two carry stories
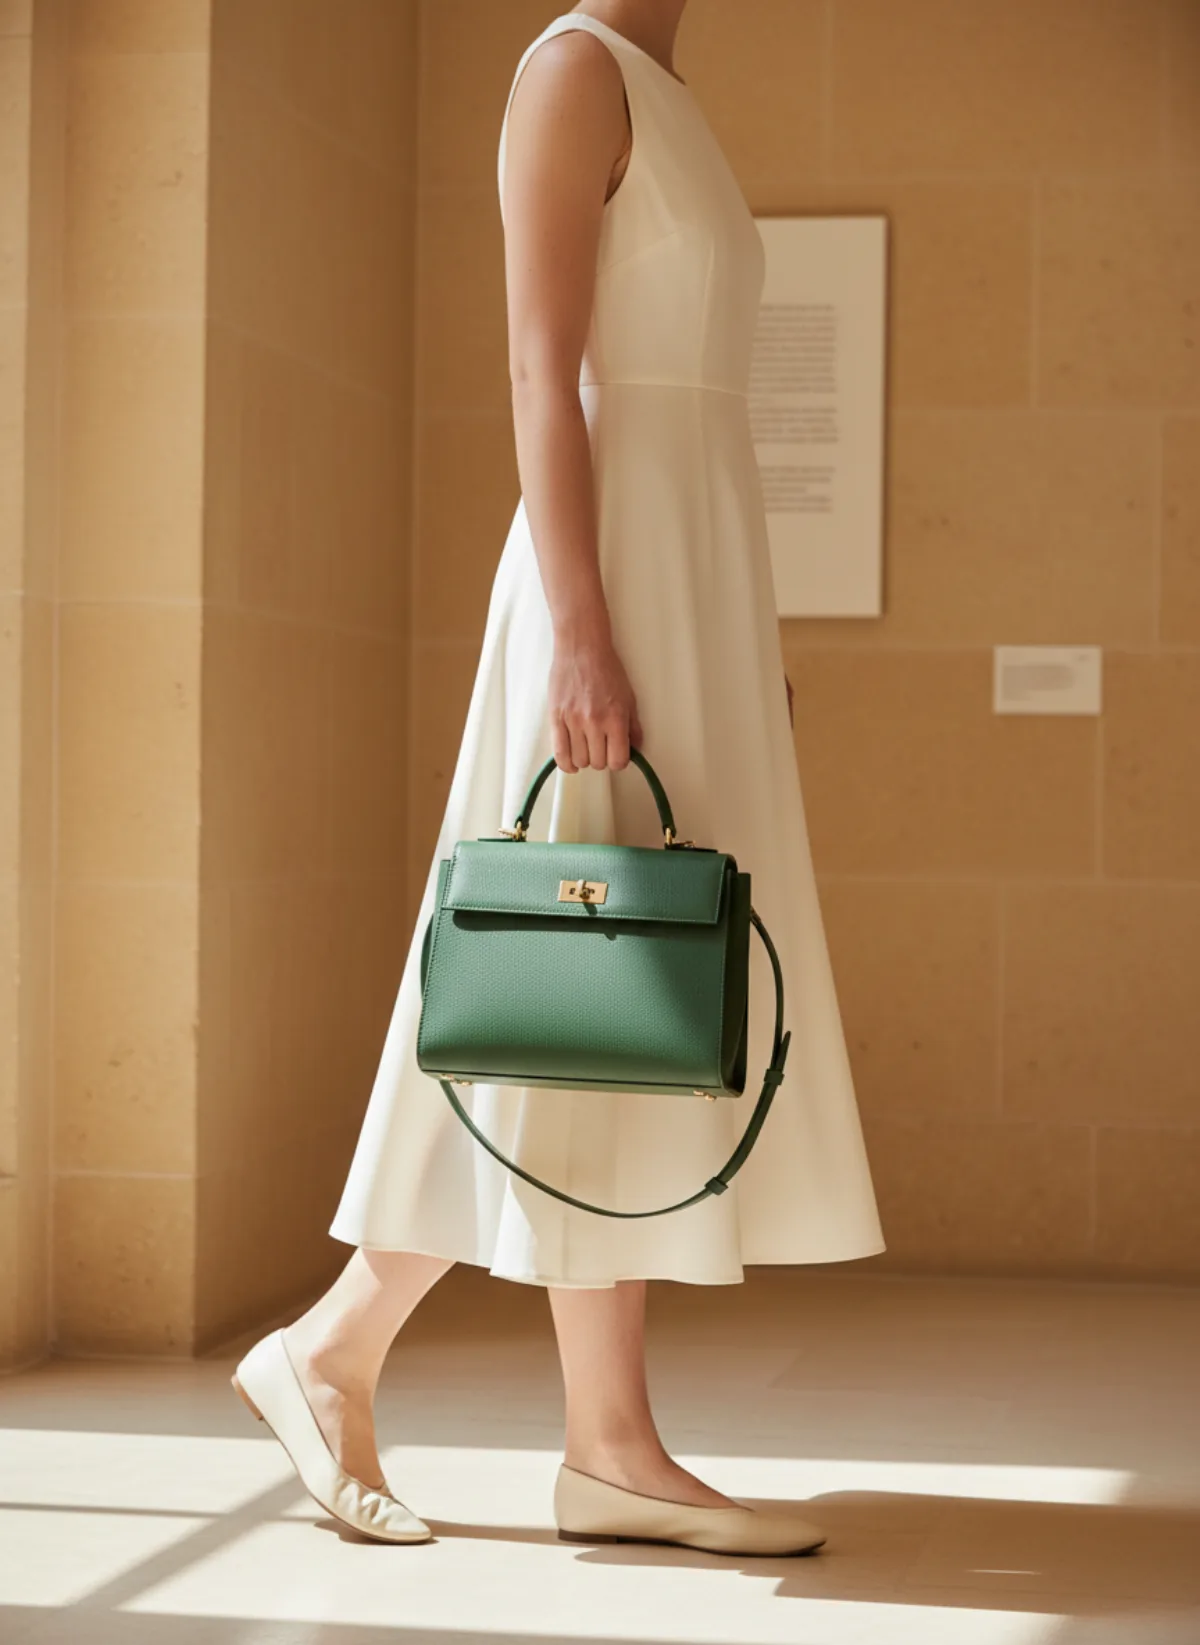
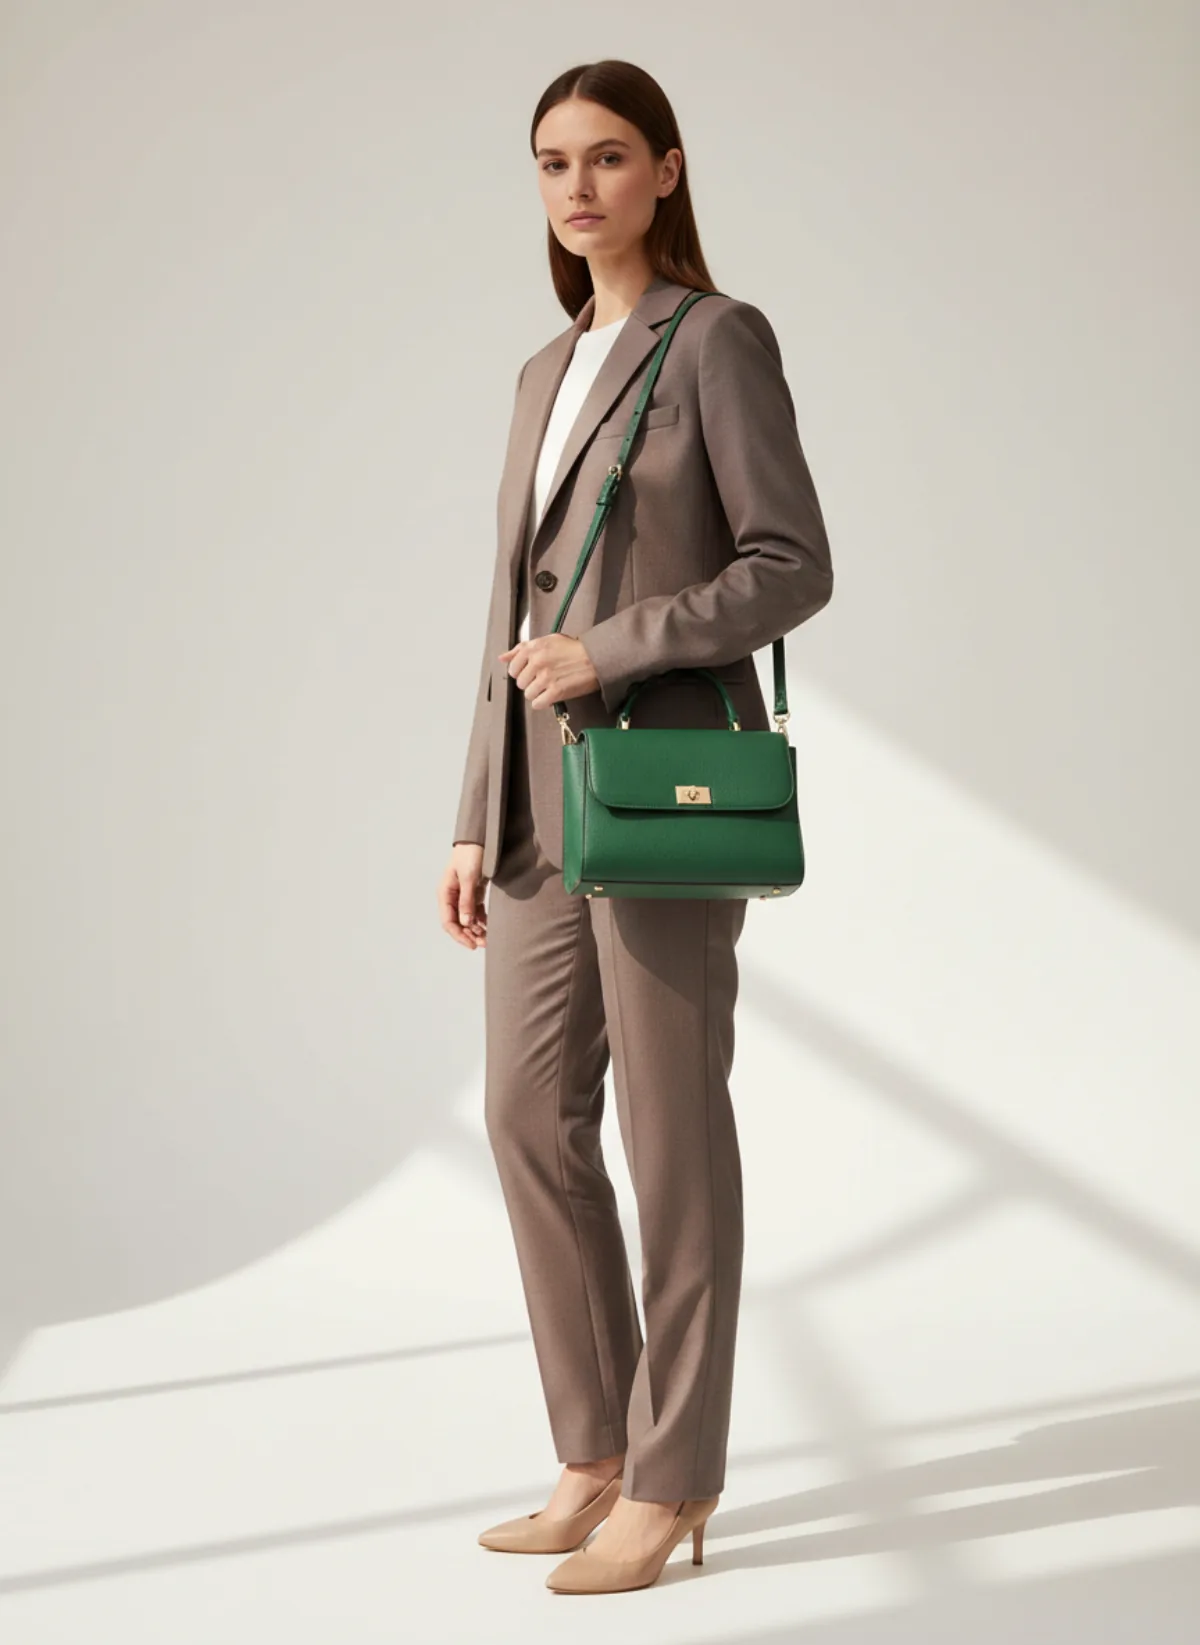
The structured green bag keeps the same core design while each carried frame answers a different shopper question.
Top handle and shoulder carry
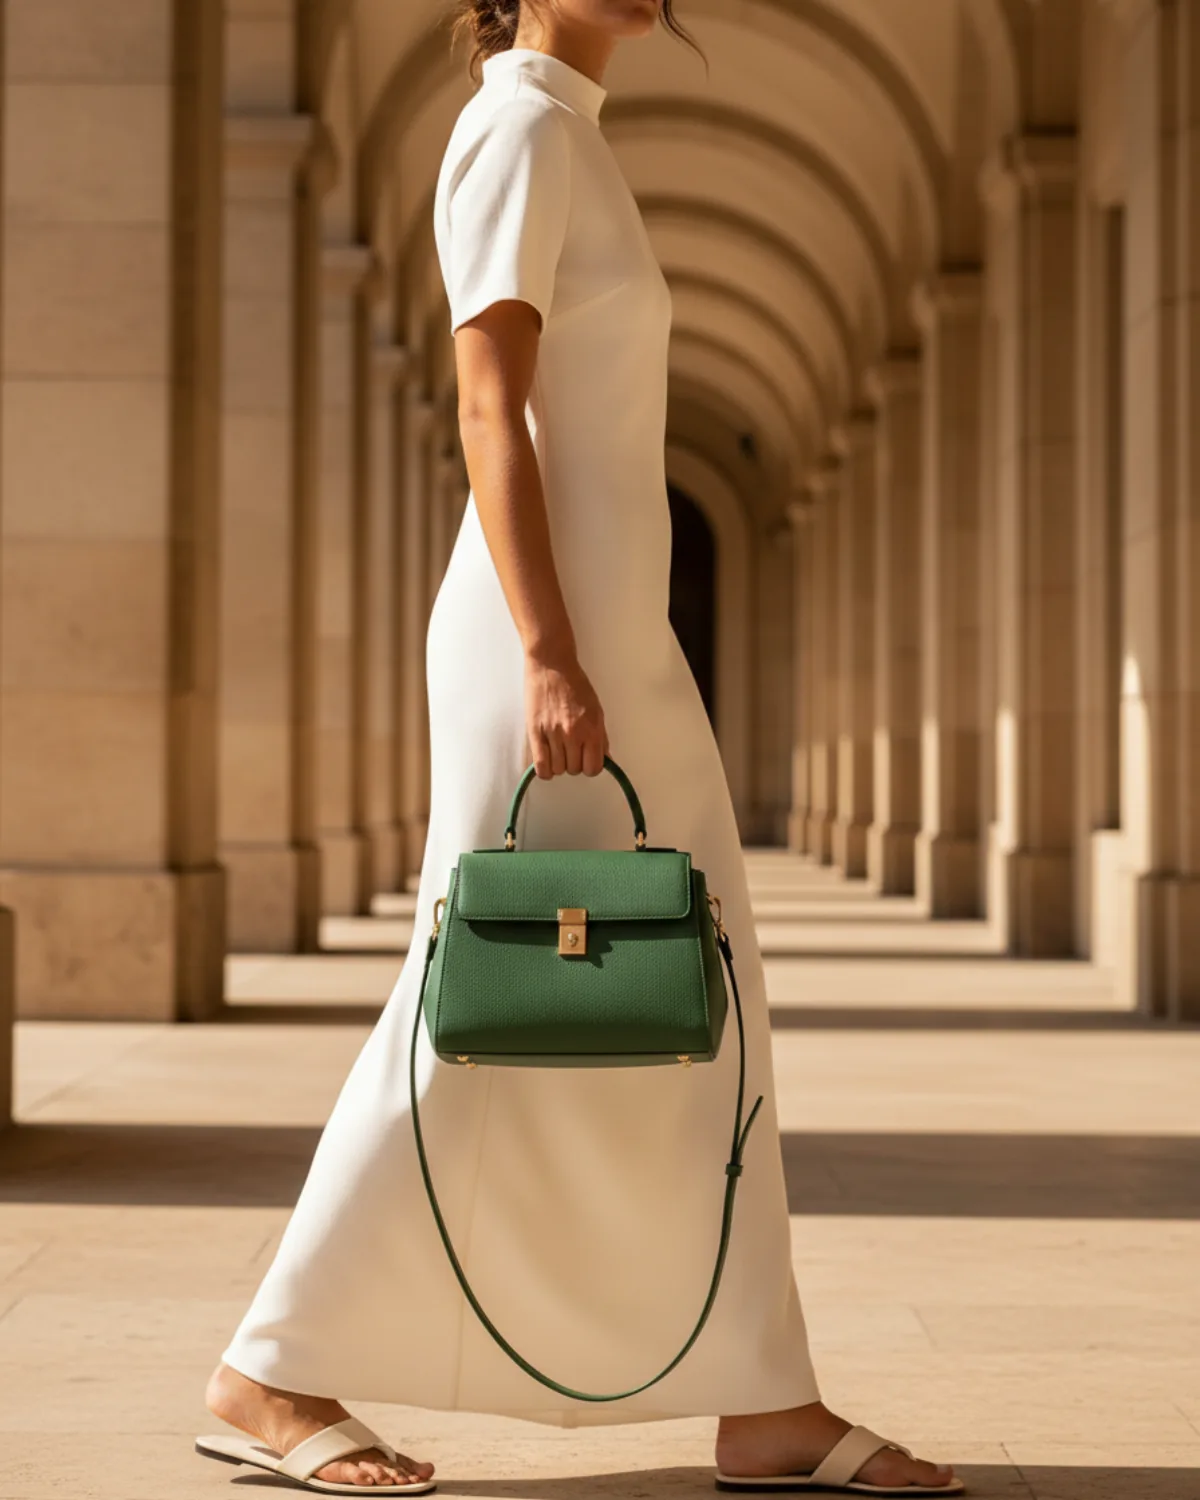
The source frame establishes the green pebbled leather, flap, short handle, detachable strap and gold closure. The hand-held frame shows the body beside the thigh and leaves the long strap visible. The shoulder frame explains where the bag lands at the high hip and whether the handle remains upright.
 Your photo
Give each carry style one clear job
A hand-held view should reveal body scale and top-handle clearance. Ask for the arm to hang naturally, the product to face three quarters toward camera and the full detachable strap to remain visible. Avoid a swinging action pose for the first image because motion can hide the closure and distort scale.
A shoulder view should show the strap from attachment to shoulder and the endpoint against the torso. Name high hip, mid hip or low hip in the brief. For crossbody, specify which shoulder the strap starts on and where the bag ends. This reduces ambiguity and gives you a concrete result to inspect.
Do not ask one frame to explain every configuration. Make a compact set: top handle, shoulder and crossbody only when the real product supports all three. A clutch needs hand position; a tote needs shoulder opening and depth; a backpack needs both straps and its relationship to the back.
Write a physical brief, not a mood board
A useful brief names subject count, framing, carry point, product orientation and obstructions. For example: “One adult model, full body, simple cream dress, carrying exactly one forest-green bag by the short top handle beside the thigh; front closure visible; detachable strap clipped on and behind the bag.”
Then add a restrained environment that supports the product: warm stone arcade, clean studio or quiet street. Avoid stacking vague style words. “Luxury, cinematic, viral, dramatic” does not tell the system where the strap must sit. Physical instructions improve both generation and review.
The broader AI product photography with models and AI model photoshoot tools are useful for planning people-led campaigns. Bags currently use free shoot, with no dedicated model, scene or pose picker, so allow room for variation and curate carefully.
Audit silhouette, hardware, physics and scale
First compare silhouette: width-to-height ratio, corner radius, flap depth, gusset and base. Next count hardware: rings, clips, studs, feet and closure parts. Check seam direction, pocket placement, logo area, edge paint and colour. One extra ring means the result is not the same SKU.
Then inspect physics. Fingers wrap around a real handle rather than passing through it. The strap joins actual anchors, follows gravity and does not merge into clothing. The bag should not float, bend like fabric when it is structured or sink into the model's hip.
Finally check apparent scale against the documented measurements. You are looking for a plausible interpretation, not identical fit on every body. If the image strongly implies a mini bag while the product is a 40 cm work bag, regenerate. Keep at least one real product photo beside every generated carried view.
A six-point publishing checklist
Dimensions are visible in copy
Width, height, depth, weight, handle drop and strap range are written clearly.
Silhouette is faithful
Body ratio, corners, base, flap and gussets match the source.
Hardware count matches
Rings, clips, feet and closure appear in their real positions.
Carry path is readable
Hand, shoulder and strap connections are unobstructed and physically plausible.
Capacity is proven separately
Fit claims come from real tests or interior measurements, not apparent AI scale.
Originals remain
Real front, side, interior and detail views stay in the gallery.
Bag on model AI questions
Can bag on model AI show exact size?
It can make proportion intuitive but cannot guarantee exact scale on every body. Publish real width, height, depth and drop measurements.
How should I ask for a shoulder view?
Name one shoulder, the intended high-, mid- or low-hip endpoint, a visible strap path and an arm position that does not cover the bag.
Can I choose a specific model and bag pose?
Bags currently use Garmo's free-shoot flow, not a dedicated bag model or pose picker. Guide the scene in the optional brief and generate alternatives.
Does a generated image prove laptop capacity?
No. Test the actual device in the actual bag or publish verified interior dimensions. Apparent scale is not capacity evidence.
What real photos should stay in the listing?
Keep at least a clean front or three-quarter view plus side, interior, hardware and condition details. Generated carried views should supplement them.