Before you shoot: stuff, clean and set the straps
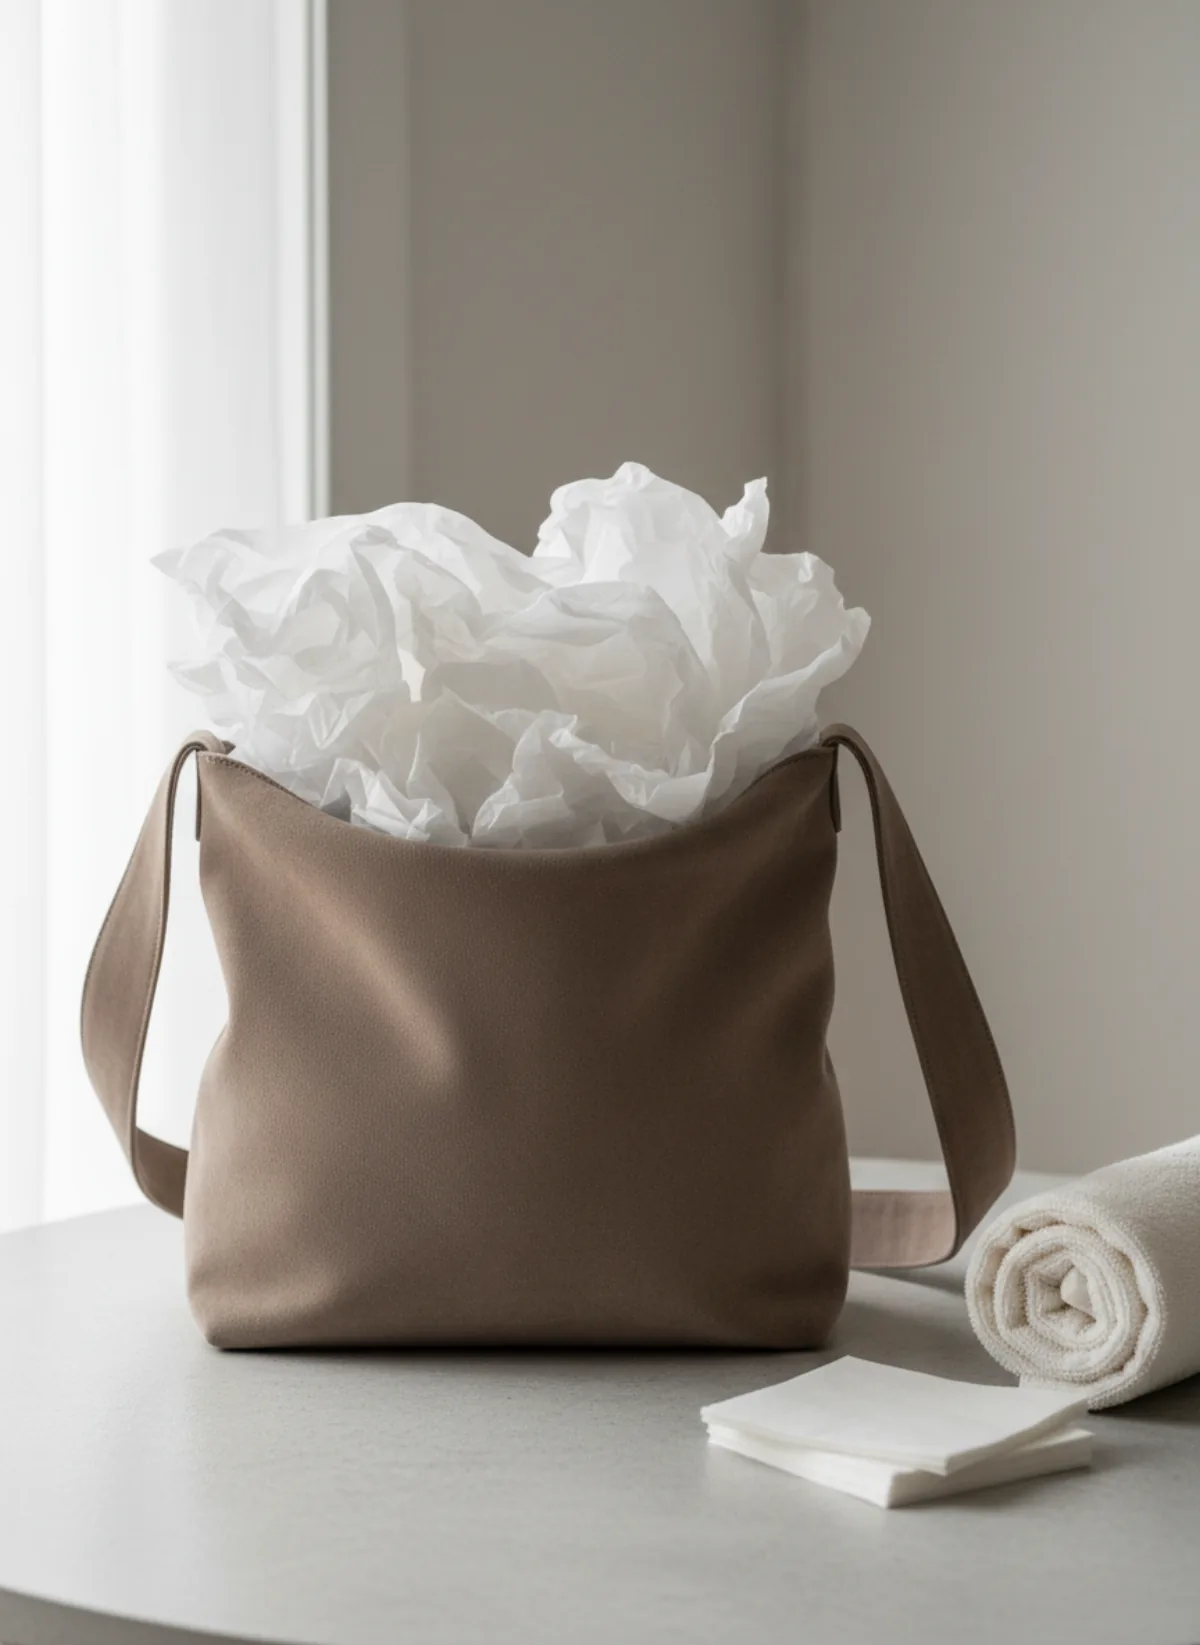
The first step in how to photograph handbags for sale happens before the camera comes out. A bag photographed empty looks cheap: the sides cave in, the front wrinkles and the handles flop. Fill it with crumpled acid-free tissue paper or a rolled towel until the body is full and smooth, but stop at the opening so nothing shows above it. Bubble wrap works too, but it can press a pattern into soft leather. Do not use newspaper; ink transfers to light linings.
Then clean it the way a buyer would want to receive it. Wipe leather with a dry microfibre cloth, brush suede gently in one direction, peel the protective film off hardware if you are not selling it as new, and empty every pocket. Set the handles upright and the shoulder strap in a clean curve behind the bag, or clip it on exactly as it will be shipped.
Decide now which straps and extras are included: dust bag, detachable strap, pouch, receipt or authenticity card. Each one gets photographed, and anything not in a photo should not be promised in the description.
Setup: background, light and camera height
A bag needs a plain background that curves from the wall onto the table, so there is no line behind it. A sheet of white or light grey paper taped to the wall and pulled forward is enough; our guide to product photography backgrounds compares the options. Dark bags read better on light grey, very pale bags on a slightly darker tone so the edges do not disappear.
Light it from a window to one side, without direct sun, with a white board opposite. Leather shows texture in side light and suede shows its nap; patent leather and metallic finishes reflect, so move the board until the shine runs along the edges instead of sitting as a white patch on the front. Turn off the ceiling light: mixed light changes the colour of tan and cognac leather more than almost anything else.
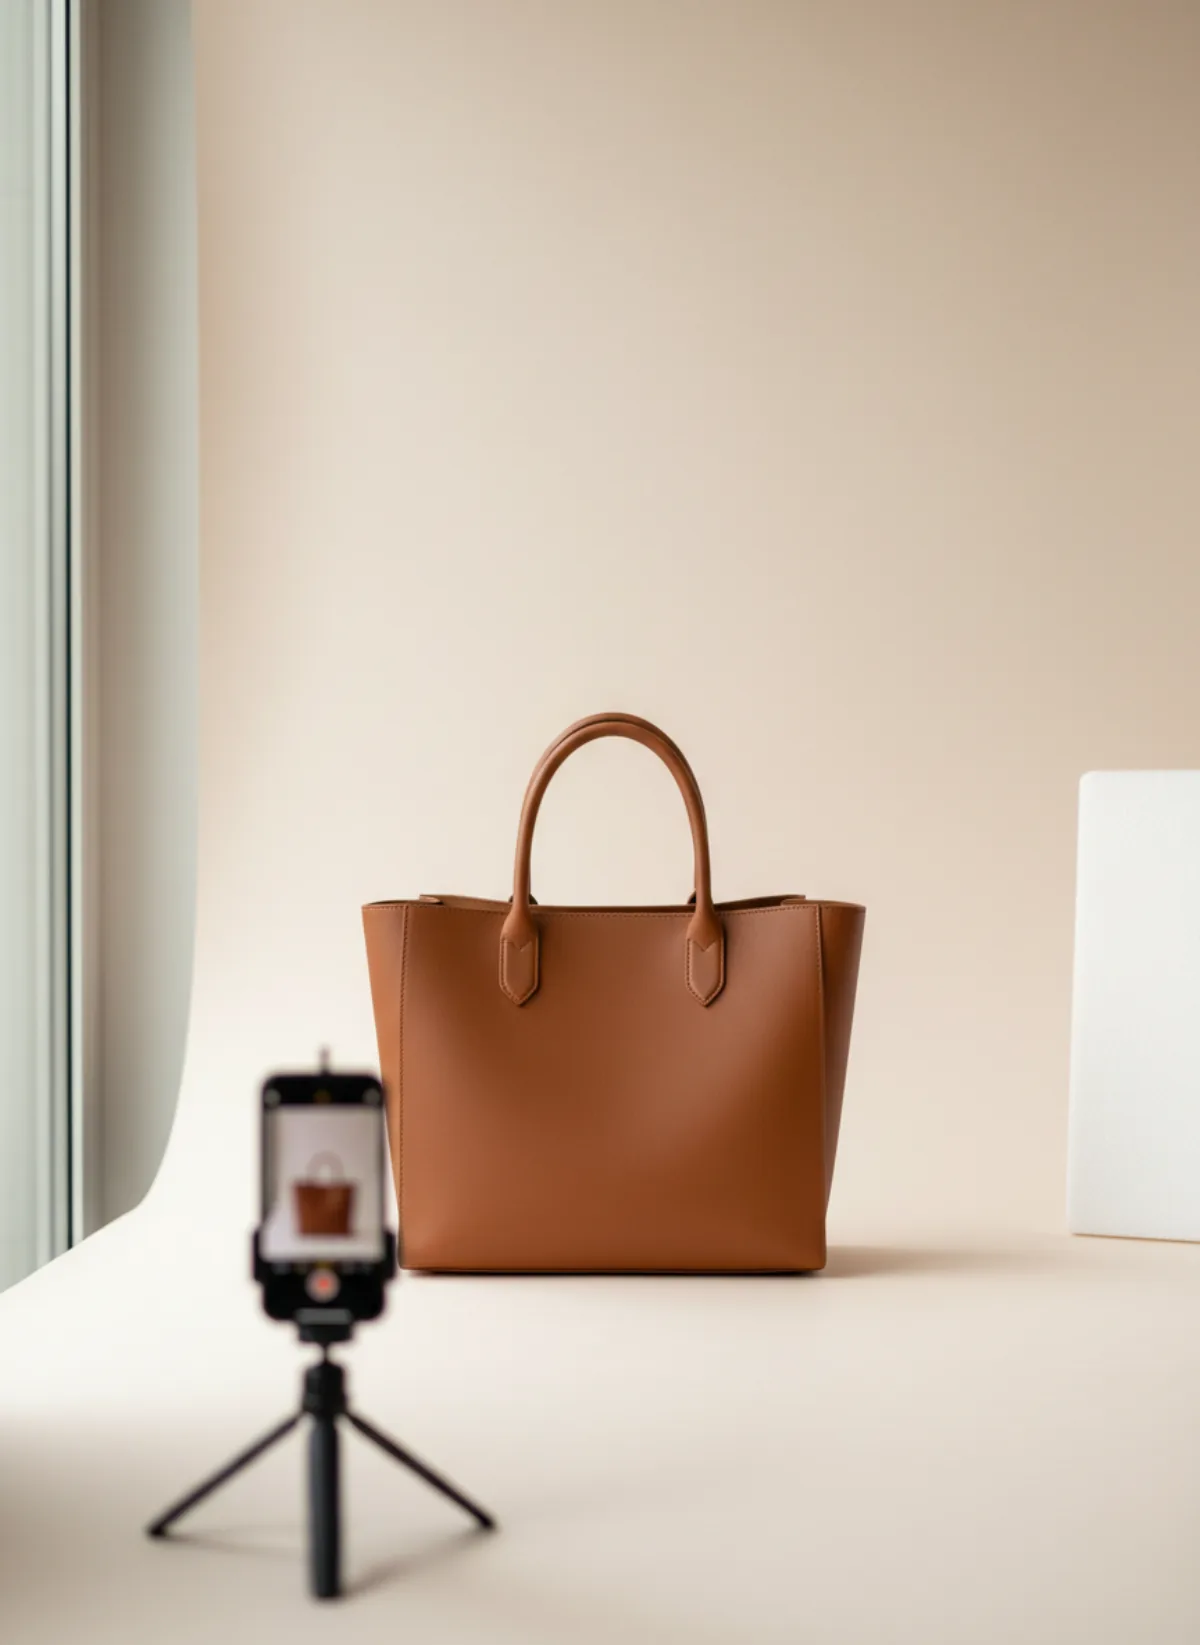
Camera height is the mistake most sellers make when they work out how to photograph handbags for sale. Shot from above, a bag looks short and its base looks huge. Put the phone on a small tripod at the height of the middle of the bag, step back and use the 2x lens, so the sides stay straight and the proportions match what the buyer will receive.
How to photograph handbags for sale: 9 must-have shots
Take them in the same order for every bag. The first is your main photo; the rest answer the questions buyers would otherwise message you about.
1. Front
Straight on, the whole bag with handles and space on every side. This is the search photo.
2. Back
Back pockets, any slip pocket and the condition of the flattest panel, which shows scratches first.
3. Side
The gusset, so the buyer sees the depth and how the strap attaches.
4. Three-quarter
Front and side together at about 45 degrees: the photo that best shows the shape.
5. Top and closure
From above with the zip, clasp or magnetic snap closed, then open.
6. Interior
Lining, inner pockets and any tag, with the bag held open and lit from the window side.
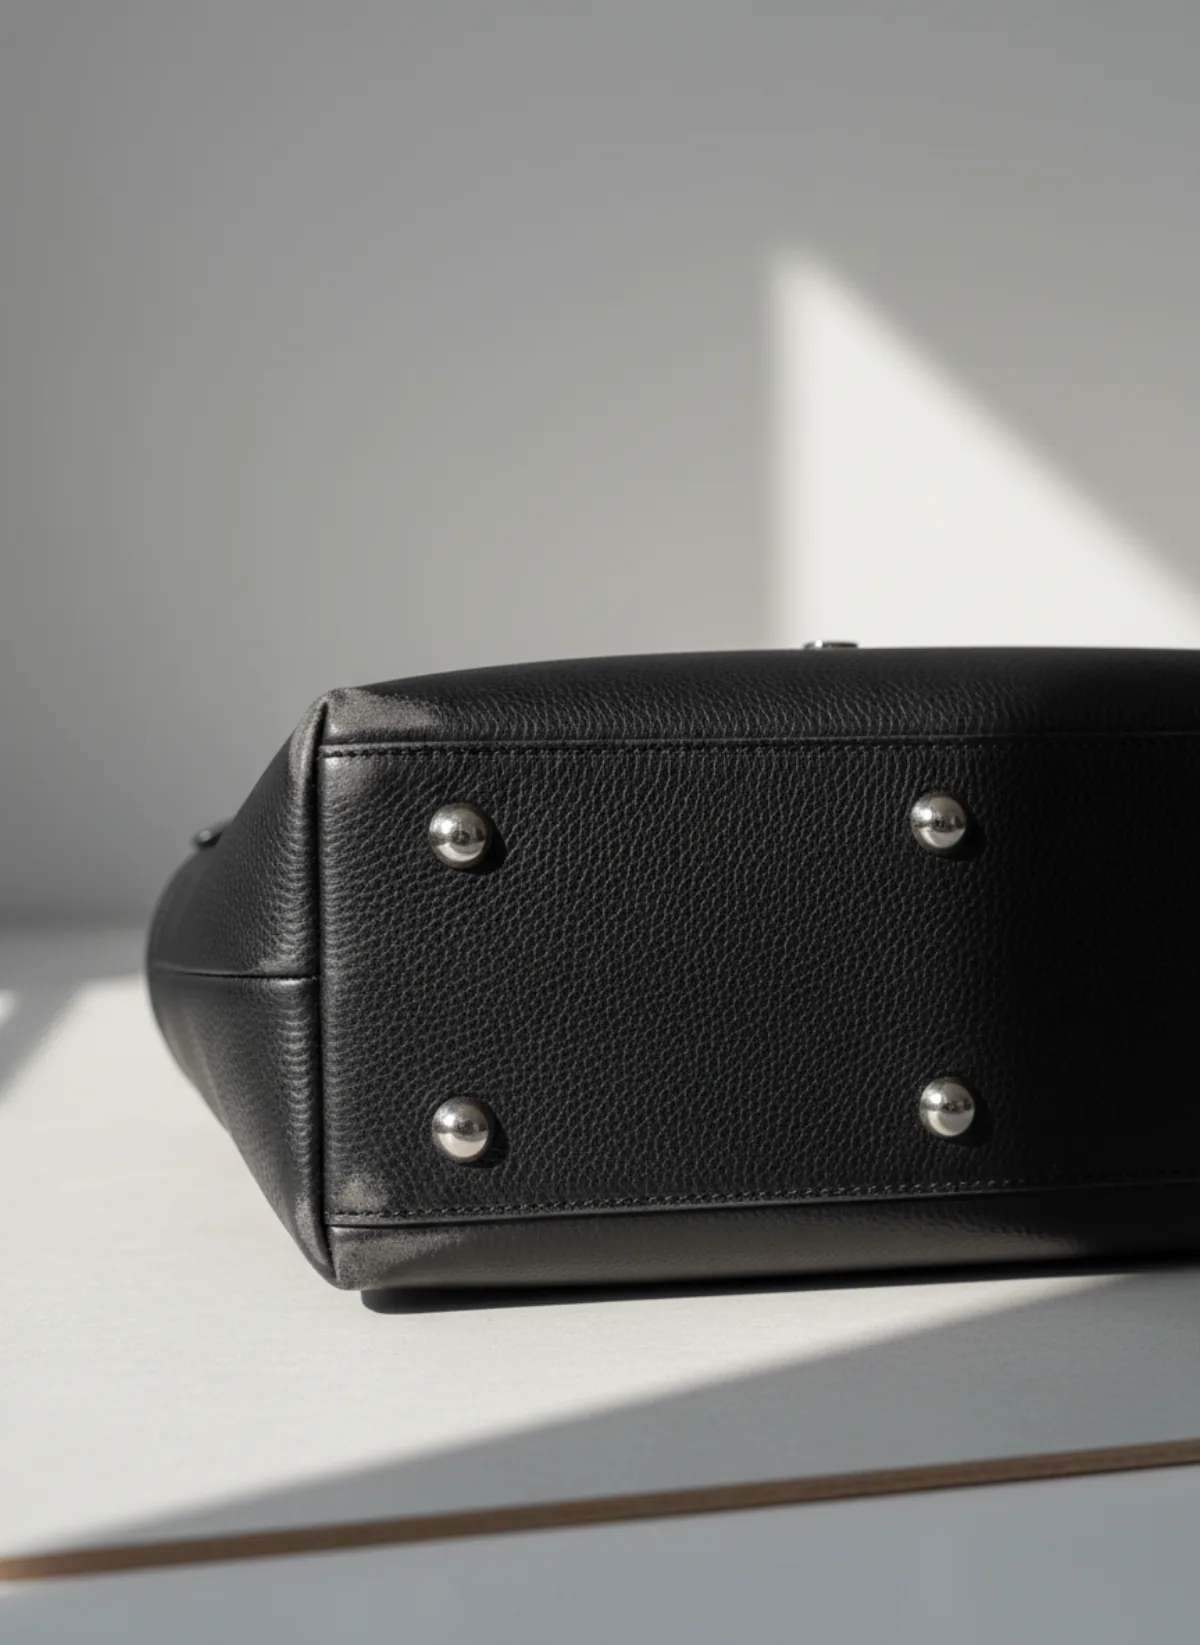
7. Base
The bottom and the feet, where wear shows first on any used bag.
8. Hardware and stamp
Close-ups of buckles, rings, zip pulls and the heat stamp or interior label.
9. Wear
Corners, handle edges and any mark, scratch or stain, each in its own sharp close-up.
Condition photos: corners, handles, lining and hardware
On a used bag, the condition photos sell as much as the front. Buyers check four places: the corners, which rub through first; the handle edges, where the edge paint cracks; the lining, which stains; and the hardware, which scratches and tarnishes. Photograph each one close and sharp in side light, even when it is in good shape, so the buyer can see that for themselves.
Show flaws honestly and name them in the description: "light scuffing on one bottom corner", "pen mark inside the main pocket". A close-up that matches the text builds more trust than a perfect gallery, and it protects you if the buyer opens a dispute later. Do not edit marks away or lift the colour of faded leather.
For designer bags, add straight, readable close-ups of the heat stamp, the interior label and any serial or date code, and of the stitching on the handles. These are the details buyers and authentication services look at, so a blurry or angled shot raises questions.
How to photograph purses for eBay
eBay's own help pages set the limits: at least one photo of 500 pixels on the longest side, up to 24 photos per listing, each up to 12 MB, and no stock photos for used items, borders, added text or watermarks. eBay recommends a neutral, uncluttered backdrop, close-ups of flaws and a ruler or coin for scale. We read the eBay picture policy and adding pictures to listings on 4 November 2026; check them before a big listing session.
With 24 photos available, the nine shots above leave room for extras: each included strap, the dust bag, the open bag with something everyday inside for capacity. Keep the front as the first photo, because it is the image in search results, and shoot square or crop to 1:1 so the bag stays centred in eBay's gallery.
The same rules of thumb work on Poshmark, Depop and Vinted. For the rest of an eBay listing, including measurements and returns, see how to photograph clothes for eBay.
How to photograph tote bags and soft bags
Tote bags and slouchy shoulder bags have no structure of their own, so the stuffing does the work. Fill a canvas tote until the sides are flat and upright, then let the handles fall naturally rather than standing them up stiffly. For a large tote, a folded towel inside a cardboard box the size of the base gives straight lines without bulges.
Soft bags are hard to judge for size, so give the buyer a reference. A laptop, an A4 notebook or a water bottle placed half inside the open tote shows the capacity at a glance; say in the description what fits. Canvas and cotton show creases in side light, so steam the fabric before you shoot.
Printed totes need a straight-on front photo so the print is not distorted, and a close-up that shows the print quality, whether it is screen-printed, embroidered or a transfer.
Show the size: measurements and a carried photo
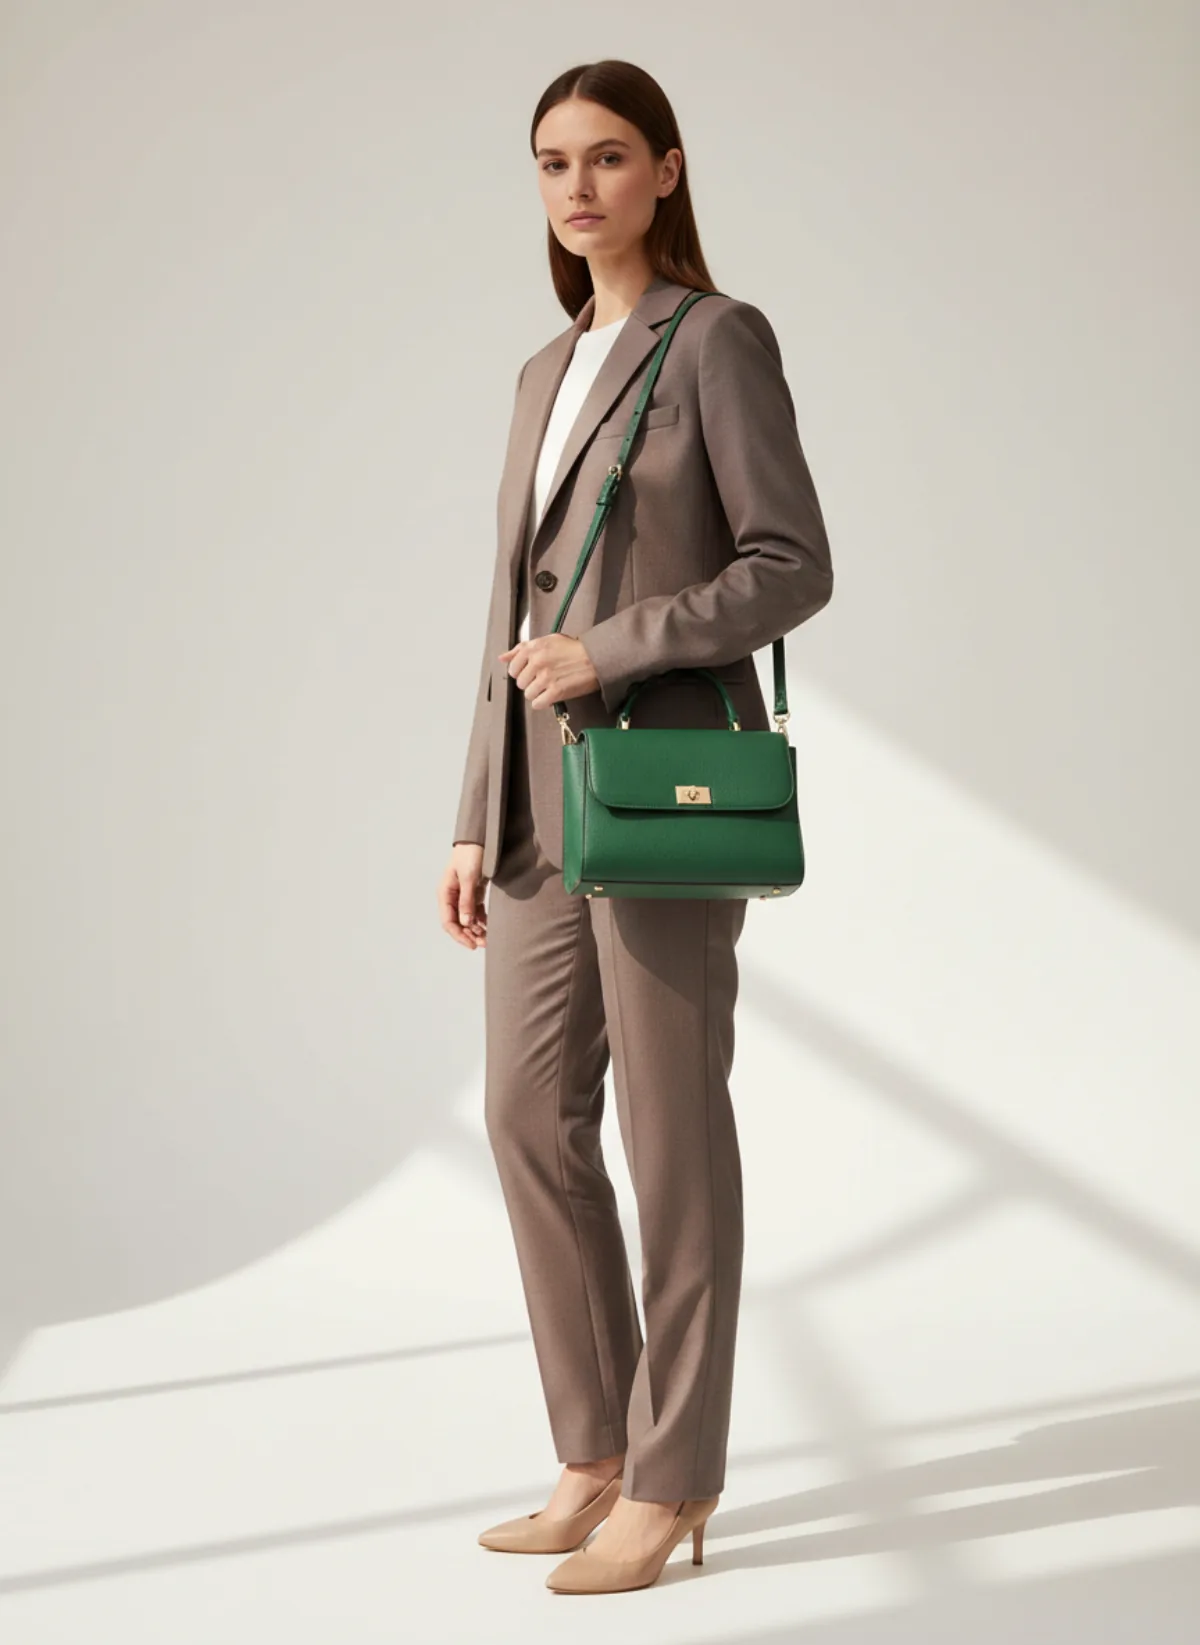
Measurements are the only exact answer: width, height and depth of the body, the handle drop and the shortest and longest strap length, in centimetres and inches. A carried photo answers the question measurements cannot: is this a mini bag or a day bag on a person? Hand, hip and torso give the eye a scale at once, as our article on bag on model AI, size and carry style explains.
If you have no model, you can start from the product photo you just took. On Garmo, bags go through the bag on model AI workflow: upload the photo in the Other category, choose how many images you want and a ratio, and write a short brief such as "full-body model holding the bag by the top handle, bag facing the camera". There is no bag pose menu yet, so name the carry position in the brief and keep only the frames that match the real bag.
Check every carried image at full size: silhouette, hardware count, strap attachments and handle shape. The real front photo stays first in the gallery, and the carried view sits after it as styling context. If you sell clothing too, an AI model photoshoot or putting clothes on an AI model keeps the same studio look across the shop.
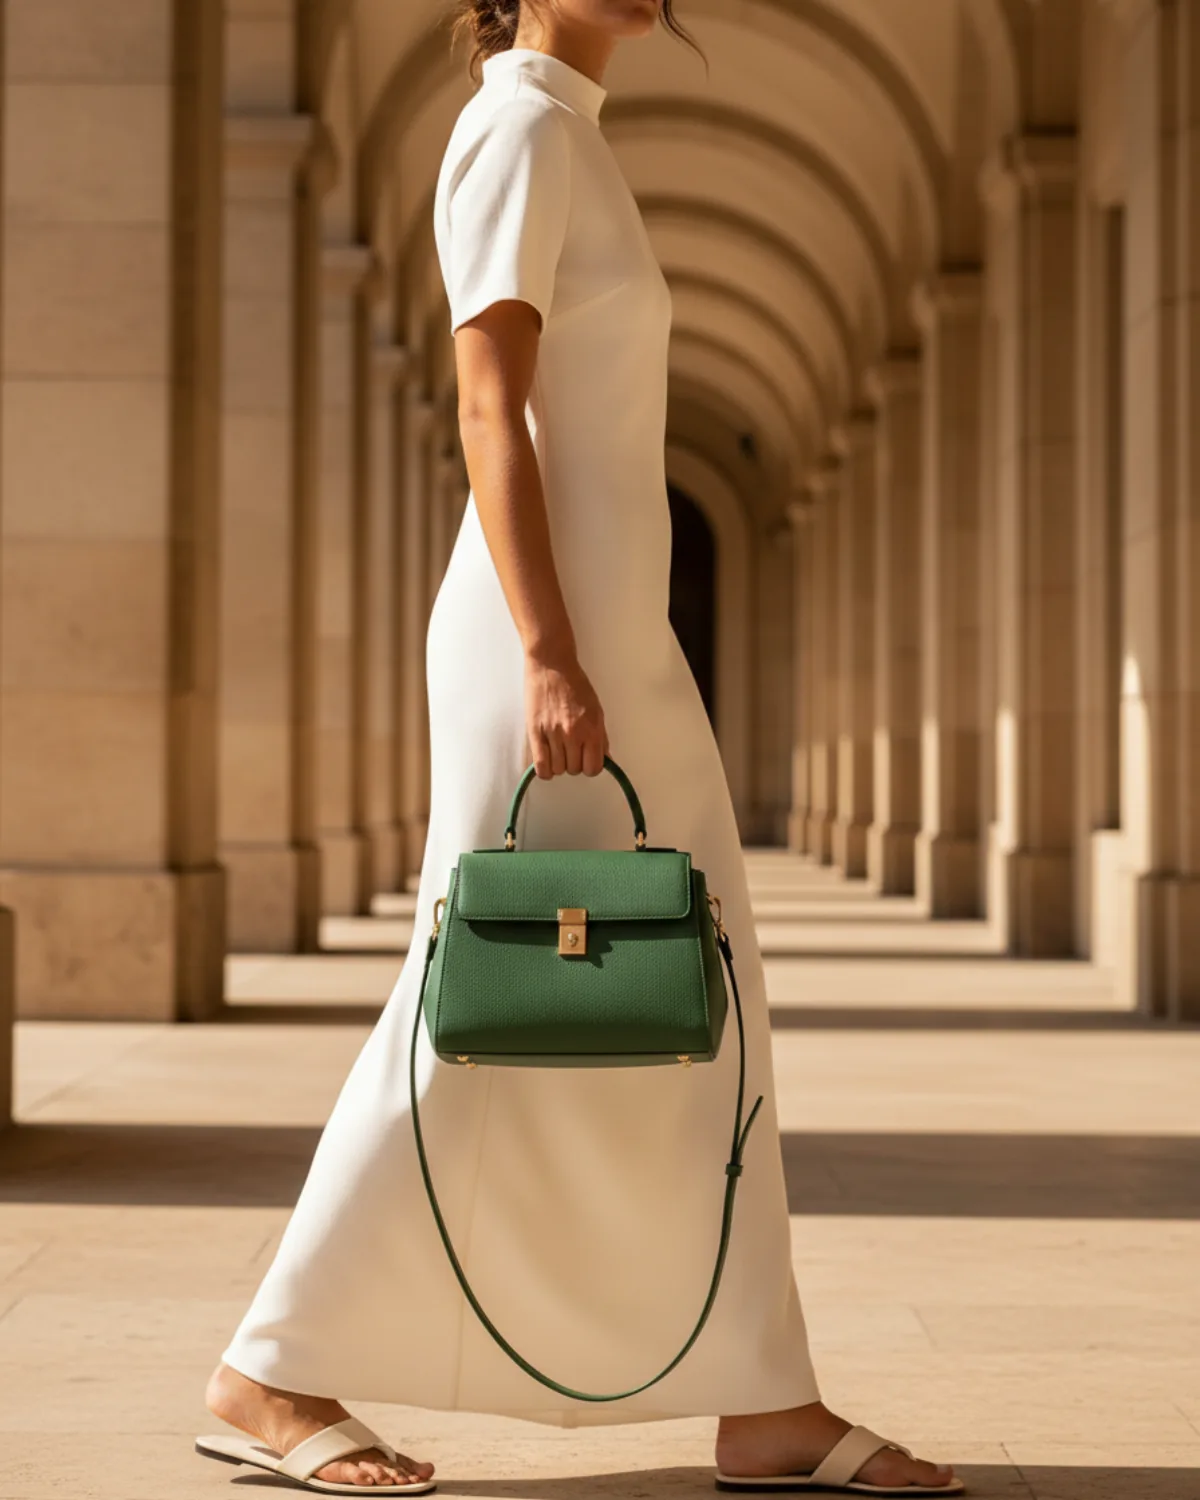
From a handbag photo to a carried view
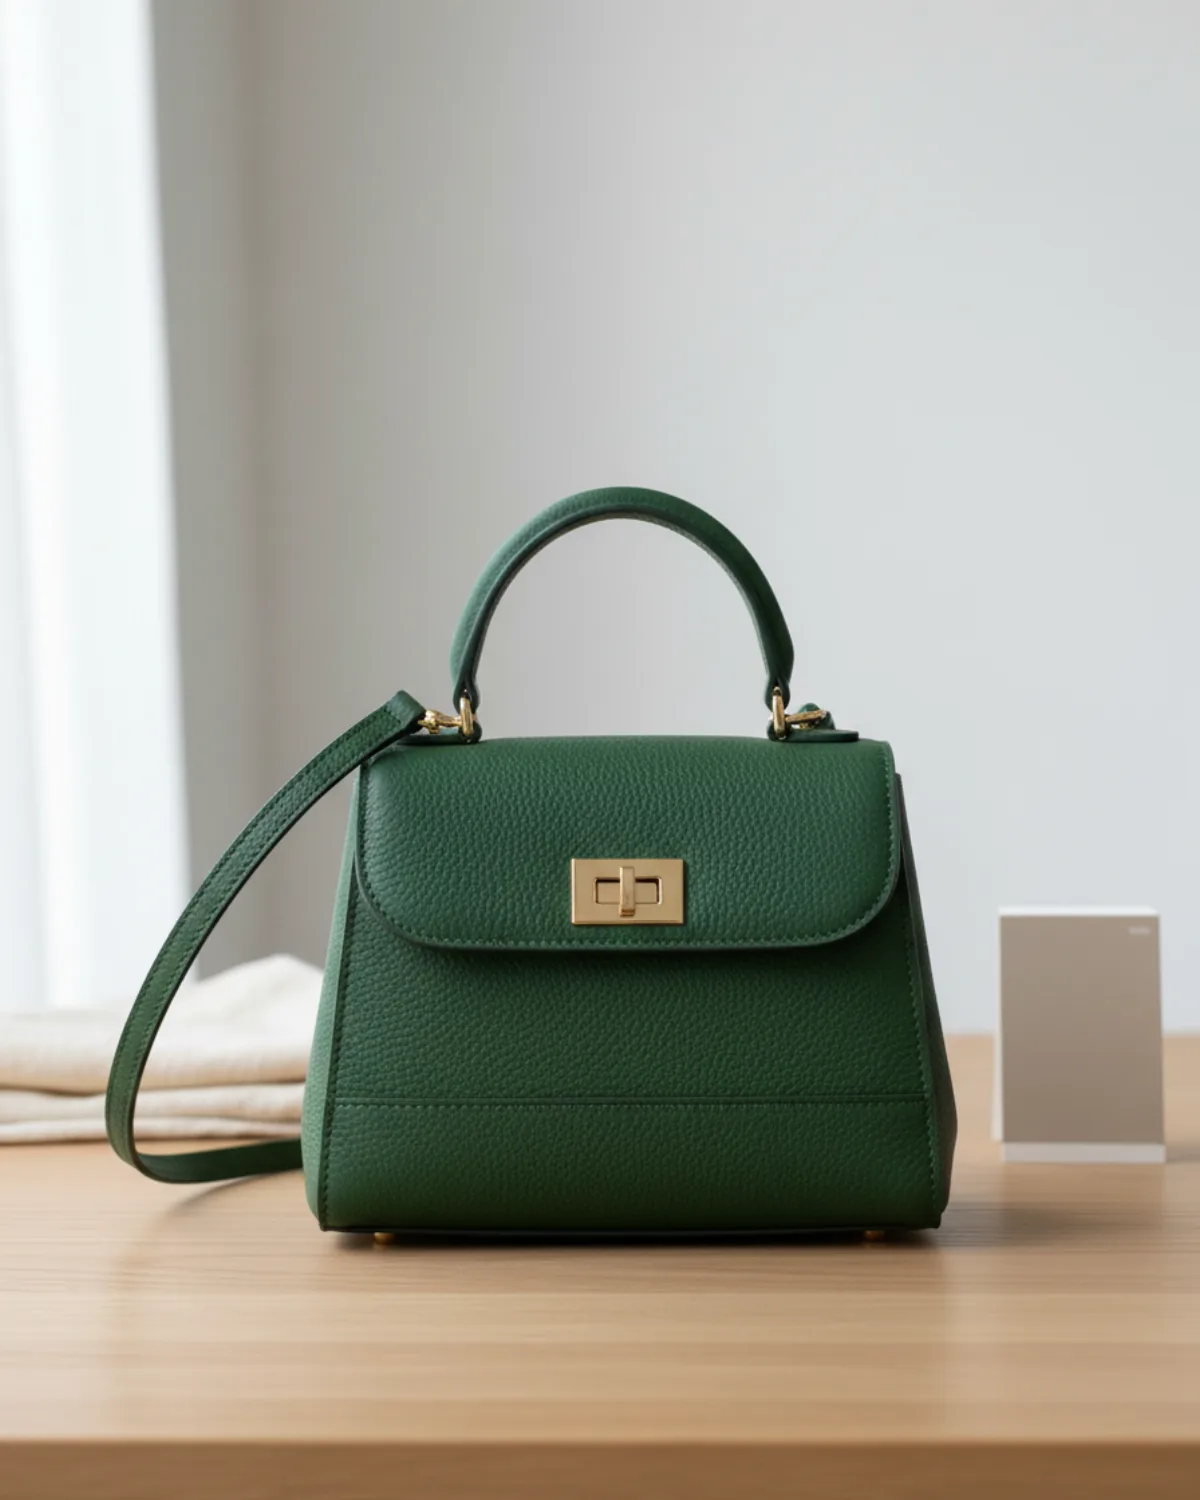
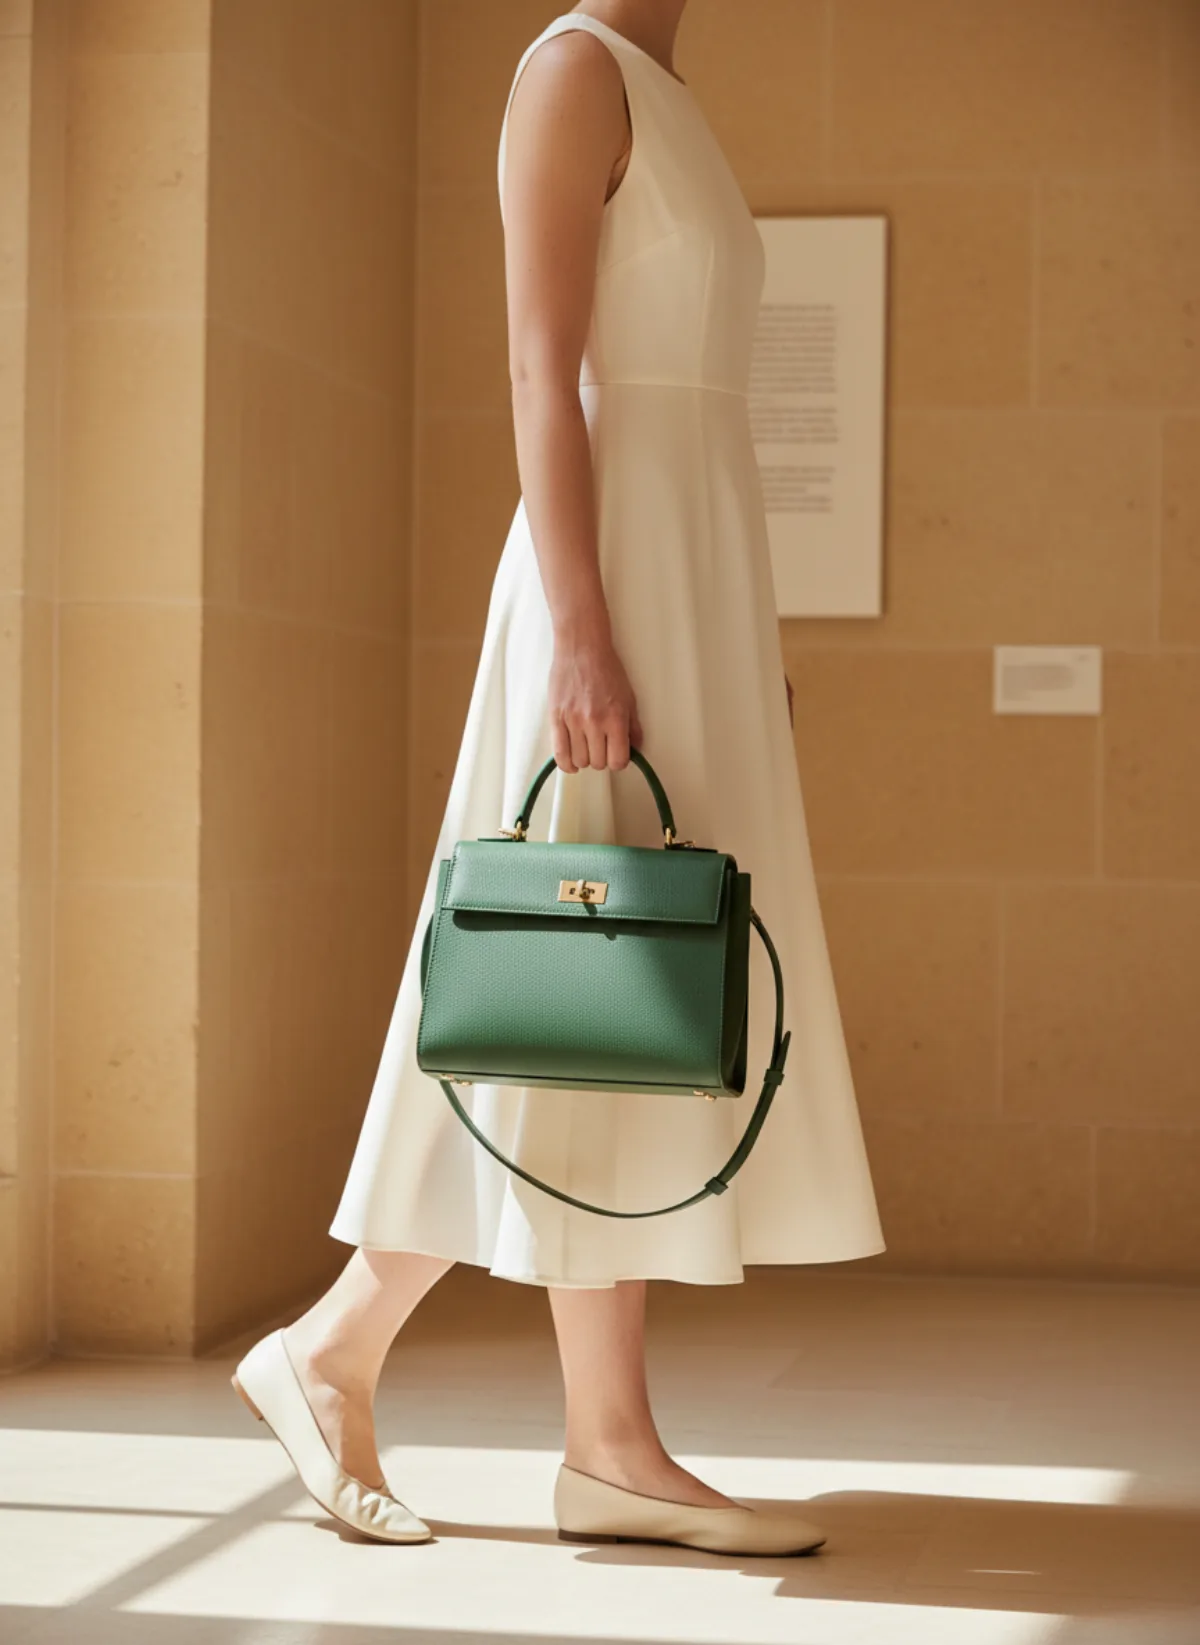
The example from our bag on model AI page: one product photo of the bag, then two carry styles to compare with it.
A structured green top-handle bag
Photographed upright on an oak table in daylight, with the strap laid beside it. The carried views show it by the top handle and on the shoulder at the high hip.
 Your photo
Questions about photographing handbags
What is the best way to photograph handbags?
Fill the bag so it keeps its shape, stand it on a plain light background by a window, and shoot from the height of the middle of the bag with the 2x lens. Then take the front, back, side, three-quarter, top, interior, base, hardware and wear shots.
What do you stuff a bag with for photos?
Crumpled acid-free tissue paper or a rolled towel, filled up to the opening but not above it. Avoid newspaper, which can mark linings, and press bubble wrap gently so it does not imprint soft leather.
How many photos should a purse listing on eBay have?
eBay allows up to 24. Use at least the nine core shots, plus each strap and extra included, and close-ups of every flaw. Keep the straight front photo first, because it appears in search results.
How do you photograph a tote bag?
Fill it until the sides stand flat, let the handles fall naturally and shoot straight on for the print. Add a photo with a laptop or notebook half inside to show capacity, and steam canvas before you shoot.
Can AI show my handbag on a model?
Yes. Upload a clear photo to Garmo's bag on model AI workflow and describe the carry position in the brief. Check the shape, hardware and straps at full size, and keep your real photos and measurements in the listing.