From hanger to model
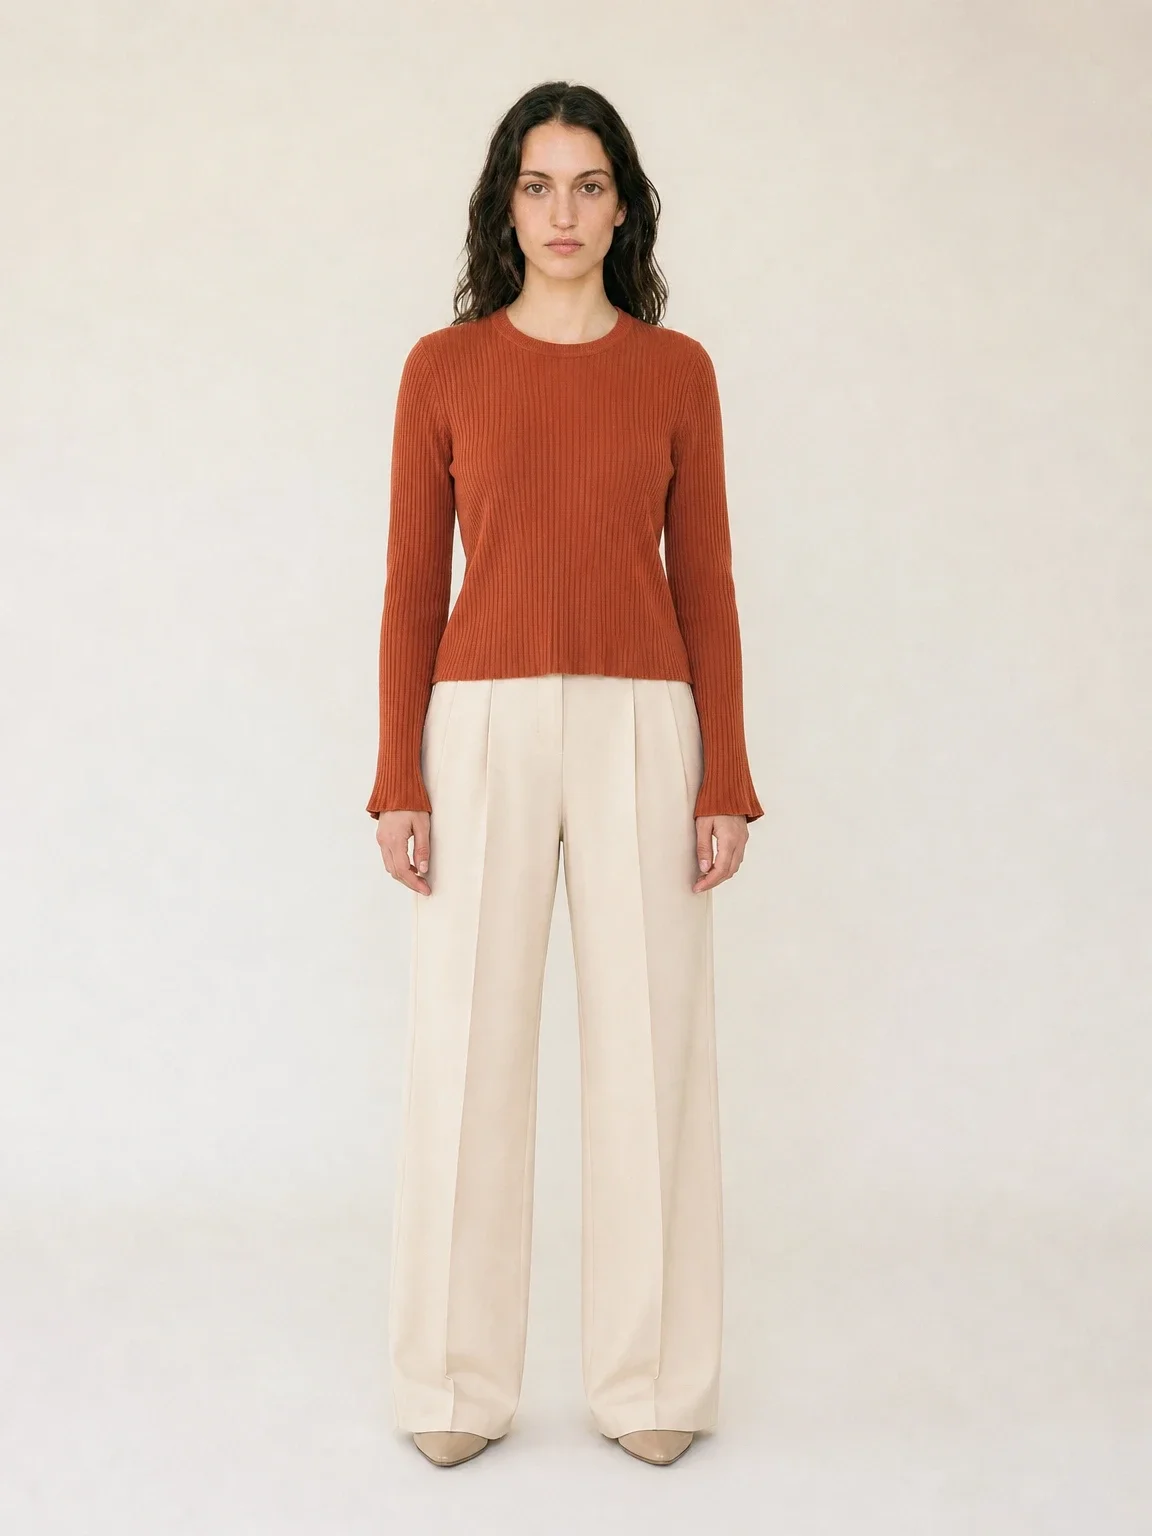
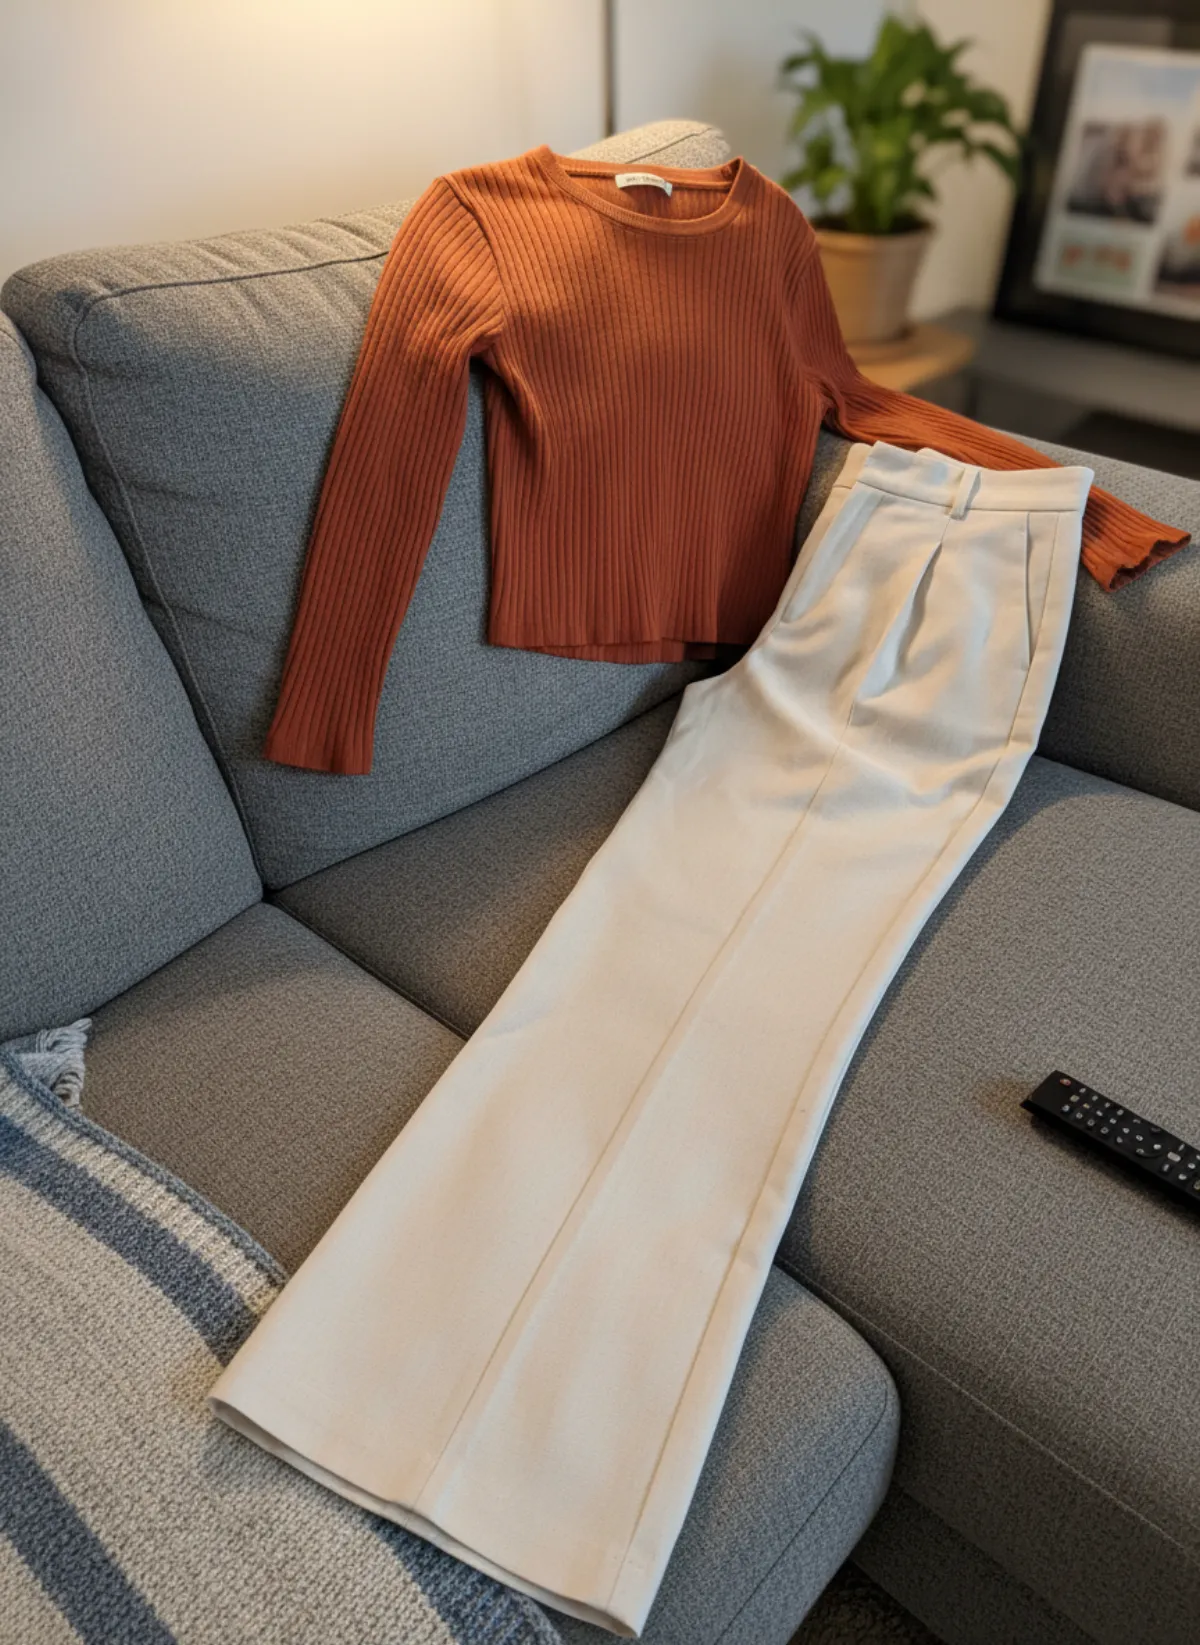
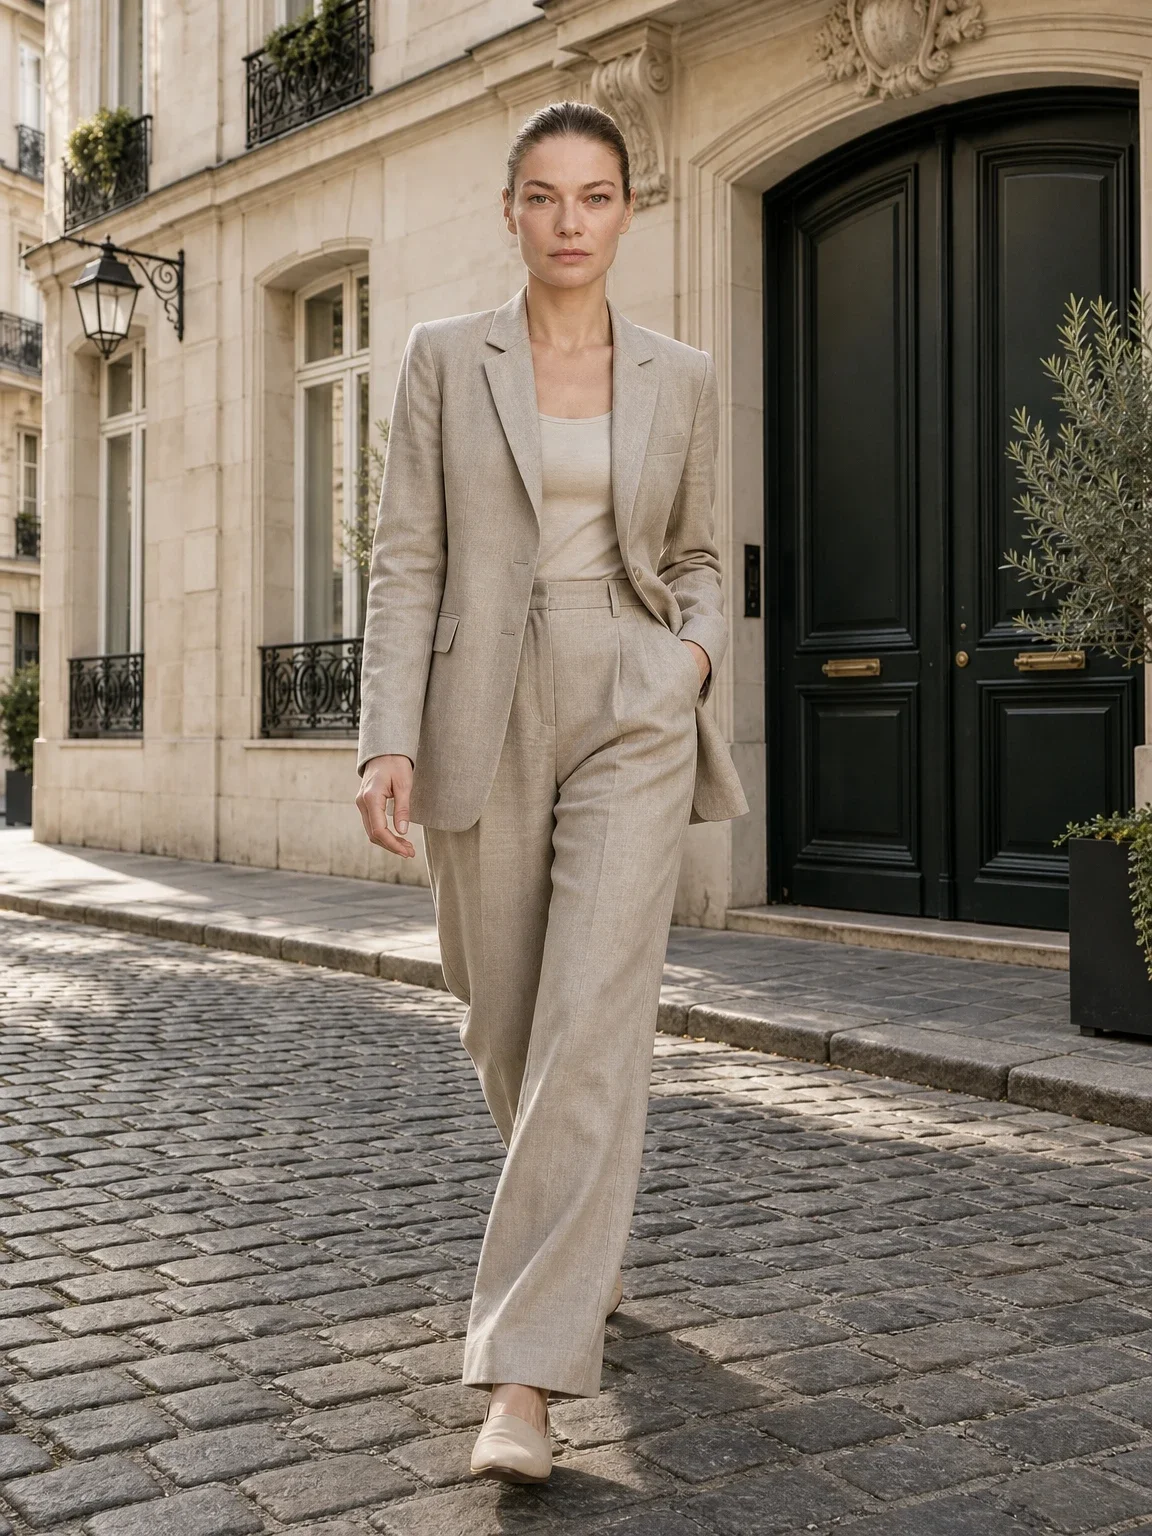
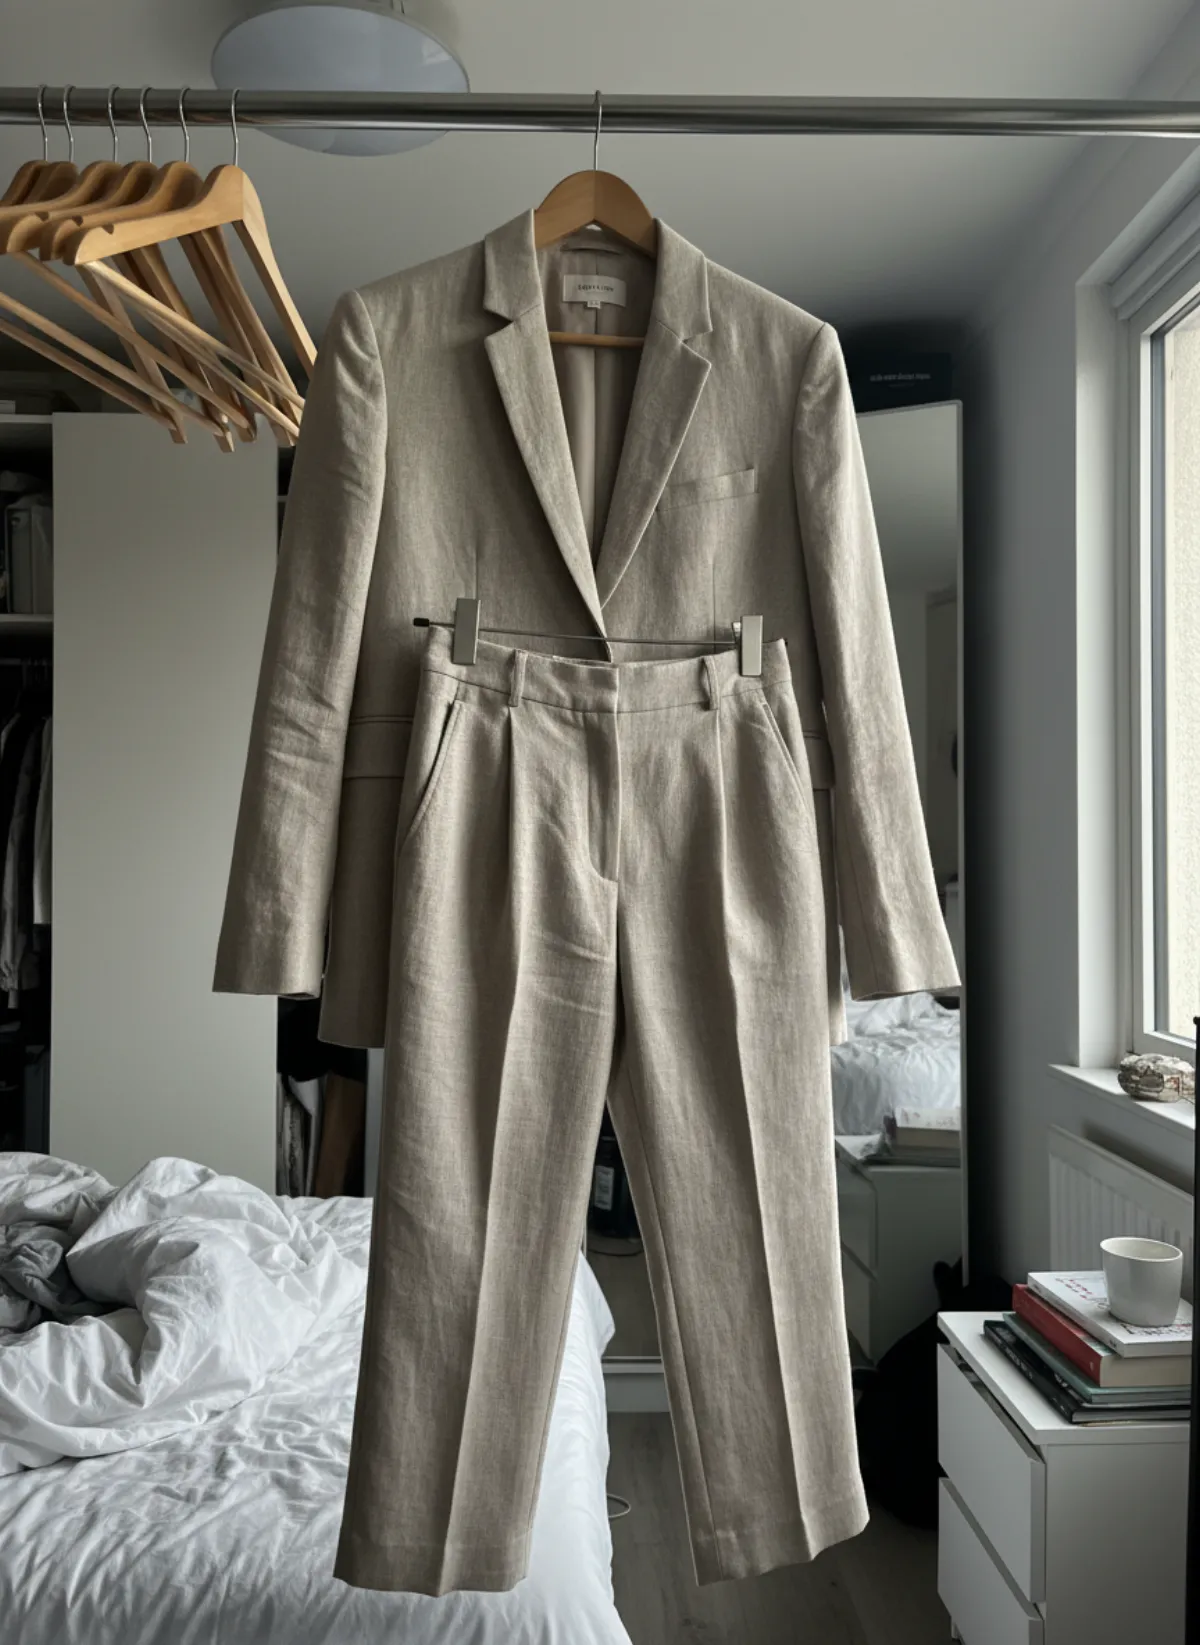
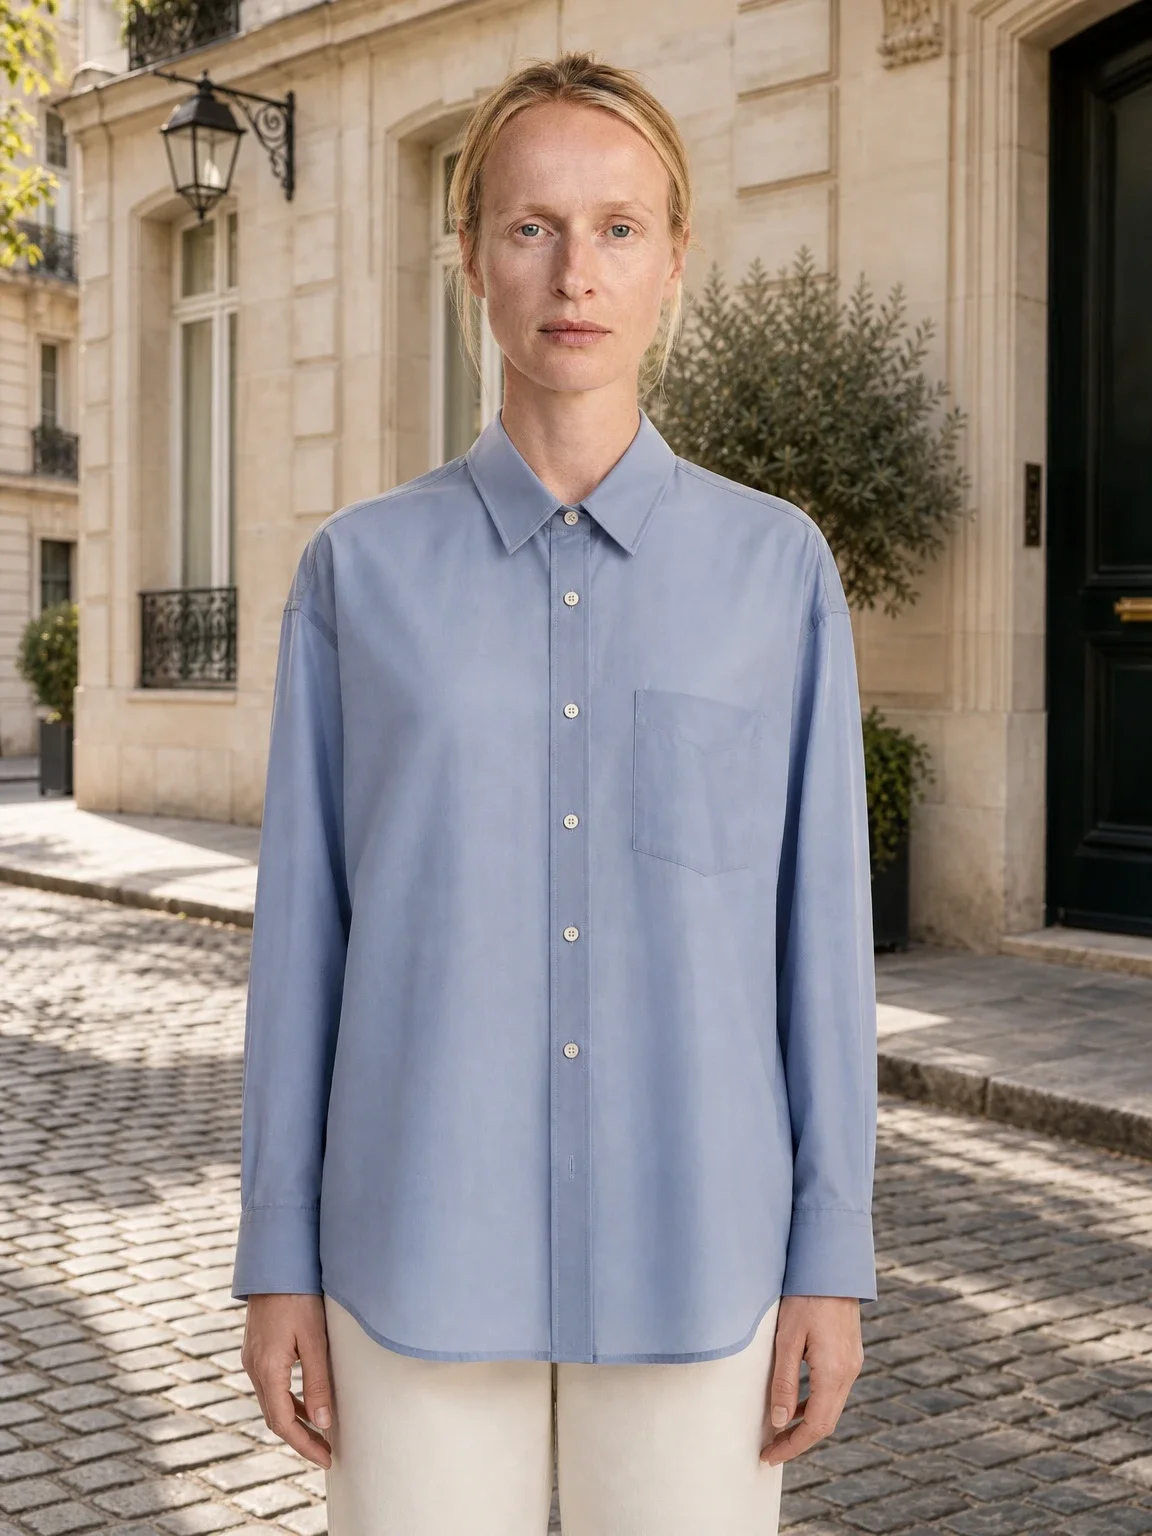
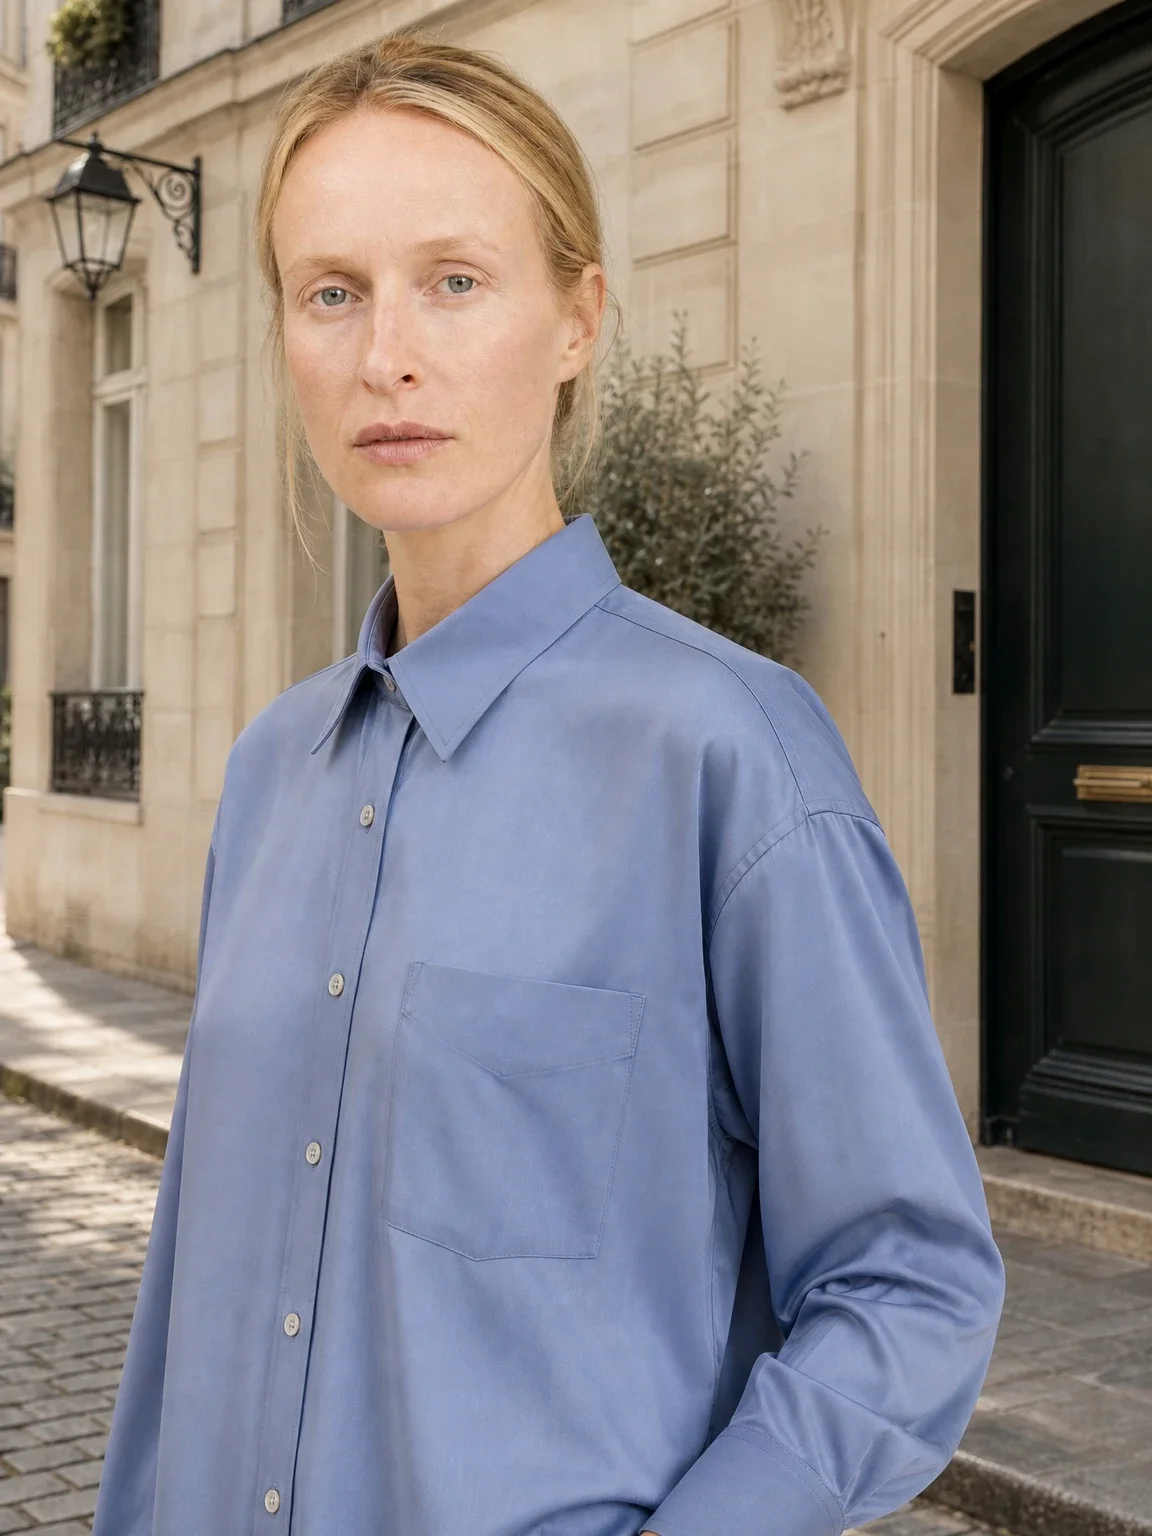
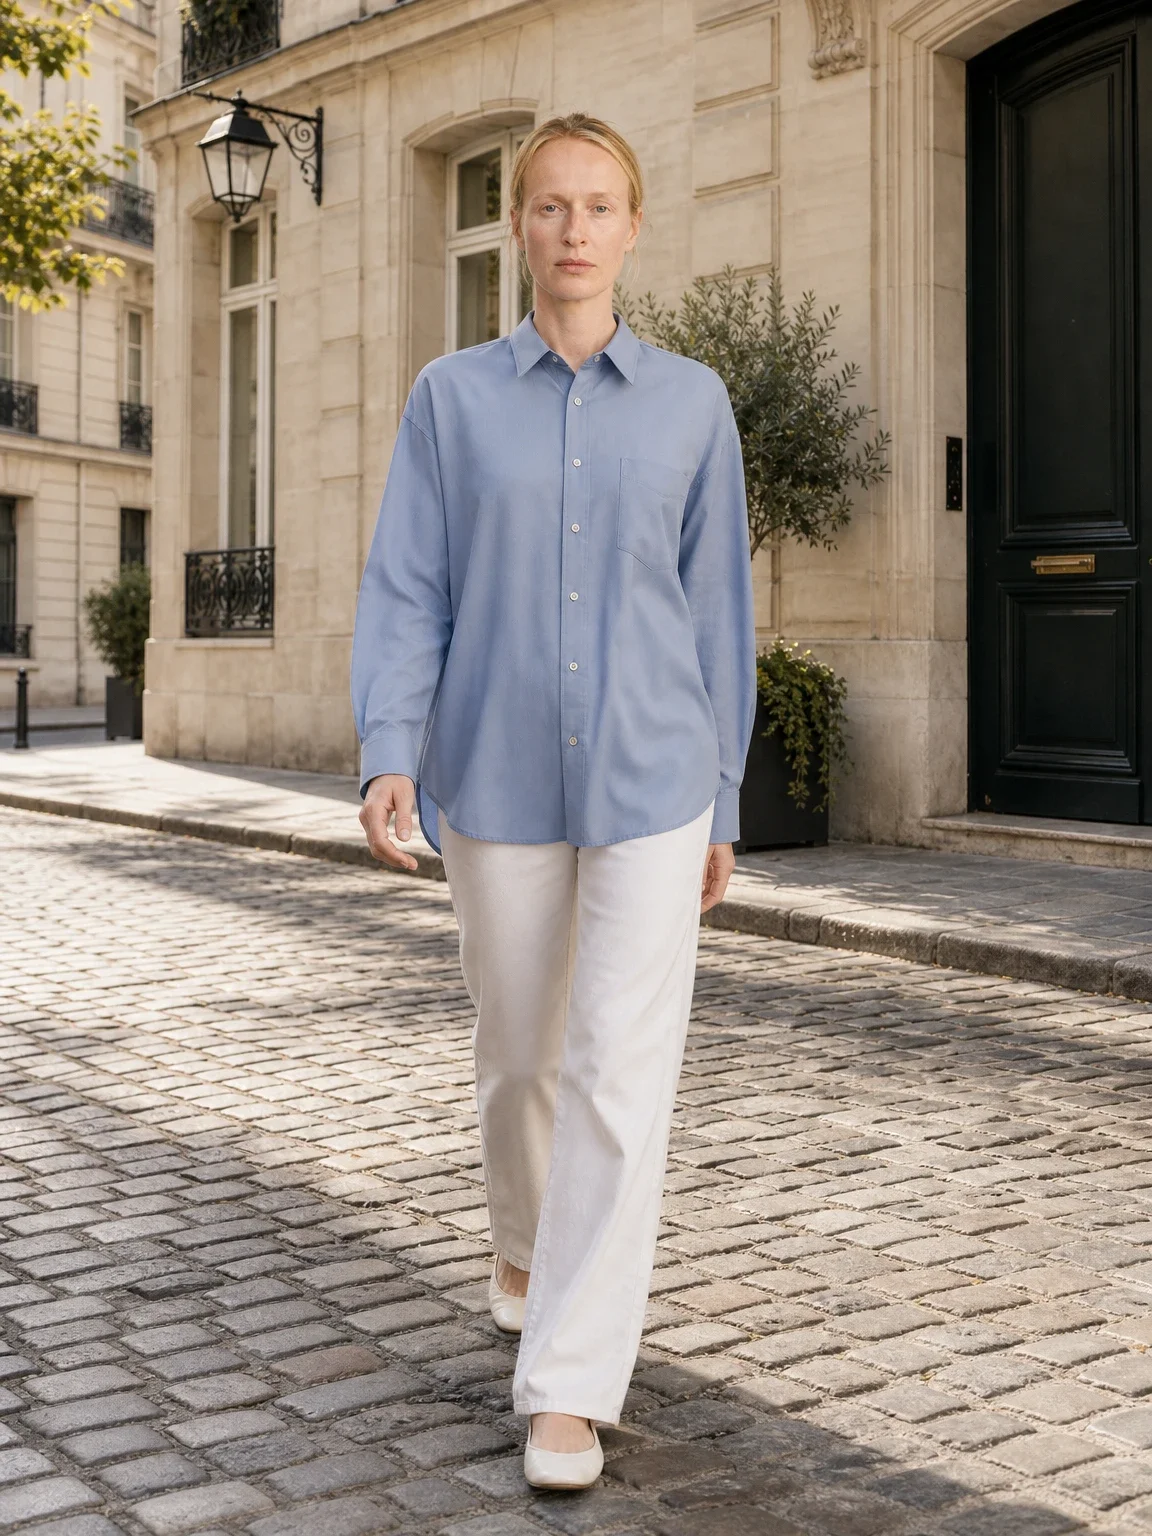
The first set is Garmo's own output from a shirt hung on a curtain rail. The rows after it were made with AI from two more hanger photos: a jacket on a wire hanger and a skirt on a clip hanger.
Garmo's own shoot: shirt on a curtain rail
This set came straight out of Garmo Studio: one photo of the shirt on a wooden hanger against a bright window, the model Klara and the street setting. The collar, the chest pocket and the curved hem carry over; the oversized cut now shows on a body.
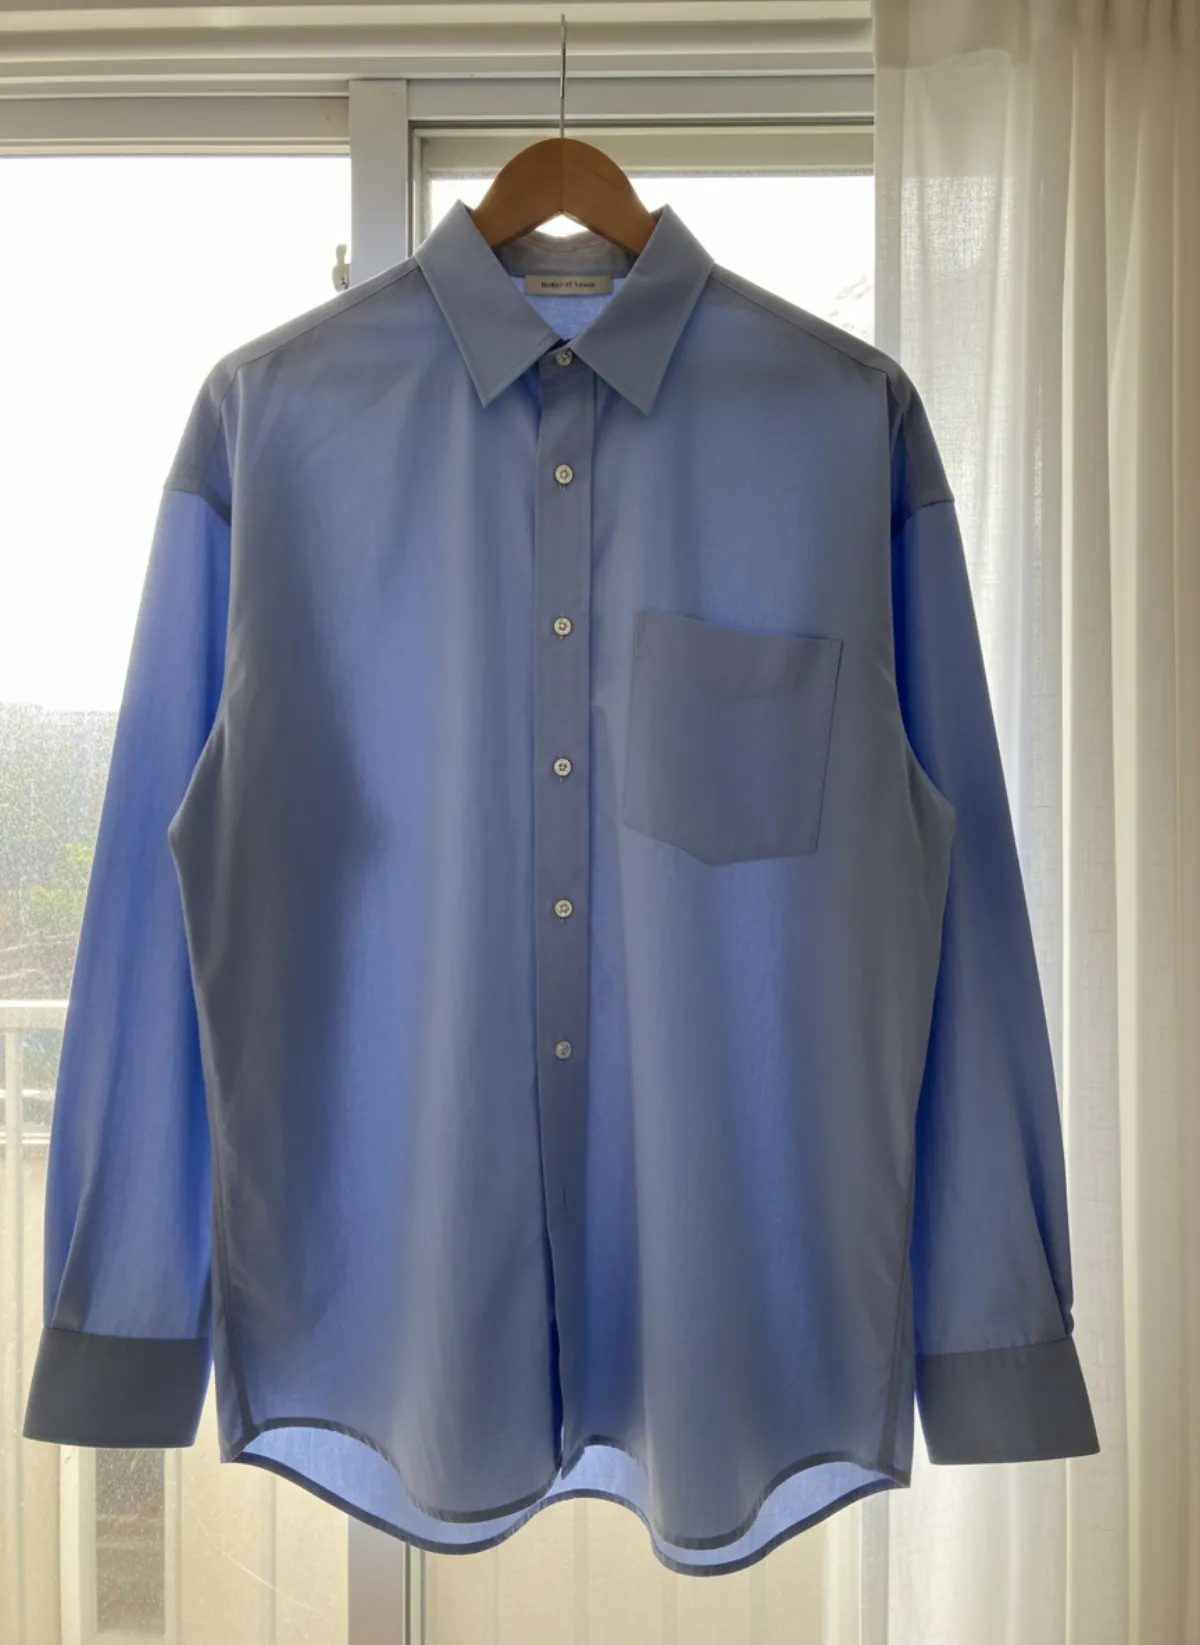 Your photo
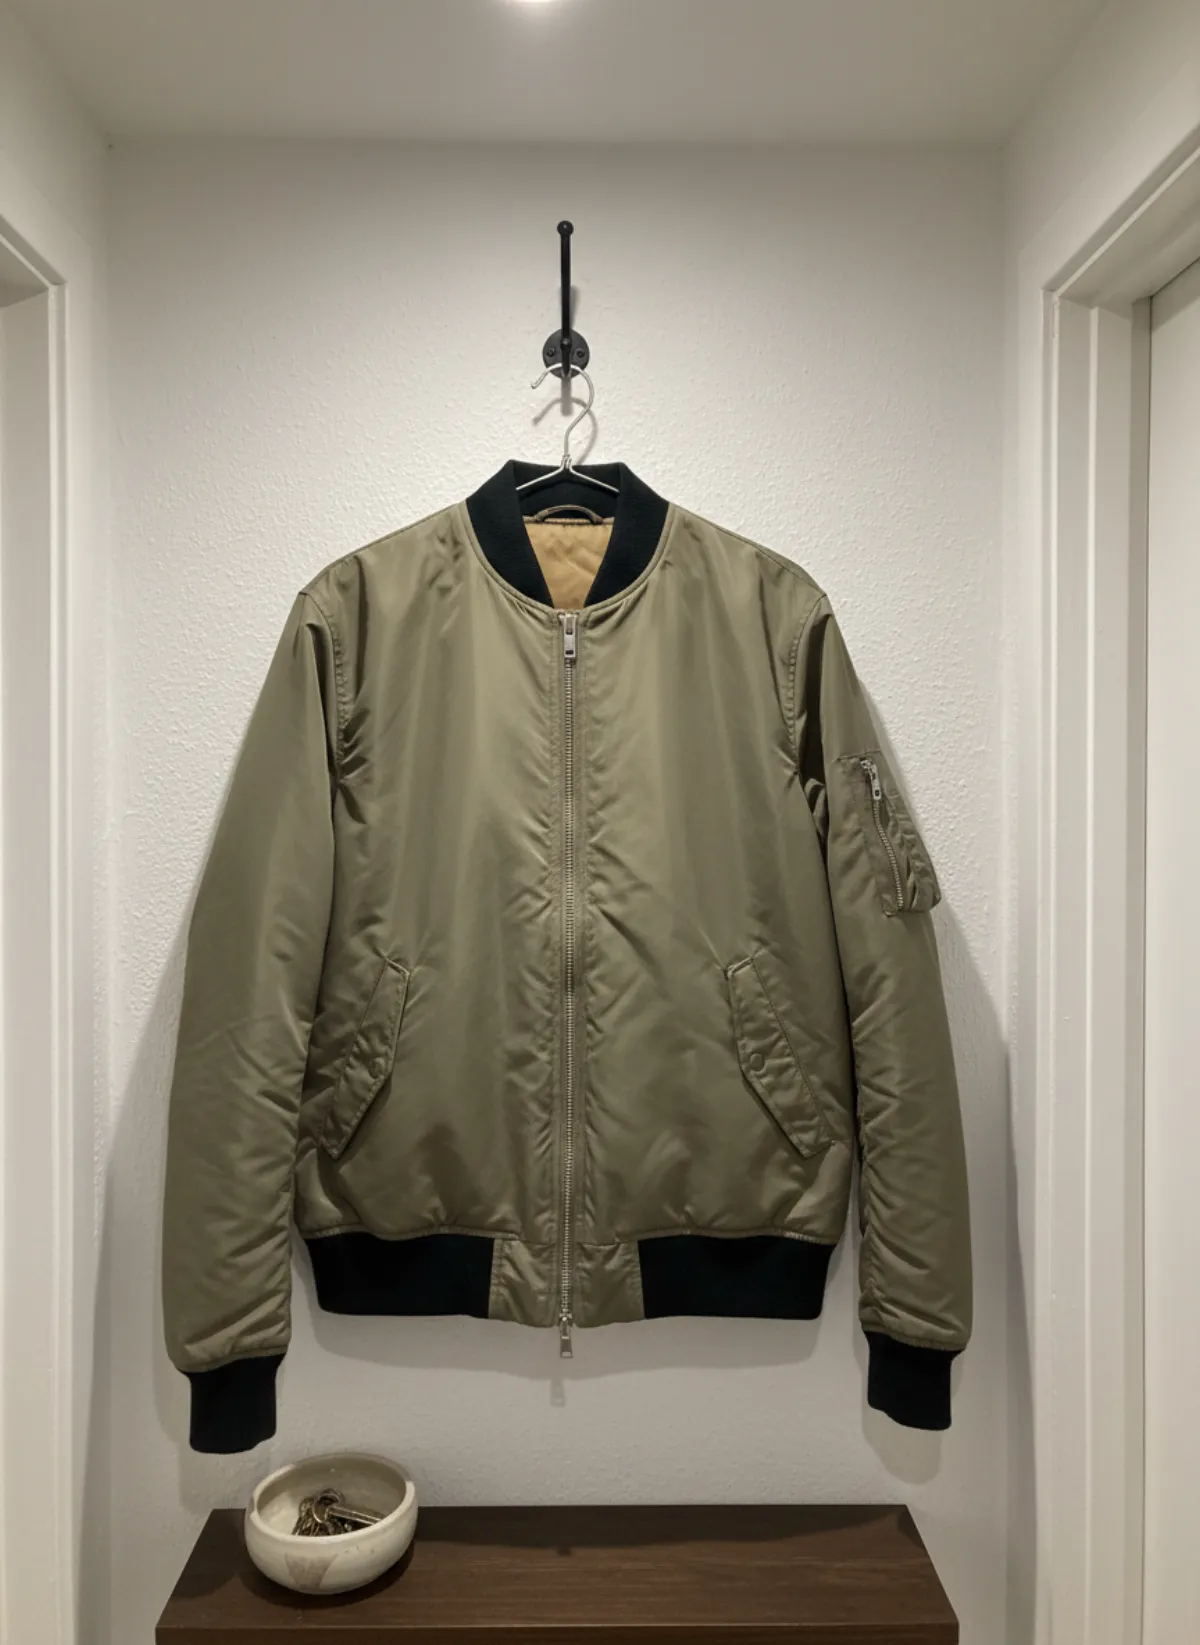
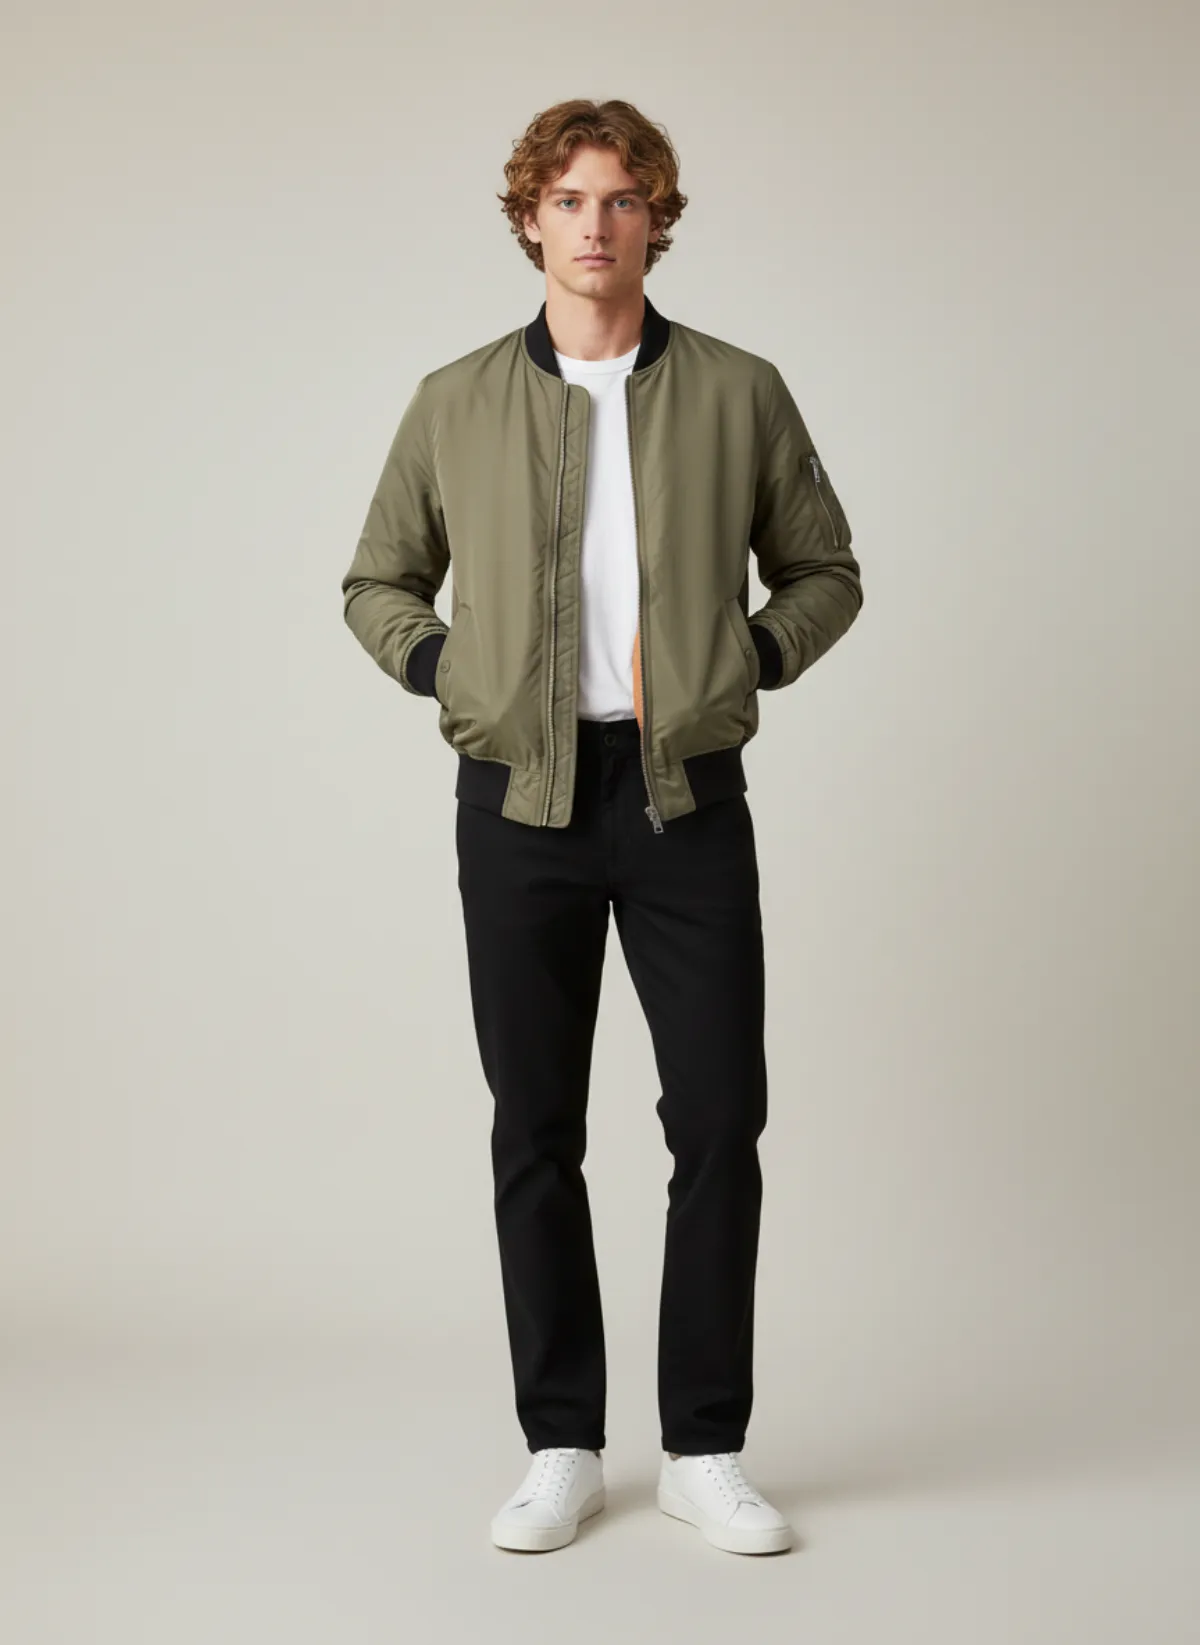
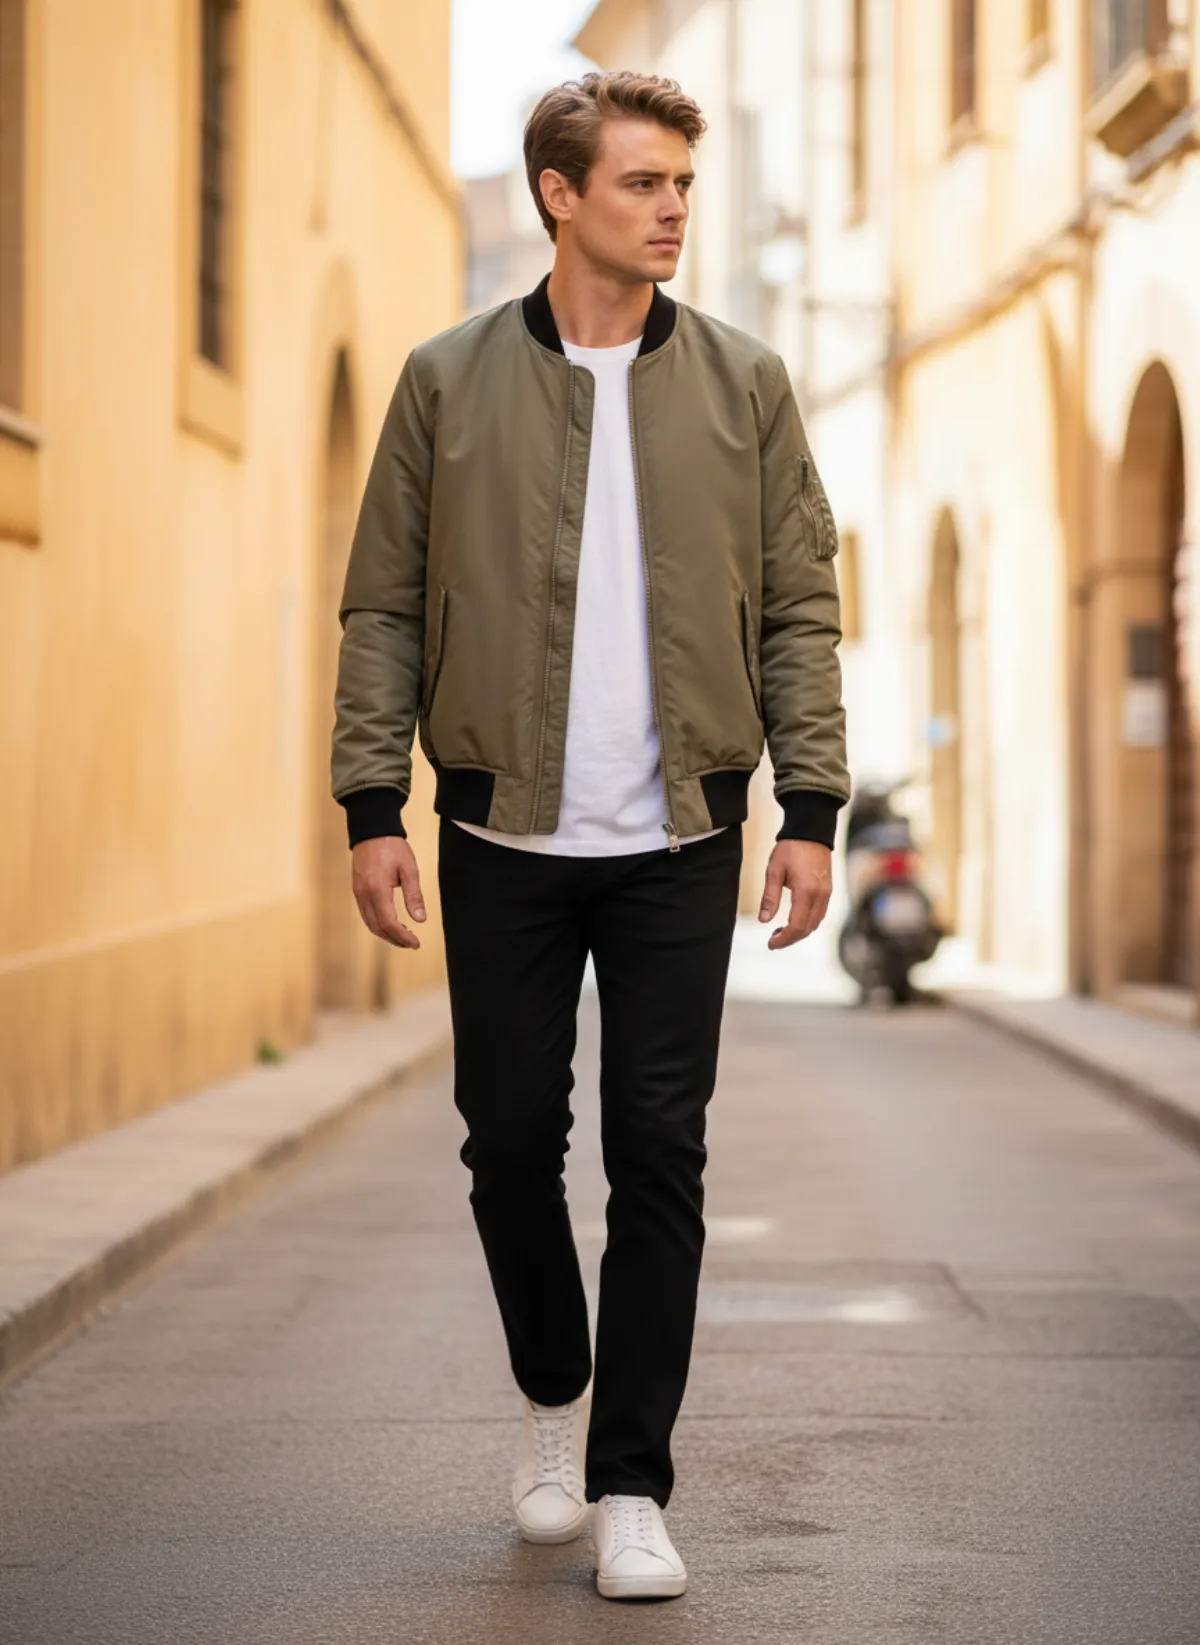
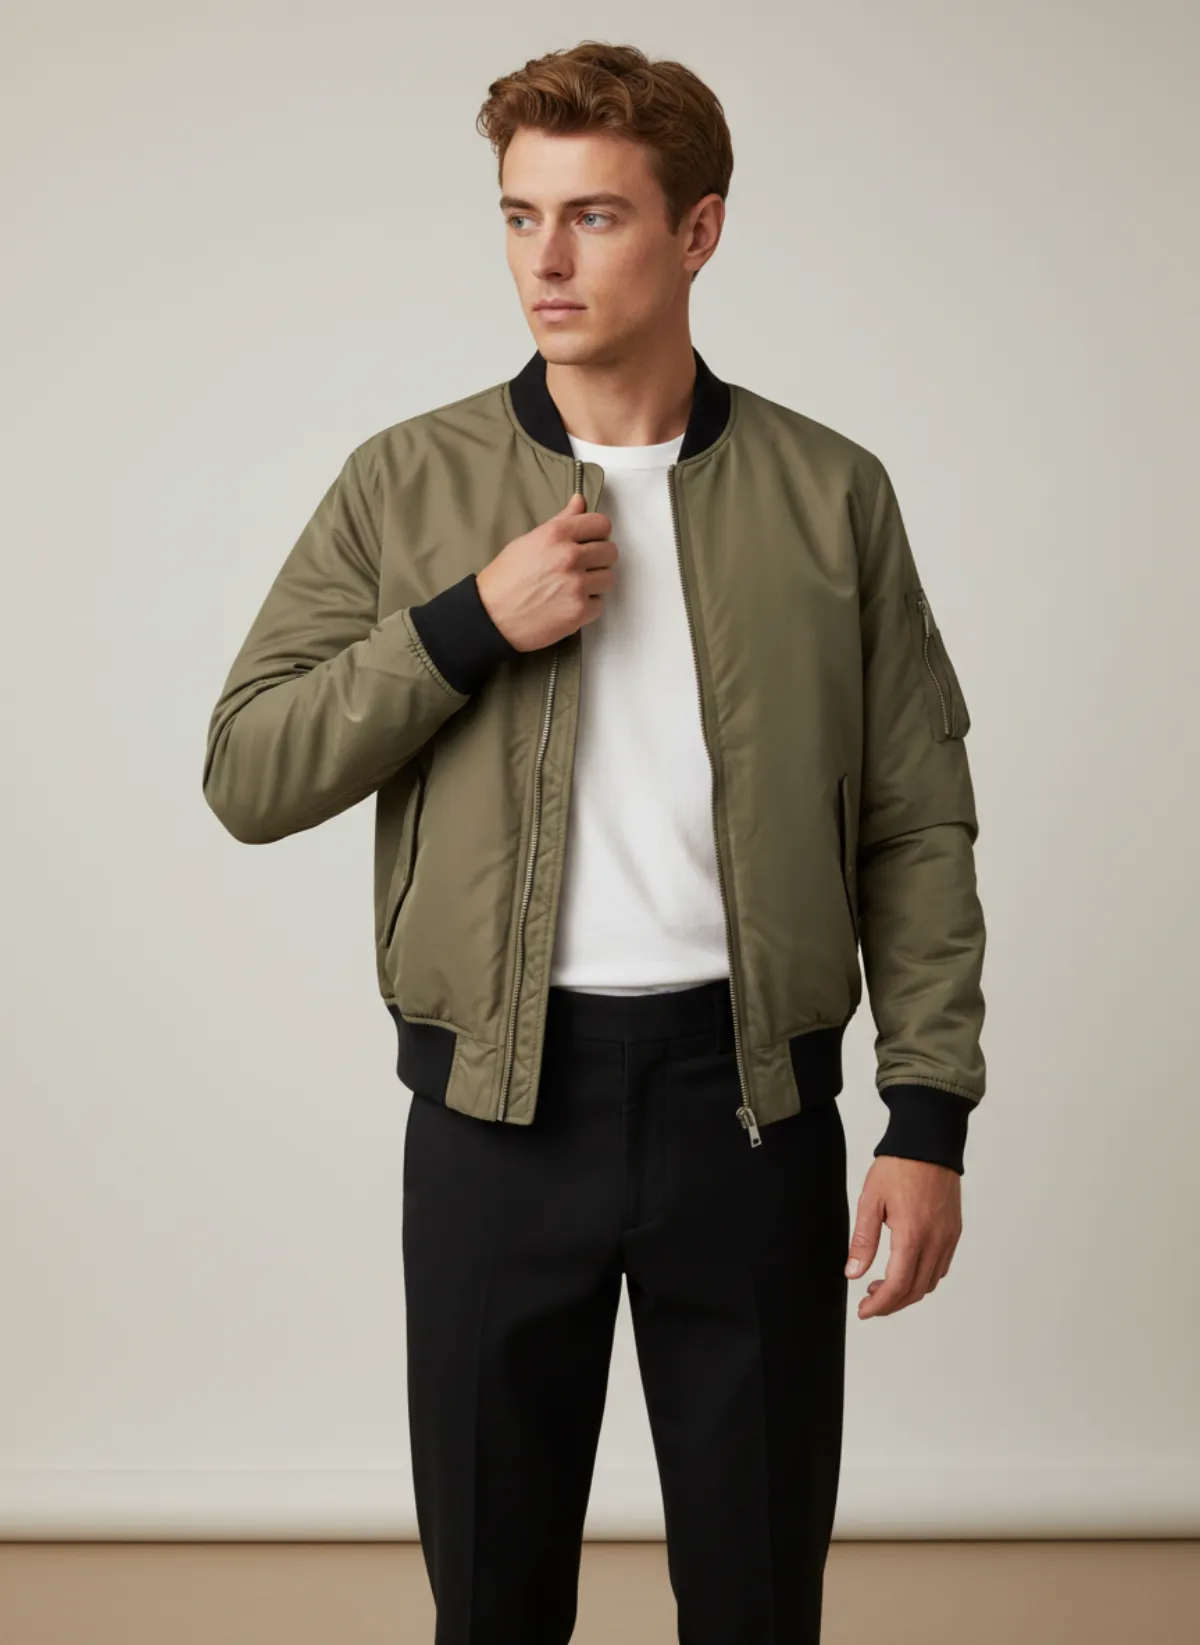
A bomber on a wall hook
A men's nylon bomber zipped up on a thin wire hanger in a hallway. On the hanger the shoulders sag and the rib hem pulls in; on the model Mateo the jacket sits square and the rib hits at the hip.
 Your photo
A pleated skirt on a clip hanger
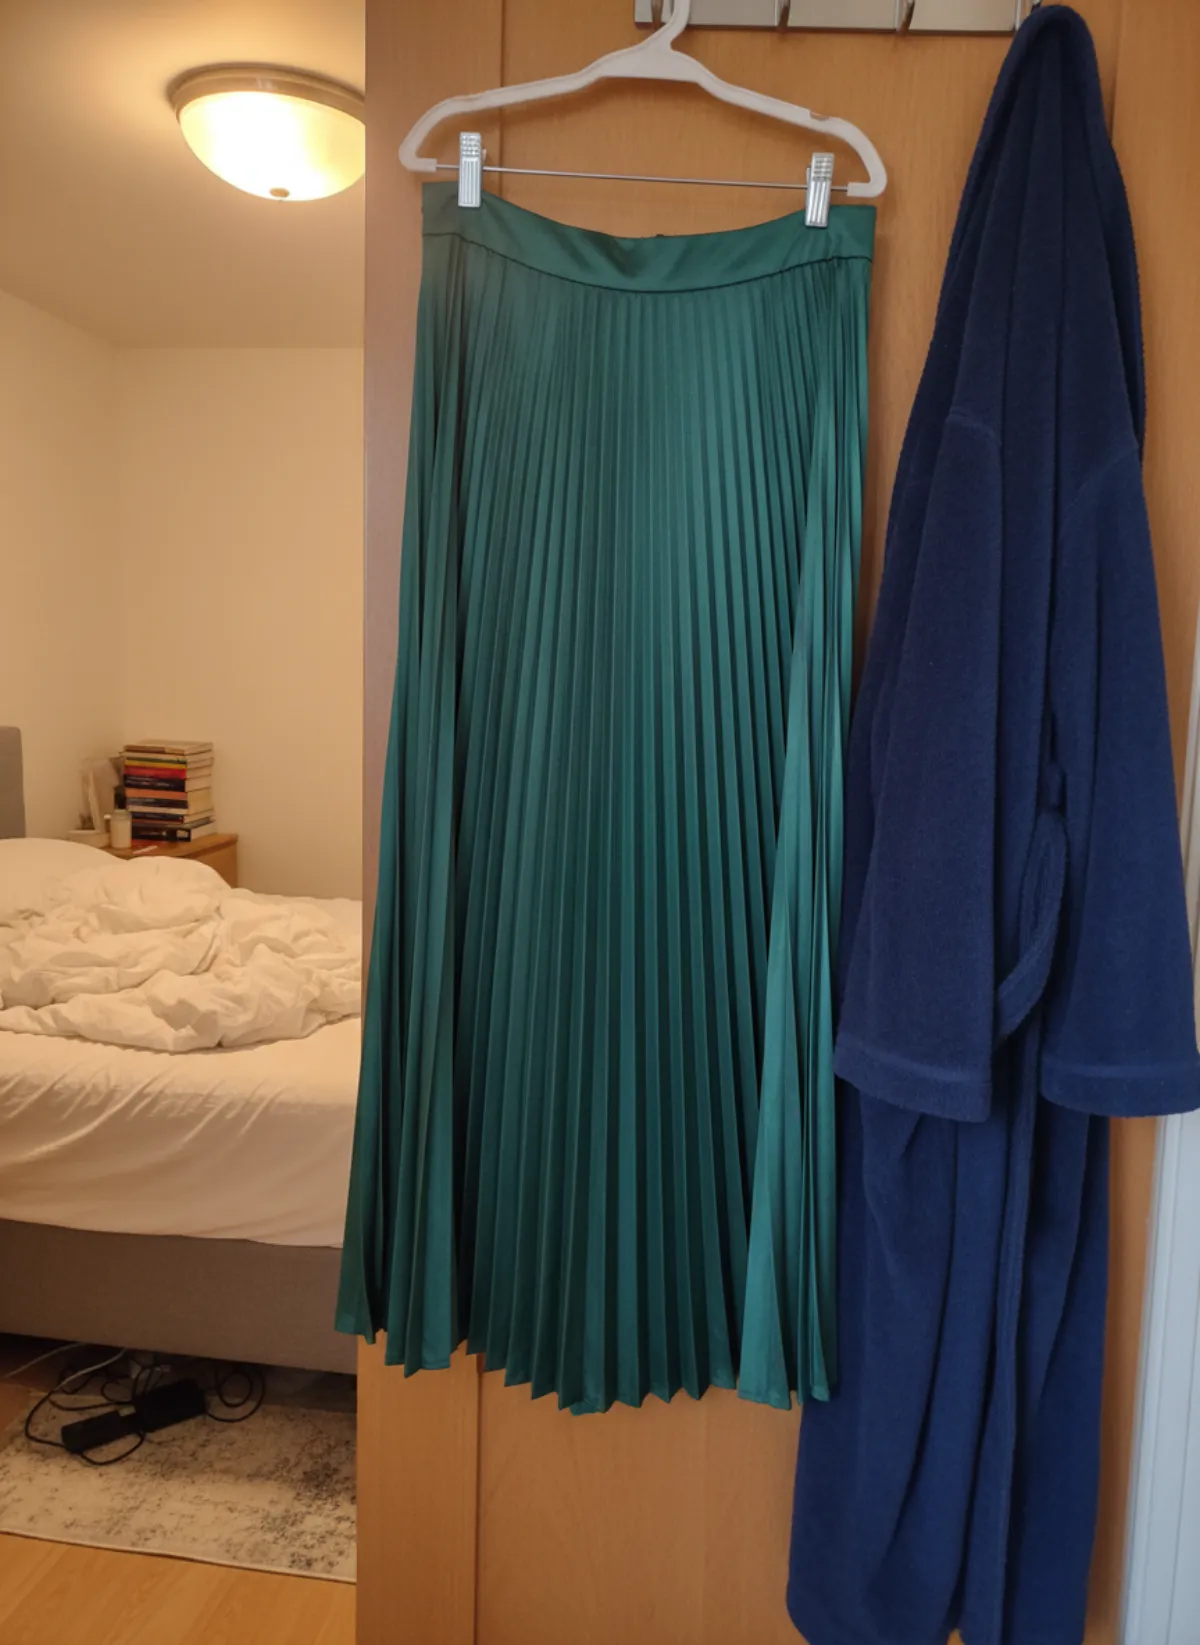
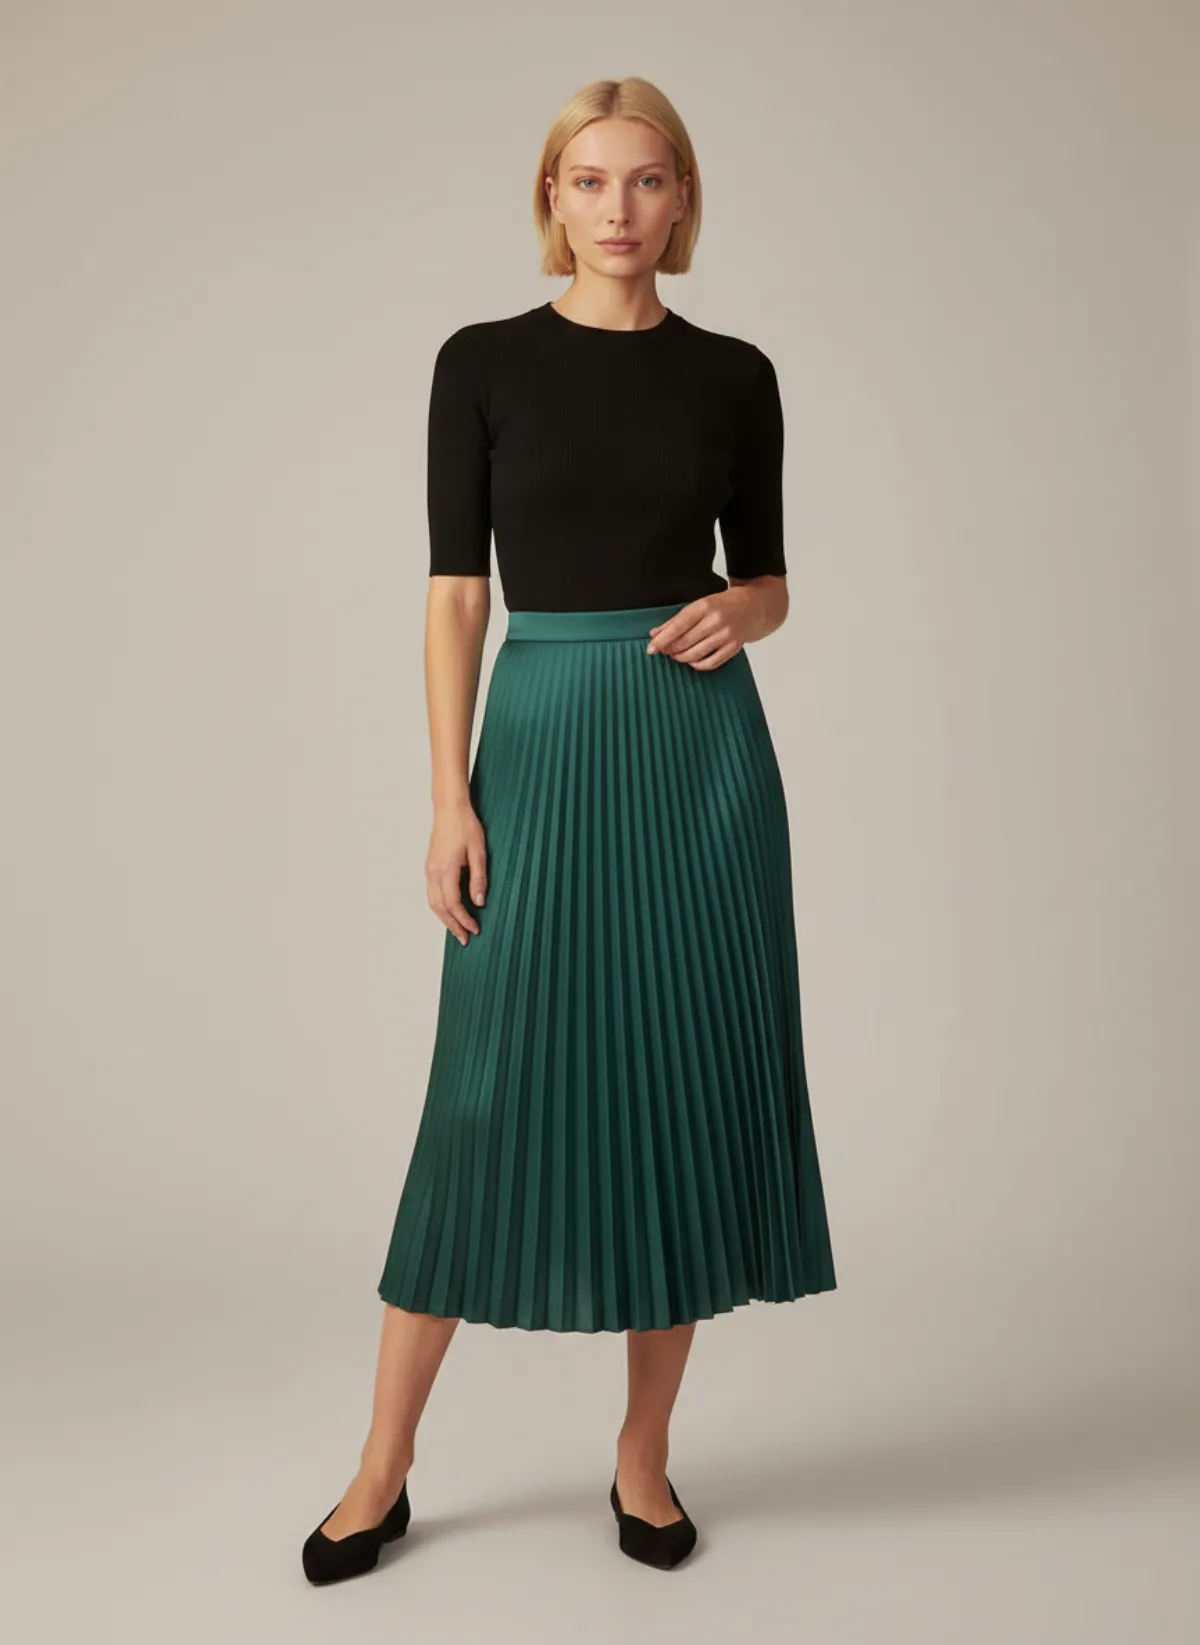
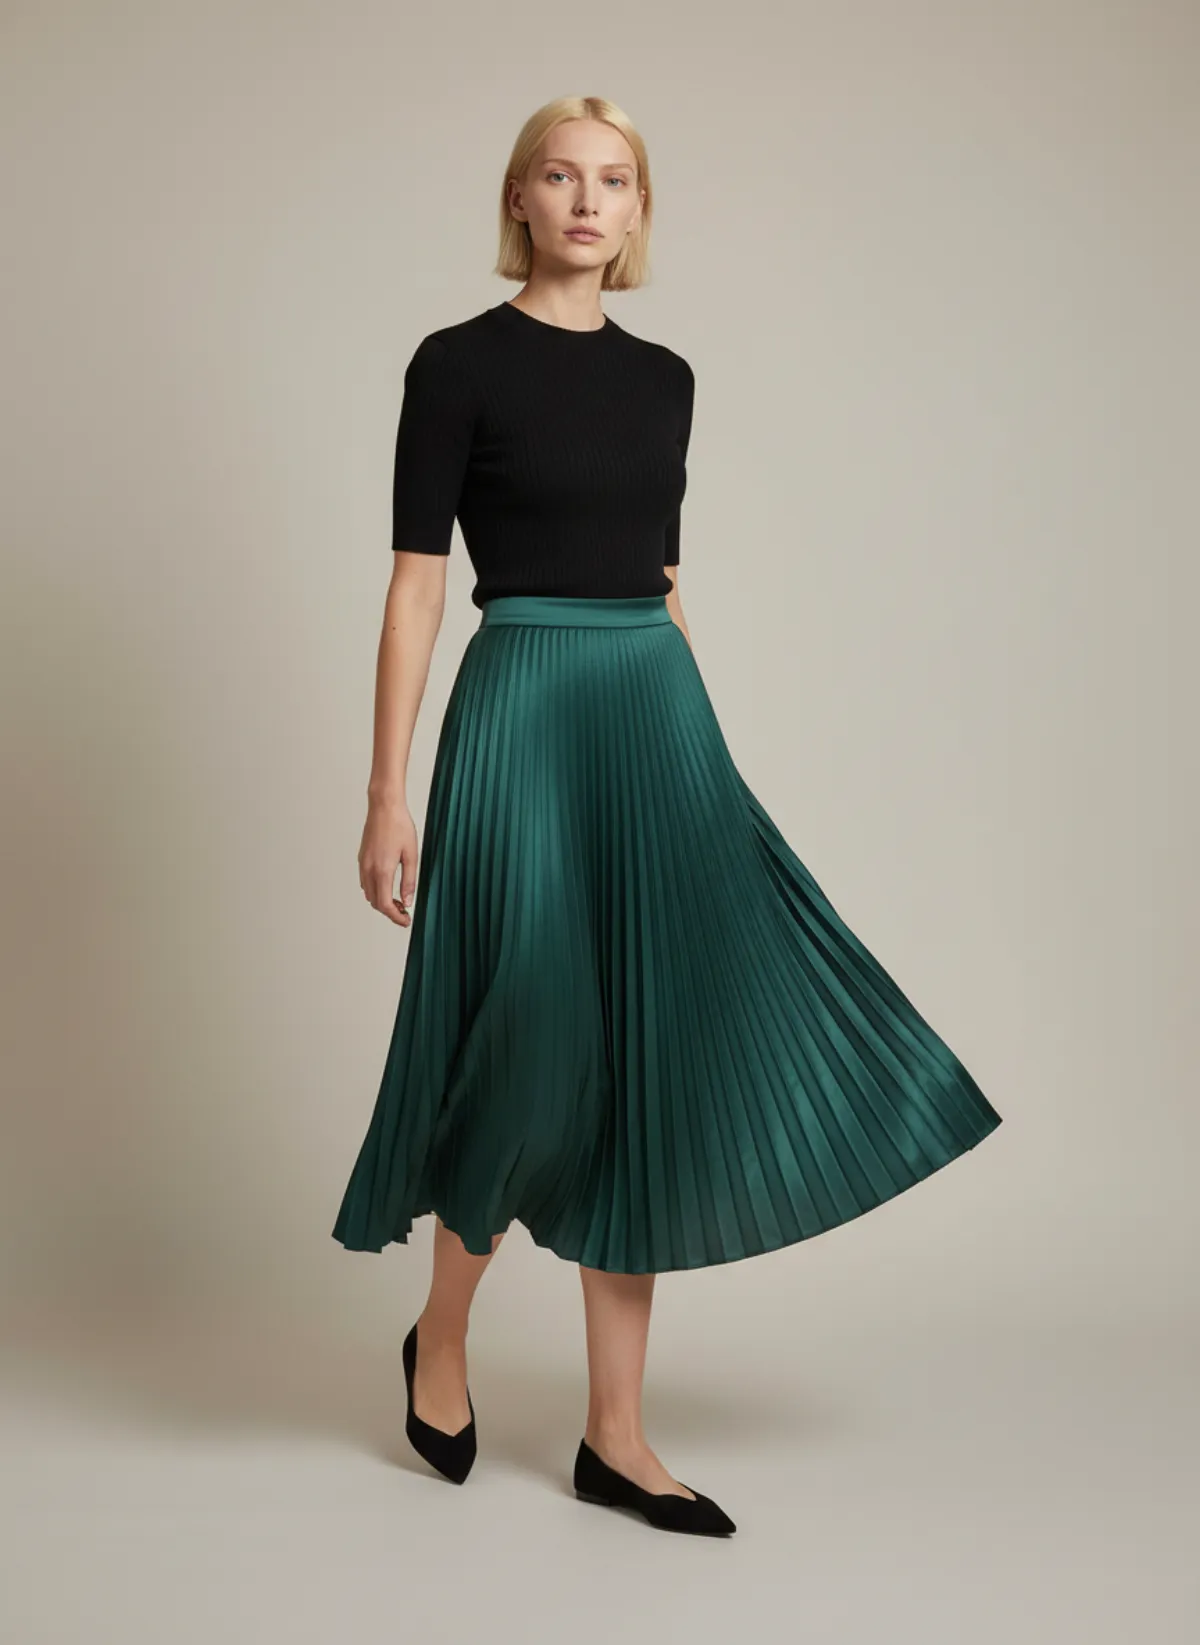
Hung from a clip hanger, a pleated skirt closes into a narrow green column and tells the shopper almost nothing. Worn by the model Lola, the pleats open, and the walking frame shows how far they swing.
 Your photo
Why start from a hanger
Most clothes already live on hangers. Photographing them there takes seconds: no floor space, no ironing a flat lay, no mannequin to dress. For a seller listing dozens of pieces from a rail, a closet or a sample delivery, it is the quickest photo there is.
Gravity also helps. Linen, satin, viscose and anything that creases hangs smoother than it lies, and the garment's full length shows from collar to hem. That gives Garmo a clear view of the cut, the colour and the details it needs to keep.
If a garment is too heavy or stretchy to hang well, a knit or a jersey dress, lay it flat instead and use flat lay to model. If you already dress a form in the shop, mannequin to model AI starts from that photo.
What a hanger cannot show
Fit at the shoulders. A hanger is narrower than a body, so shoulders slope and oversized cuts look shapeless. On a model, a dropped shoulder reads as a dropped shoulder.
Volume and movement. Pleats close, flares fold back, wide legs hang like tubes. Walking and three-quarter frames show the garment open and moving, which is what shoppers want to see in a skirt, a dress or wide trousers.
Length on a person. On a hanger a midi and a maxi can look the same. On a model it is clear where the hem falls, though it is a presentation, not a size guide, so keep the length in centimetres on the product page.
How to shoot a hanger photo
Hang the garment on the top of a door, a rail or a wall hook, at eye level. Do up the buttons, close the zip and tie the belt the way it is meant to be worn. Step back until the whole piece is in frame with a little space around it, and shoot straight on.
Side light from a window is ideal. A bright window directly behind the garment, like the shirt above, still works, but the colour comes out more accurate when the light falls on the front. Avoid a yellow ceiling bulb if you can, because it shifts whites and blues.
Swap wire hangers for wooden or padded ones when the shoulders matter, and keep the hook from covering the collar. Clip hangers are fine for skirts and trousers; make sure the waistband is straight and the clips do not hide a detail. Add a second photo of the back if it has a print, a yoke or a slit.
Which garments to hang, which to lay flat
Shirts, blouses, dresses and coats keep their shape on a hanger, so a photo on a door hook is all they need; jacket on model AI and dress on model AI cover what to check in each. Heavy knits and jersey stretch when hung, so lay them on the floor and use flat lay to model instead.
Trousers work either way: clip them by the waistband or fold them flat, as long as the whole leg is in the frame. The pants on model AI page covers what the model shot then shows.
Who it's for
Home-based sellers
List from the wardrobe door, without clearing the floor for a flat lay.
Resale and vintage
Rails of one-off pieces become on-model photos, one hanger at a time.
New-arrival rails
Shoot samples the day they arrive, still on the delivery hangers.
Rental wardrobes
Show every dress worn, without a model fitting for each one.
Pricing
- Starter$9 / month25 images a month · from $0.36 per image
- Collection$19 / month100 images a month · from $0.19 per image
- Studio$39 / month250 images a month · from $0.16 per image
Start with 3 free images, no card needed. Then pick a plan; each image uses one credit and yearly billing gives you two months free. See all plans
FAQ
Can I put a garment from a hanger photo on an AI model?
Yes. Upload the photo of the garment on its hanger, choose a model and a setting, and Garmo makes up to six images of the same garment worn, in about a minute.
Does the hanger or the room show up in the result?
No. The result is a new photo of the model wearing the garment in the setting you picked. The hanger, the door and the room behind it do not carry over.
Which hangers work best?
Wooden or padded hangers keep the shoulders closest to their real shape. Wire hangers work but can make shoulders sag. Use clip hangers for skirts and trousers.
Is a hanger photo better than a flat lay?
Neither is better in general. A hanger is best for fabrics that crease and for long garments; a flat lay is best for knits and stretchy pieces that sag when hung.
Can I add a photo of the back?
Yes. Each product takes up to three photos, so add the back or a close-up of a detail when it matters.
Is it free, and can I sell with the images?
The first 3 images are free. After that a plan starts at $9 a month for 25 images. Every image you create, including the free ones, can be used commercially.
Guides for better product photos
Practical posts from the Garmo blog that go with this tool.
AI model photos for sellers
A practical workflow for small fashion sellers who need consistent on-model listing photos without organising a shoot.
10-product accuracy test
A transparent visual audit of ten real Garmo before-and-after sets: five passed, five need a closer look.
Clothes photos for eBay
eBay's photo rules, the eight shots a clothing listing needs and how to show fit and flaws.