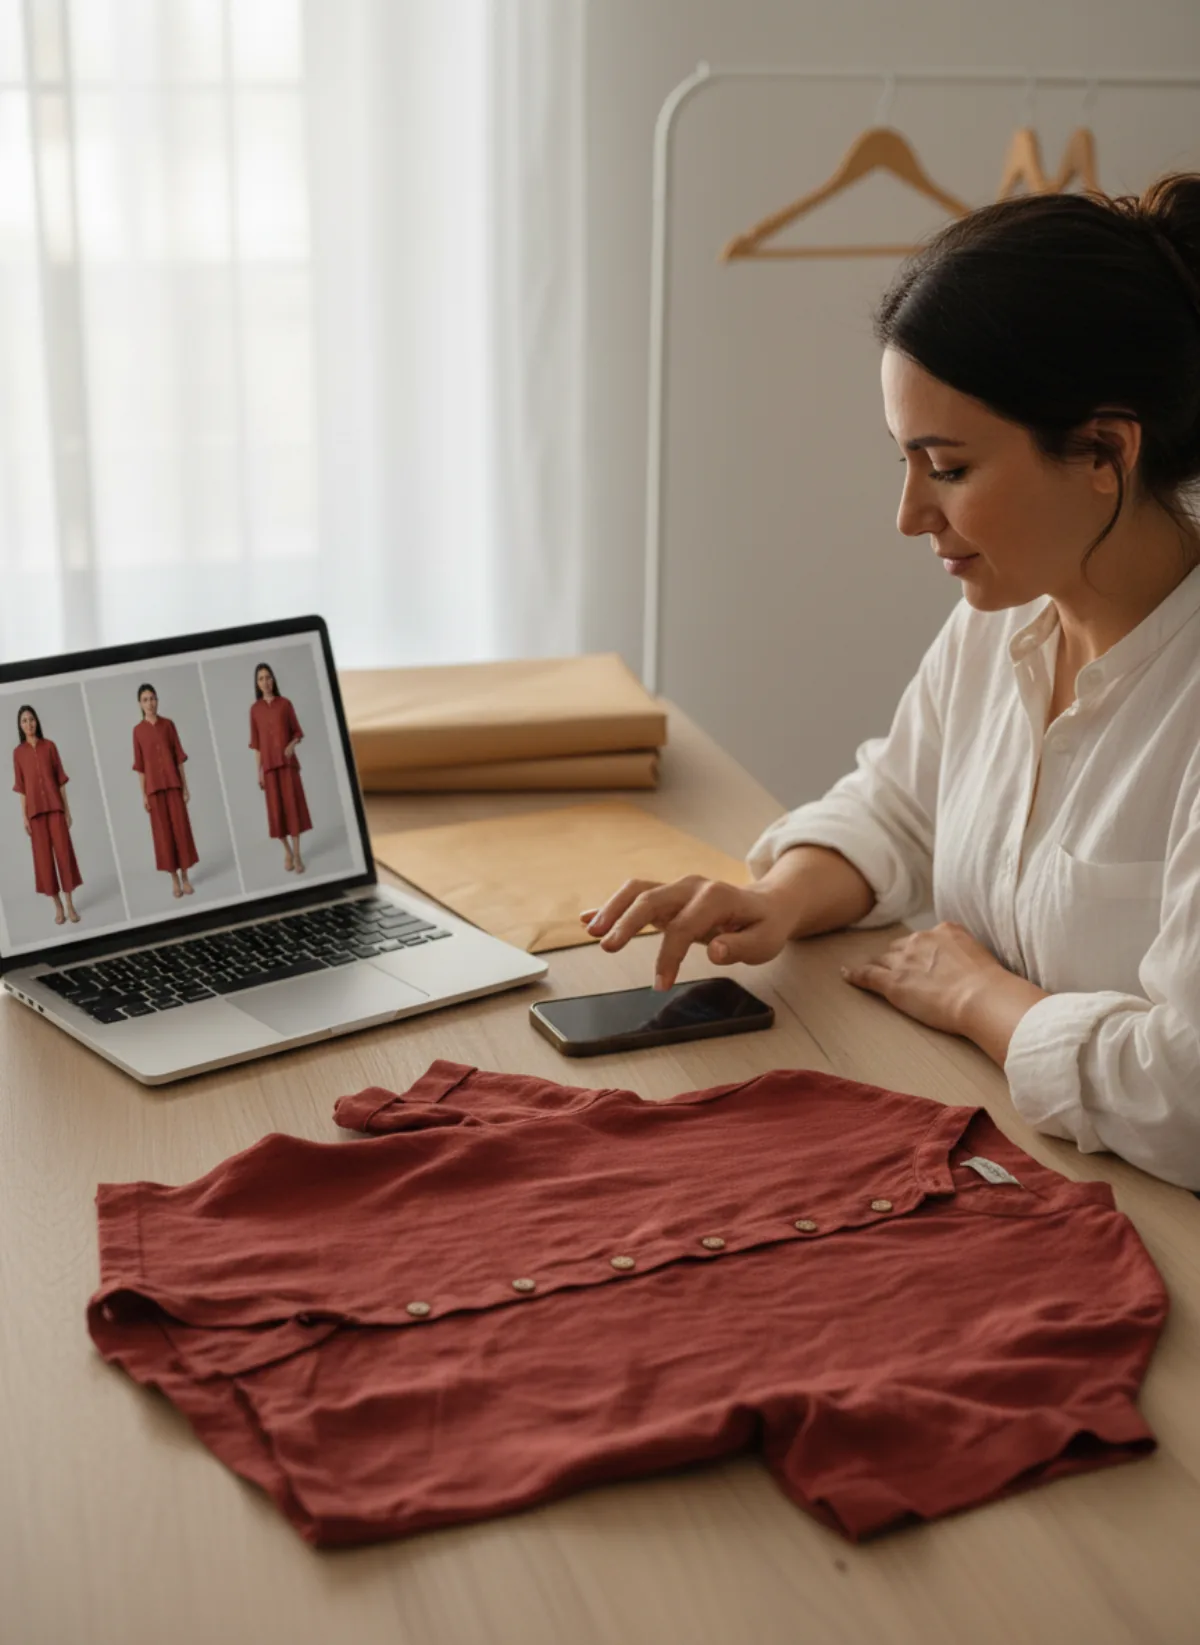
What AI model photos solve for a small seller
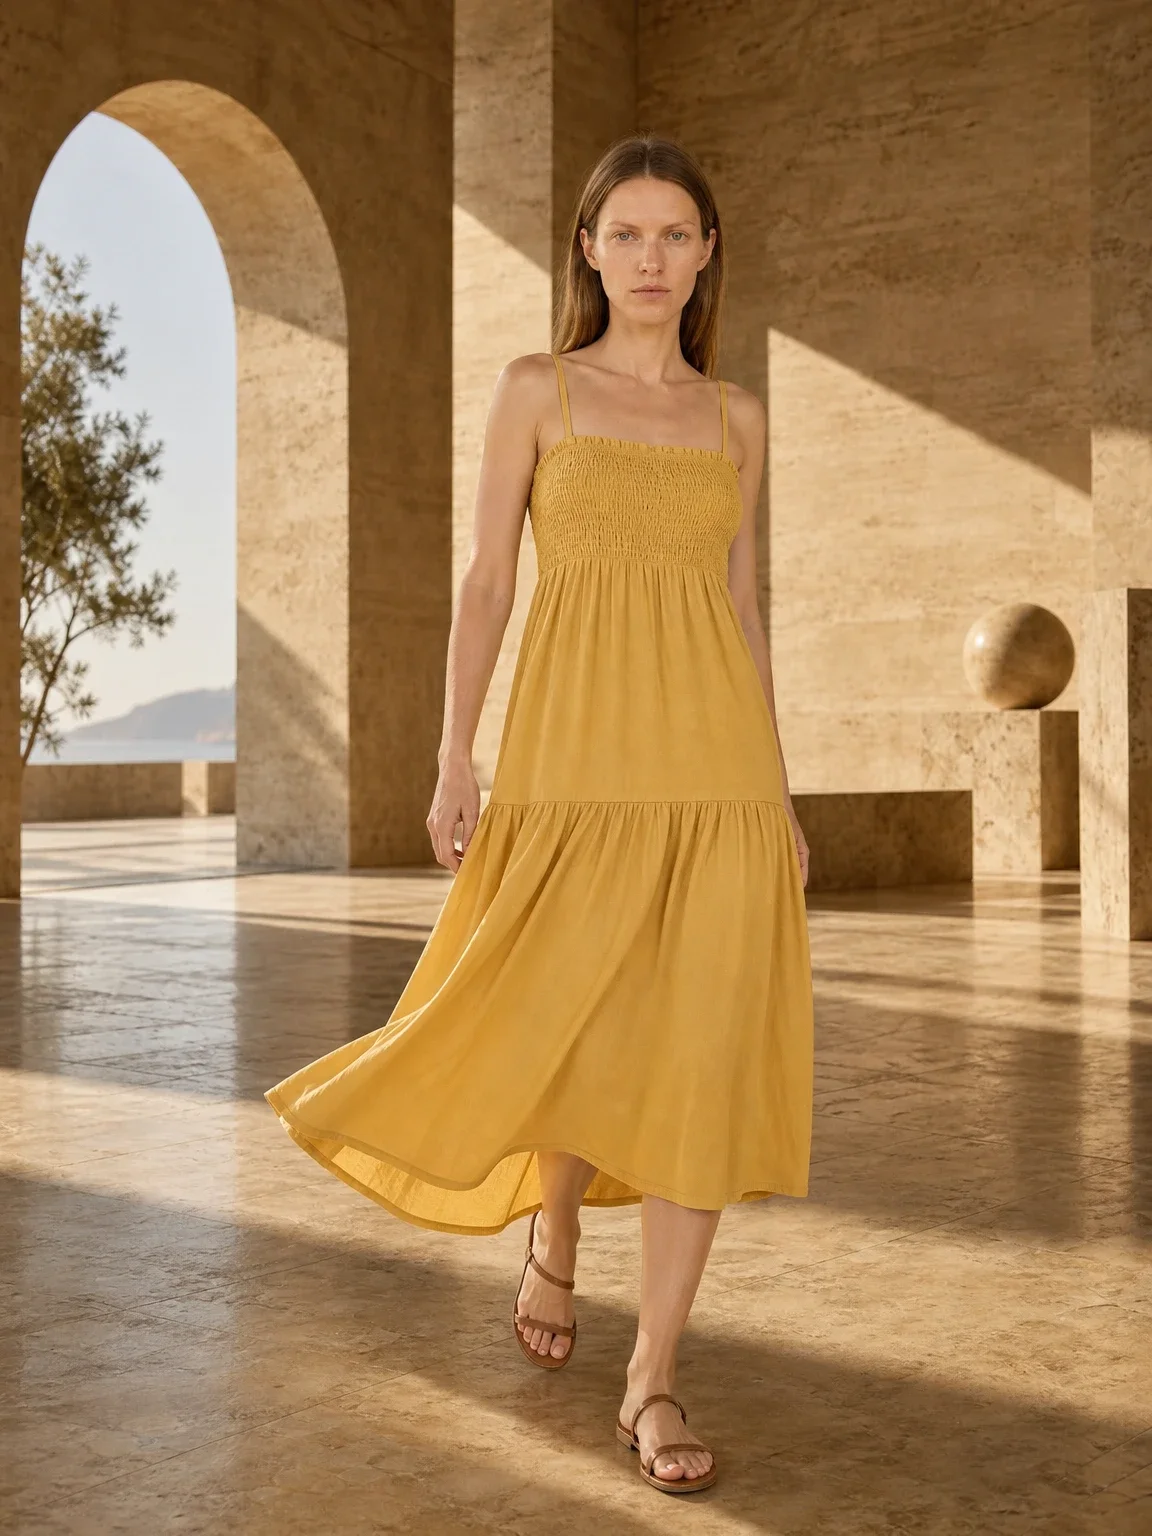
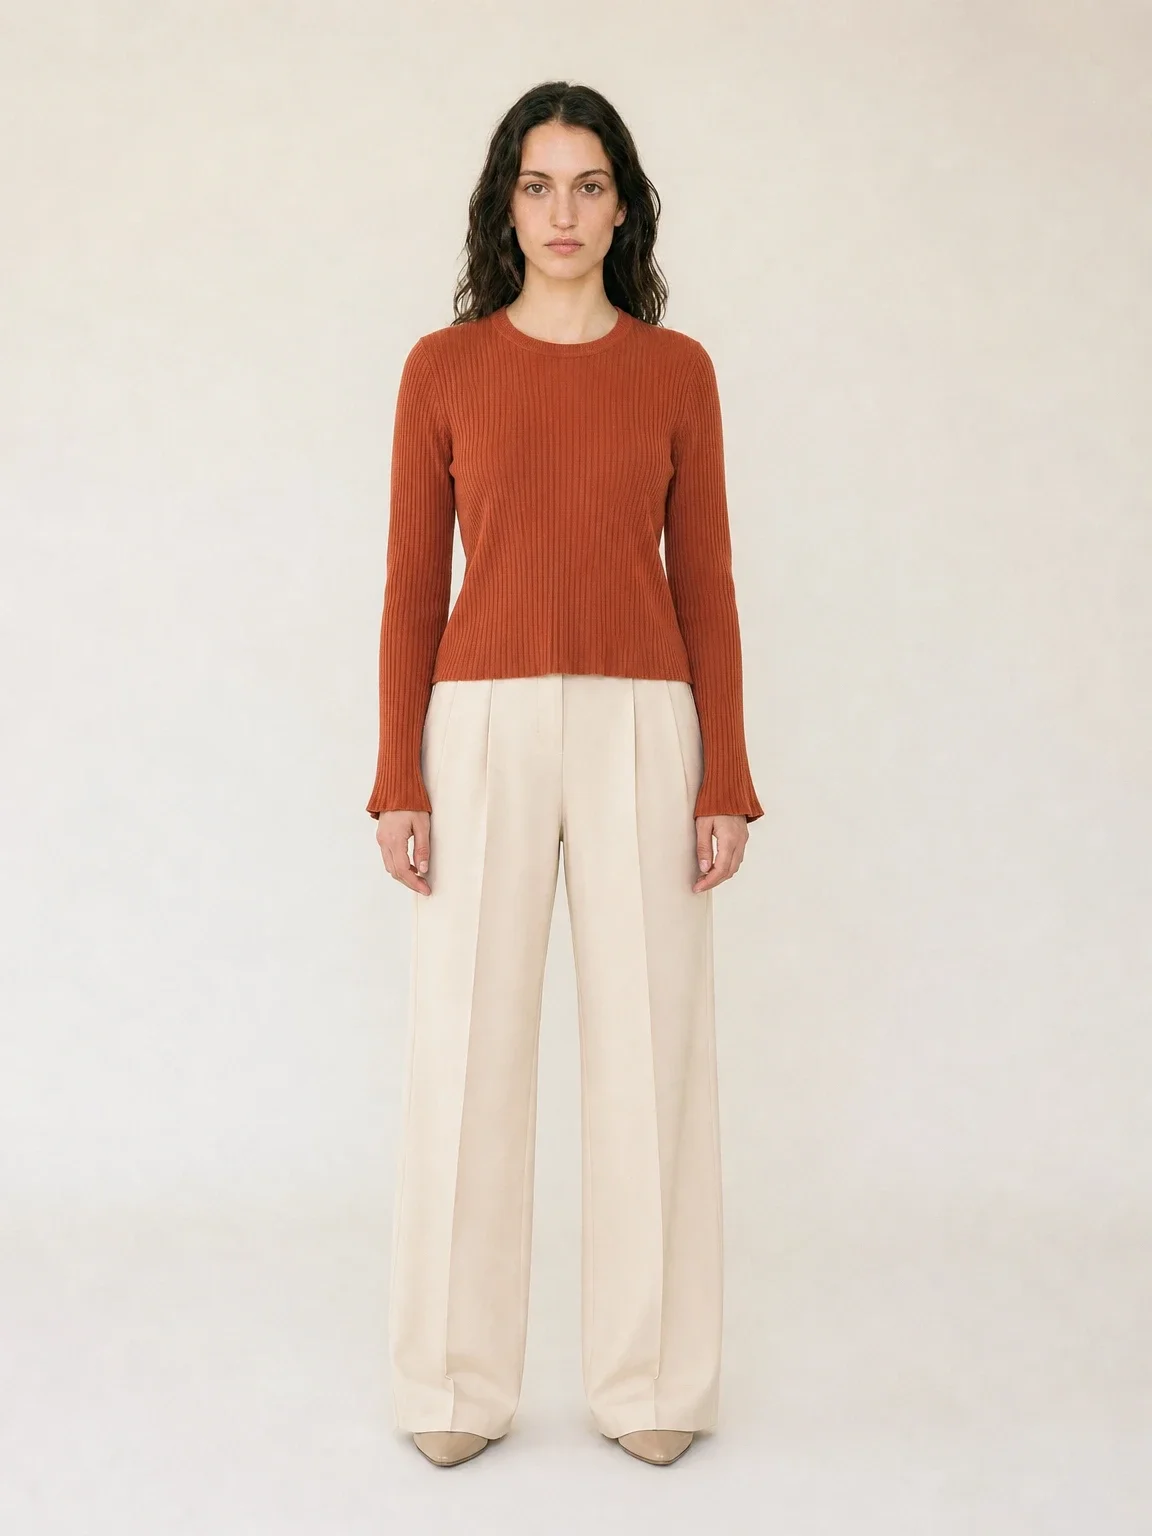
Marketplace buyers scan quickly. A clear first image earns attention, but the next frames must answer practical questions: where does the hem sit, how wide is the sleeve, what does the garment look like in motion, and which detail proves it is the same item? A lone hanger photo rarely answers all of them. A full physical shoot can answer them, yet its fixed cost and coordination are hard to repeat for every small drop.
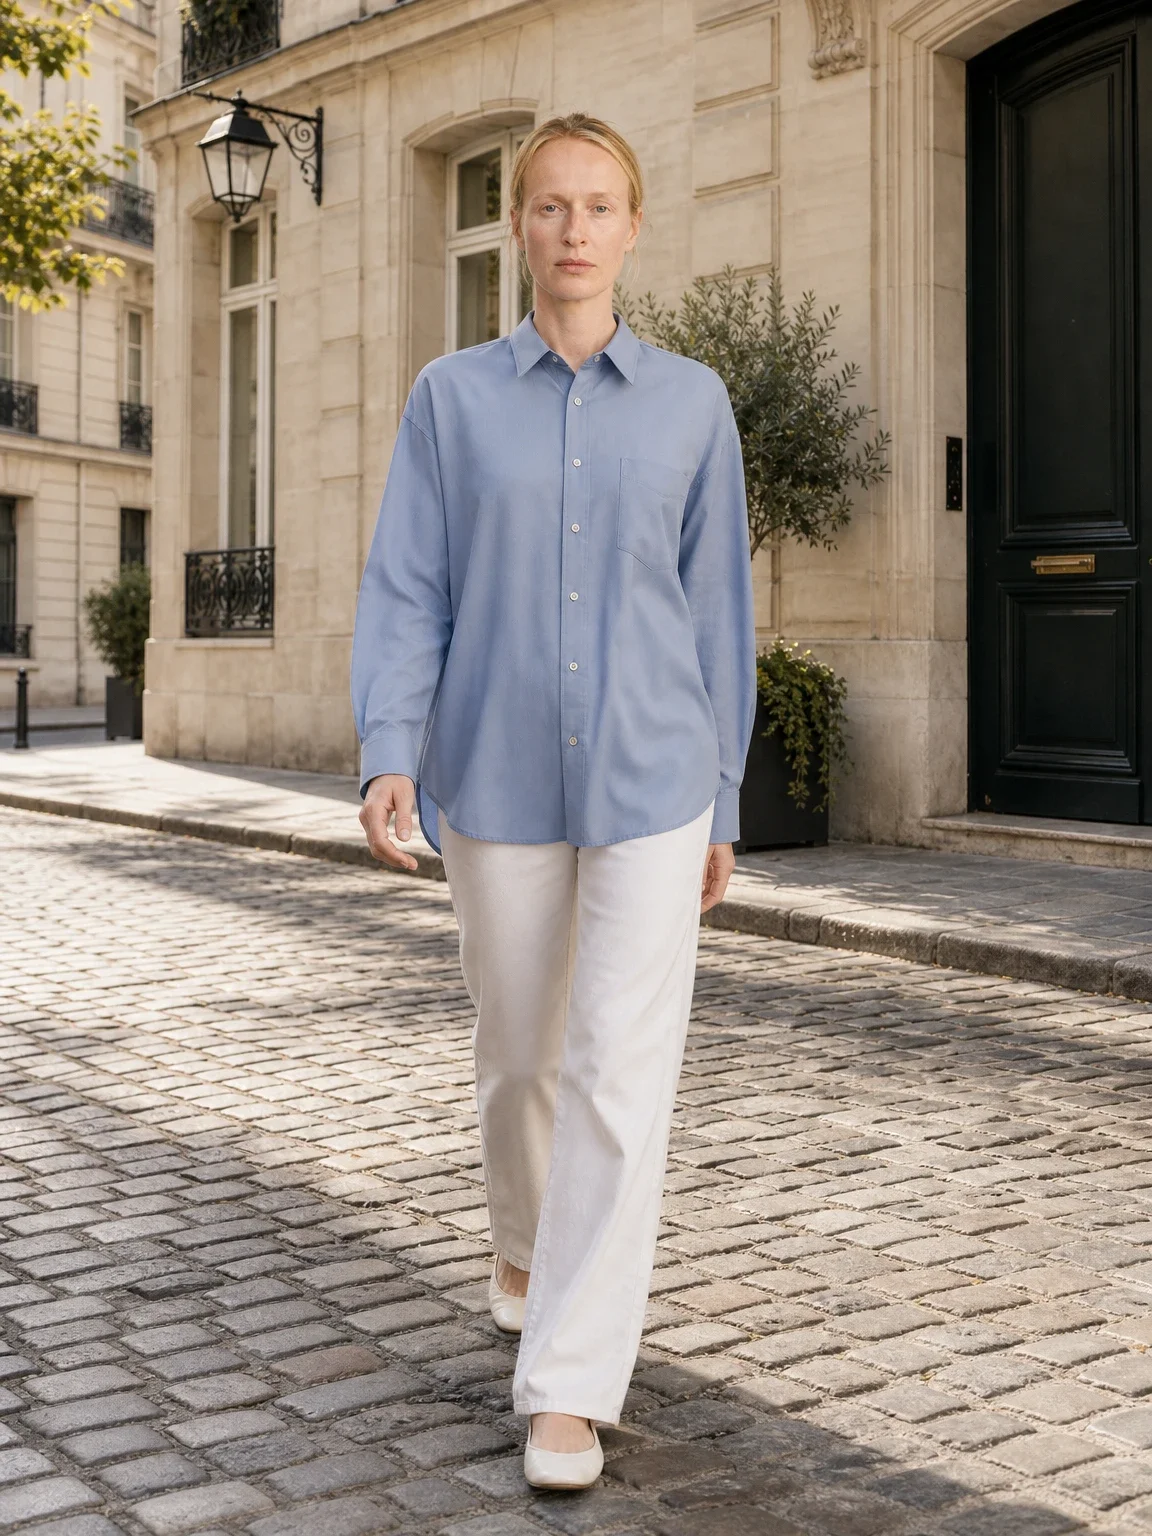
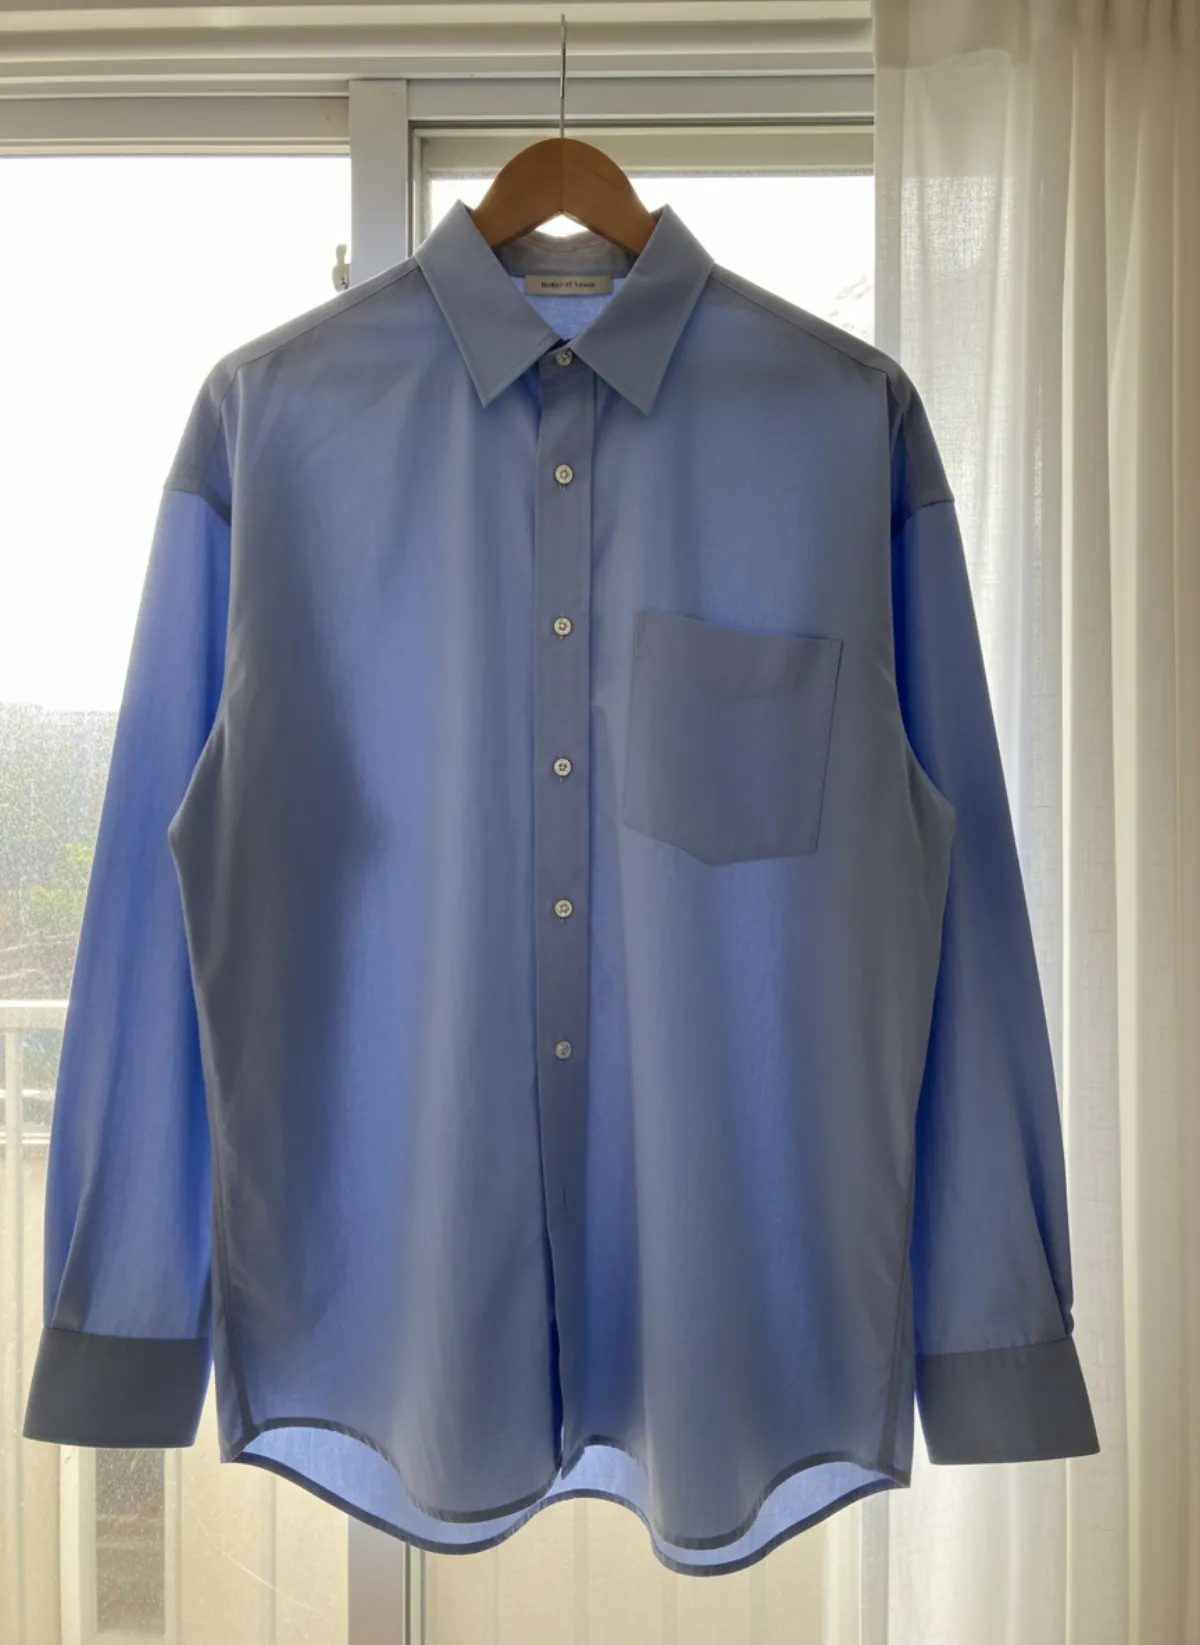
An AI product photography workflow fills that middle ground. You still photograph the real garment. The system uses that evidence to create controlled on-model views. The original photo should remain part of the listing because it shows the actual item; generated frames add context, proportion and a more consistent shop grid.
This is not the same as promising an exact fit on every buyer. The model image shows presentation, not personal sizing. Keep measurements, fabric composition and condition in the written listing. For pre-owned goods, disclose flaws with real close-ups. For new stock, never let a generated frame hide a seam, print variation or hardware detail that matters.
The safest starting point is one product with a visible collar, sleeves, hem and closure. Avoid beginning with black lace, transparent layers or a complex all-over print. Once the workflow proves it can preserve a representative item, build a repeatable shot list for the rest of the range. Selling secondhand clothes on eBay? Our guide on how to photograph clothes for eBay lists the official photo rules and the eight shots to take.
Take the source photo like a catalog shot
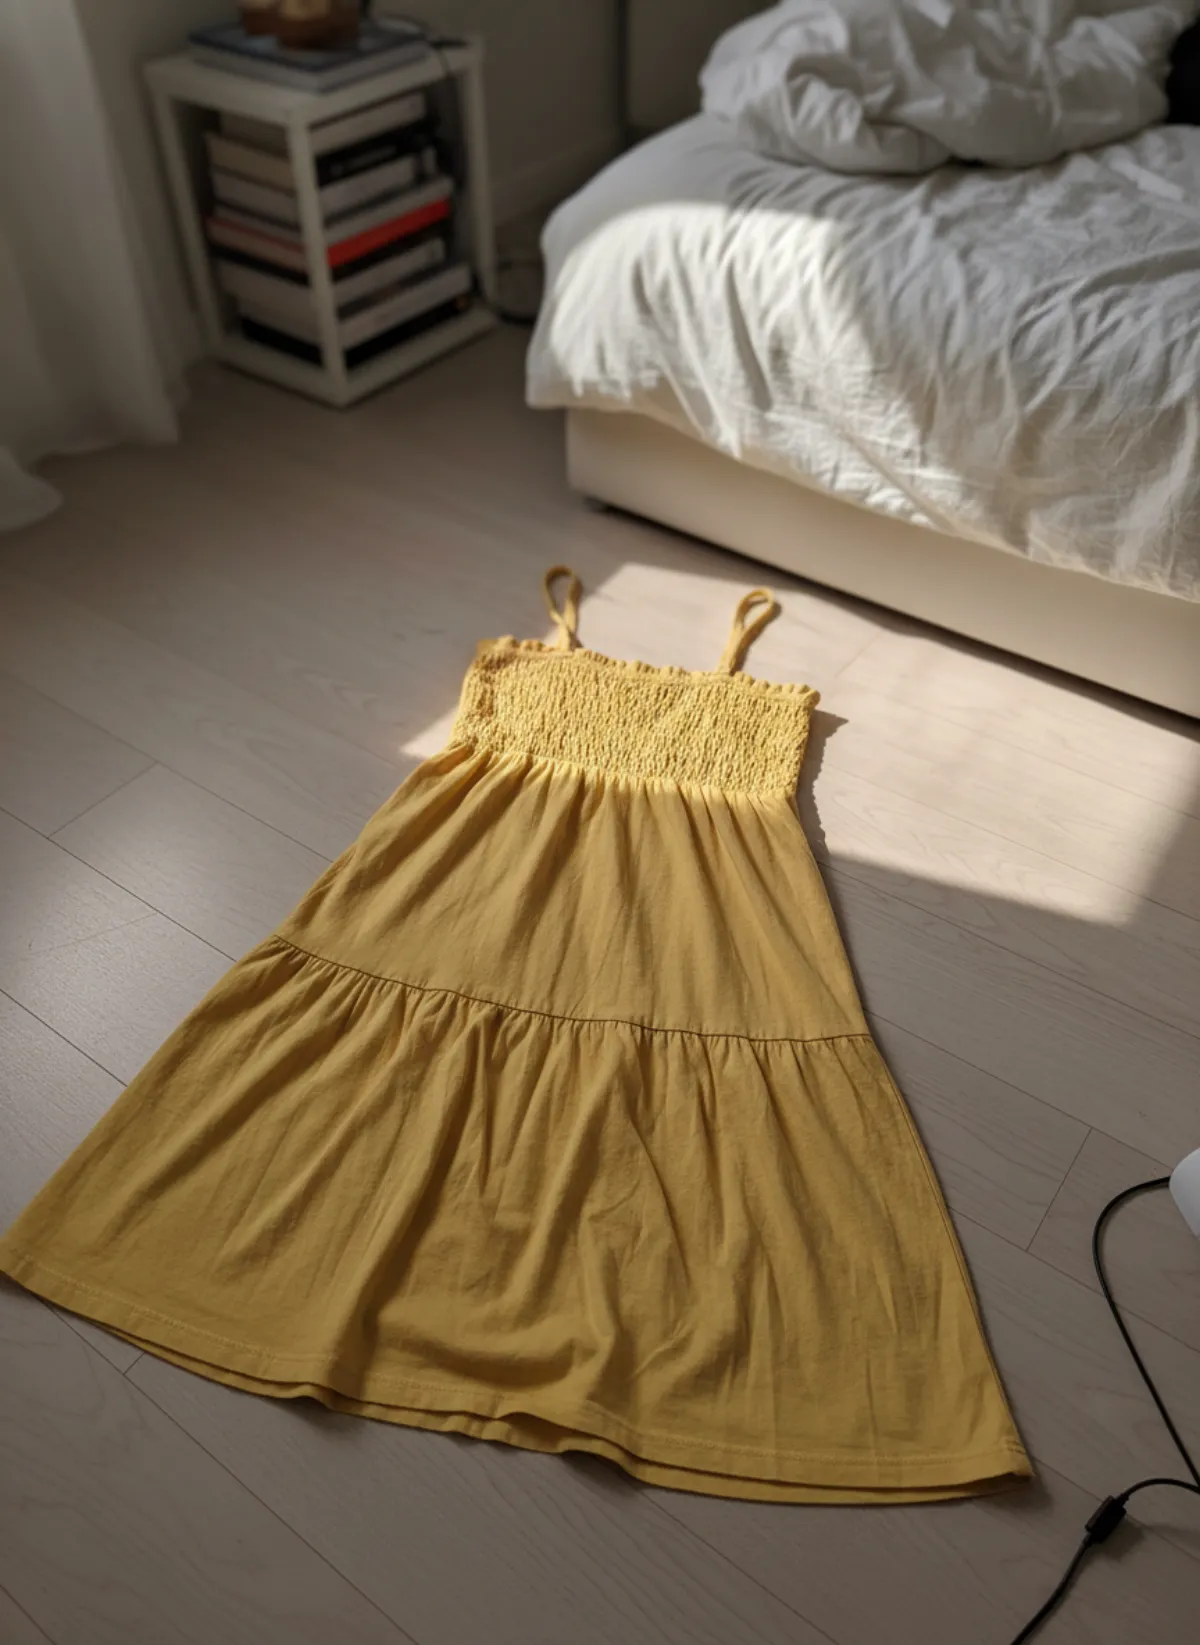
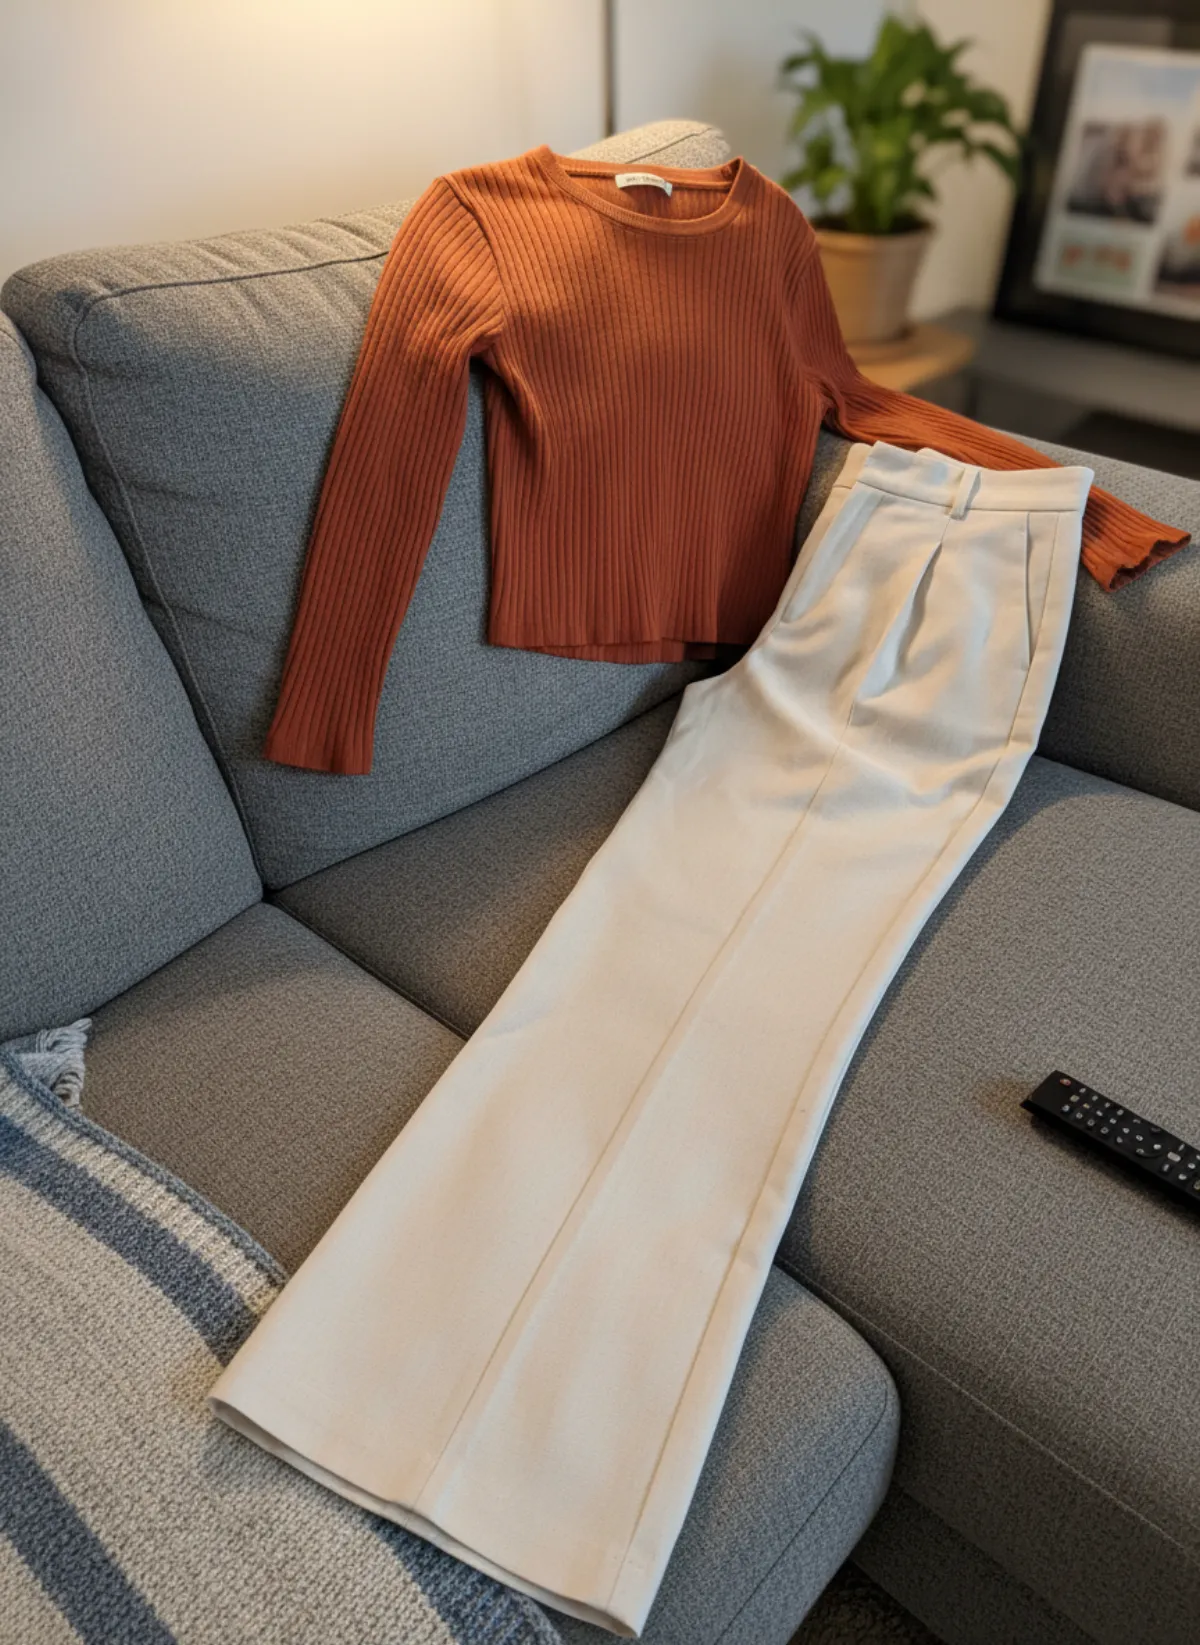
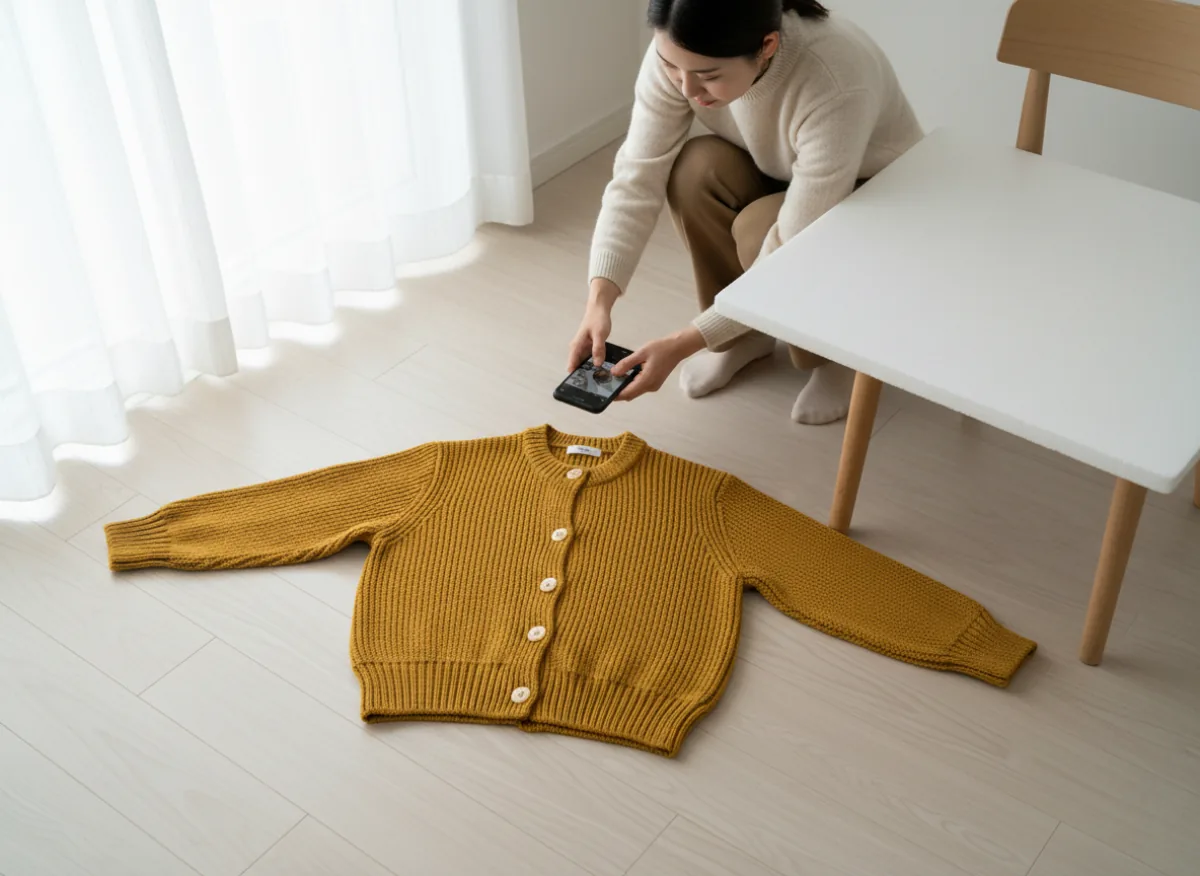
Everything downstream depends on this one photo. Lay the item completely flat near a window, out of direct sun, and shoot straight down with the whole piece in frame: both sleeves straight, buttons done up, hem and cuffs visible, a little floor around every edge. A white card or sheet leaned against a chair bounces light into the shadow side so the colour stays honest.
Steam out creases first and remove tags, pins and clips. Pick a plain surface that contrasts with the item: a mustard cardigan reads well on pale wood, a cream knit on a darker floor. If you photograph on a hanger, hang the piece straight on a bare wall so the shoulders and hem keep their real shape. Then take the extra evidence a buyer wants: the label, the back, any print, hardware or flaw, each in its own close photo.
Those extras are not for the generator; they are for the buyer. A model frame shows presentation, while the close-ups prove material and condition. The picture shows the setup: a woman holding a phone straight above a flat cardigan with daylight bounced back from a white card. Our guide to product photos with a phone goes deeper, and flat lay to model is the route for exactly this kind of source.
A real set: one skirt on a hanger
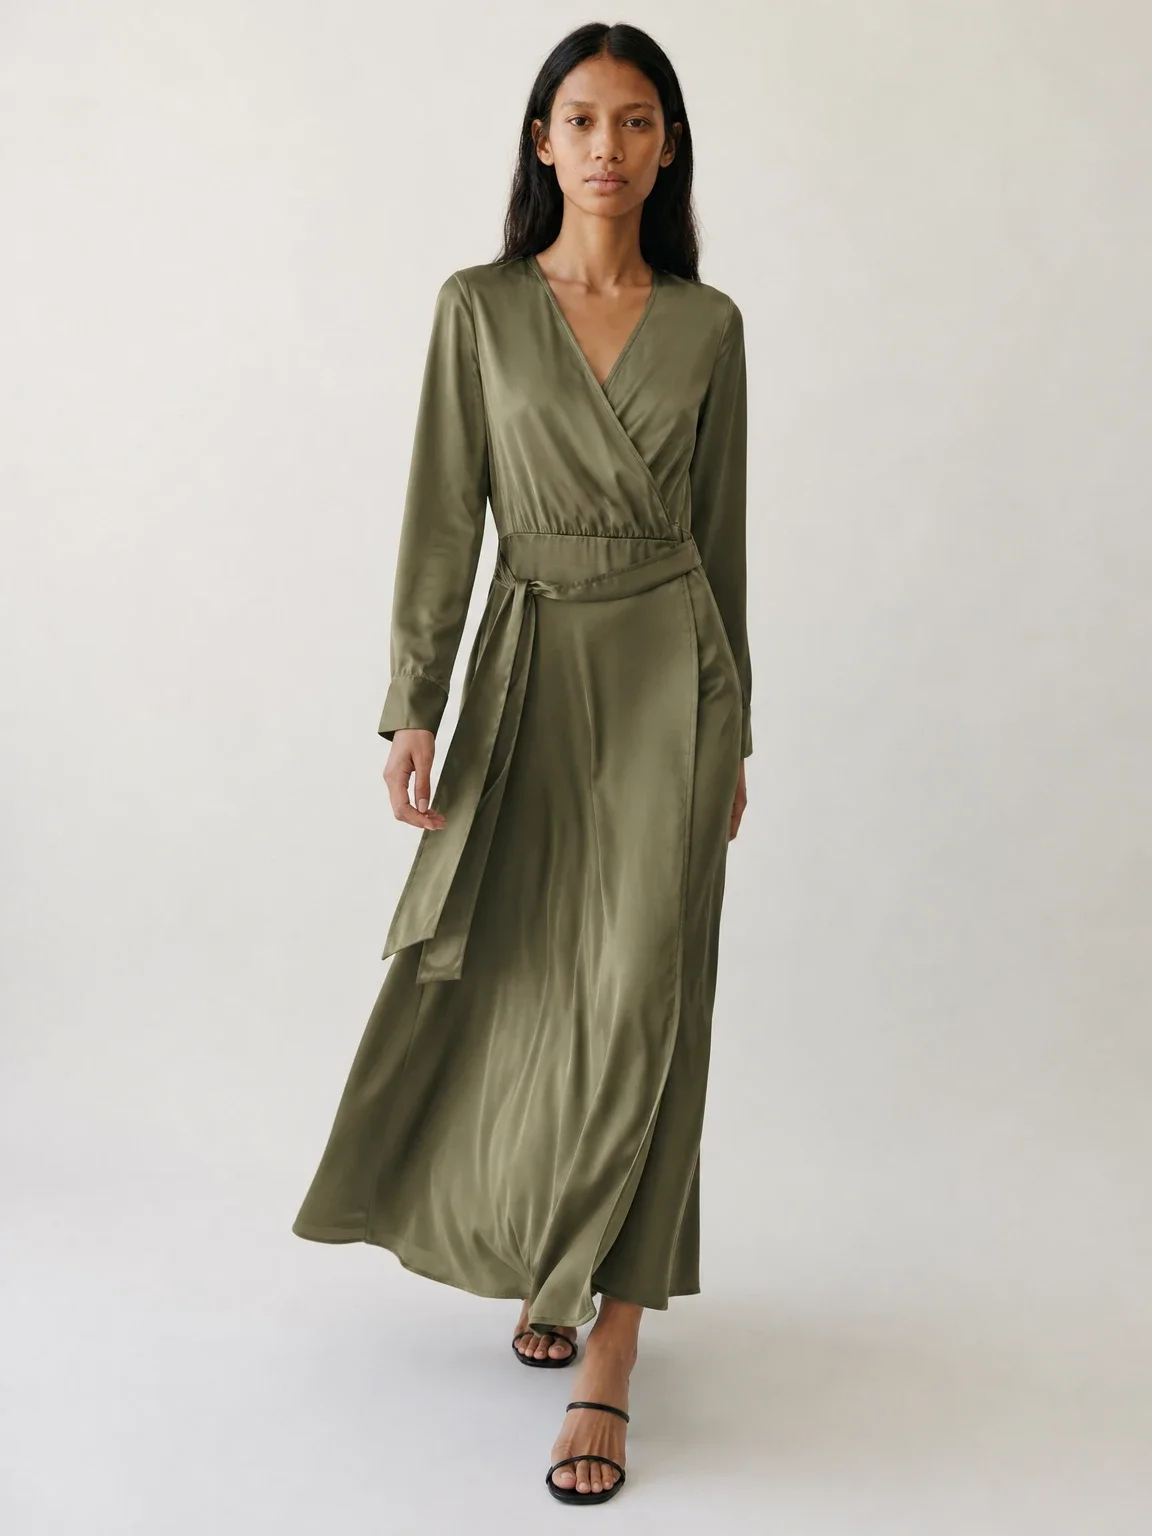
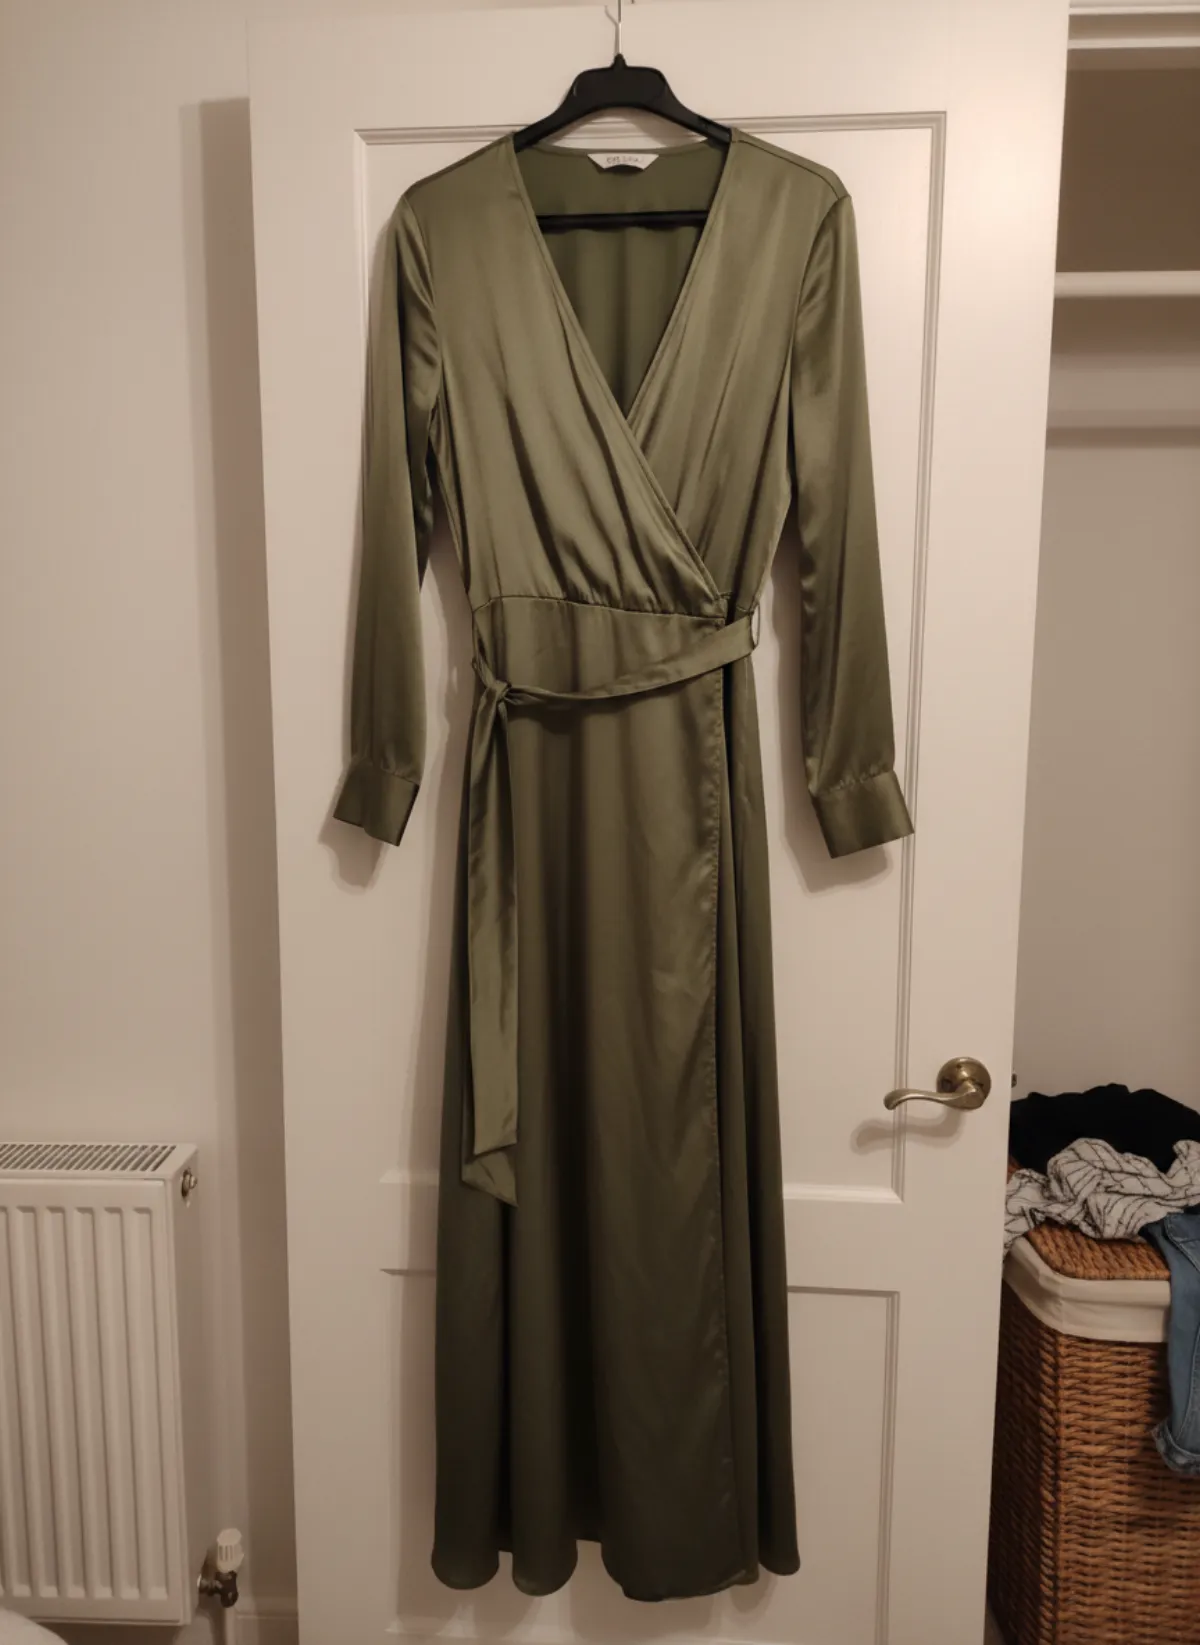
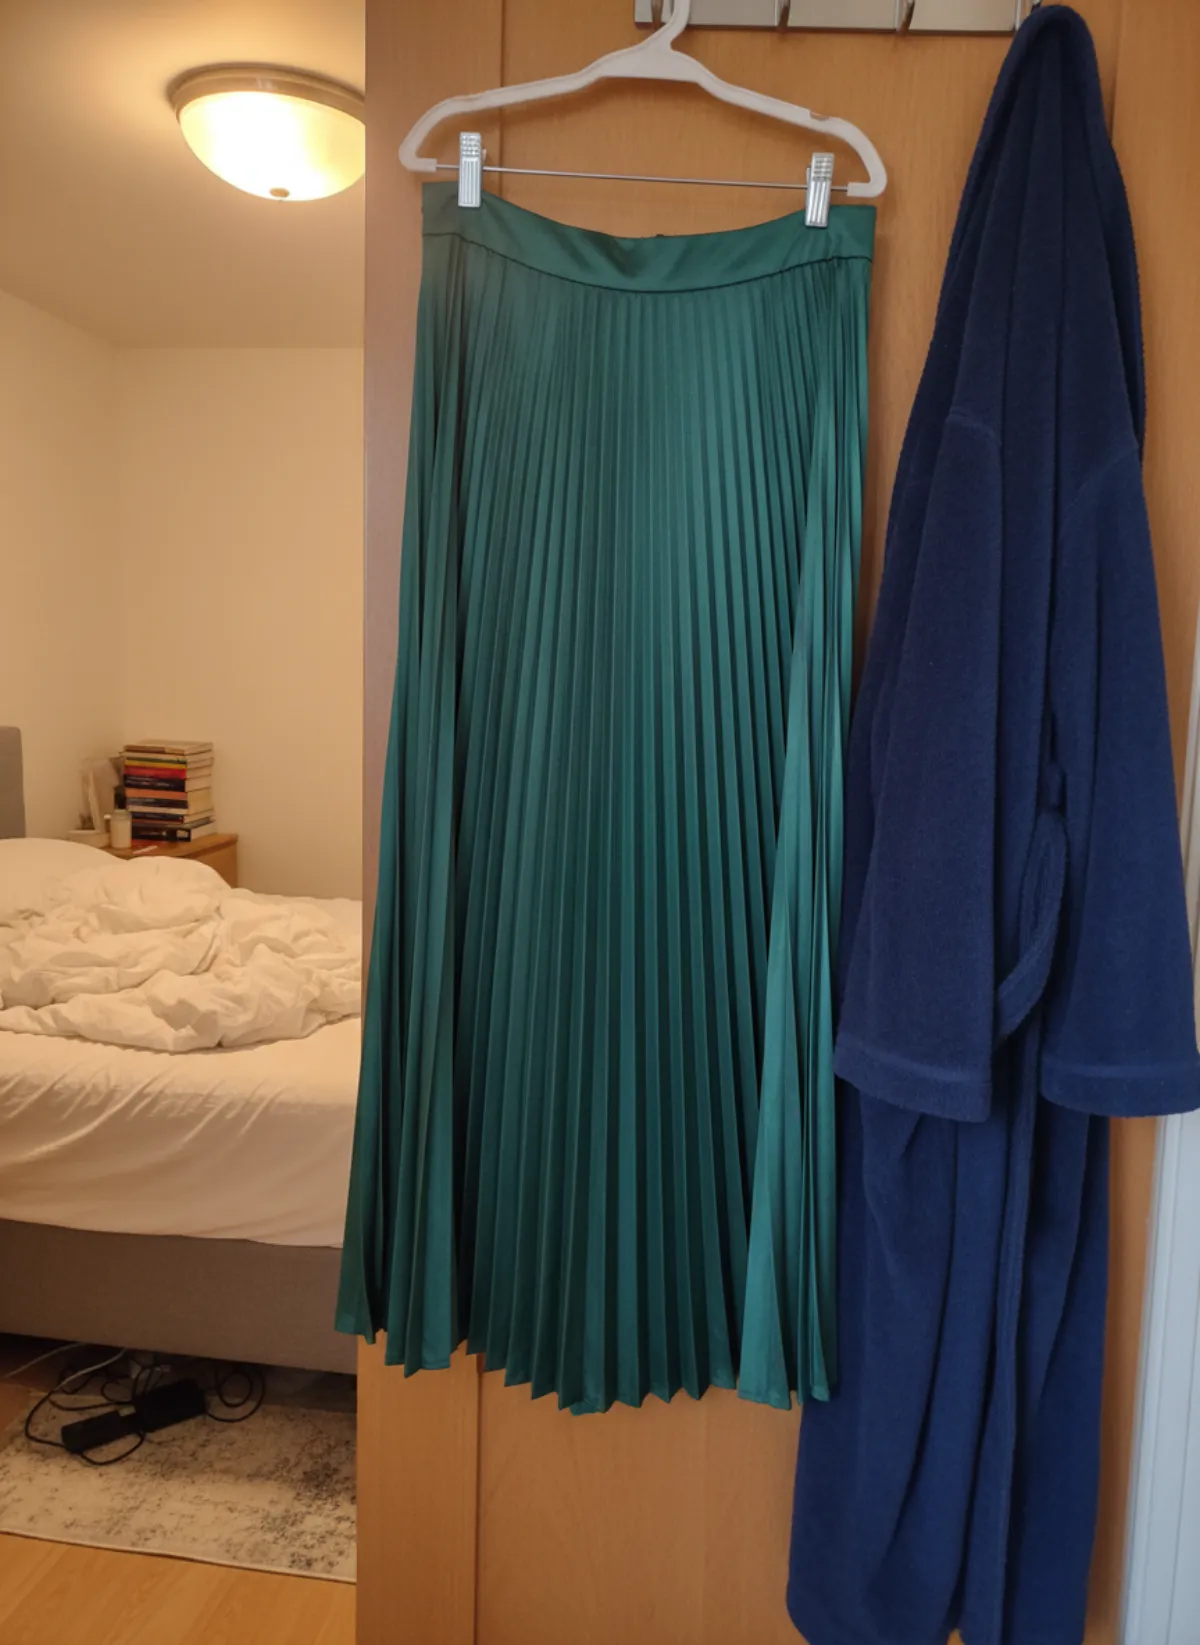
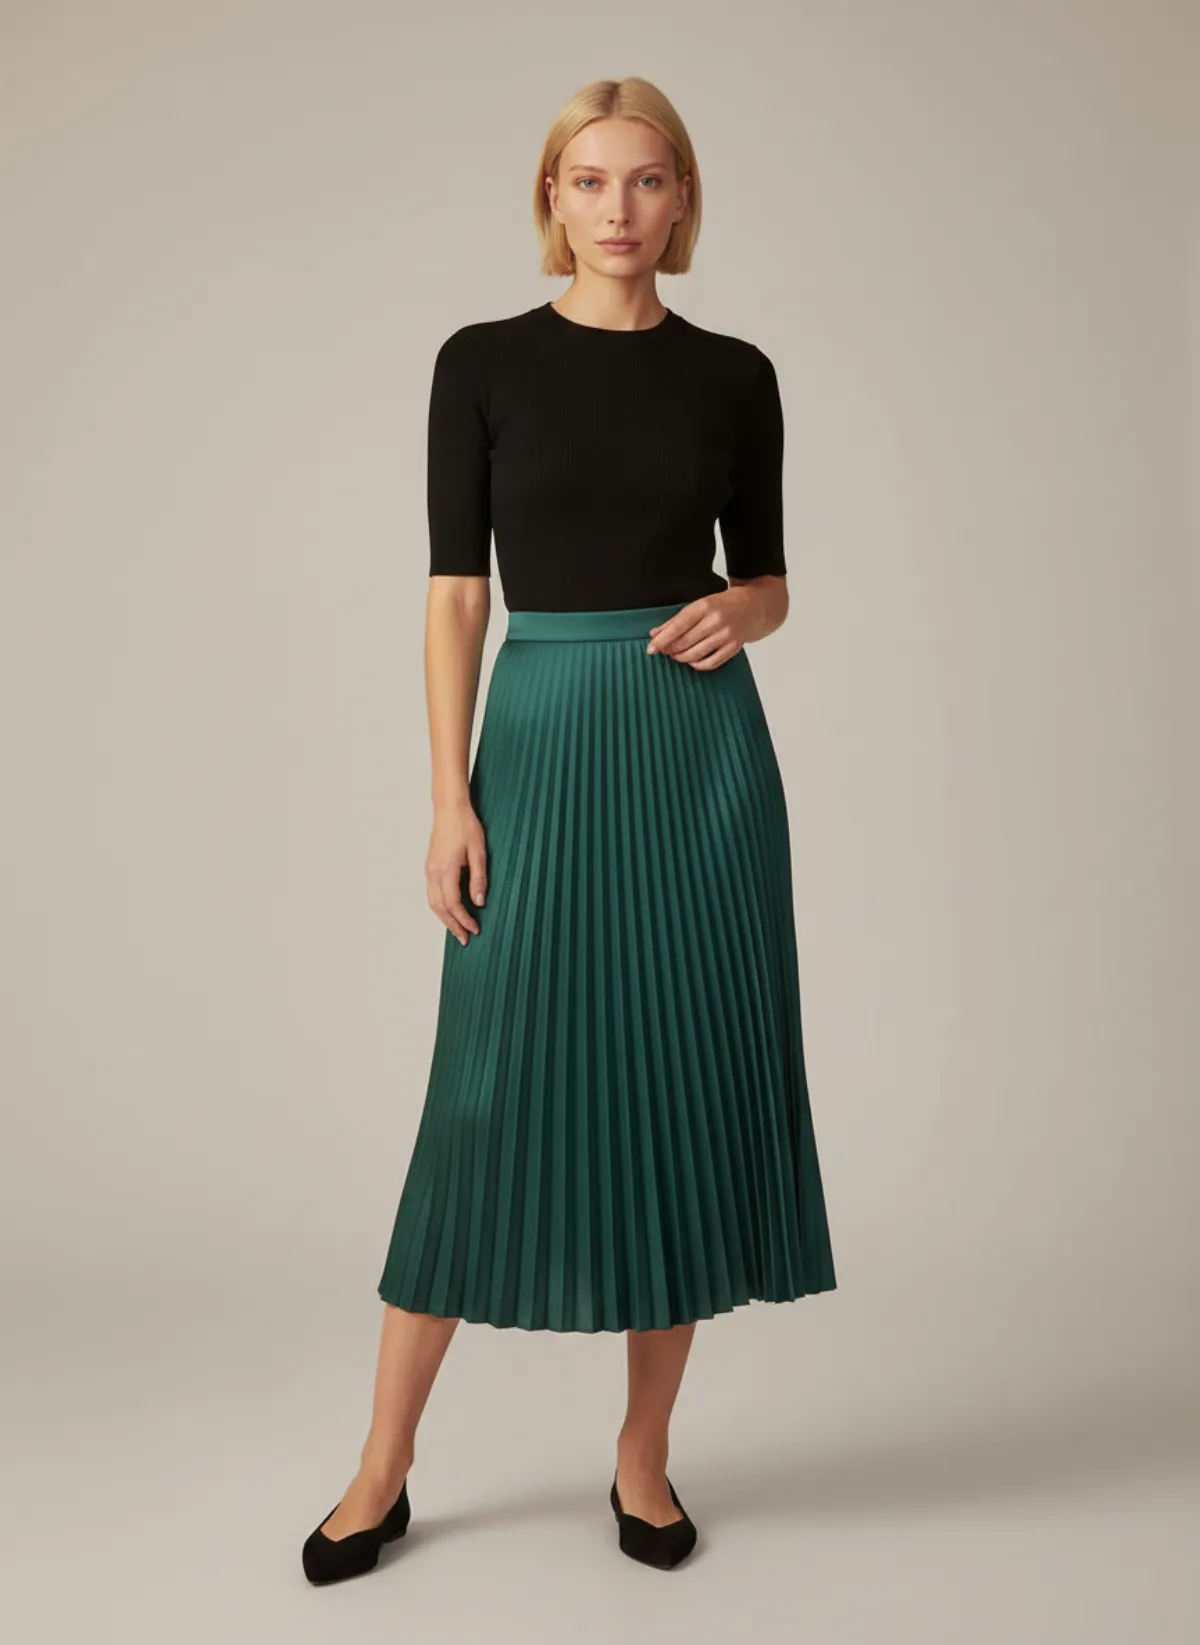
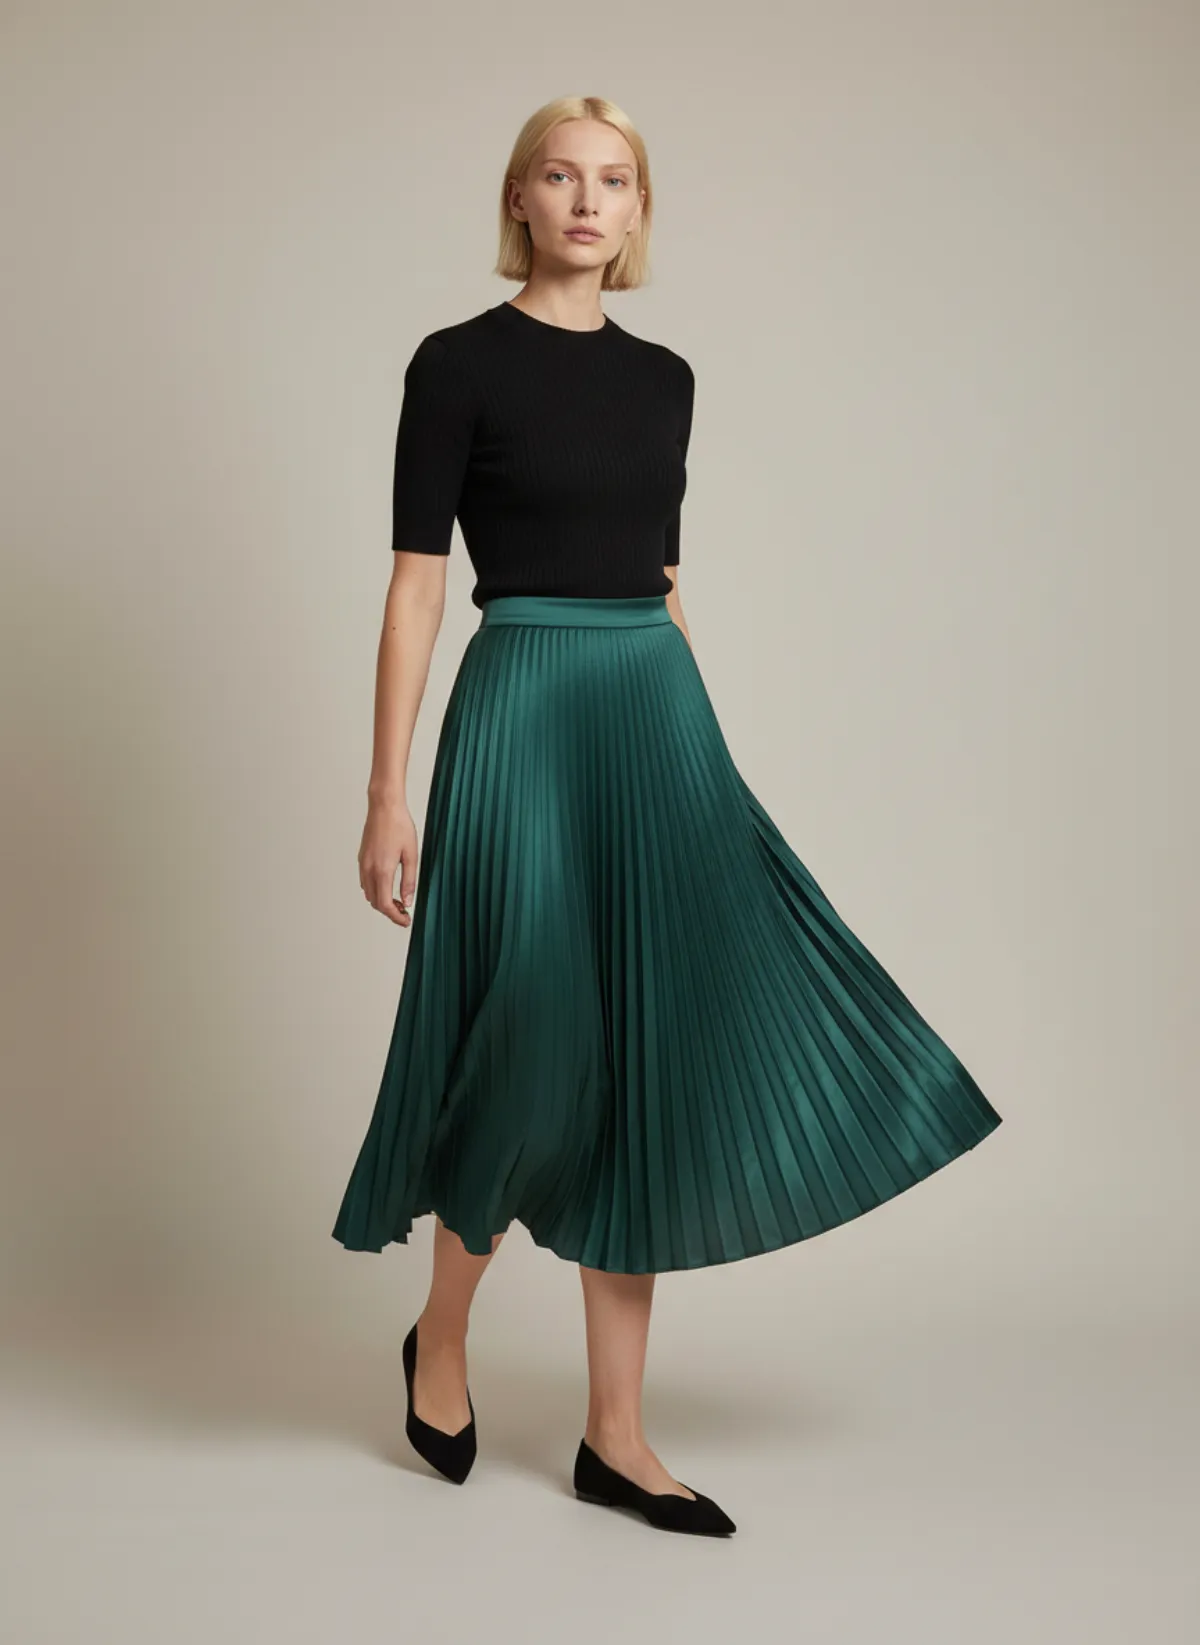
This pleated satin skirt was photographed on a clip hanger on a bedroom door, with a bathrobe hanging beside it. Garmo returned clean model frames from that single photo.
A bottle-green pleated midi skirt
The front and walking frames keep the knife pleats, the waistband and the midi length, and the satin sheen still reads as satin. A buyer who compares them with the original photo finds the same skirt.
 Your photo
How to order the pictures in a listing
Lead with the clearest front-facing model image, because that is what appears in search results and on a phone. Put a second angle or a movement frame next: it answers how the item hangs and moves. Place the real product photo third so the shopper sees the actual item, followed by the label, the close-ups and any size information you can show as an image.
Every picture after the first should answer a question. If two frames show the same pose, one of them is padding. If a buyer will ask about the lining, the back or the stretch, add a real photo that shows it. On resale platforms such as Vinted, Etsy or eBay, check the seller policy on generated images before you upload, and describe condition in the text even when the photo looks perfect.
Finally, keep a small log of what you published: the source photo, the approved frames and the reason any frame was rejected. After a month it tells you which categories sell with model photos and which need another real angle, and it makes the next listing faster. The ten-product accuracy test shows how we review a frame against its source.
A six-step listing workflow
Photograph the whole item
Use soft window light, a simple background and enough space around every edge. Add a back or detail reference when the front cannot show the construction.
Choose the correct route
Use flat lay to model for a garment on the floor, hanger to model for a hanging product and the dedicated category for shoes or jewelry.
Fix one visual direction
Choose the same model, neutral background, crop and image ratio for the category. Consistency helps buyers compare products and makes the shop feel intentional.
Generate a proof set
Create a front, three-quarter and restrained movement frame. Review those before producing more products or decorative campaign images.
Audit against the source
Check colour, neckline, sleeve, hem, seams, buttons, print, logo and anatomy at full size. Reject changes rather than explaining them away.
Publish a mixed evidence set
Lead with the clearest channel-appropriate image, include the real product photo and add model views that answer a question instead of repeating the same pose.
Build the set for the channel, not for an imaginary universal listing
A resale marketplace, a social shop and a brand website do different jobs. On a resale listing, the buyer needs condition evidence, labels and flaws; real photographs carry that trust. On a brand product page, consistent on-model views help compare a full range. On social media, a lifestyle frame may earn the click, but the destination still needs accurate product evidence.
Do not assume one crop works everywhere. Save a clean master and export the ratios your channels actually use. Garmo offers five common ratios, but composition still needs inspection: shoes must not be clipped, a long dress needs breathing room, and the product should remain readable on a phone. A generated image with the right pixel dimensions can still be a poor thumbnail.
If the source is a flat photo, start with flat lay to model. If it is on a hanger, use garment to model. These routes matter because the system receives different evidence. Do not hide an incomplete input behind a longer prompt; take another product photo instead.
Track the landing page and signup source so you learn which category produces real sales, not just attractive sessions. Keep a small review log with product, source quality, approved frames and rejection reason. After twenty products, that log becomes a practical photography guide for your own stock. To help more of your buyers picture the garment on someone like them, see our guide to diverse AI models for ecommerce.
AI model photo questions for sellers
Can I use AI model photos in a marketplace listing?
Platform rules and disclosure expectations can change, so check the current seller policy for each channel. Regardless of policy, show the real item, describe it accurately and never use generation to hide condition or alter features.
Do I still need to photograph the real product?
Yes. The real photograph is both the generation source and the buyer’s evidence. Capture extra views for labels, flaws, back construction, texture and any feature the main image cannot prove.
How many model images should a listing have?
Begin with three useful views: front, three-quarter and one movement or side frame. Add a back view or detail only when it answers a product question. More repeated poses do not create more trust.
Will AI preserve the exact garment?
It can preserve a clear visible garment well, but no generation should be approved automatically. Prints, closures, logos, lace, jewelry counts and shoe construction require close comparison with the source.
Can I create my own consistent model?
Yes. A reusable model identity can make a shop grid more coherent. Keep the same model and art direction within a category, and avoid implying that the image proves how the item fits every shopper.