Four ways to show a garment
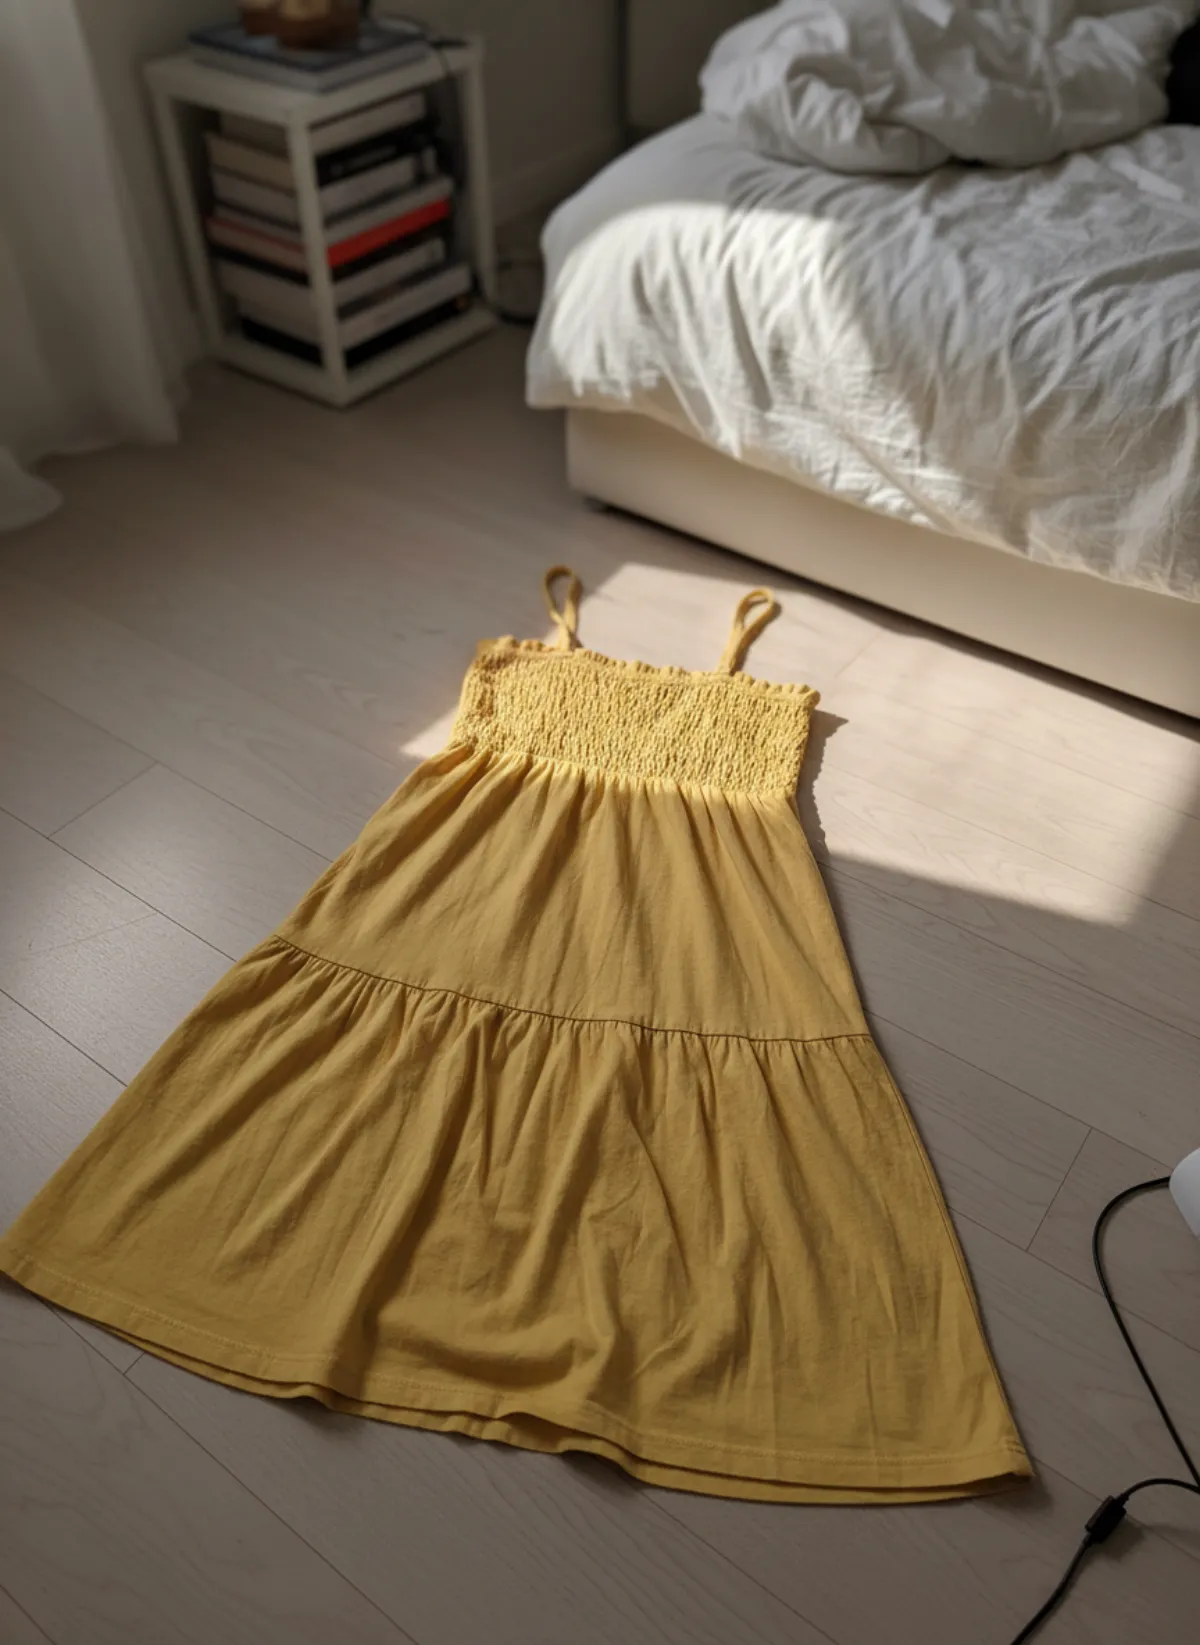
Flat lay. The garment lies flat on a clean surface and you shoot from straight above. It is the cheapest way, it shows the real shape and the print, and it is easy to repeat. The downside is that clothes look smaller and flatter than they are, and shoppers cannot tell how they hang.
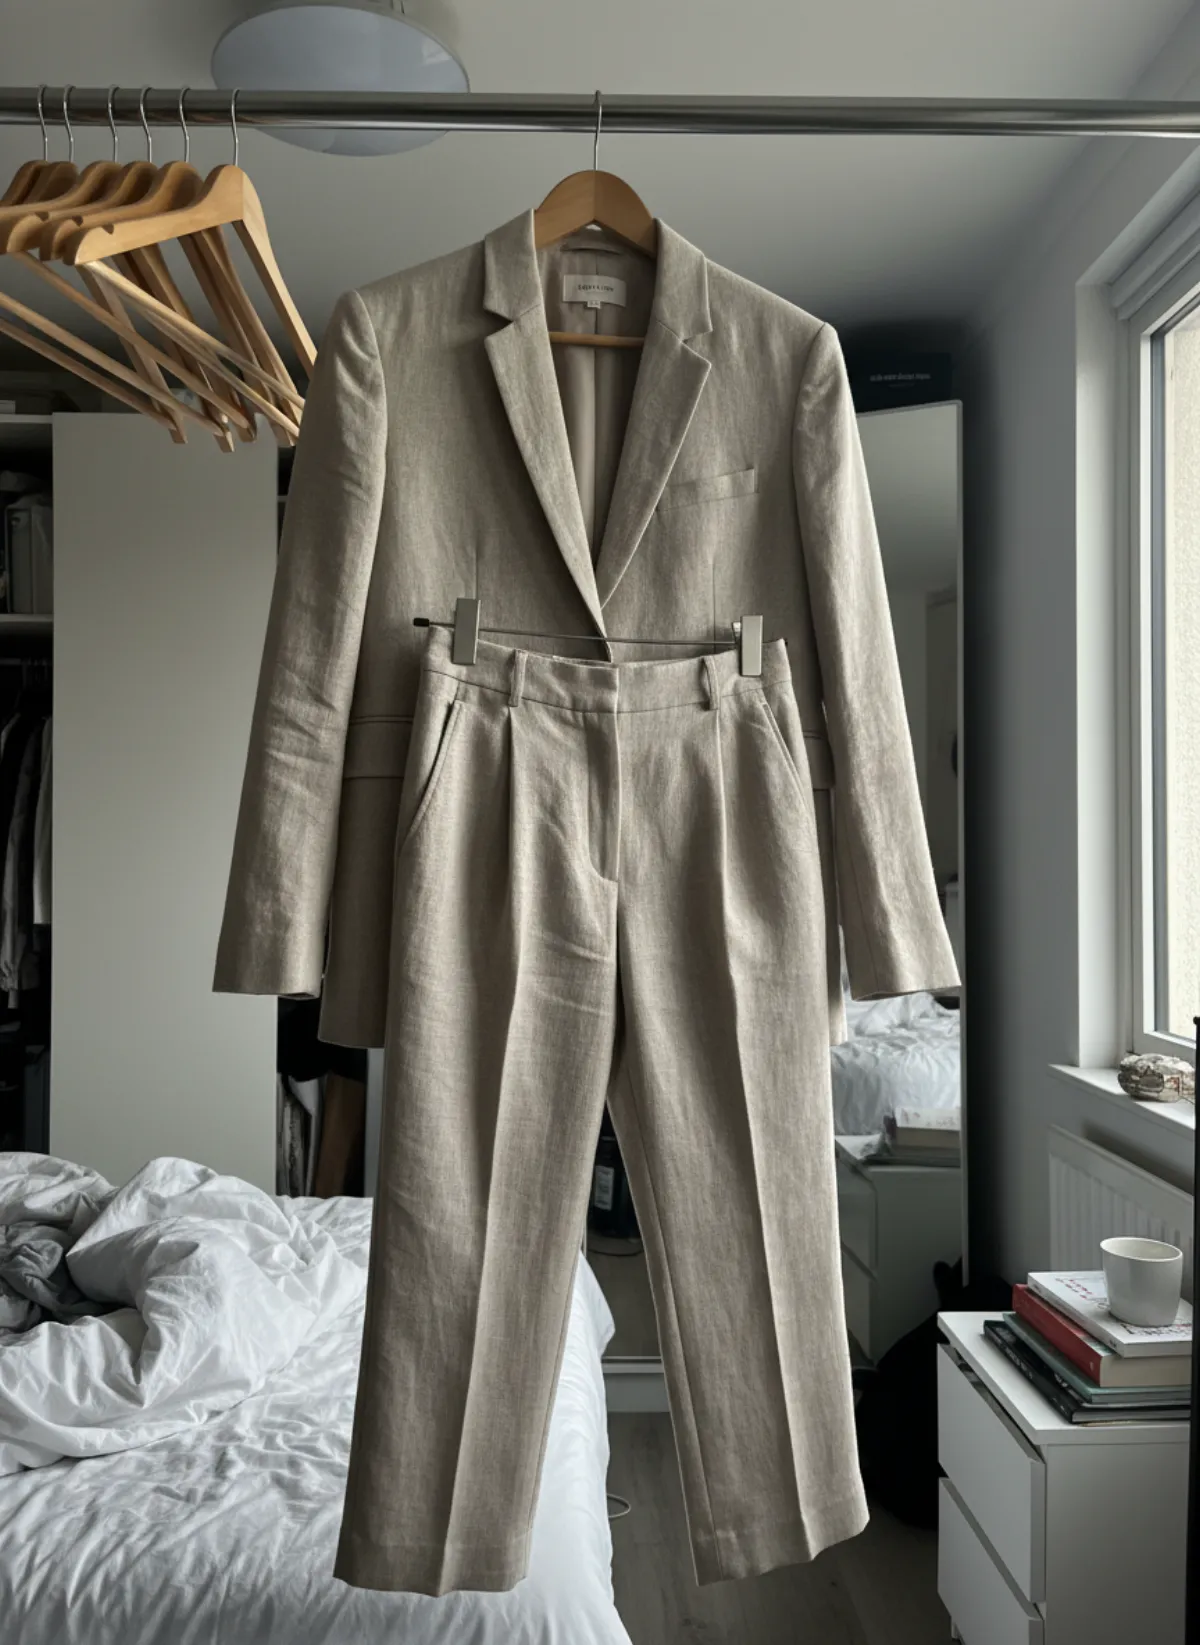
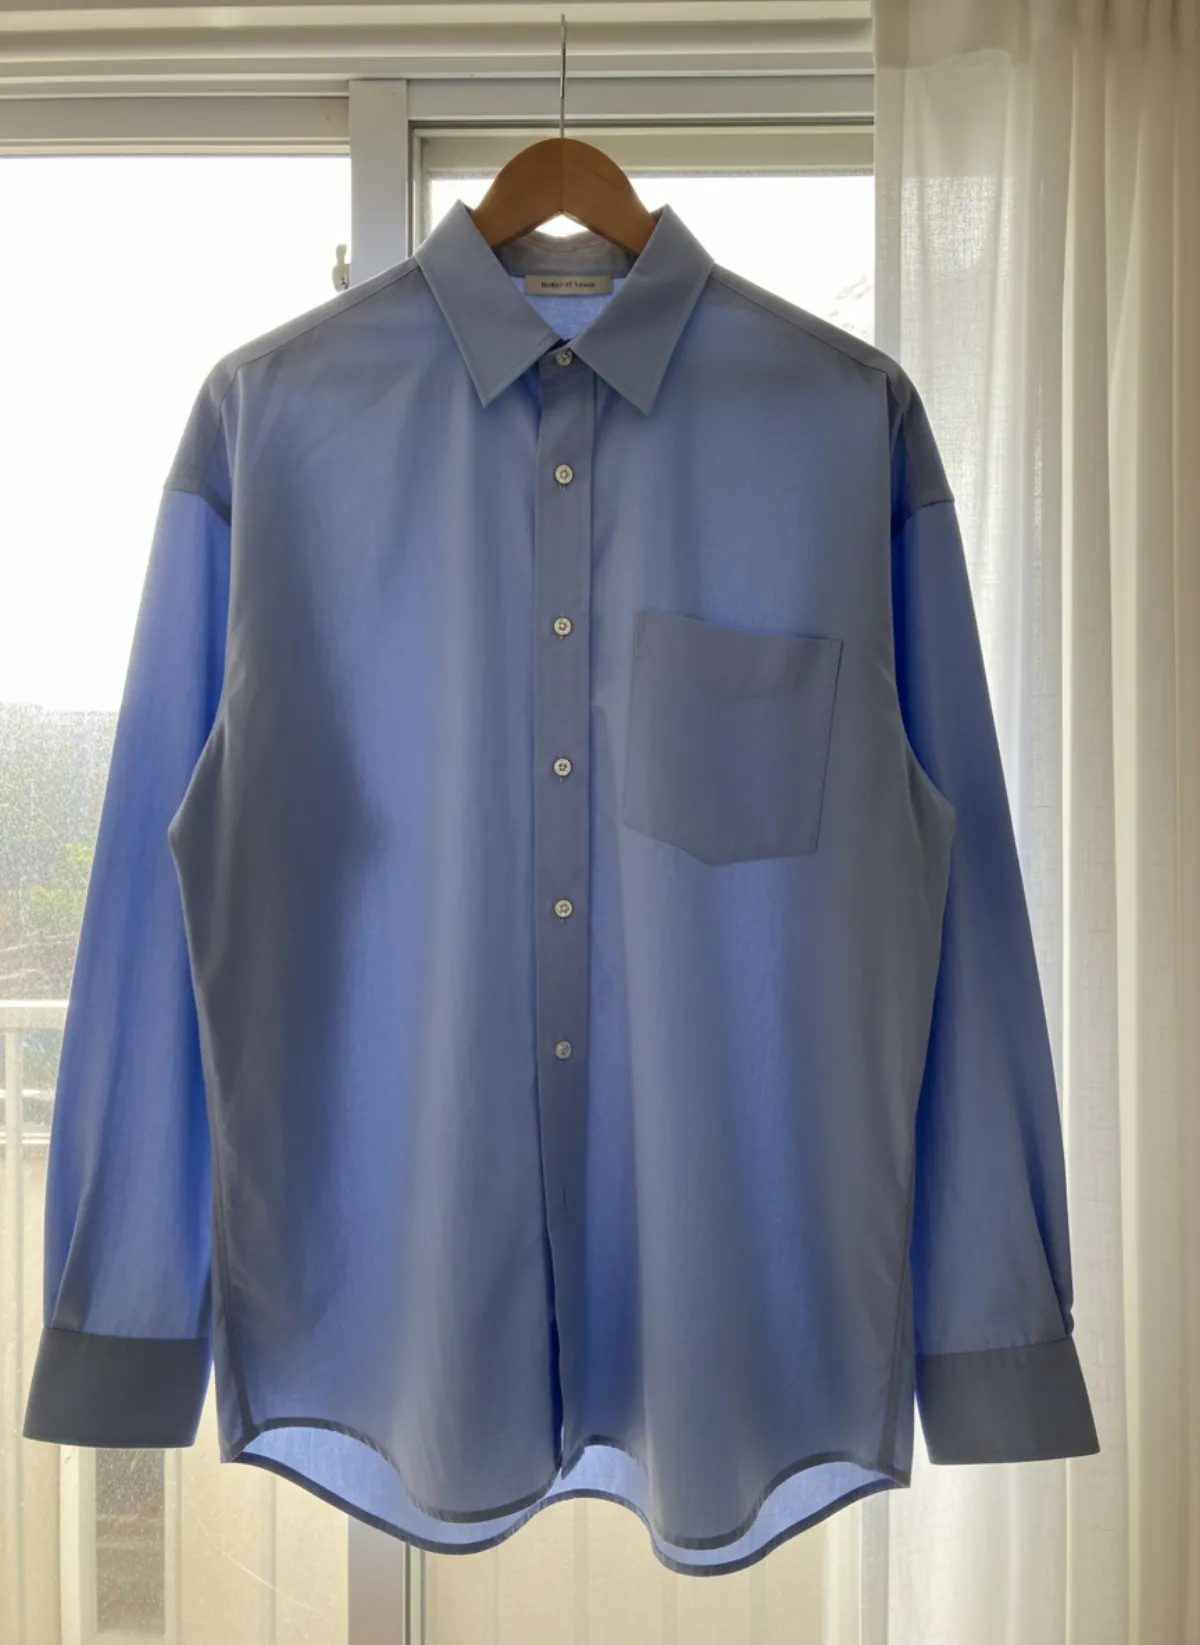
Hanging. Hang the garment on a plain hanger against a wall or a door. This shows the drape better than a flat lay for dresses, shirts and coats. Steam it first, hang it at eye level, and keep the background empty. Coats and jackets get their own eight shots in how to take pictures of jackets to sell.
Mannequin. A mannequin gives the clothes a body shape and is quick to reuse. It can look stiff, and a visible stand or a different cut of body can mislead. If you already have mannequin photos, mannequin to model turns them into on-model images.
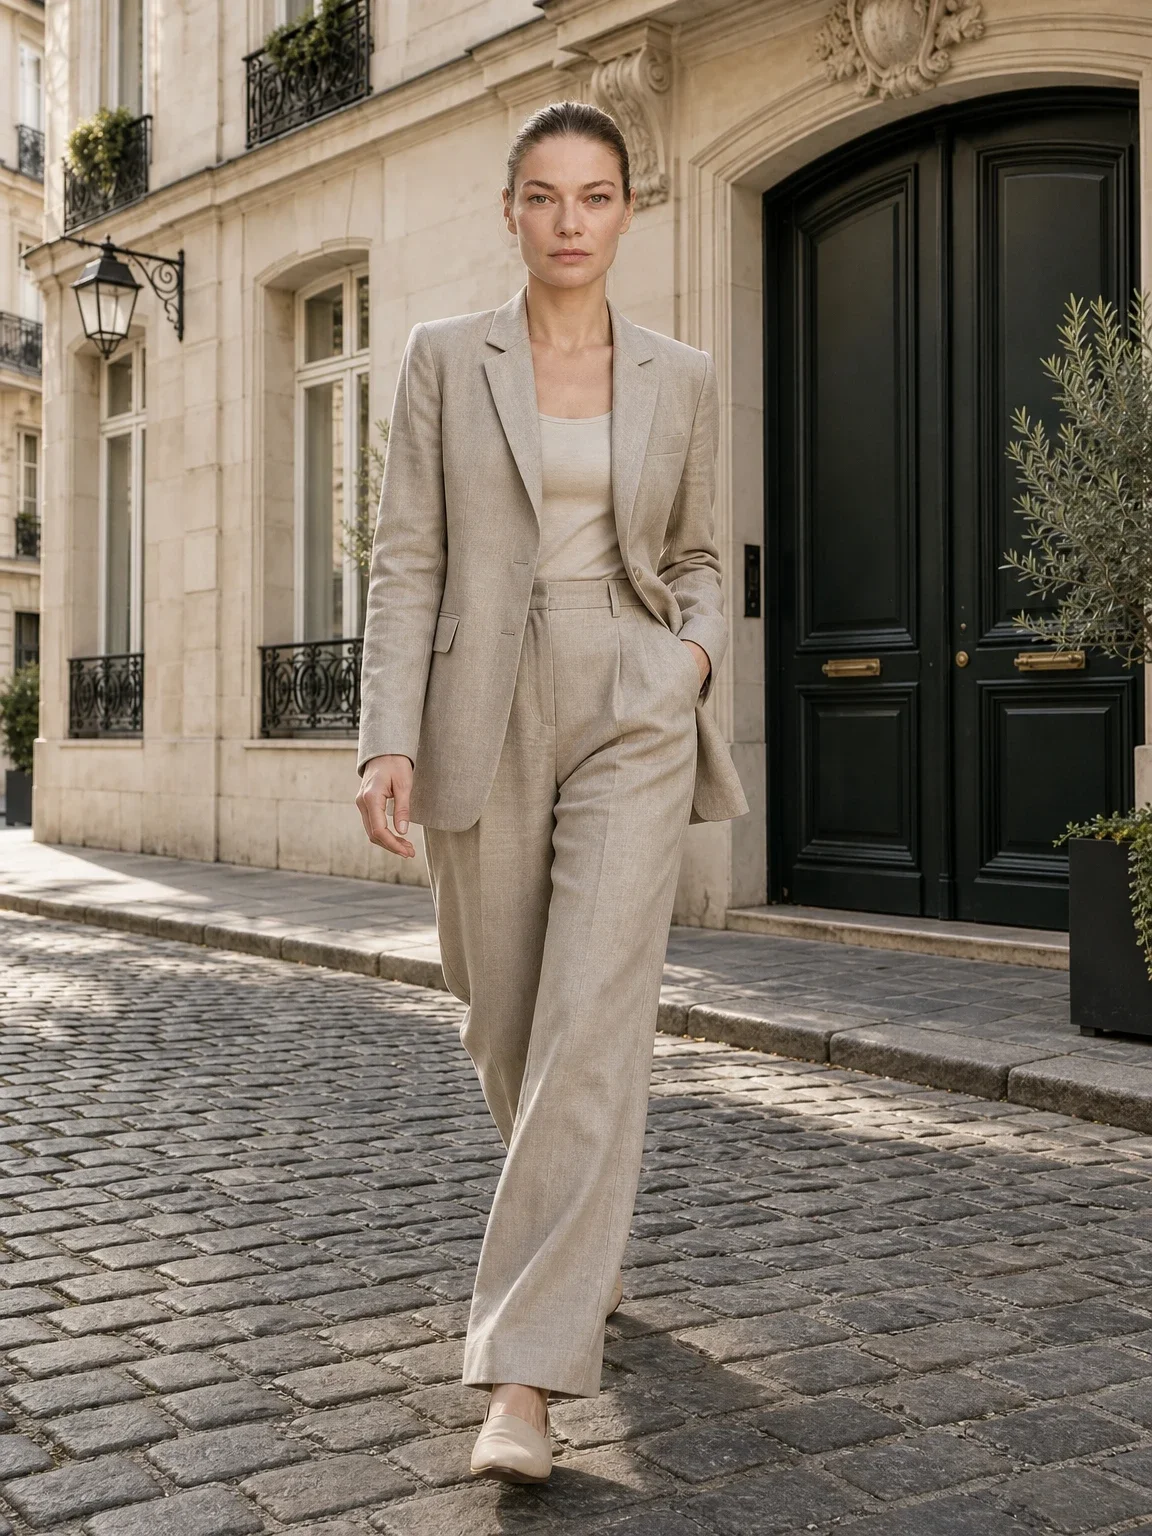
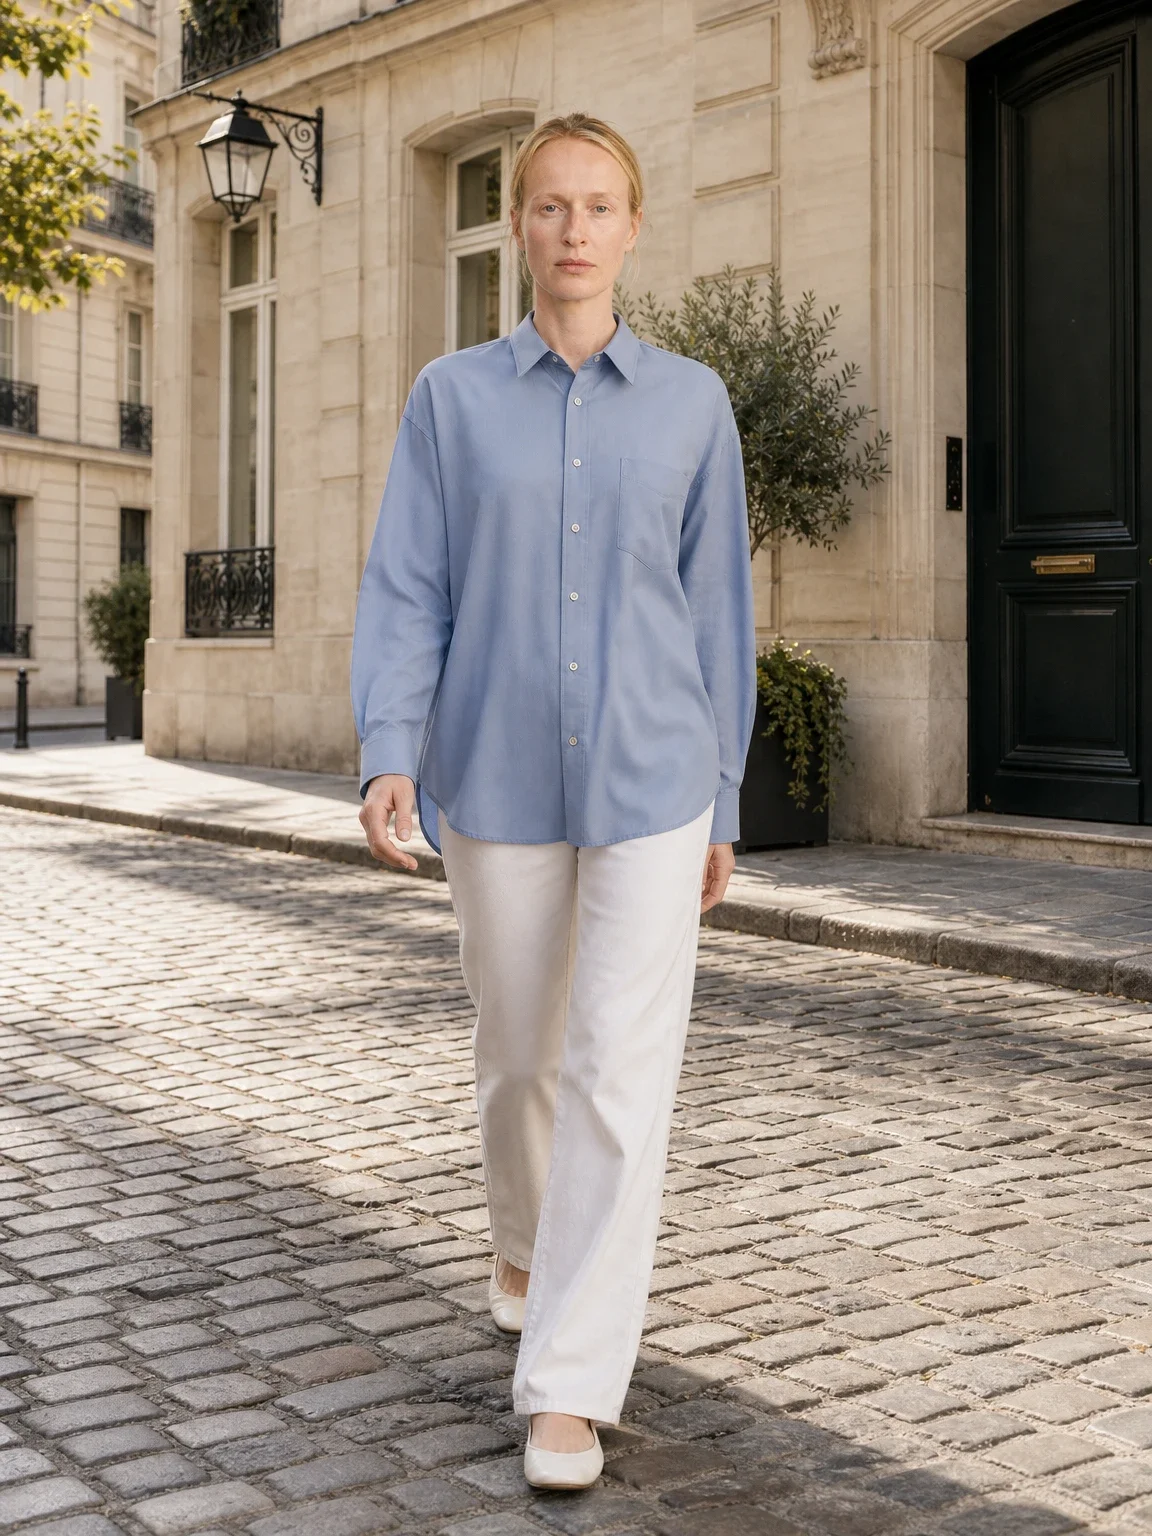
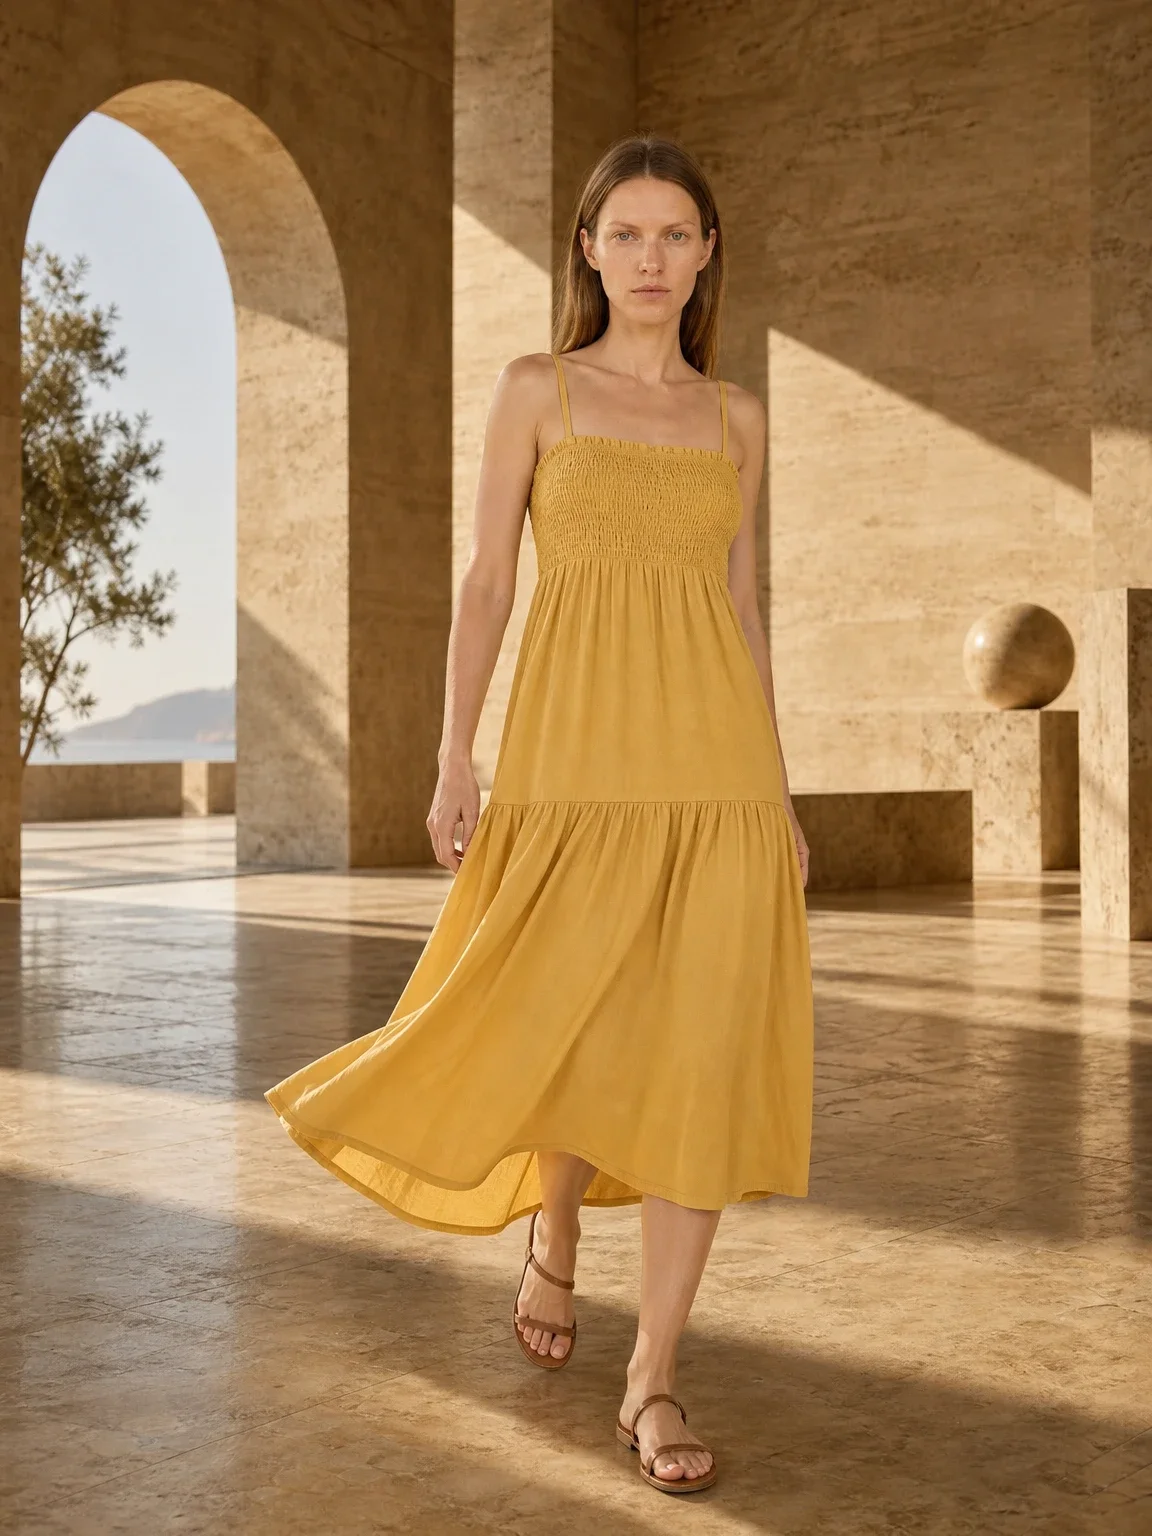
On a person. Shoppers trust this most, because they see the length, the fit and the way the fabric moves. It also costs the most: a model, a photographer, a location, and a repeat of all that for every new drop. That is the gap that on-model AI photos fill. No mannequin at home? Our guide on how to take pictures of clothes without a mannequin covers flat, hanger and wall setups.
The shots buyers expect
A clean front photo
The whole garment, centred, with a little space around it. This is the cover photo, so it should look the best.
The back
People want to know if there is a zip, a print or a tie on the back. Skipping it makes buyers message you.
A close-up of the fabric
A detail shot of the weave, the buttons or the print builds trust that the colour and quality are as described.
The label and size
A photo of the care label or size tag answers the most common question before it is asked.
Scale or fit
A worn shot or a measurement photo shows length and fit. Add the measurements in the description too.
Flaws, if there are any
On second-hand items, photograph every mark honestly. It prevents returns and bad reviews.
Light, steaming and the background
Use window light with no direct sun, switch off the lamps and leave the flash off. Soft light shows the fabric as it is, and it stops white clothes turning blue or yellow. If you only have evening light, shoot the next morning; it is worth the wait.
Wrinkles are the quickest way to make a good garment look cheap. Steam or iron it before every shoot, smooth the sleeves, close the zips and buttons, and take off tags that are not part of the listing. Avoid folding creases by hanging rather than stacking.
Use one plain background for the whole shop: a white wall, a clean floor or a light sheet. A consistent look makes a shop feel more established, and it makes your photos easier to scan. For more on setting up light and framing with a phone, see how to take product photos with your phone. For dresses and other flowing pieces, photographing clothes on a hanger often shows the drape better than a flat lay. Black pieces are the hardest to get right, so they have their own guide: how to photograph black clothing without losing detail.
From a bed photo to a model photo
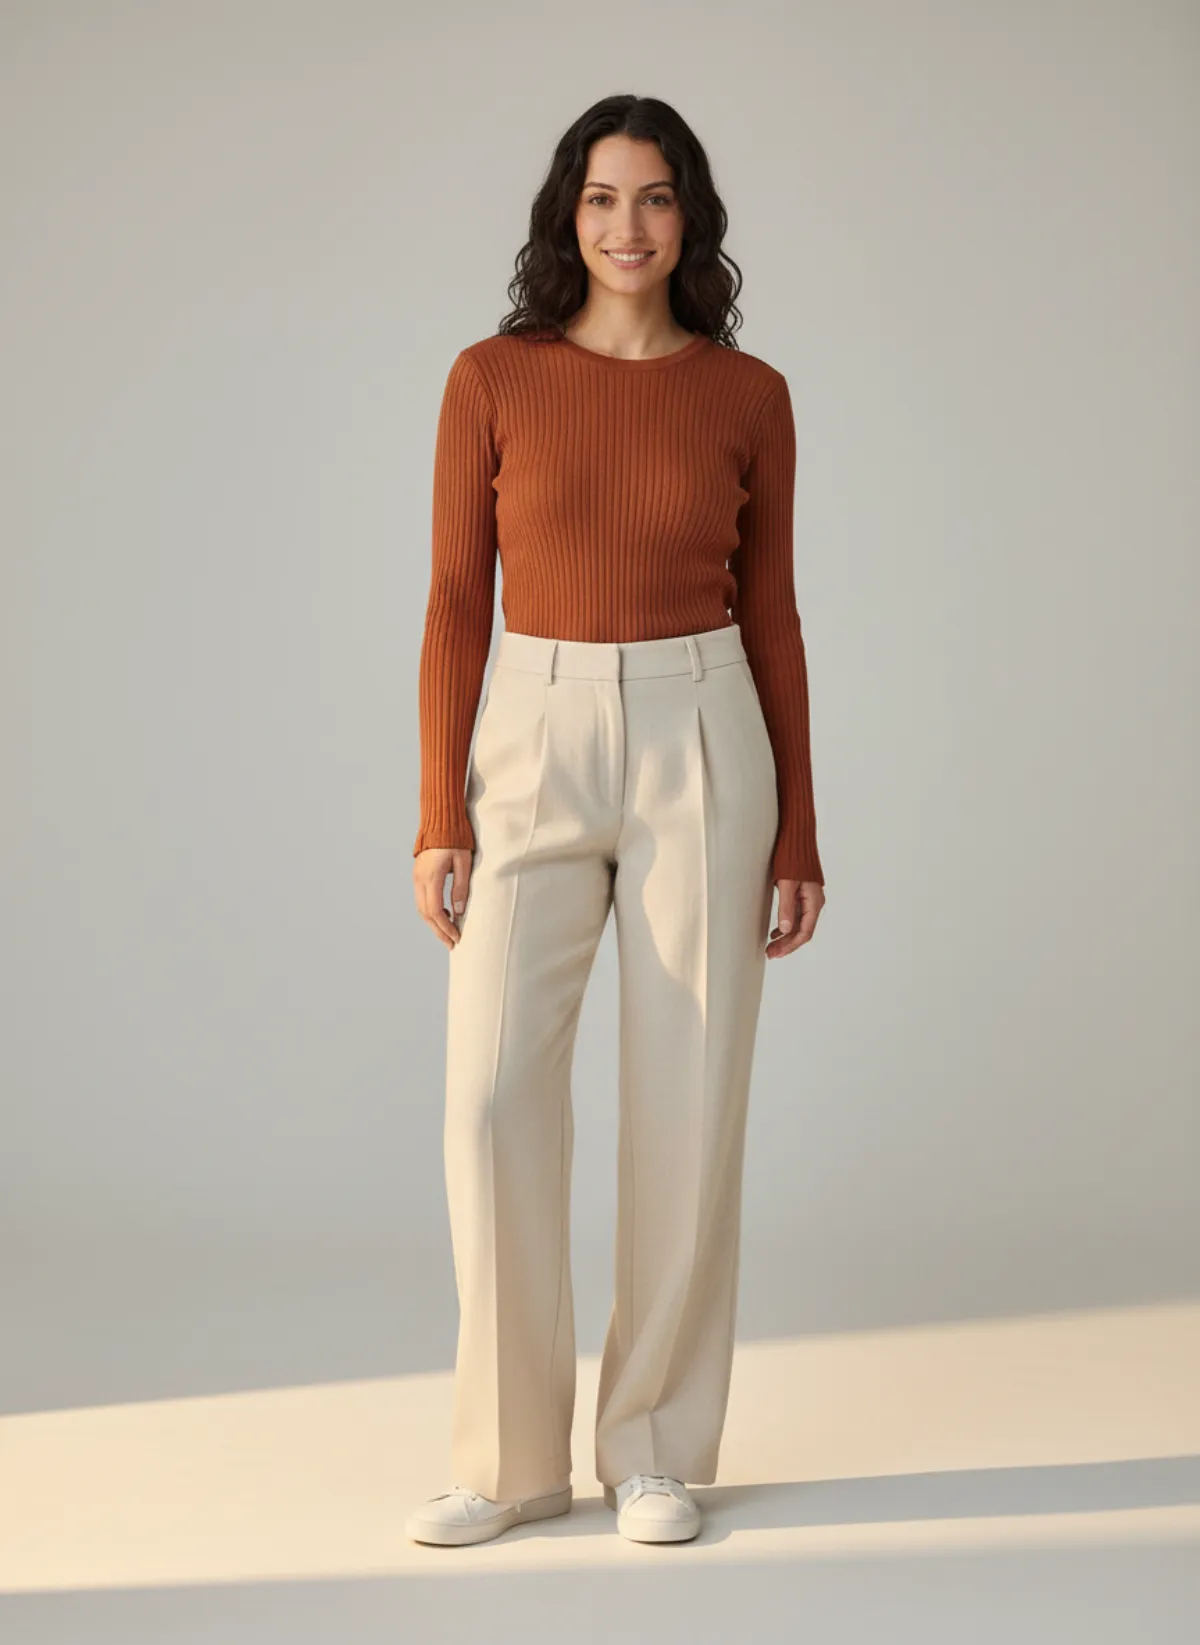
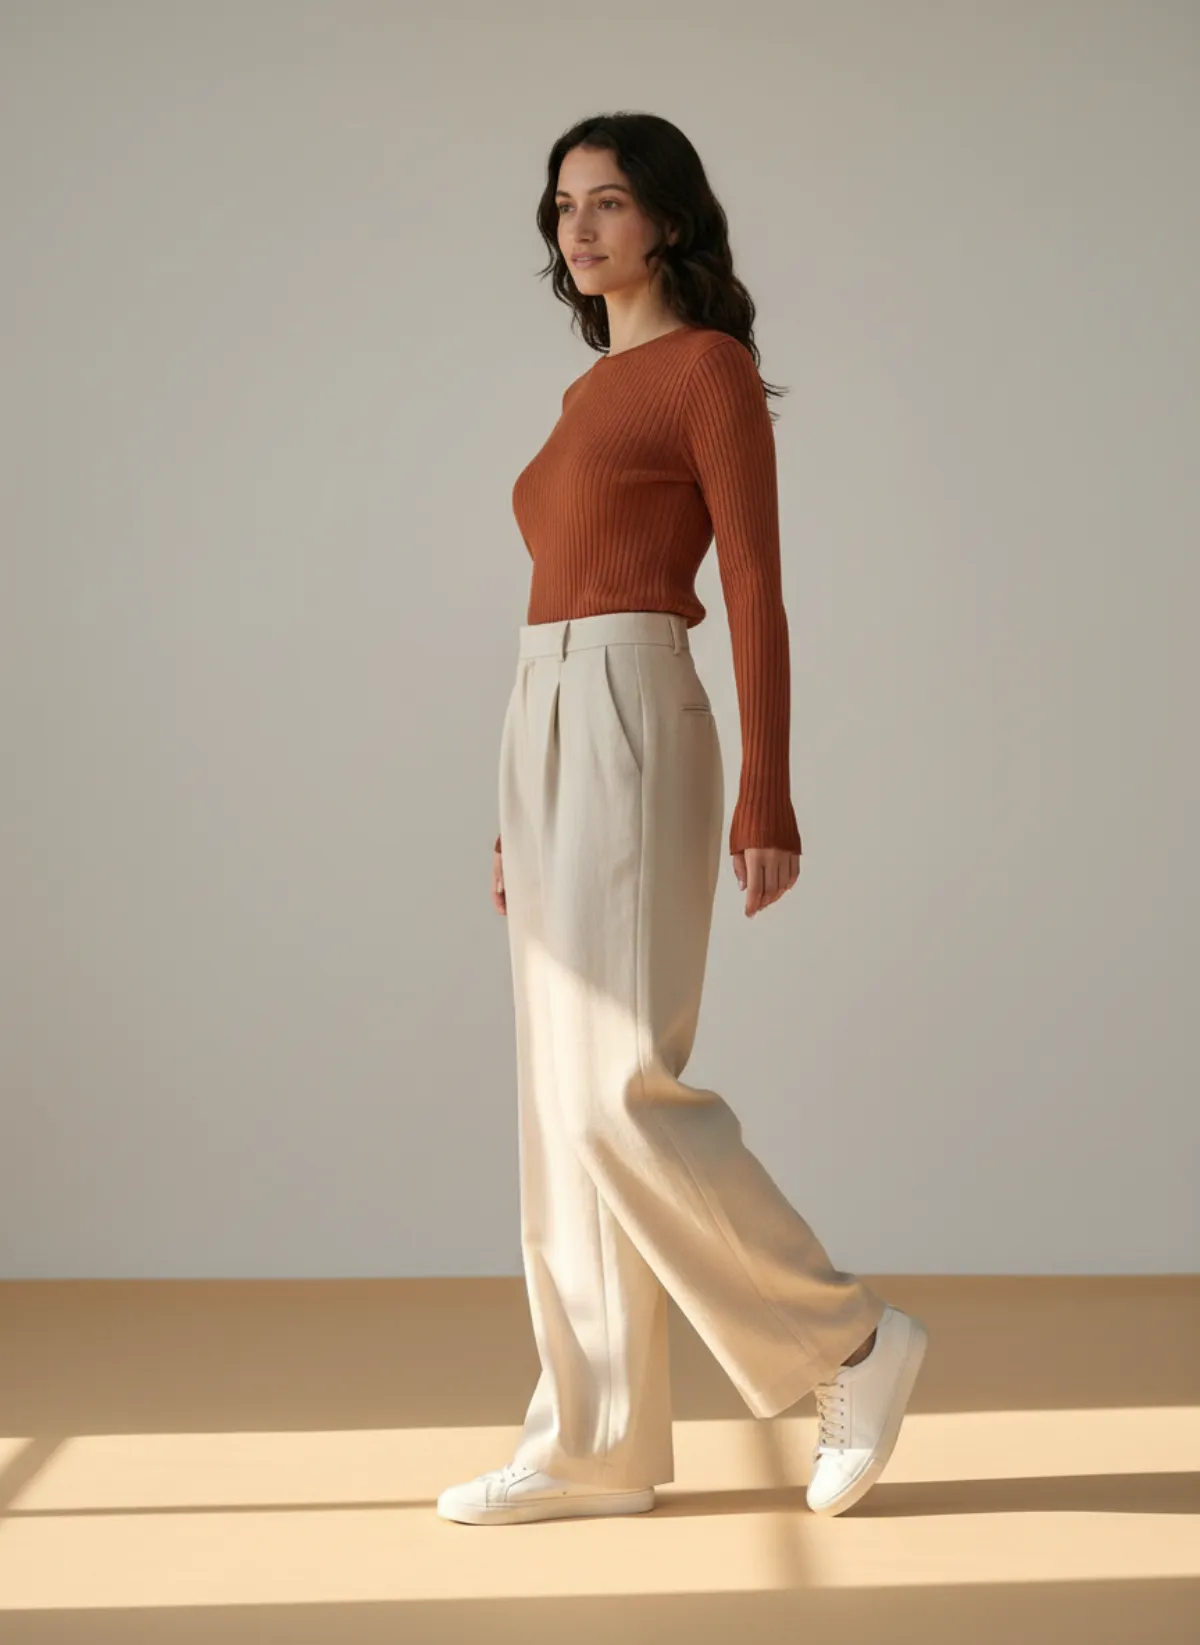
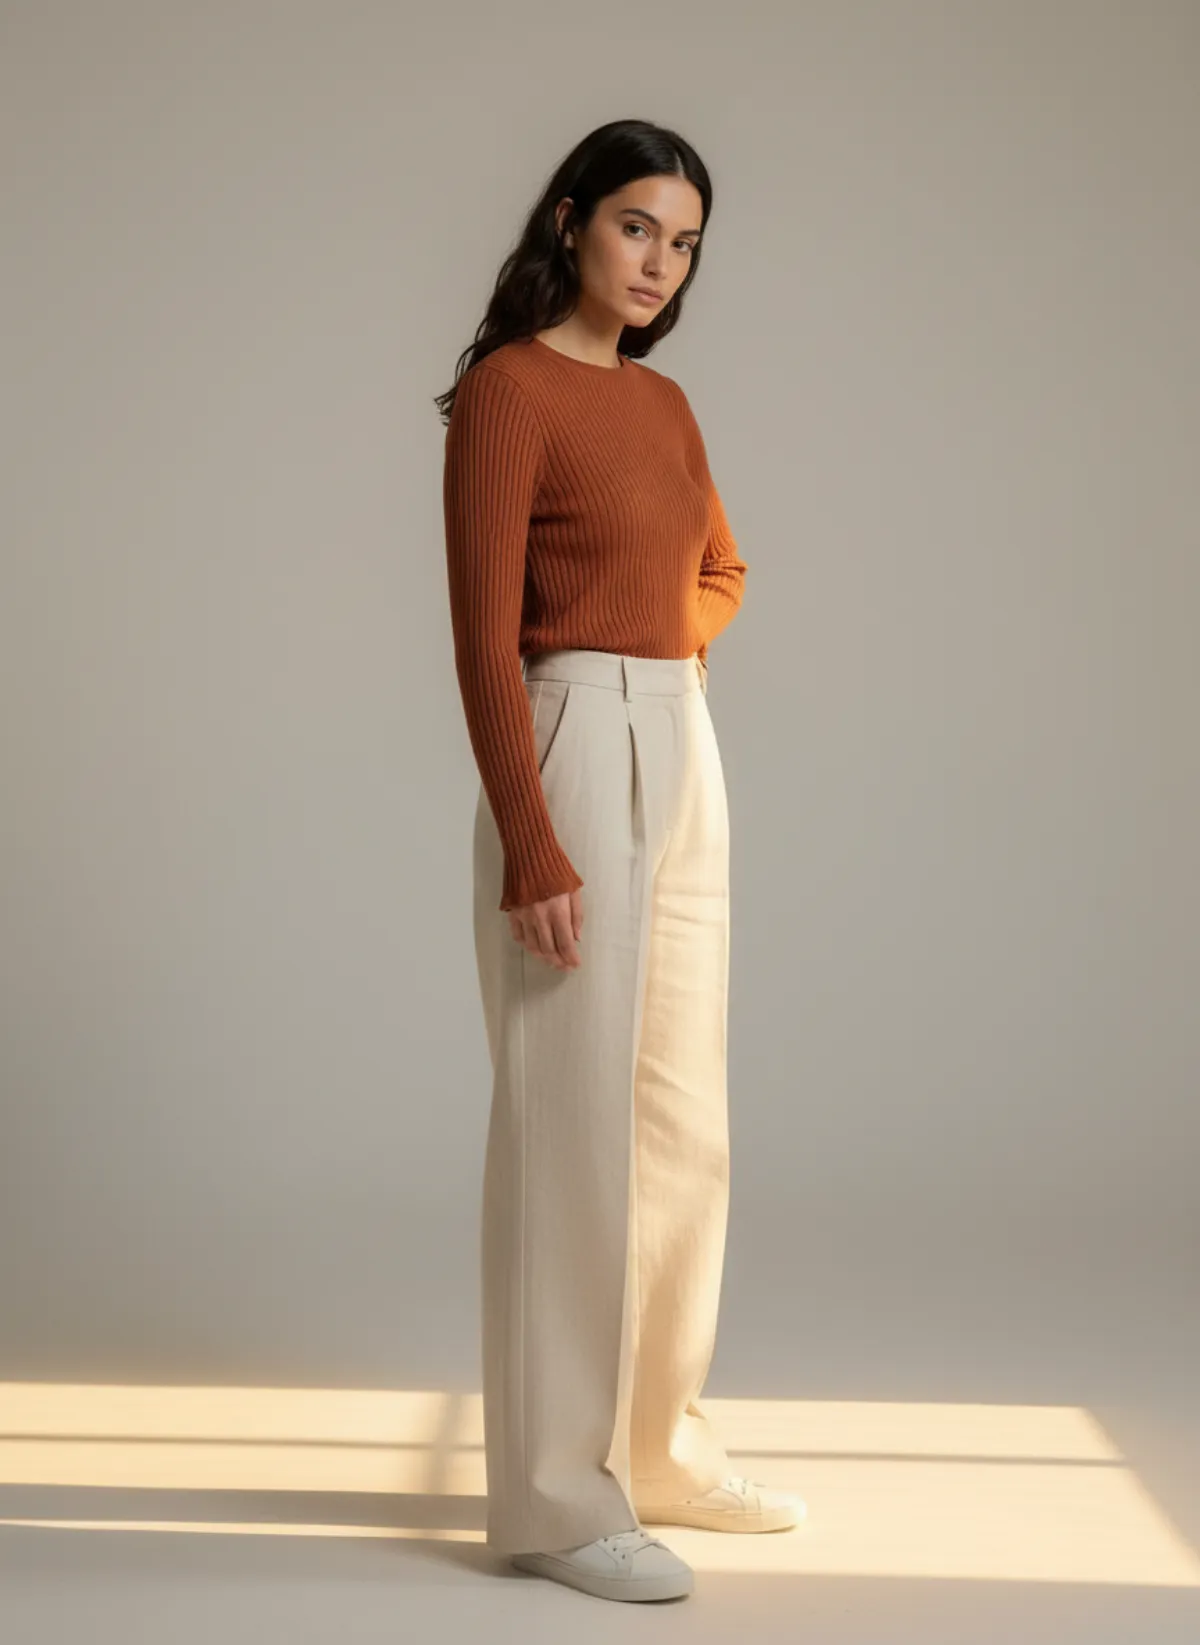
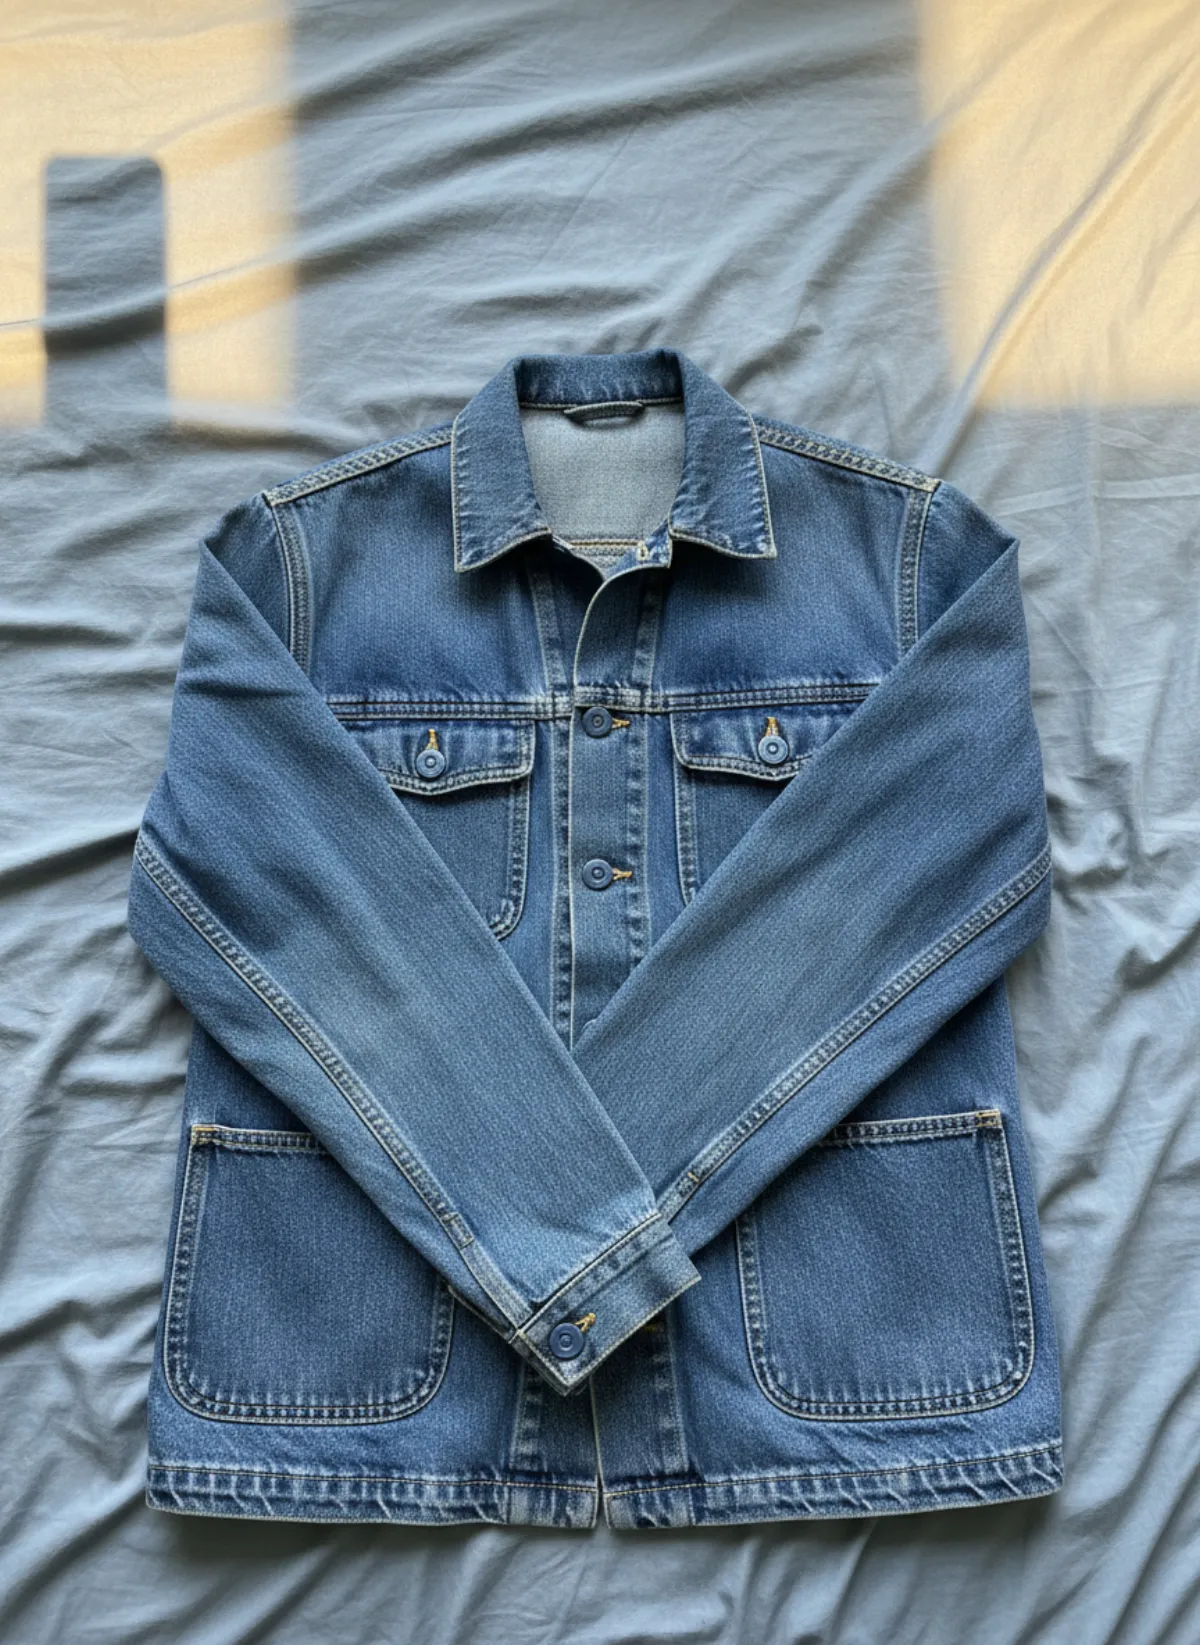
Both garments below were photographed on a bed or a sofa with a phone. Garmo built the model shots around them.
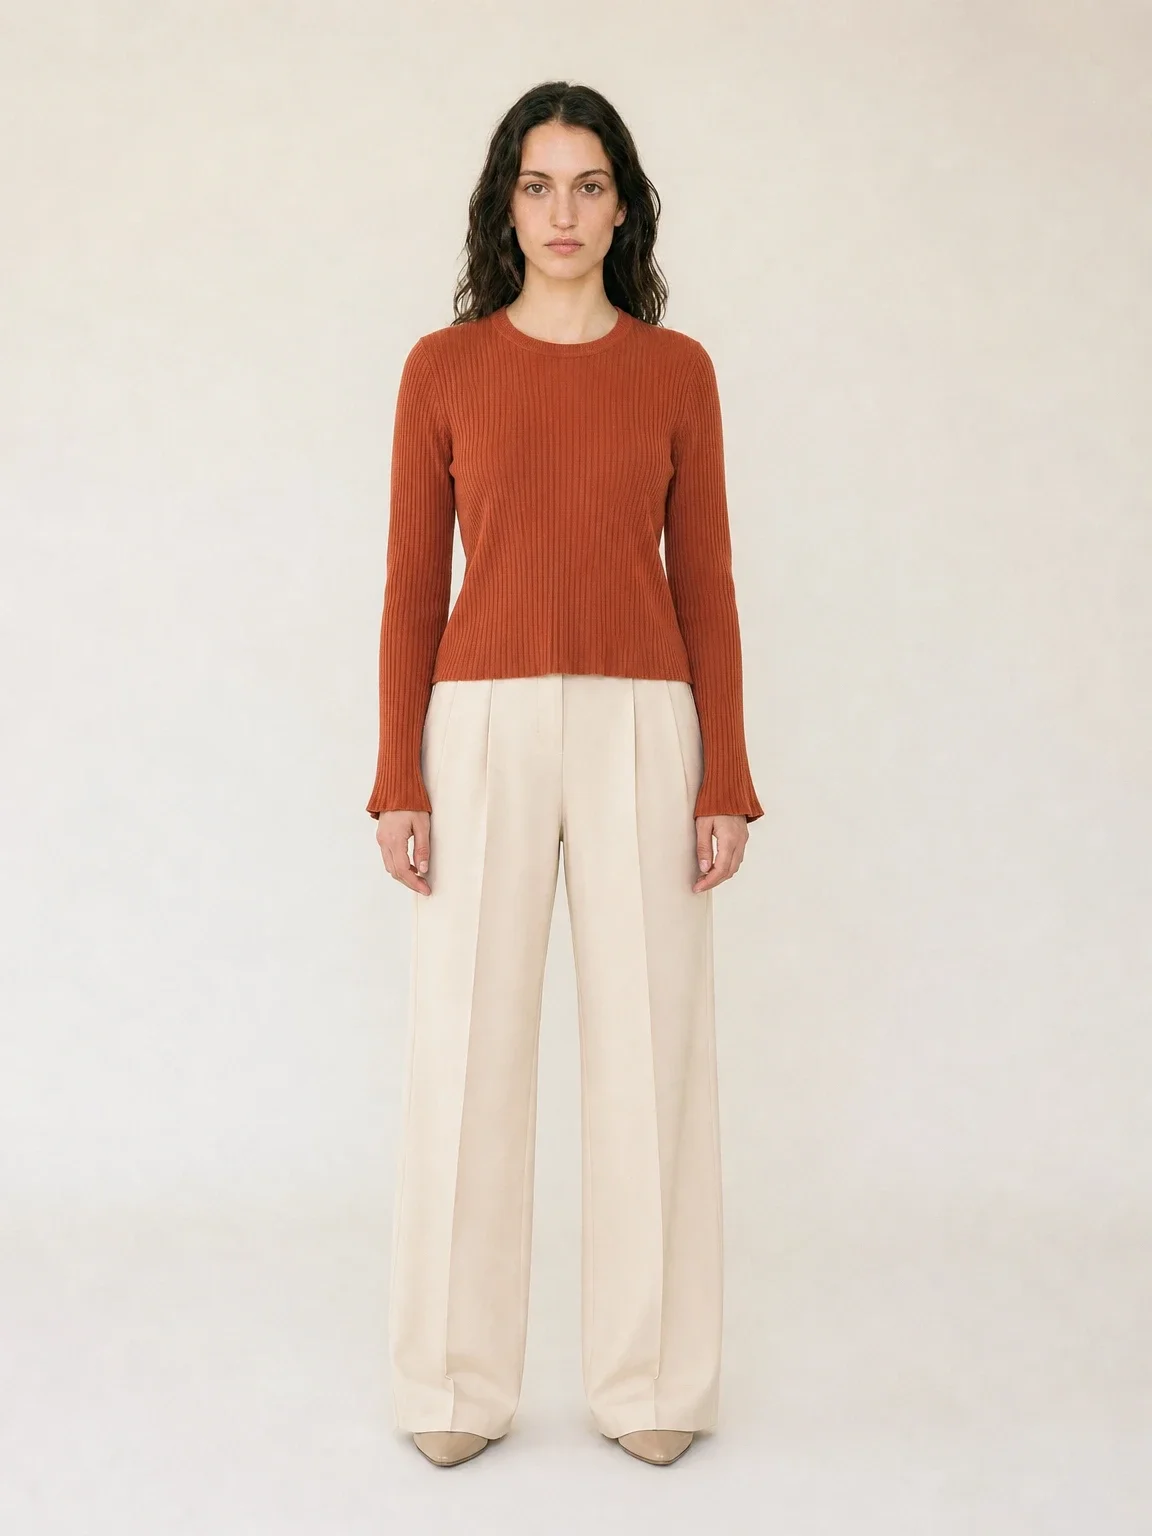
A knit top and trousers
A rust ribbed knit and cream wide-leg trousers on a grey sofa next to a remote control. The result keeps the colours and the cut and shows how the outfit hangs.
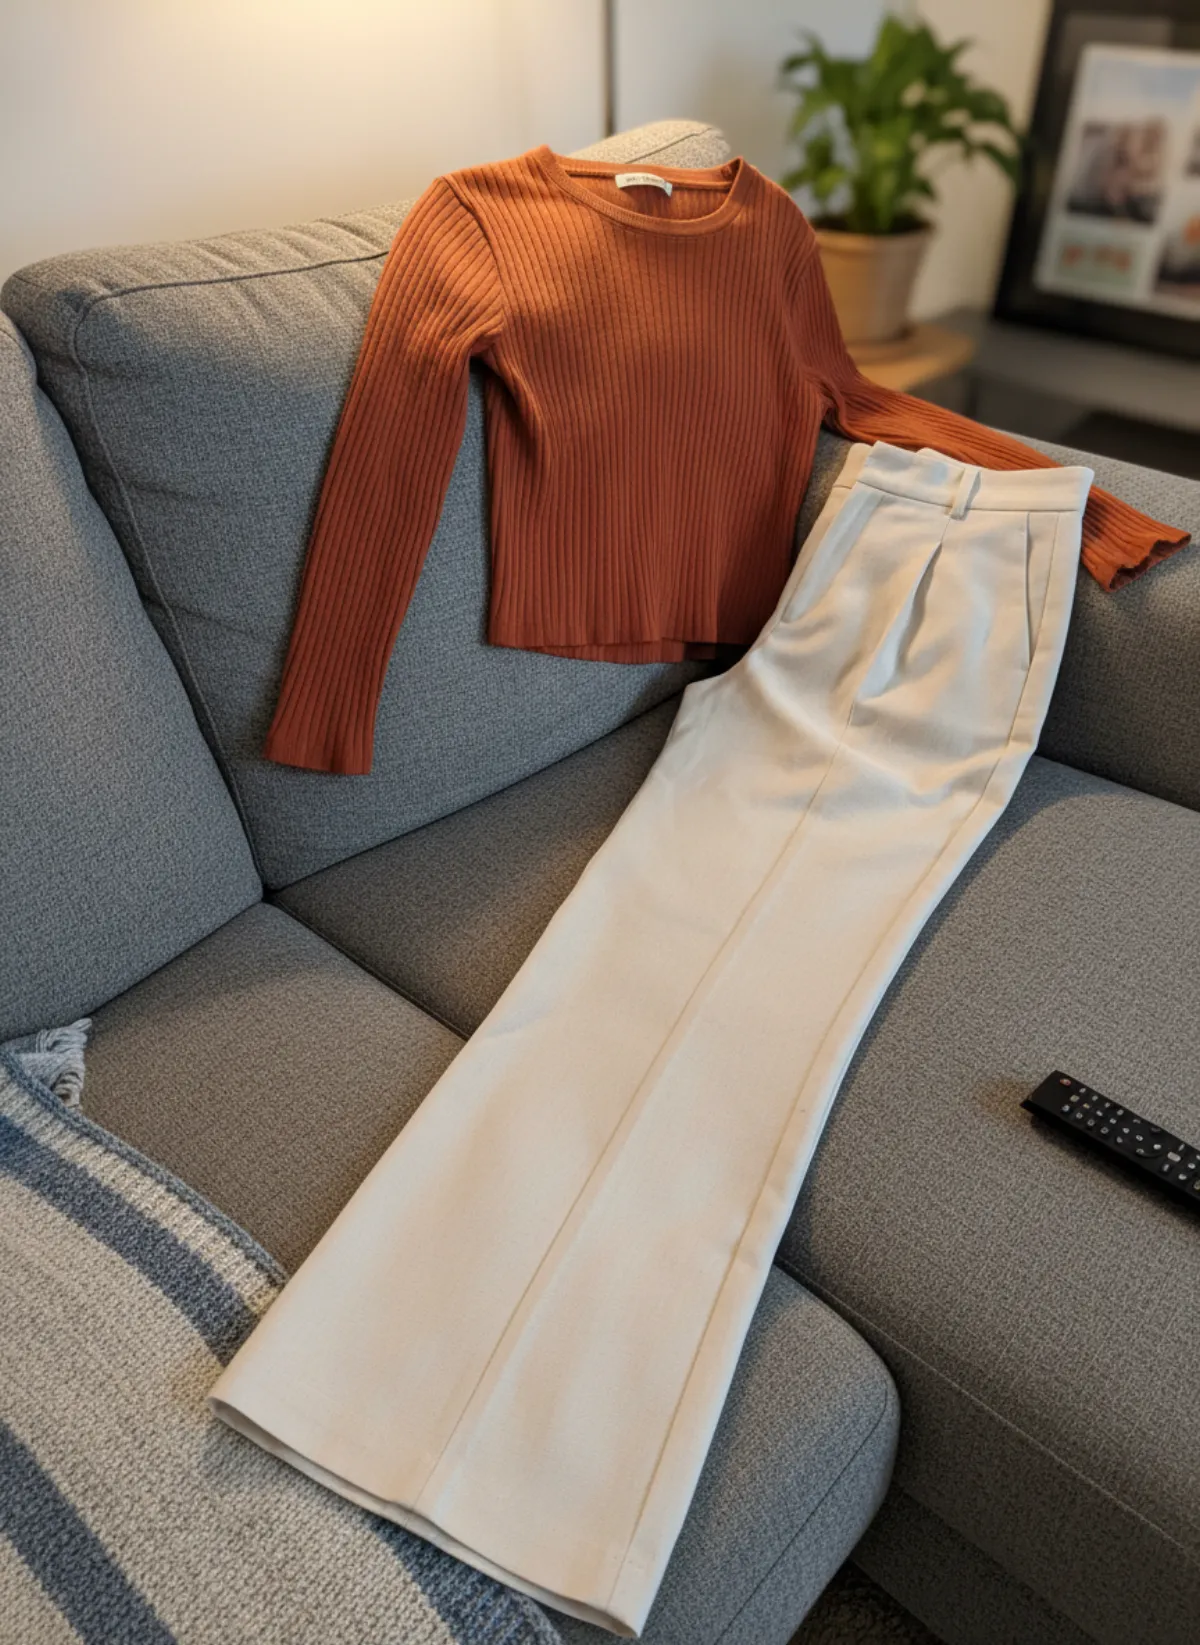 Your photo
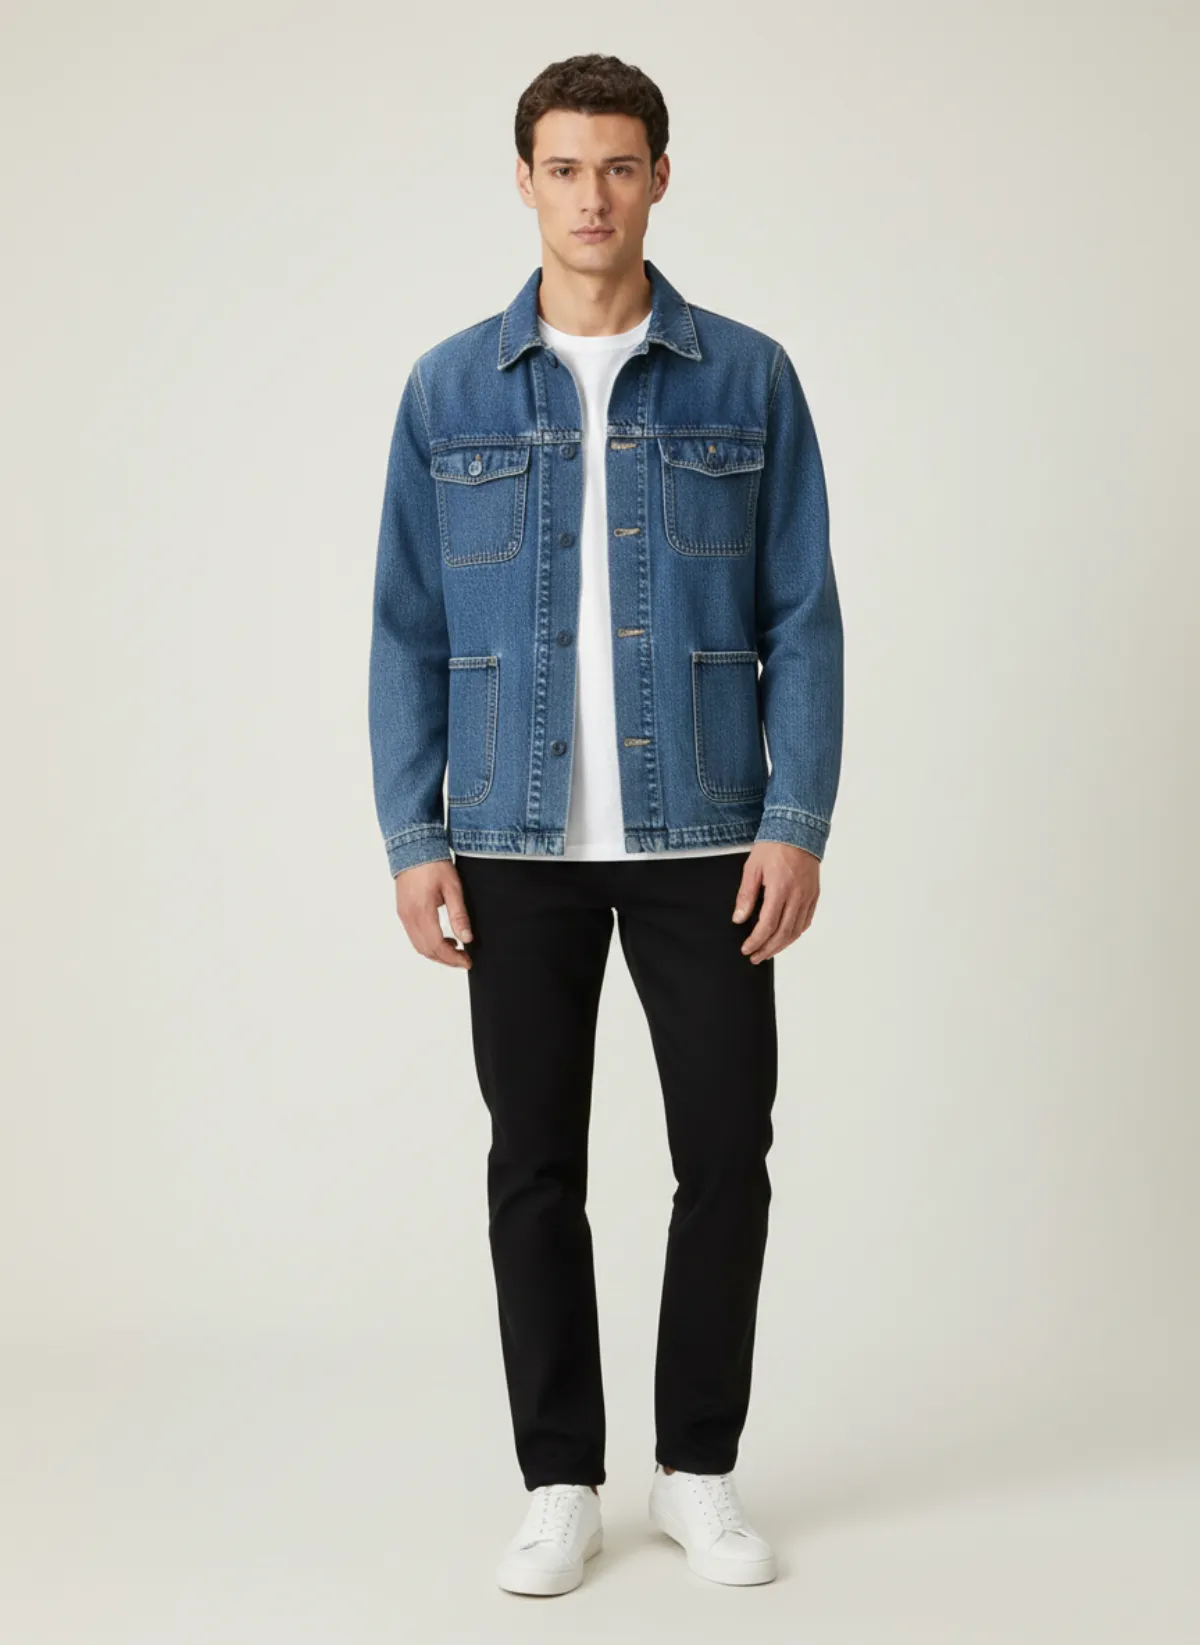
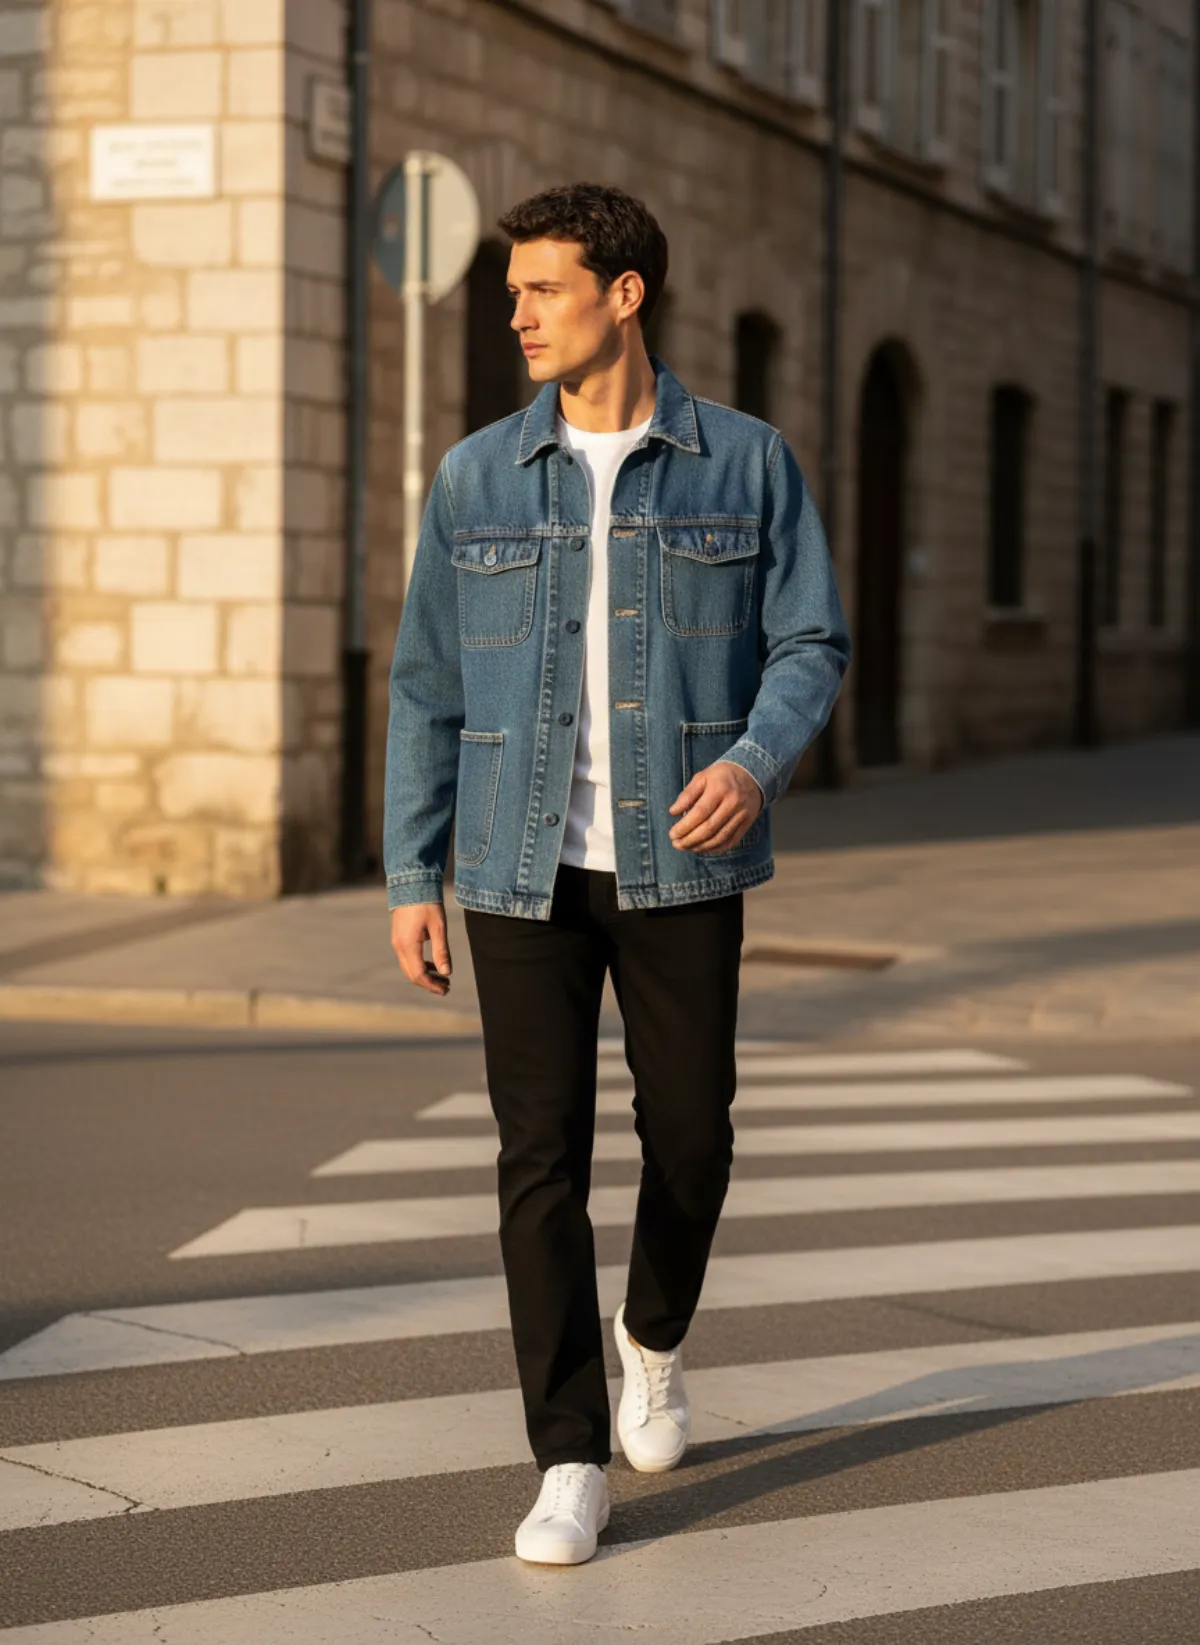
A denim jacket
A chore jacket spread on a creased bed sheet. The model shot shows the collar, the pockets and how it sits over a t-shirt.
 Your photo
Different sites, same basics
Vinted, Depop, eBay and Etsy each have their own rules for image size and what can appear in a photo, and they change them. Check the seller help page of the site you use before you batch-edit. For Etsy, its photo requirements are listed with the source.
What does not change between sites is that clean, bright, honest photos with a front, a back and a detail sell better than a single dark shot. If your volume is high, an on-model first photo is what makes your listing stand out in a grid of flat lays. An AI model photoshoot gives you that photo for every product, not just the bestsellers. Selling secondhand clothes on eBay? Our guide on how to photograph clothes for eBay lists the official photo rules and the eight shots to take.
On-model photos without a shoot
If you want on-model photos but do not have a model, a photographer or the budget, shoot the garment well and let Garmo do the rest. Put your clothes on an AI model from a phone photo, choose from 42 stock models and a studio, street or editorial setting, and get a set of three in under a minute.
You still keep control of the result. Pick the model that fits your customers, keep the same model across a collection, and use your own photo for the real colour next to it. The first 3 images are free.
Clothes photography questions
What is the best way to photograph clothes to sell?
For most sellers, hang the garment steamed against a plain wall in window light, then add a back, a detail and a label photo. An on-model photo as the cover performs best, and you can make it from your own photo.
Should I use a flat lay or a hanger?
A flat lay is quick and shows prints; a hanger shows drape better on dresses, shirts and coats. Use whichever you can do cleanly, and keep it the same across your shop.
How many photos should a clothing listing have?
At least four: front, back, a close-up of the fabric and the label. On second-hand items add every flaw. Many marketplaces allow more, and buyers who zoom in tend to be the ones who buy.
How do I stop clothes looking wrinkled in photos?
Steam or iron the garment before every shoot, hang rather than fold it, and smooth sleeves and hems by hand. Soft side light also hides small creases better than direct light.
Can I get on-model photos without hiring a model?
Yes. Upload a phone photo of the garment to Garmo, pick a stock model and a setting, and get on-model images in about a minute. The first 3 are free.