Three ways to photograph clothes with no mannequin
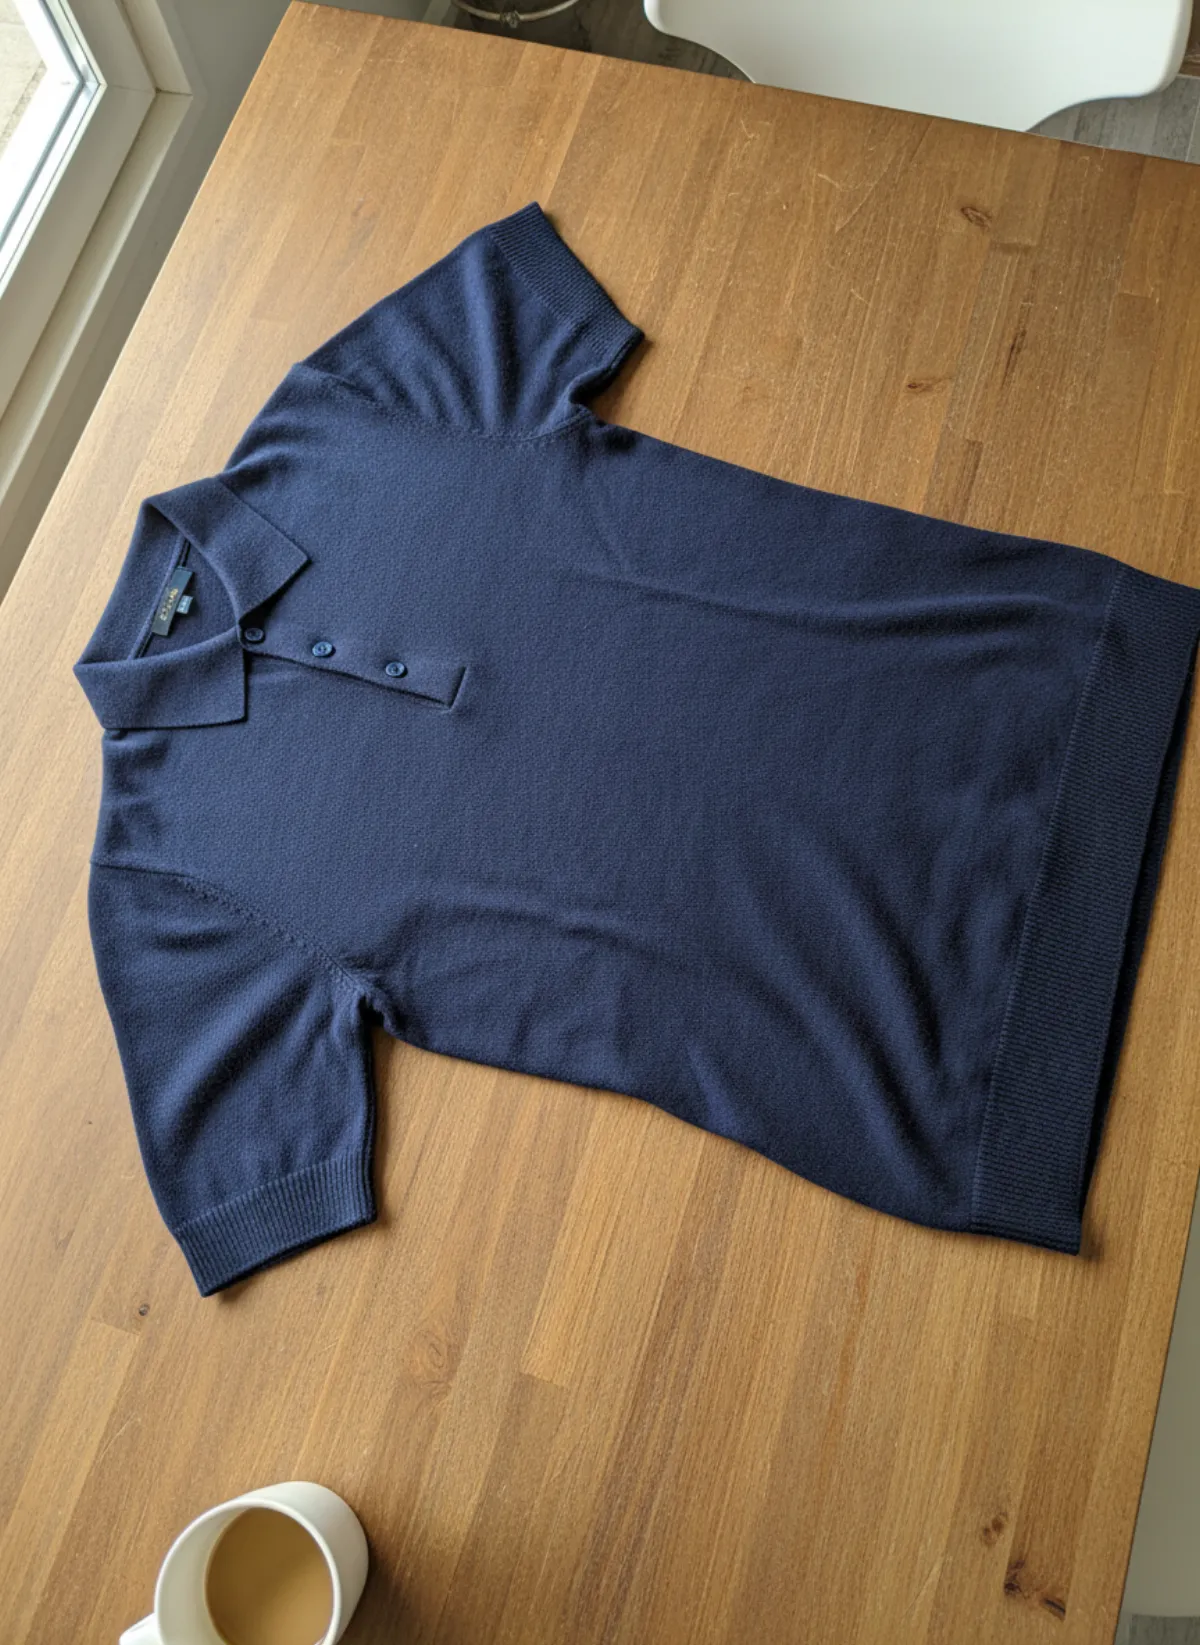
A mannequin does one job: it gives a garment shape. Without one, you have to create that shape another way, and there are three reliable options. A flat lay puts the garment on a flat surface and photographs it from directly above. A hanger shot hangs it from a hook or door so gravity shows the drape. A wall pin fixes the garment to a plain wall or board, which works for t-shirts, sweatshirts and kids' sizes that look lost on a hanger.
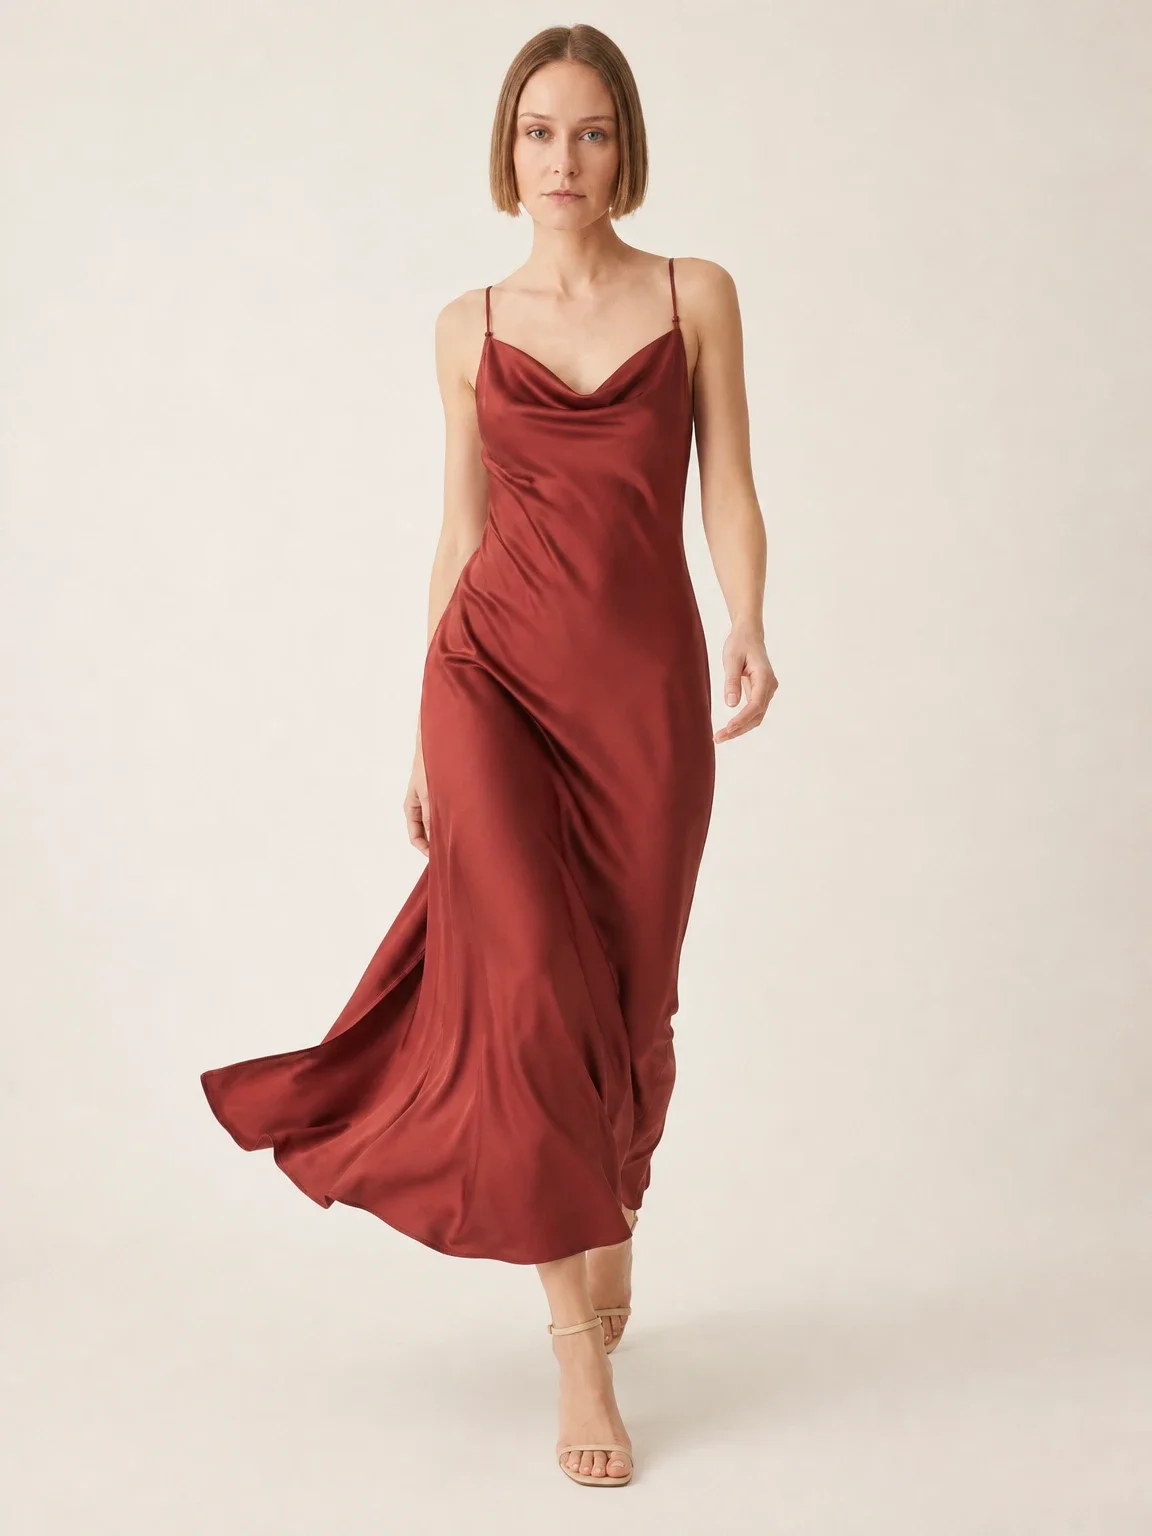
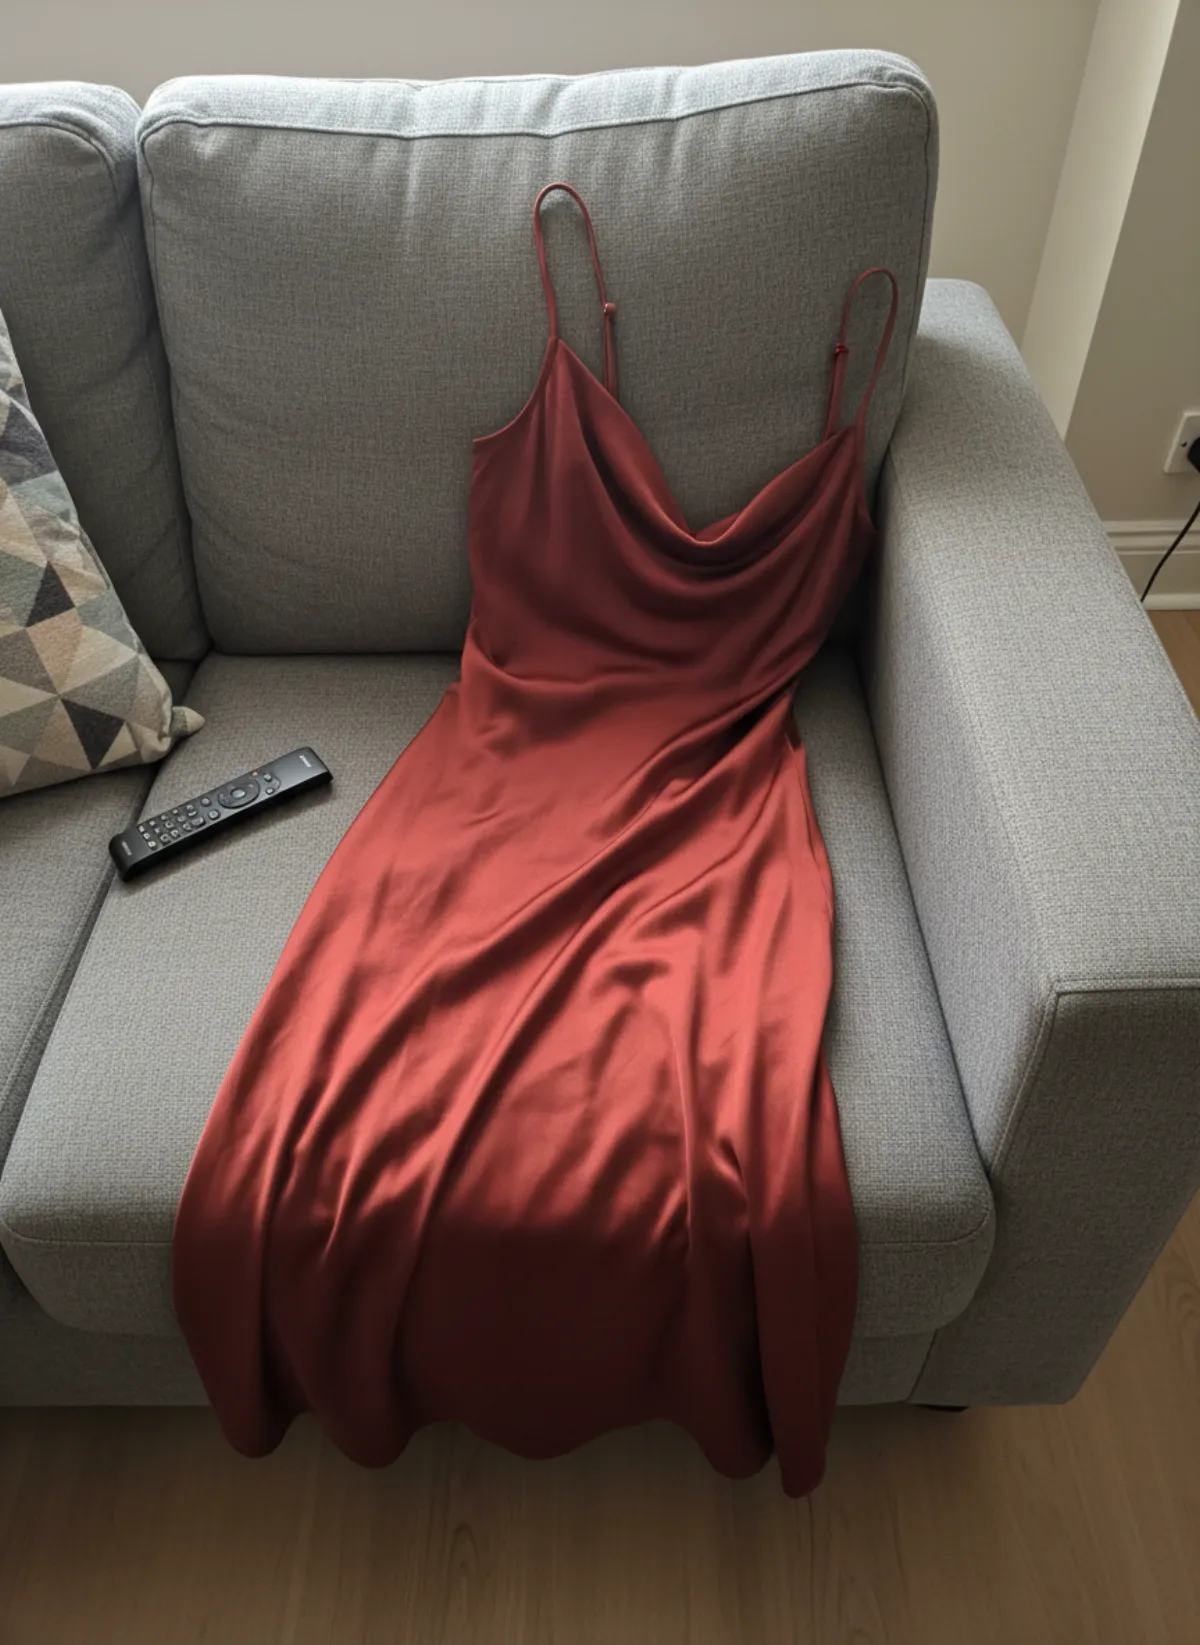
Choose by fabric, not by habit. Structured pieces such as denim jackets, shirts, knitwear and jeans look best flat, because the shape is already in the cut. Flowing pieces such as slip dresses, wide trousers and long skirts look best hanging, because a flat lay squashes the movement out of them. If you sell both, set up both corners once and leave them in place; you will shoot faster than if you rebuild a setup for every item.
Whatever you choose, keep it the same across your shop. Buyers scroll a grid of thumbnails, and a shop where every item sits on the same grey sheet in the same light looks like a brand. A shop with a bed, a sofa and a floor in three photos looks like a clear-out.
Flat lay: the most reliable no-mannequin setup
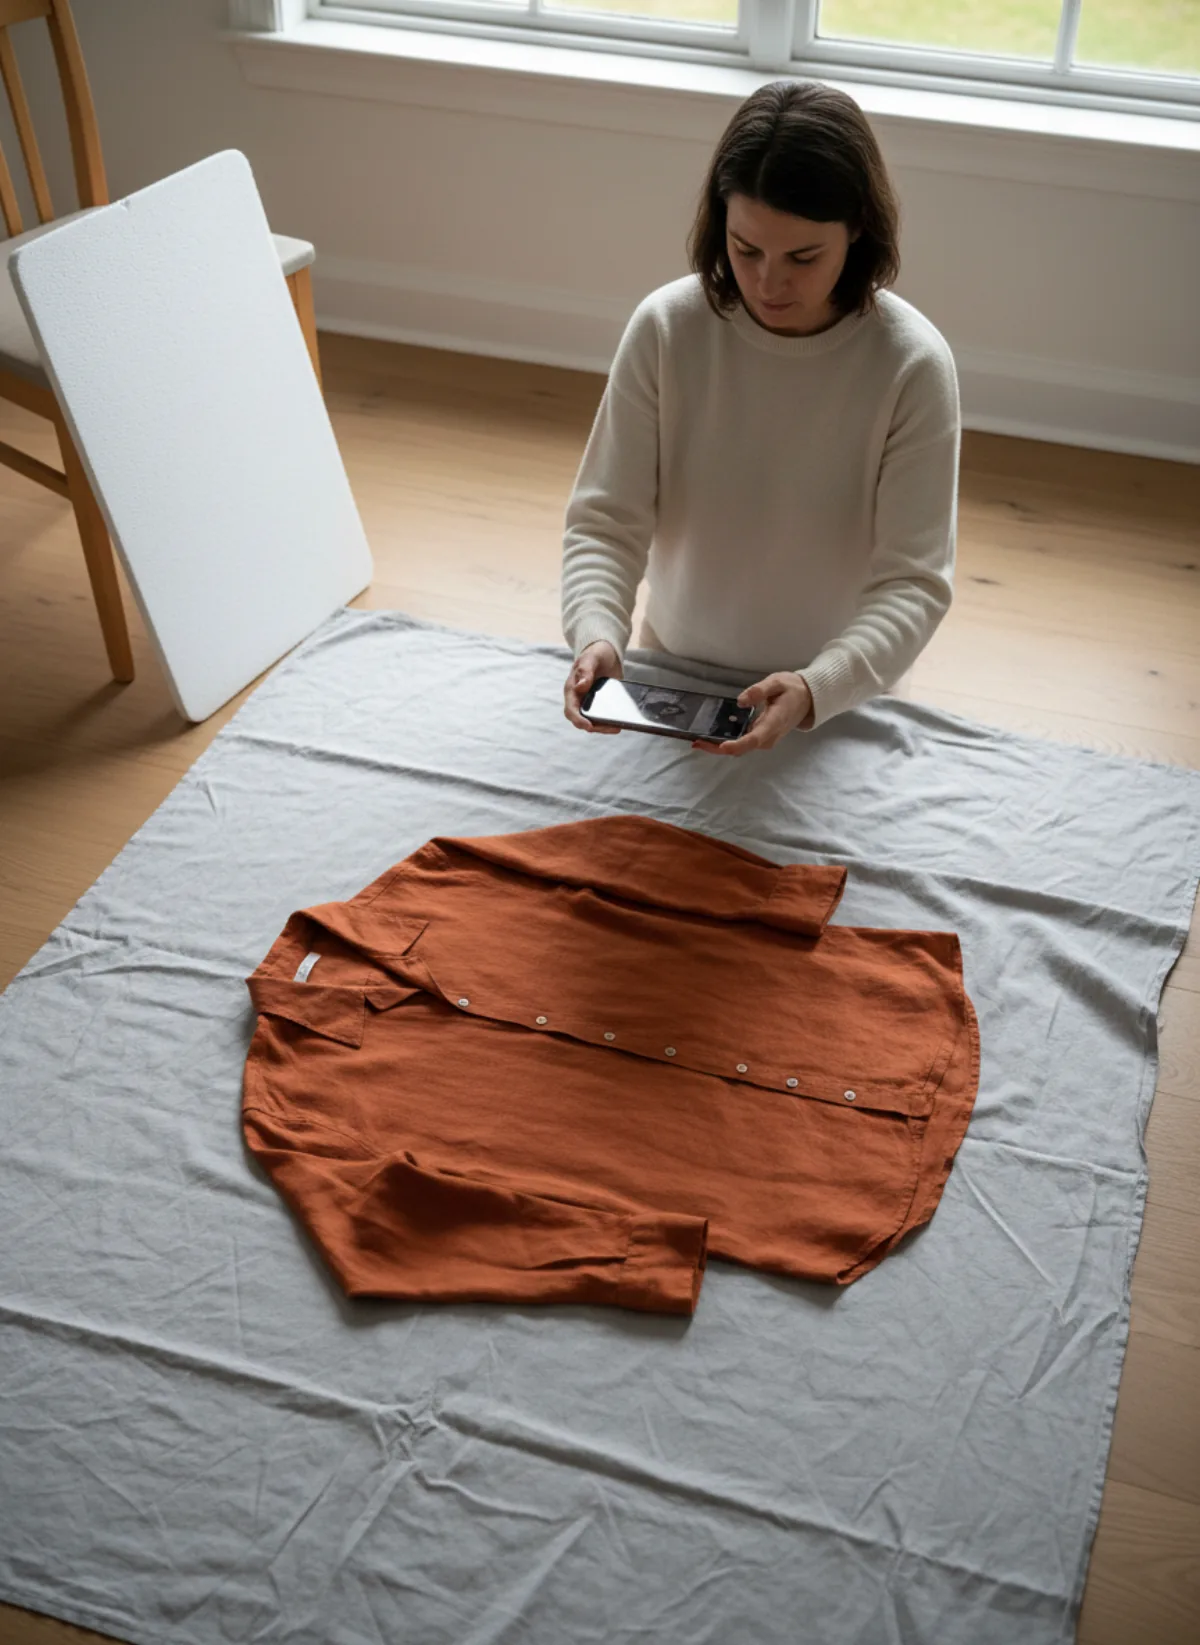
Spread a plain sheet, a large piece of white foam board or a sheet of matte card on the floor next to a window. Grey and white both work; avoid patterned bedding and wood grain, which compete with the garment. Steam or iron the piece first. Creases you barely notice in the room look like folds in the fabric on a phone screen.
Button the garment fully, close the zip and smooth it from the centre outwards. Fold sleeves in slightly or bend them at the elbow so the outline looks like a person's, not a starfish. Tuck a few sheets of tissue paper inside the body and the sleeves; it lifts the fabric off the floor and gives it volume, which is most of what a mannequin adds.
Stand over the garment and hold the phone level, parallel to the floor, with the whole piece in frame and a little space around it. A step stool helps for dresses and coats. Turn on the grid lines and line them up with the shoulder seam and the hem so the garment is square. For the full method, including folding and styling props, see our guide to flat lay photography for clothing. Jeans have their own shot list in how to photograph jeans to sell.
Hanger and wall shots: show the drape without a body
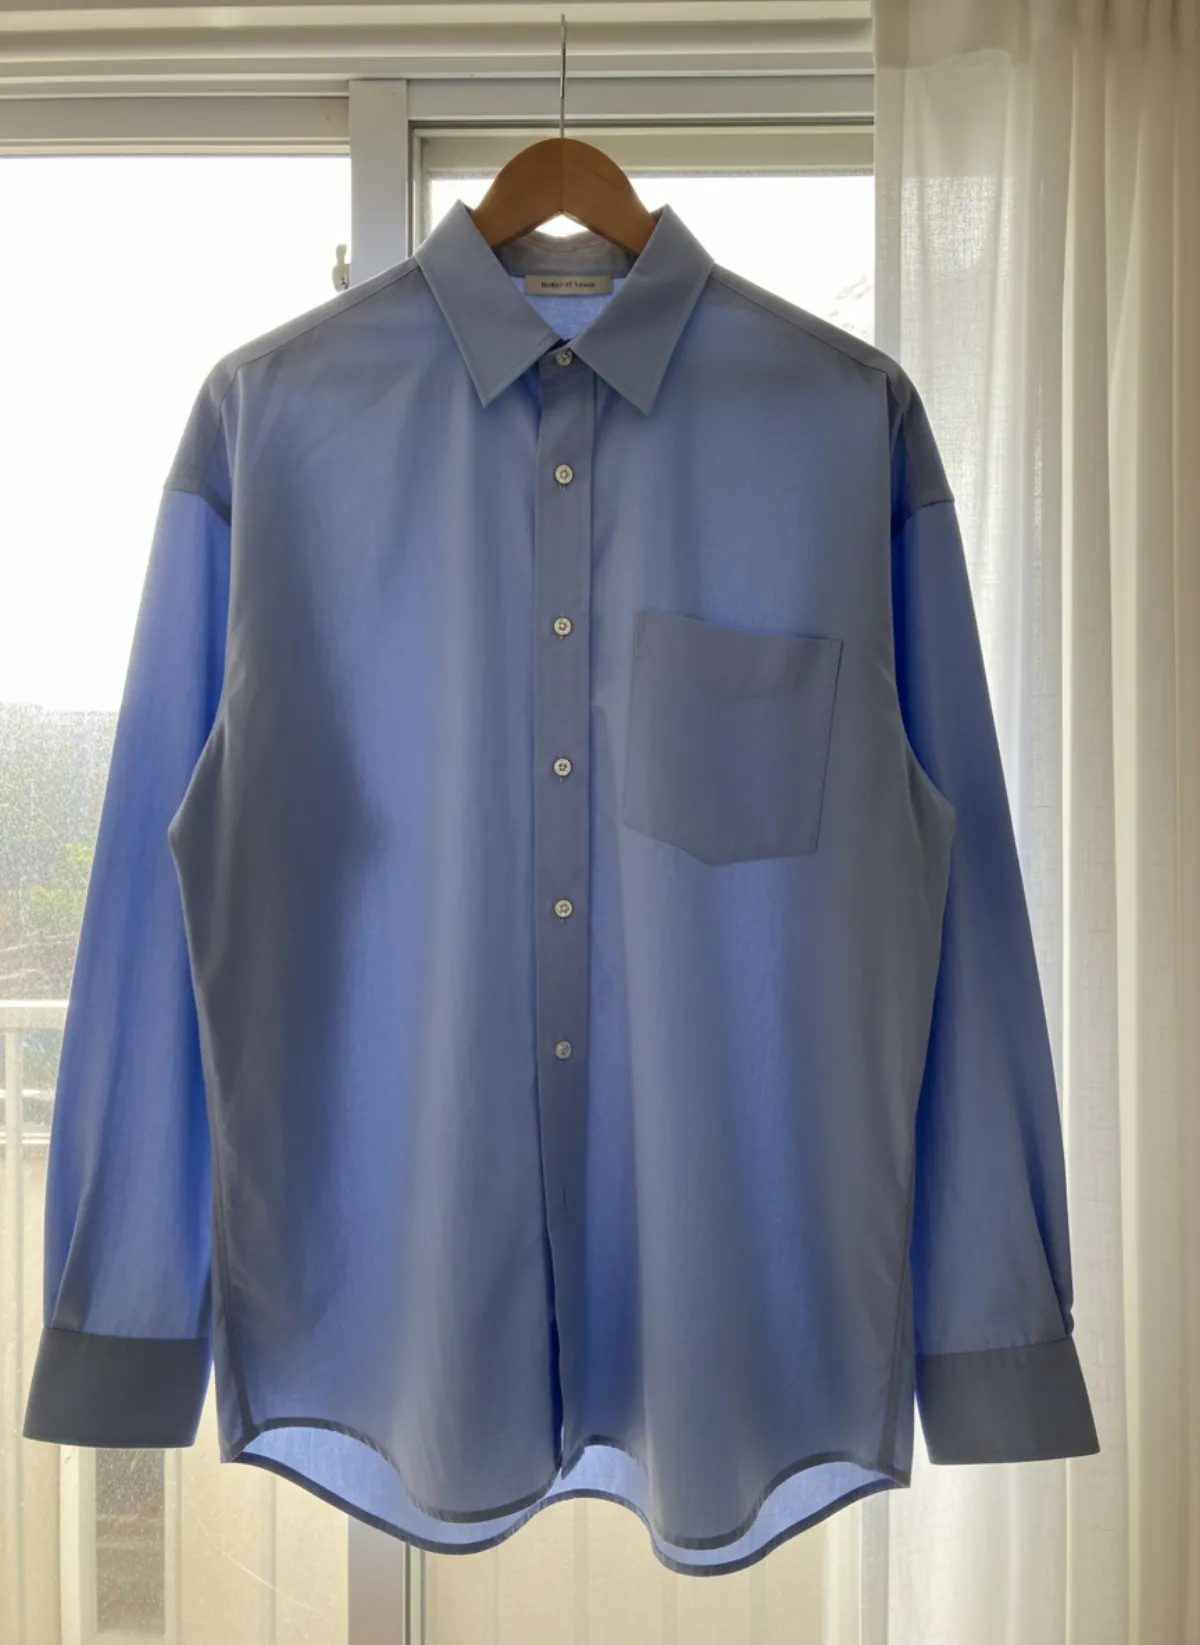
Use a slim wooden or velvet hanger that matches the garment's shoulder width; a wire hanger from the dry cleaner makes shoulders sag and leaves points in knitwear. Hang it from a single hook or a door frame against a bare, light wall, with the phone on a tripod or a stack of books at chest height so you are not looking up at the hem.
Clip trousers and skirts by the waistband, not the legs. Pin the back of a loose dress or shirt with two clothes pegs hidden behind the garment to suggest a waist. Stand a little away from the wall so the shadow falls behind the garment rather than beside it. The method has its own details, covered in how to photograph clothes on a hanger.
For small pieces, pin the garment straight to a board or a wall with dressmaker pins at the shoulders and hem, slightly stretched so it does not ripple. This gives a cleaner outline than a hanger, especially for baby clothes, crop tops and swim cover-ups. Long dresses that do not fit the wall are covered in how to photograph dresses for sale.
The six photos every listing needs
Shoot them in this order for every item, so nothing is forgotten and the gallery always reads the same way.
Front, whole garment
The lead image. Everything in frame, square to the camera, nothing cropped at the hem or sleeves.
Back
Turn it over and repeat the same framing. Buyers look for zips, vents, prints and pockets.
Fabric close-up
Fill the frame with the weave, knit or print. This is what shows quality on a phone.
Label and size
The care label, composition and size tag, sharp enough to read. It answers half the questions before they are asked.
Any flaw
A pull, a mark or a faded patch, photographed clearly. Honest flaw photos prevent returns and bad reviews.
On a body
The one frame flat lays cannot give: how it fits and moves. See below for how to get it without a model.
Light and phone settings that keep colours true
Shoot in daylight from a large window, without direct sun on the garment. Overcast days are ideal. Turn off ceiling lights; mixing warm bulbs with cool daylight gives you a garment that is one colour on the left and another on the right. Place a white board on the side away from the window to lift the shadows.
Use the main camera lens, not the wide-angle, and step back rather than shooting very close, which bends straight hems into curves. Tap the garment to focus, then drag the exposure slider down a little if white fabric loses its texture. Do not use the flash. Before you move on, compare the colour on screen with the garment in your hand. Colour is the most common reason for a return. Our product photography lighting setup guide goes further if you want a lamp for evening work.
Add on-model photos without a mannequin or a model
Flat lays and hanger shots describe a garment, but they do not show how it fits a person. That is the question behind most messages from buyers, and it is why on-model photos tend to sell clothes faster. You do not need to buy a mannequin or book a model to get them.
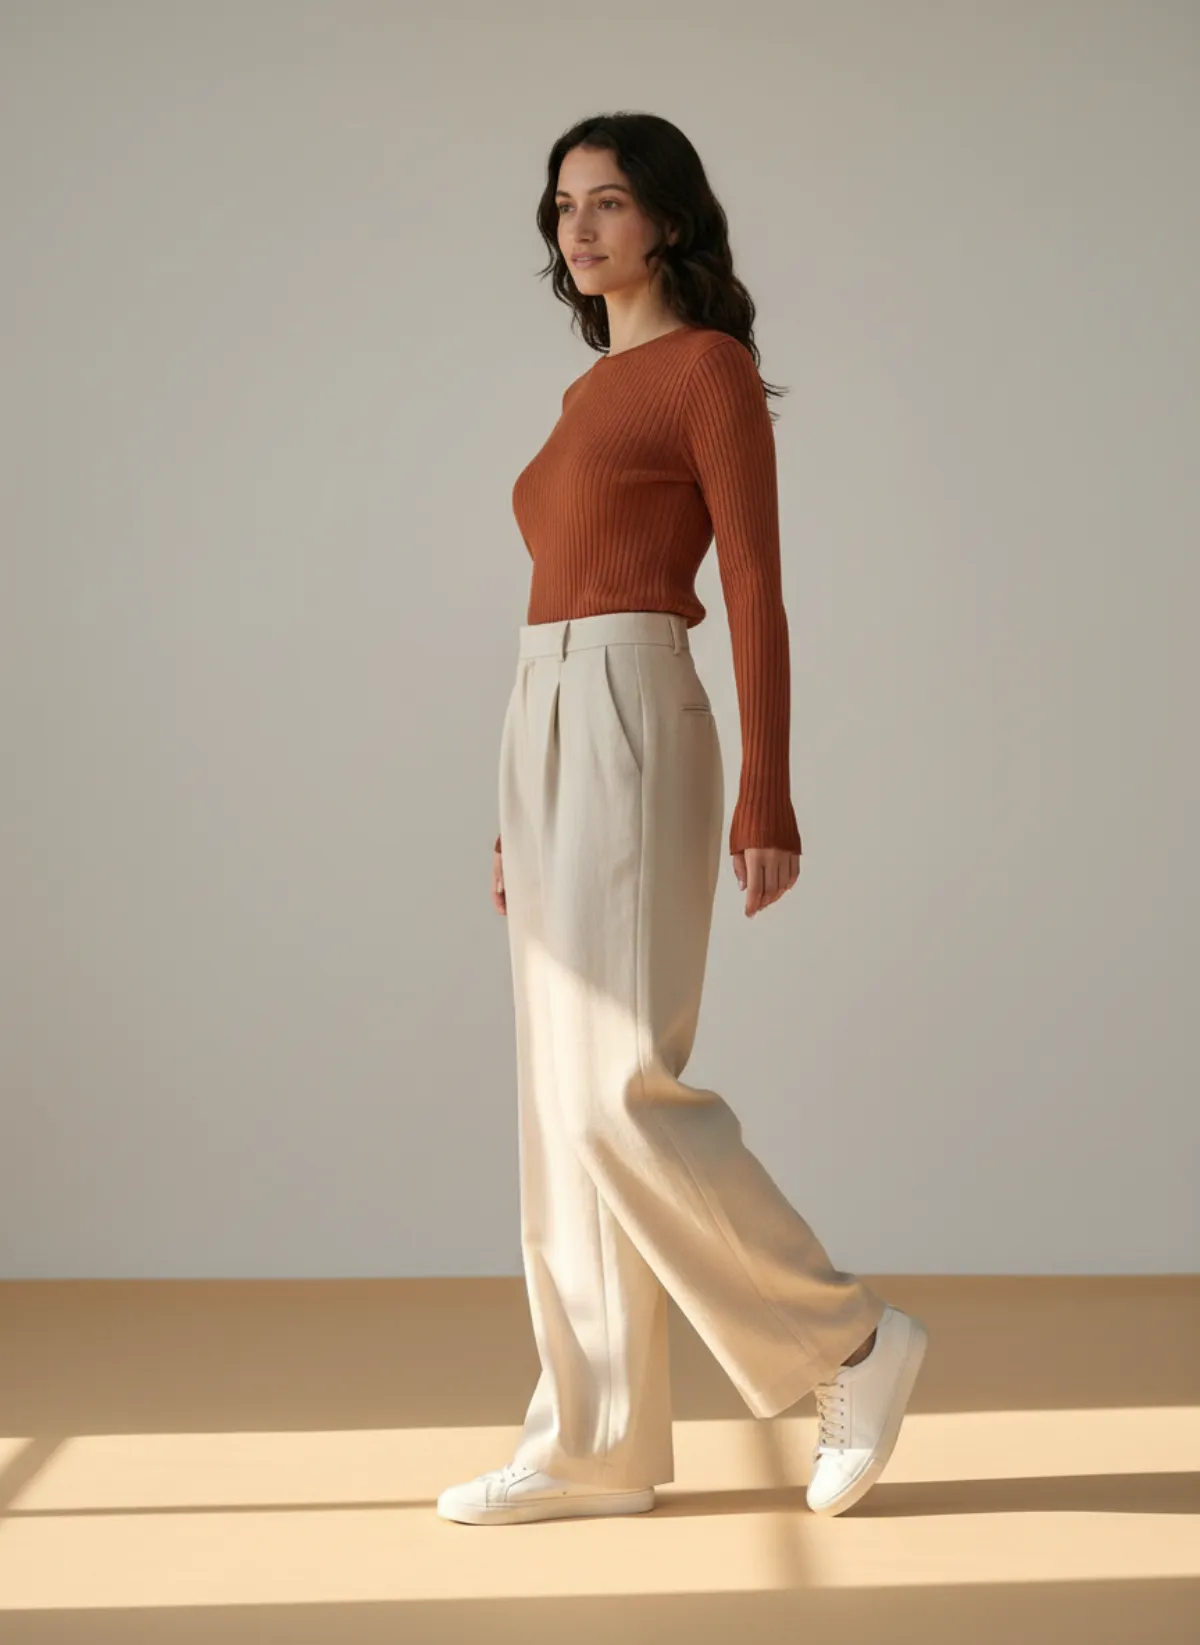
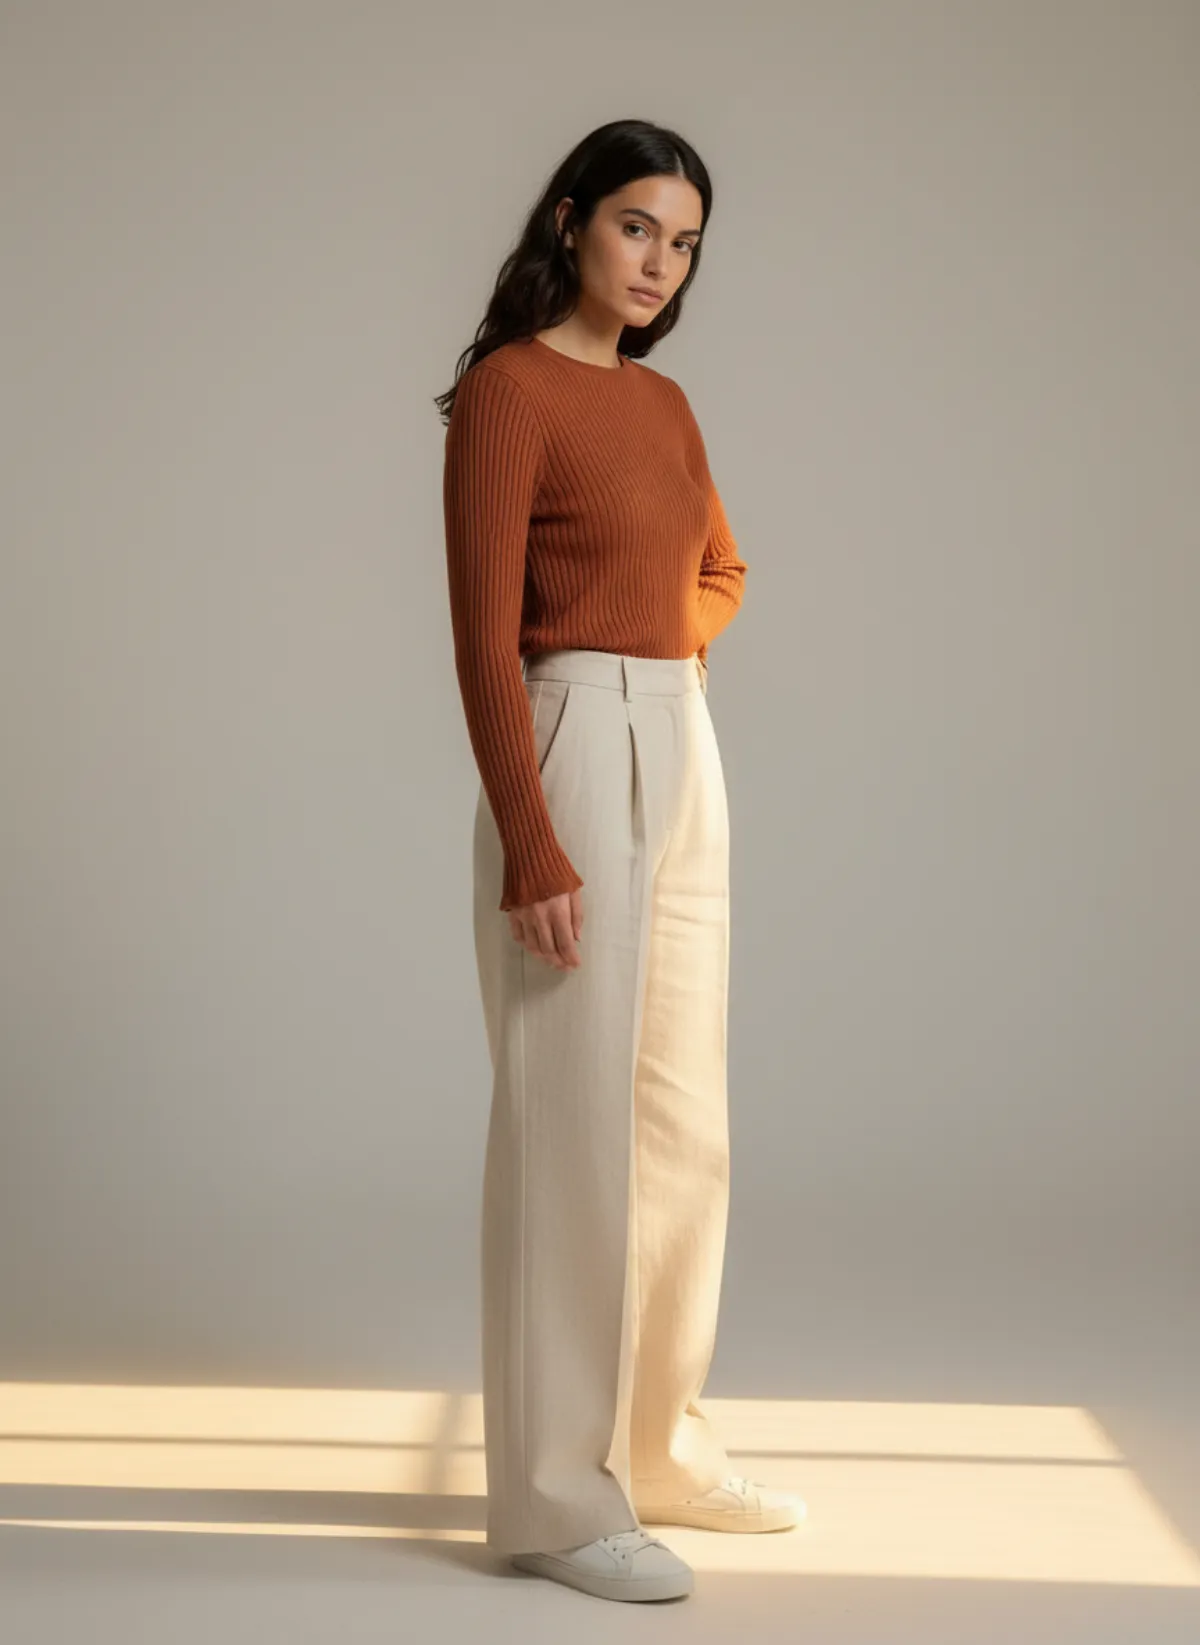
Upload your flat lay or hanger photo to put clothes on an AI model, choose one of 42 ready models (22 women and 20 men) or let Garmo pick, and you get one to six on-model images in under a minute for a set of three. It keeps the colour, pattern and details of your photo. If your input is a flat lay, the flat lay to model page shows what to expect; for hanger and rail photos, see hanger photo to model.
Keep your own flat lay in the listing as well. The on-model image shows the fit; your real photos prove the item exists and show labels and flaws. Garmo shows clothes on a stock model and does not predict how a garment fits a particular size, so keep measurements in the description.
From a no-mannequin photo to on-model images
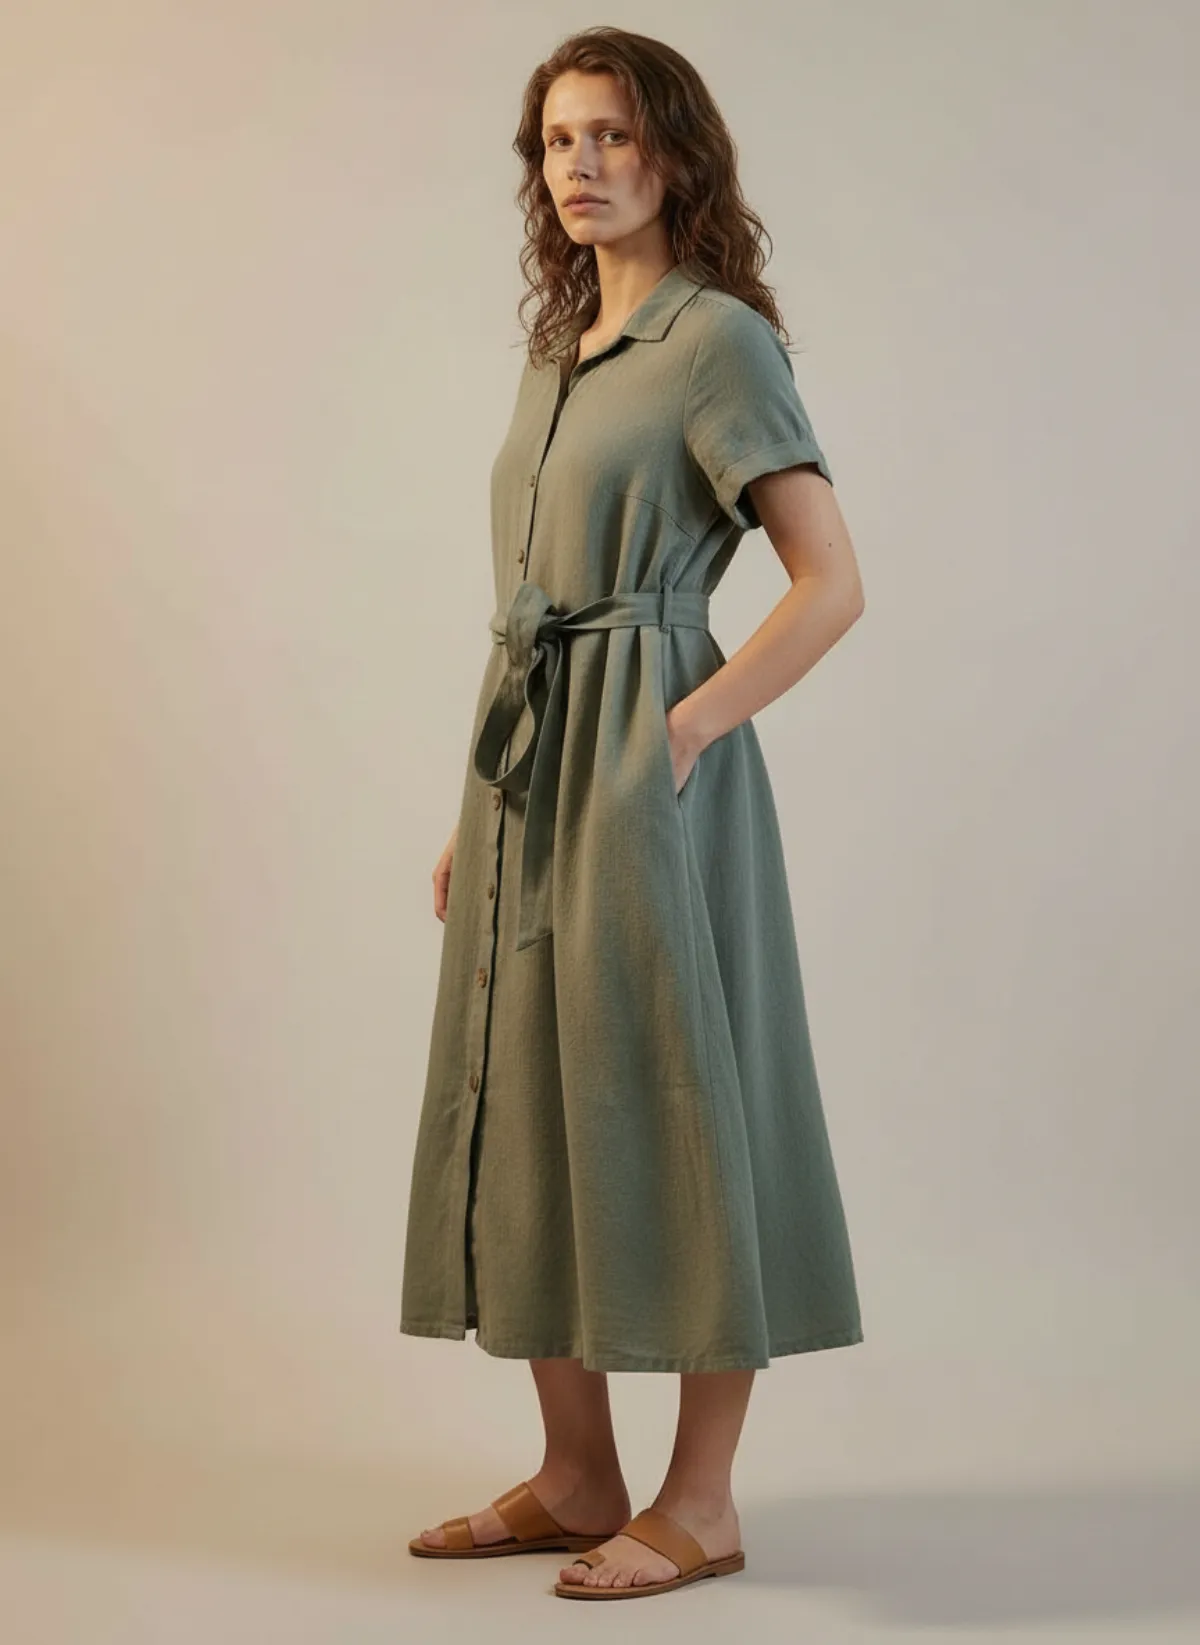
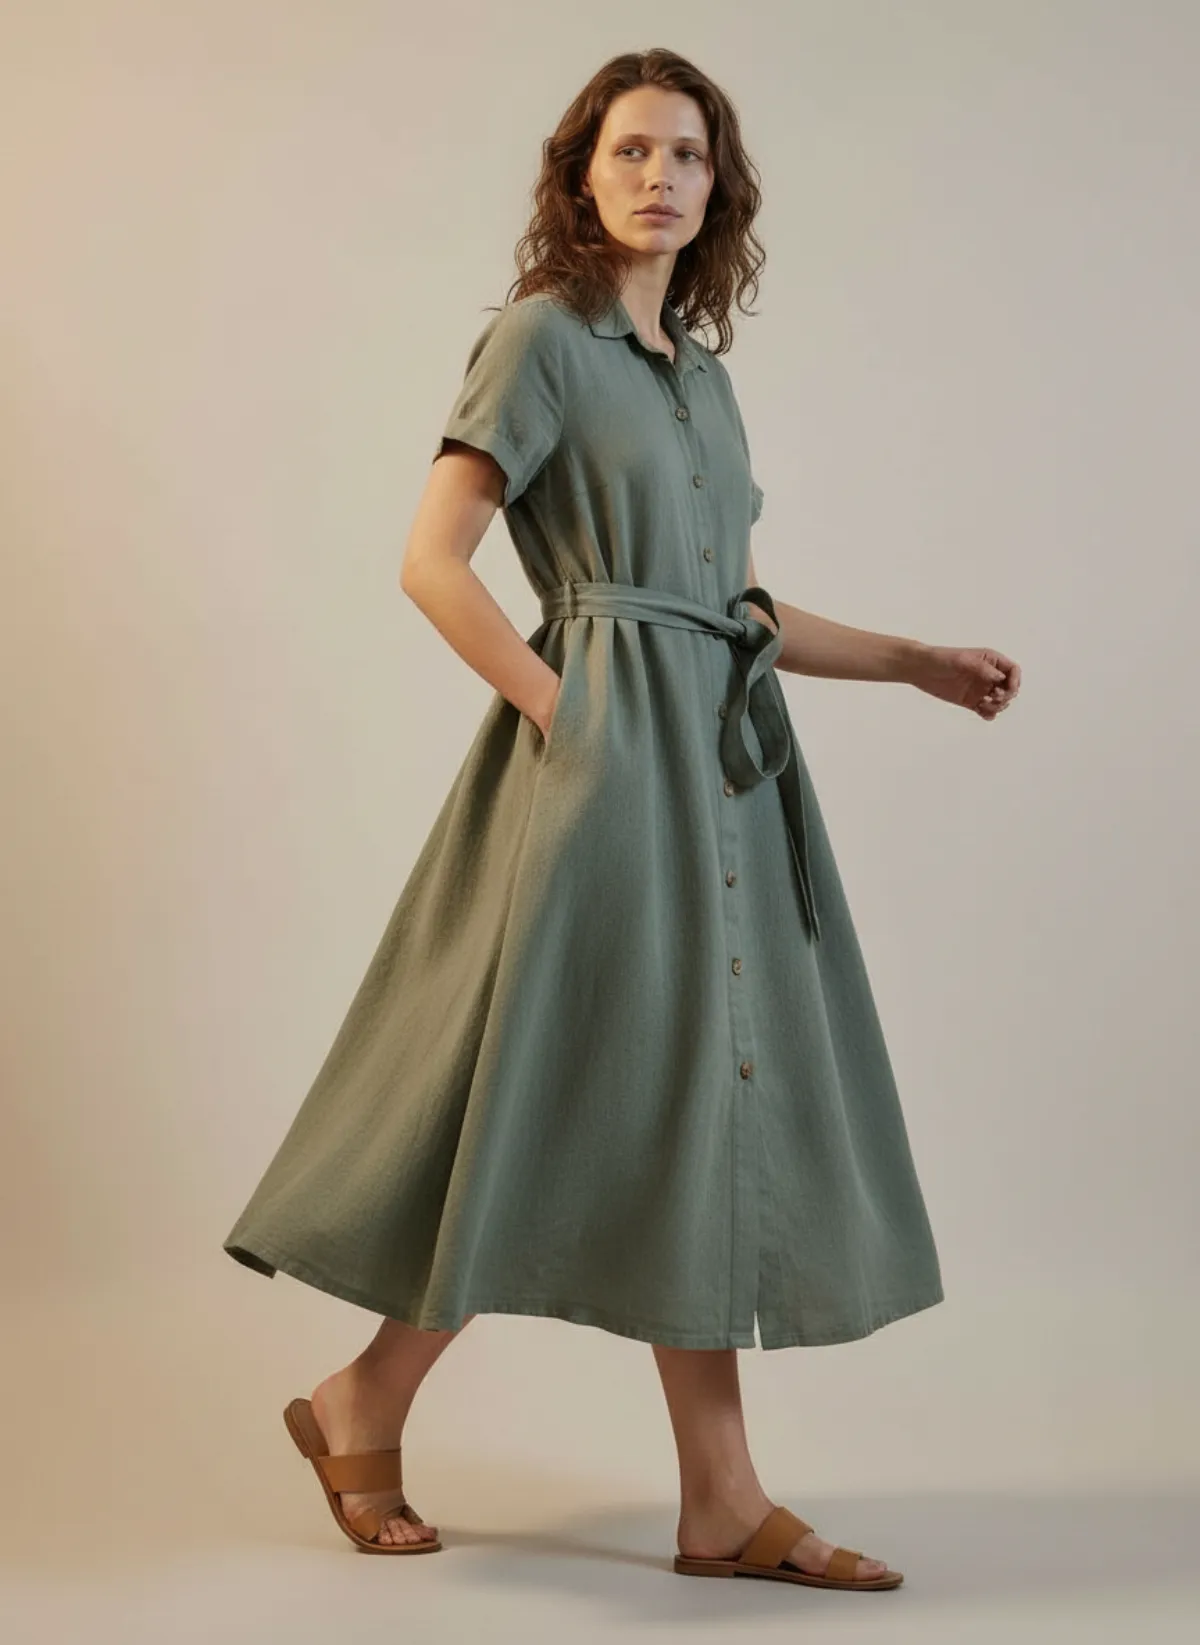
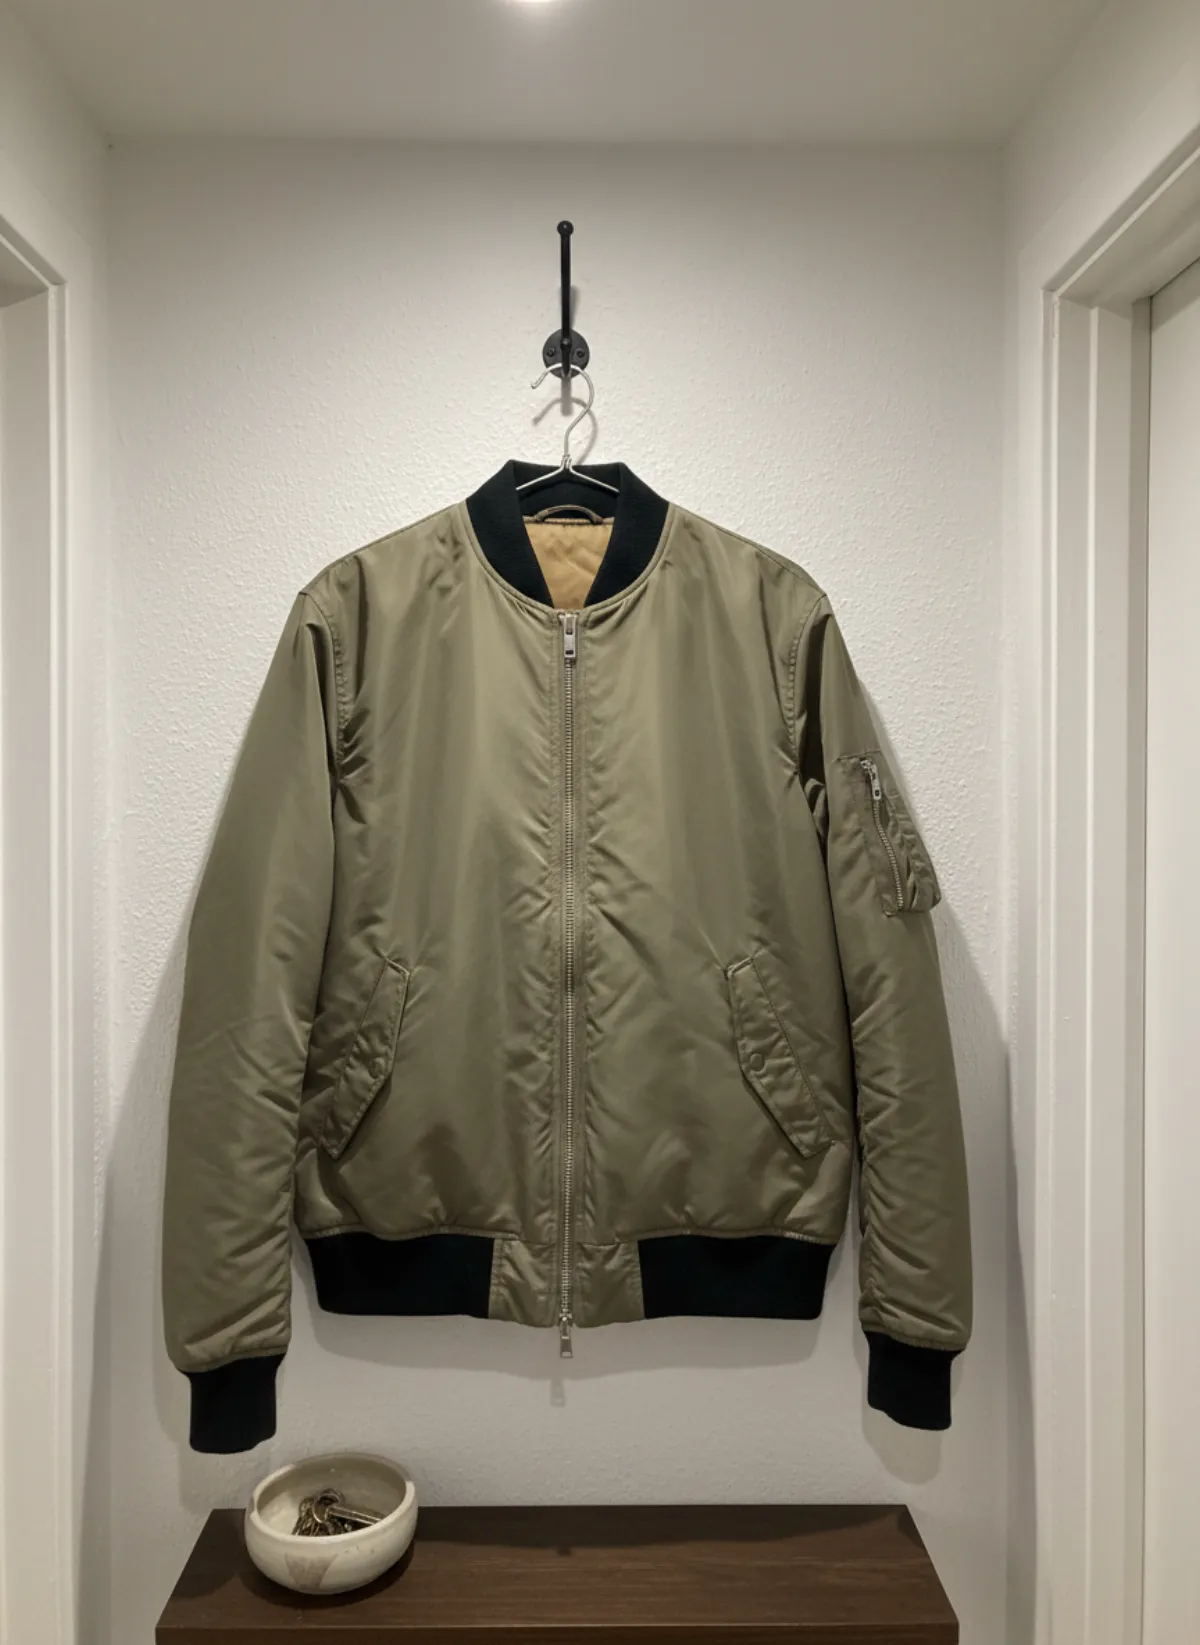
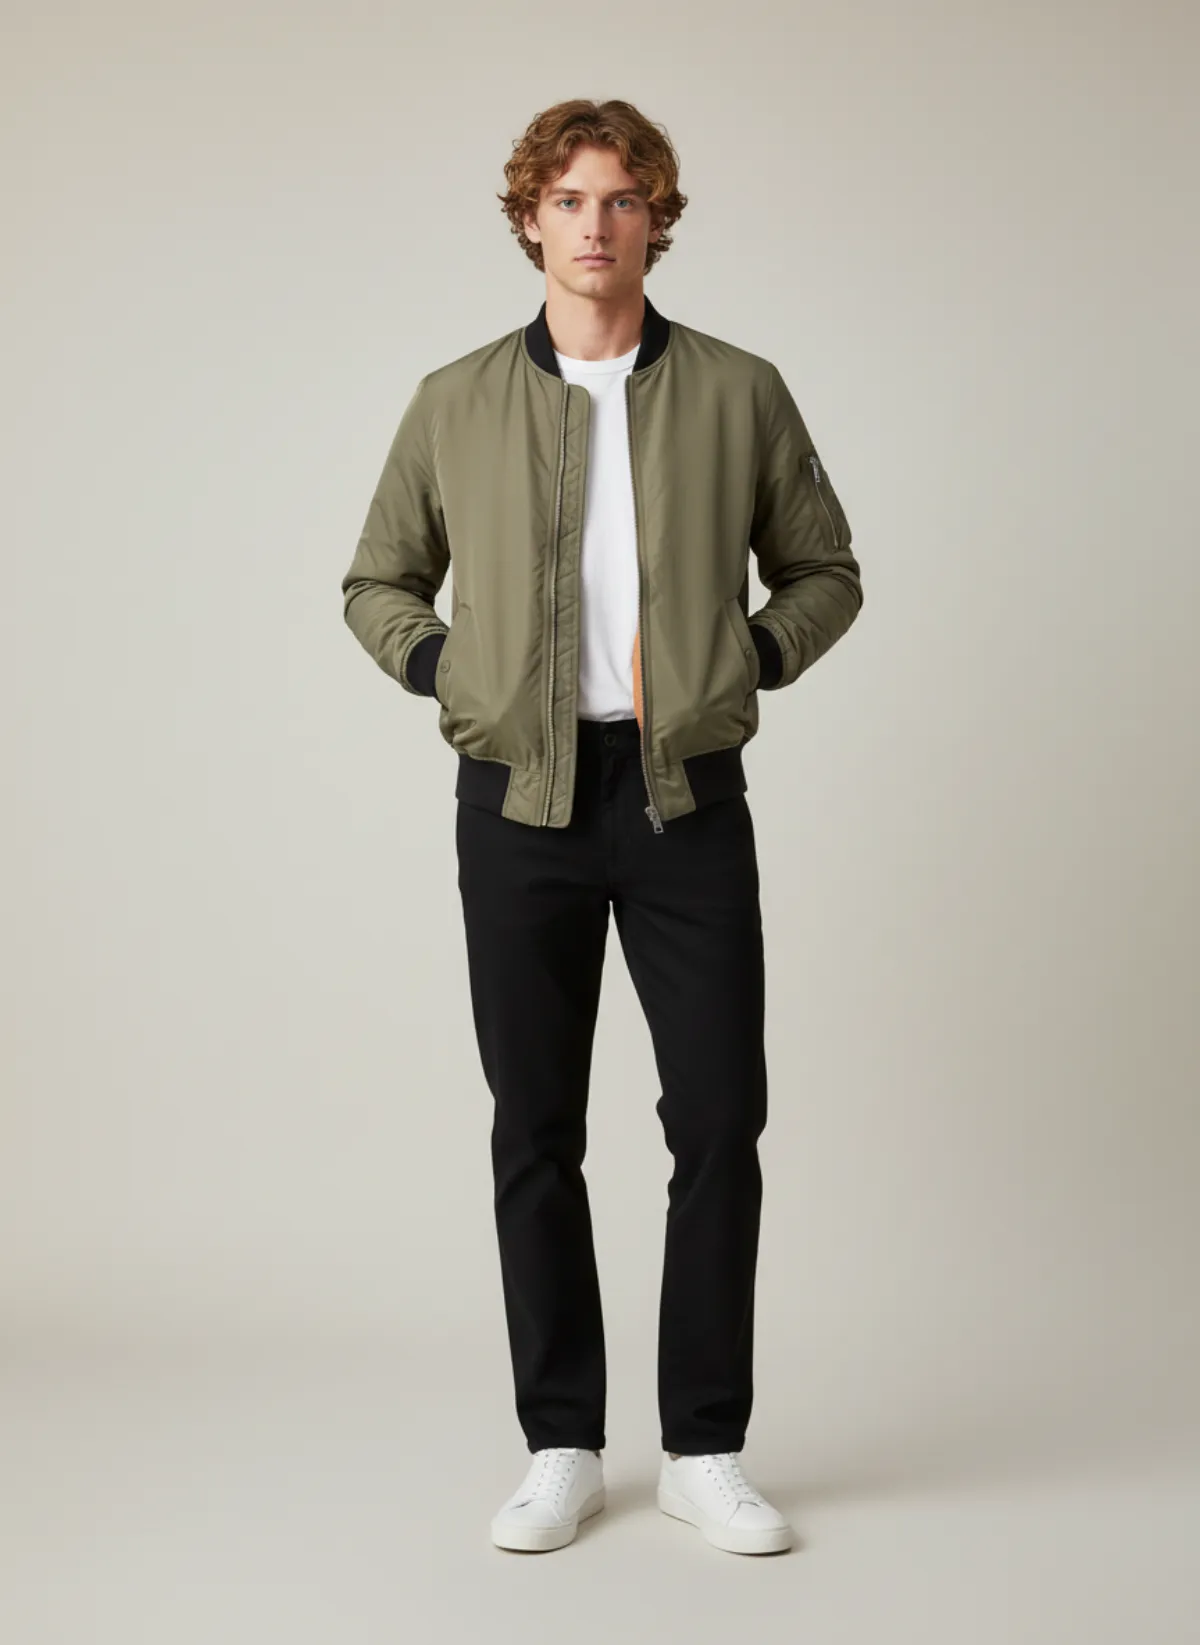
Each item below was photographed flat or on a hanger, with no mannequin. Garmo made the on-model frames from that one photo.
A linen dress laid flat
Photographed flat on a floor. The results show the length, the waist and how the skirt moves when the model walks.
 Your photo

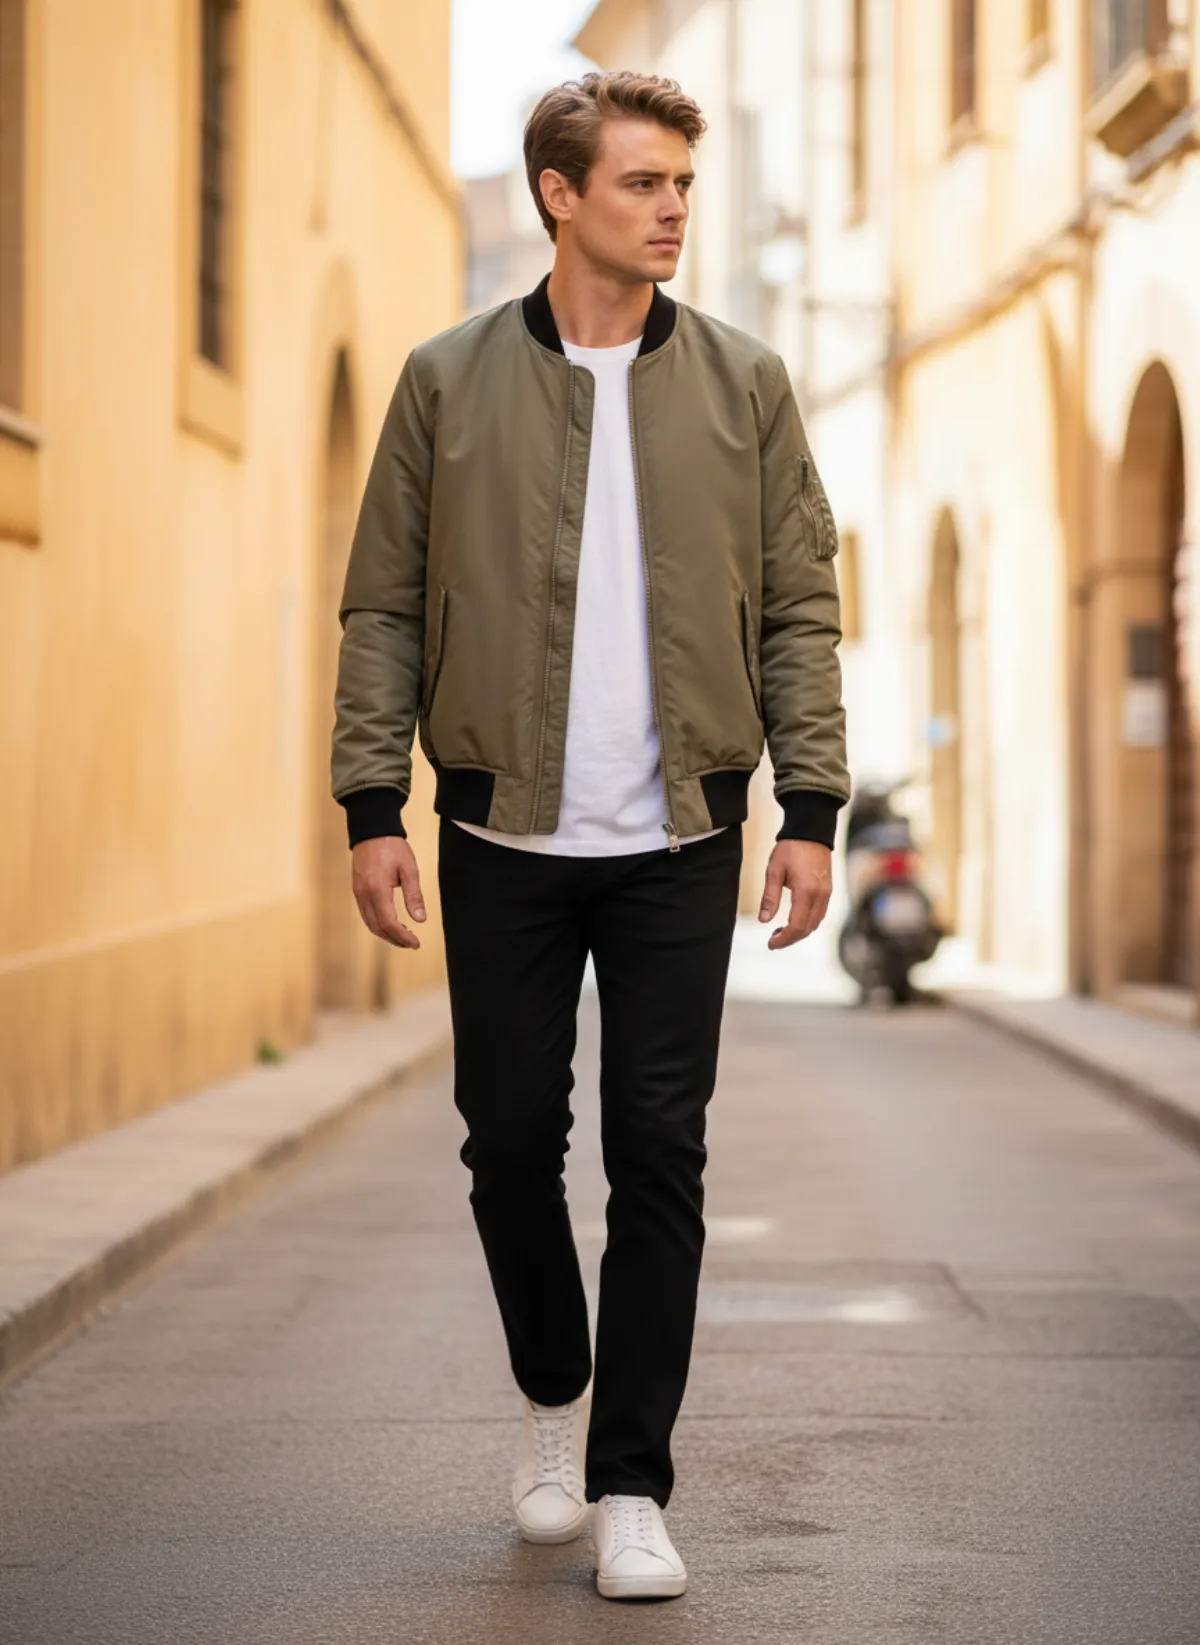
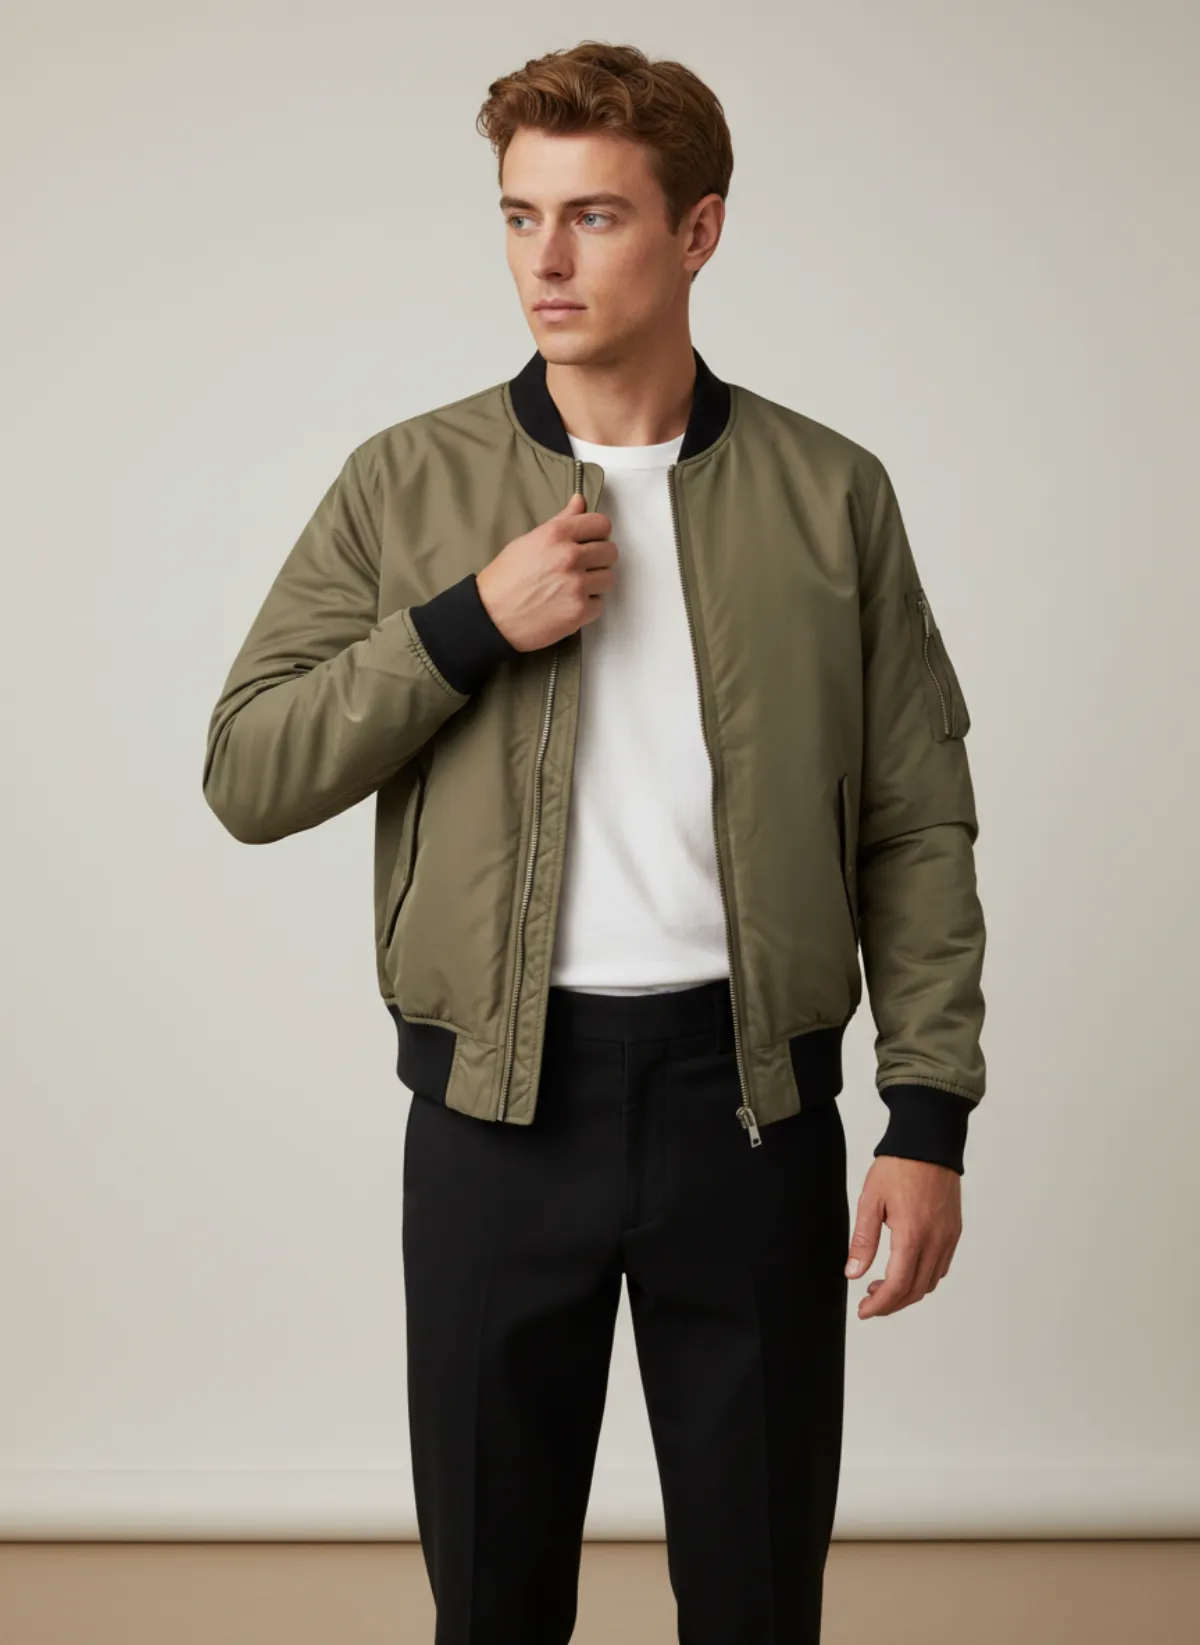
A bomber on a wall hook
Hung on a thin hanger in a hallway, shoulders sagging. On the model the jacket sits square and stops at the hip.
 Your photo
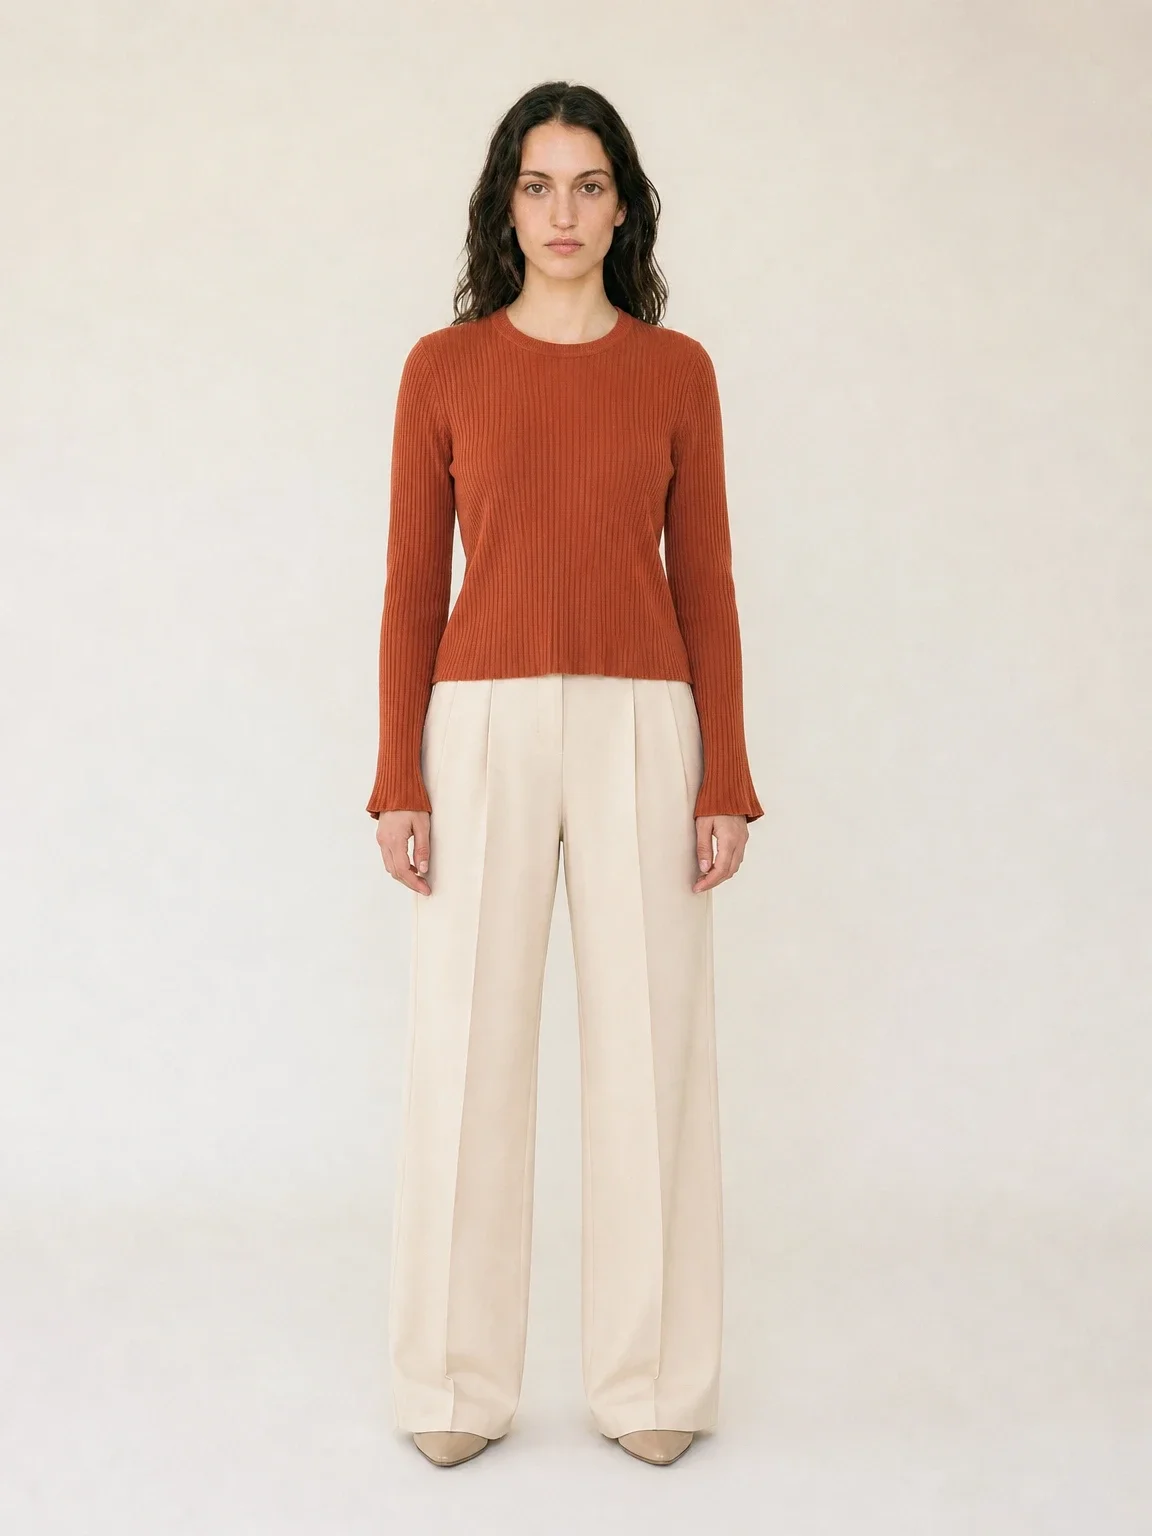
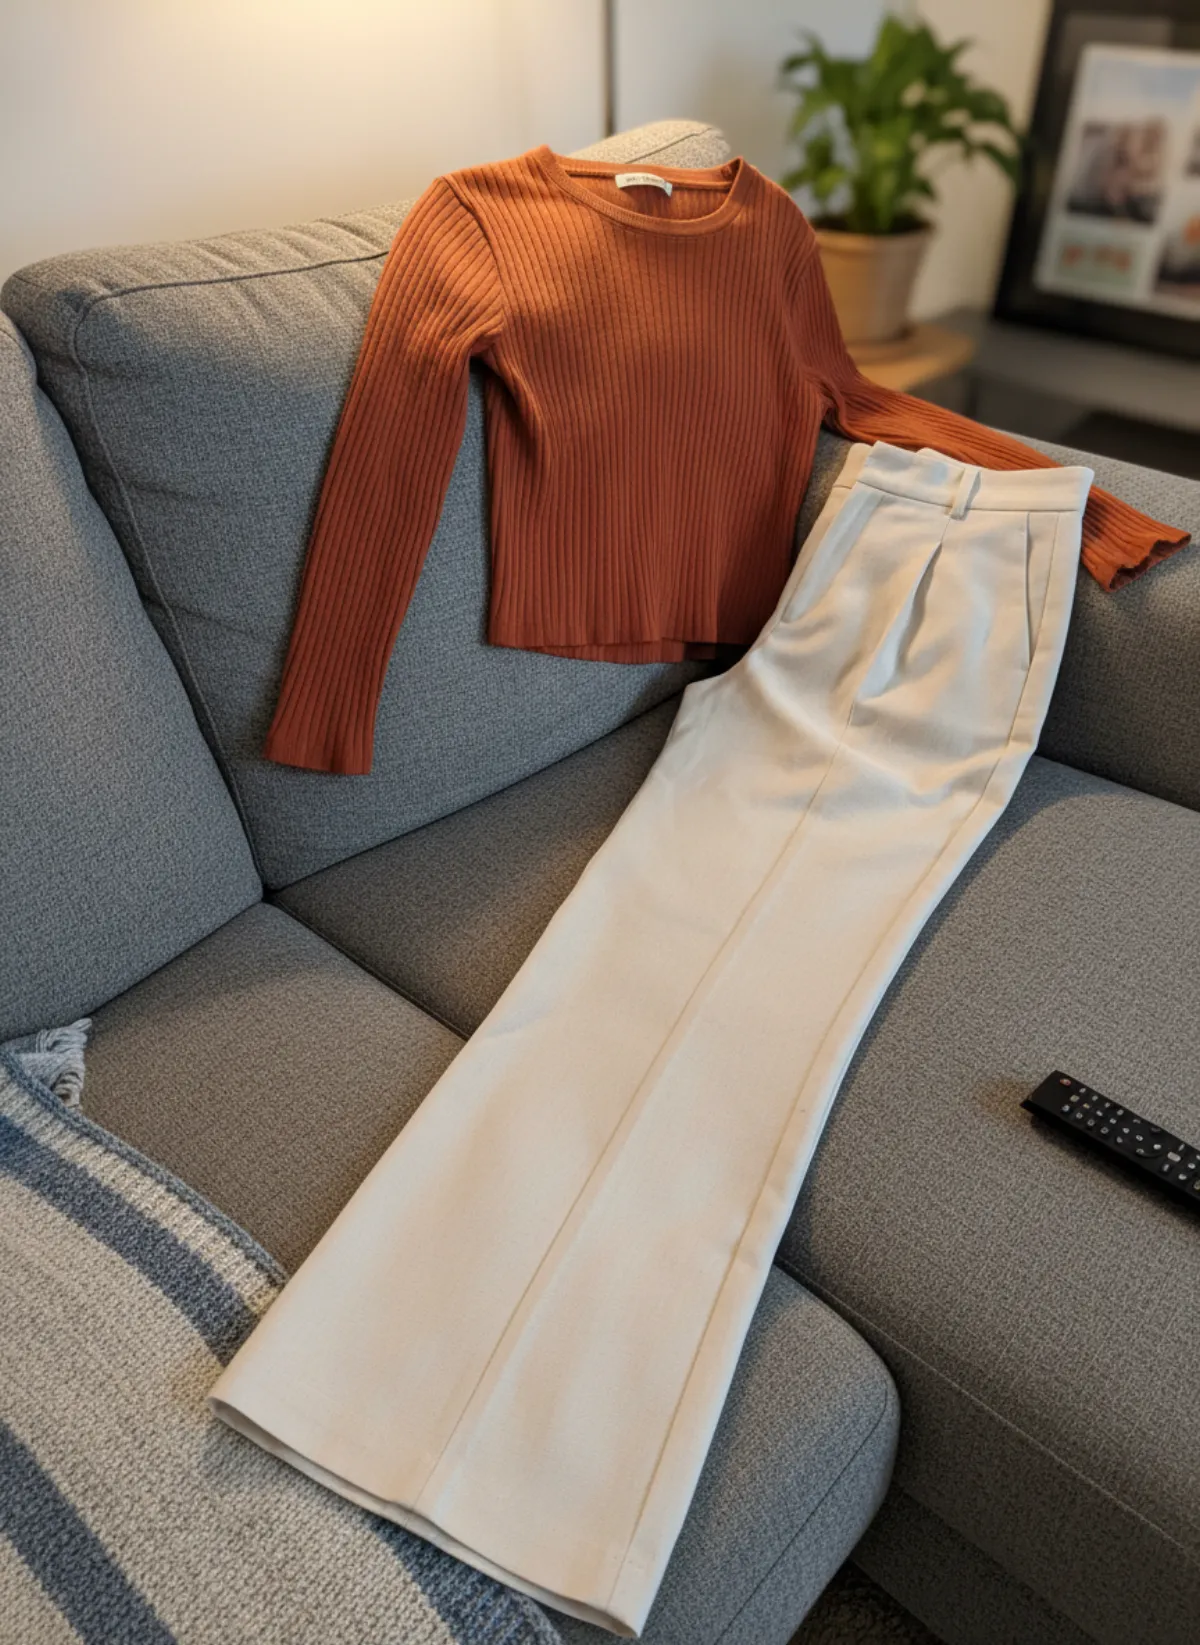
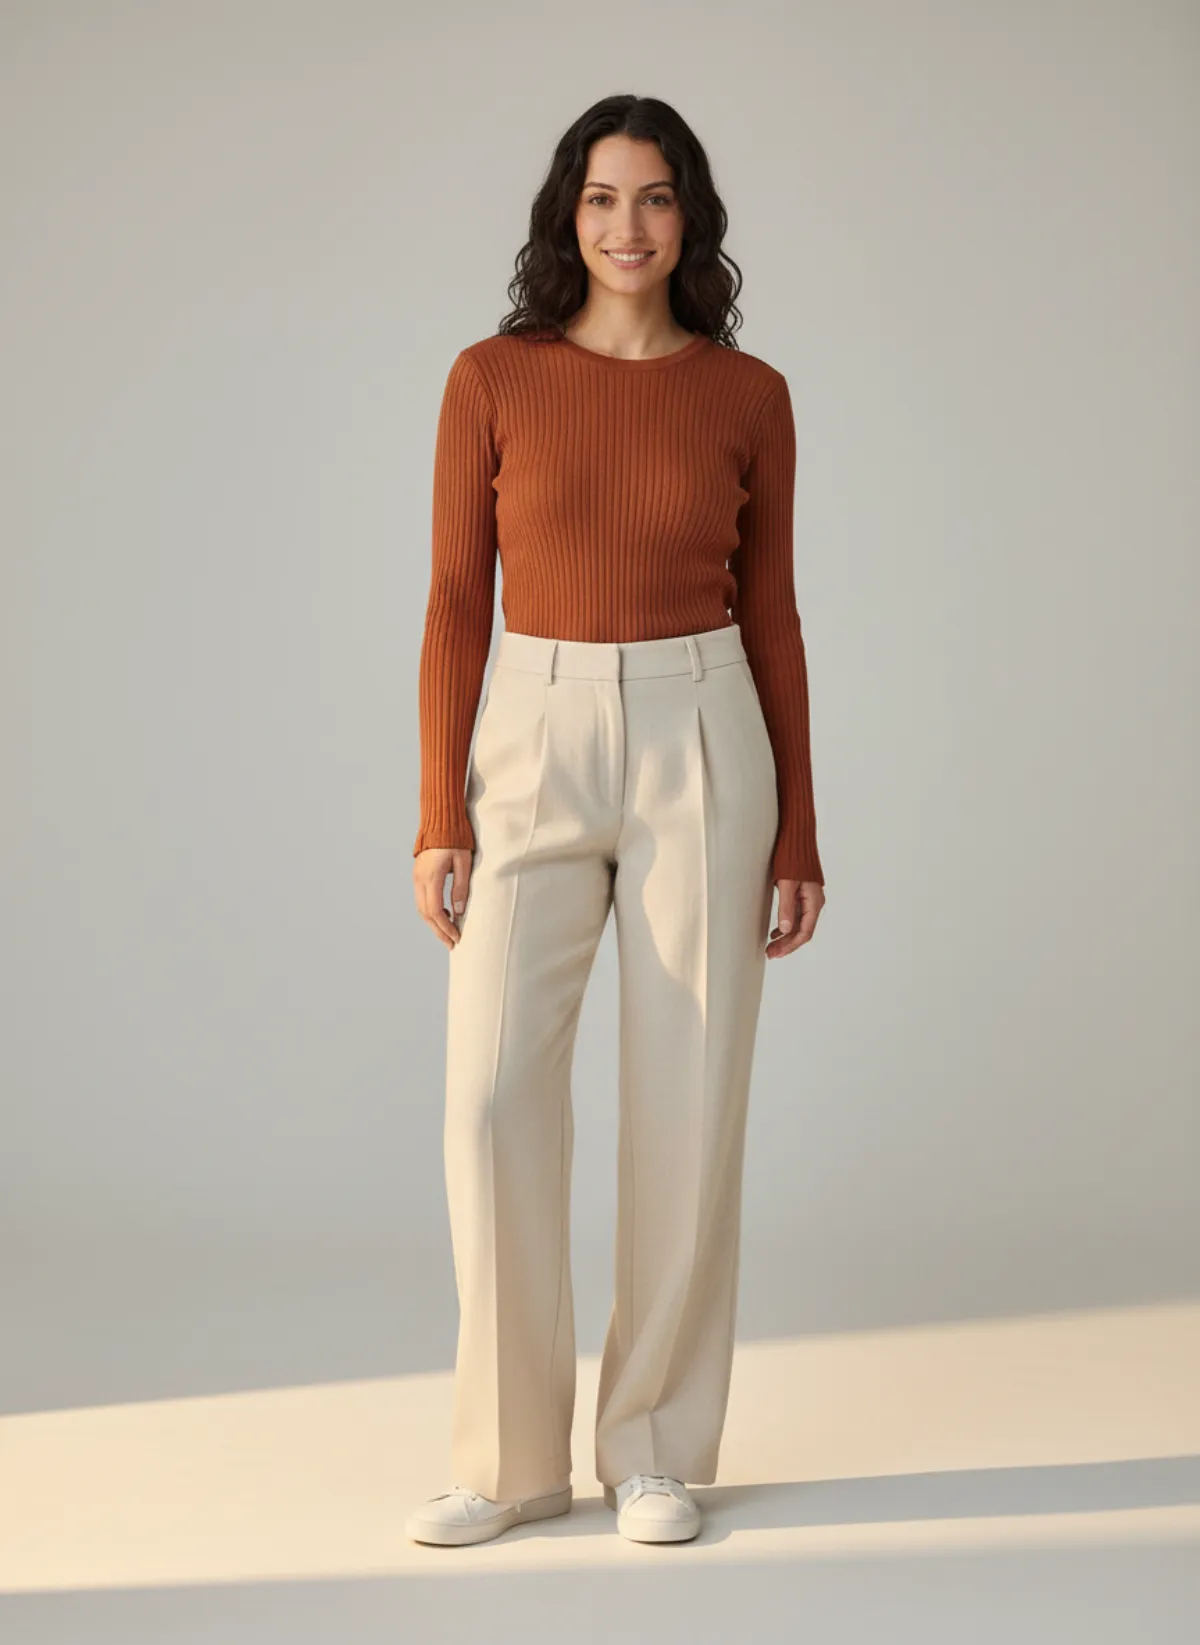
A knit top and trousers
Two pieces photographed together. The result shows them as one outfit, plus a close crop of the knit.
 Your photo
Questions about photographing clothes without a mannequin
How do I make clothes look good in photos without a mannequin?
Steam the garment, button it up, stuff it lightly with tissue paper and shoot it flat or on a slim hanger in soft daylight. Use the same plain background for every item so your shop looks consistent.
Is a flat lay or a hanger photo better?
It depends on the fabric. Structured clothes such as shirts, denim and knitwear look better flat; flowing dresses, skirts and wide trousers look better hanging, because gravity shows the drape.
How can I show the fit without a model?
Add measurements to the description and an on-model image made from your own photo. An AI tool such as Garmo places your garment on a ready model, so buyers see length and silhouette, but it does not replace a real fit test for exact sizing.
Can I photograph clothes on my bed?
You can, but bedding wrinkles and patterns make the garment look less sharp. Put a plain sheet or a large foam board on top first; it costs very little and lifts every photo.
What is the best background for clothing photos at home?
A plain, matte, light background: white or light grey card, a flat sheet or a bare wall. It keeps the colour true and makes the garment the only thing to look at.