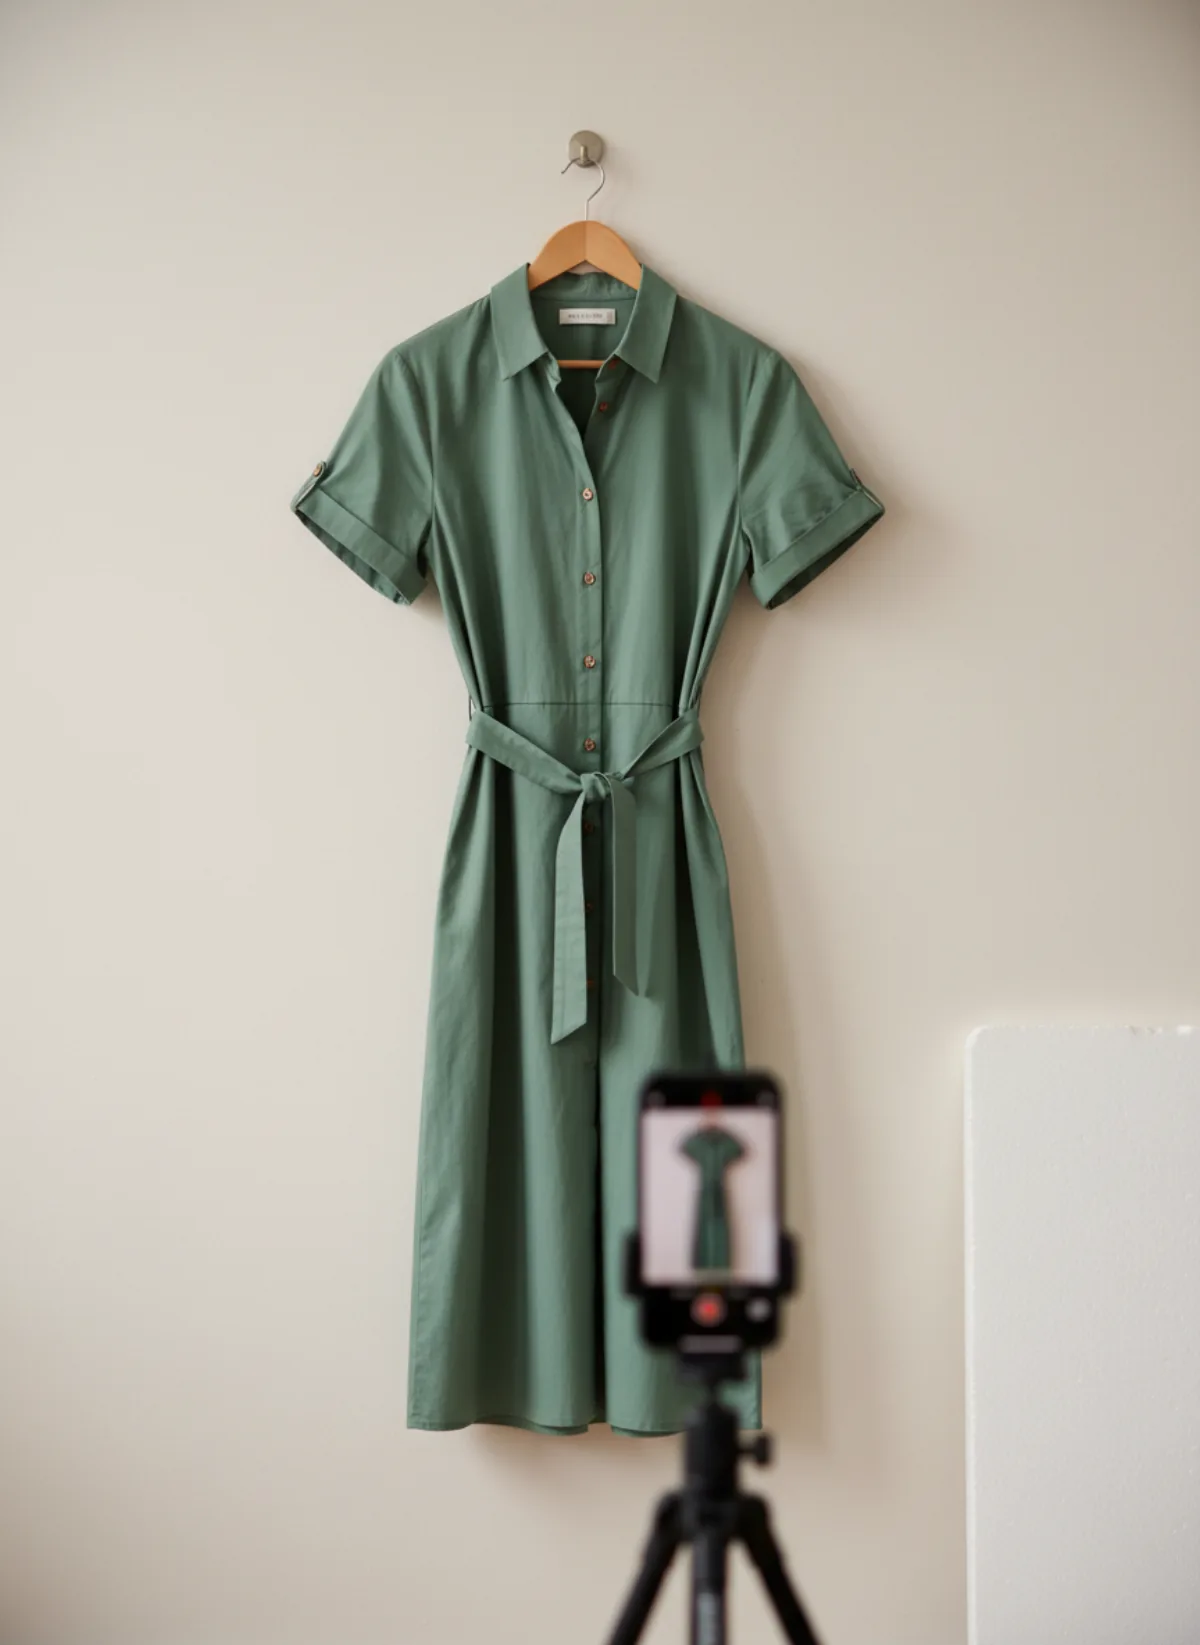
When a hanger shot beats a flat lay
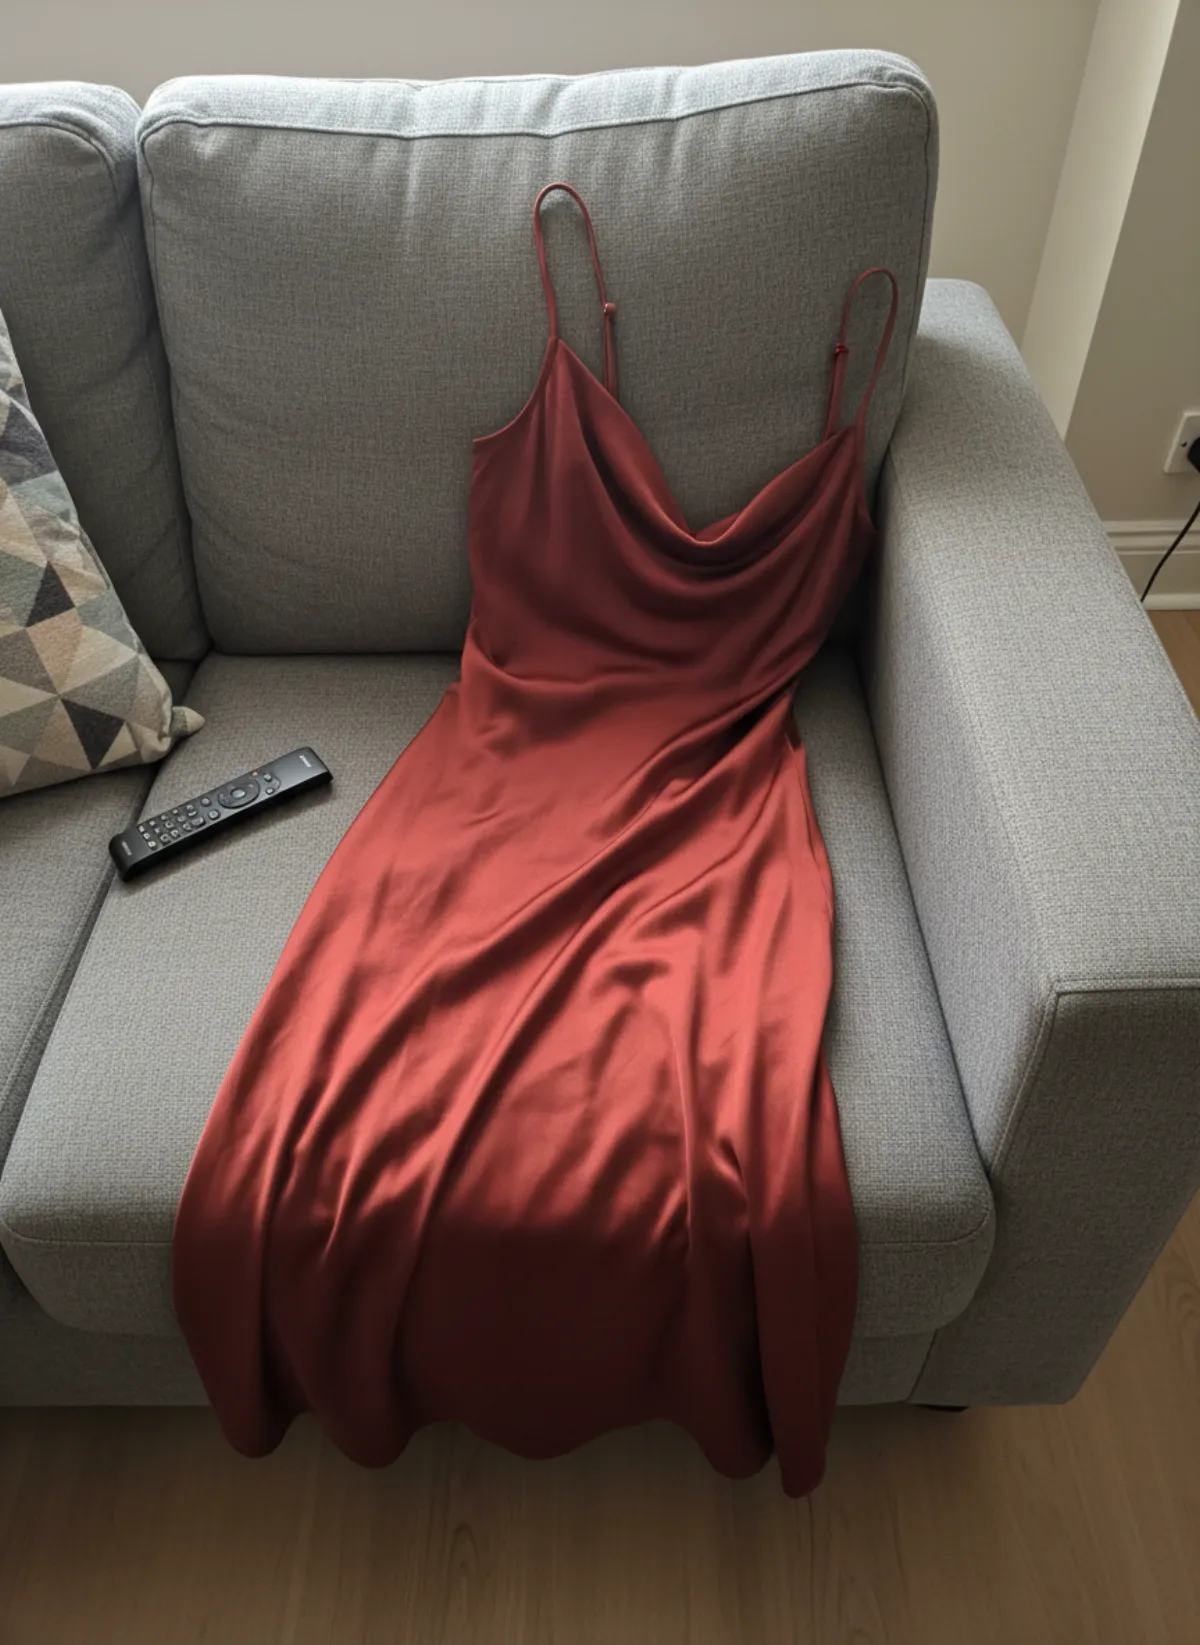
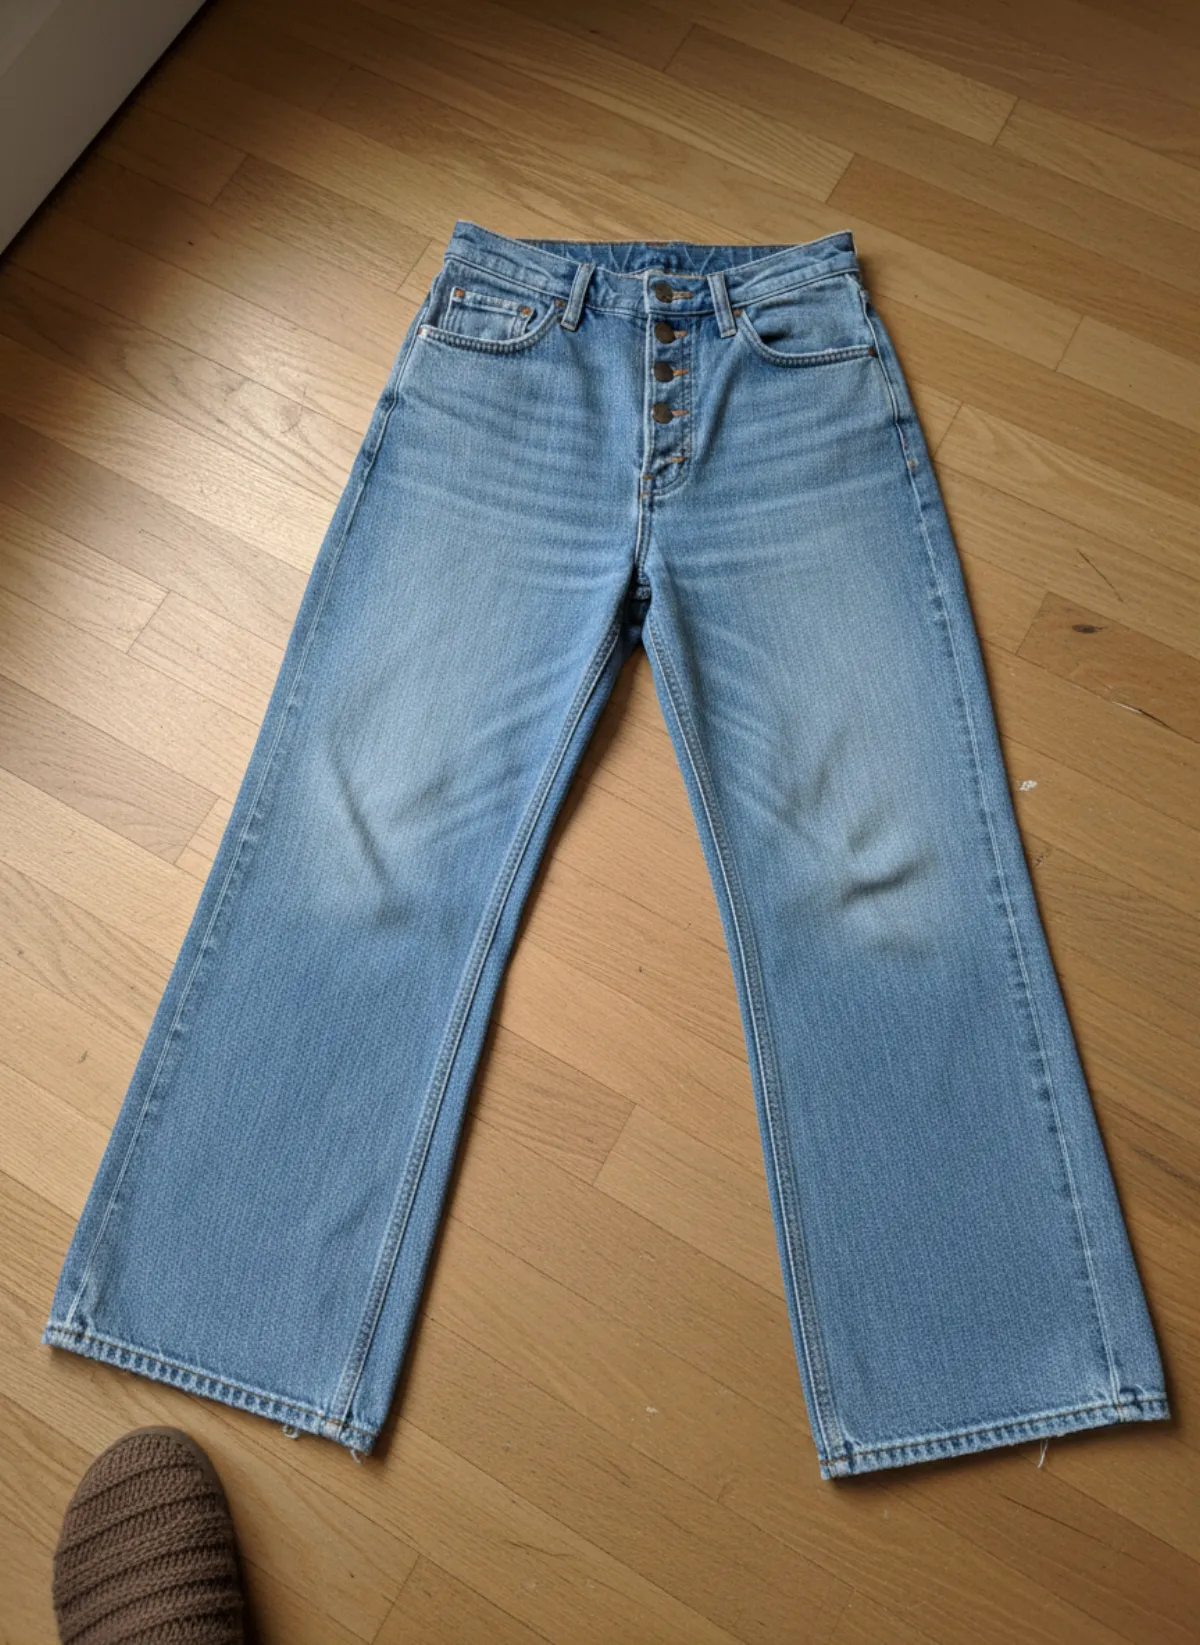
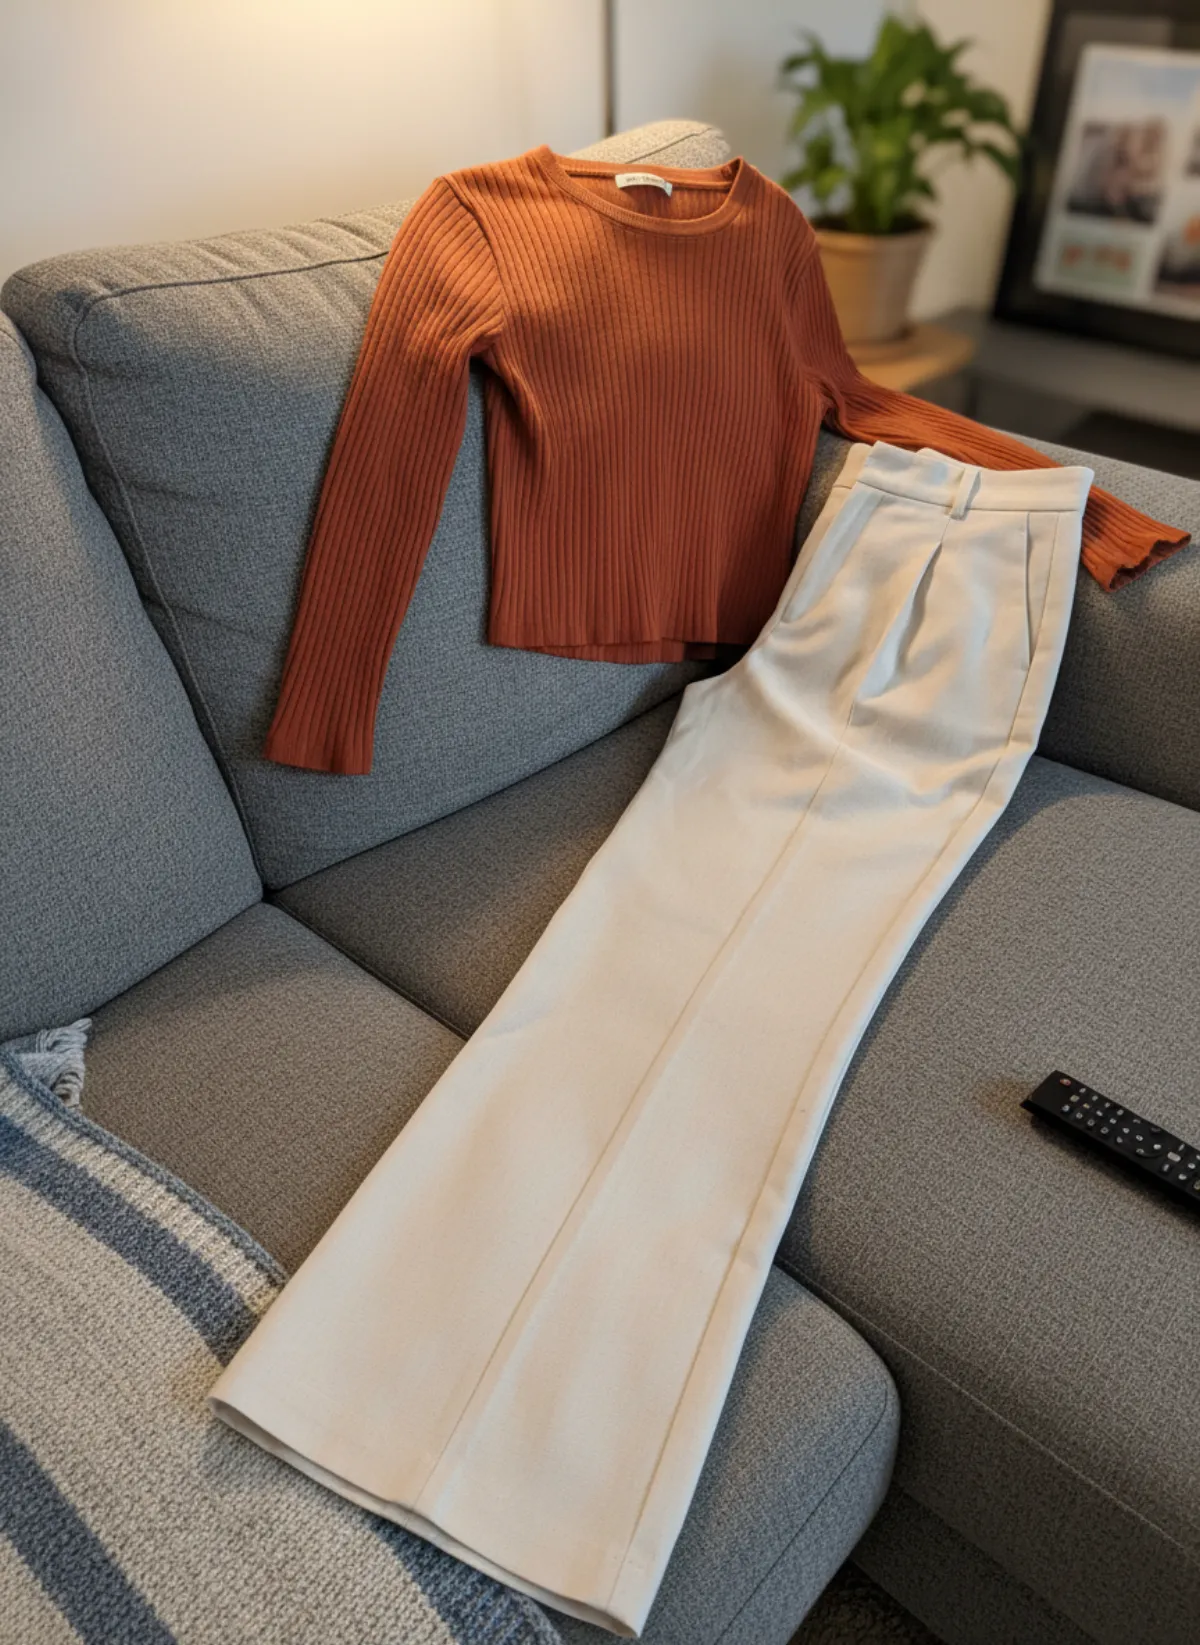
A hanger lets gravity do the styling. Fabric falls the way it will on a body, so a slip dress shows its drape, a pleated skirt shows its pleats and wide trousers show how far the leg flares. Laid flat, the same pieces turn into shapeless puddles. Hanging is also faster: no stool, no leaning over the floor, and the garment stays where you left it between frames.
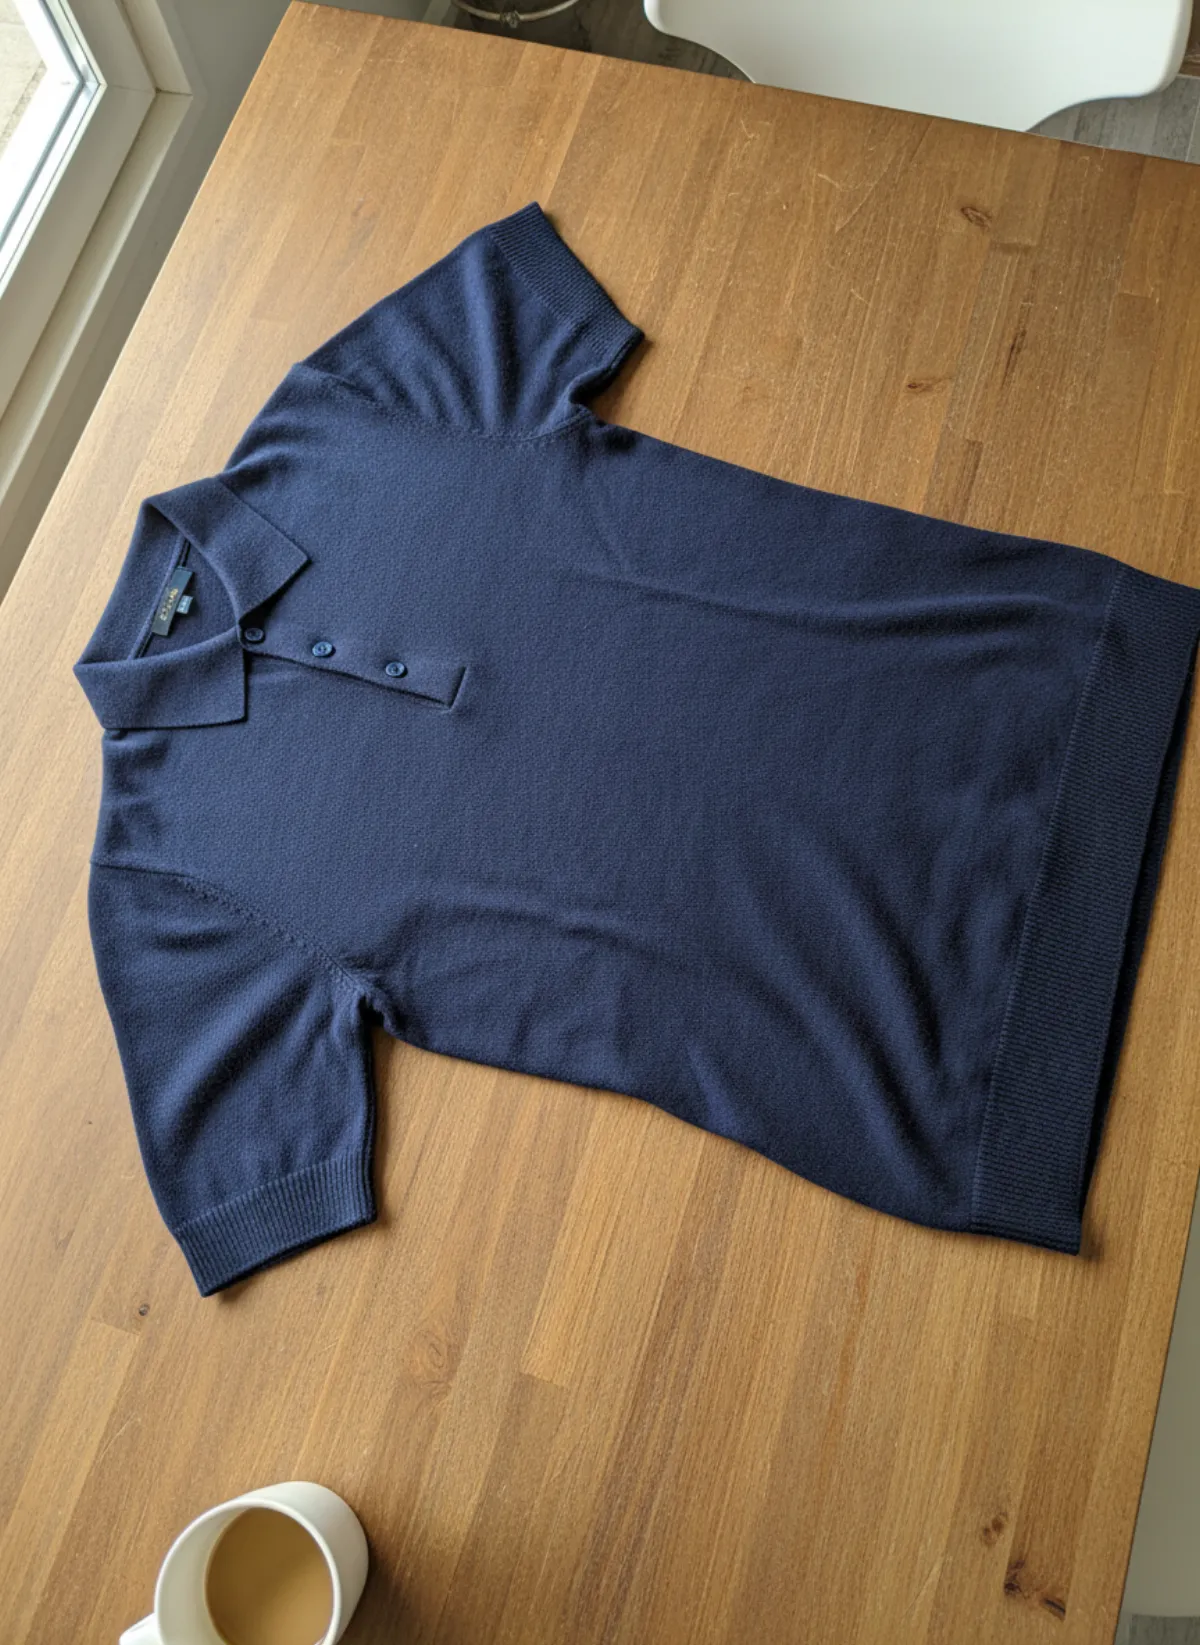
It is the weaker choice for small or stretchy items. A t-shirt on a hanger collapses at the shoulders and a knit grows longer under its own weight. Those pieces look better flat or pinned to a board, as explained in our guide on how to take pictures of clothes without a mannequin. For everything long, fluid or tailored, the hanger wins. Dresses have their own shot list in how to photograph dresses for sale.
Seven rules for clean hanger photos
1. Use a hanger that fits the shoulders
Choose a slim wooden or velvet hanger as wide as the garment's shoulder seams. Too narrow and the shoulders droop; too wide and they poke out. Use one hanger style for your whole shop so every listing matches, and never photograph on a wire hanger from the dry cleaner.
2. Hang it from one point on a plain wall
A single hook, a picture-rail hook or the top of a door frame against a bare, light wall. Avoid a crowded rail where other clothes peek into the frame. Leave at least a hand's width of wall on every side of the garment, and more below the hem.
3. Steam it on the hanger
Steam after hanging, not before, so the fabric relaxes into its hanging shape. Pay attention to the placket, the collar and the hem, which catch the eye first. A lint roller over dark fabric takes ten seconds and removes what the camera will exaggerate.
4. Shoot from chest height, phone level
Put the phone on a tripod or a stack of books level with the garment's chest. Shooting from your eye height or from below makes the hem look wider than the shoulders. Keep the phone upright and parallel to the wall, and use the grid to keep the centre seam vertical.
5. Step back and zoom in a little
Close up, a phone lens bends straight lines and makes the hanger look huge. Stand about two metres away and use the 2× lens if your phone has one, or crop later. The garment should fill most of the frame with a little wall around it.
6. Light from the side, not from behind
Place the garment beside a window rather than in front of it. Side light shows the weave and the folds; a window behind the garment turns it into a dark silhouette. A white board on the other side softens the shadows. Turn off ceiling lights to keep the colour clean.
7. Repeat the same setup for the back
Turn the hanger round on the hook and take the back with the same height, distance and light. Then add a fabric close-up and a label shot. Keeping the setup fixed means you can photograph a whole rail of stock in one session.
Shaping tricks: fix sagging shoulders and a flat body
A garment on a hanger has no chest, so it often looks flat at the front and baggy at the waist. Two clothes pegs or bulldog clips pinched into the back at the waist pull the fabric in and suggest a figure; keep them hidden behind the garment and check the edges in the frame. A belt, tied loosely, does the same for dresses and coats and shows how the piece is meant to be worn. Jackets and coats have their own shot list in how to take pictures of jackets to sell.
Stuff a little tissue paper into the chest and the sleeves of shirts and jackets so they look filled. Tie or tuck long ties and drawstrings so they do not hang in a tangle. For trousers and skirts, use a clip hanger at the waistband and close every button and zip. For a knit that stretches, fold it over the hanger bar instead of hanging it by the shoulders. More on knits in how to photograph sweaters.
Hide the hanger hook if it distracts: a plain wooden hook in a neutral colour disappears, a bright plastic one does not. If you sell on a white-background marketplace, you can still shoot on a light wall and use your background removal tool afterwards; a plain wall makes the cut-out cleaner. Our product photography background guide covers which colours suit which items. Black garments on a light wall need side light to keep their texture; see how to photograph black clothing.
Mistakes that make hanger photos look tired
A crowded rail
Other clothes in the frame make the item look like stock on a market stall, not a product.
Cropped hem or hook
Buyers judge length by the hem. Cutting it off hides the one thing they want to know.
Back-lit by the window
The garment turns dark and its colour disappears. Turn so the window is at your side.
Wire or mismatched hangers
Pointed shoulders, sagging fabric and a shop where every hanger is different.
Turn one hanger photo into on-model shots
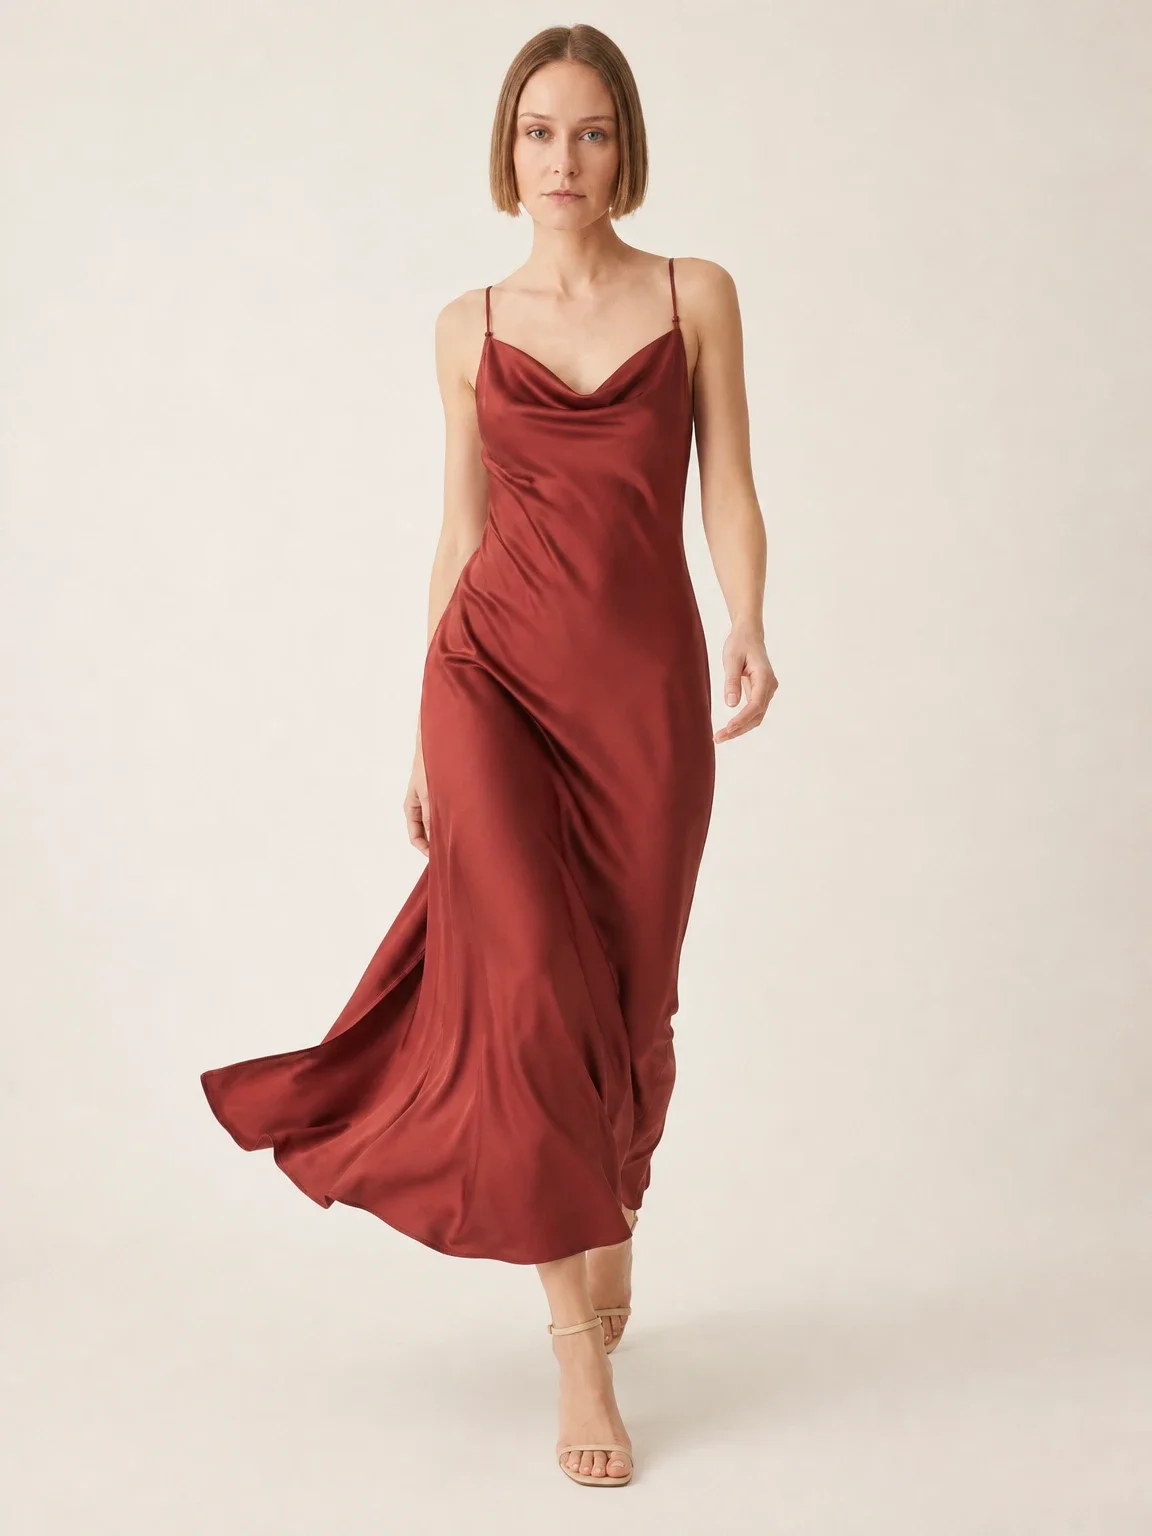
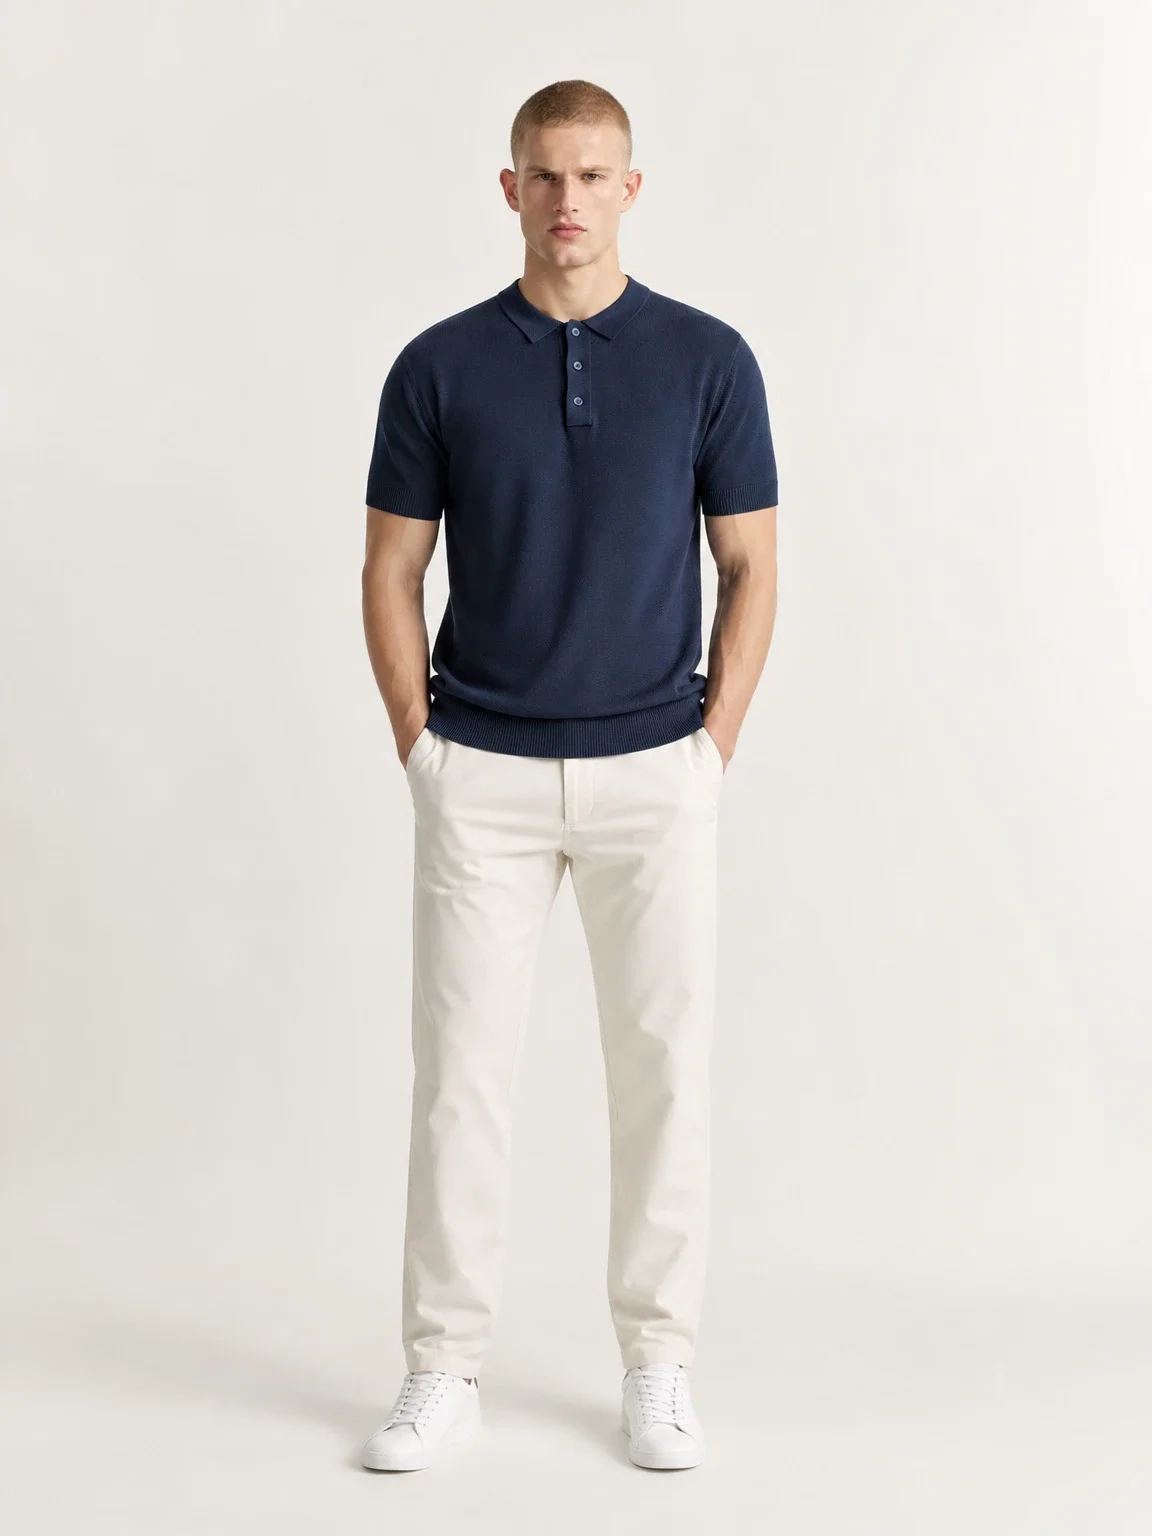
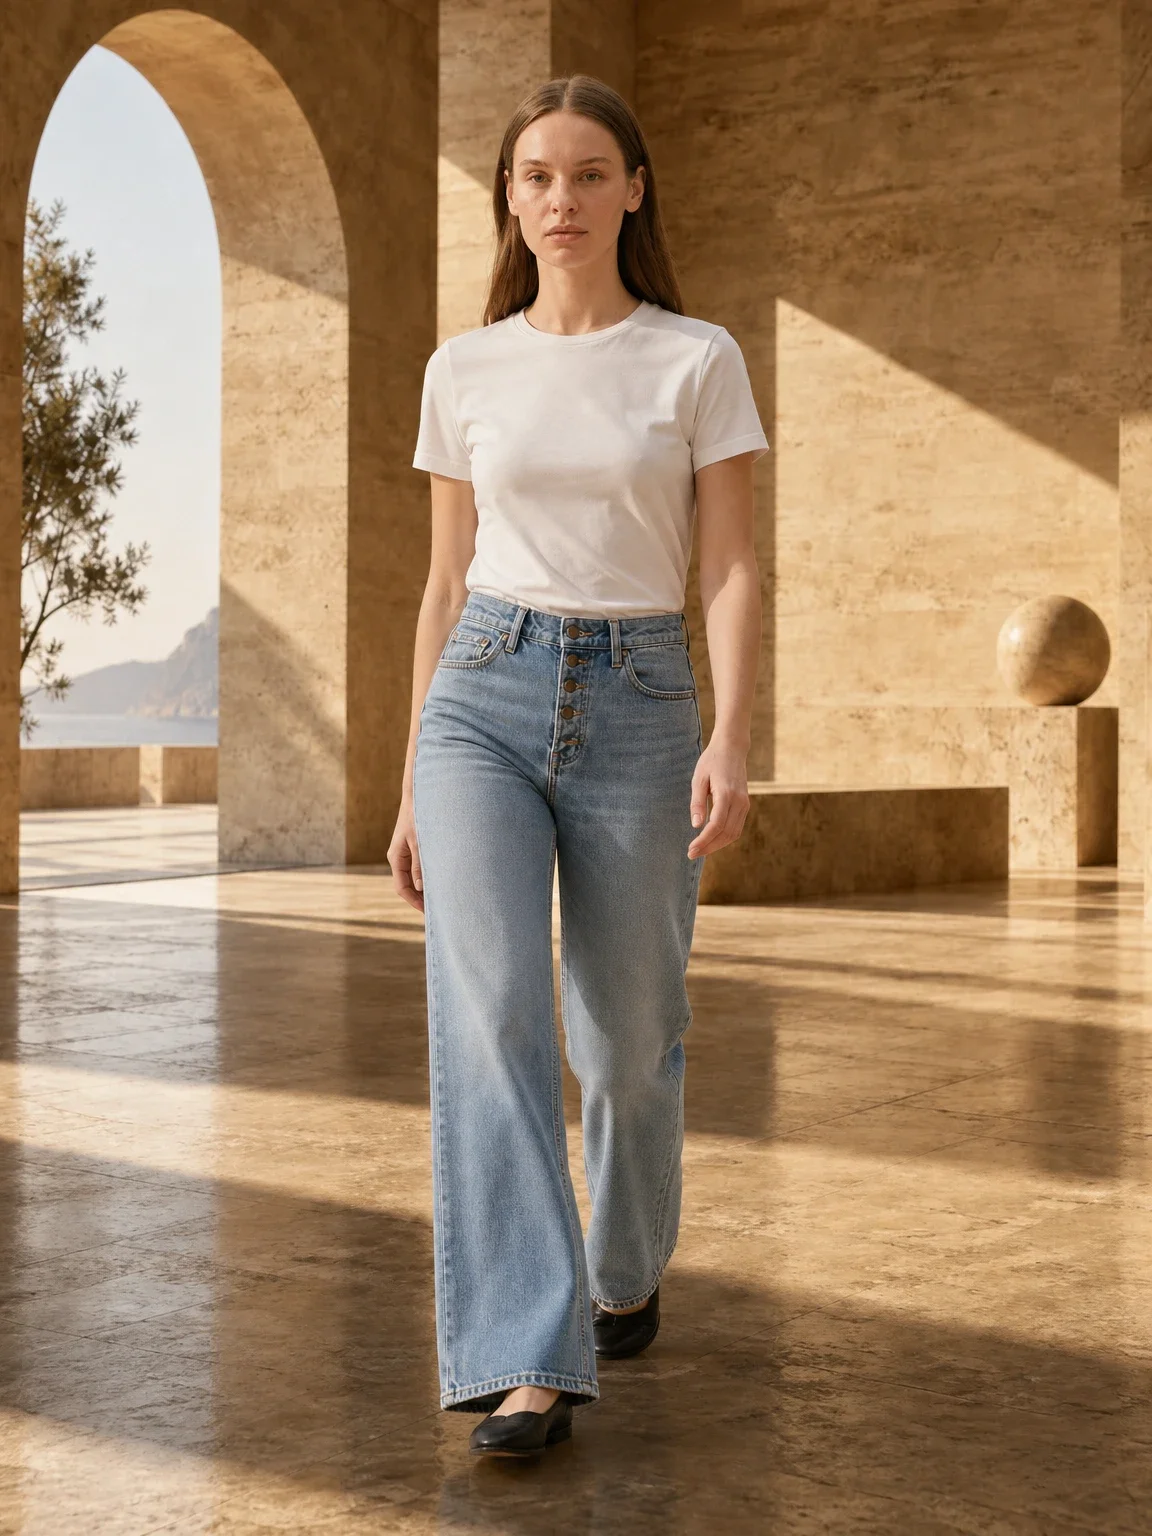
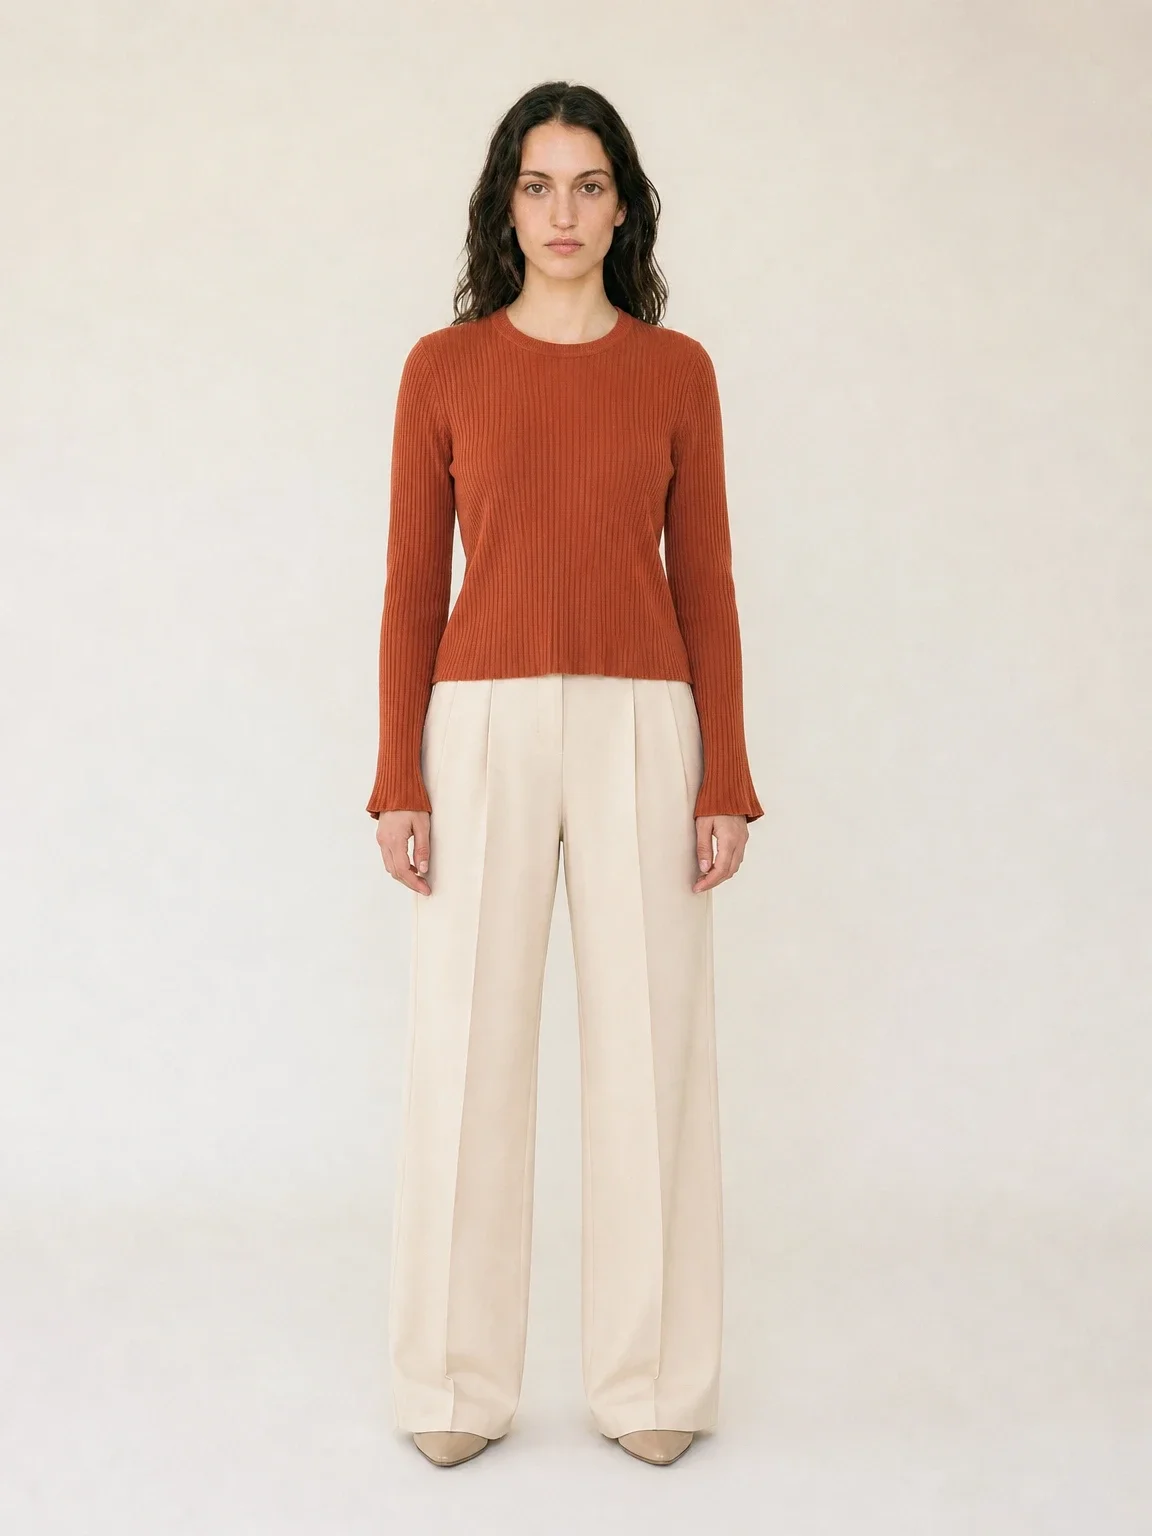
A good hanger photo shows the garment, but buyers still ask how it looks on. You can answer without a model. Upload the hanger photo to hanger photo to model: Garmo reads the garment from the photo, puts it on one of 42 ready models (22 women and 20 men) and returns one to six images in studio, street or editorial settings, a set of three in under a minute.
Because the hanger photo already shows the drape, it is one of the best inputs you can give. For a dress, dress on model AI adds front, three-quarter and walking frames that show length and movement; for shirts and blouses, top on model AI shows the neckline and how the hem falls; skirts and trousers on clip hangers go to pants and skirts on a model.
Keep the real hanger photo in your gallery next to the on-model images. It proves the item is yours and shows the label and any flaws. Garmo shows the garment on a stock model; it does not predict how it fits a specific size, so put measurements in the listing. If you are shooting a whole collection this way, our guide to photographing clothes to sell online explains how to plan the full set.
Hanger photos turned into on-model images
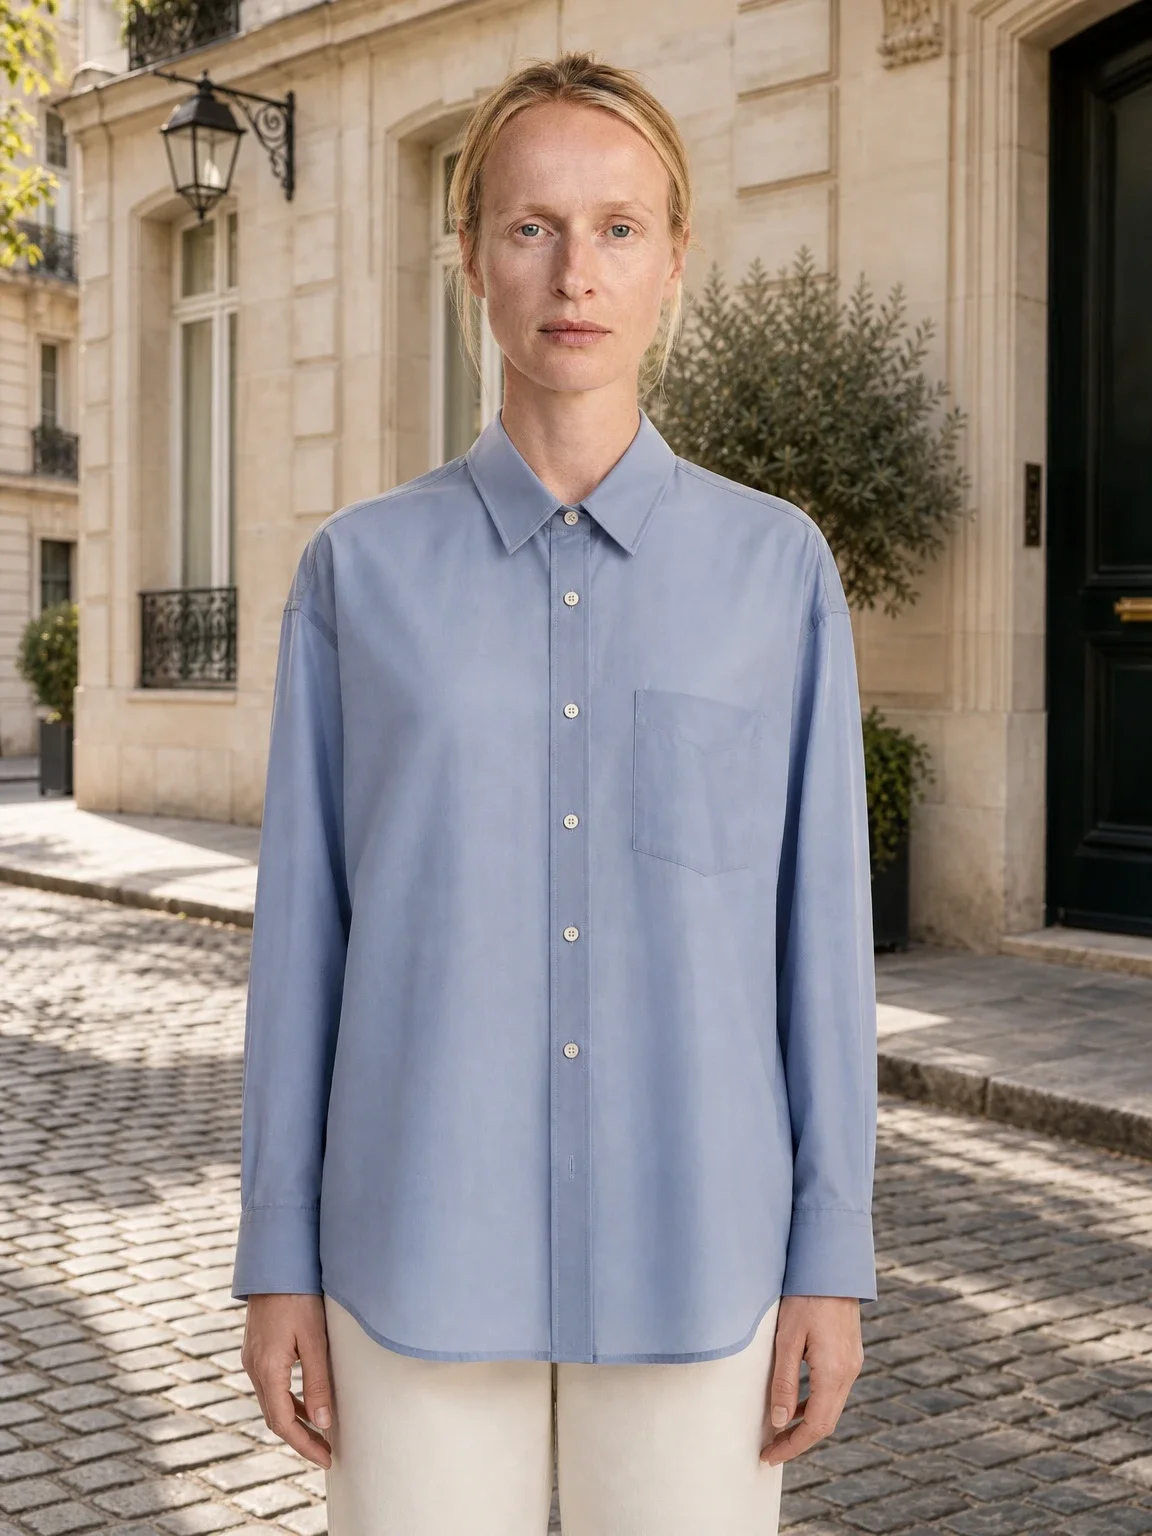
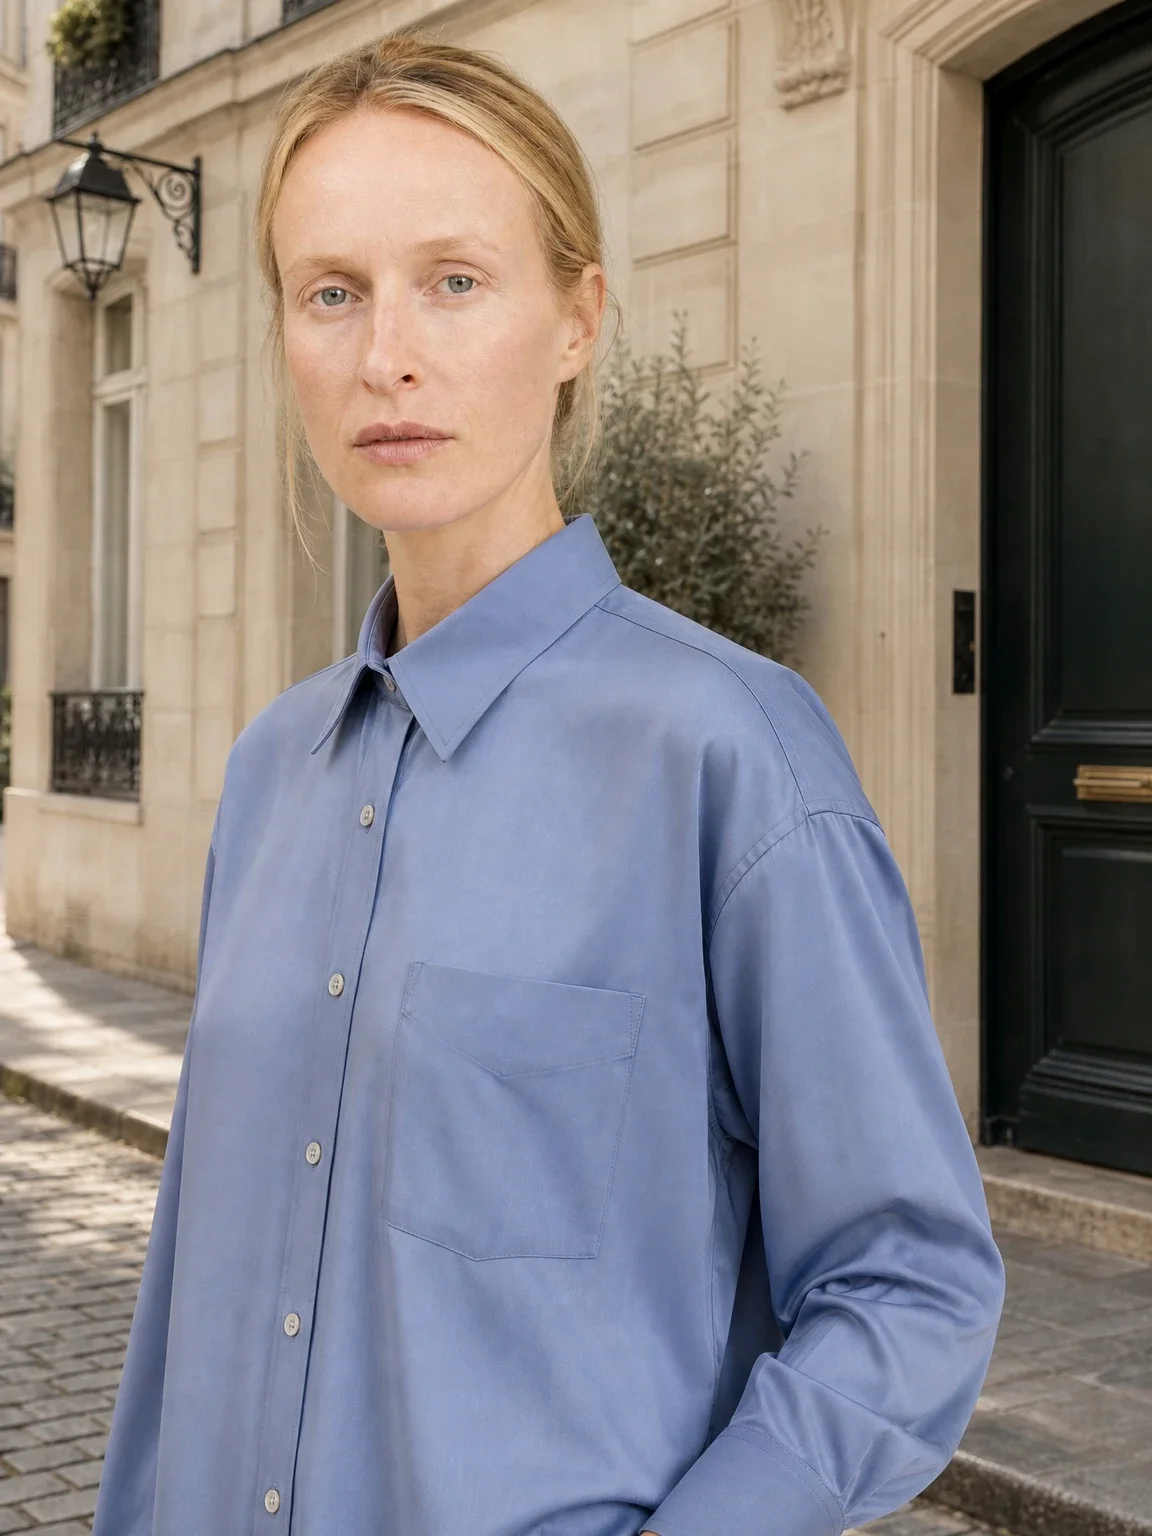
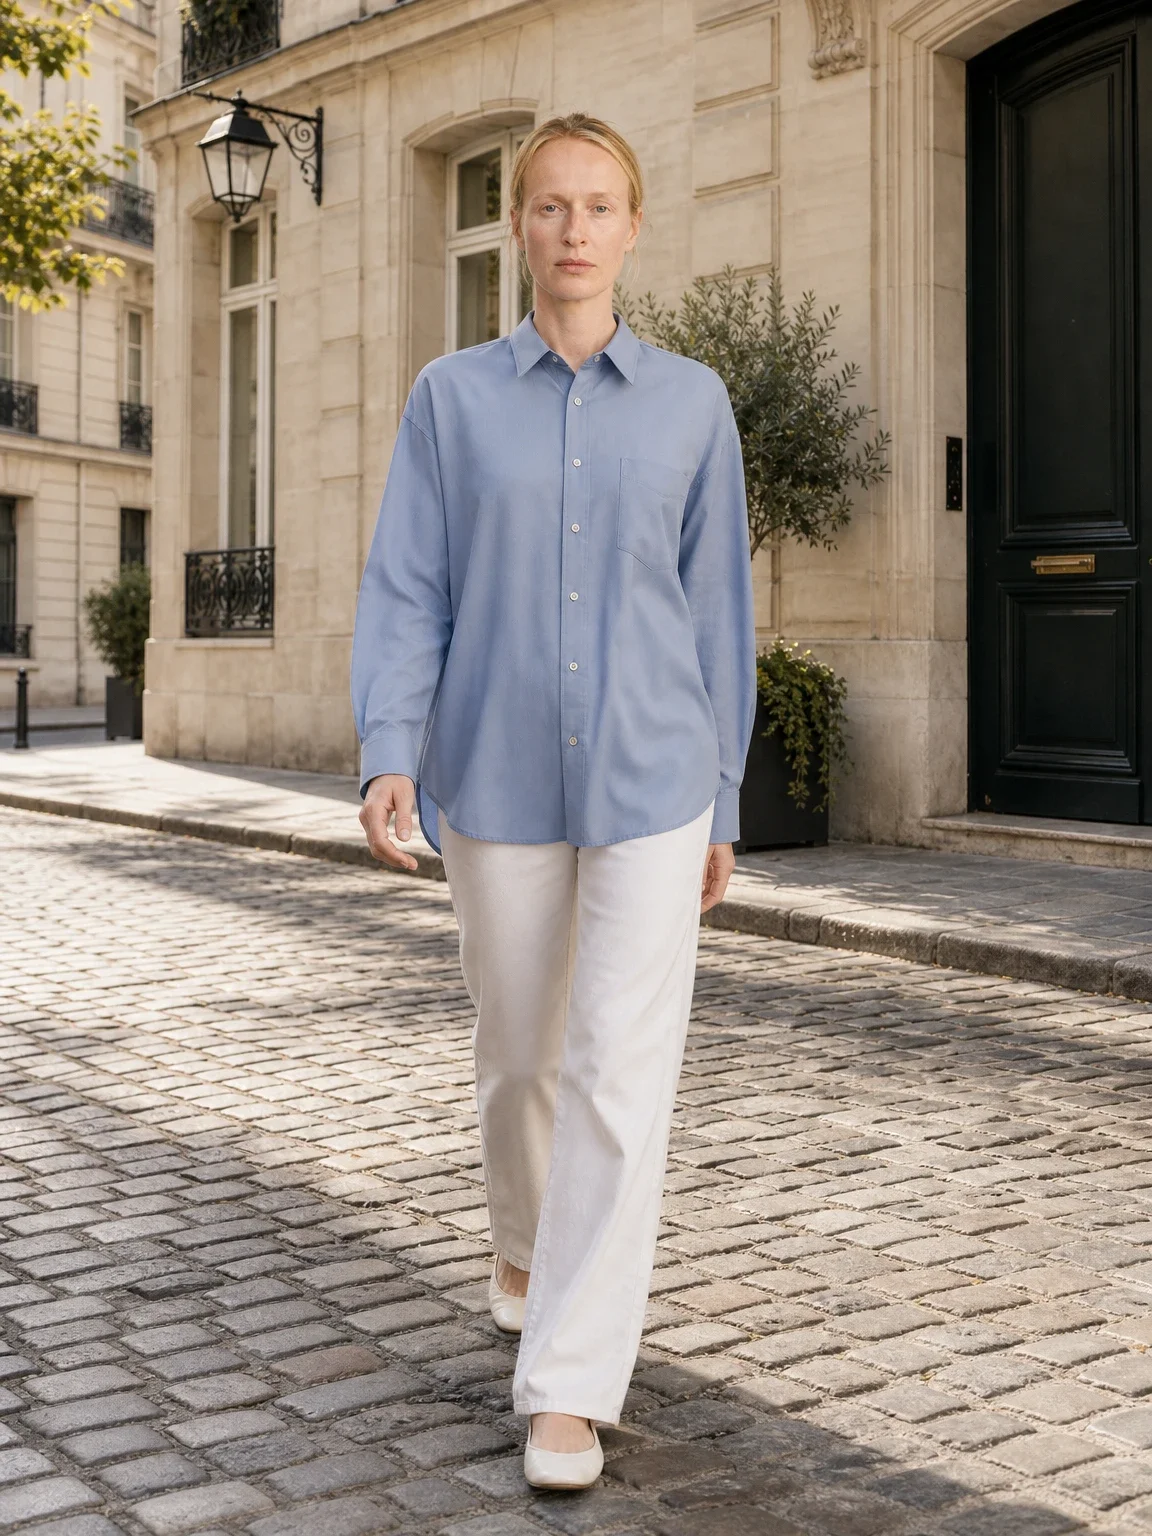
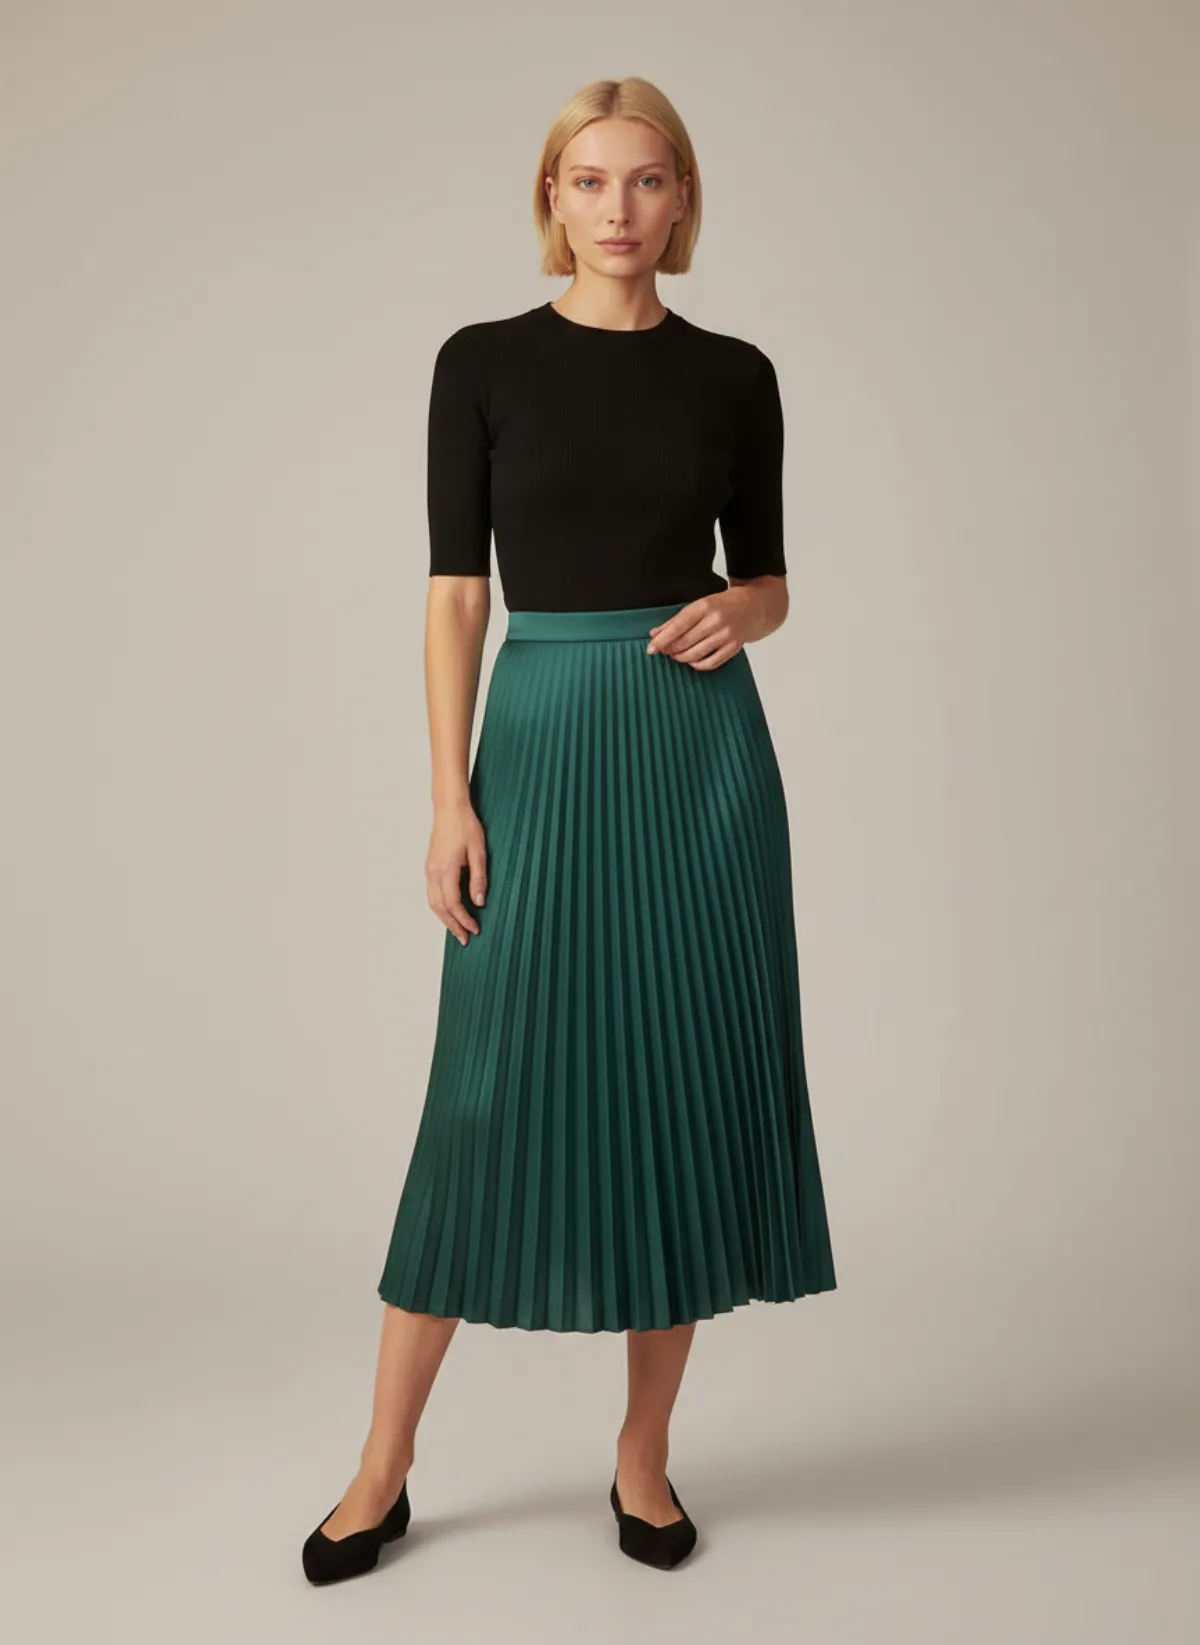
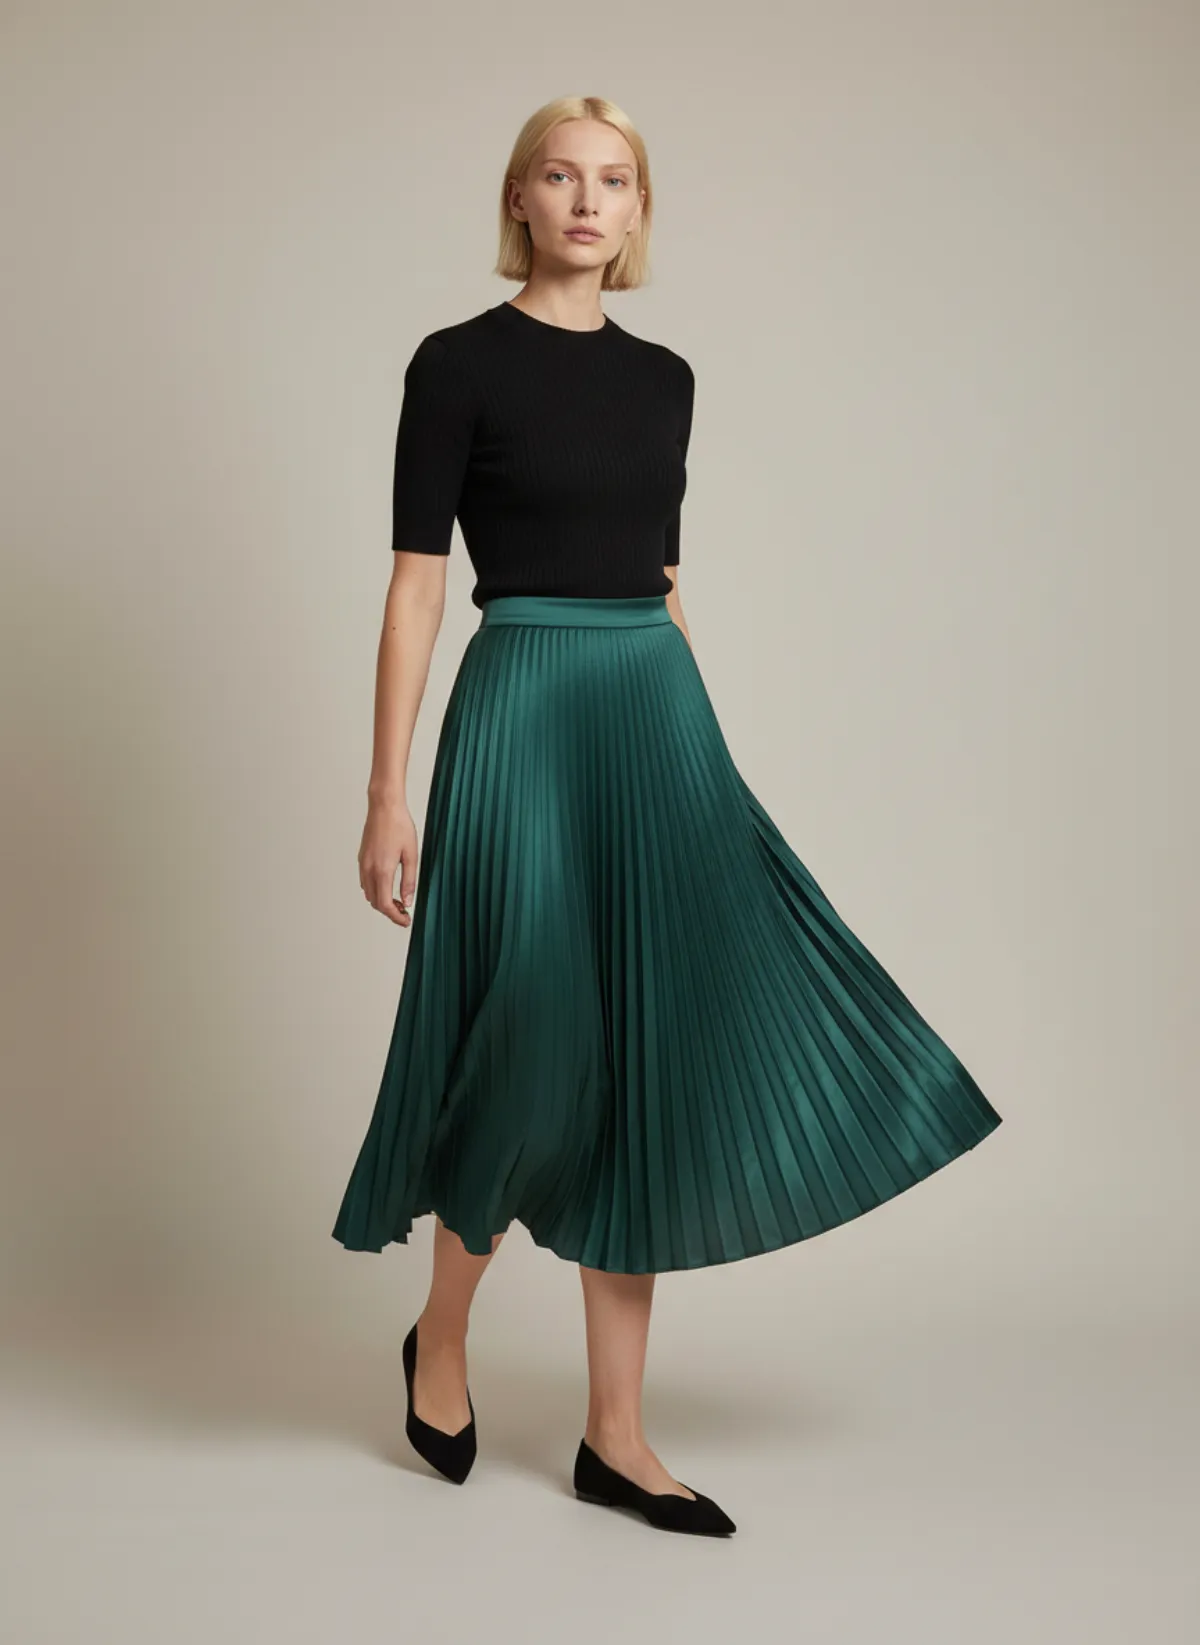
Both items were photographed on a hanger at home. The on-model frames came from that single photo.
A shirt on a curtain rail
Hung from a curtain rail by a window. The results show the shirt front-on, turned and in motion, with the collar and cuffs intact.
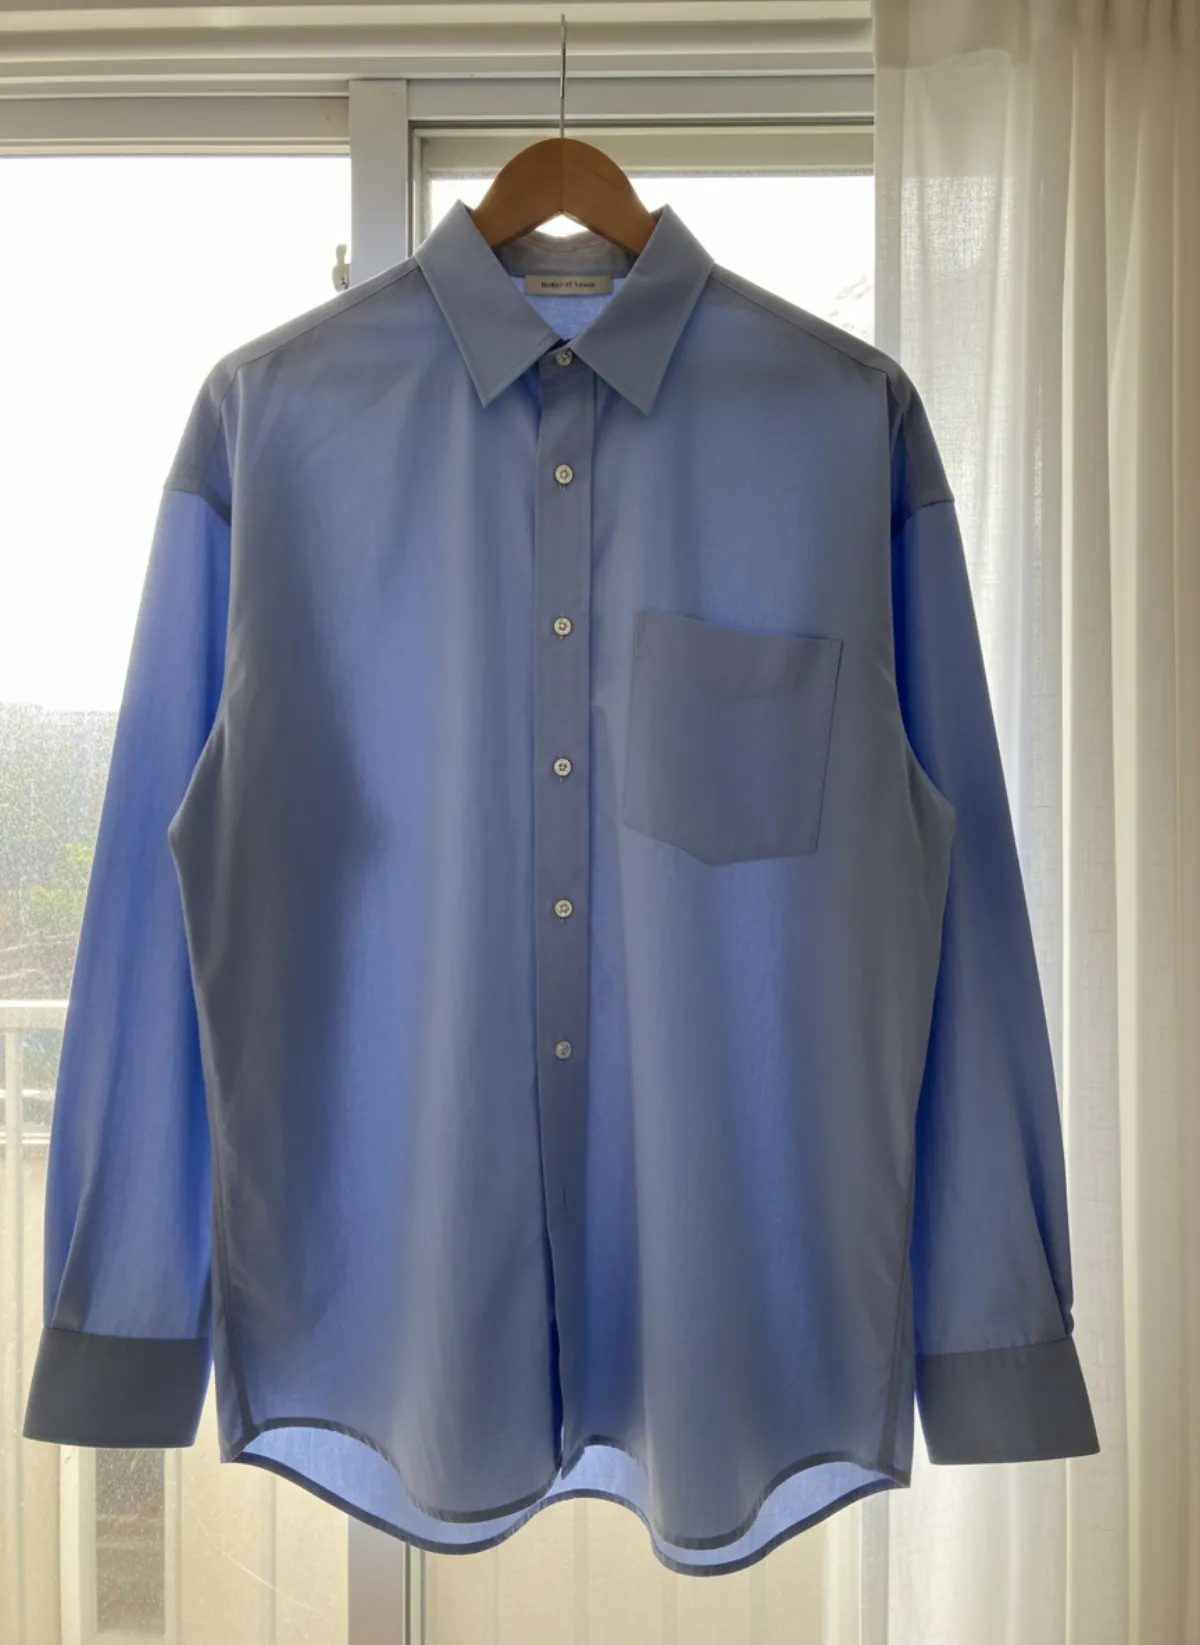 Your photo
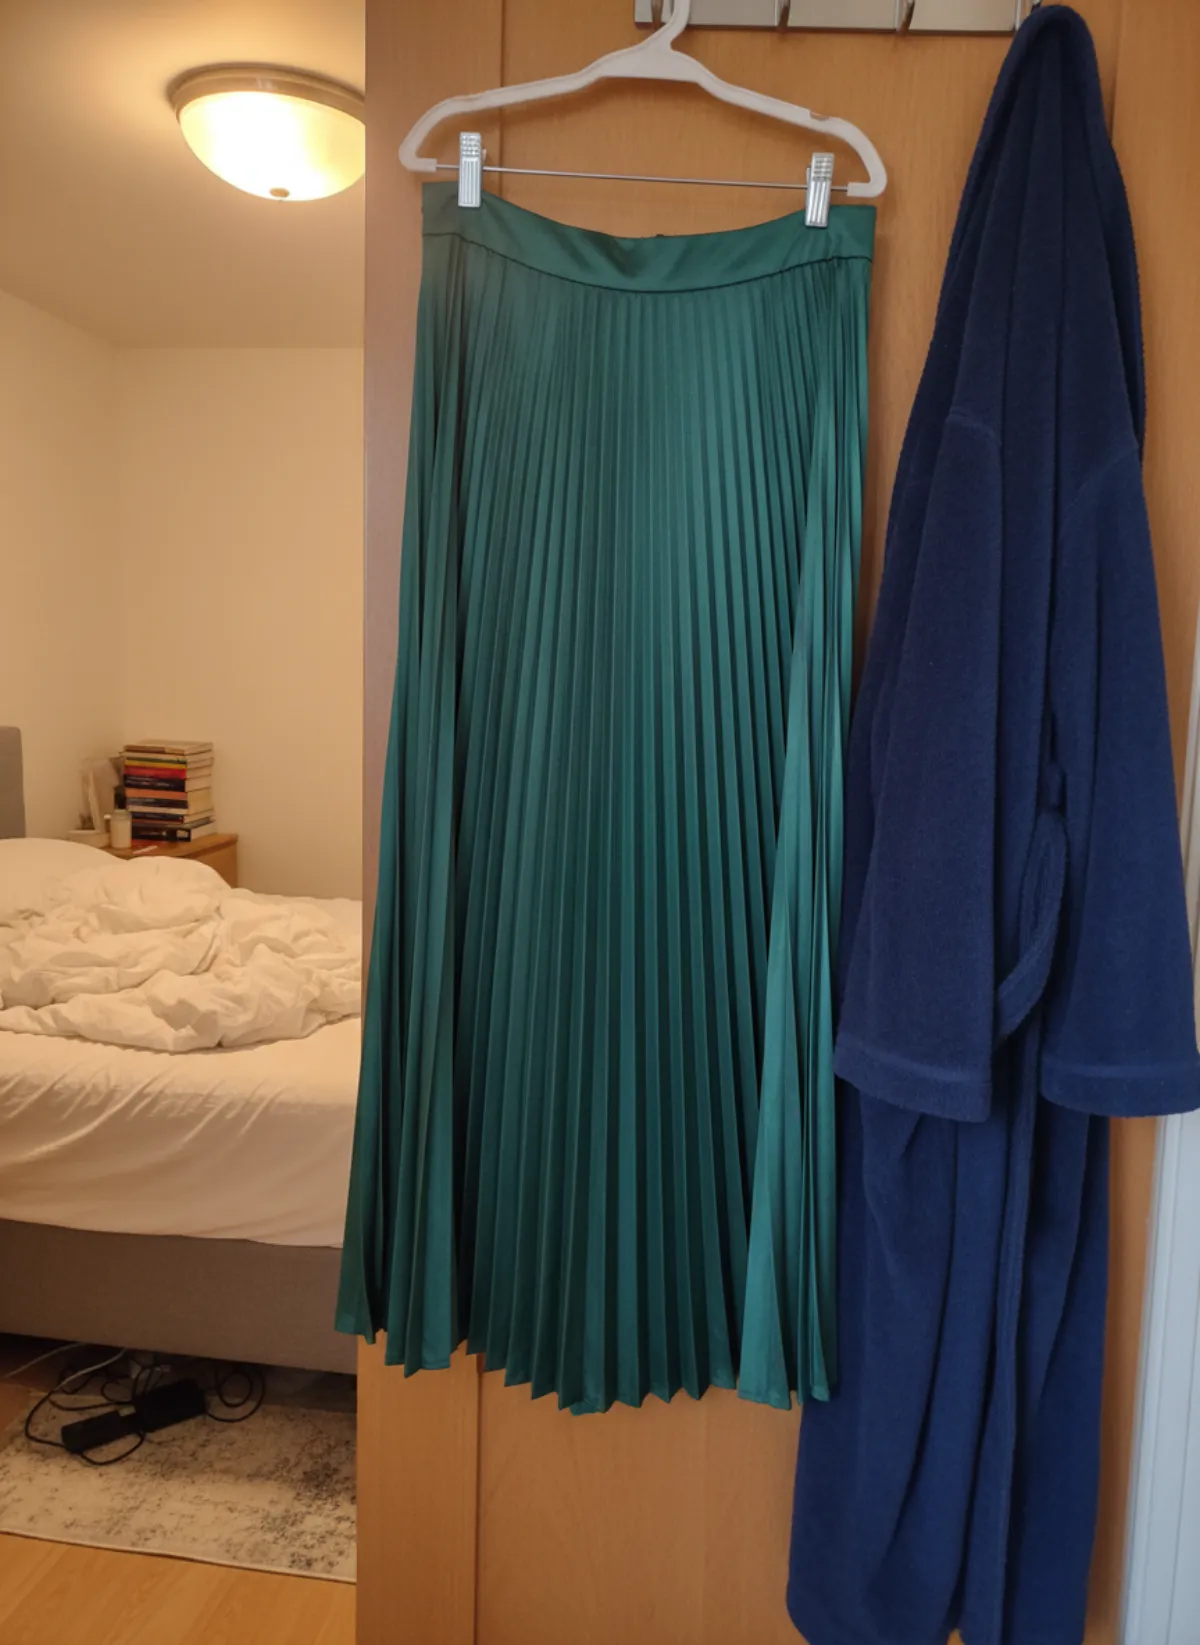
A pleated skirt on a clip hanger
Clipped by the waistband. On the model the pleats open as she walks, which a hanger photo can only hint at.
 Your photo
Questions about photographing clothes on a hanger
What is the best hanger for clothing photos?
A slim wooden or velvet hanger in a neutral colour, as wide as the garment's shoulders. Use the same style for every item so your listings look consistent.
How do you photograph clothes on a hanger without wrinkles?
Steam the garment after you hang it, so the fabric relaxes into its hanging shape, and check the collar, placket and hem on the phone screen before you shoot.
Should I photograph a hanging garment against a wall or a door?
Either works if it is plain and light. A bare wall is easiest; a door is fine if you hide the handle and frame. Avoid a busy rail or wardrobe in the background.
How do I make clothes on a hanger look less flat?
Clip the back at the waist with hidden pegs, add a loose belt and stuff a little tissue paper into the chest and sleeves. Light from the side also adds depth to the folds.
Can I use a hanger photo to get on-model images?
Yes. Upload it to Garmo's hanger photo to model tool and it places the same garment on a ready model, keeping the colour, print and details from your photo.