What a knitwear listing has to show
Sweater buyers want to see three things a quick phone snap rarely shows: the knit itself, the true colour and the condition of the yarn. They zoom into cables and ribs to judge quality, they compare the colour with what they already own, and they look for pilling, holes and stretched cuffs. A sweater thrown on a bed in ceiling light shows a flat coloured shape and none of that.
So when you work out how to photograph sweaters, plan the photos around texture, colour and condition. A neat flat lay shows the shape and the proportions, a close-up in side light shows the stitch, the label shows the fibre, and close shots of the cuffs and underarms show the wear. A worn photo then answers the last question: is it boxy, fitted or oversized on a body?
Everything here also applies to jumpers, cardigans and knitted vests. For the top-down basics that apply to any garment, see flat lay photography for clothing.
Prep: pills, lint, creases and why not to hang it
Knitwear shows every bit of fluff in a close-up, so prep matters more than for woven clothes. Remove pills with a fabric shaver or a sweater comb, working gently in one direction, then go over the whole surface with a lint roller. Steam out fold lines from storage, holding the steamer a few centimetres away rather than pressing, so the stitches keep their height.
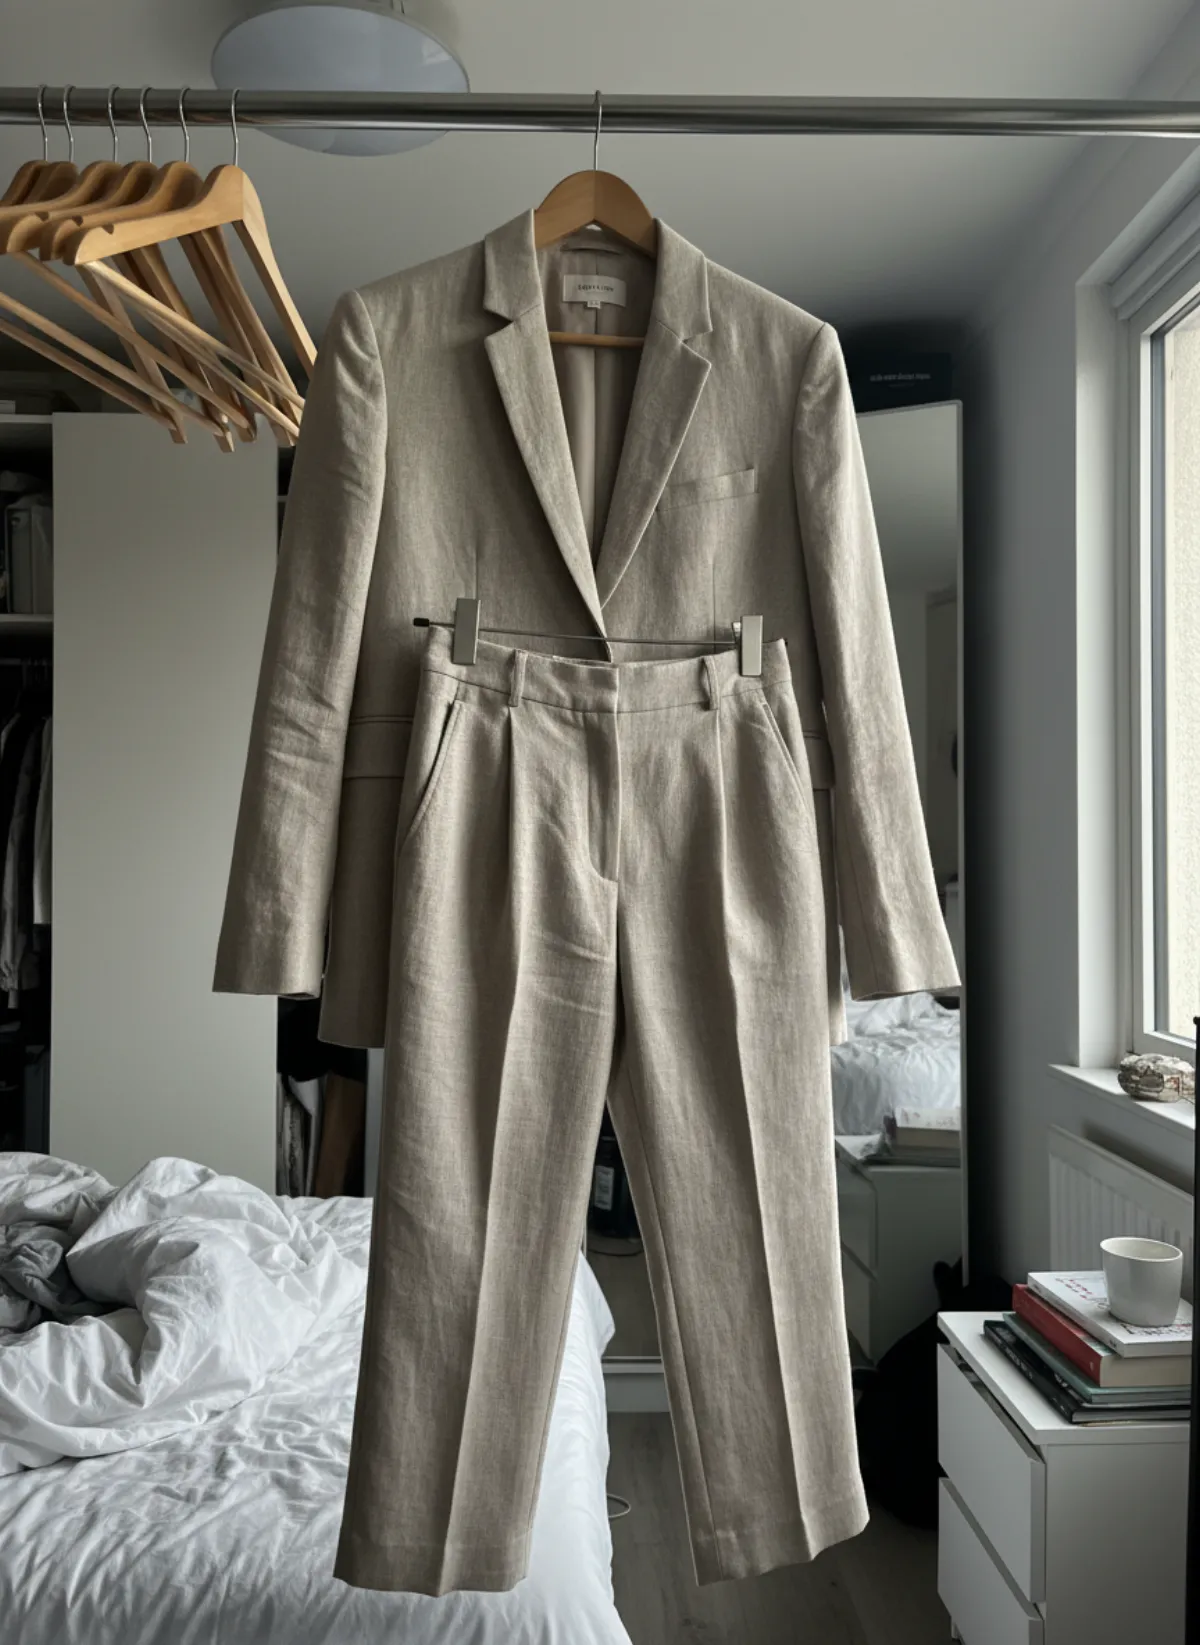
Do not hang a sweater by its shoulders for the photo. The hanger points push into the knit, the weight of the body stretches it downwards and the shoulders end up with two bumps that show in every picture. If you want a hanging shot, fold the sweater over the bar of the hanger; for most listings a flat lay or a neat fold is better.
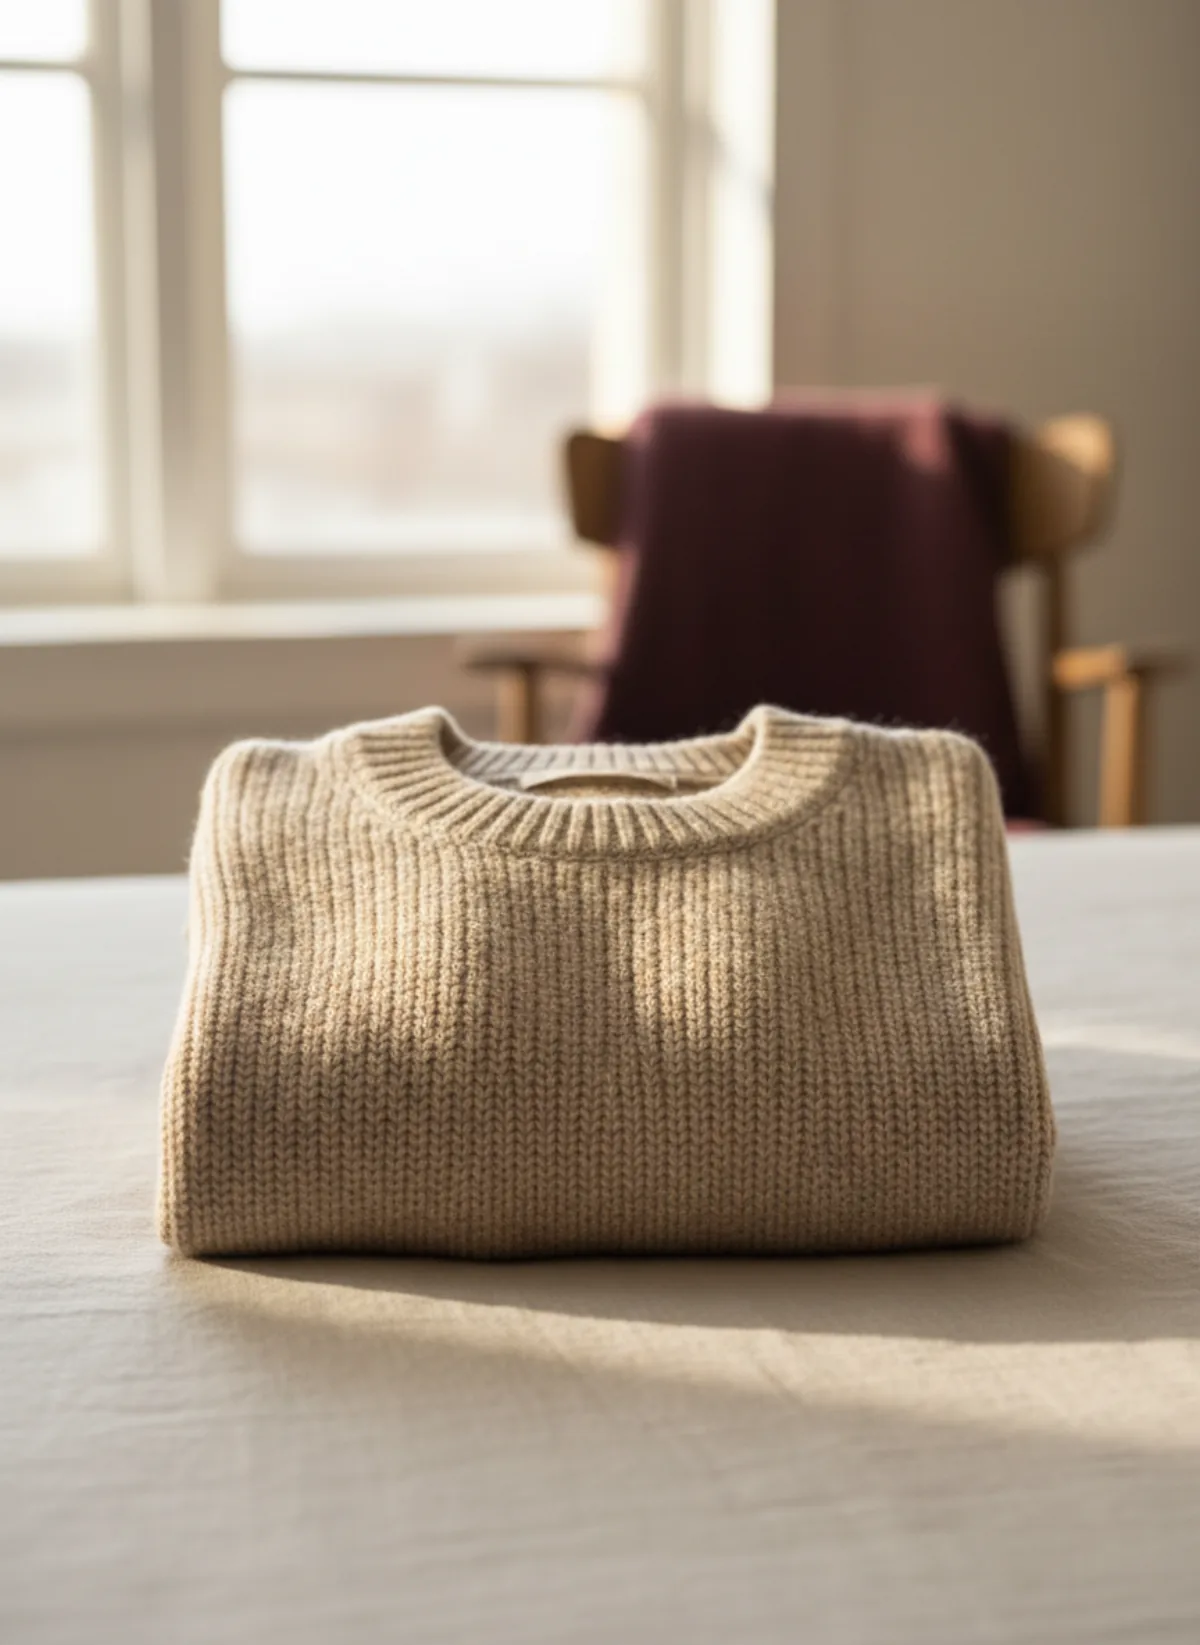
A folded photo is also a useful extra shot. Fold the sweater into a shop-style rectangle with the neckline and chest facing up: it shows the collar, the yarn and the colour in a compact frame that looks good as a thumbnail.
Setup: flat lay in low side light
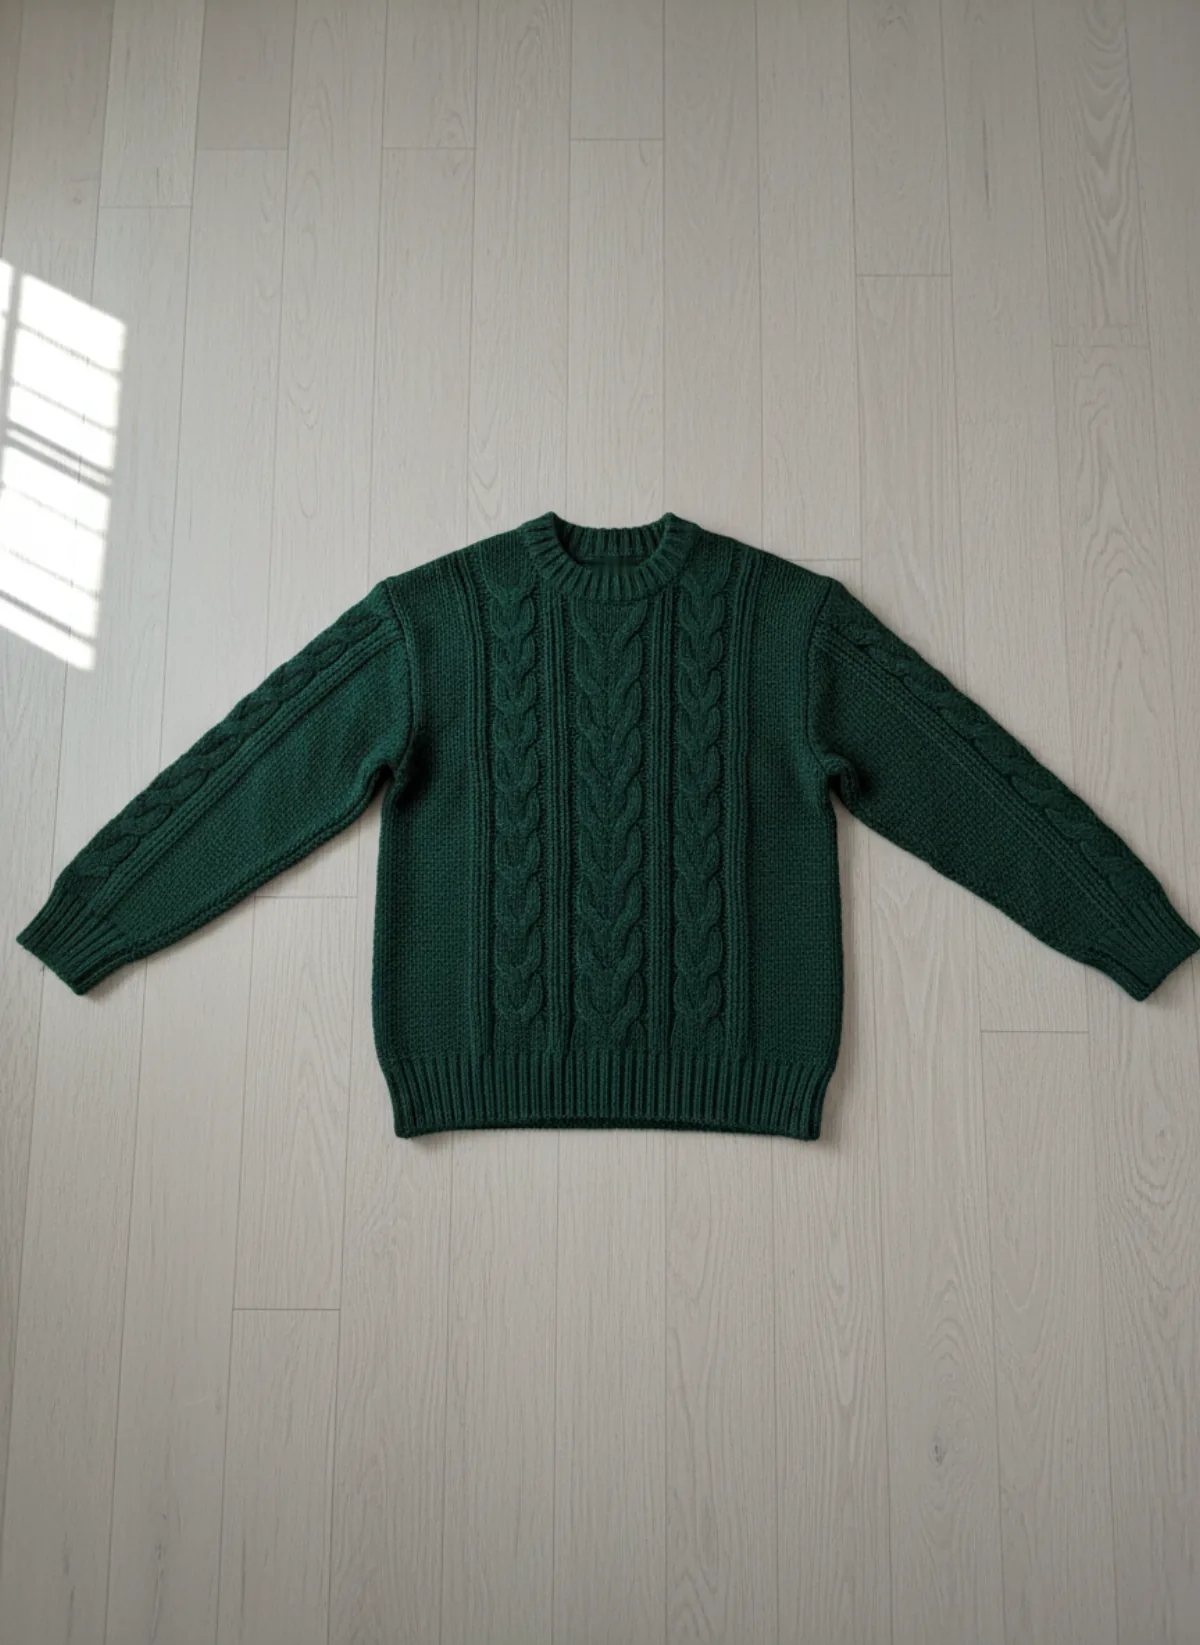
The best setup for how to photograph sweaters at home is a floor or a large table next to a window, a plain matte background bigger than the sweater and a phone held directly above. Pale wood, a light-grey board or a smooth bedsheet pulled tight all work. Avoid busy rugs, which fight with the knit pattern, and pure white for cream and white knits, which then disappear.
Light is what makes knitwear look expensive. Shoot when the window light comes in low and from the side, in the morning or late afternoon, with no direct sun on the sweater. Side light gives each cable, rib and stitch its own small shadow, so the texture reads even on a small screen. Front light, from a flash or a ceiling lamp, flattens the knit into a block of colour.
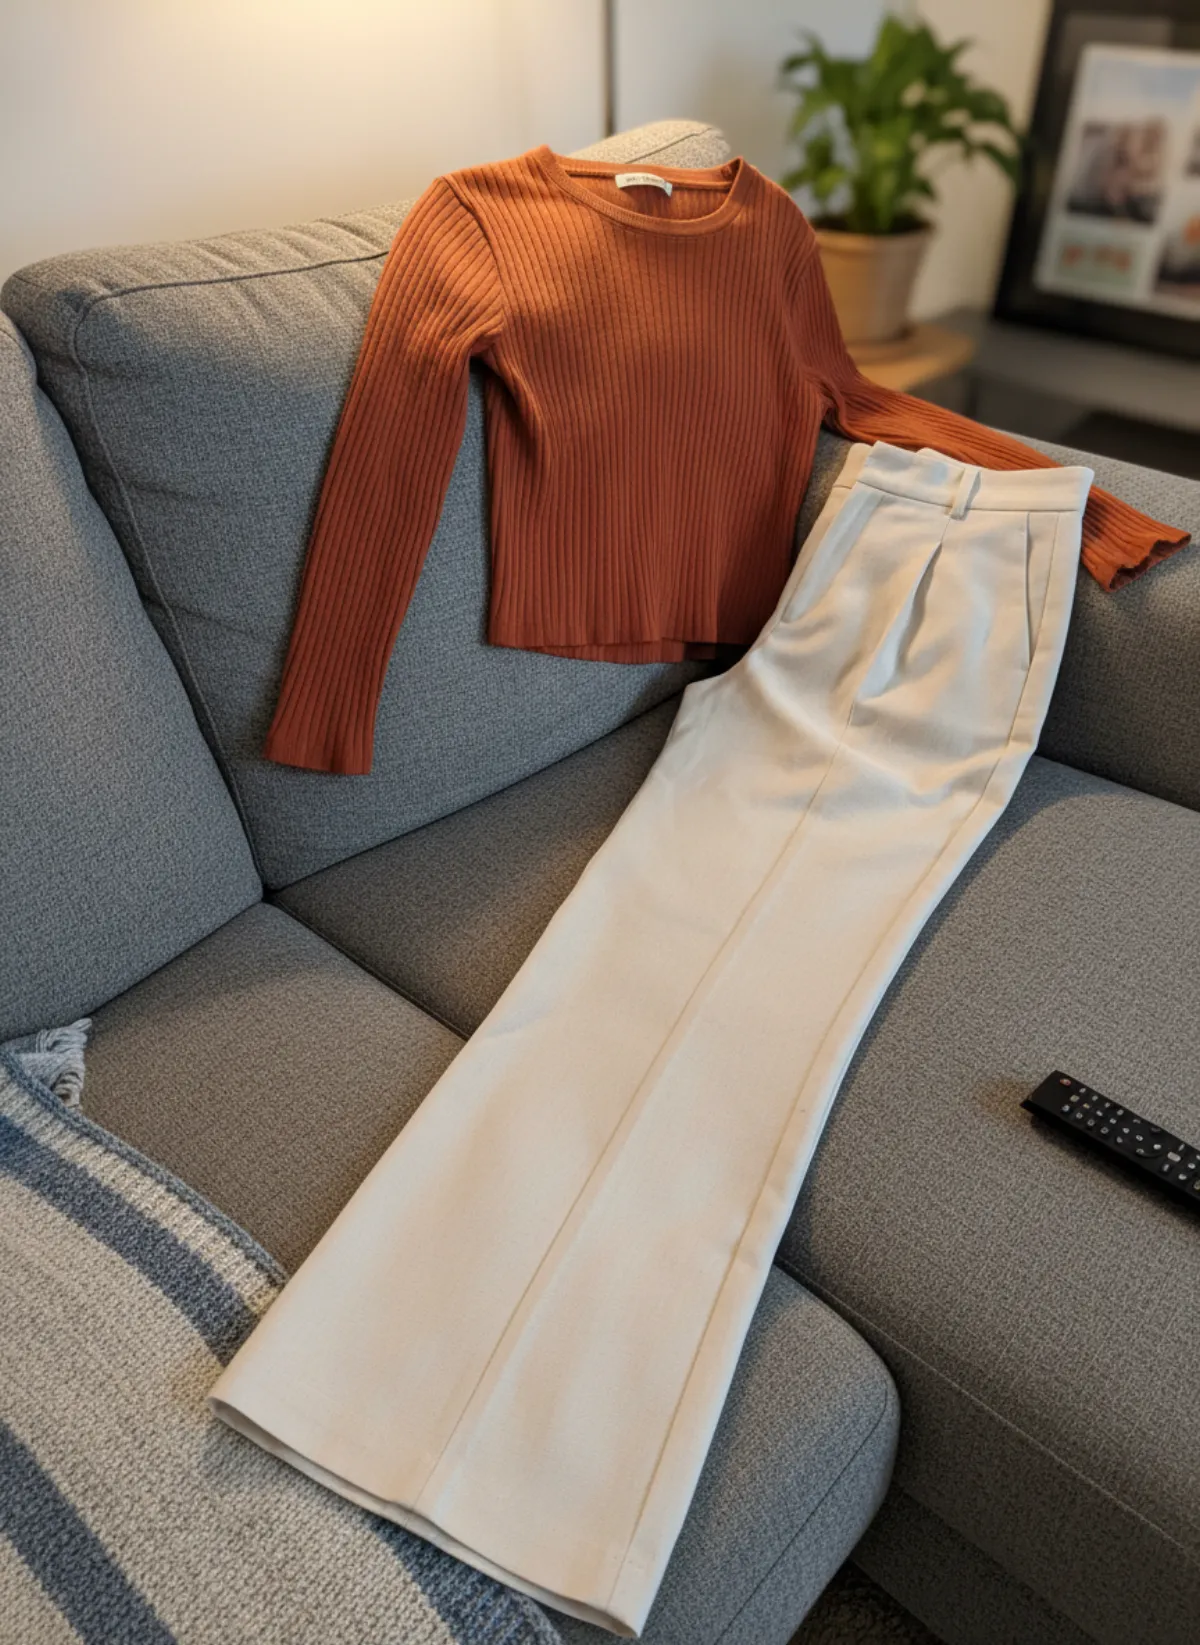
Square up the body, straighten the ribbed hem, and lay the sleeves either straight down along the body or angled slightly outwards. Pull the cuffs straight and make the two sides match. Stand on a chair or use the 0.5x lens from higher up, keeping the phone parallel to the floor so the sweater is not distorted.
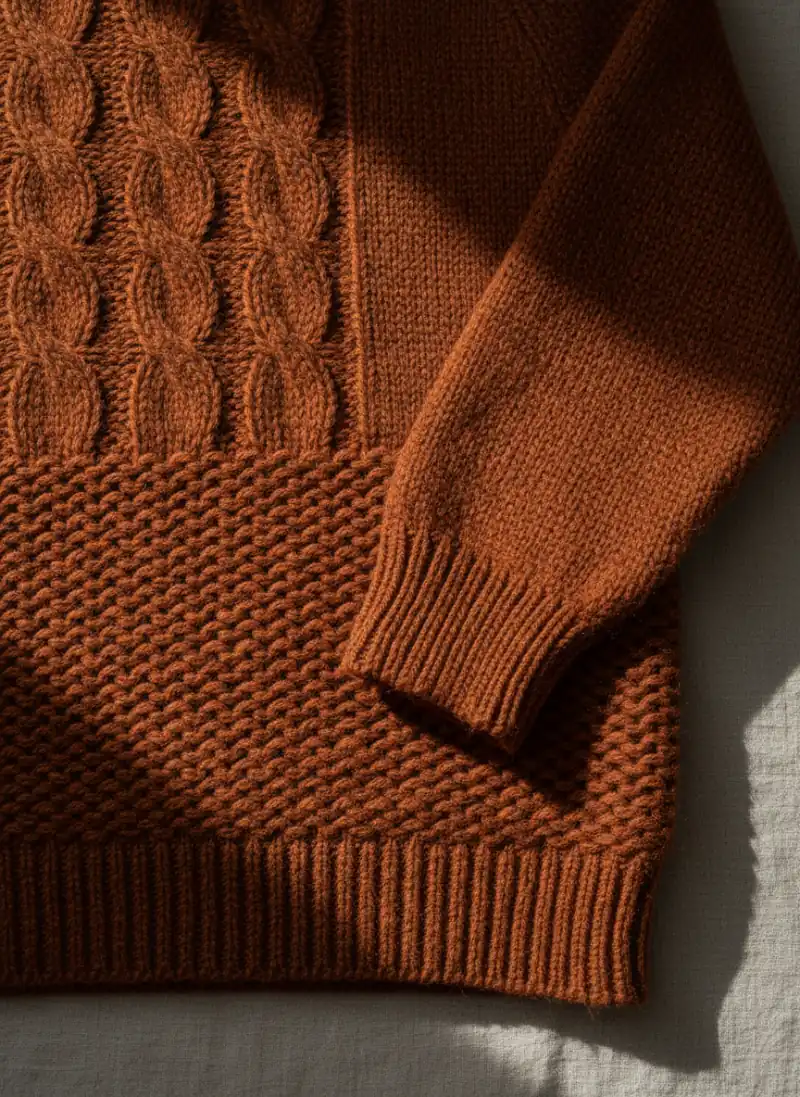
How to photograph sweaters: seven shots
Take them in the same order for every piece. Buyers then find the knit, the label and the condition in the same place in every listing.
Front, flat
The whole sweater from directly above, squared up, sleeves neat. This is the cover photo.
Back
Turned over in the same position. Shows the back panel and any pattern that differs from the front.
Knit close-up
Cables, ribs or the stitch filling the frame, in side light, so the yarn and the gauge are clear.
Neckline and label
The collar and the fibre label, readable. Wool, cashmere or cotton content sells the piece.
Cuffs and hem
The ribbing up close. Buyers check here for stretching, pilling and loose ends.
Every flaw
Holes, moth damage, pulls or stains, each in its own photo in the same light.
Worn
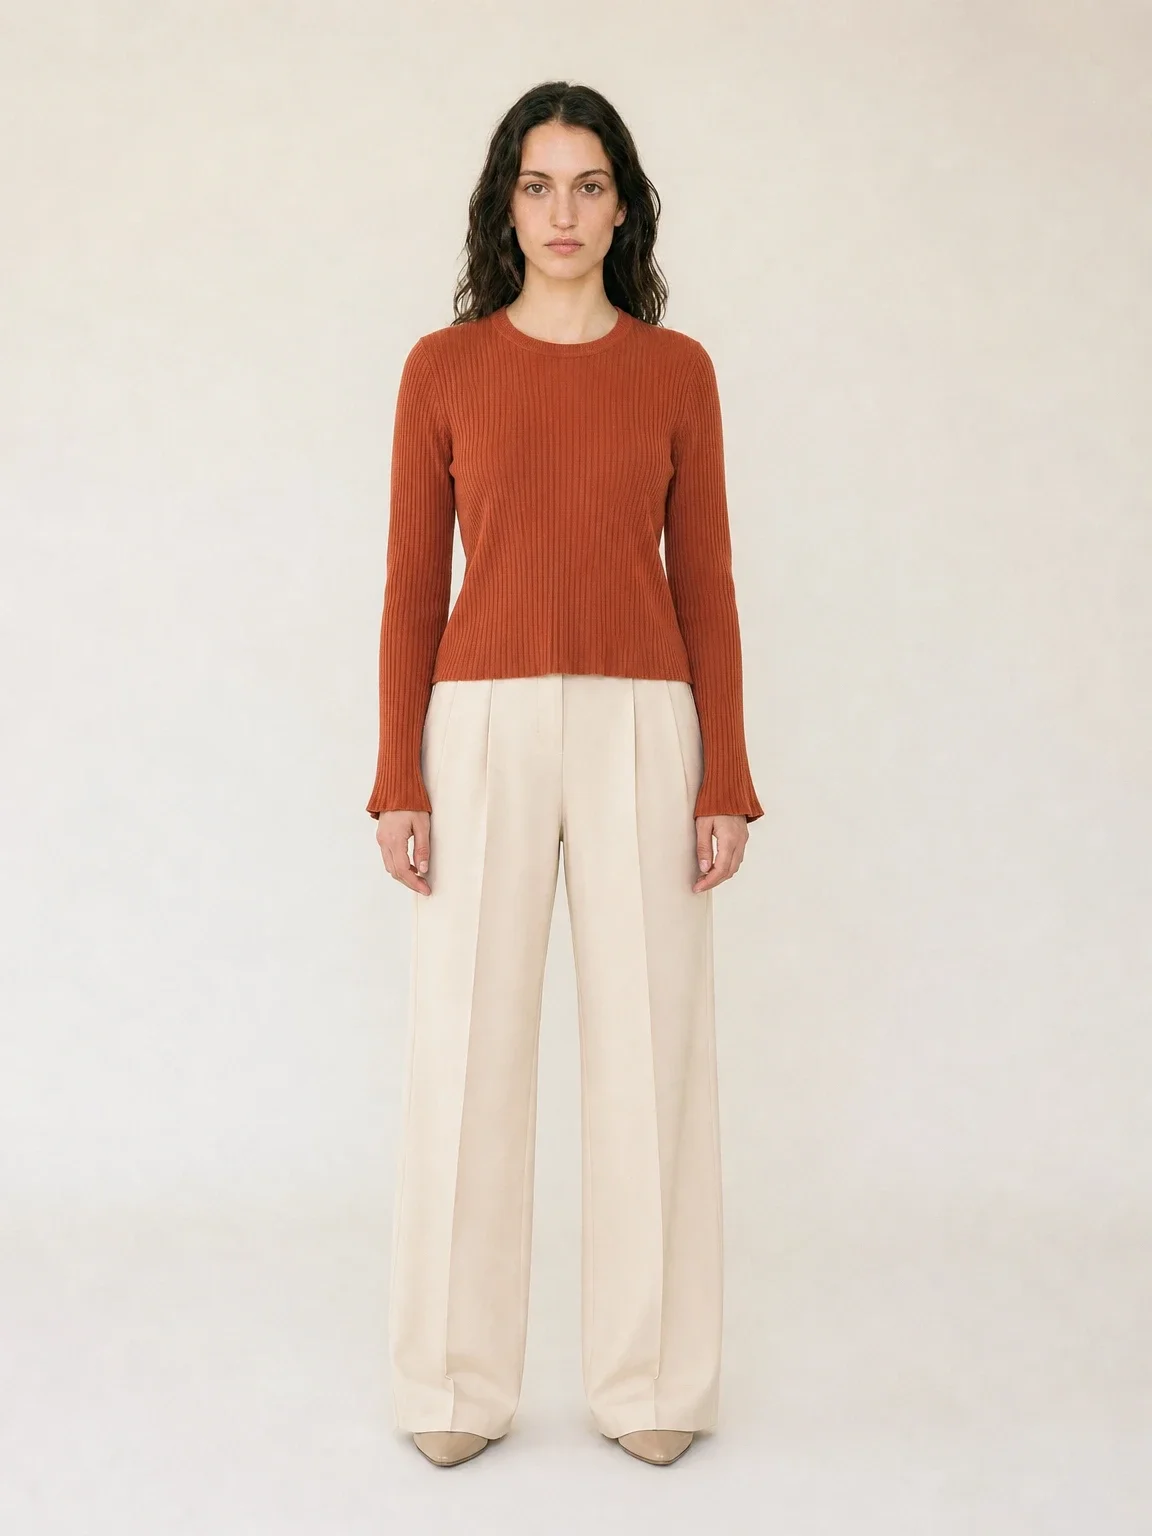
On a person or a model, front and side, so the fit and length are obvious.
Measurements, pilling and stretch
Knitwear stretches and shrinks, so measurements matter more than the label size. Lay the sweater flat without pulling and measure the chest from armpit to armpit, the length from the highest point of the shoulder to the hem and the sleeve from the shoulder seam to the cuff. For drop-shoulder styles, measure the sleeve from the centre of the neck instead and say so.
Be honest about condition. Hold the sweater up to a window to check for thin spots and moth holes, look under the arms and at the elbows for pilling, and check that the cuffs and hem still spring back. Photograph each flaw close, in the same light as the rest, so it looks no better and no worse than it is.
Write the fibre and the fit in the description: "100% lambswool, relaxed fit, hits at the hip". If a sweater has been washed and shrunk slightly, give the measured size, not the label size.
Sweatshirts, cardigans and dark knits
Sweatshirts and hoodies are easier than knitwear: the surface is smooth, so front light is fine. Lay them flat with the sleeves along the body, the hood flat behind the neck and the drawstrings even. Photograph prints close and straight, and the cuffs and inside for fleece wear.
Cardigans look best buttoned for the cover photo, so the shape is clear, with a second photo open to show the buttons and the front bands. Dark and black knits lose their texture fastest; use stronger side light and lift the shadows only slightly, as explained in how to photograph black clothing.
Selling knitwear with outerwear? Show them together, layered, in the worn photo. The shot list for coats and jackets is in how to take pictures of jackets to sell.
Worn photos without a model
A flat lay shows the knit, but only a worn photo shows the fit: whether the sweater is boxy or close, where the shoulder seam drops and how the hem sits. Upload your flat lay to shirt on model AI, and Garmo puts the same sweater on a model in front, three-quarter and walking frames, in about a minute. You choose from 42 ready models (22 women and 20 men), a studio, street or editorial setting and the ratio your shop uses.
Garmo keeps the colour, the knit pattern, the neckline and the length from your photo. Fine cable patterns, small intarsia motifs and logos are where any image tool can slip, so compare them with the real sweater and render again if a detail is off. Keep the measurements in the listing, because the model photo shows the style, not your exact size.
If you display knitwear on a shop mannequin or a torso form, start from that photo with mannequin to model AI. And for a pile of folded stock photographed from above, flat lay to model works from any top-down photo.
From a form or a table to a sweater on a model
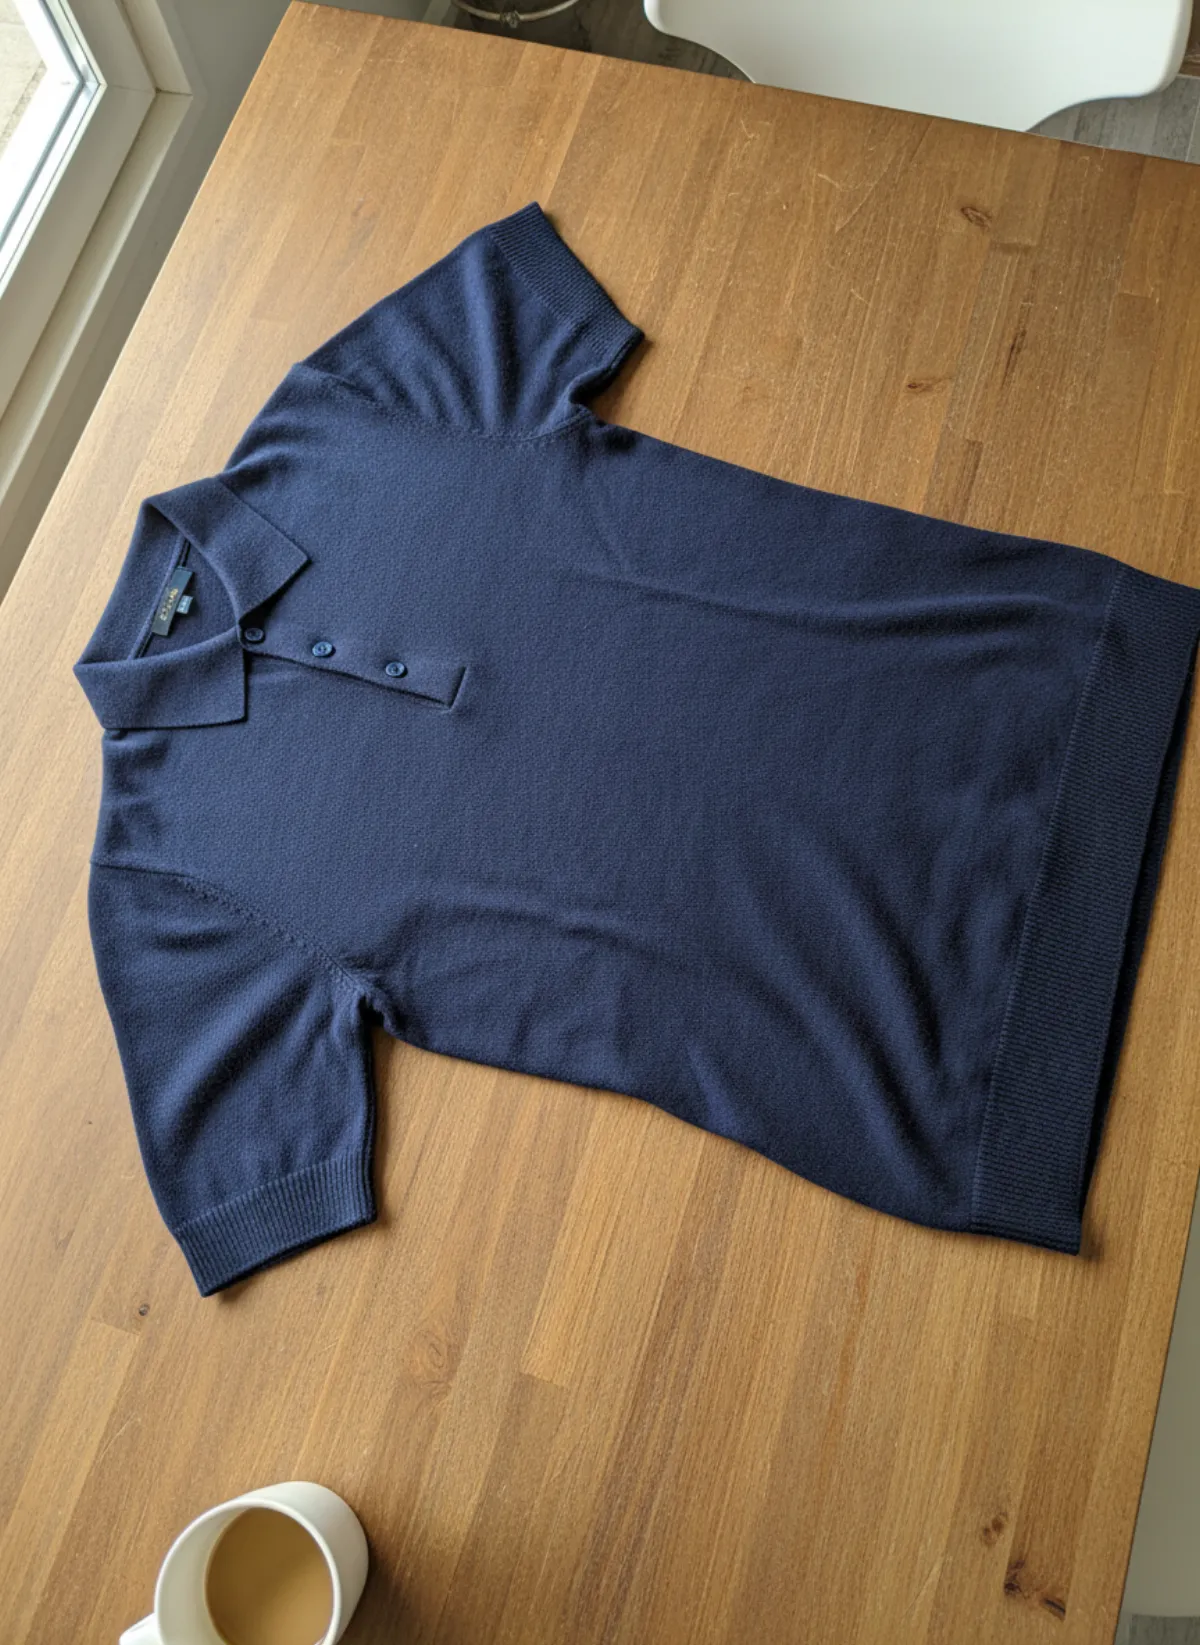
Both knits were photographed with a phone where they were: on a torso form by the till, on a table next to a coffee cup.
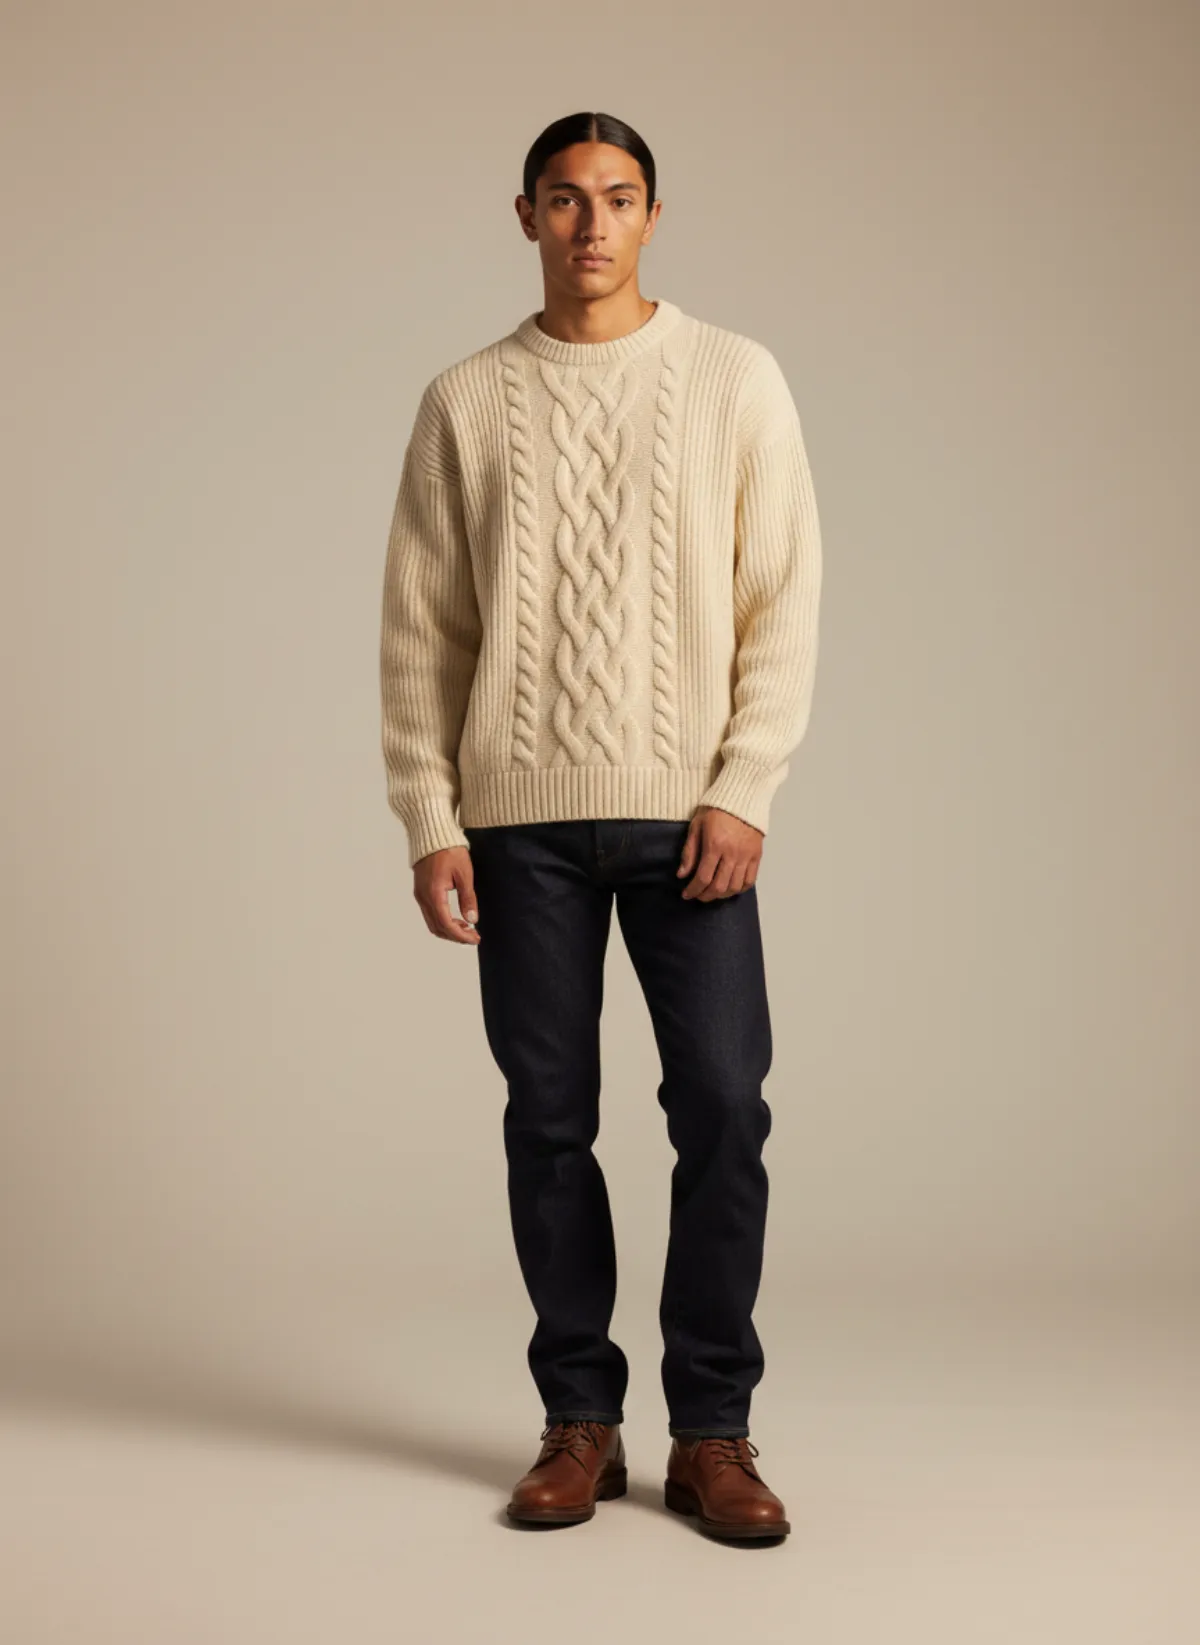
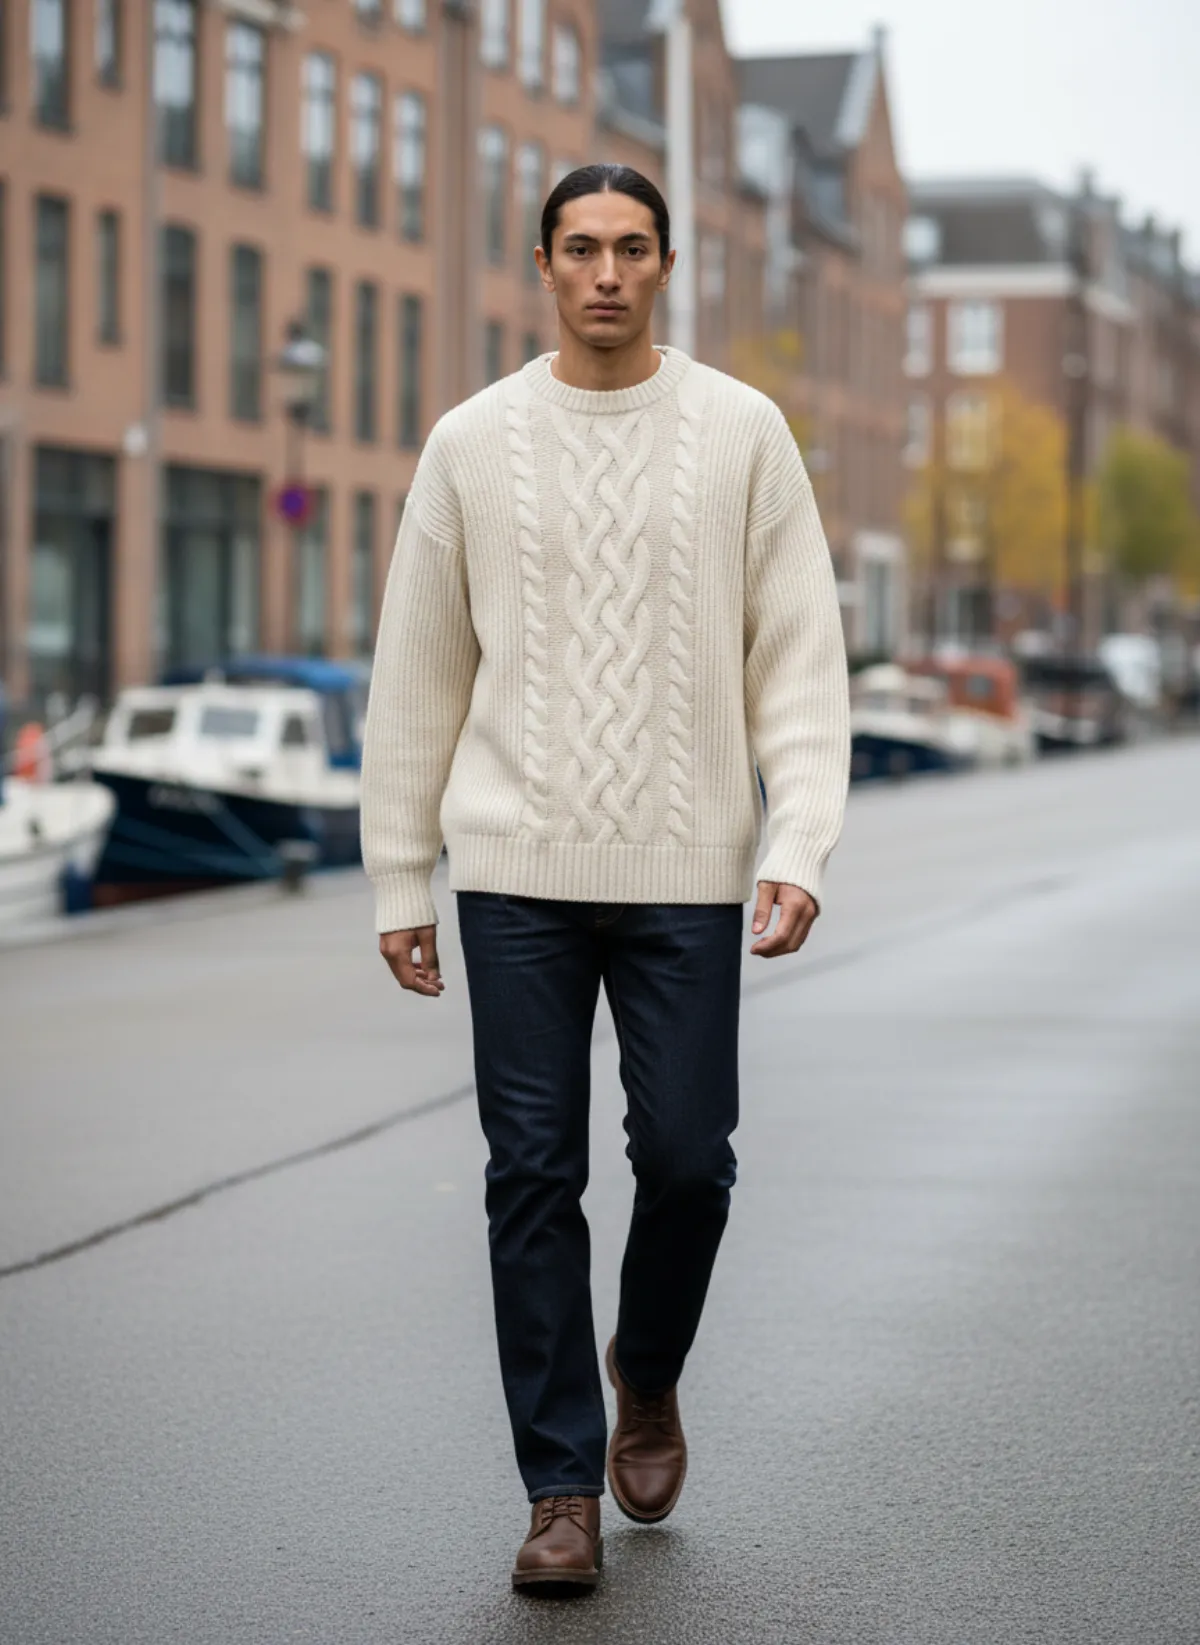
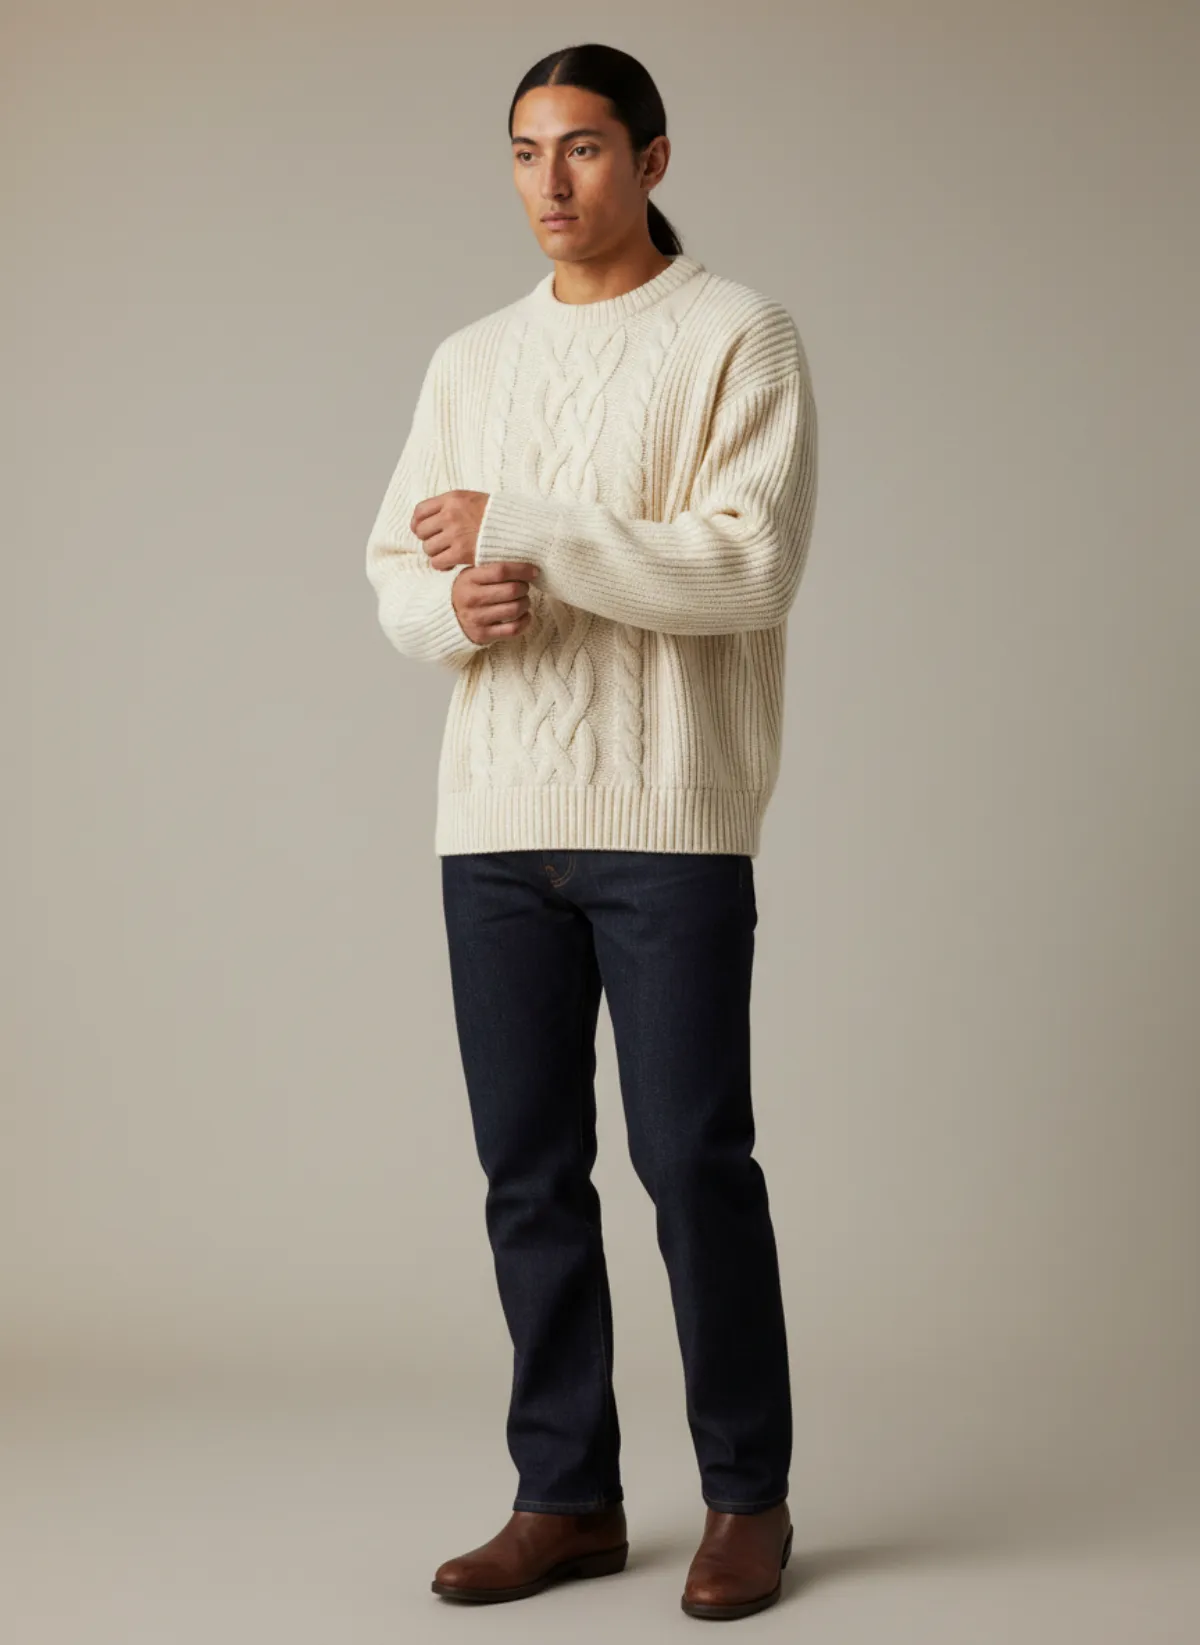
A cable-knit sweater on Leon
Shot on a grey torso form on a shop counter. On the model, the braided cables and ribbed cuffs read in the studio, on the street and in a close three-quarter frame.
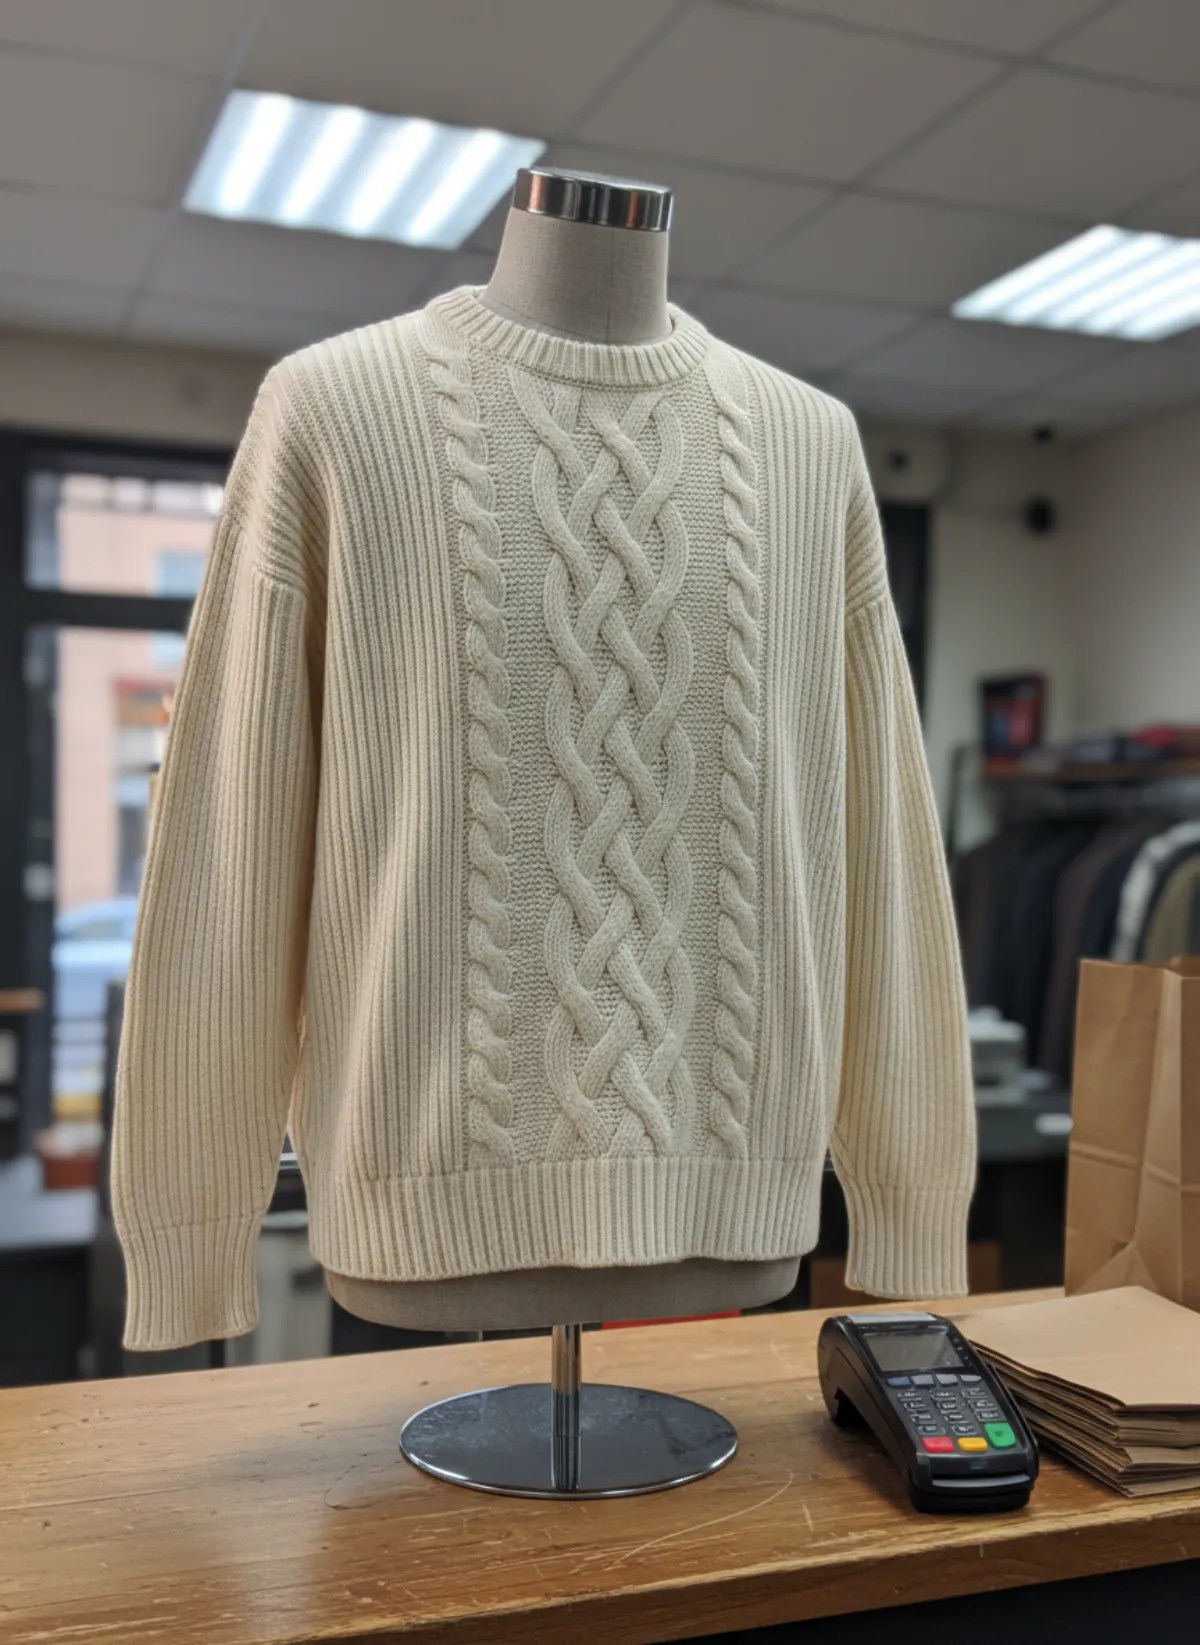 Your photo
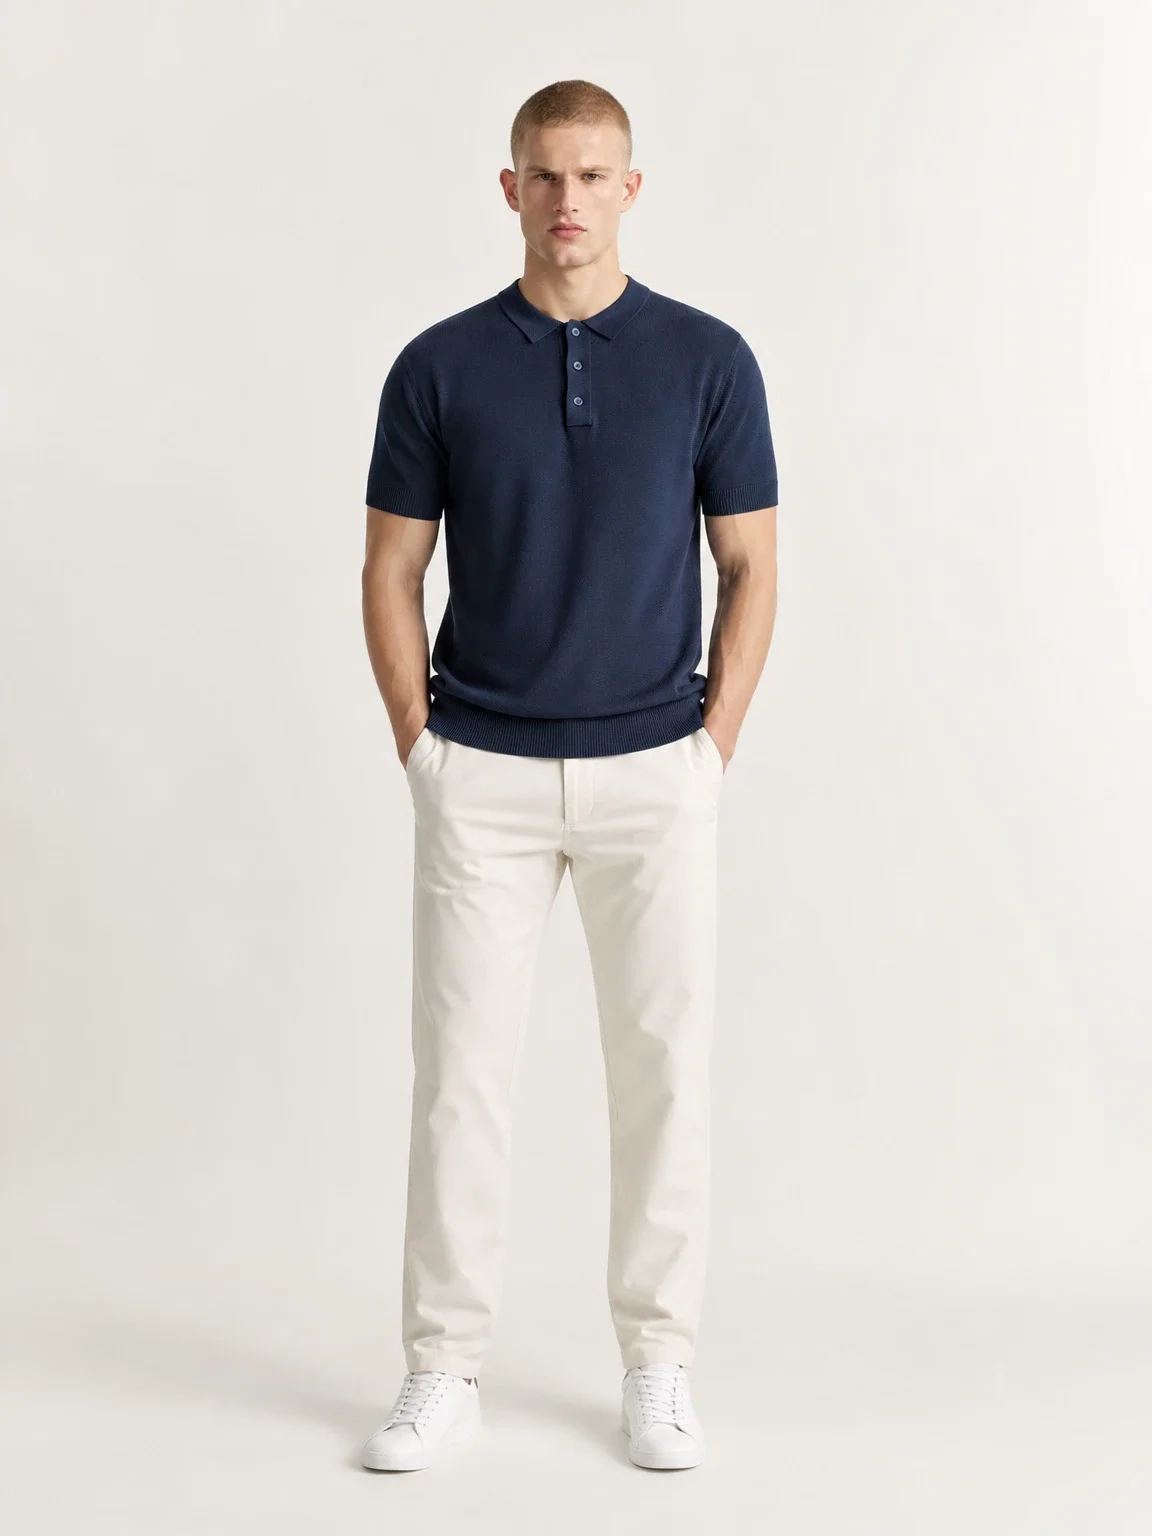
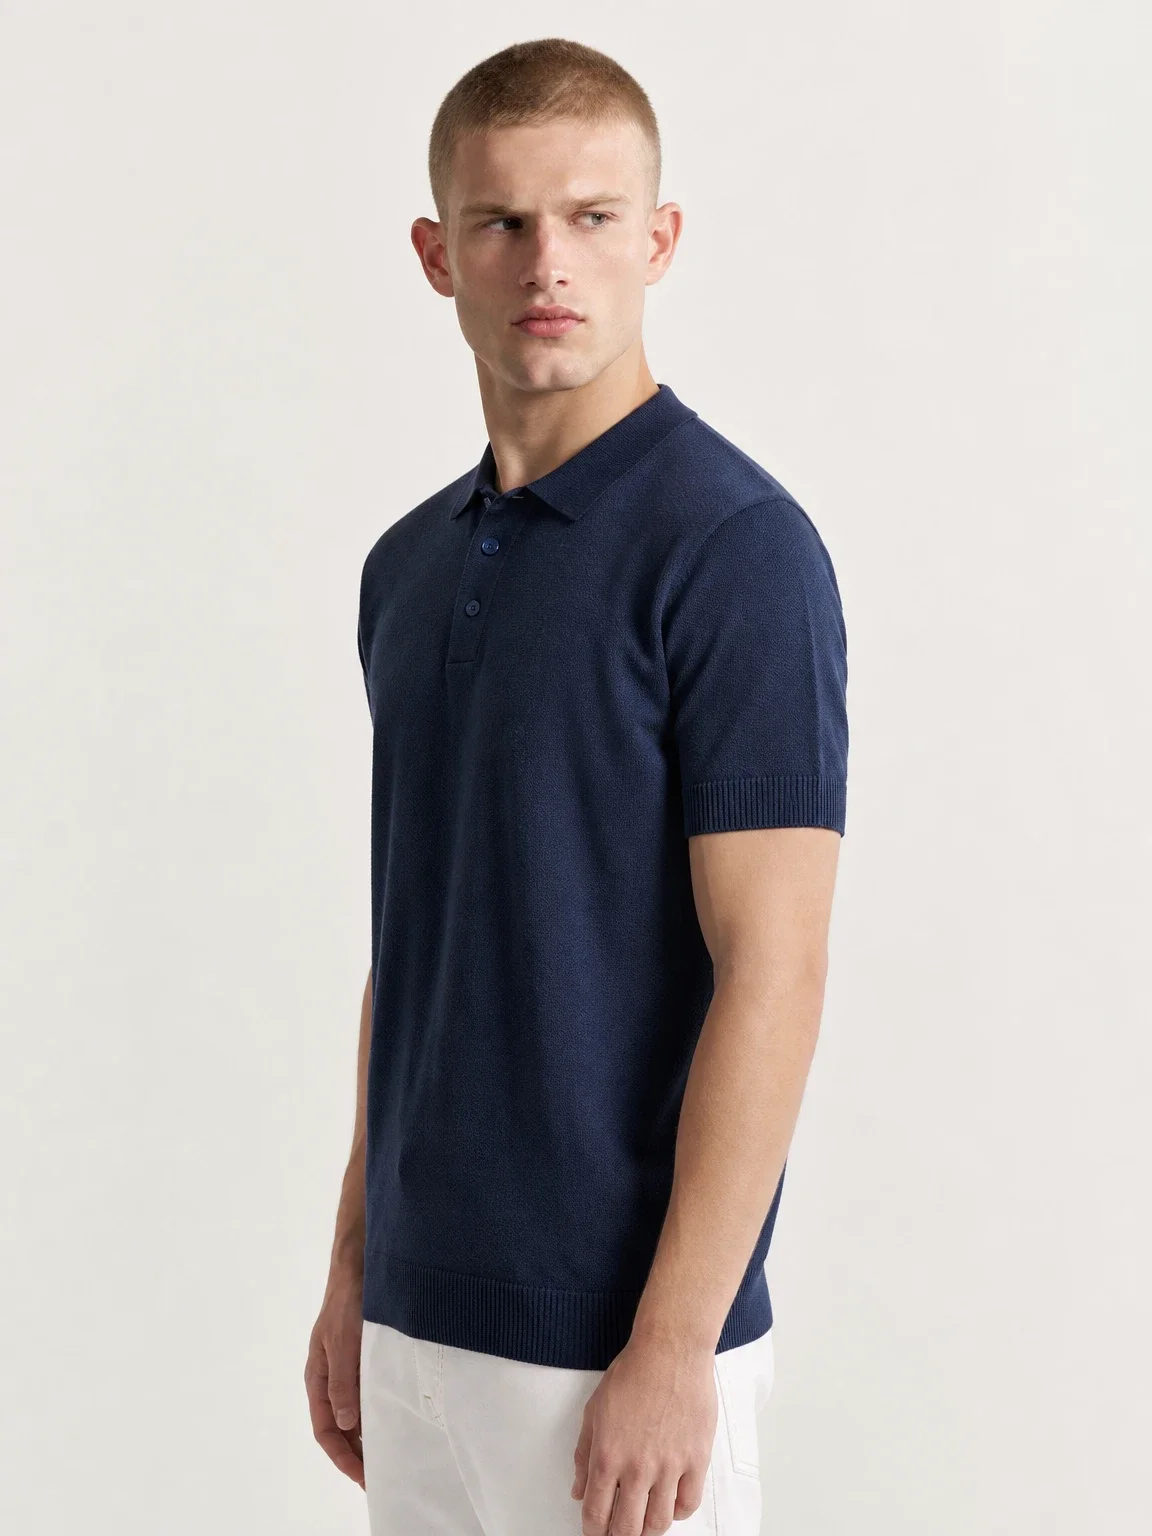
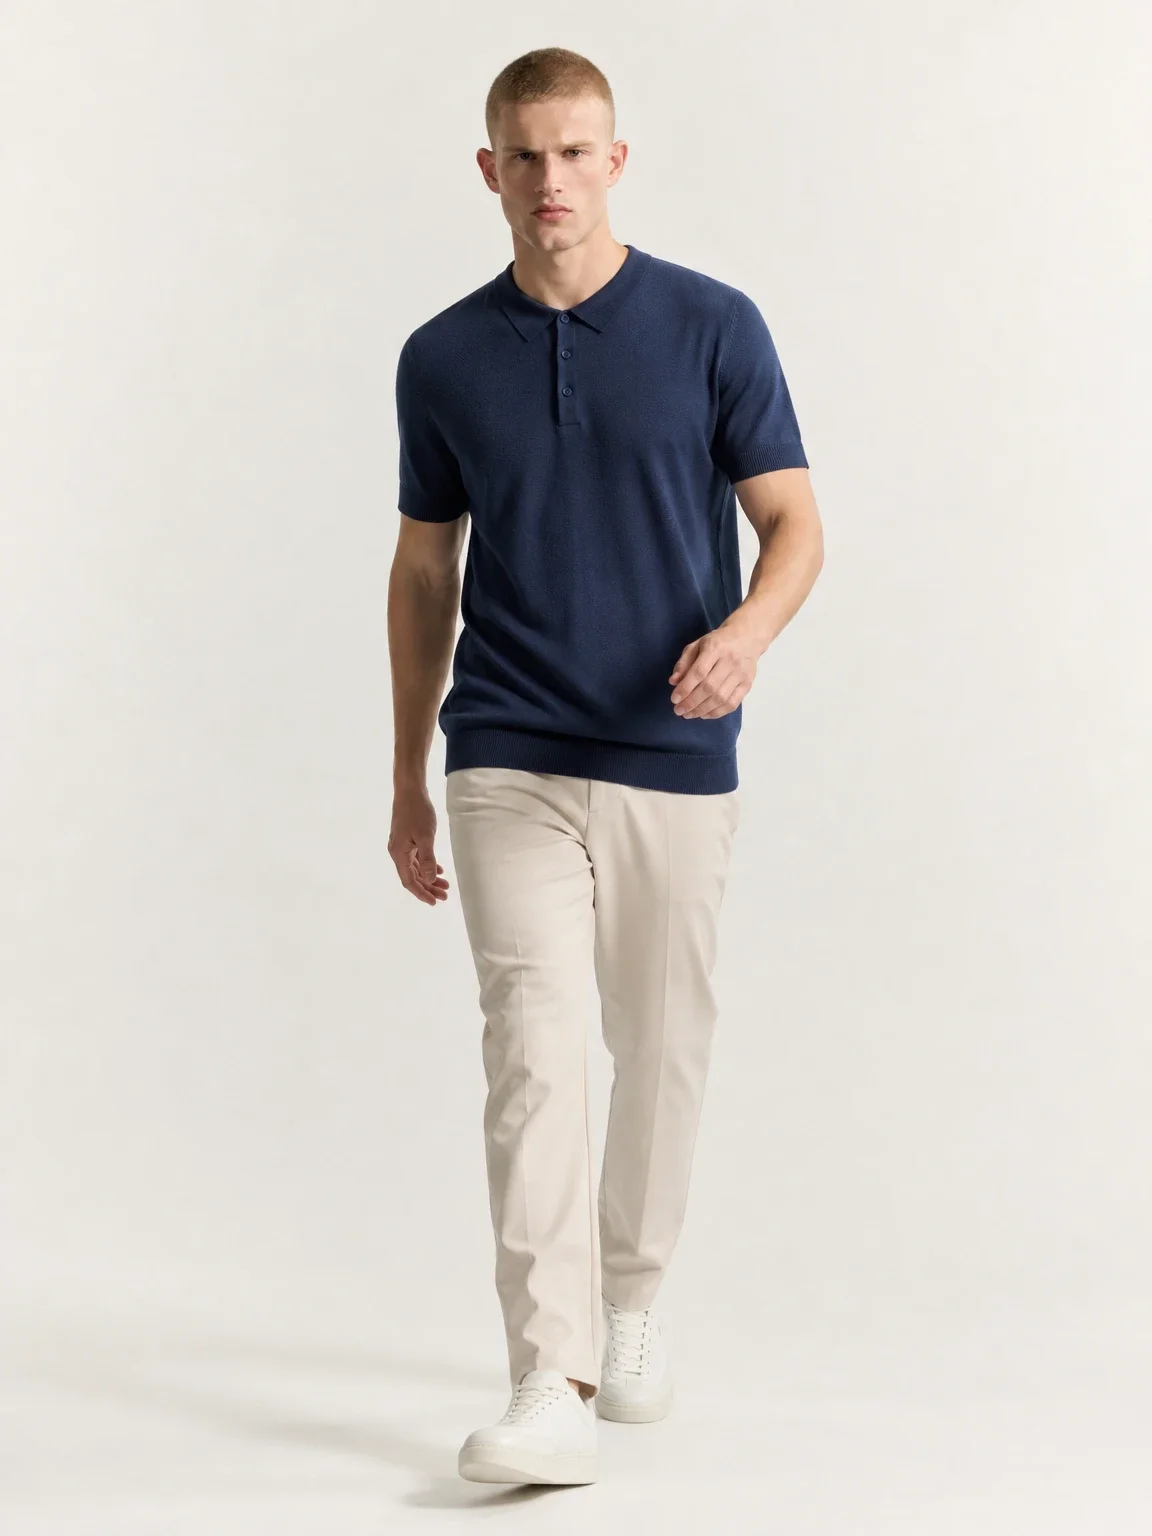
A knitted polo on Rafael
Photographed flat on a wooden table next to a coffee cup. The front, three-quarter and walking frames show the collar, the knit texture and the fit at the waist.
 Your photo
Questions about photographing sweaters
What is the best way to photograph sweaters?
Lay the sweater flat on a plain matte surface, squared up, in low side light from a window, and shoot from directly above. Add a knit close-up, the label, the cuffs and hem, every flaw and one worn photo.
How do you photograph jumpers so the texture shows?
Use side light, not front light. Shoot when window light comes in low, in the morning or late afternoon, and turn off ceiling lights and the flash. Each stitch then casts a small shadow and the knit reads.
Should I hang a sweater for product photos?
No, not by the shoulders. Hangers stretch knitwear and leave bumps at the shoulders. Lay it flat or fold it neatly; if you need a hanging shot, fold the sweater over the bar of the hanger.
How do you photograph sweatshirts to sell?
Lay them flat with the sleeves along the body and the hood flat, in even daylight. Photograph any print straight on and close, plus the cuffs, the inside and the label.
Can I show a sweater on a model without hiring one?
Yes. Upload a clear flat lay to Garmo's shirt on model AI and the same sweater appears on a ready model in front, three-quarter and walking frames. Check cable patterns and logos before publishing.