Good light records evidence, not just brightness
A source image for ecommerce must prove colour, edge, construction and material. Making the frame brighter is not enough. Hard direct light can clip satin, deep shadow can erase black seams and mixed window plus ceiling light can shift a white garment from blue to orange across one frame. That uncertain evidence then follows the item into AI product photography with models. Better input does not guarantee every generation, but poor input puts a low ceiling on all of them.
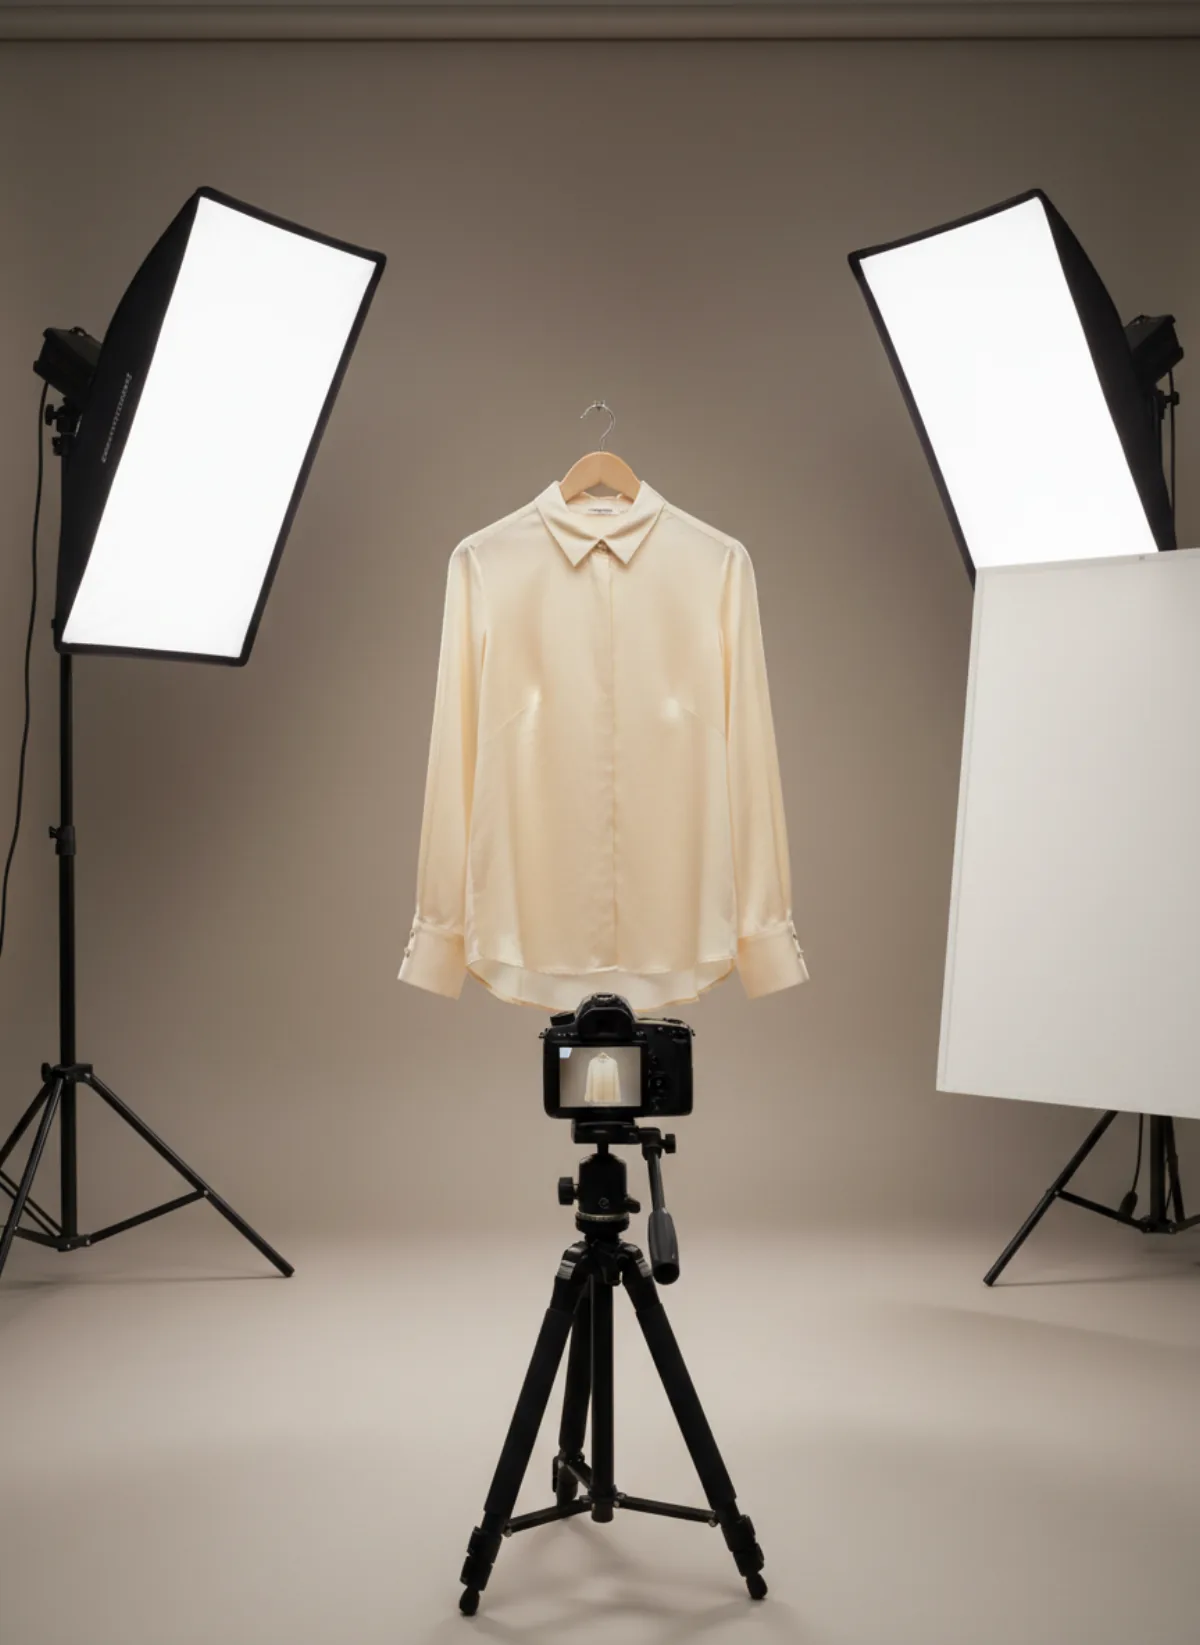
Use one colour of light at a time. If daylight is the source, switch off warm room lamps. If LEDs are the source, close the curtain so changing sun does not alter the series. Soften a small bright source with a proper diffuser and move it closer; a larger apparent light creates gentler transitions. Never place flammable household material against a hot lamp. A white foam board can fill shadow without adding another colour temperature.
Judge the result on a familiar screen beside the real item. Automatic white balance may neutralise the wall while shifting cream, burgundy or navy. Lock exposure and white balance after the test frame, photograph a neutral card when colour is critical and avoid filters. The goal is a repeatable factual source, not a finished campaign mood.
Five lighting setups that cover a small catalog
1. Window plus reflector
Place the product about one metre from a large side window with direct sun diffused by a curtain. Put white board opposite to lift shadow. Ideal for beginners, flat lays and soft fabrics.
2. Two lights at 45 degrees
Set matching diffused lights front-left and front-right, slightly above the item. Start at equal power for clean catalog coverage, then reduce one side when texture needs shape.
3. One overhead soft light
Suspend or boom a large diffused source above a flat lay and place white cards around the shadow side. Keep the camera perfectly parallel to avoid distorted garment proportions.
4. Side light for texture
Move one soft light across the material rather than straight at it. Grazing light reveals knit, embroidery and leather grain; add gentle fill so dark areas still contain detail.
5. Reflection control for jewelry
Use large white diffusion panels around polished metal and leave a narrow dark card to define edges. The jewelry reflects the panels, so clean surfaces matter more than raw lamp power.
Adapt the setup to clothing, jewelry and shoes
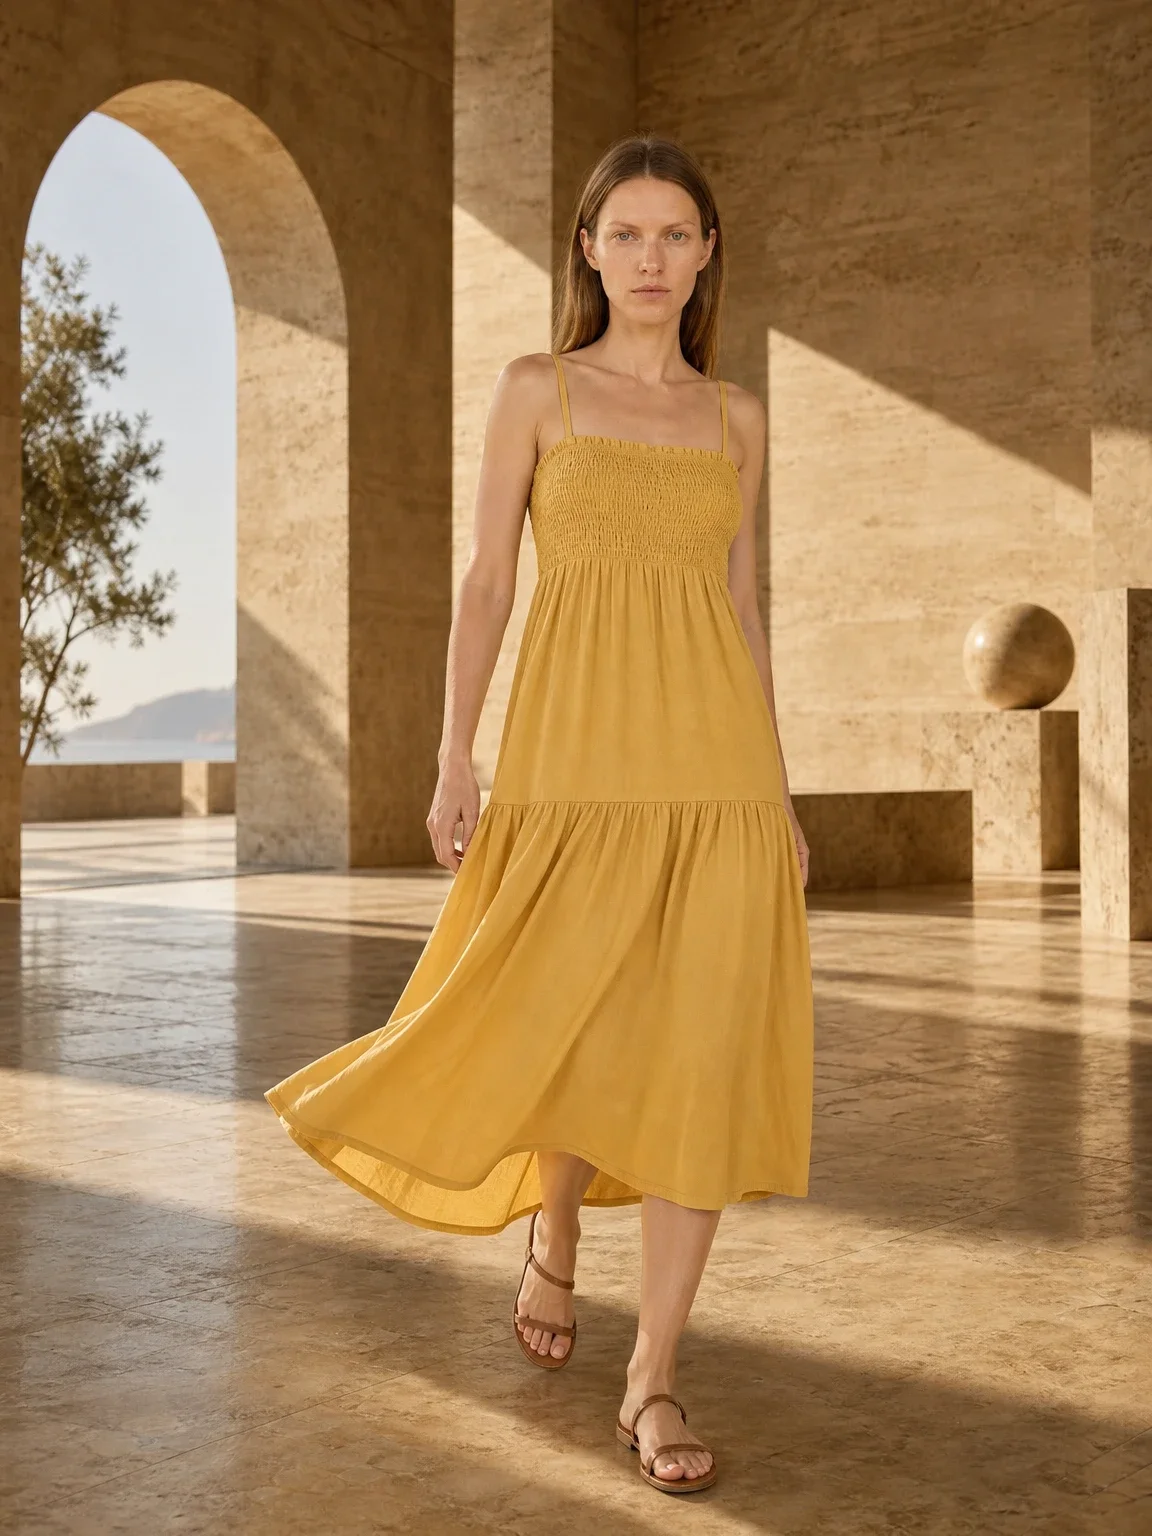
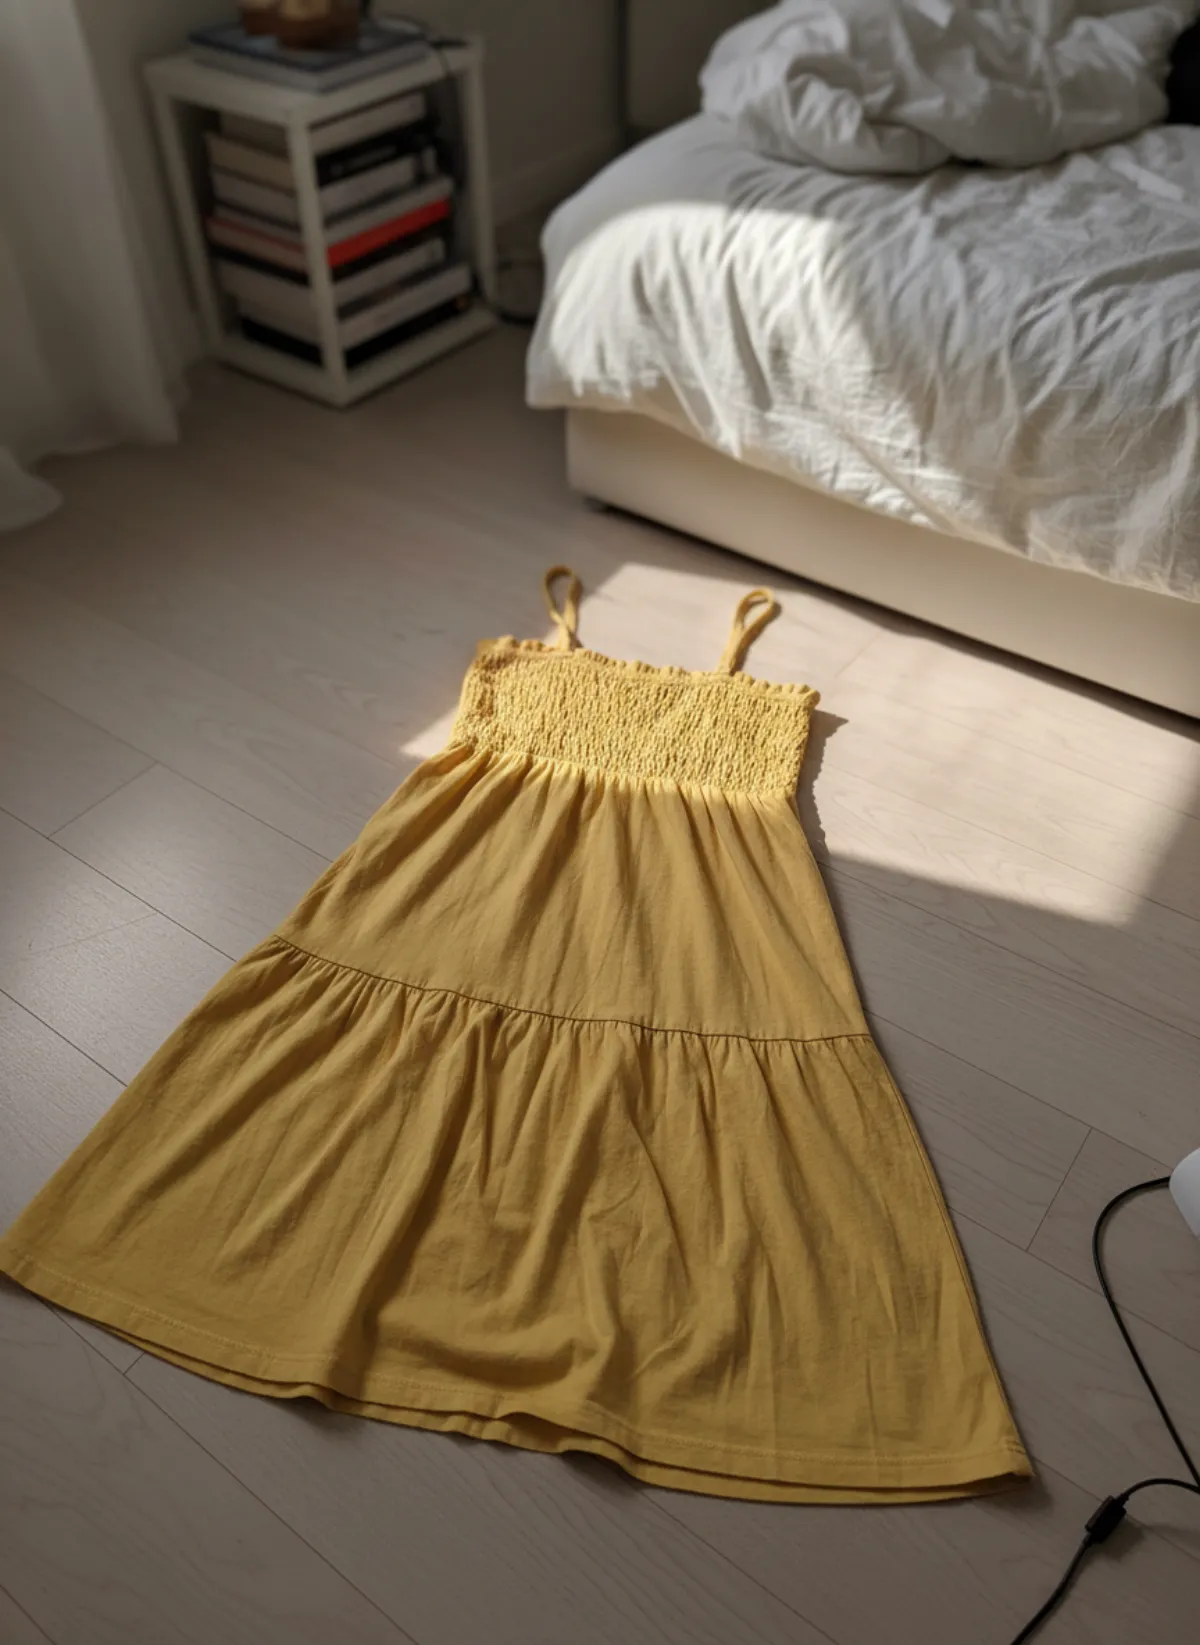
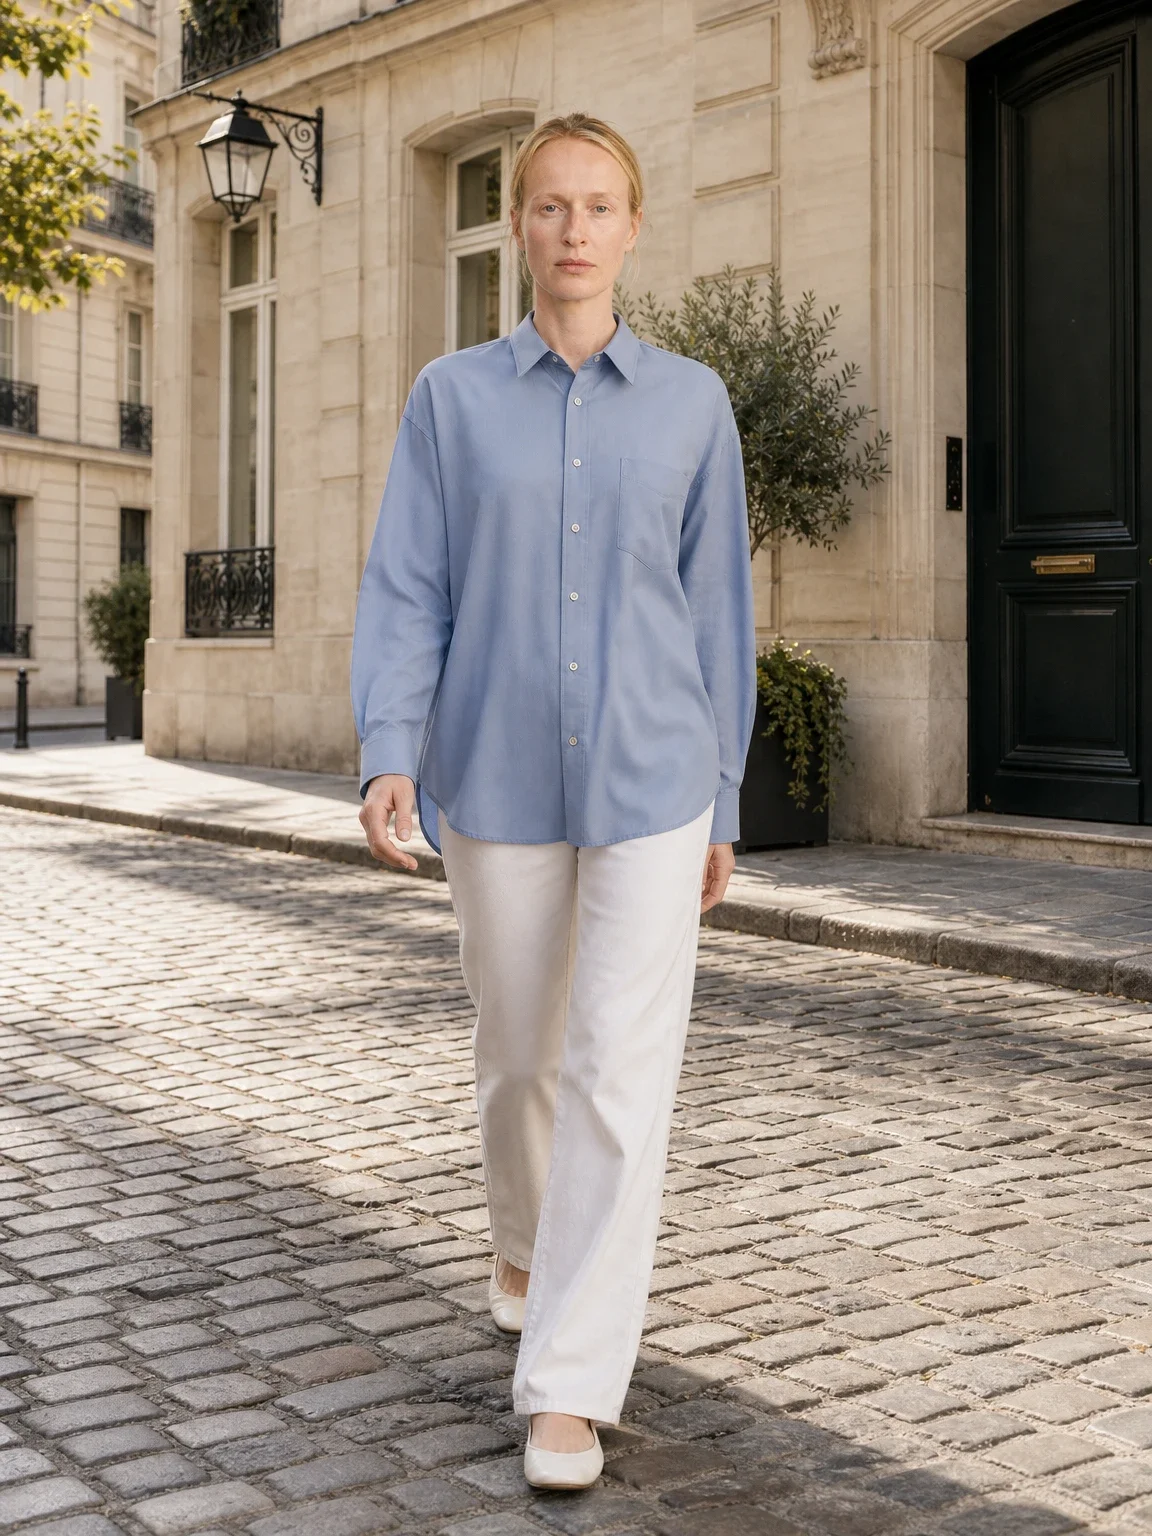
For clothing, evenness comes first. Steam the item, keep its entire outline inside the frame and place lights far enough apart to cover sleeves and hem. Side light can reveal knit, but check that it does not make one half look like a different colour. For flat lay to model, a parallel camera and complete silhouette are more valuable than a dramatic shadow. Photograph the back separately when construction changes.
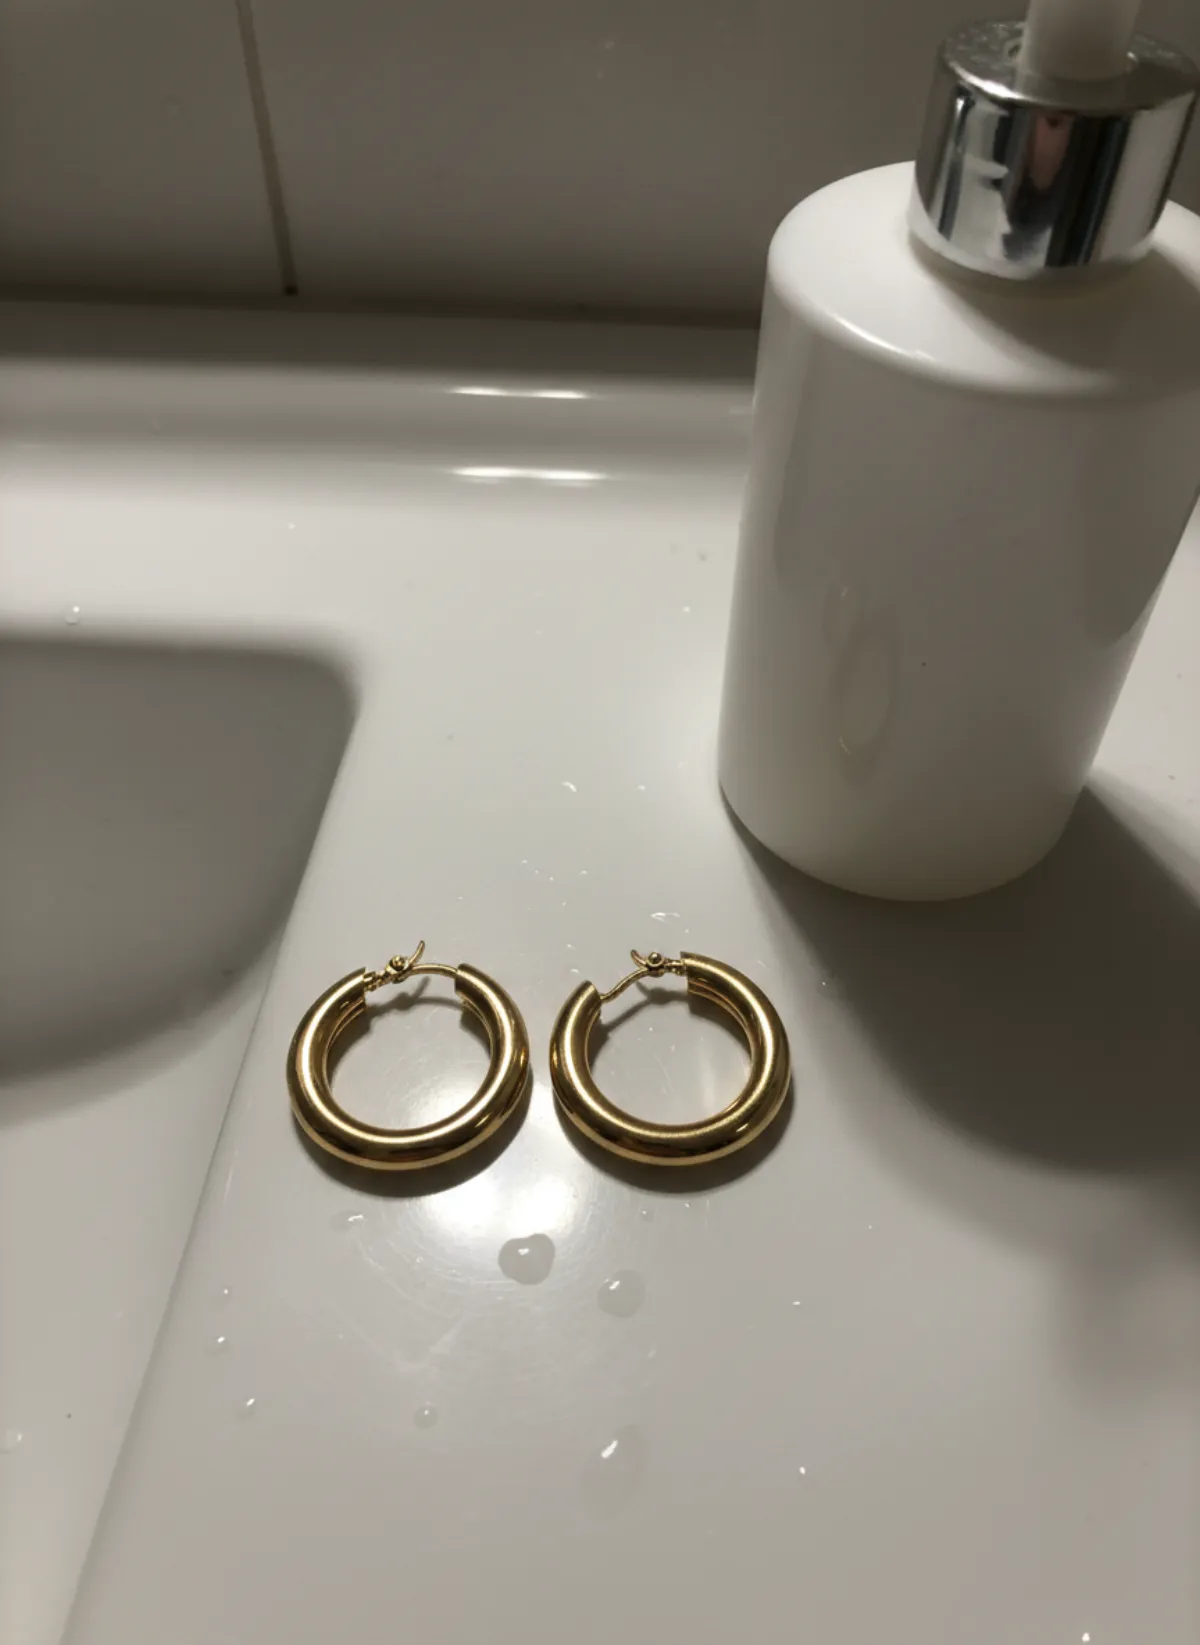
Jewelry needs reflection design. A ring, chain or polished earring acts like a curved mirror, so it shows the room and camera. Surround it with clean white diffusion, shape the metal with a controlled dark edge and move the cards instead of chasing glare in editing. Capture scale and fastening as well as shine. The jewelry on model AI workflow still needs a sharp, honest product reference; a blown highlight can erase prongs and links.
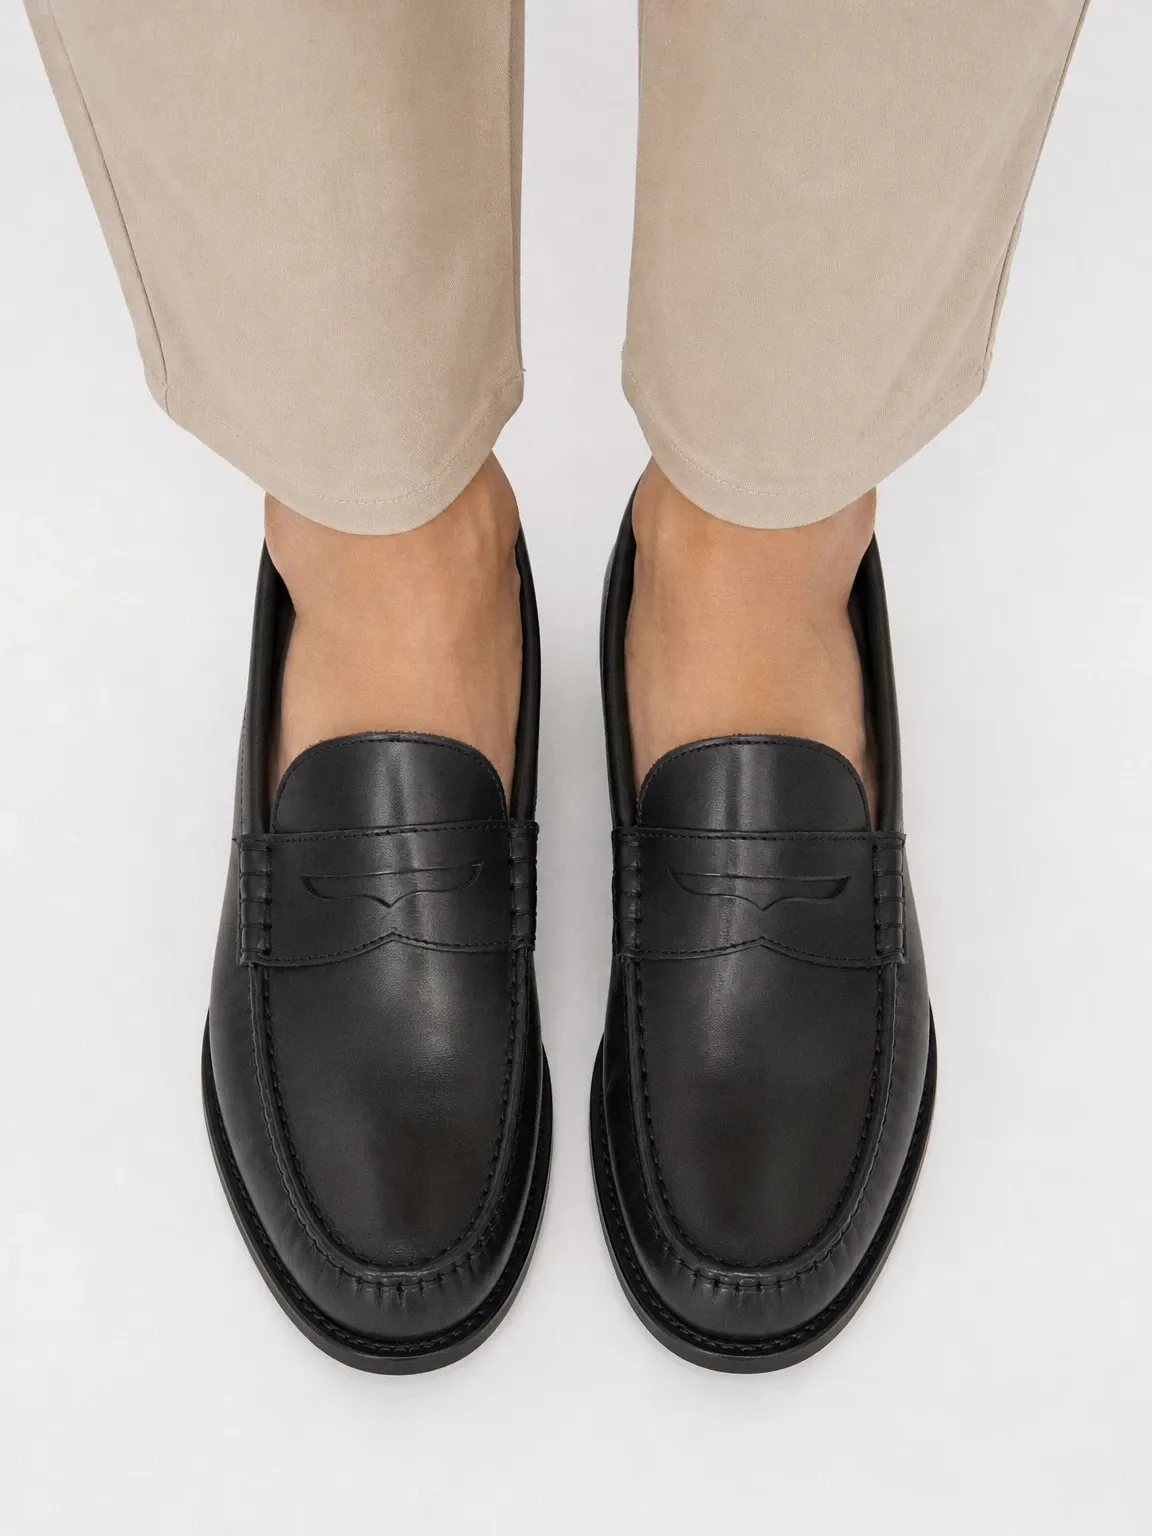
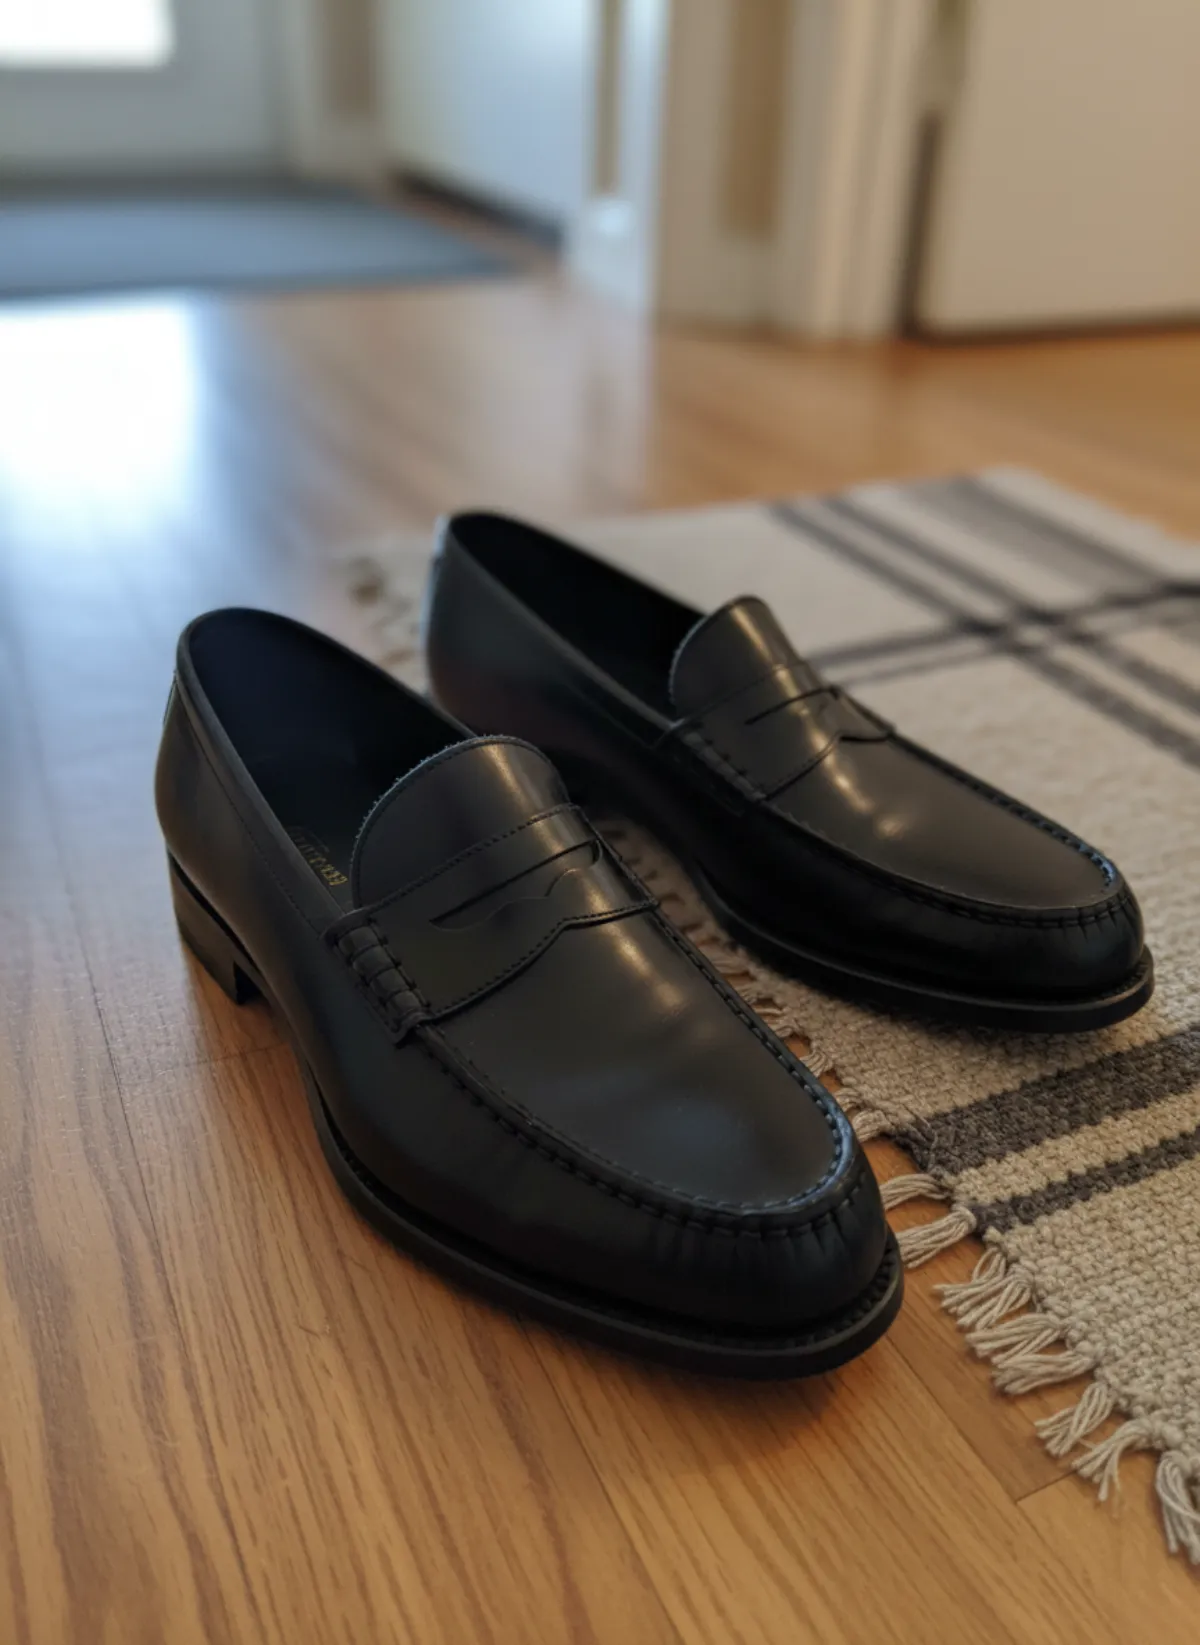
Shoes need form, material and a grounded sole. Use a soft key slightly above and in front, a weaker fill on the opposite side and enough background separation to keep a dark outsole visible. Photograph lateral profile, three-quarter and top opening when relevant. Before using AI shoe photography, inspect laces, eyelets, stitching and logo geometry at full size.
Fix the common lighting problems
If white looks grey, do not immediately raise exposure until texture disappears. First increase the light on the background or move the product farther from it. If black fabric has no detail, bring a white card closer or enlarge the source; do not lift every shadow into washed-out grey. For glare, change the relationship between light, product and camera. Moving the lamp or diffusion angle is usually cleaner than underexposing the whole frame.
If colour changes from one SKU to the next, remove auto settings and changing daylight. Mark tripod and light positions with tape, write down power and distance, and shoot one test product at the start of every session. A histogram can warn about clipped highlights, but it cannot tell whether olive looks like the real olive. Keep the item in the room during review.
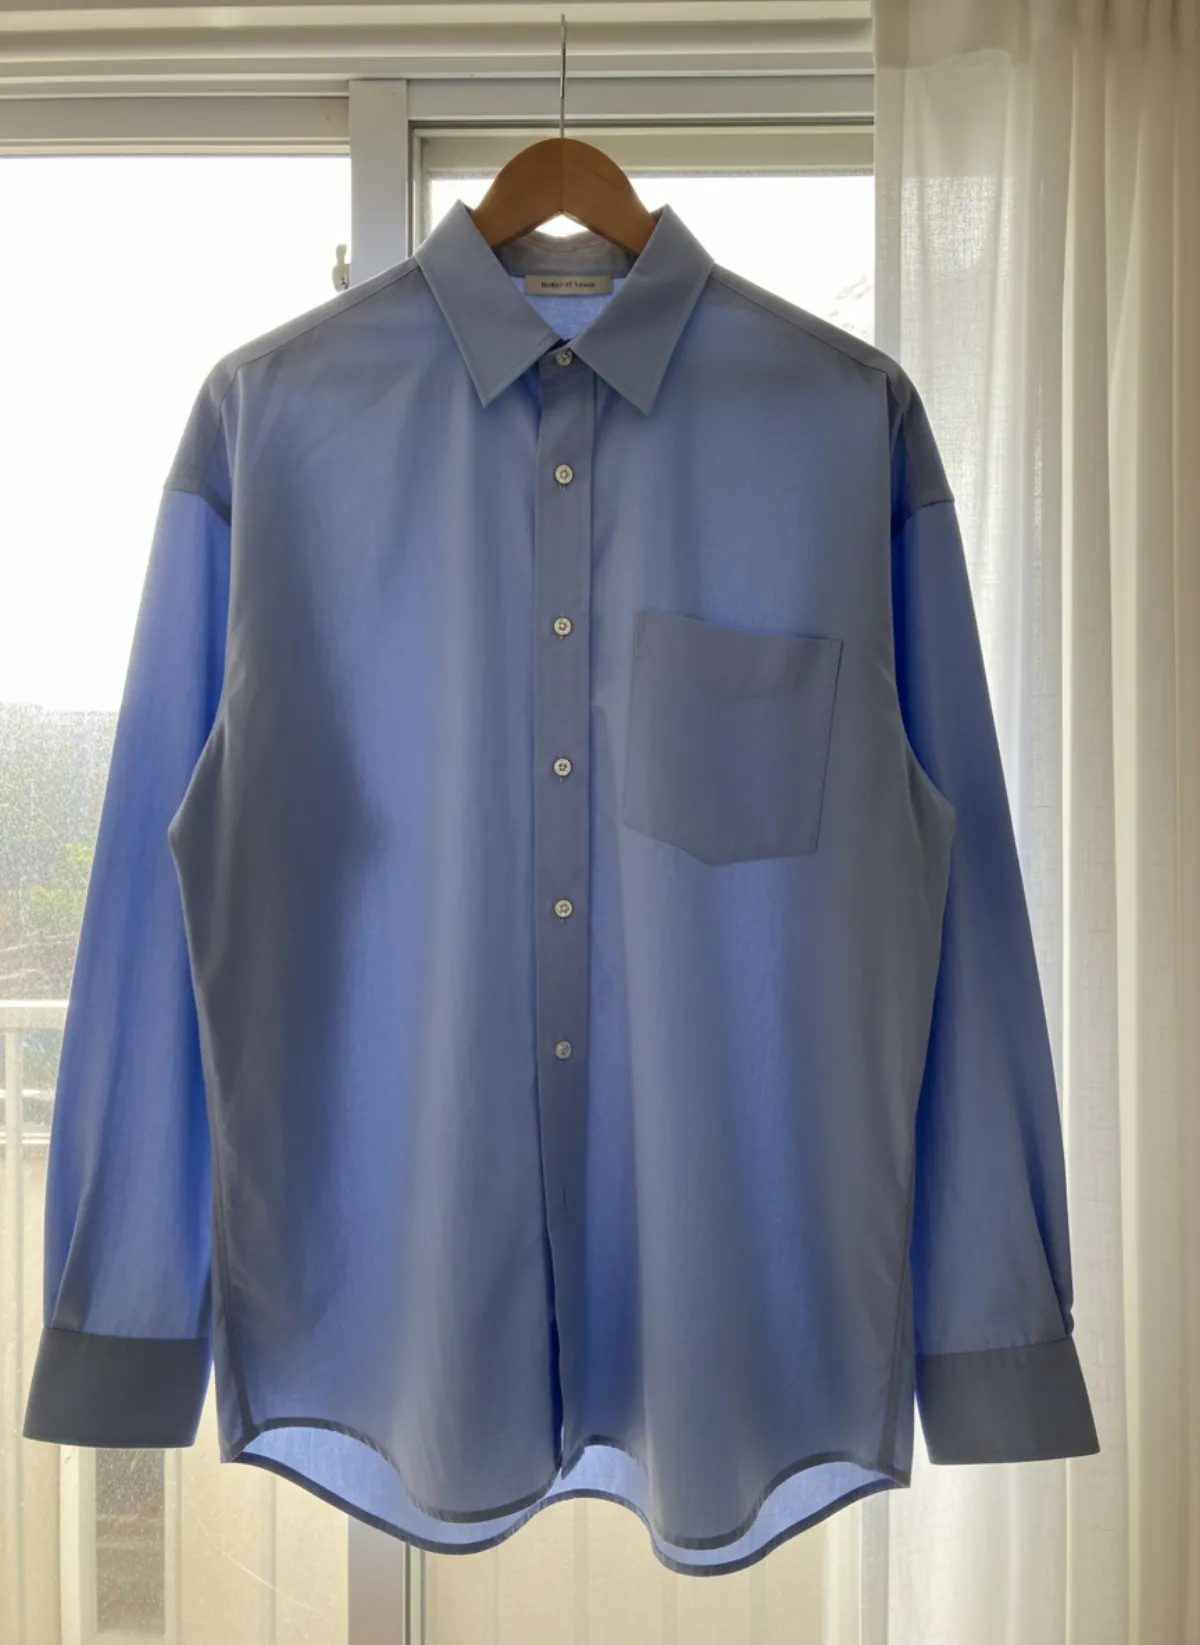
If the background carries a hard double shadow, two lights are competing at similar strength. Make one the key and the other a softer fill, enlarge both sources or move the product away from the wall. If a phone image looks noisy, add light before relying on aggressive smoothing. Texture lost in capture cannot be recovered honestly later. Black fabric is where this shows first, as our guide on how to photograph black clothing explains.
Make the setup repeatable
Create a small shooting map: backdrop, product mark, tripod height, focal length or phone zoom, light position, power and white balance. Photograph that setup once. A teammate should be able to rebuild it without interpreting words like soft or bright. Consistency across fifty products comes from measurements and fixed decisions, not from correcting every file individually.
Shoot one difficult item before the batch. Choose black texture, reflective hardware, white-on-white edges or a dense print. Check it at 100 percent, on mobile and against the real item. Once approved, keep the room unchanged and work through the catalog. If daylight is the source, finish one colour family before the sky changes significantly.
Keep originals and export copies. The untouched file is the audit reference; corrected versions can handle crop, dust and modest colour calibration. Do not reshape the product or paint back missing construction. When the source is destined for garment to model, completeness and fidelity are more useful than a heavily retouched advertising look.
Product lighting questions
What is the easiest product photography lighting setup?
Use a large side window, diffuse direct sun and place a white reflector opposite. Switch off room lights, stabilise the camera and lock exposure and white balance after a test.
Are two lights better than one for product photos?
Two matching soft lights make catalog coverage easier, but one large light plus a reflector can look excellent. Control and consistency matter more than the number of lamps.
What colour temperature should I use?
Choose one consistent source and set white balance to match it. Daylight-balanced LEDs are practical, but accurate colour depends on the light quality, camera settings and comparison with the real product.
How do I photograph black clothing without losing detail?
Use a large soft source, bring a white fill card closer and expose while protecting highlights. Check seams and texture on a calibrated or familiar display instead of making black look grey.
Can a ring light be used for product photography?
It can light small items evenly, but its circular reflection and flat look are often difficult on jewelry and glossy products. Large diffusion panels give more control over reflection shape.