
 Garmo team
Why clothes change color in photos
Almost every color problem comes from one of six places. Find yours first, because a fix for the wrong cause makes the next photo worse. The same causes decide how a garment looks when you put a dress on an AI model, since your photo is the source.
Mixed light
A yellow ceiling bulb plus blue window light leaves a cast that is hard to clean up.
Auto white balance
The phone guesses the light, and guesses differently on a white wall than on a dark floor.
Phone processing
Vivid, beauty and night modes push color for faces and landscapes, not fabric.
Reflected color
A green wall or a red sofa next to the garment tints the fabric.
Exposure
Too dark and a color turns muddy, too bright and it washes out.
Screens
The same file looks different on a phone, a laptop and a shop app.
Fix the color at the source: light and white balance
The cheapest color correction is the one you never have to do. Switch off every lamp, shoot in daylight from a window with no direct sun, and keep the garment away from colored walls and furniture, which reflect their color onto the fabric. A white or light-grey backdrop beside the garment gives the phone a neutral reference. The product photography lighting setup guide covers light direction in more detail.
Then control the white balance. Most phone cameras set it automatically and change it between shots, so a batch of the same shirt can come out in three shades. Take the photos one after another from the same spot, keep the framing similar, because a large white garment in the frame shifts the balance, and lock the white balance to daylight if your camera app has a pro mode.
Turn off beauty, portrait, vivid and night modes, and any auto-enhance that runs when you save. A flat, natural photo is far easier to correct and stays consistent across a whole collection.
A grey card and a color card: the cheapest reference
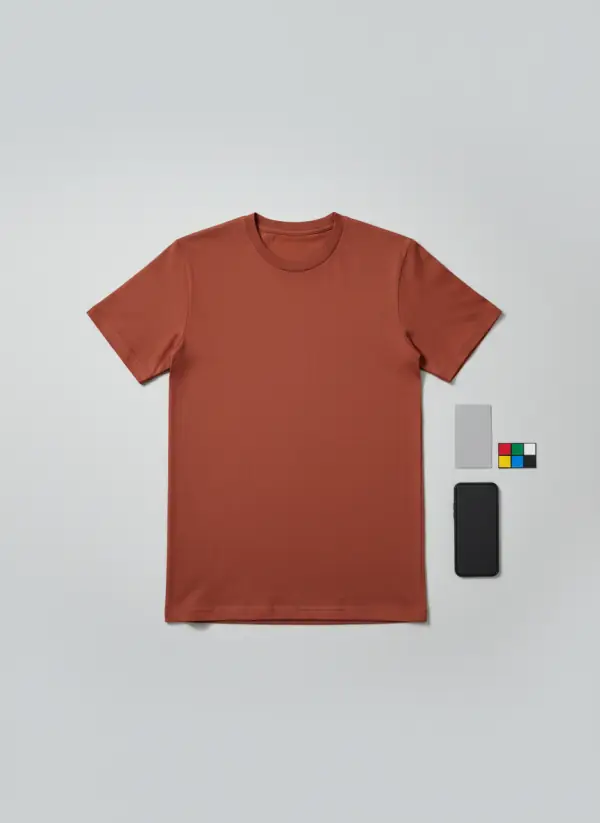
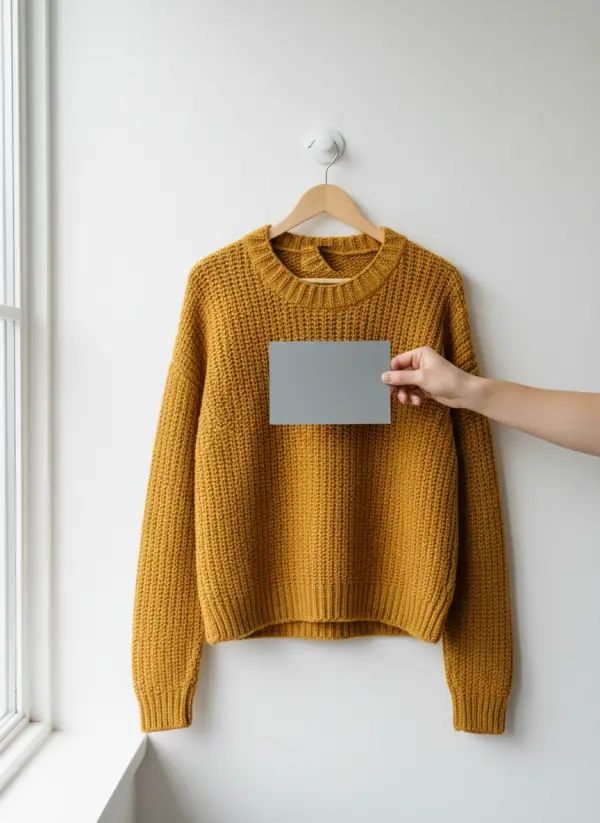
A grey card is a flat, neutral grey rectangle, and a small color card shows a few known colors. Hold the grey card in front of the garment in the same light, a few centimetres from the fabric, and take one reference frame at the start of each session. Photographers do the same with a full color checker; a card the size of a hand is enough for clothing.
In your editor, click the white-balance eyedropper on the grey in the reference frame and copy that setting to every photo from the session. The grey becomes truly grey and the garment's color moves with it. With no card, a plain sheet of white paper in daylight is less precise but better than guessing.
Do this per light, not per garment. If the light changes, because of a cloud or a later hour, take a new reference frame. Keep the card out of the photos you publish, or crop it away.
Color correction step by step in a phone editor
Product photography color correction makes the photo match the garment; grading gives all your photos a look. For product photos, correct and do not grade. Open the photo in any editor with exposure, white balance and tint controls, a free phone app is enough, and work in this order: crop and straighten, exposure, white balance, tint, then vibrance.
Set the exposure for the garment, not the background: a white shirt should read white without losing the weave, and a black one should still show its seams. Then set the white balance with the eyedropper on the grey card, or slide the temperature until something neutral in the scene, such as the backdrop or a white button, looks neutral. Use tint only if the photo leans green or magenta, which usually comes from fluorescent tubes.
Raise vibrance by a few points at most and never push saturation across the board, because it changes the garment's real shade. Save the settings as a preset and apply it to the whole batch from the same session, so every product matches. Compare each result with the real garment before you export.
Compare the screen with the real garment
The final test is a side-by-side. Hold the garment next to the screen in daylight, with the screen brightness around the middle and any night or warm display mode switched off. If the shade on the screen looks lighter, darker or warmer than the fabric, adjust and compare again. It takes a minute and it is the step most sellers skip.
Check the photo on a second screen too, such as a laptop or a friend's phone. Screens are not calibrated, so the same file looks different on each; aim for a photo that looks right on average rather than perfect on one device. A slightly conservative color is safer than a punchy one, because a muted photo disappoints no one.
Name the color in the listing the way the label does, rust rather than just orange, and add a line saying colors may vary slightly by screen. It sets the right expectation and cuts returns for color. The same check matters for every colour you sell; the guide to product variant images shows how to shoot a range so it lines up.
Hard colors: black, white, red and satin
Black and navy are the classic pair that photographs as one color; look at the seams and the topstitching, and use the tips in the guide to photographing black clothing before you correct anything. White drifts to blue, grey or cream, and the guide to photographing white clothing covers exposure and backdrops for it.
Saturated reds, oranges and turquoise clip easily: the sensor loses detail and the fabric turns into a flat shape. Lower the exposure a little instead of raising saturation. Satin and other glossy fabrics change color with the angle of the light, so no single shade exists; show them in even light and mention the sheen in the listing.
Neon and fluorescent colors cannot be shown accurately on many screens at all. Describe them honestly and keep the photo close to the real look rather than boosting it.
What Garmo does with the color of your photo
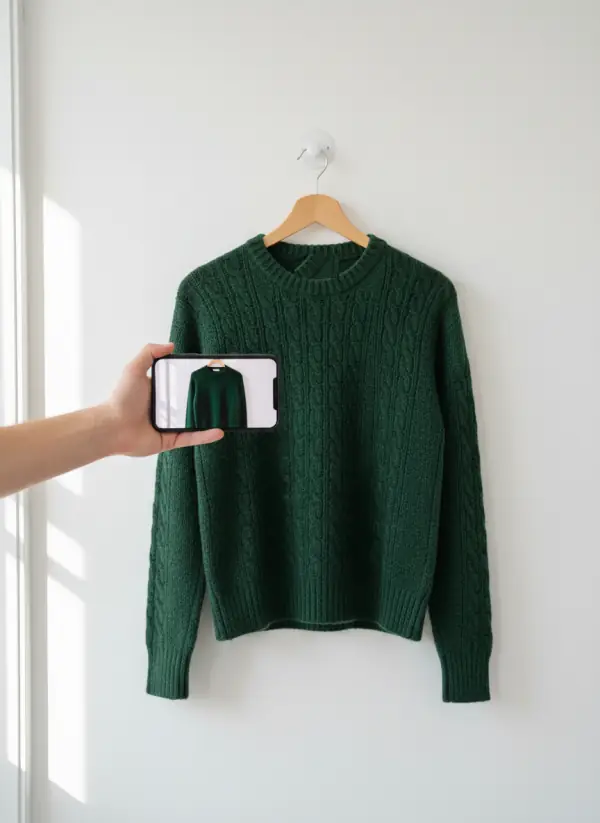
Garmo's on-model tools copy a garment's color from your photo onto one of 42 ready models (22 women and 20 men), in a studio, street or editorial setting. The color in your source photo is the color you get, so a yellow cast from a lamp can carry over. Correct the photo first, then upload it to put clothes on an AI model or AI product photography with models. The first 3 images are free.
If you want another colorway on purpose, the AI clothes color changer makes one on request.
The result is not a color-managed scan either. In our accuracy test of ten products, most garments kept their color, but a cream sweater read a little warmer than its source, so compare each result with the real garment, as you would with any photo.
Keep the color name from the label and check the final image against it. For a color-critical product, add one plain photo of the real garment in daylight to the listing next to the model images.
Lamp light in, neutral light out: two examples
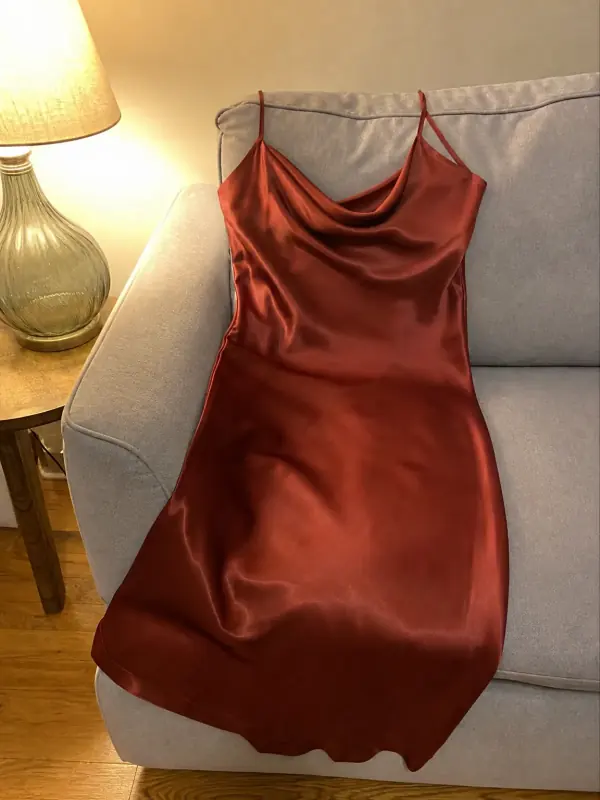
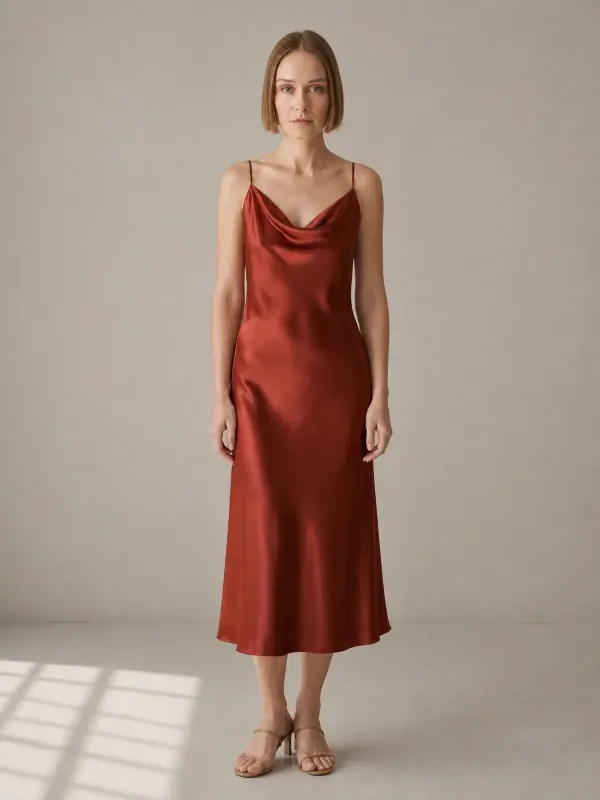
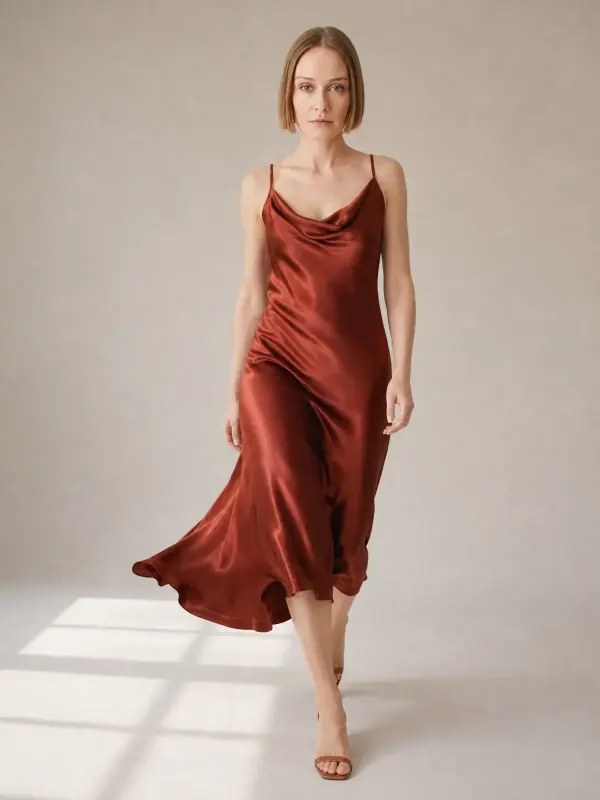
Both source photos were taken in the evening under a warm lamp, which warms the color. The model images show the same garments in neutral light. Without the real garment in hand, neither tells you the true shade, which is why the comparison step exists.
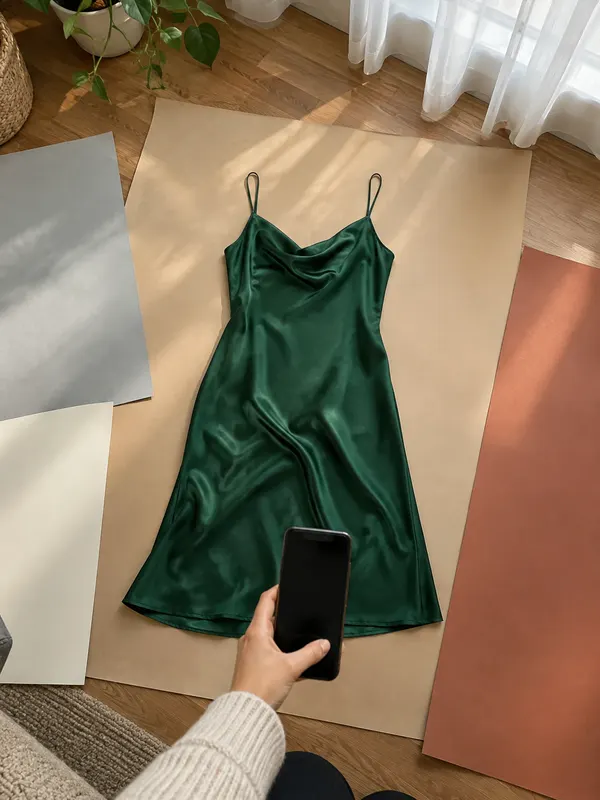
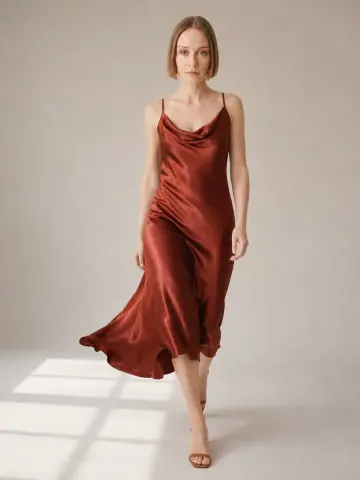
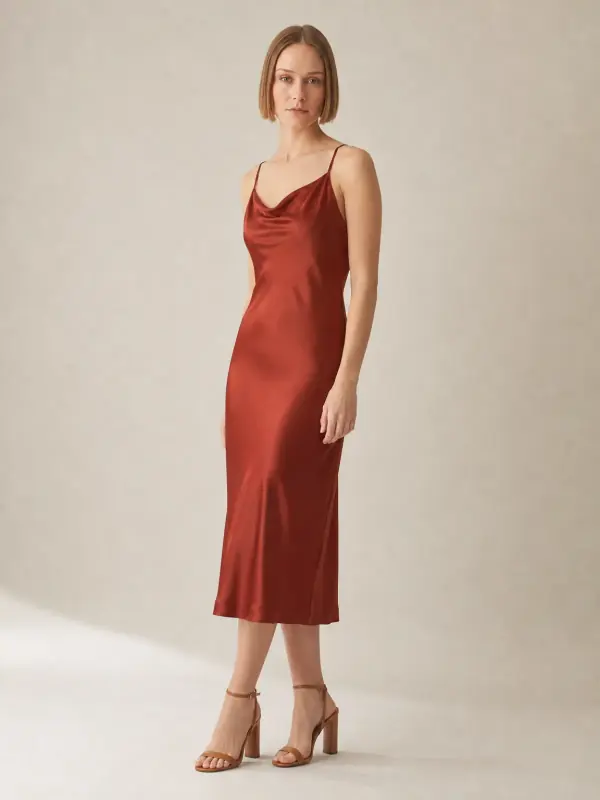
A satin slip dress photographed by lamp light
The lamp pushes the red of the phone photo toward orange. On the model the dress is lit by soft studio light and the satin sheen carries over. Compare the shade with the real dress before you publish.
 Your photo
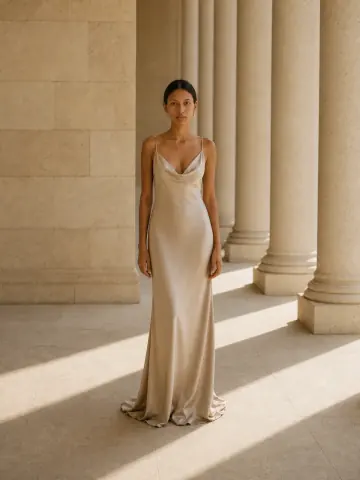
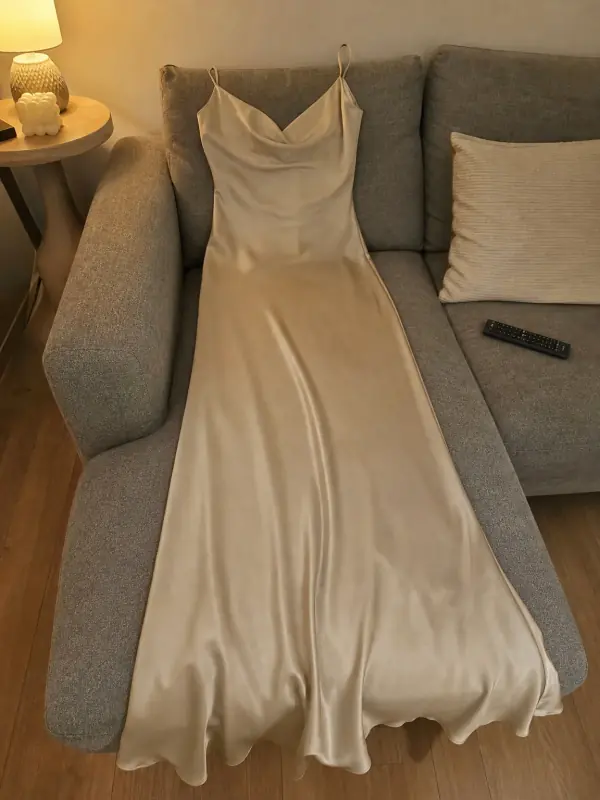
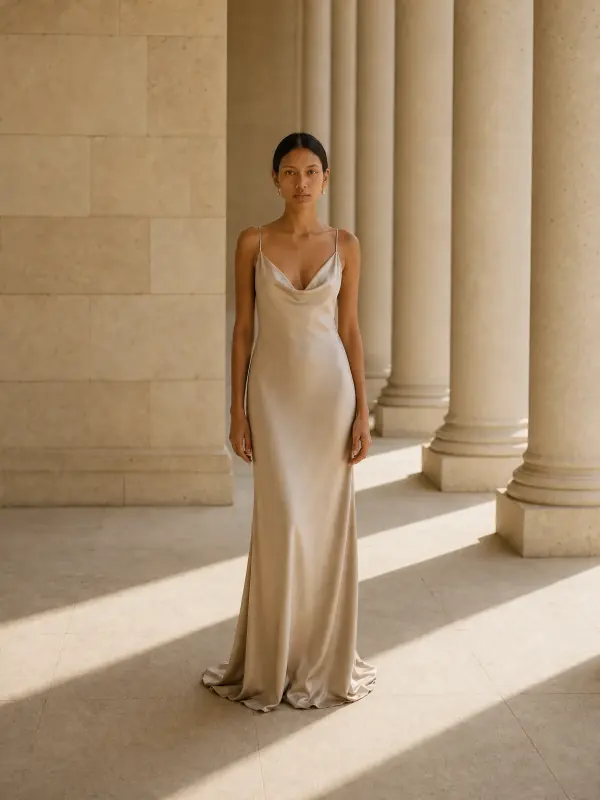
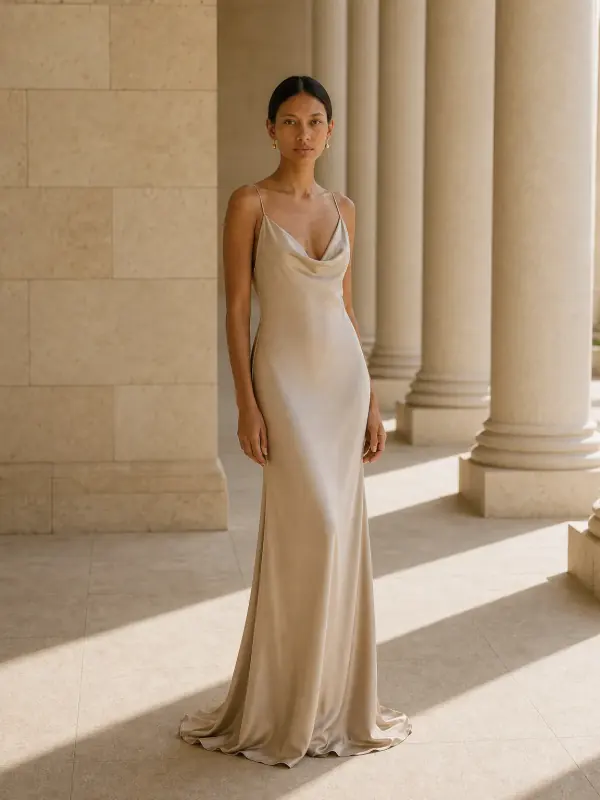
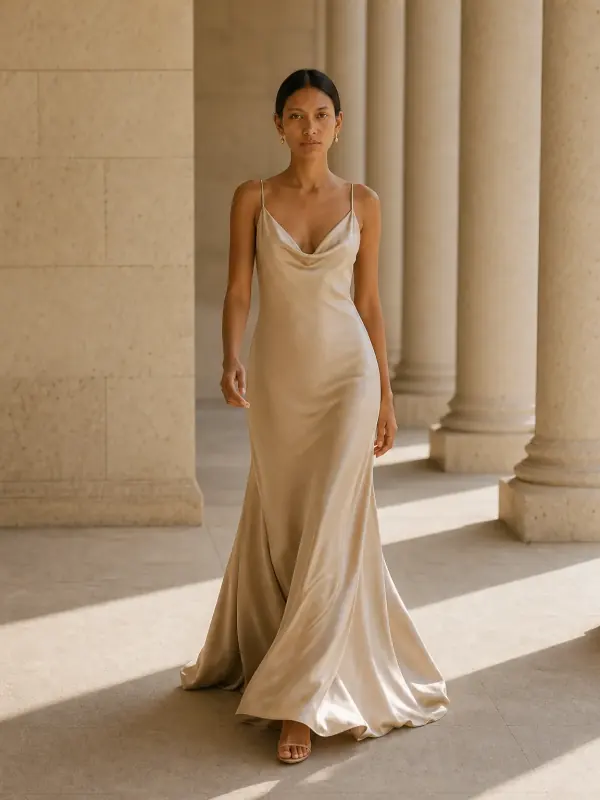
A satin gown on a grey sofa
Another lamp, and a grey sofa next to the dress. The model images show the gown in daylight and read as a paler champagne than the golden source photo, which is why correcting the source and checking the result both matter.
 Your photo
Questions about color correction for clothing photos
What is product photography color correction?
It is adjusting exposure, white balance and tint so the photo shows the product in its real color. For clothing, the goal is a photo that matches the garment in daylight. It differs from color grading, which gives a stylized look and does not belong on product photos.
How do I make clothes look the same color in photos?
Shoot in daylight with the lamps off, keep the same spot and distance, set the white balance from a grey card and apply the same preset to the whole batch. Then compare the screen with the real garment before you export.
Why does the color look different in my photo?
Usually because of mixed light, the phone's auto white balance or a colored wall reflecting onto the fabric. Switch off the room lamps, move the garment away from colored surfaces and take a reference frame with a grey card.
Does Garmo change the color of my clothes?
Only if you ask it to. The on-model tools copy the garment from your photo, so a color cast carries over, while the AI clothes color changer recolors on purpose. Correct the photo first and compare the result with the real garment. The first 3 images are free.
Is color grading the same as color correction?
No. Correction makes the colors accurate, while grading gives photos a mood such as warm or faded. For product photos use correction only, because a graded photo makes shoppers expect a color the garment does not have.
Tools for accurate clothing photos
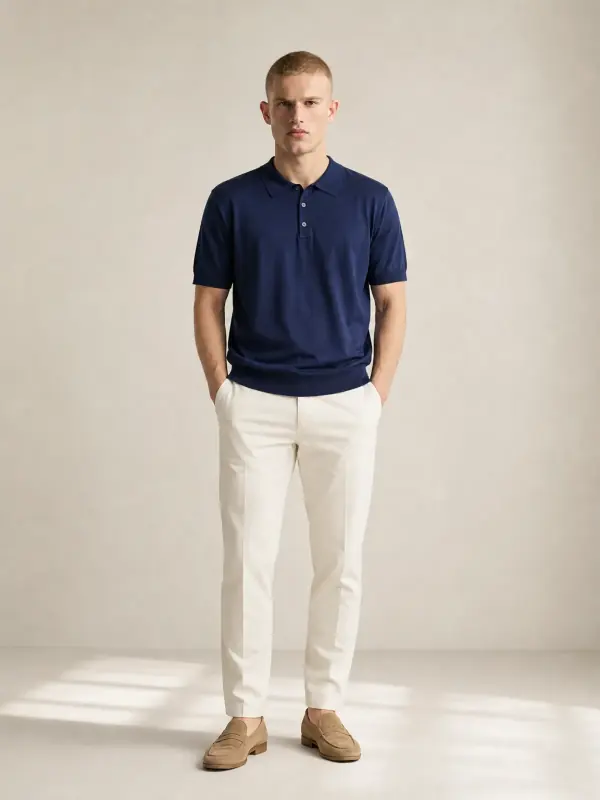
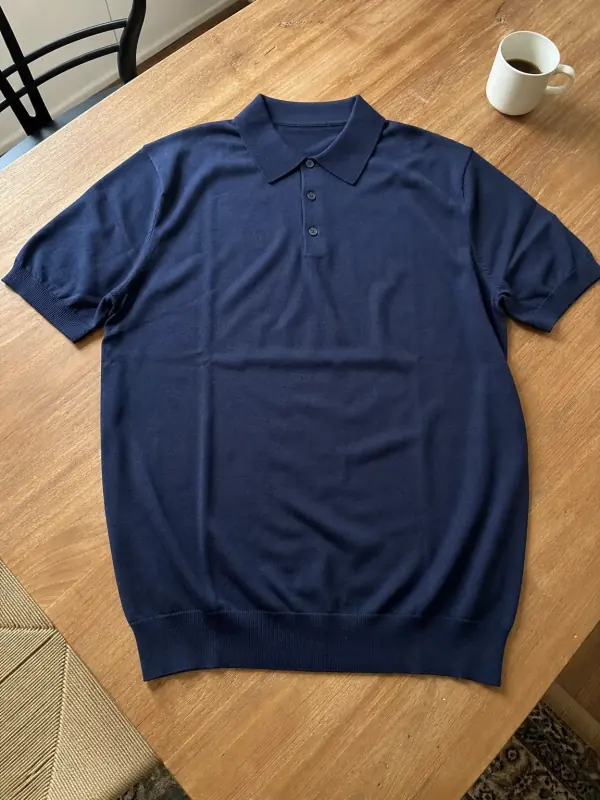 Shirts and tops on modelShirts, blouses, polos and t-shirts worn by a model, styled with simple bottoms so the top stays the focus.
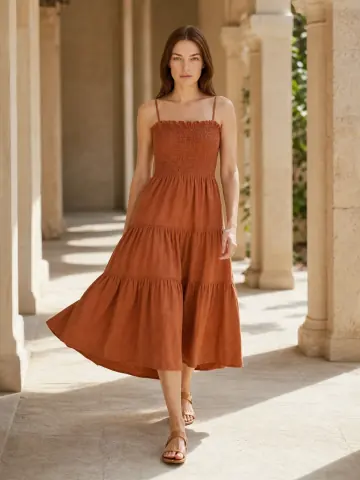
- Dress on model AISlip, maxi and knit dresses worn by a model, with walking frames that show how the skirt moves.
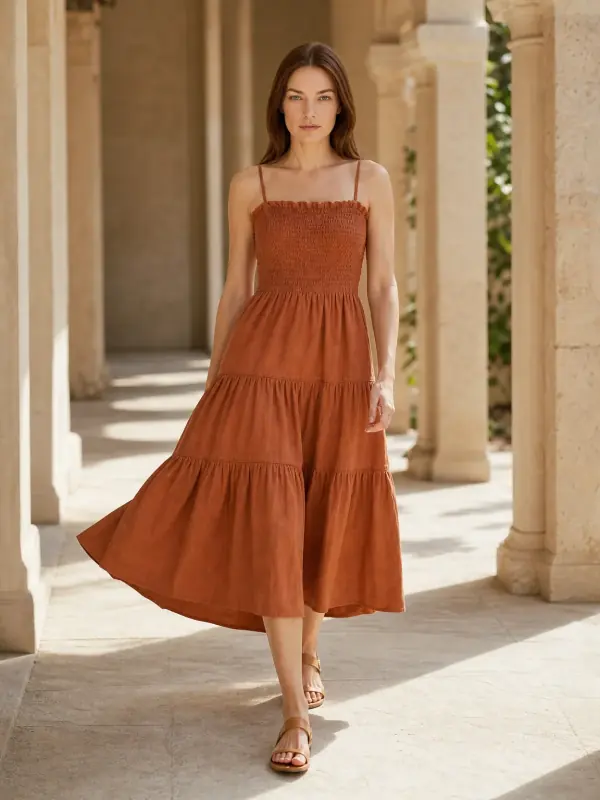
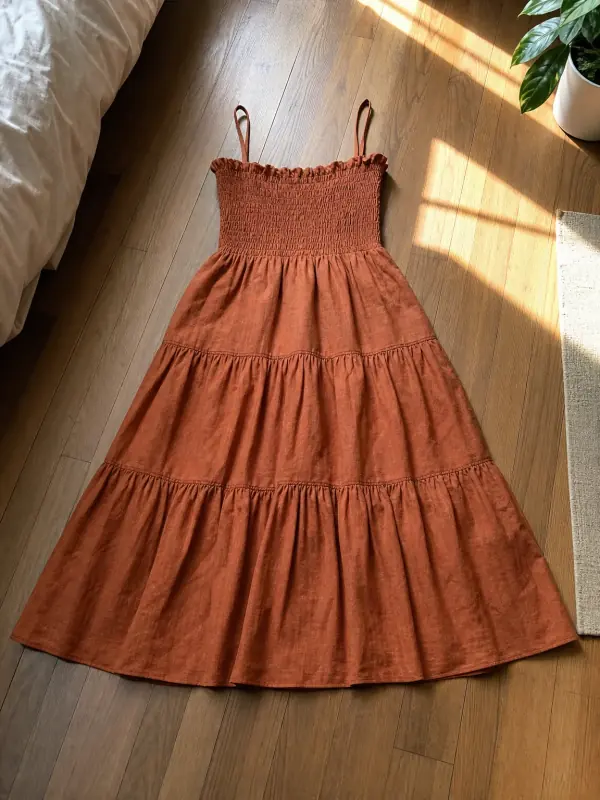 AI product photography with modelsClothing, jewelry and shoes photographed on models from one phone photo, with product-only shots for jewelry and shoes.
- Put clothes on an AI modelUpload a photo of a top, trousers, dress or jacket and see it worn by an AI model, in studio, street or editorial settings.
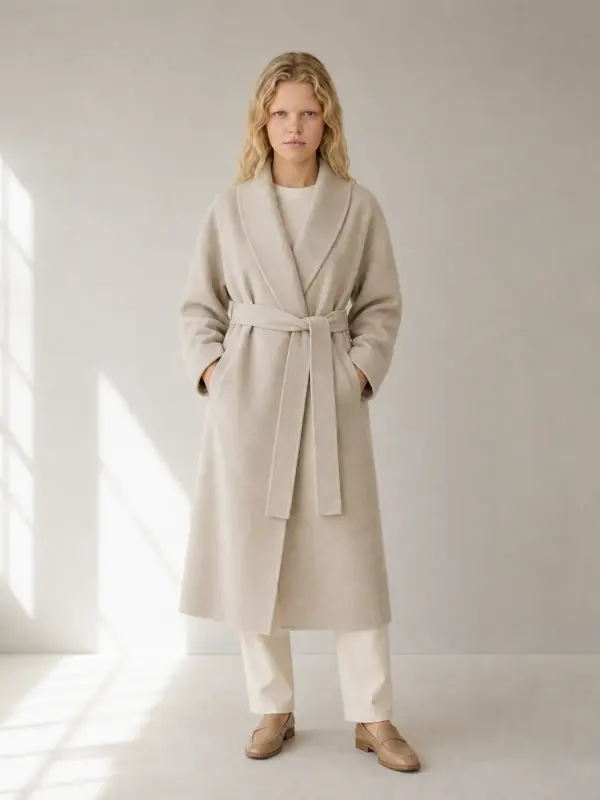
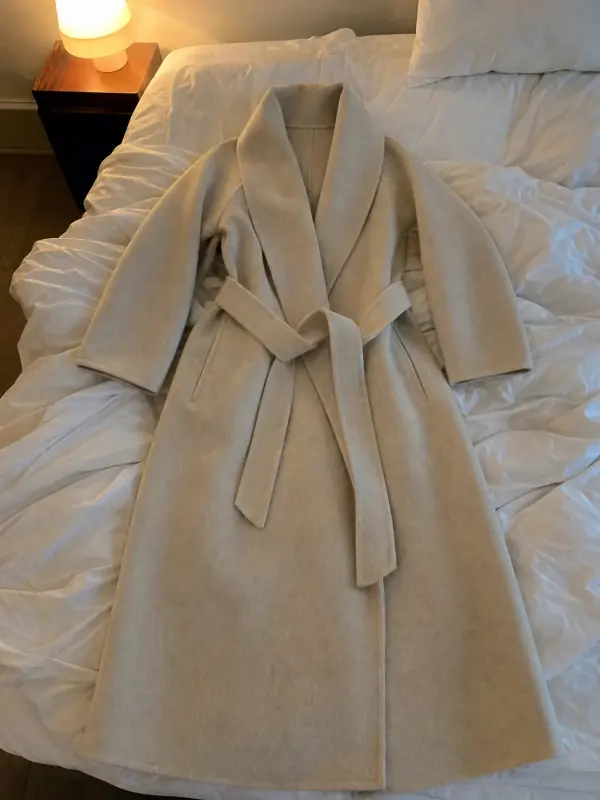 Flat lay to modelLay the garment flat, take one phone photo and get it worn by an AI model from three angles.
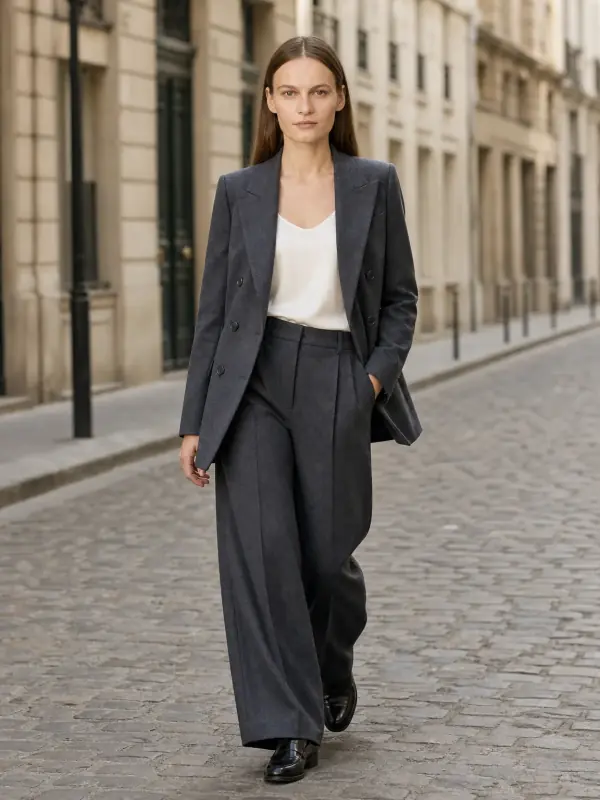
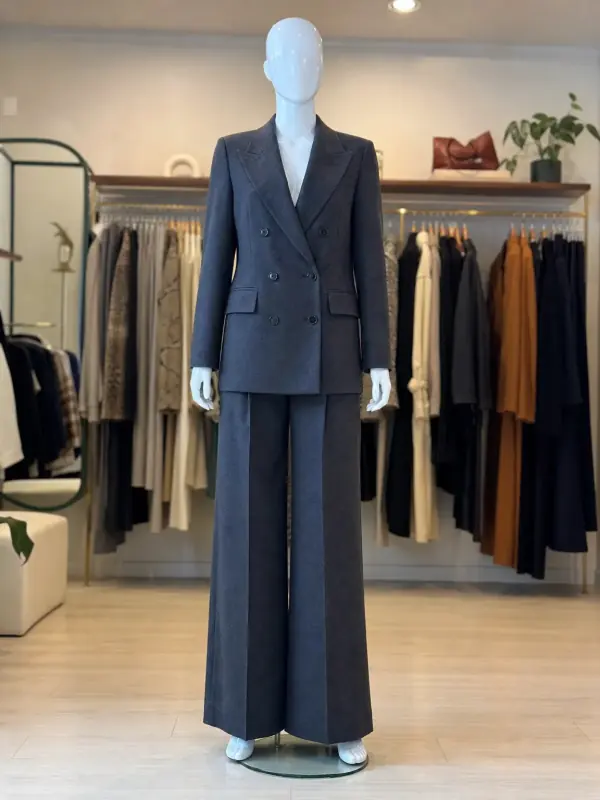 Mannequin to model AIAlready shoot on a mannequin or dress form? Upload that photo as it is and get the same piece worn by a model.