

 Garmo team
What hoodie photos have to show
A hoodie listing has to answer four questions: what colour it really is, how the hood sits, what the print looks like up close and how worn the fleece is. Shoppers zoom straight to the chest print and the cuffs, because that is where a used hoodie shows its age: cracked prints, pilling and stretched ribbing.
That makes hoodies different from knitwear. A sweater is about texture; a hoodie is about shape and details. The hood is the hardest part, because it is a bulky, floppy piece of fabric that either folds under itself or stands up like a tent. Getting it to lie flat is most of the job.
The method below is how to photograph hoodies of every kind: it works for pullover hoodies, zip hoodies and crewneck sweatshirts. If you sell knitwear too, our guide to photographing sweaters covers wool, pilling and why knits should never hang. And once you have a clean flat lay, Garmo can turn that flat lay photo into an on-model photo without a photoshoot.
How to lay out a hoodie for pictures
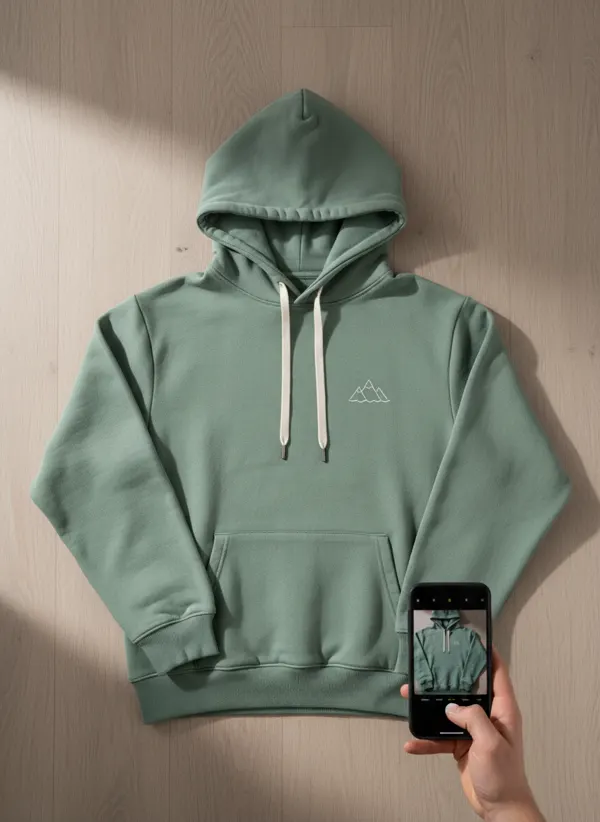
This is the hoodie flat lay setup we used for the photos in this guide. It takes about five minutes and needs a floor or a large table next to a window.
- 01
Pick a plain, matte surface
A light floor, a plain bedsheet pulled tight or a large sheet of card. It should be bigger than the hoodie with the sleeves out, and a colour that contrasts with it: light grey for dark hoodies, mid-grey or wood for white ones.
- 02
Smooth the body first
Lay the hoodie face up and flatten the body with both hands from the centre out. Pull the ribbed hem straight; it likes to roll up. Steam out hard folds from storage, because creases on fleece throw dark lines in side light.
- 03
Open the hood above the shoulders
Spread the hood up and out above the neckline so it lies flat like a shield, with a little of the lining showing at the edge. Tuck the back of the hood under itself if it pokes out at the sides.
- 04
Even the drawstrings
Pull both drawstrings to the same length and let them hang straight down the chest, parallel to each other. Uneven drawstrings are the first thing that makes a hoodie photo look careless.
- 05
Angle the sleeves slightly out
Lay the sleeves at a slight angle away from the body, cuffs flat. Folding them across the front hides the kangaroo pocket and the print, which are exactly what buyers want to see.
- 06
Shoot from directly above
Stand on a chair if you need to and hold the phone parallel to the floor, with the hoodie filling about 80% of the frame. Use the 1× lens and turn on the grid so the hoodie sits straight.
How to photograph hoodies: the 8-photo shot list
These eight answer the questions buyers otherwise send as messages. If your marketplace has fewer photo slots, keep 1, 2, 3 and 8. Shoot them in the same order every time so your listings look like one shop.
1. Front flat lay
The whole hoodie, hood open, drawstrings even. This is the cover photo and the one Garmo uses to put the hoodie on a model.
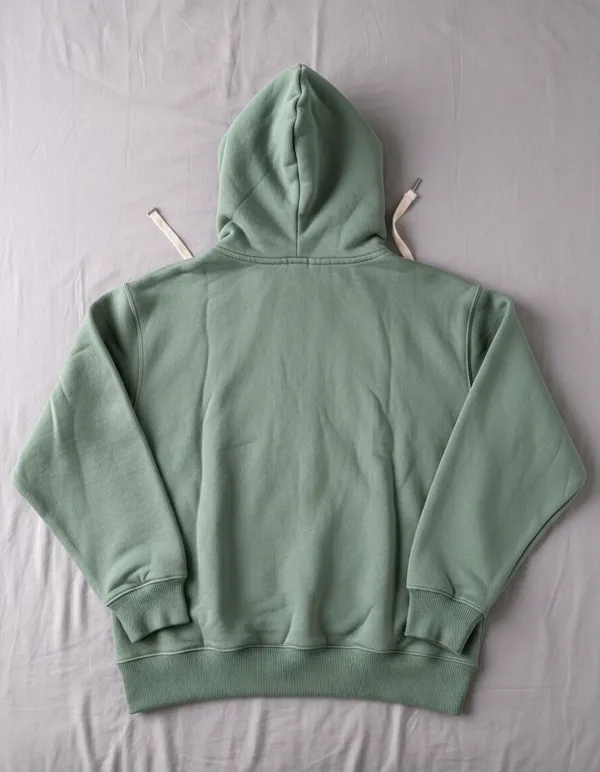
2. Back flat lay
Turn it over and spread the hood flat behind the neck. Shows back prints, the hood seam and any fading across the shoulders.
3. Print close-up
Phone parallel to the print, filling the frame. Cracks, peeling and fading show here; hiding them only leads to a return.
4. Hood and lining
Fold the hood back to show the lining: fleece, jersey or a contrast colour. Lined hoods are a selling point, so show them.
5. Drawstrings and eyelets
Close on the drawstring tips and the eyelets. Frayed tips and missing aglets are common on used hoodies and buyers ask about them.
6. Cuffs and hem
The ribbing at the wrist and waist shows wear first: stretching, pilling and small holes. One close-up of a cuff is enough.
7. Inside and label
Turn the front up to show the brushed fleece inside and photograph the size and care label. Pilled fleece inside is worth showing honestly.
8. Measurements
Tape measure across the chest, pit to pit, in the shot. A hoodie size says less than a measurement, especially for oversized fits.
Light and colour for grey, black and washed hoodies
Colour is where most guides on how to photograph hoodies stop too early. Hoodies come in the colours phones handle worst: heather grey, black and washed or garment-dyed shades. Shoot by a window in daylight, with ceiling lights off, between mid-morning and mid-afternoon. One light source keeps the colour honest.
Heather grey picks up any colour around it, so use a neutral surface rather than a warm wooden floor. Black hoodies lose their shape against a dark background; use a light grey surface and lift the exposure slightly so the seams and pocket edges show. Our guide to photographing black clothing goes through exposure step by step.
Washed and pastel colours such as sage, dusty pink or sand are the easiest to get wrong. Hold the hoodie next to the phone screen after shooting and compare. If the photo is off, correct brightness, not colour, unless the photo clearly differs from the hoodie in your hand. A buyer who receives a different green leaves the same review as one who receives a different size.
Hoodie flat lay vs. bed and hanger: good and bad photos
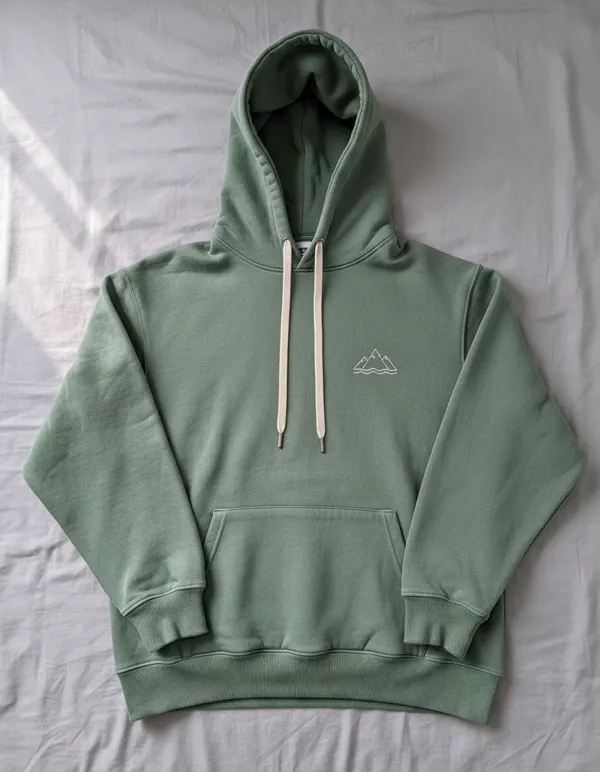
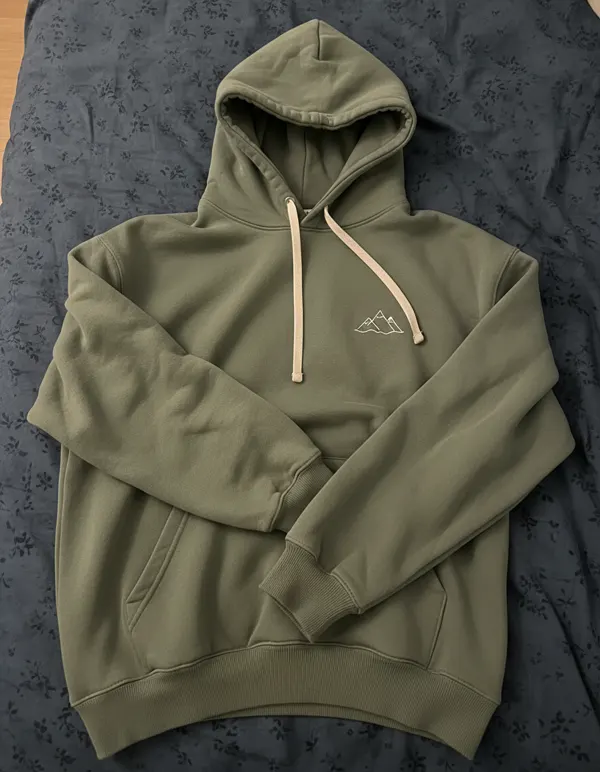
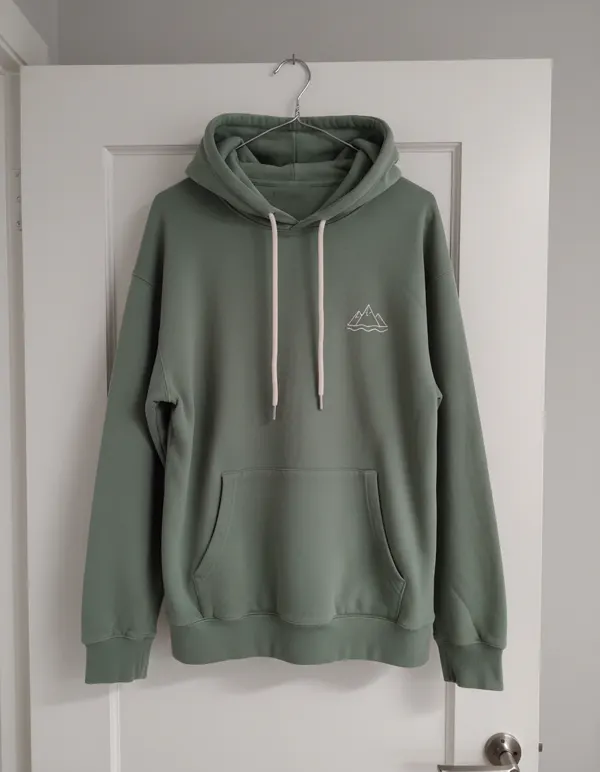
The same sage hoodie, photographed four ways. The two on the left took five minutes longer than the two on the right.
Works well
Avoid
Measurements and details buyers ask about
Three measurements cover almost every question: pit to pit (straight across the chest from one armpit seam to the other), length (from the highest point of the shoulder to the hem) and sleeve (from the centre back of the neck to the cuff, which works for dropped shoulders too). Write them in the description and show the pit-to-pit one in a photo.
Say whether the fit is oversized, regular or cropped, and if you can, add a photo of the hoodie worn so buyers can judge the drop of the shoulder. For prints, mention the technique if you know it: screen print, embroidery or a heat-transfer print, which cracks faster.
If the hoodie has been washed often, show the inside fleece. Flattened, pilled fleece is normal on a used hoodie, and buyers trust a seller who shows it more than one who hides it. Selling activewear too? Our guide on photographing leggings covers the waistband, the pockets and the see-through test.
Our test: a hoodie from a flat lay to a model
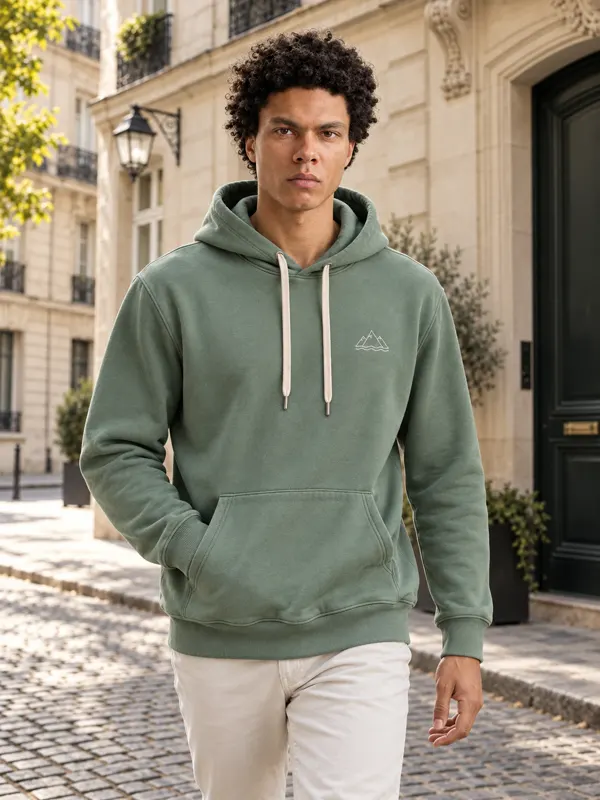
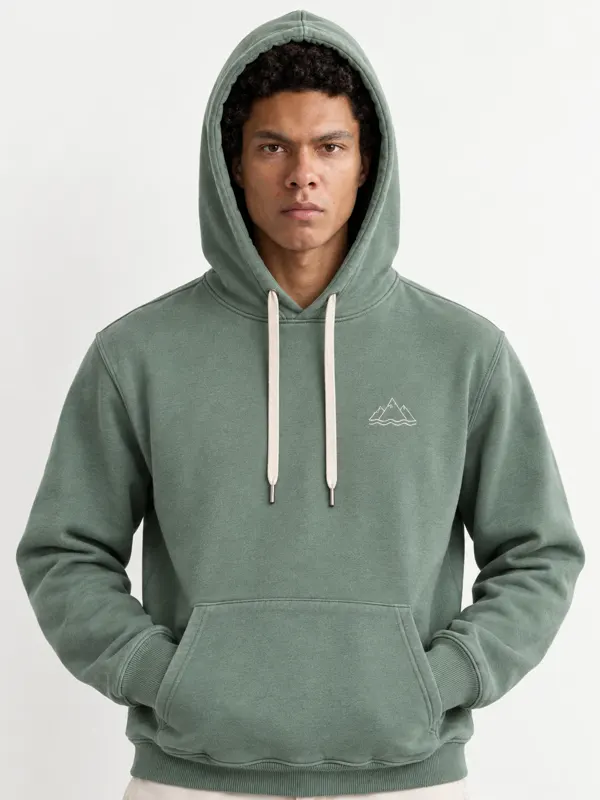
A flat lay shows the hoodie; a worn photo shows how it falls on a body, how big the hood is and where the print sits on the chest. We put the front flat lay from this guide into Garmo Studio, chose Kai, one of the 42 stock models, and asked for three frames: a full-length studio shot, a street shot and a close-up with the hood up.
In all three frames the mountain print stayed the same drawing, in the same place on the left chest, and the drawstrings kept their off-white colour and silver tips. The kangaroo pocket, the ribbed cuffs and the sage green matched the flat lay. The hood-up frame showed a detail the flat lay cannot: how deep the hood is.
Knowing how to photograph hoodies flat is what made this work: a straight, evenly lit flat lay gives the AI every detail to copy. To do the same with your own hoodie, use the tool to put a top on an AI model; the first 3 images are free.
From hoodie flat lay to on-model photos
The input was one phone photo on a bedsheet. Garmo can put clothes on an AI model from that photo in studio, street or editorial settings. Before you list either version, run the cover photo through the free listing photo checker for sharpness and exposure.
A sage green hoodie with a chest print
One flat lay, three frames with Kai. Print, drawstrings and colour carried over in every frame.
Your photo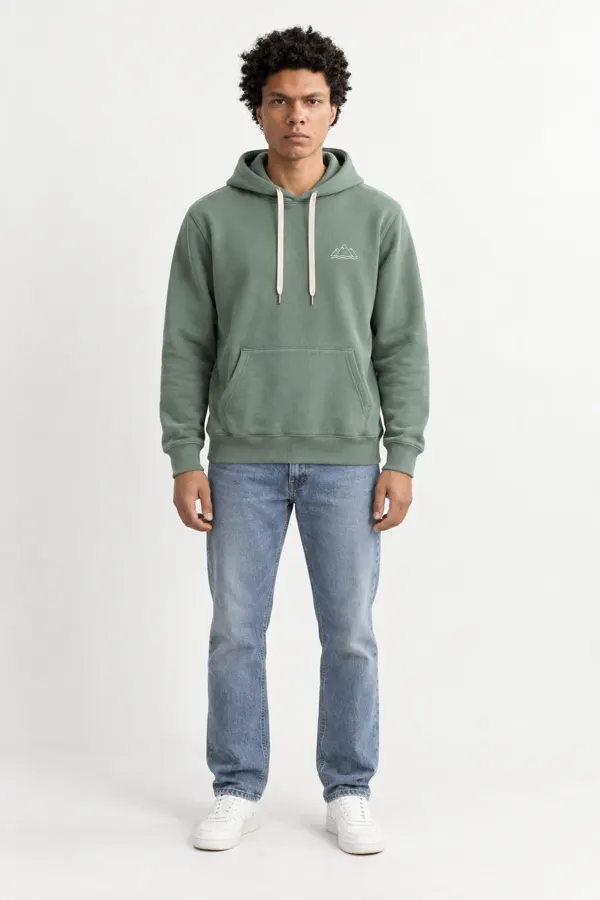 garmo result
 garmo result
 garmo result
Questions about photographing hoodies
How do you take pictures of hoodies to sell?
Lay the hoodie flat on a plain surface near a window, open the hood above the shoulders, even the drawstrings and shoot from directly above. Add the back, a print close-up, the cuffs, the label and a pit-to-pit measurement.
How do you fold a hoodie for pictures?
Don't fold it for the cover photo: lay it flat with the sleeves slightly out. For a second, compact photo, fold the sleeves behind the back, fold the bottom third up and lay the hood flat on top so the print stays visible.
Should I photograph a hoodie with the hood up or down?
Down for the flat lay and the main worn photo, so the print and neckline are visible. Add one worn photo with the hood up if the hood is a feature, such as an oversized or lined hood.
Is it better to photograph hoodies on a hanger?
Usually not. A hood is heavy, so on a hanger it pulls the neckline back and the front sags. If you must hang it, use a wide wooden or padded hanger and drape the hood over the front of the hanger.
How do I show how a hoodie fits without a model?
Give the pit-to-pit, length and sleeve measurements and say whether the fit is oversized or regular. A worn photo from a flat lay, made with an AI model, shows the shoulder drop and hood size at a glance.
Tools for hoodie and sweatshirt photos
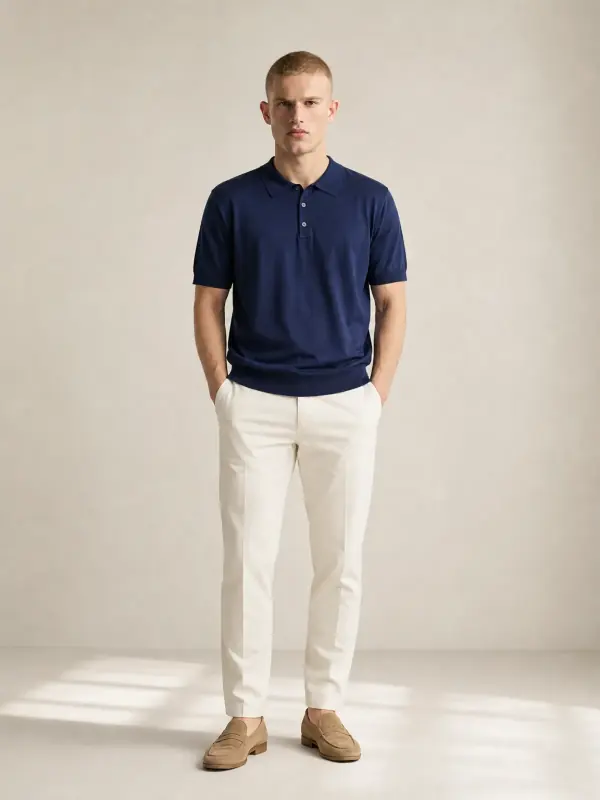
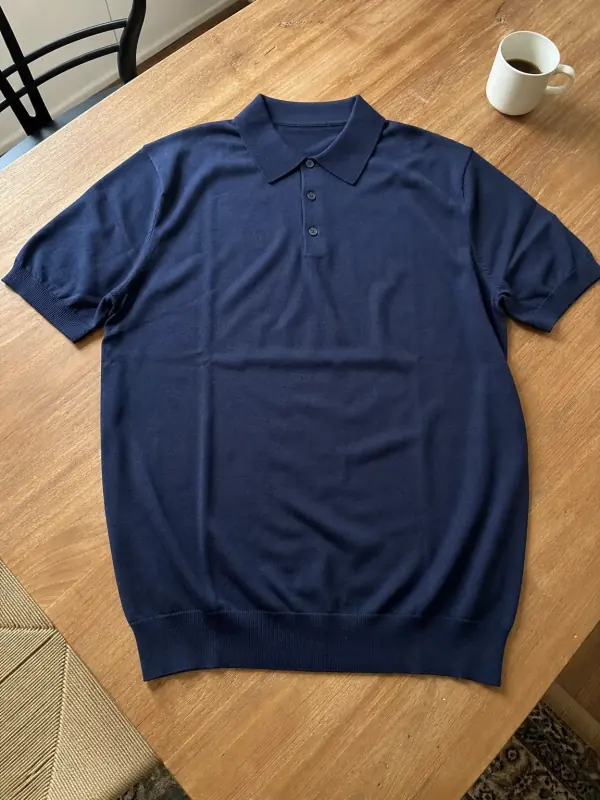 Shirts and tops on modelShirts, blouses, polos and t-shirts worn by a model, styled with simple bottoms so the top stays the focus.
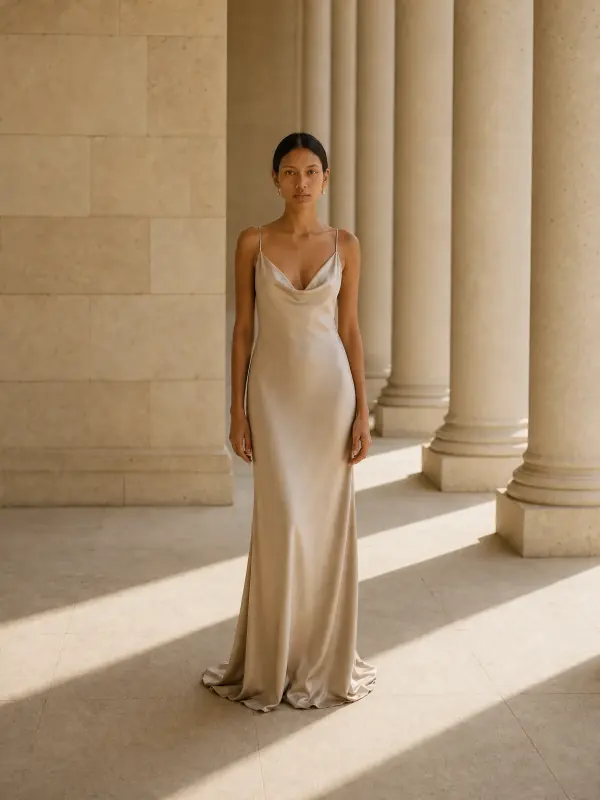
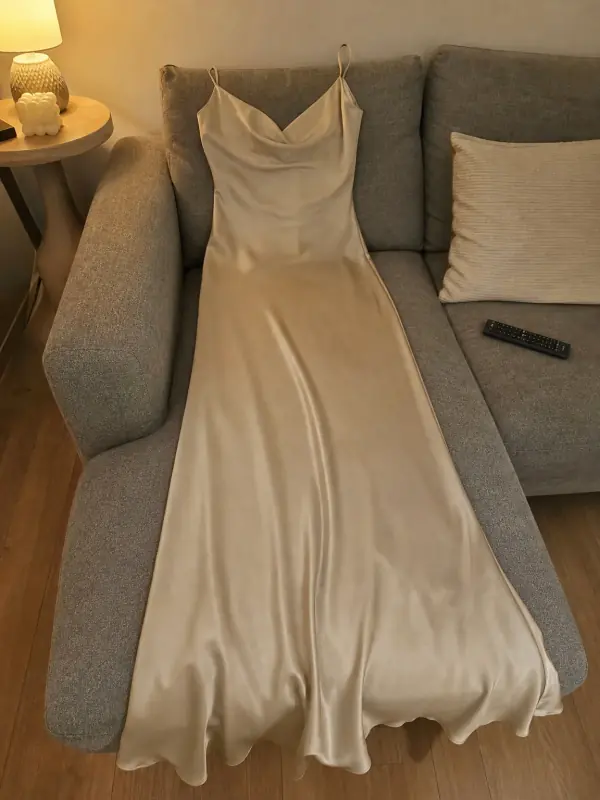 Put clothes on an AI modelUpload a photo of a top, trousers, dress or jacket and see it worn by an AI model, in studio, street or editorial settings.
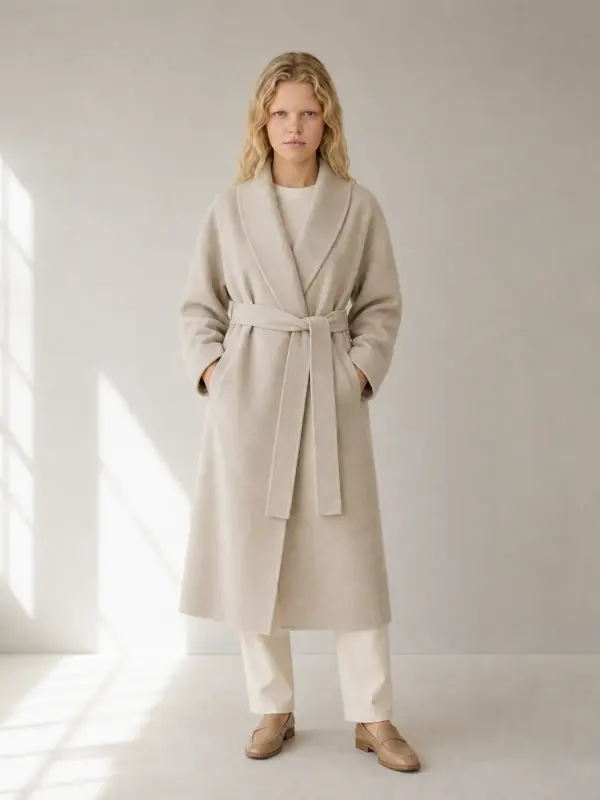
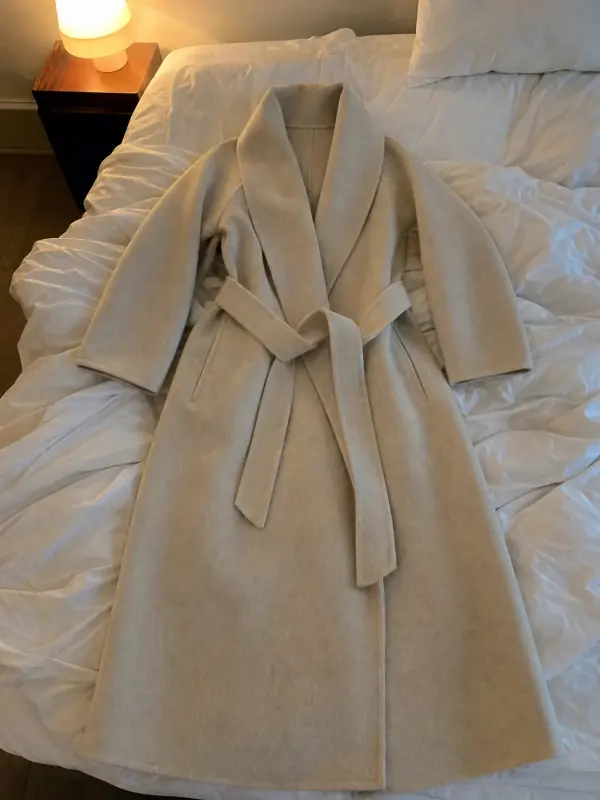 Flat lay to modelLay the garment flat, take one phone photo and get it worn by an AI model from three angles.
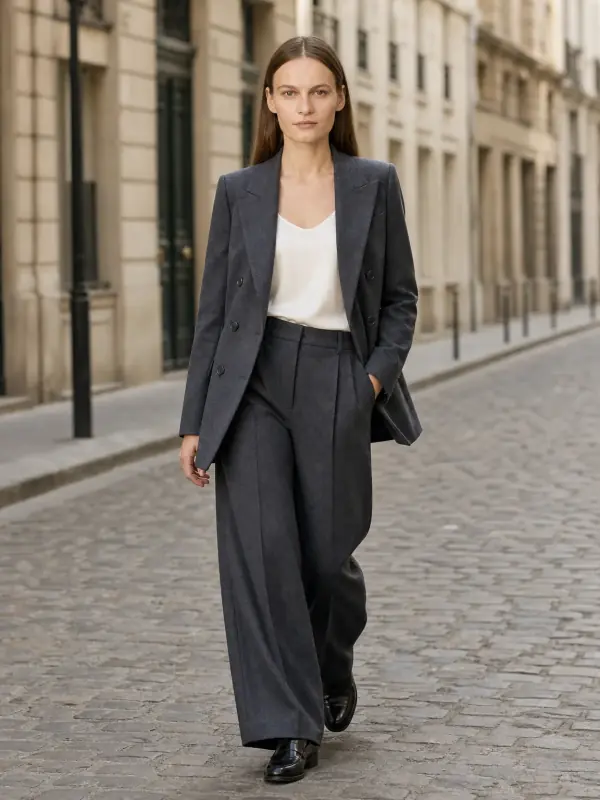
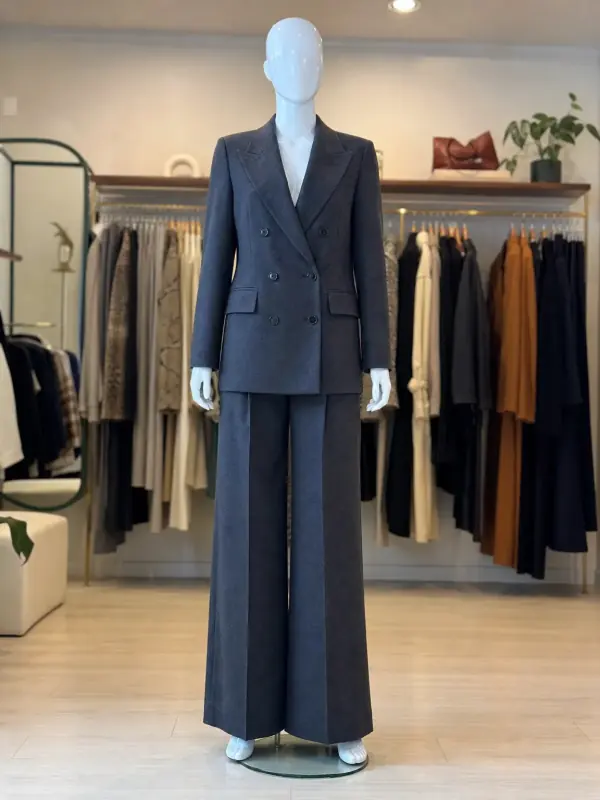 Mannequin to model AIAlready shoot on a mannequin or dress form? Upload that photo as it is and get the same piece worn by a model.
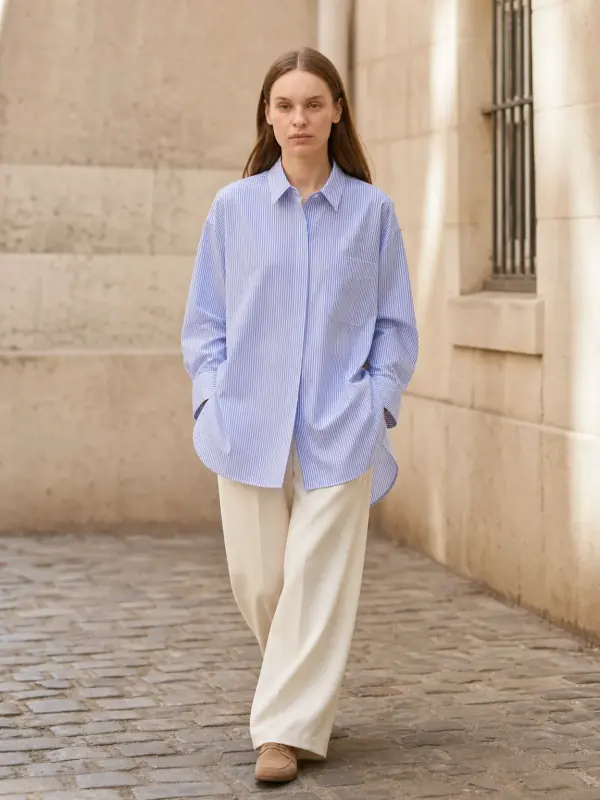
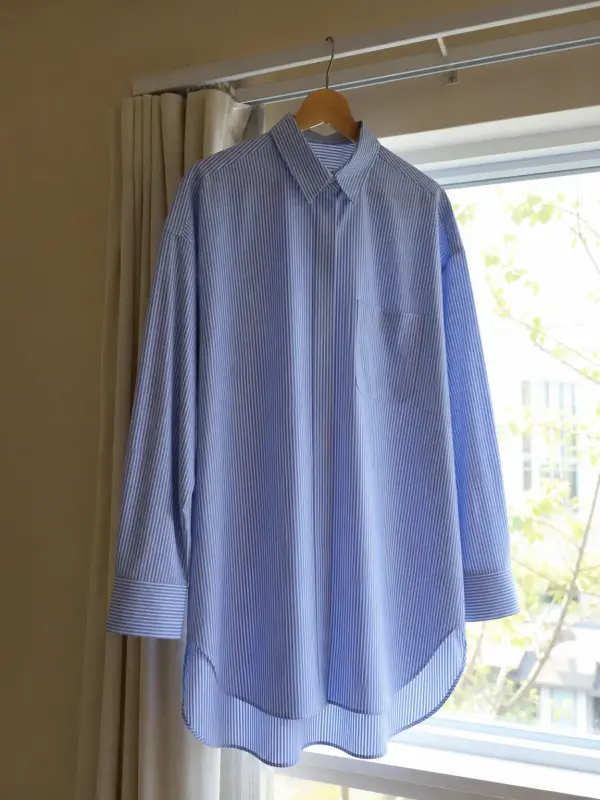 Garment to model AIHang the garment on a door or a rail, take one photo, and get it back worn by a model.

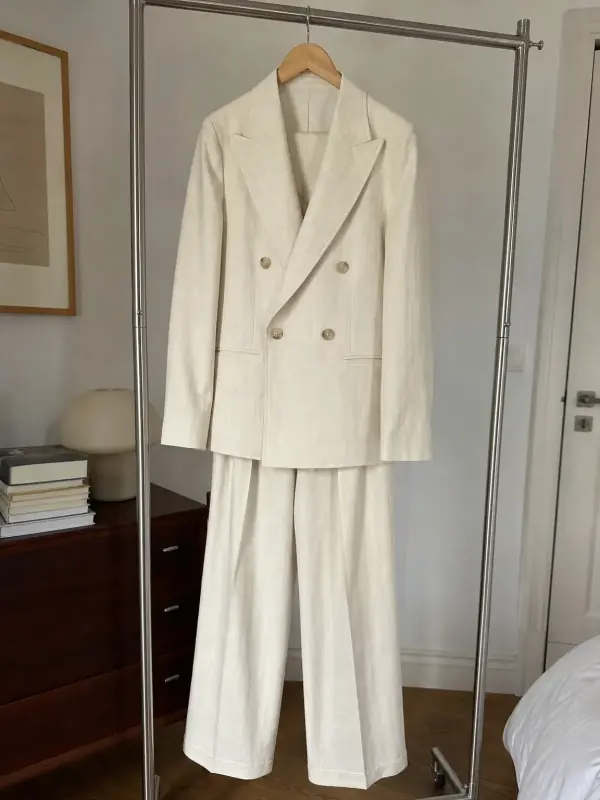 AI model photoshootTurn one product photo into a full photoshoot with a model: studio, street, editorial or a scene you describe, with up to six angles.