





 Garmo team
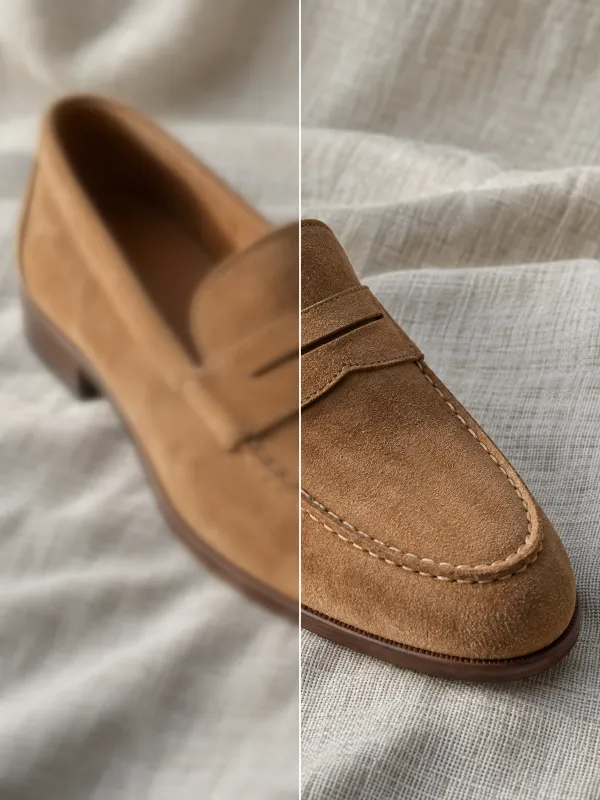
The 6 causes of blurry product images
Shoppers zoom in before they buy, so a soft photo costs sales even when it looks fine as a thumbnail. These are the causes behind nearly all blurry product images; the first four happen at the shoot, the last two after it, and the last two are where an AI image upscaler helps most.
Camera shake
The phone moved while the shutter was open. Common indoors, where the camera picks a slow shutter speed.
Missed focus
The camera focused on the background or the edge of the table instead of the product.
Low light
In dim light the phone raises sensitivity and smooths the noise away, taking fine texture with it.
Digital zoom
Pinch-zooming crops the sensor and stretches what is left. The 2x or 3x lens is fine; anything between is not.
A file too small for zoom
A small photo looks sharp in a grid but turns soft when the shop enlarges it for zoom.
Compression
Messaging apps, screenshots and some uploads squeeze files and leave blocks around edges.
How to tell which kind of blur you have
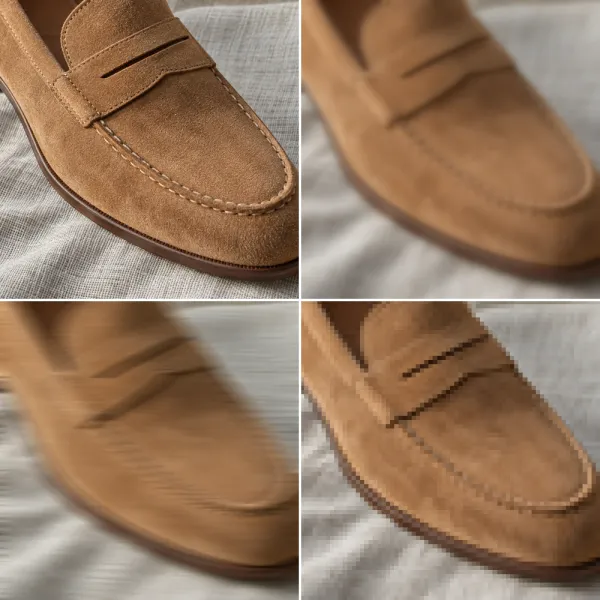
Open the photo on a computer and zoom to 100%. The pattern of the blur tells you the cause. If everything is equally soft, including the background, the focus was missed or the file is simply too small. If edges are smeared in one direction, the camera moved. If you see little squares or staircase edges, the photo has too few pixels or was compressed.
Focus blur and motion blur happen when you take the photo, so the fix is a better shoot. Too few pixels and compression happen afterwards, so the fix is a larger file, which you can get from the original, or rebuild with an upscaler when the original is gone.
Check a detail you know well, such as a stitch line, a clasp or a printed letter. If you cannot count the stitches on screen, a shopper cannot either.
How to avoid blurry product photos at the shoot
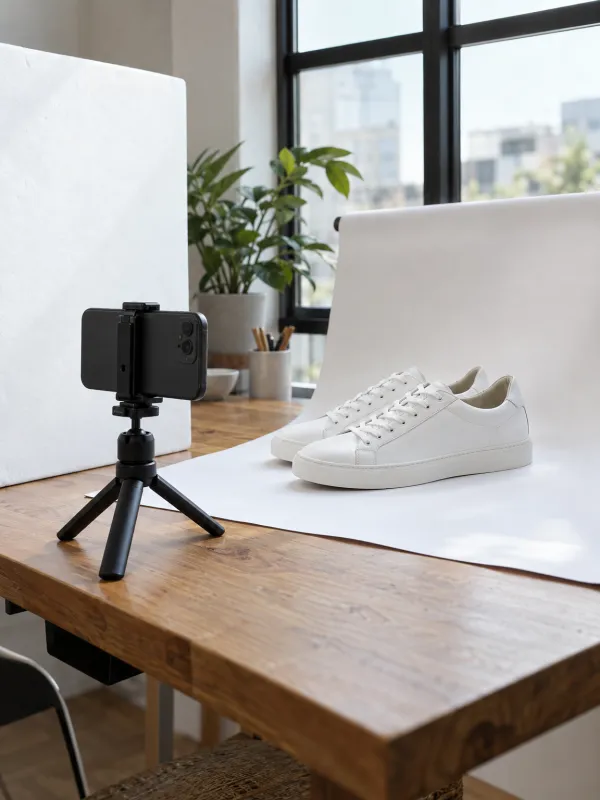
A modern phone takes product photos sharp enough for any shop. These six habits remove most of the blur before it happens; the full routine is in the guide to taking product photos with your phone.
- 01
Shoot in daylight
Put the product near a large window, out of direct sun. More light means a faster shutter and less noise smoothing.
- 02
Stop the phone moving
Use a small tripod, or brace the phone on a stack of books, and take the photo with the timer or a headphone button.
- 03
Tap to focus on the product
Tap the most important detail and hold until focus and exposure lock.
- 04
Move closer instead of zooming
Walk closer or switch to the 2x lens. Never pinch-zoom between lenses.
- 05
Clean the lens
A fingerprint on the lens makes every photo look hazy. Wipe it before each session.
- 06
Keep the original file
Transfer photos by cable, cloud or AirDrop, not by messaging app, so the full-size file survives.
Blurry after upload: image size and compression
A photo that is sharp on your phone can still look blurry in the shop, because the platform enlarges or recompresses it. The fix is to upload a file large enough for the biggest size the page shows. Etsy’s guide to great listing photos recommends at least 2000 pixels on both sides. eBay’s help page on adding pictures allows up to 24 pictures per listing, each up to 12 MB, so there is no reason to upload small files.
On WooCommerce, the official guide to fixing blurry product images names three causes: an uploaded file that is too small, size settings lower than what the theme displays, and thumbnails that were not regenerated after a change. The numbers for each platform are in the guides to the Shopify product image size and the WooCommerce product image size.
Before you upload, the free listing photo checker shows whether a photo is big enough and the right shape for each marketplace, and the free marketplace image resizer exports the right size without squashing the product.
How to fix blurry product images with AI upscaling
When the original is lost or was always small, an AI upscaler can rebuild a large, sharp version. Unlike ordinary enlargement, which stretches the pixels you have, the AI redraws edges and fine texture such as stitching, knit, suede and leather grain, so the product holds up when shoppers zoom in.
In Garmo you upload one photo, or up to ten at once, and choose 2K or 4K: 2048 or 4096 pixels on the long side, with the shape of the photo kept. A 2K upscale uses one credit and a 4K upscale two, and the first 3 images are free. You also choose how much detail to restore: natural only sharpens and cleans what is already there, while enhanced rebuilds fine material texture for close-up zoom.
Use natural for photos with small text, logos or engravings, since every invented detail there is a risk. Use enhanced for fabric, leather and metal that looks waxy or smeared. In both cases compare the result with the real product before you publish.

 Original4K
Drag
Drag to compare
Every photo, sharp enough to zoom.
Small or old photos sharpened to 4K, with texture rebuilt instead of smeared.
What upscaling cannot fix
An upscaler sharpens what the photo already shows. These problems need a new photo, not more pixels.
Heavy camera shake
When shapes are doubled or smeared across the frame, the AI has nothing reliable to rebuild from.
Focus on the wrong thing
A sharp background behind a soft product stays a soft product. Reshoot with focus on the item.
Small text and logos
Letters that are unreadable in the original can come back wrong. Check them, or reshoot the label.
Wrong colour
Upscaling does not correct a colour cast. See the guide to product photography color correction.
Upscaled product photos: before and after
Three small, soft product photos enlarged with AI. Each pair shows the original next to the upscaled version.
Leather and suede sneakers
A small, blurry photo of a pair of sneakers becomes sharp: the suede nap, the perforations and the stitch lines along the toe come back.
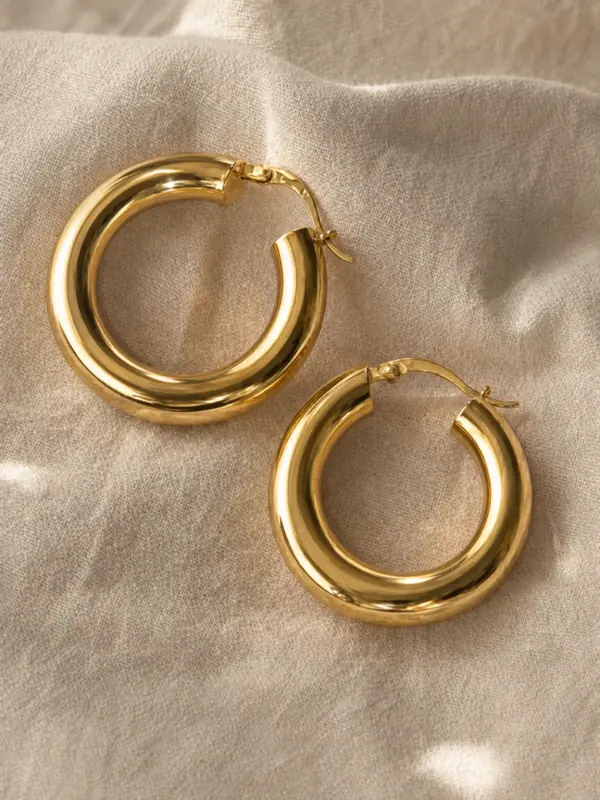
Your photoGold hoop earrings from a thumbnail
A 240 pixel thumbnail enlarged to a full product photo. The polish of the gold and the hinged clasps return; small parts like these still need a check against the real pair.
 Your photo
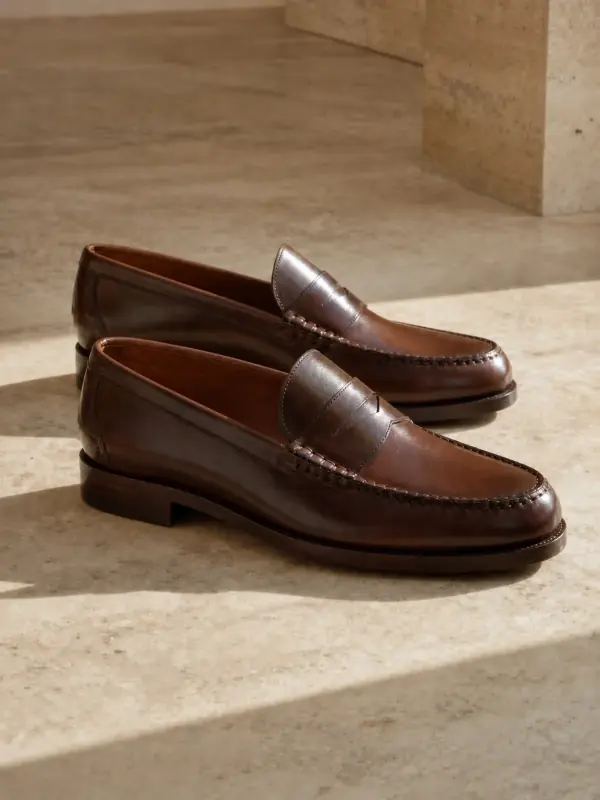
Penny loafers from an old archive
A small archive photo of brown loafers, upscaled. The burnished leather, the hand-stitched apron and the stacked heel are sharp enough for zoom.
 Your photo
Questions about blurry product images
Why are my product images blurry on Shopify?
Usually because the uploaded file is smaller than the size the theme shows, or because the photo was soft to begin with. Upload the original file at a large size rather than a compressed copy, and zoom into it at 100% before uploading. If only a small version exists, upscale it first.
Can you unblur a product photo?
Partly. Mild softness, small files and compression blocks can be fixed with an AI upscaler, which rebuilds edges and texture. Heavy camera shake or a photo focused on the background cannot be repaired reliably and should be retaken.
What resolution should product images be?
Large enough for the biggest size your shop shows when zooming. Etsy recommends at least 2000 pixels on both sides; for other platforms, check their help pages or the free listing photo checker. A 4K upscale gives 4096 pixels on the long side.
Does upscaling change the product?
It should not change shape, colour or framing, but fine details are redrawn, so small text, logos and stones are worth a close look. Choose the natural mode when you want only sharpening and no new texture.
How do I stop my phone photos from being blurry?
Use daylight, keep the phone still on a tripod or a stack of books, tap to focus on the product, move closer instead of zooming and wipe the lens. Send the files by cable or cloud, not through a messaging app.
Tools for sharp product photos
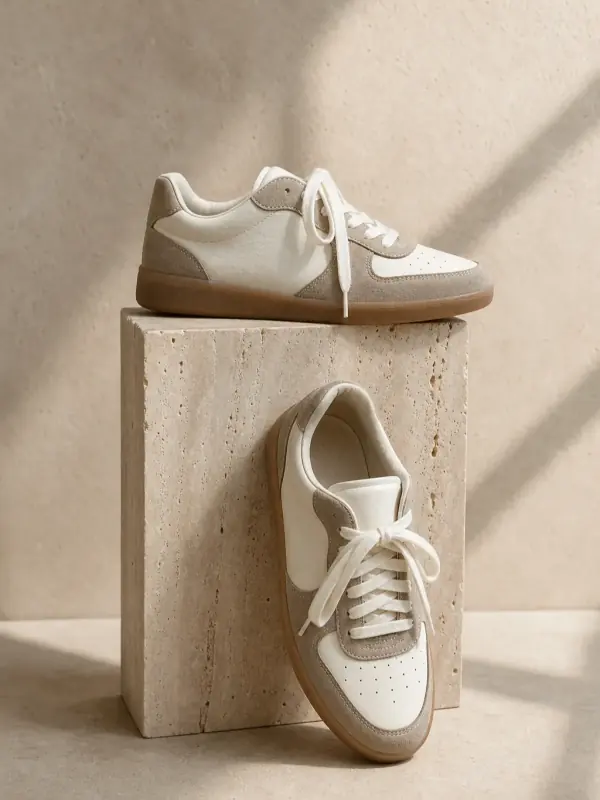
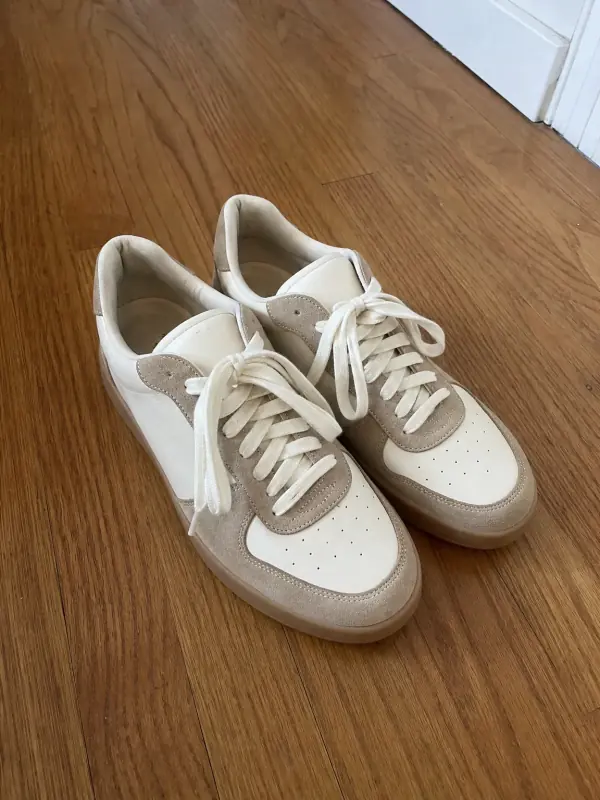 AI shoe photographyAny pair on feet, in a full look and in clean product shots from the side, the top and the sole.

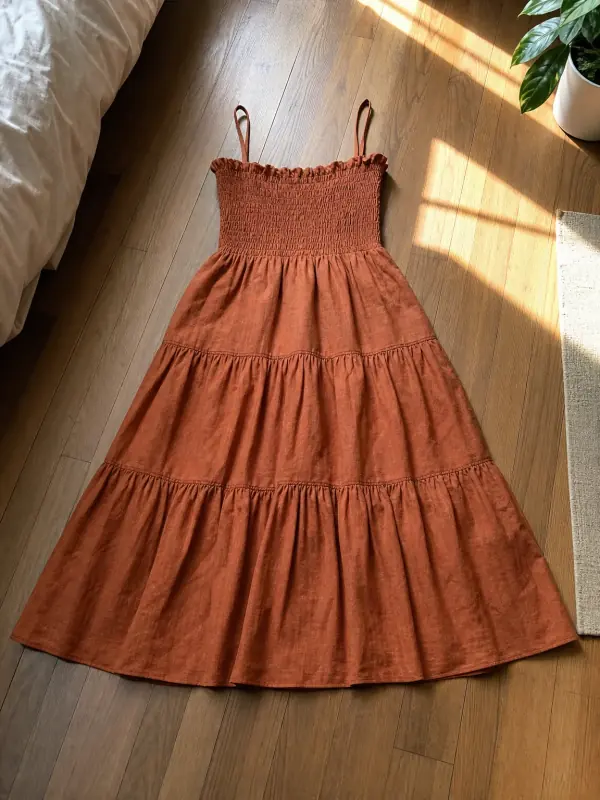 AI product photography with modelsClothing, jewelry and shoes photographed on models from one phone photo, with product-only shots for jewelry and shoes.

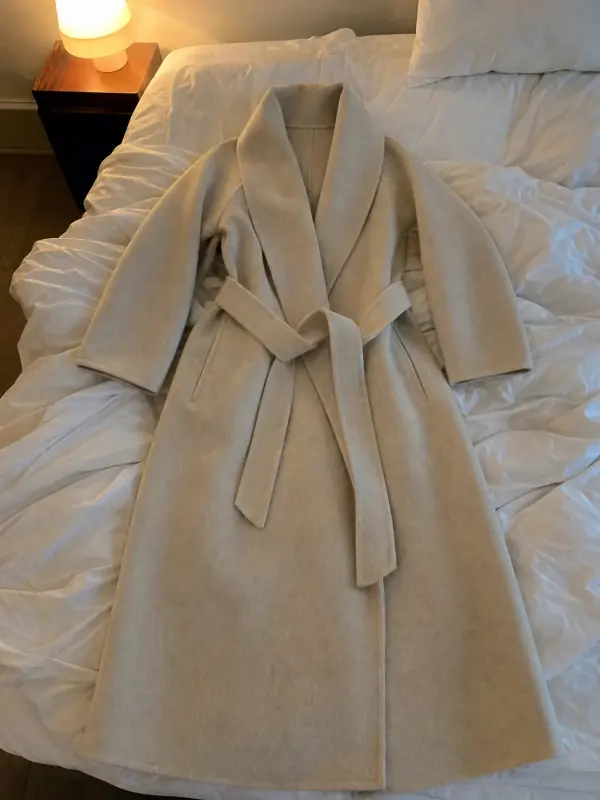 Flat lay to modelLay the garment flat, take one phone photo and get it worn by an AI model from three angles.

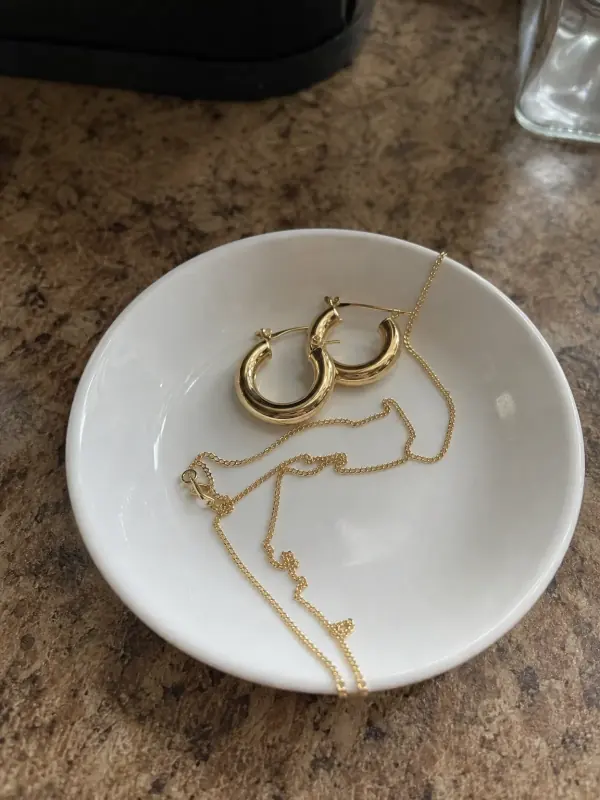 Jewelry on model AIUpload a photo of a necklace, earrings, ring, bracelet or anklet and get it worn by an AI model, plus product and macro shots.
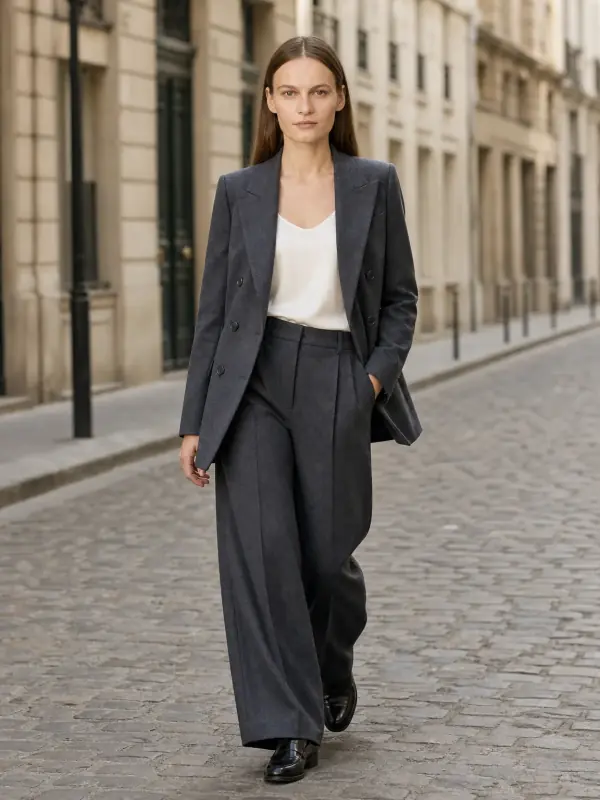
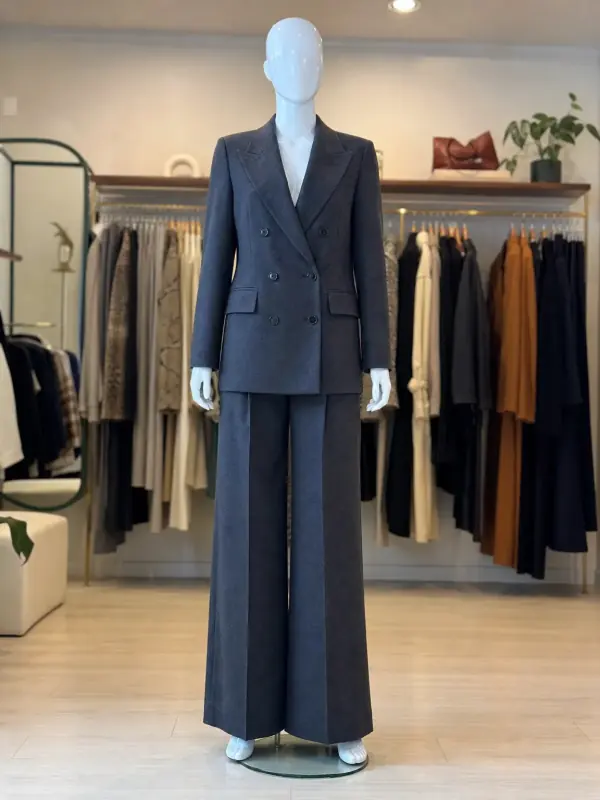 Mannequin to model AIAlready shoot on a mannequin or dress form? Upload that photo as it is and get the same piece worn by a model.
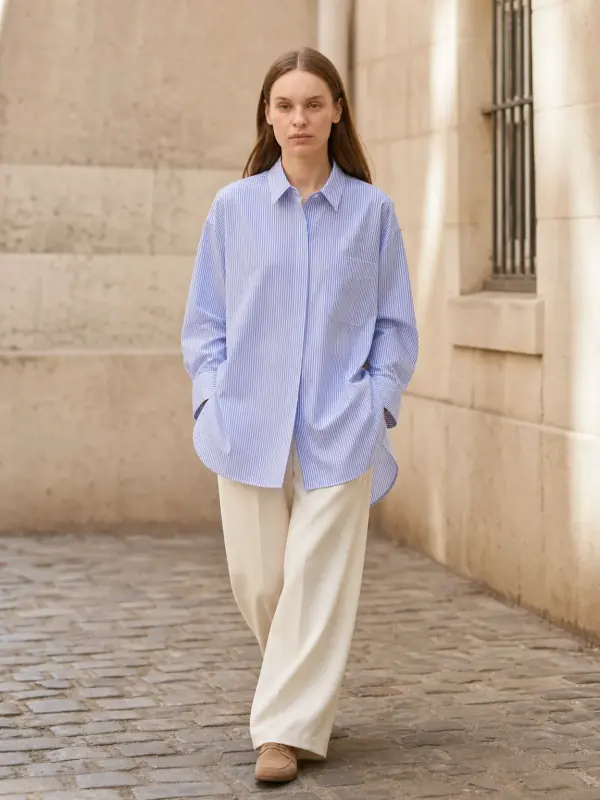
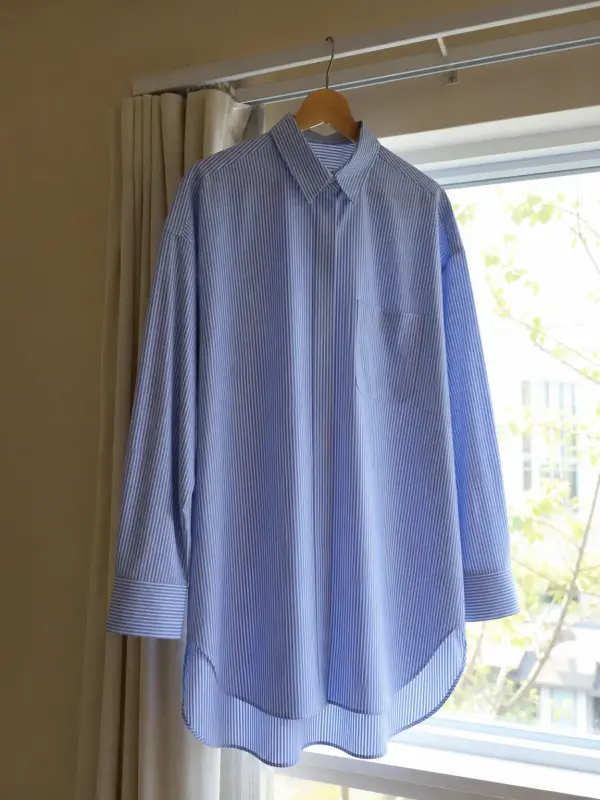 Garment to model AIHang the garment on a door or a rail, take one photo, and get it back worn by a model.