



 Garmo team
What vintage buyers look for in photos
Vintage buyers look at three things before the price: whether the piece is really old, what condition it is in and whether it will fit. A new shirt is bought on style and size; a forty-year-old shirt is bought on its details, its flaws and its measurements, because there is no second one in another size.
That changes the photo set. Besides the front and back, buyers zoom into the label, the zip, the buttons and the seams inside, because those details tell them the age and the quality. They look for holes, stains and fading, because a flaw they find in the parcel becomes a return. And they look at the measurements, because a size 12 from the 1970s is not a size 12 today. They also want to see the piece worn; if you have no model, you can put clothes on an AI model from a clean hanger photo.
So learning how to photograph vintage clothing is mostly about adding the right close-ups to a clean basic set. The basic set itself, light and background, is the same as for any second-hand piece; the guide on how to photograph clothes on a hanger covers it in detail.
Prep vintage clothes without damaging them
Before you think about how to photograph vintage clothing, think about how to clean it, because old fabric does not always survive modern care. Before you wash anything, check the care label and the fibre: rayon and viscose can shrink in water, acetate can melt under a hot iron, and old silk can split. When you are not sure, air the piece by an open window for a day instead of washing it, and brush wool and tweed with a soft clothes brush.
Use a steamer from a short distance rather than an iron, and test it on the inside of a hem first. Remove lint and loose fibres with a lint roller, and lift pills from knitwear with a fabric shaver on a low setting, gently. Close every zip and button, and empty the pockets of old tissues and receipts.
Do not hide character that buyers want to see, such as a soft patina on leather or the natural fade of old denim. Prep is about making the piece clean and smooth, not newer than it is. The full prep checklist is in how to make clothes look good in photos.
How to photograph clothing for resale: light and background
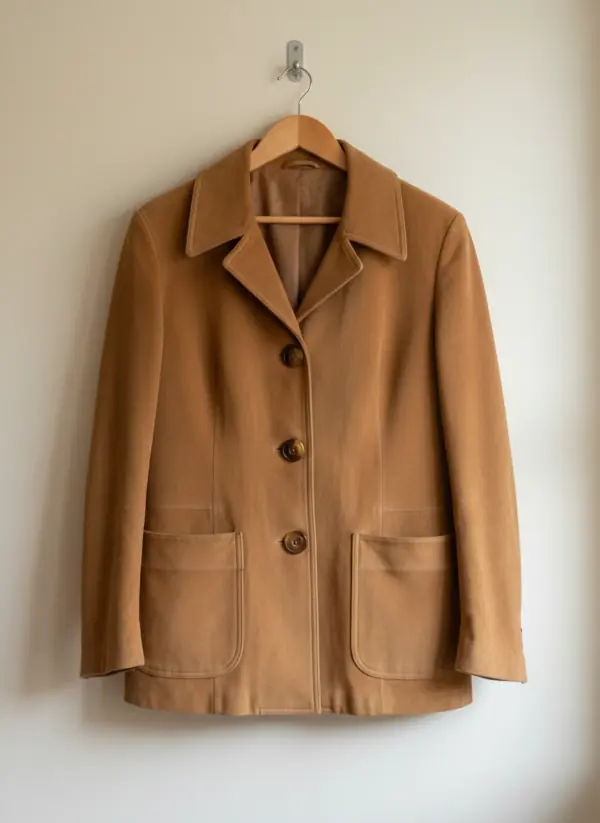
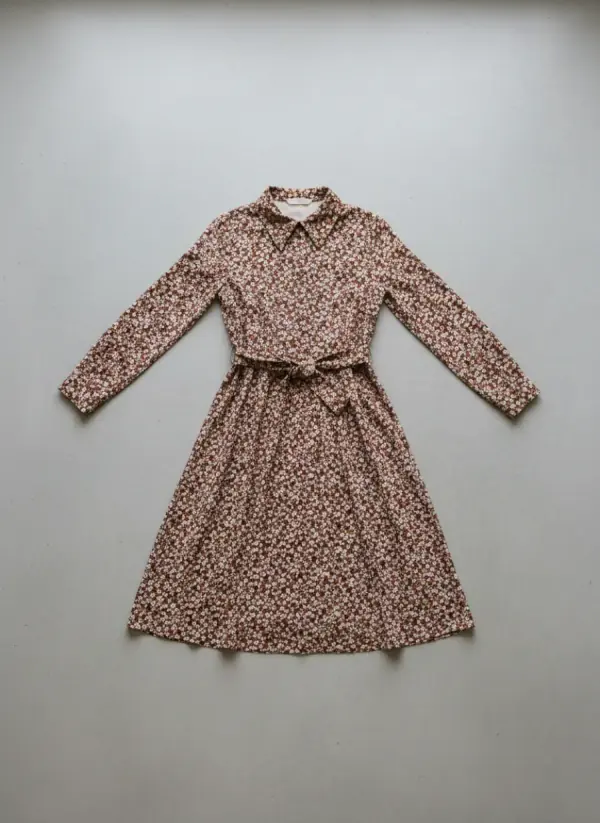
The setup that works for any clothing for resale works for vintage: a plain light wall or floor, daylight from a window to one side, and no direct sun. Hang jackets, coats and shirts on a sturdy hanger against the wall; lay dresses, knitwear and trousers flat on a light floor, smoothed and straight, so the shape and proportions read.
Keep the colour true. Vintage colours are often softer than today's, and buyers want to match them to a picture in their head: a rust, a mustard, a faded indigo. Turn off the ceiling light, switch off filters and "warm" presets, and never add a vintage-look filter; it makes the garment look like a different colour and hides condition.
Shoot each piece at the same distance and with the same background, so the listing looks consistent and buyers can compare sizes between photos. If you sell vintage on Depop, the Depop photo guide covers its four-photo limit and its stock-image rule.
How to photograph vintage clothing: the shots to take
Take them in the same order for every piece. The close-ups are what make a vintage listing different from a regular second-hand one.
Front, full length
The whole piece on a hanger or flat, with space around it. This is the cover photo.
Back
The back in the same position, so pleats, vents and back seams are visible.
Side or drape
A side view on the hanger, or one sleeve lifted, to show the weight and fall of the fabric.
Brand label
Straight on and readable. Collectors use the label design to date a piece.
Fibre and care label
The composition label, or a note that it is missing. Buyers want to know if it is wool, silk or synthetic.
Zip and fastenings
The zip pull, buttons, hooks and snaps close up. Metal or plastic, original or replaced.
Inside and seams
The garment turned partly inside out: the seam finish, the lining and any hand stitching.
Every flaw
Each hole, stain, repair or faded area in its own close-up, in the same light.
Worn
On a body or a model, so buyers see the length and the silhouette.
Flaws: photograph every one
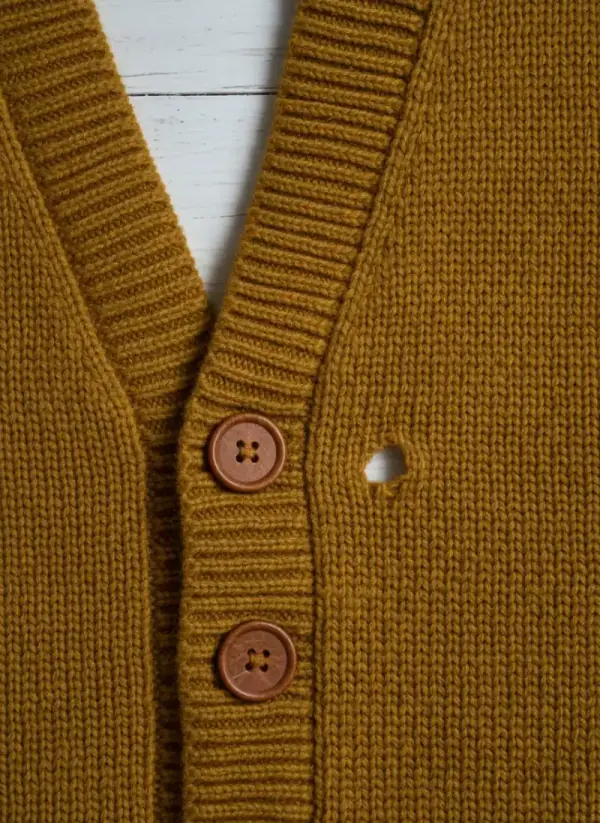
Almost every vintage piece has some wear, and buyers accept it as long as they see it before they pay. Go over the garment in daylight, inside and out: underarms, collar, cuffs, hem, seat and the area around the buttons. Hold knitwear up to the window to find small moth holes; light through the fabric shows them at once.
Photograph each flaw on its own, close enough to see it clearly and with enough of the garment around it to show where it is. Use the same light as for the rest of the set, so it looks neither better nor worse than it is. Then name it in the description, with its size and place: "small hole, about 3 mm, left front next to the second button".
Repairs and alterations count as flaws too. A re-sewn seam, a replaced zip or a shortened hem is fine for most buyers, but only if it is visible in the photos and named in the text. Selling on Vinted? Its own rules on defects and first photos are in how to photograph clothes for Vinted.
Measurements instead of the size label
Vintage sizes rarely match today's. Sizing systems have changed over the decades and from country to country, and older pieces have often been altered, so the number on the label tells the buyer very little. Measurements laid flat are what they use to decide.
Lay the garment flat and smooth, then measure: pit to pit (across the chest, one armpit to the other), shoulder seam to seam, sleeve from the shoulder seam to the cuff, and length from the highest point of the shoulder to the hem. For trousers and skirts: waist across, hips across at the widest point, rise and inseam. Give flat measurements and say that they are flat, so buyers know to double the chest and waist.
Many sellers add one photo of the tape measure across the chest. It is optional, but it shows that the numbers are real. Jeans have their own list; see how to photograph jeans to sell.
Show the vintage fit on a model
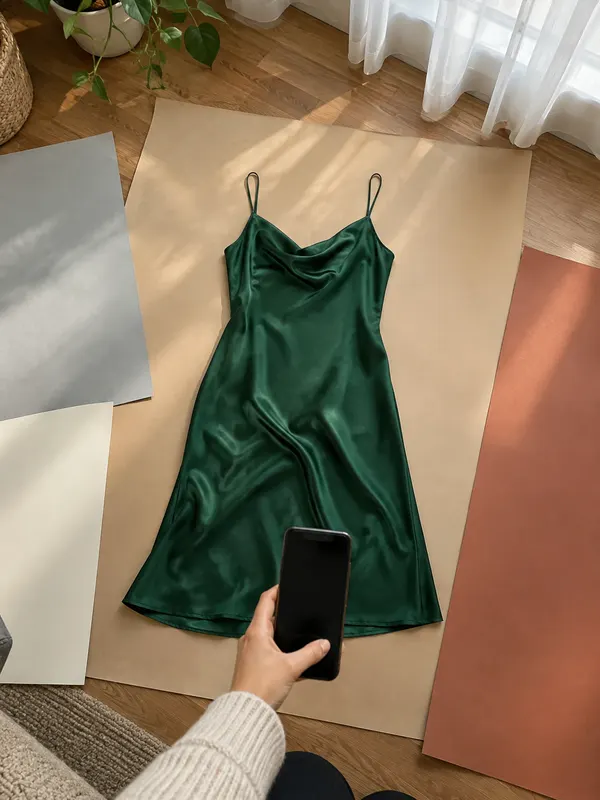
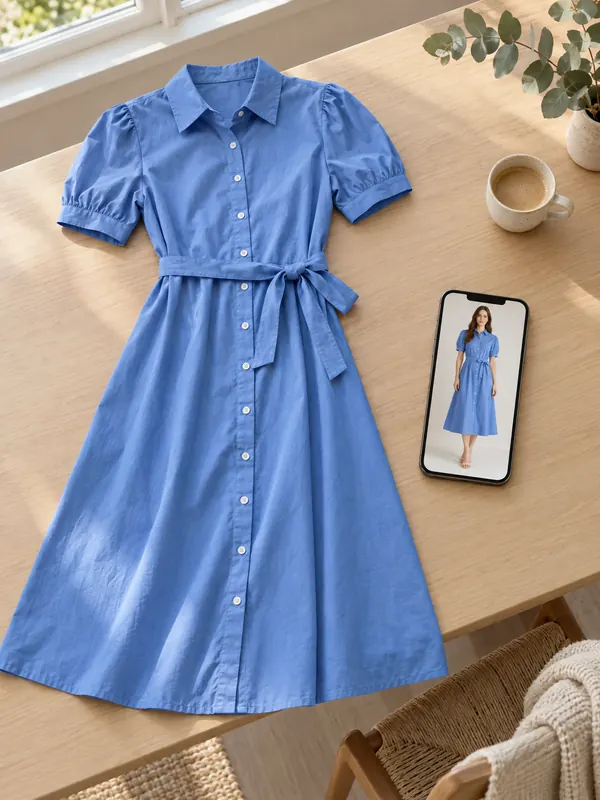
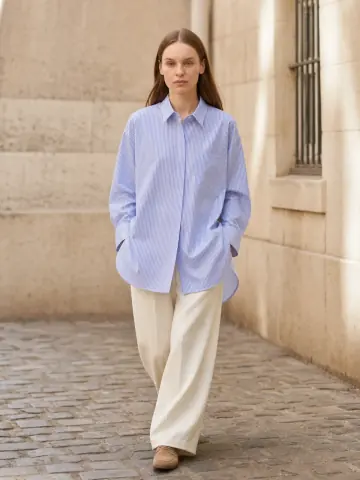
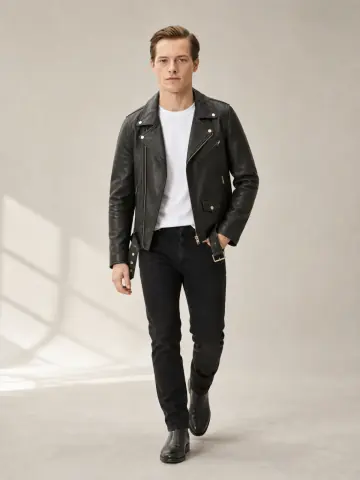
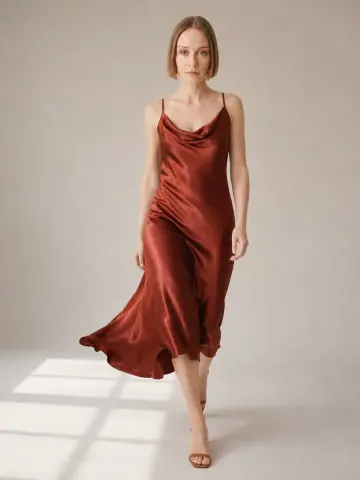
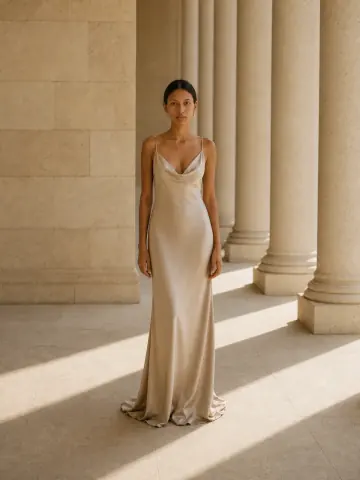
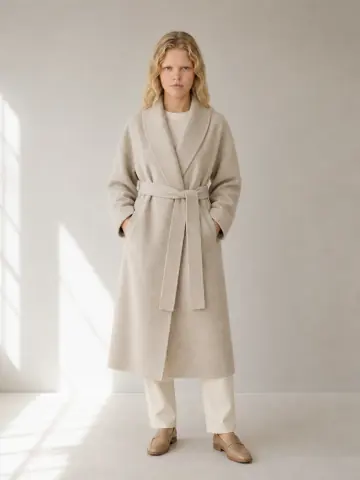
A vintage dress on a hanger shows the print, but not the silhouette that made it popular: a 1970s maxi, a nipped-in 1950s waist, a boxy 1980s blazer. Upload your hanger or flat photo to garment to model and Garmo puts the same piece on one of 42 ready models (22 women and 20 men), in the front, three-quarter and walking views, in a studio, street or editorial setting.
For coats and jackets, jacket on model AI shows the length and the collar worn; for dresses, dress on model AI shows the length and drape. Garmo keeps the colour and the details it can see in your photo. Check small details such as buttons and print against the real piece, and render again if something is off.
Keep the real photos in the listing. The model image shows the style; the flaw close-ups and the measurements show the exact piece and its fit. For coats and jackets, how to take pictures of jackets to sell lists the extra shots, such as the lining.
Second-hand classics, from a hallway hook to a model
Two pieces that turn up in every vintage rail, both photographed with a phone on a hook in a hallway.
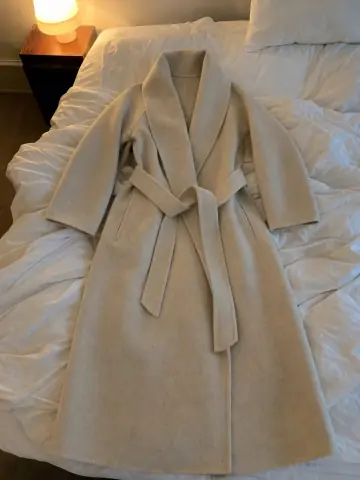
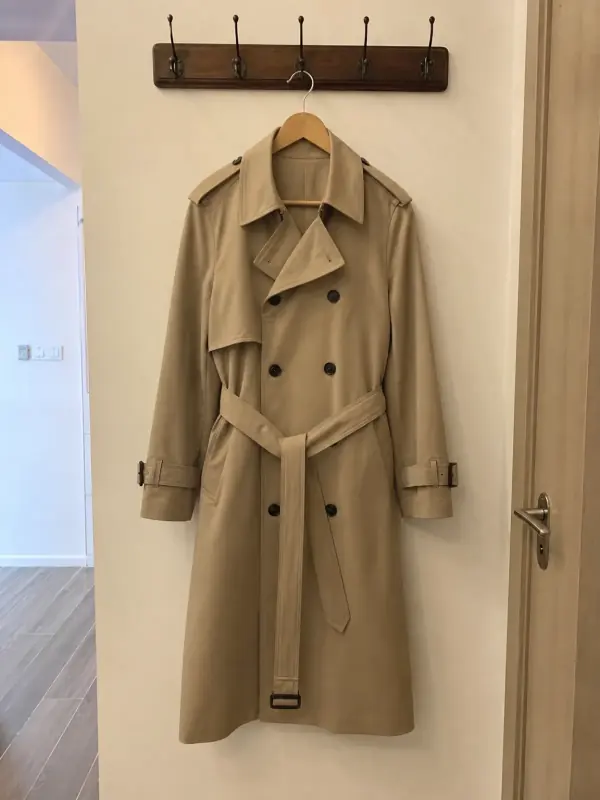
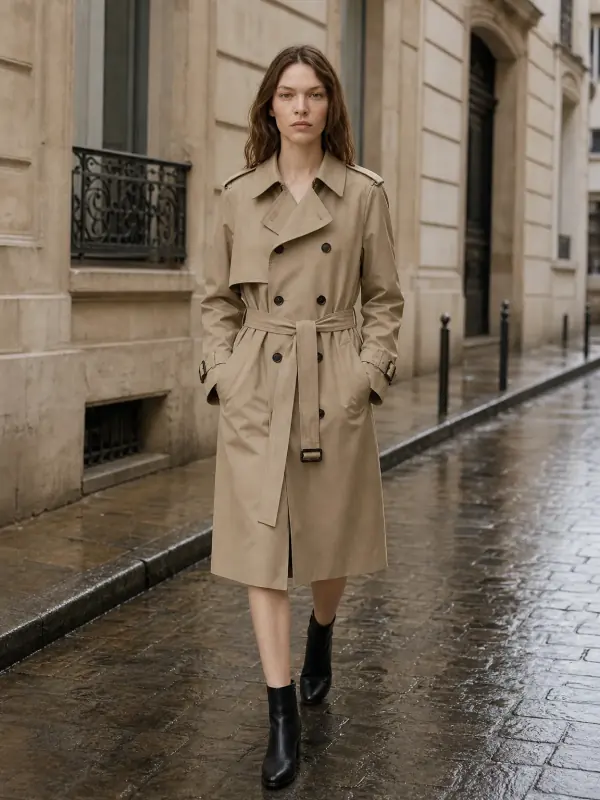
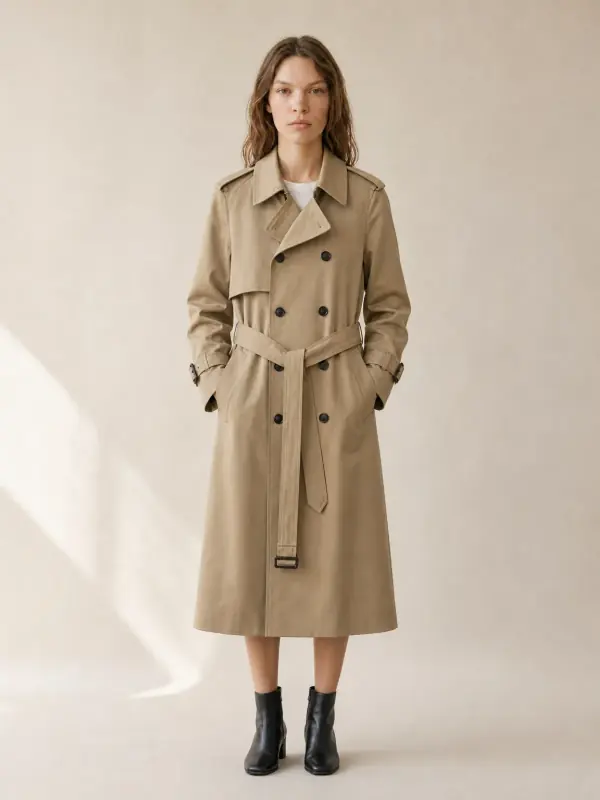
A beige trench coat
On the hallway hook, the belt hung loose and the length was hard to judge. On Ines, the belted waist, the collar and the knee length are clear in the rain and in the studio.
 Your photo
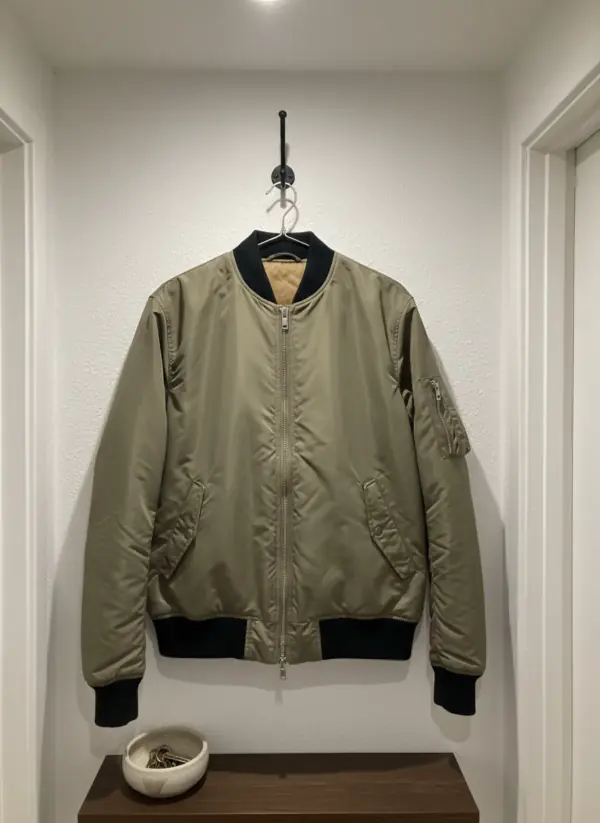
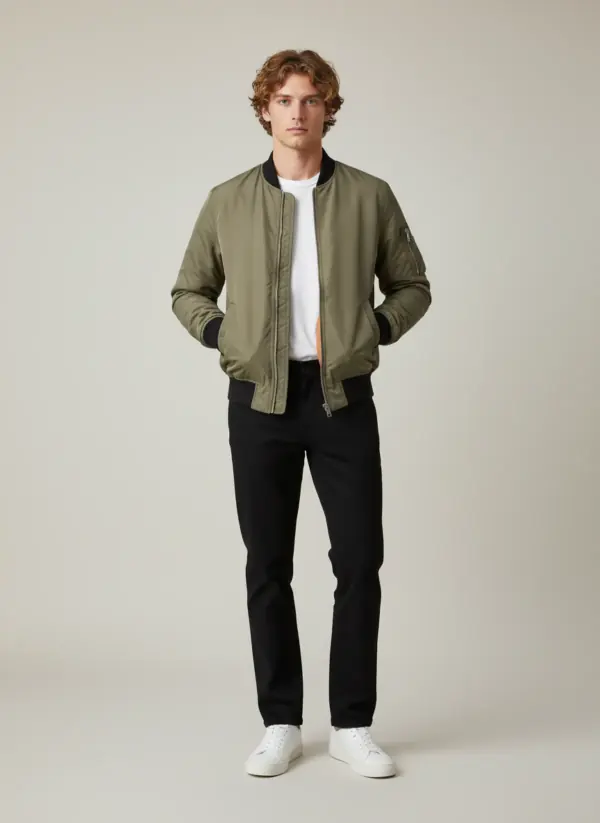
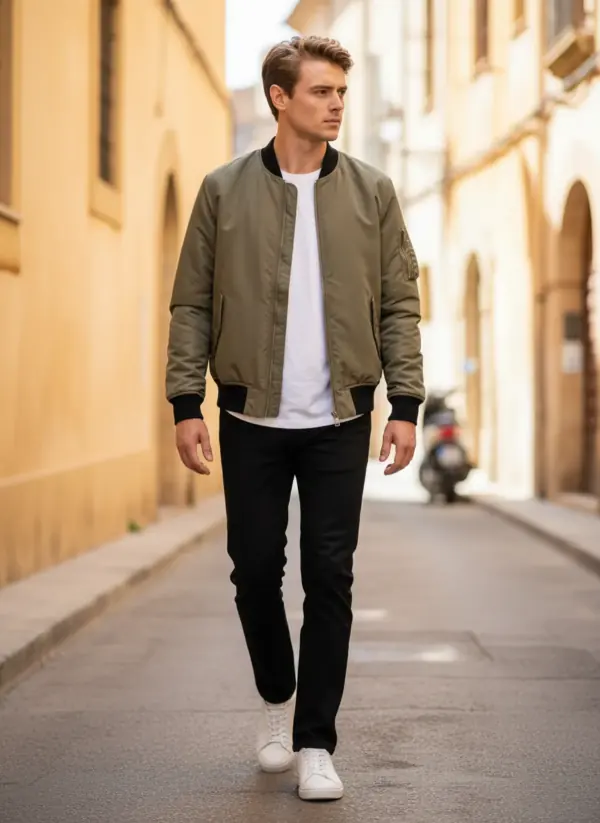
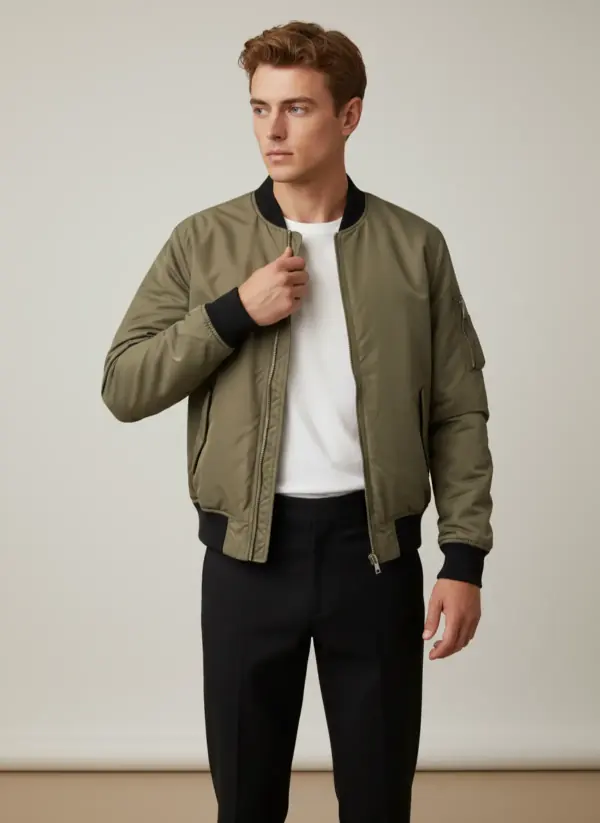
An olive bomber jacket
A wire hanger made the shoulders droop. On Mateo, the cropped length, the rib collar and cuffs and the boxy shape that buyers look for read in every frame.
 Your photo
Questions about photographing vintage clothing
What is the best way to photograph vintage clothing?
In daylight from a window, on a plain light wall or floor, without filters. Take the front, back and side, then close-ups of the label, fastenings, seams and every flaw, and add flat measurements.
Should I wash vintage clothes before photographing them?
Only if the fibre and the care label allow it. Rayon can shrink, acetate can melt and old silk can split. If you are unsure, air the piece out, brush it and steam it lightly instead.
How do you photograph clothes for resale at home?
Hang the piece against a plain light wall or lay it flat on a light floor next to a window, switch off the ceiling light and shoot straight on with the 1x lens. Keep the same setup for every item.
Do I need to show the labels on vintage clothing?
Yes. Buyers use the brand label to date a piece and the composition label to know the fibre. Photograph both straight on and readable, and say so if a label is missing or cut out.
Can I show vintage clothes on a model without a photoshoot?
Yes. Upload a clean hanger or flat photo to Garmo and the same piece appears on a ready model. Keep the flaw close-ups and measurements in the listing, because the model photo shows style, not condition.
Tools for vintage clothing
 Garment to model AIHang the garment on a door or a rail, take one photo, and get it back worn by a model.
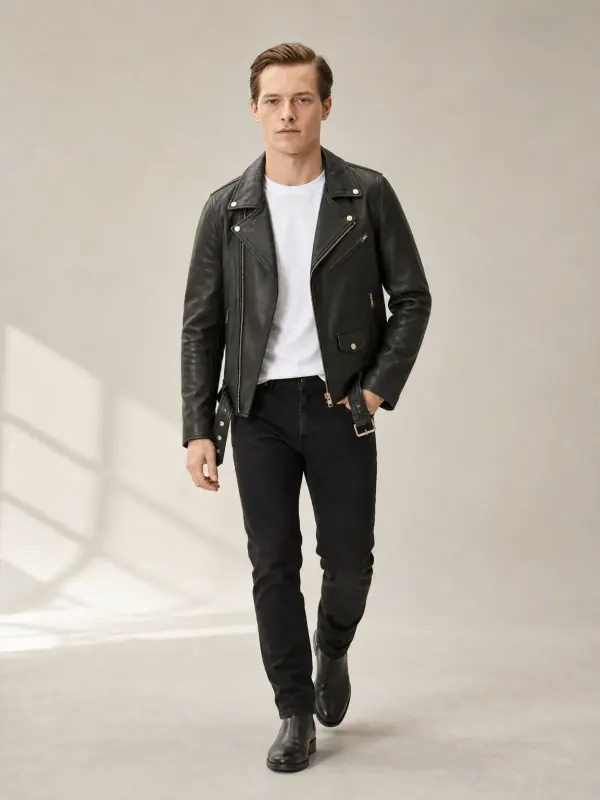
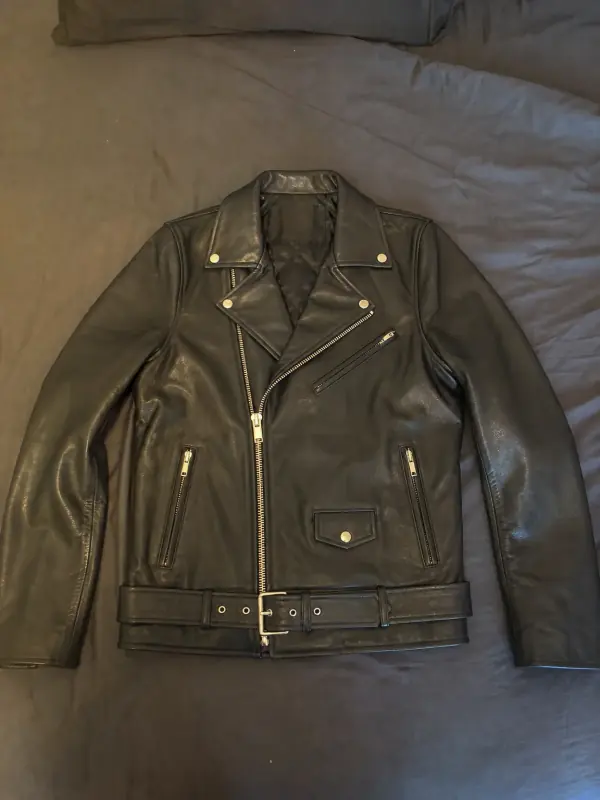 Jackets and coats on modelLeather jackets, trench coats and fleeces worn by a model, styled over simple layers.
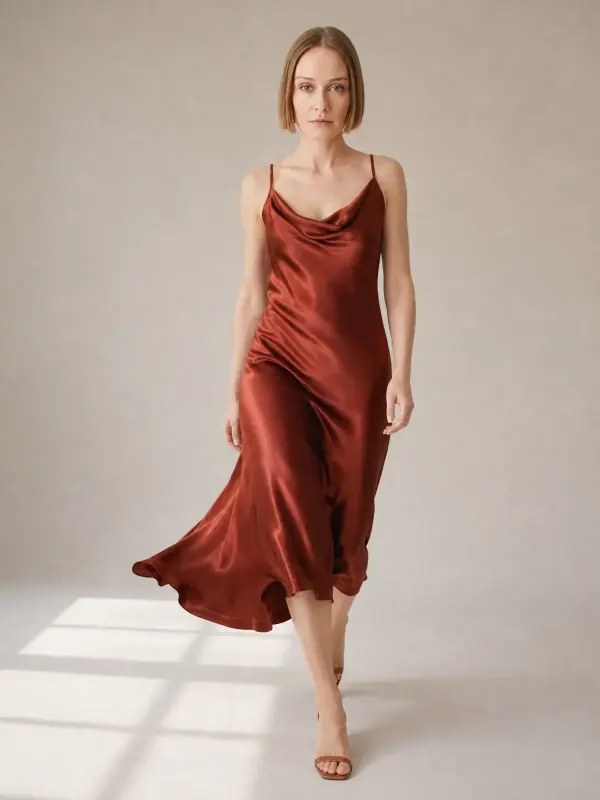
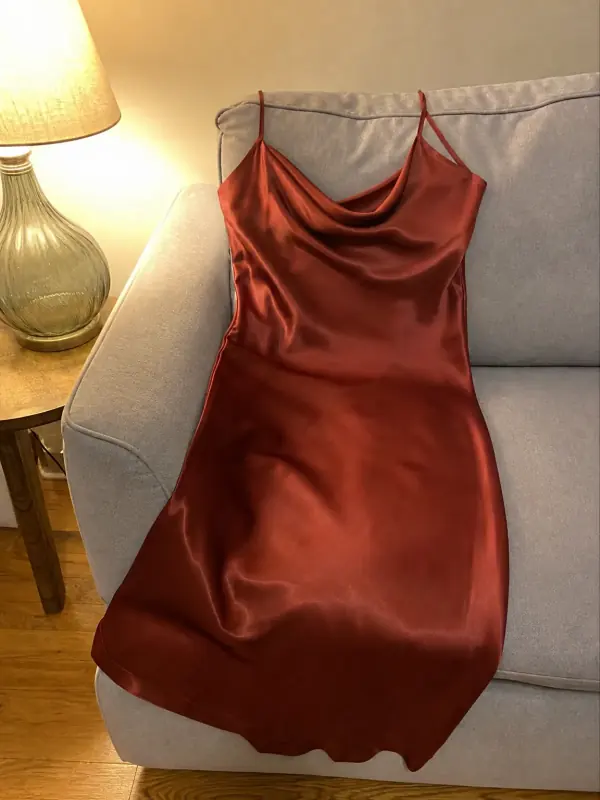 Dress on model AISlip, maxi and knit dresses worn by a model, with walking frames that show how the skirt moves.
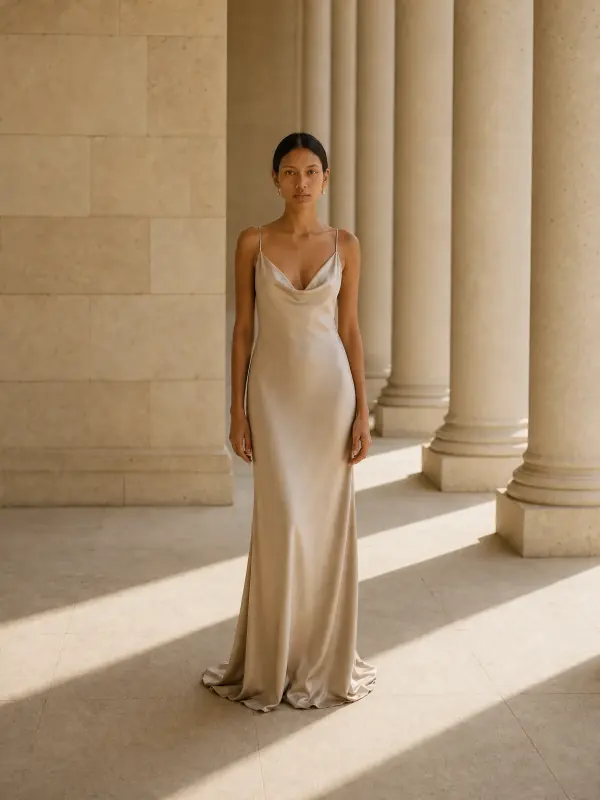
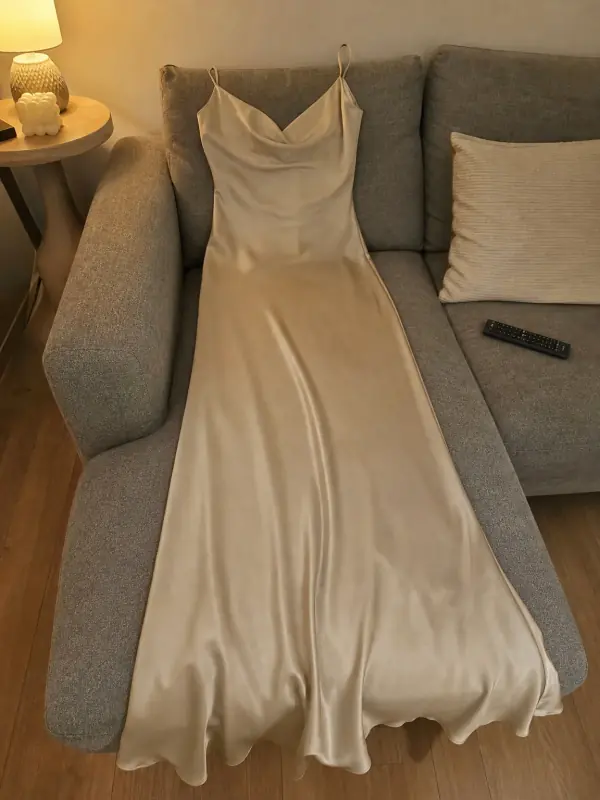 Put clothes on an AI modelUpload a photo of a top, trousers, dress or jacket and see it worn by an AI model, in studio, street or editorial settings.
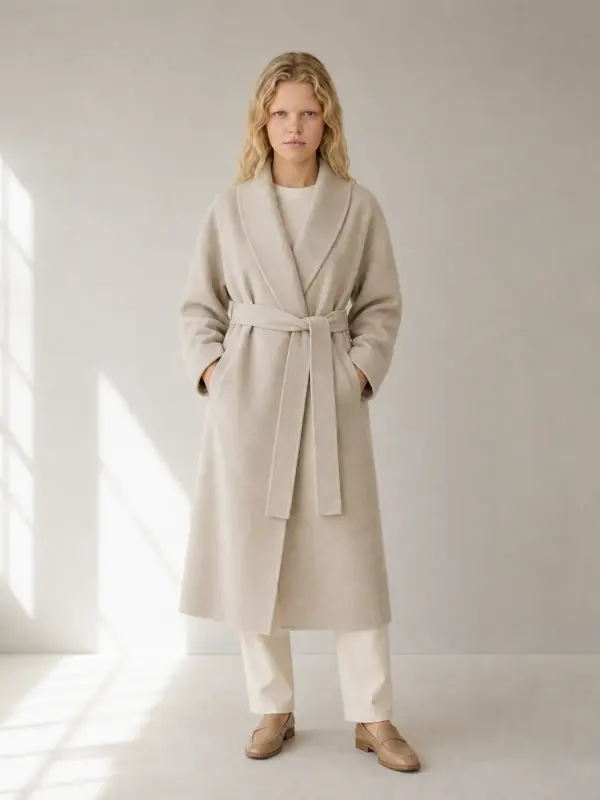
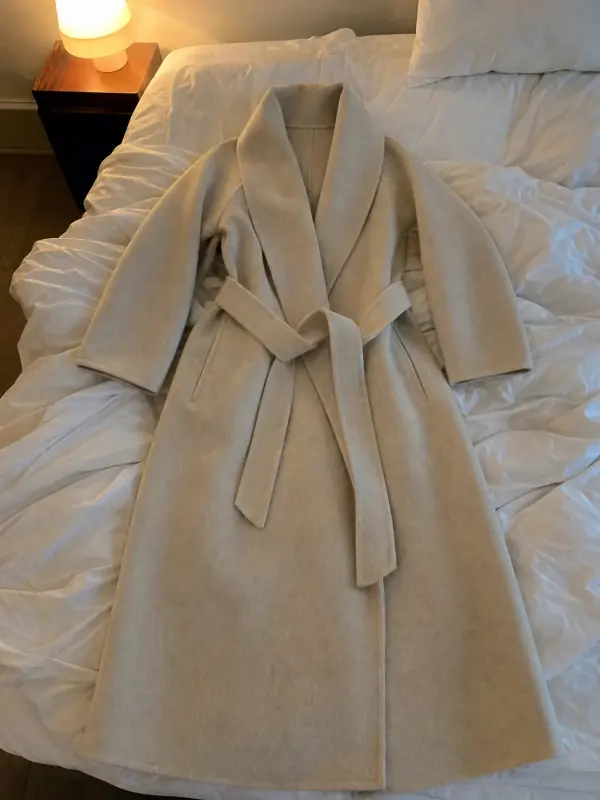 Flat lay to modelLay the garment flat, take one phone photo and get it worn by an AI model from three angles.
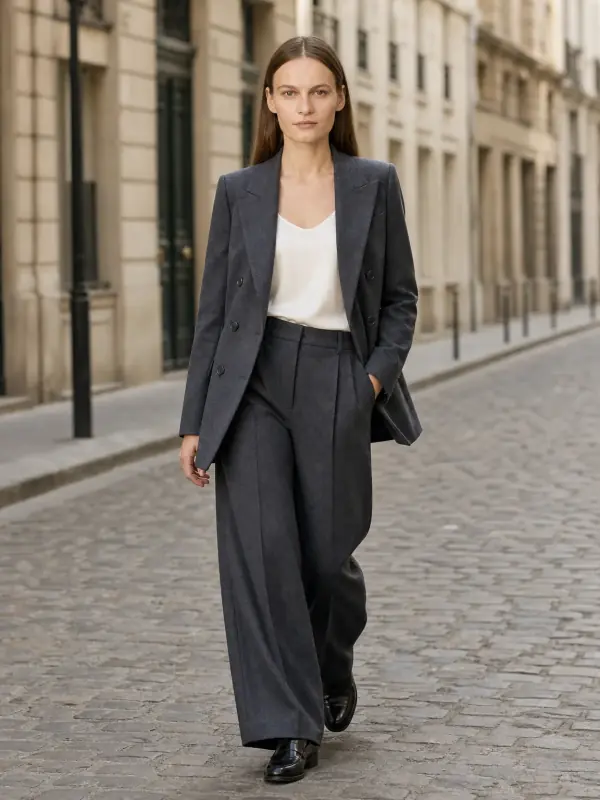
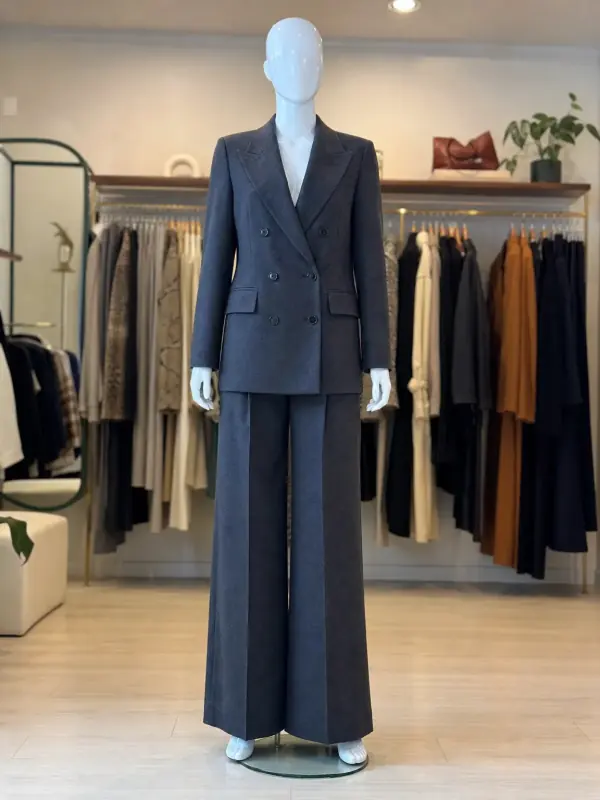 Mannequin to model AIAlready shoot on a mannequin or dress form? Upload that photo as it is and get the same piece worn by a model.