 Garmo team
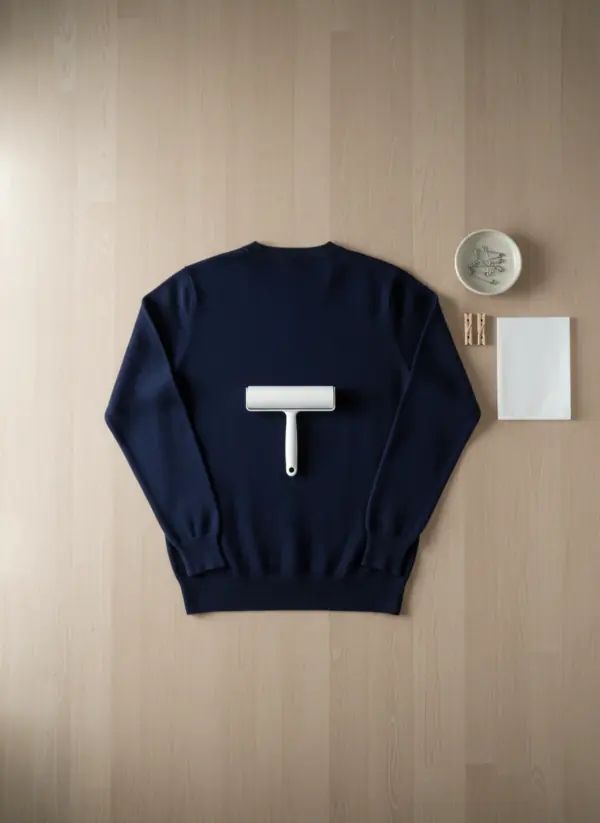
How to make clothes look good in photos: the prep checklist
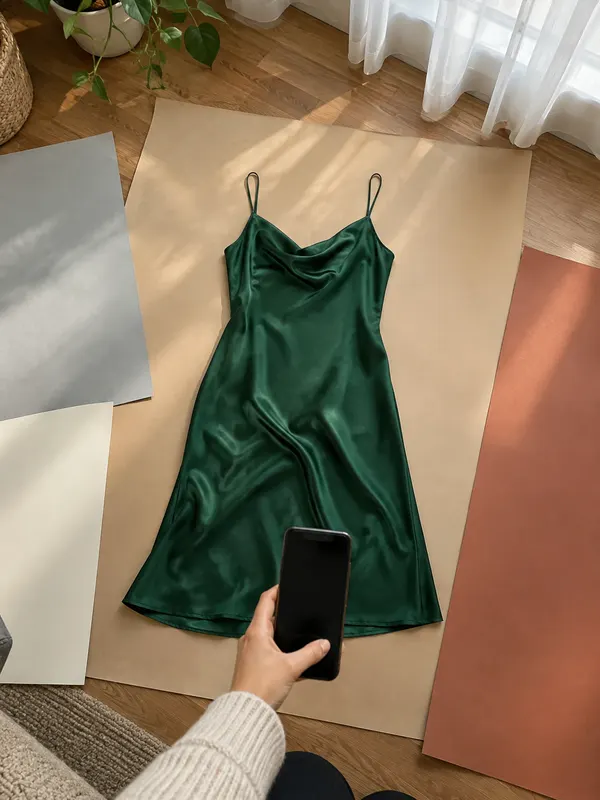
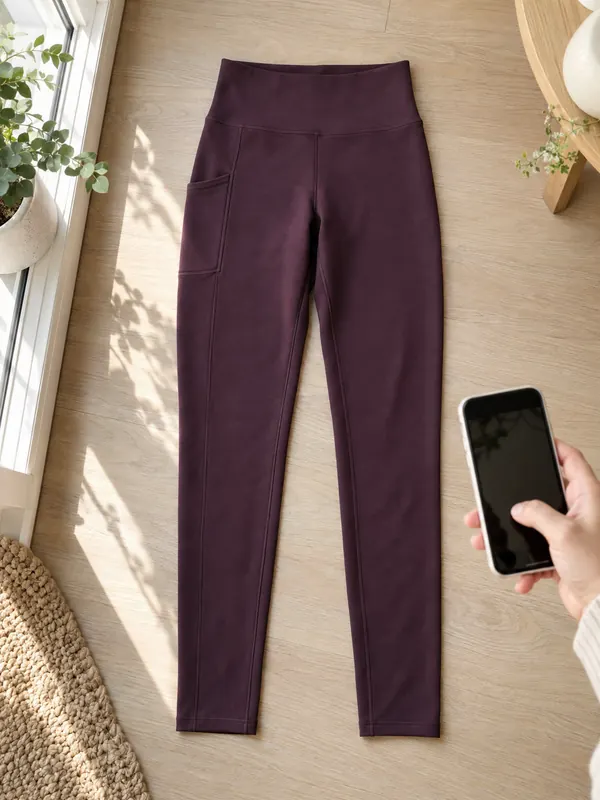
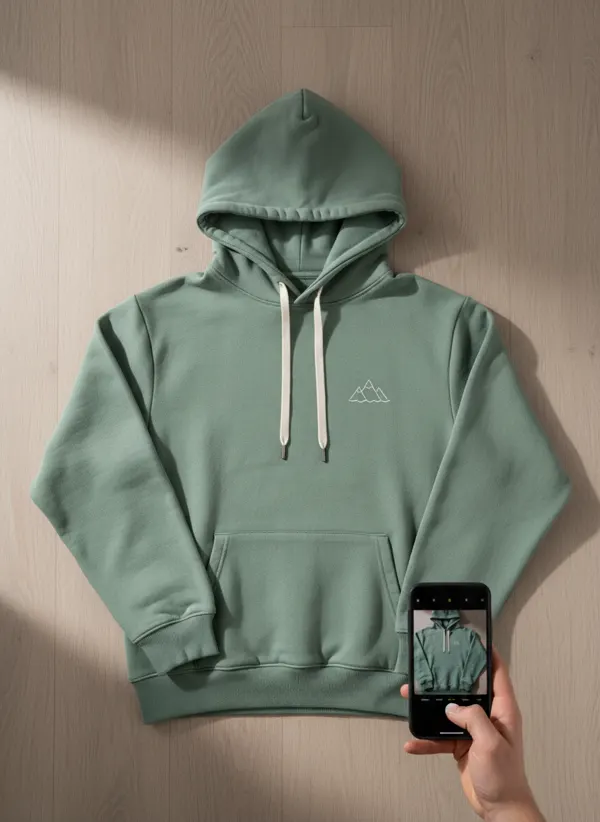
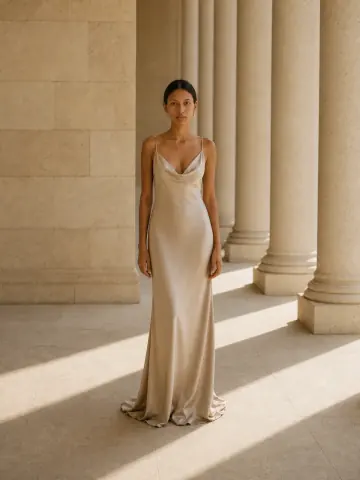
Run through it in this order. Most of the difference between a photo that sells and one that is scrolled past happens here, before the phone comes out. It works the same for hanger, flat lay and mannequin photos, and a well-dressed mannequin shot can later go to mannequin to model.
Clean
Wash or spot-clean if the care label allows. Marks look worse in a photo than in the hand.
Steam
Remove creases and fold lines from packaging, drawers and hangers.
Lint and hair
Roll the whole garment, inside the collar and the cuffs too.
Pills and threads
Shave pills on knitwear, snip loose threads close to the fabric.
Tags and stickers
Remove price stickers and plastic tag loops, or tuck the swing tag inside.
Pockets empty
Take out tissues, receipts and anything that makes a bulge.
Close everything
Do up buttons, zips and hooks, unless the open look is the point.
Right hanger
A wooden or slim hanger the width of the shoulders, never a wire one.
Give it shape
Tissue in the sleeves and body, clips at the back if it is too loose.
Check at full size
Zoom into the first photo before you take the rest.
How to make clothes look ironed in pictures
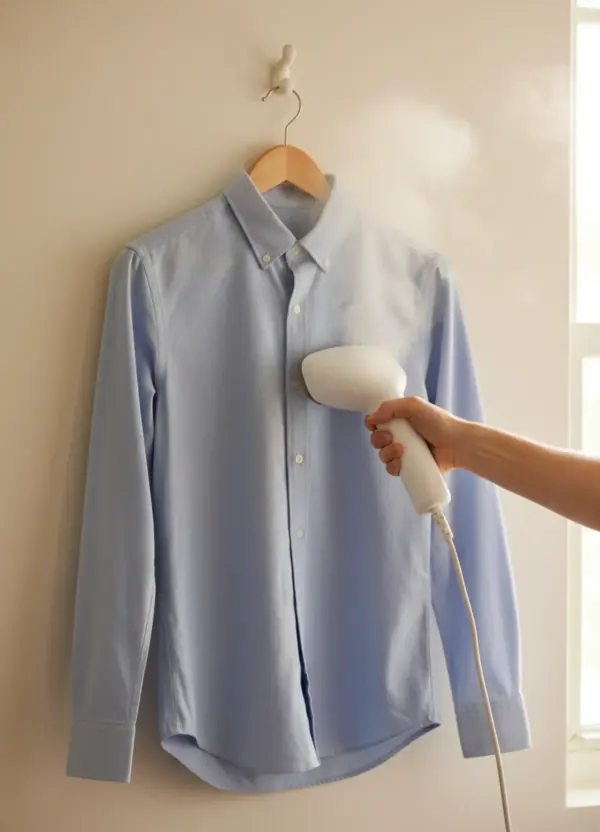
Creases are the first thing a buyer notices, because a camera flattens the garment and every fold line becomes a dark stripe. A handheld steamer is the fastest tool: hang the piece, hold the fabric taut from the hem with one hand and move the steamer slowly from top to bottom. It works on most fabrics and leaves no shine.
Use an iron for cotton shirts, linen and trousers with a crease, on the setting the care label allows, and iron collars, cuffs and plackets separately. Put a cloth between the iron and dark fabrics, wool and anything with a print, so they do not get a shiny patch. Let the garment hang for a few minutes afterwards; warm fabric creases again if you fold it straight away. If the photo is already taken, how to remove wrinkles from clothes in photos compares editing with an AI on-model photo.
Packaging folds from new stock are the hardest: they need steam twice, once on the outside and once on the inside. If you sell new items from a bag, unpack the next batch the day before the shoot and hang it overnight.
Lint, pills, pet hair and loose threads
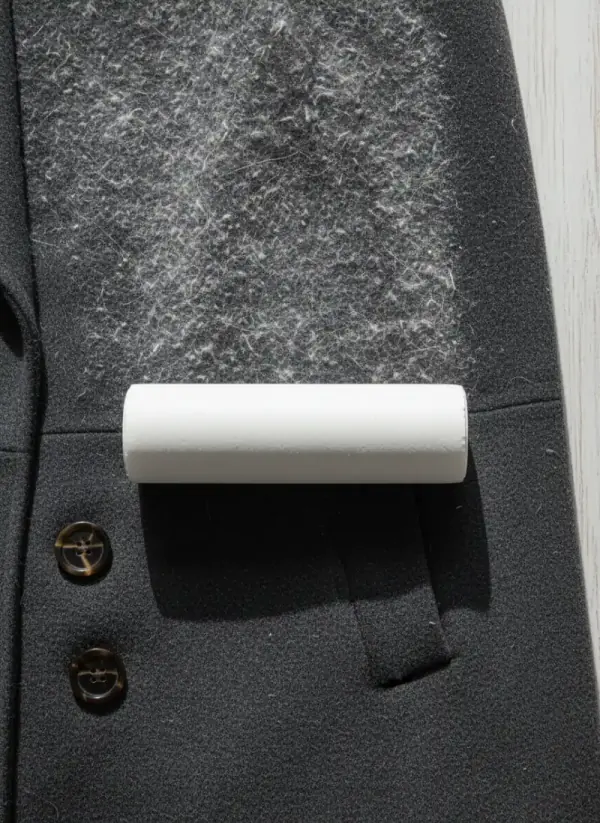
A lint roller is the cheapest tool with the biggest effect, especially on dark fabrics. Roll the whole garment in one direction, then the inside of the collar, the cuffs and the pockets, and roll again once it is on the hanger or the floor, because the surface you lay it on sheds too. A strip of wide packing tape around your hand works when the roller runs out.
Pet hair needs a rubber glove or a rubber lint brush: stroke the fabric with it and the hair balls up. For pills on knitwear, use a fabric shaver on a low setting, flat on the fabric, never on thin or loose knits where it can make a hole. Snip loose threads close to the fabric with small scissors; do not pull them, or a seam can open.
On white and light clothes, the problem is often small dark specks and grey from the wash rather than lint; how to photograph white clothing covers that. On black, every speck glows in the photo, so roll twice.
Shape: tissue paper, pins and clips
A garment that hangs flat looks empty. Slide a sheet of tissue paper into each sleeve and into the body of a shirt or sweater, so the fabric curves the way it would on a body. For a flat lay, put a layer of tissue inside to stop the back showing through and to give the front a gentle volume; the flat lay photography for clothing guide shows how to arrange it.
If a garment is too loose on the hanger or the mannequin, take in the extra fabric at the back with a clothes peg or a safety pin, where the camera does not see it. Stylists do this on every shoot. Keep it modest, and give real measurements in the listing, so the photo shows the shape but does not promise a fit the garment does not have.
Shoulder seams should sit on the ends of the hanger, not hang off them. If the hanger is too wide, the shoulders get bumps; if it is too narrow, they droop. A slim velvet hanger also stops silk and satin from sliding off.
Styling: collars, sleeves, buttons and hems
Styling is the last step in how to make clothes look good in photos: once the garment is clean and shaped, arrange it so the details read. Fold the collar down evenly on both sides and tuck the collar stand in. Lay sleeves straight down the sides, or bend one slightly at the elbow on a flat lay, so it looks natural rather than stiff. Make sure the hem is straight and parallel to the floor or the edge of the frame.
Do up every button except perhaps the top one, and check that the placket lies flat. Tie belts and bows neatly and turn the knot to the front. If a garment has a detail buyers will look for, such as a back yoke, a slit or a print on the back, plan a separate photo for it instead of twisting the front shot to show it.
Keep styling honest: nothing that makes a garment look longer, wider or brighter than it is. More ideas for arranging pieces without a model are in how to take product photos with a phone.
The last check before you press the shutter
Take one test photo and zoom in to full size. Check the collar and cuffs for lint, the fabric for creases, the background for crumbs or a stray hair, and the edges of the frame for anything that should not be there. It takes thirty seconds and saves you shooting the whole set again. If you only remember one rule of how to make clothes look good in photos, make it this zoom.
Then check the light. Prep is wasted if the garment sits in harsh sun or under a yellow bulb; turn off the ceiling light and use a window to one side. Keep the same setup for every piece, so your listings look consistent. If a prepared, well-lit item still does not sell, go through the list in why are my clothes not selling.
For second-hand and vintage pieces, prep has one more rule: clean and smooth, but not newer than it is. Flaws still get their own photos, as described in how to photograph vintage clothing.
Prep once, then put the garment on a model
A well-prepped photo is also the best starting point for an on-model image. Upload it to put clothes on an AI model and Garmo dresses one of 42 ready models (22 women and 20 men) in the same garment: front, three-quarter and walking views, in a studio, street or editorial setting, in the ratio your shop uses.
Garmo copies the garment from your photo. A clean, pressed piece gives it clear edges and true colour to work from; lint, deep fold lines and stickers are details it may treat as part of the garment. The background matters less: a crumpled sheet or a sofa under the garment does not end up in the result.
If your photo is a flat lay, flat lay to model is made for folded and laid-out clothes; if it hangs on a hook or a door, use garment to model. Check small details such as buttons and prints against the real piece, and render again if something is off.
Messy background, prepped garment: from bed to model
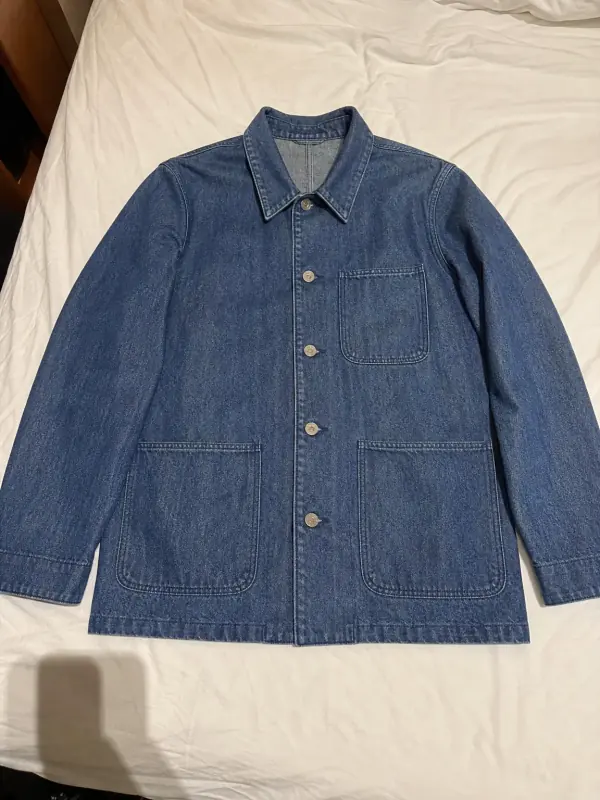
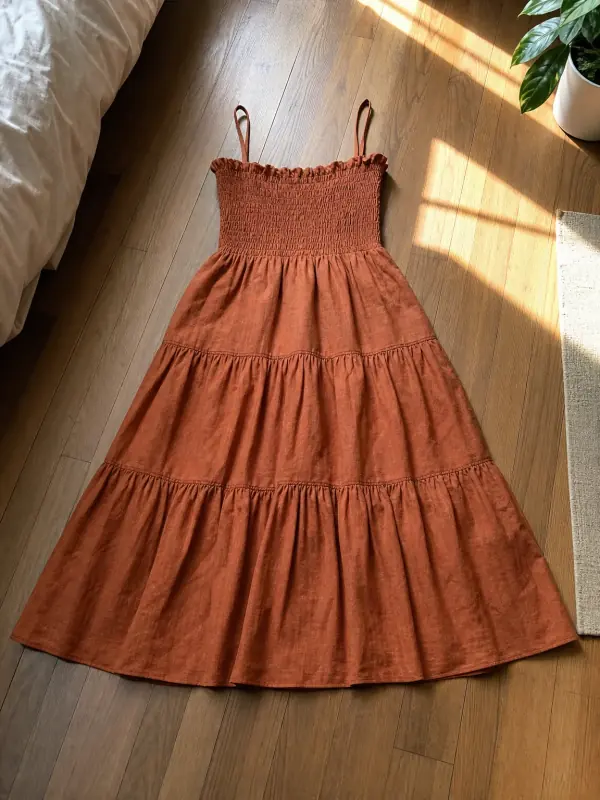
Both pieces were shot on a bed, with creased sheets around them. The garments themselves were laid out smooth and straight, and that is what Garmo used.
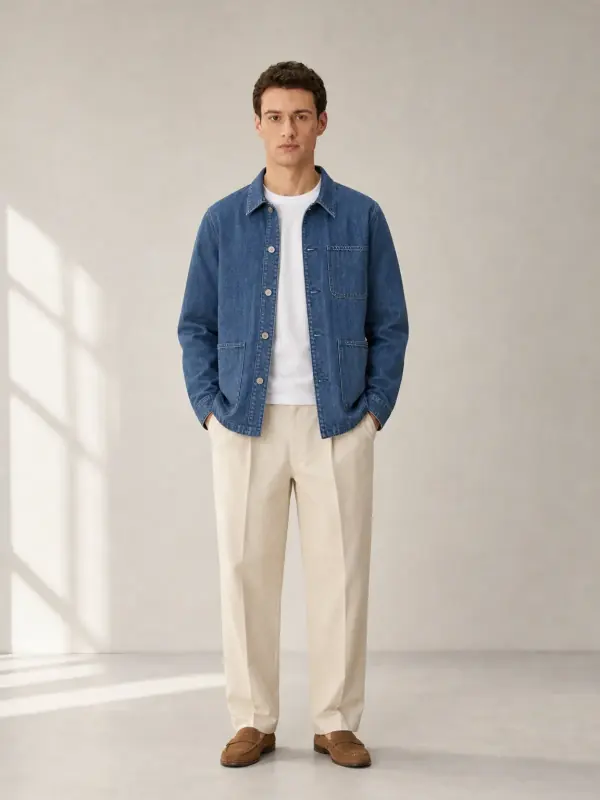
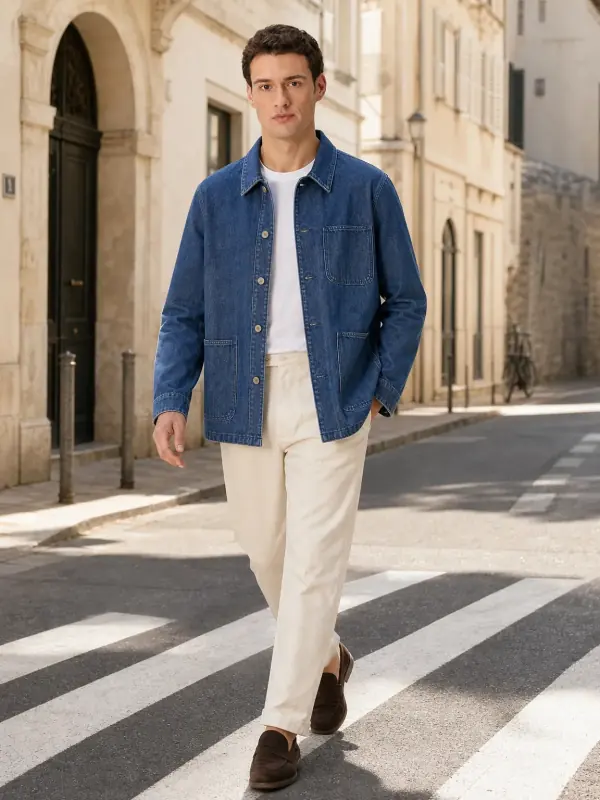
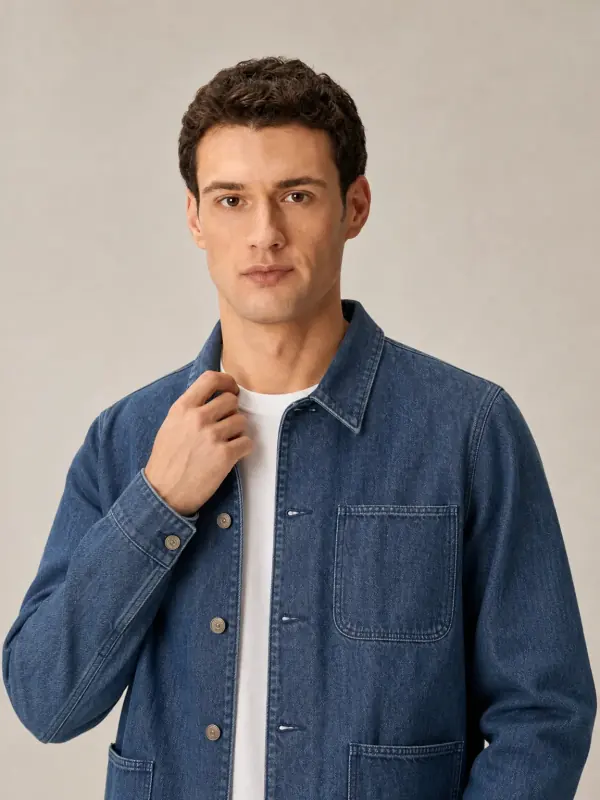
A denim chore jacket
The sheet was creased, the jacket was not: buttons done up, sleeves straight. On Kerem, the pockets, the buttons and the collar carry over cleanly.
 Your photo
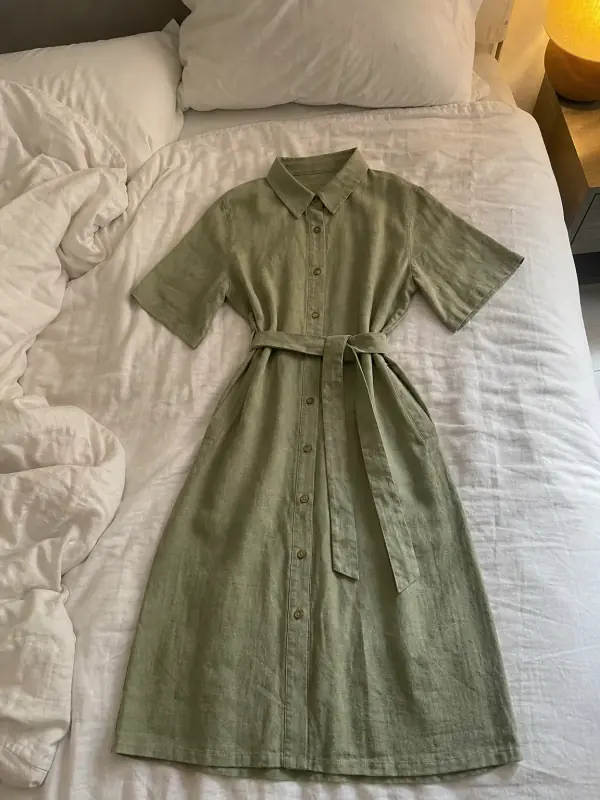
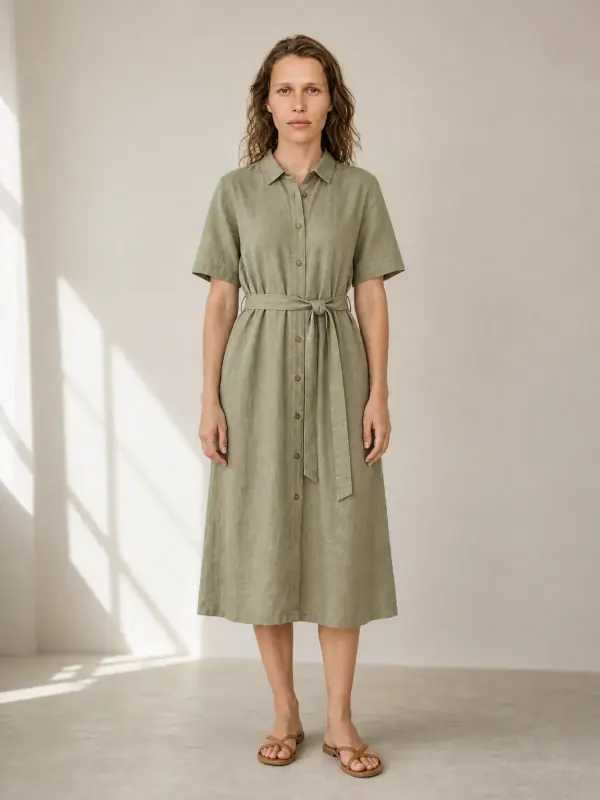
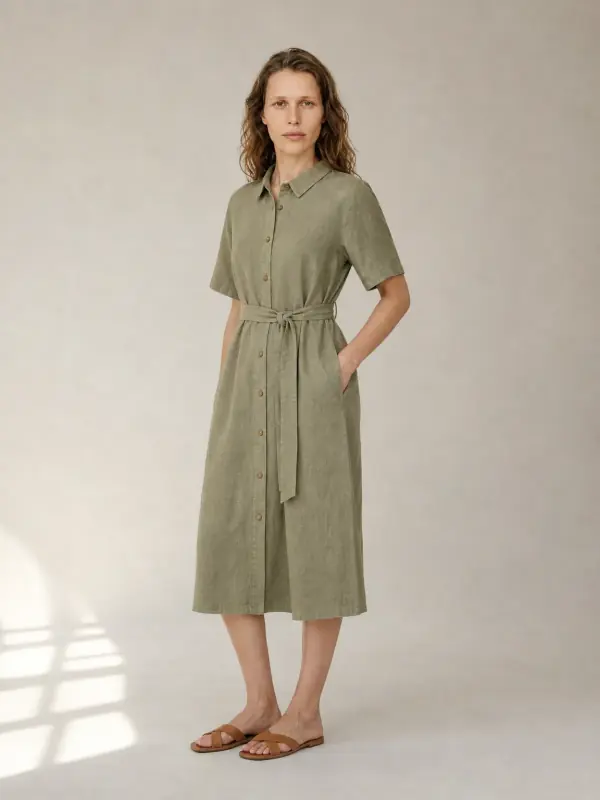
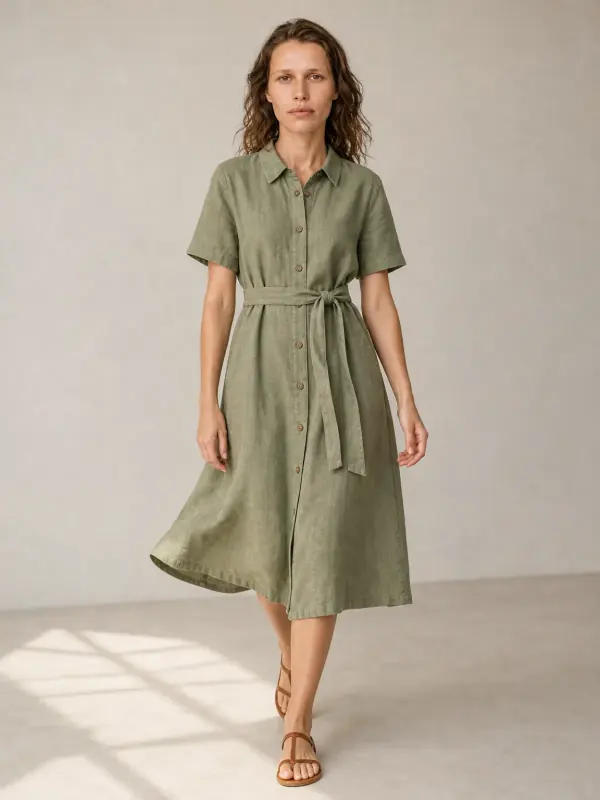
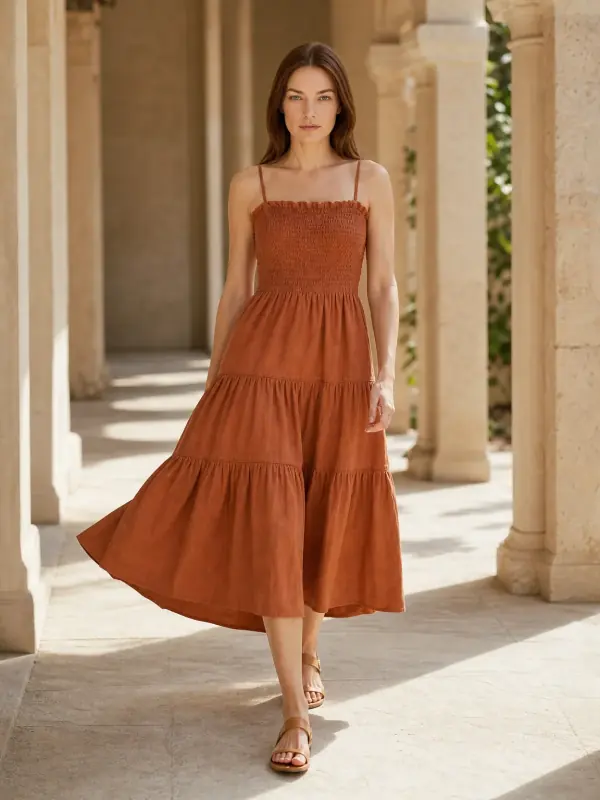
A linen dress
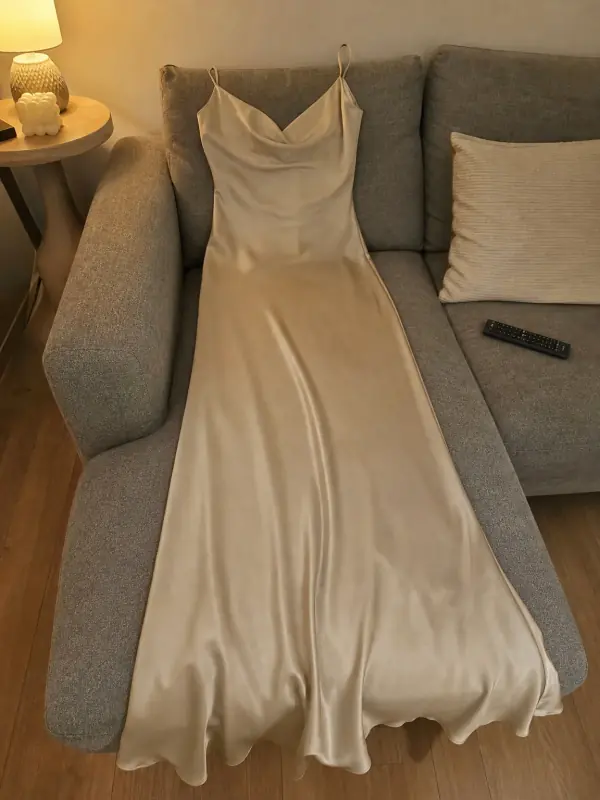
An unmade bed, but a smoothed dress with the skirt spread out. On Maya, the linen falls naturally and the pocket and length are clear.
 Your photo
Questions about prepping clothes for photos
How do you make clothes look good in pictures?
Prep them first: steam out creases, remove lint, pills and threads, empty the pockets, close buttons and zips, and give the garment shape with tissue paper. Then shoot in soft side light and zoom in on a test photo.
How do you make clothes look ironed in pictures?
Steam them while they hang, from top to bottom, holding the hem taut. Iron collars, cuffs and plackets separately, with a cloth on dark or printed fabrics, and let the garment hang a few minutes before you shoot.
Is it OK to clip clothes for product photos?
Yes, as long as it is modest and the clips are out of view. Stylists pin excess fabric at the back on every shoot. Give real measurements in the listing so the photo does not promise a different fit.
What do I use if I do not have a steamer?
An iron on the right setting, or hang the garment in the bathroom while you run a hot shower for ten minutes. A damp cloth smoothed over light creases also helps; let it dry fully before you shoot.
Does an AI model photo hide creases and lint?
Not reliably. Garmo dresses the model in the garment from your photo, so deep fold lines and lint can carry over. A messy background under the garment does not, which is why prepping the garment matters more than the room.
Tools for prepped clothing photos
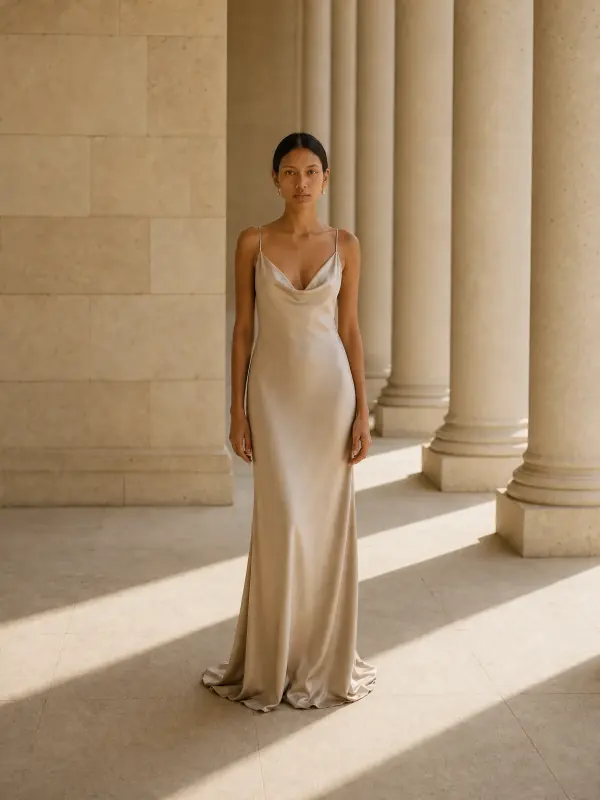
 Put clothes on an AI modelUpload a photo of a top, trousers, dress or jacket and see it worn by an AI model, in studio, street or editorial settings.
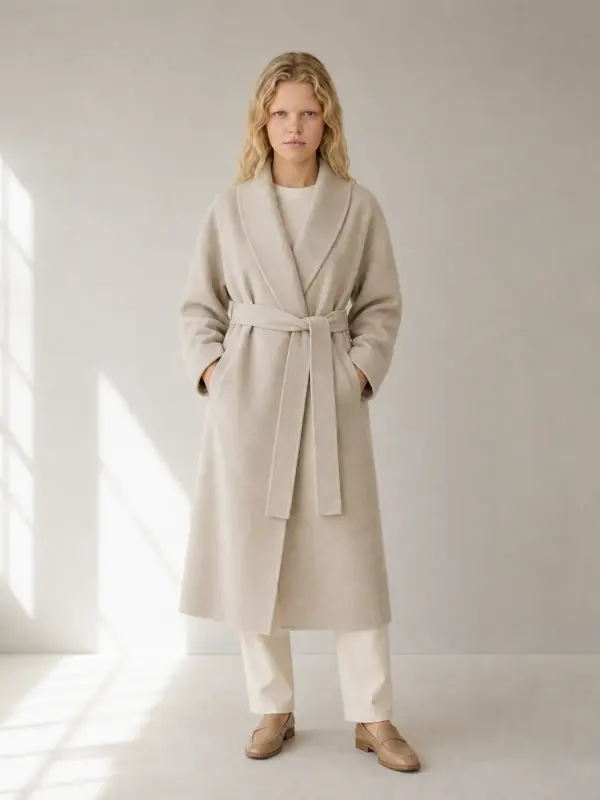
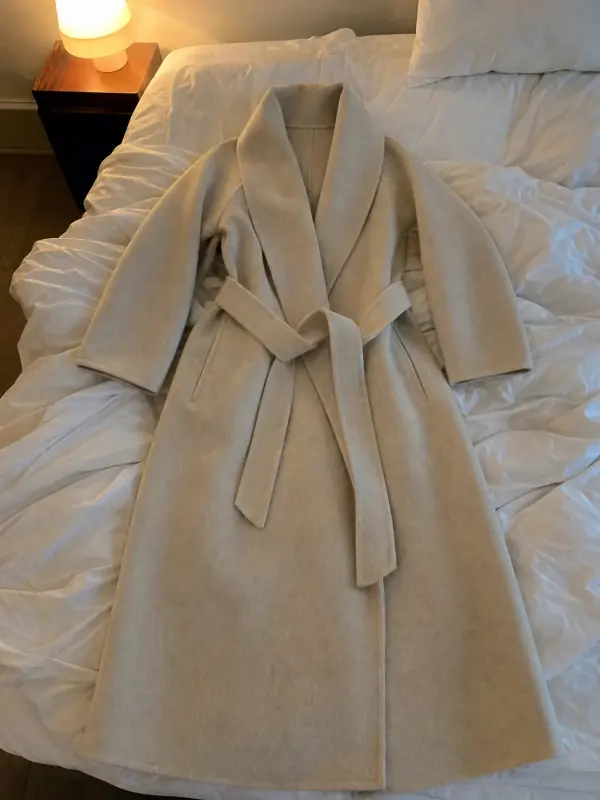 Flat lay to modelLay the garment flat, take one phone photo and get it worn by an AI model from three angles.
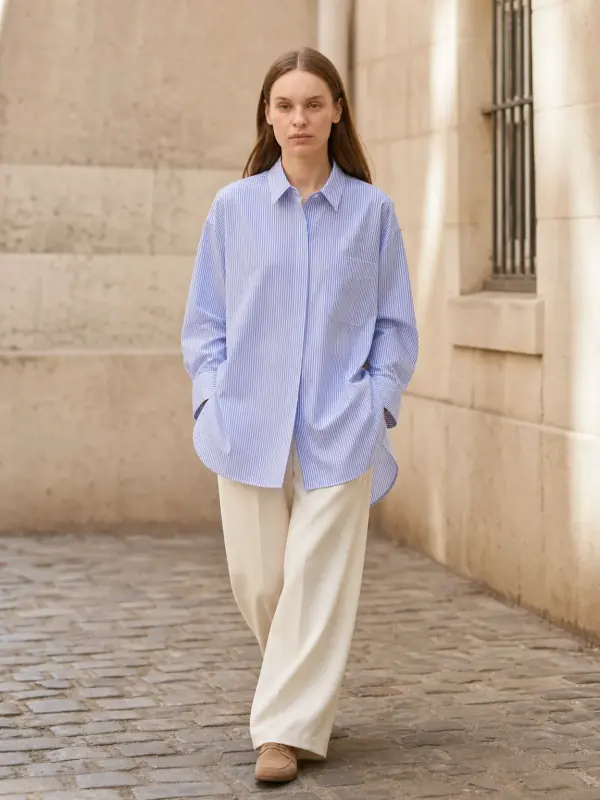
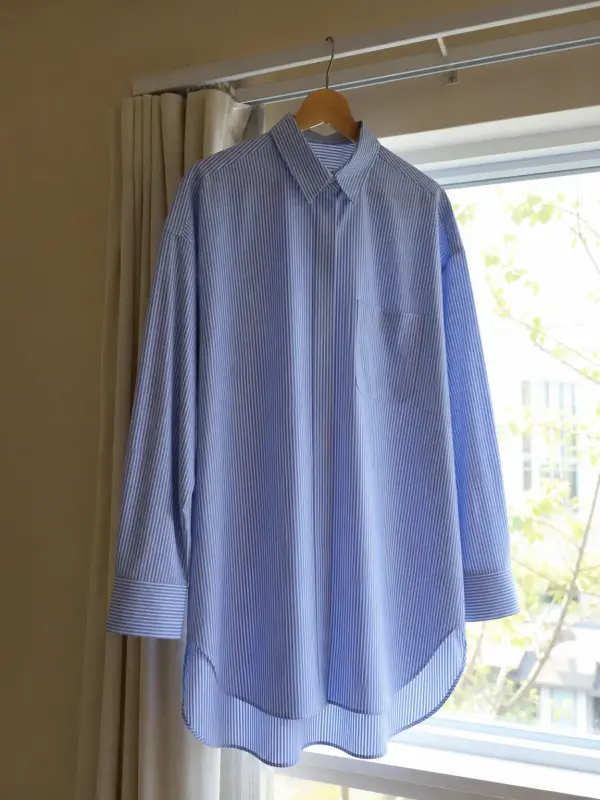 Garment to model AIHang the garment on a door or a rail, take one photo, and get it back worn by a model.
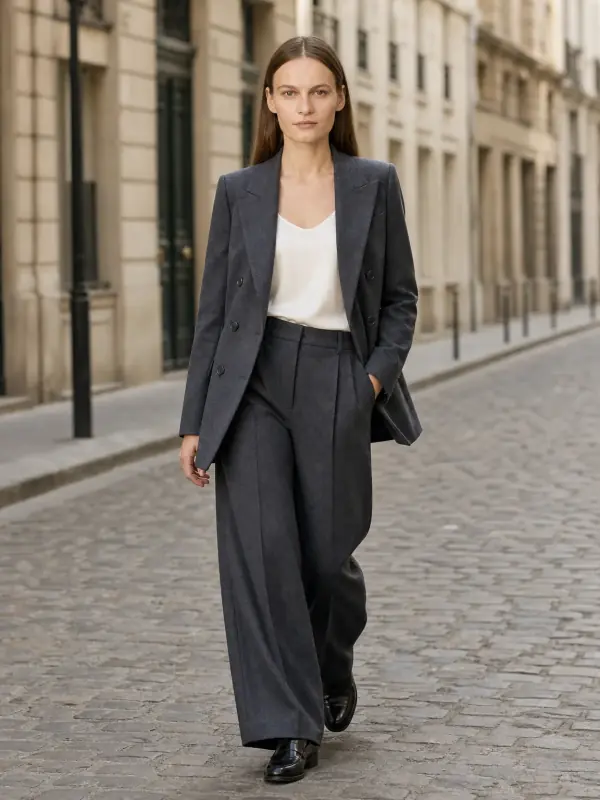
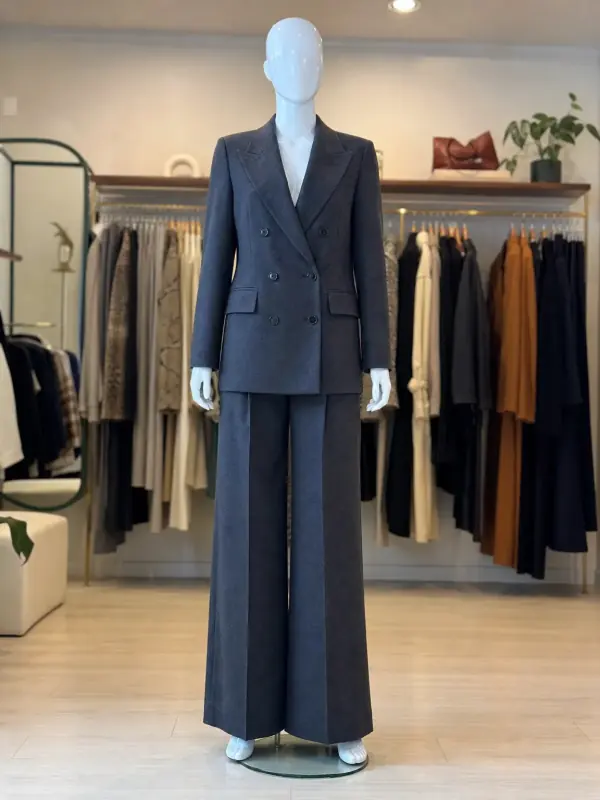 Mannequin to model AIAlready shoot on a mannequin or dress form? Upload that photo as it is and get the same piece worn by a model.
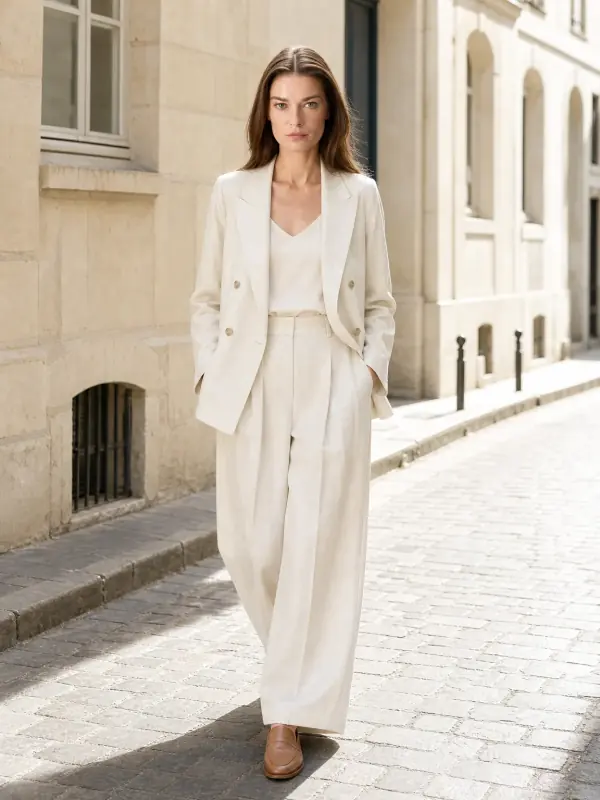
 AI model photoshootTurn one product photo into a full photoshoot with a model: studio, street, editorial or a scene you describe, with up to six angles.
 AI product photography with modelsClothing, jewelry and shoes photographed on models from one phone photo, with product-only shots for jewelry and shoes.