



 Garmo team
How to remove wrinkles from clothes in photos: three ways
There are three moments to deal with wrinkles. Before the photo, with a steamer or an iron, which is the most reliable and keeps the photo honest. After the photo, in an editor, which works for a few creases but gets slow and visible on large areas or prints. While making a new image, when you turn a flat or hanger photo into an on-model photo with AI.
That third way is newer, so we tested it. We made two test photos of badly creased clothes, a linen shirt on a hanger and a cotton dress laid flat, and ran them through Garmo’s put clothes on an AI model shoot, once as they were and once with a short note. The results are further down, with every image.
Whichever way you choose, the goal is the same: the buyer should see the garment’s real shape, colour and drape, not a fold line from your drawer.
Remove wrinkles before the photo: 5 minutes of prep
This is the fix that never needs editing. Do it right before you shoot, so the garment has no time to crease again.
- 01
Hang it first
Put the garment on a hanger as soon as it comes out of the bag or drawer. Gravity alone softens light creases while you set up.
- 02
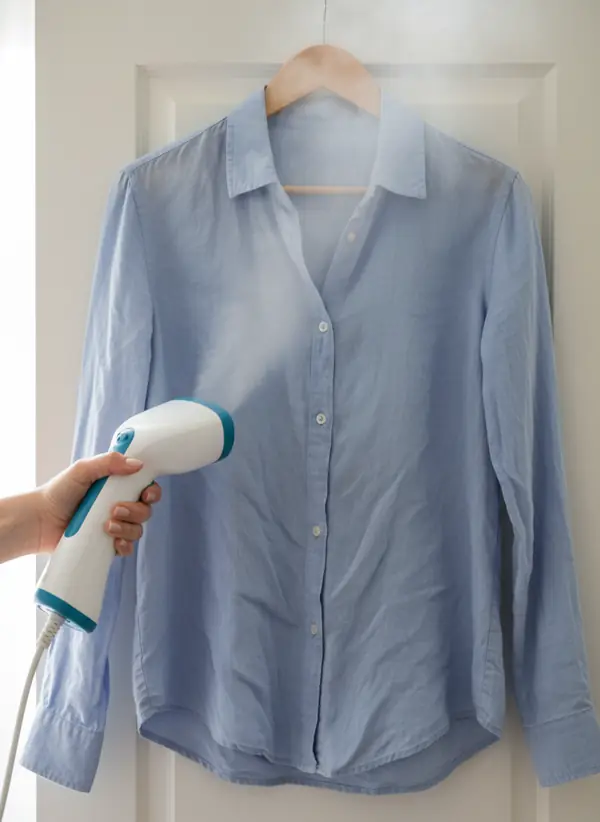
Steam from the top down
Hold the steamer close to the fabric and move slowly from the shoulders down, pulling the hem gently with your other hand. Do the sleeves and the collar last.
- 03
Let it cool on the hanger
Damp fabric creases again if you handle it. Leave it a few minutes on the hanger before you move it to the backdrop or flat surface.
- 04
Iron what steam can’t
Sharp fold lines in cotton or linen need an iron. Use the heat the care label allows and press, don’t drag, on dark fabrics to avoid shine.
- 05
Shoot in side light
Window light from one side shows the weave without exaggerating the last small ripples. Overhead light makes every crease look deeper.
Which fabrics wrinkle most in photos
Plan your prep by fabric. The care label tells you how much heat each one takes.
Linen
Creases the moment it is folded and shows every line. Steam it, then iron the fold lines while slightly damp.
Cotton shirting
Poplin and oxford keep sharp fold lines from packaging. Iron the placket, collar and cuffs; steam the rest.
Viscose and rayon
Soft creases that come back quickly. Steam just before the shot and don’t lay it down again.
Silk and satin
Shine makes small ripples look large. Use low heat or steam from a distance, and test on the inside seam first.
Knitwear
Rarely creases, but stretches on a hanger. Lay it flat and smooth it with your hands instead of steaming hard.
Polyester and blends
Usually the easiest: a short steam is enough. Watch for shine from a hot iron.
Removing wrinkles after the photo: editing options
If the photo is already taken and reshooting is not an option, an editor can fix a handful of creases. In Photoshop, the Spot Healing Brush and the Patch tool replace a crease with nearby fabric; frequency separation evens out large areas but takes practice. Phone editors with an AI eraser work the same way on a smaller scale.
Editing has two limits. On patterned or textured fabric, a healed area often smears the pattern or the weave, and buyers zoom in. And every edit should only remove what is temporary: a crease from folding, yes; a stain, a pull or pilling, never. Those are part of the item’s condition. If you only need to remove wrinkles from clothes in photos now and then, a phone editor is enough; for a weekly catalogue, prep or a note in the shoot saves the most time.
For a whole catalogue, editing every photo is slower than steaming every garment. Our prep checklist for clothes photos covers steaming, lint and fold lines in one routine, and the guide to photographing clothes on a hanger shows how to hang a garment so it falls without creases.
Our test: does an AI on-model photo remove wrinkles?
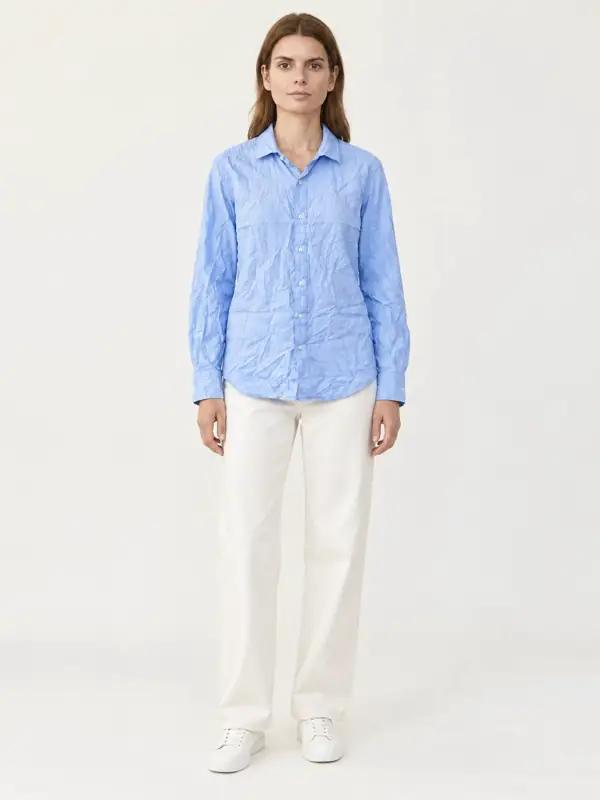
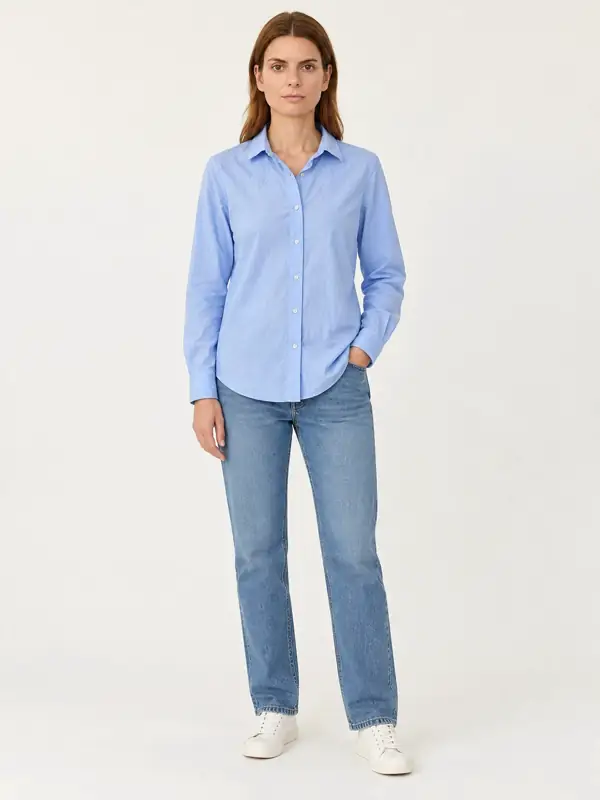
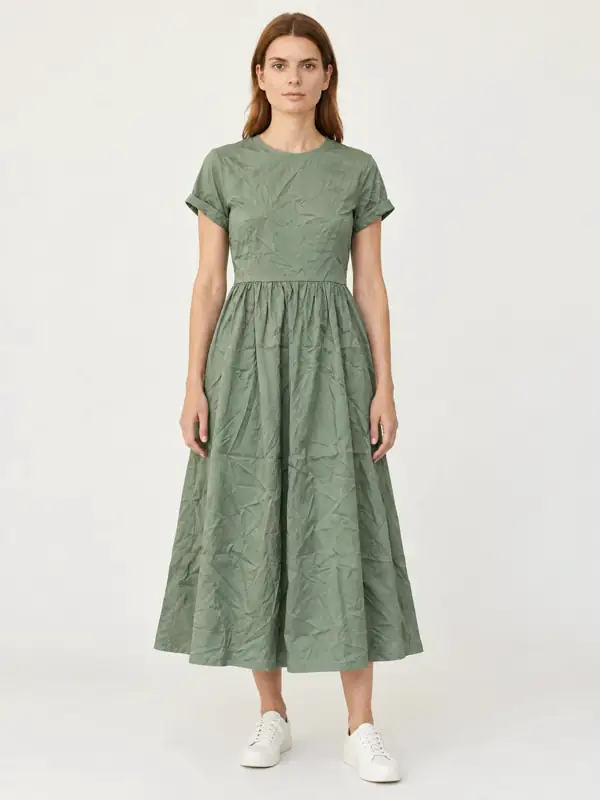
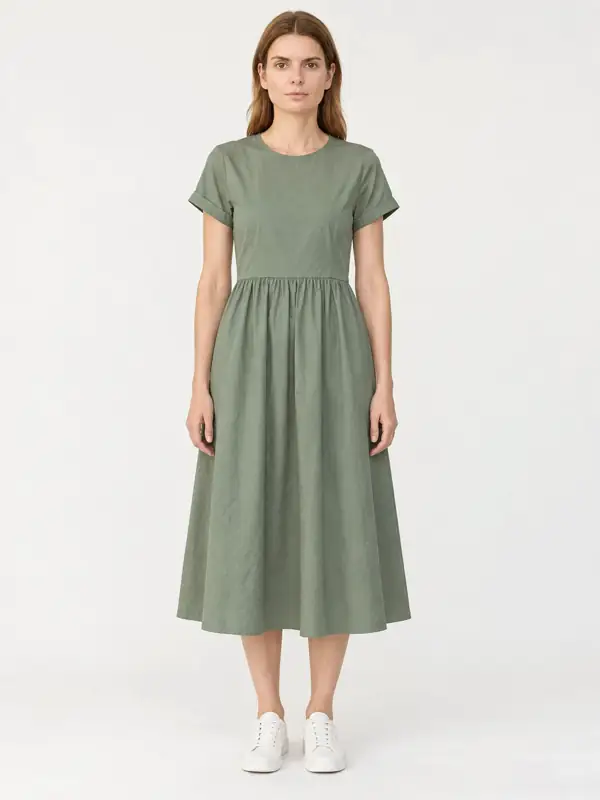
We uploaded each test photo to Garmo Studio and made a studio shoot on the same stock model, first with nothing in the notes, then with one sentence: Show the garment freshly steamed and pressed: smooth fabric, no wrinkles or creases. On the default run, Garmo kept the creases in all four frames, because it copies the garment from your photo. With the note, both garments came out smooth in their frame, with colour, collar, buttons and the gathered waist unchanged.
A creased linen shirt on a hanger
Deep crinkles all over the front and sleeves. The note removed them; the collar, the button stand and the colour stayed as photographed.
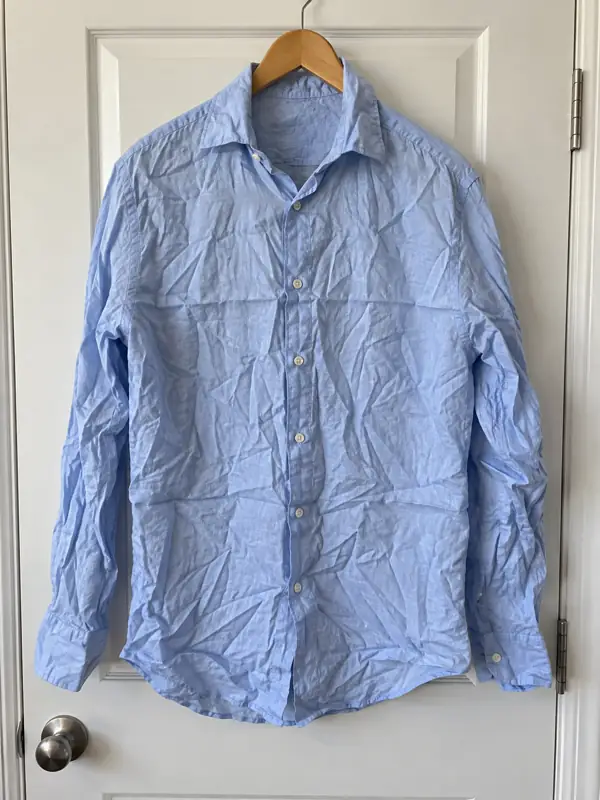 Your photo
A crumpled cotton dress laid flat
Fold lines from a shipping bag and crinkles across the skirt. With the note, the skirt hangs smooth; the gathered waist and rolled cuffs are kept.
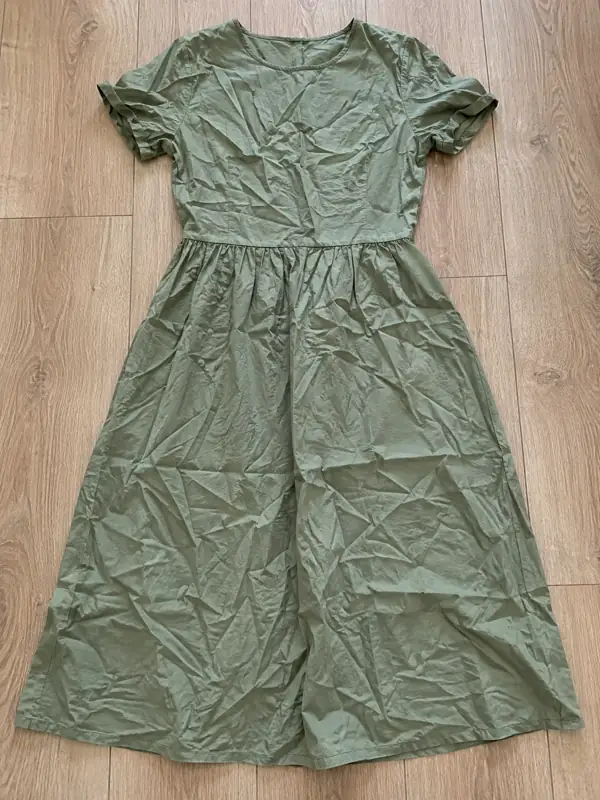 Your photo
What the note changes, and what it should not
So yes, you can remove wrinkles from clothes in photos with AI, but only when you ask for it. Garmo’s default is to stay faithful to your photo: texture, folds and all. That is what you want for most details, and it is why creases come through unless you ask otherwise. The note field in Studio is called Your notes; one sentence there is enough, and it costs nothing extra: each image still uses one credit, and the first 3 images are free. The same works when you turn a flat lay into a model photo or a garment on a hanger into a model photo.
Use it for creases, not for condition. A smoothed fold line shows the garment as it looks after ironing, which is fair; a hidden stain, hole or pilling is not. Show those in your own close-up photos, and say in the description that the model image is made with AI.
On second-hand marketplaces, keep your real photos first. Some platforms ask for photos you took yourself; our guide to photographing clothes for Vinted explains how to combine real photos with an on-model image there.
Start photos that give smooth results
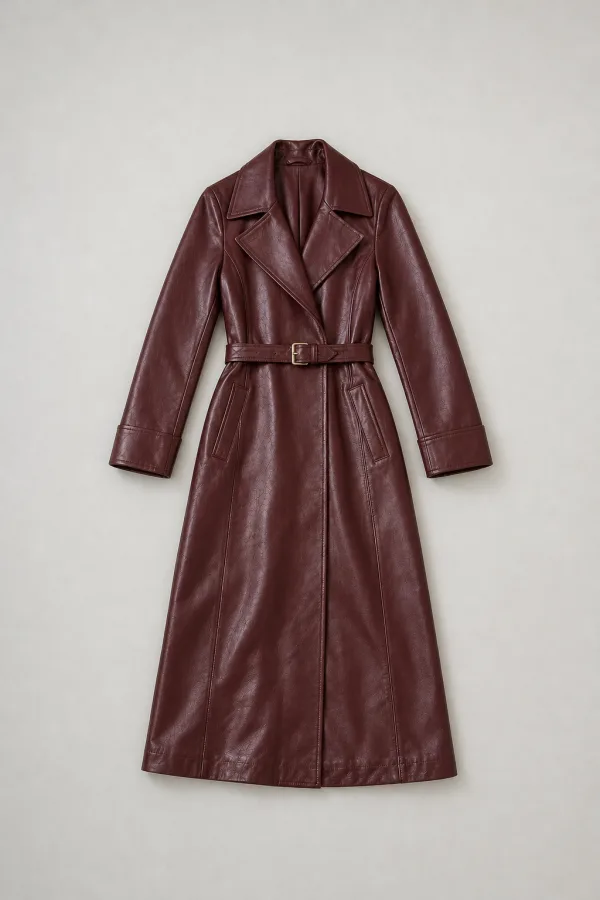
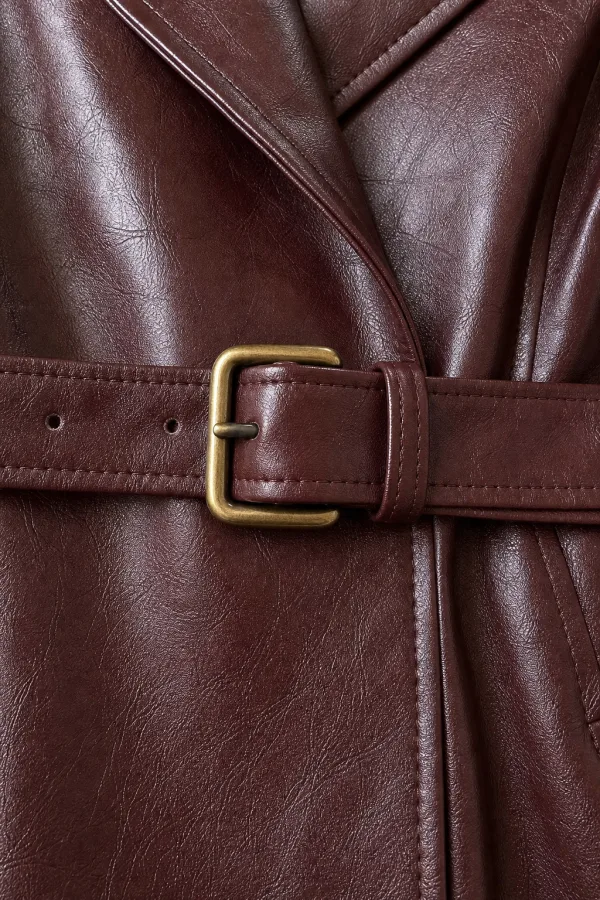
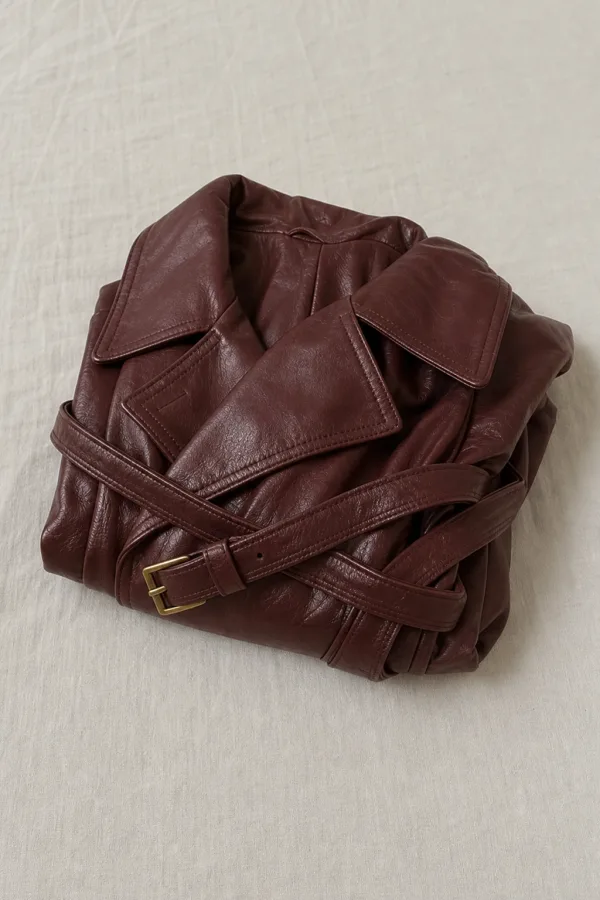
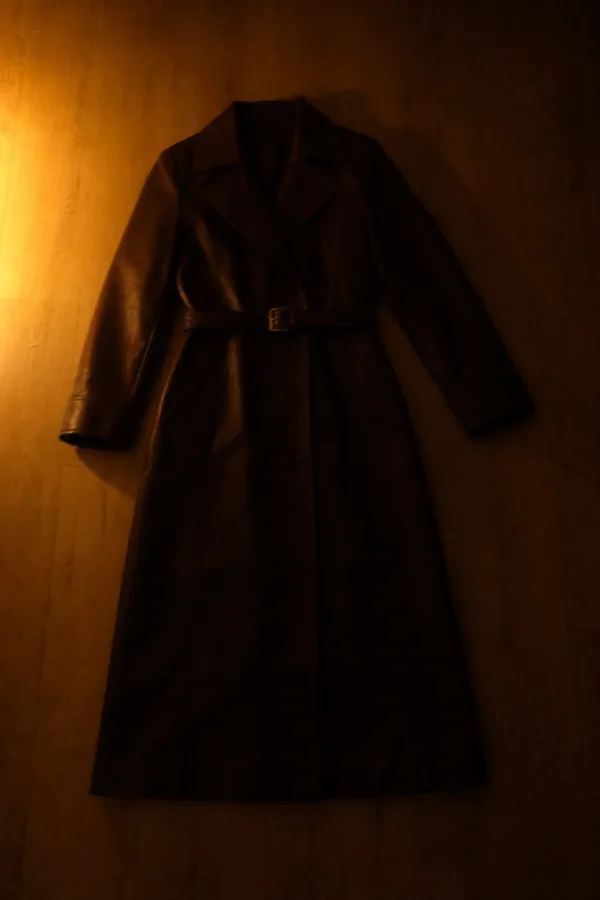
The cleaner the start photo, the less any tool has to guess. These examples come from Garmo Studio’s own photo guide. A clean start photo is also the easiest way to remove wrinkles from clothes in photos later, because nothing deep is baked in.
Works well
Avoid
Questions about removing wrinkles from clothes in photos
How do I remove wrinkles from a shirt in a photo?
For a few creases, use a healing or patch tool and sample nearby fabric. For a shirt covered in creases, steaming and reshooting is faster. If you are making an on-model photo with Garmo, add a note asking for smooth, pressed fabric.
Can I remove wrinkles from clothes in a photo online for free?
Some editors have free AI erasers for small areas. With Garmo, the first 3 images are free, and a note in the shoot asking for pressed fabric removed every crease in our test of a linen shirt and a cotton dress.
Does Garmo remove wrinkles automatically?
No. By default Garmo copies the garment as photographed, creases included. Write in the notes that the garment should look freshly steamed with no wrinkles, and our test images came out smooth.
Is it honest to remove wrinkles from product photos?
Yes, for temporary creases from folding or shipping, because the buyer gets the garment as it looks ironed. It is not honest to remove stains, holes or pilling; show those in close-up photos.
What is the fastest way to get wrinkles out before a photo?
A handheld steamer, top to bottom, on a hanger. It takes a few minutes per garment. Iron only the sharp fold lines in cotton or linen, and let the garment cool before you move it.
Tools for smooth on-model photos
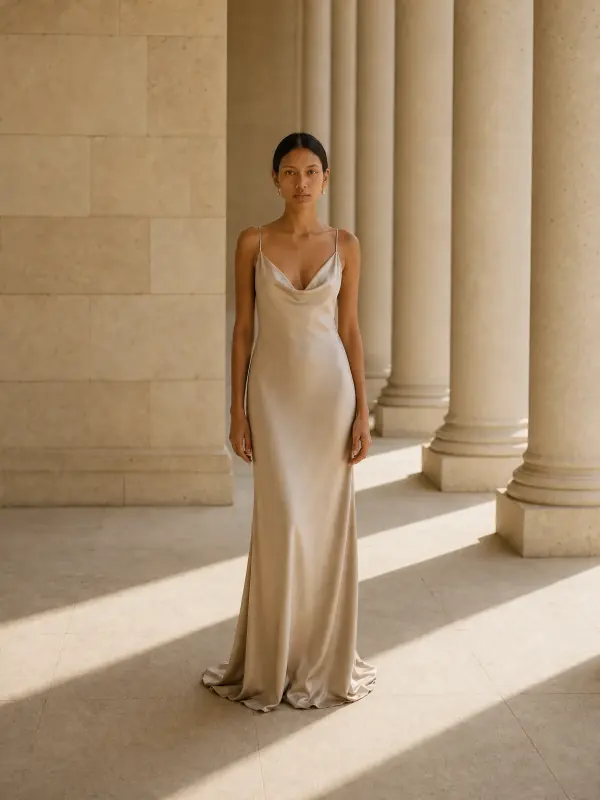
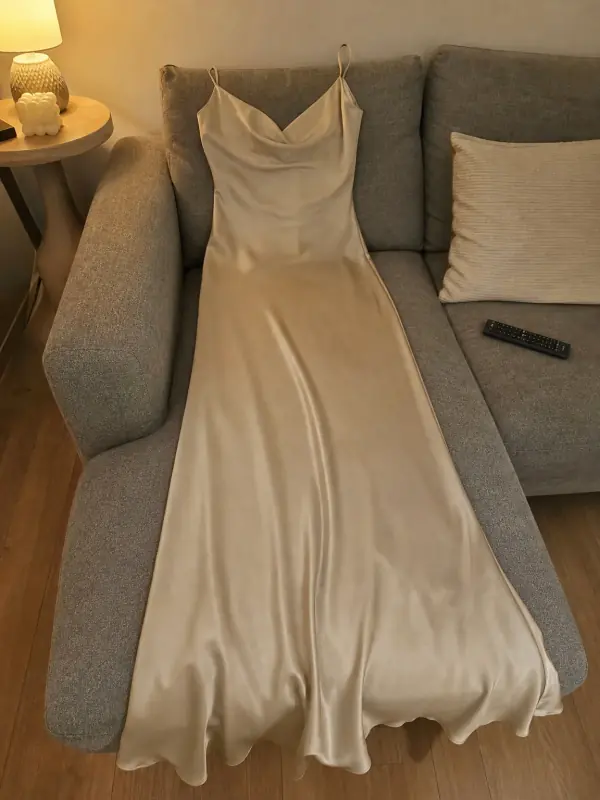 Put clothes on an AI modelUpload a photo of a top, trousers, dress or jacket and see it worn by an AI model, in studio, street or editorial settings.

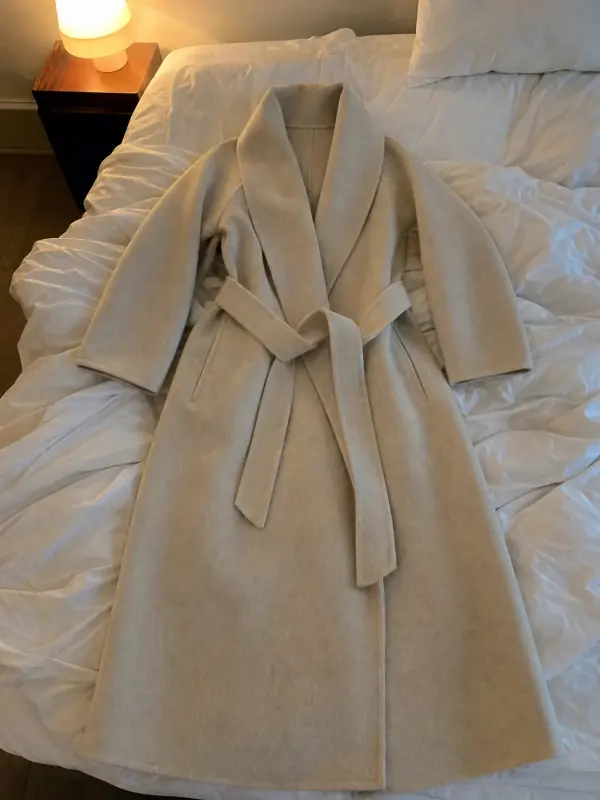 Flat lay to modelLay the garment flat, take one phone photo and get it worn by an AI model from three angles.
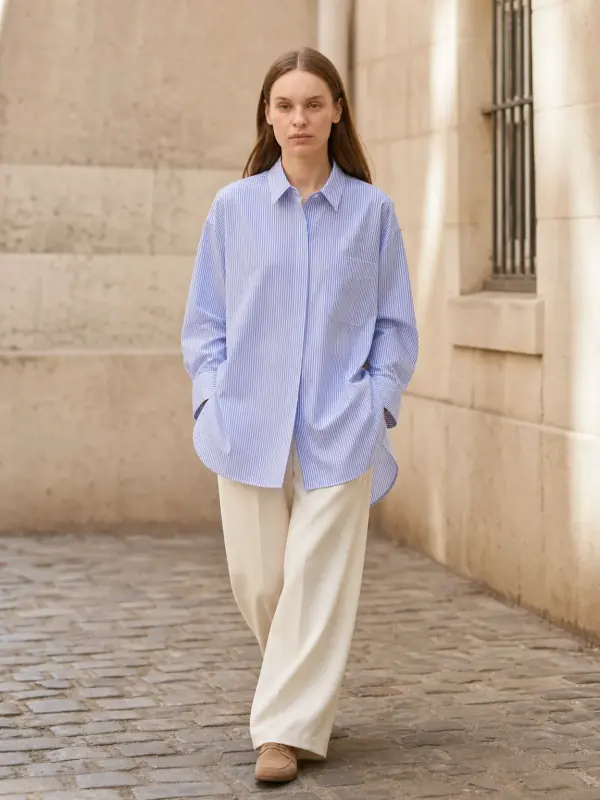
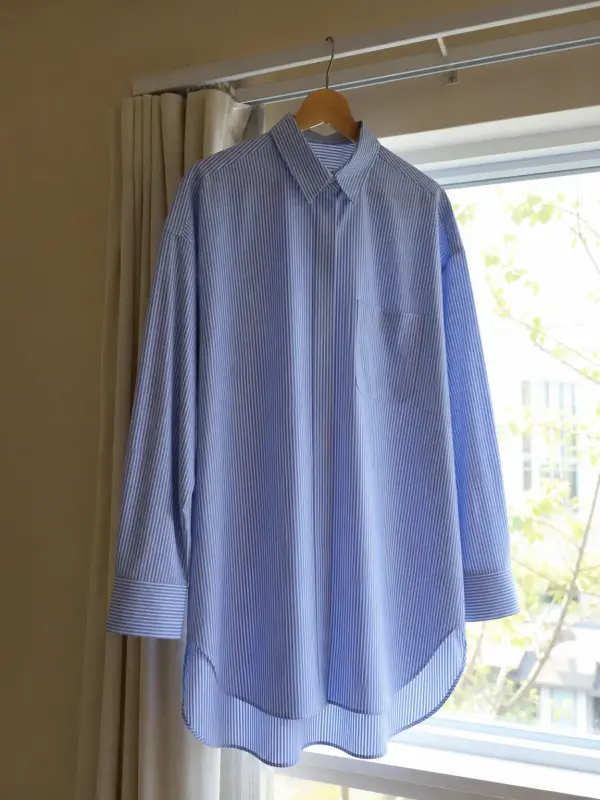 Garment to model AIHang the garment on a door or a rail, take one photo, and get it back worn by a model.
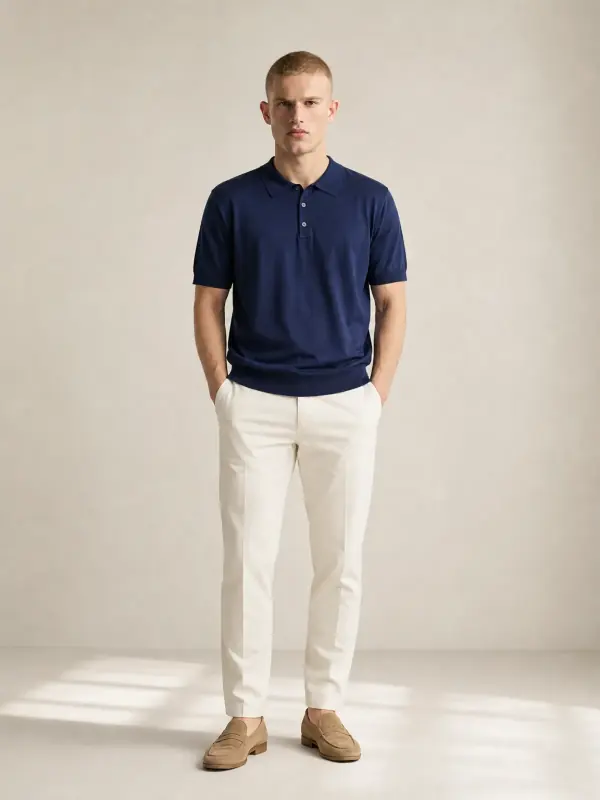
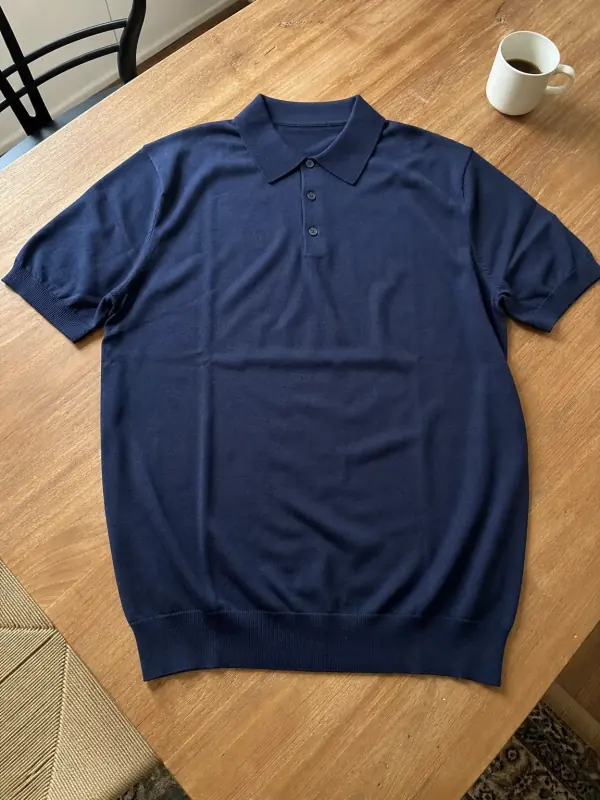 Shirts and tops on modelShirts, blouses, polos and t-shirts worn by a model, styled with simple bottoms so the top stays the focus.
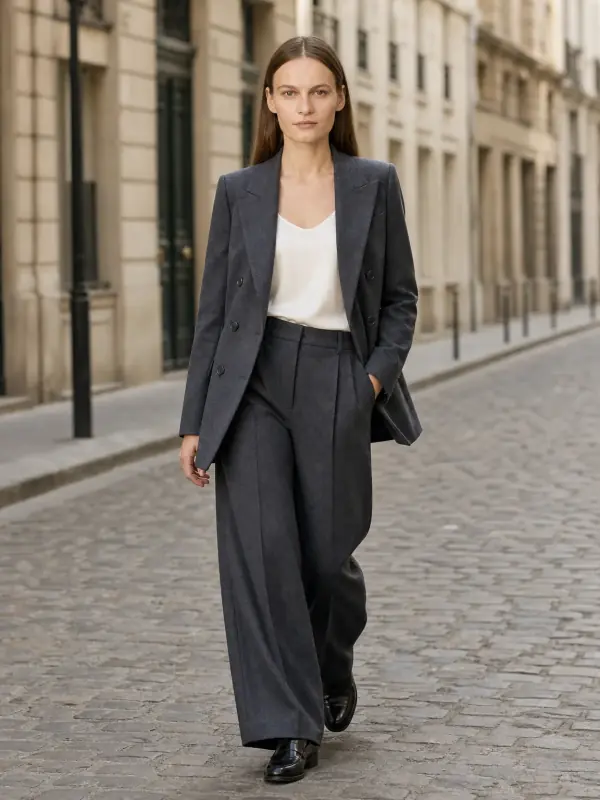
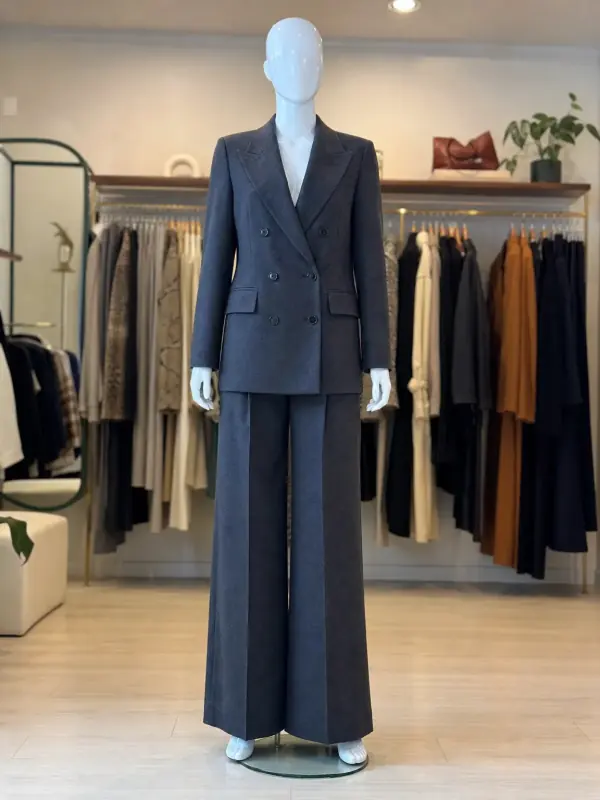 Mannequin to model AIAlready shoot on a mannequin or dress form? Upload that photo as it is and get the same piece worn by a model.

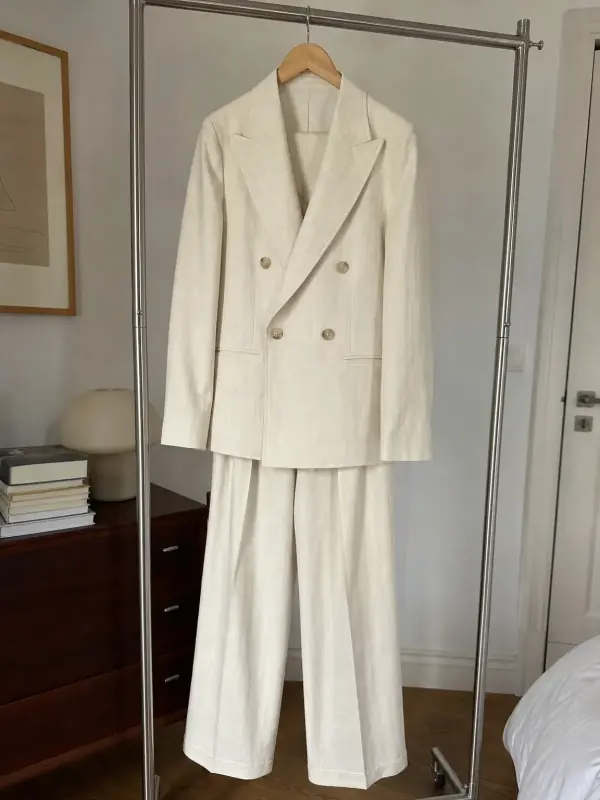 AI model photoshootTurn one product photo into a full photoshoot with a model: studio, street, editorial or a scene you describe, with up to six angles.