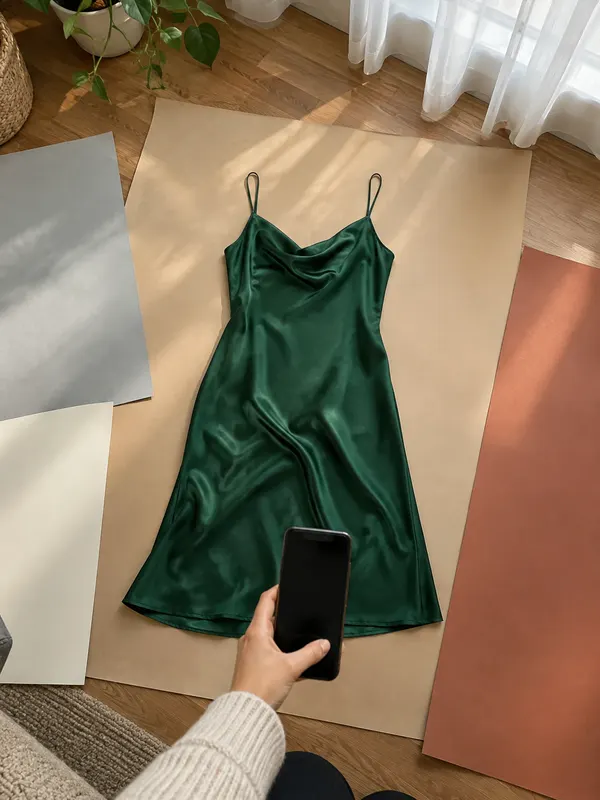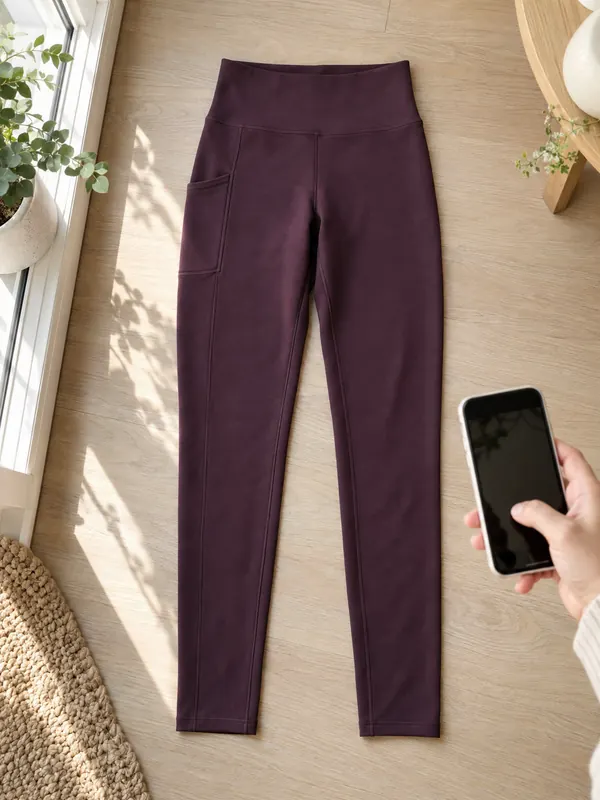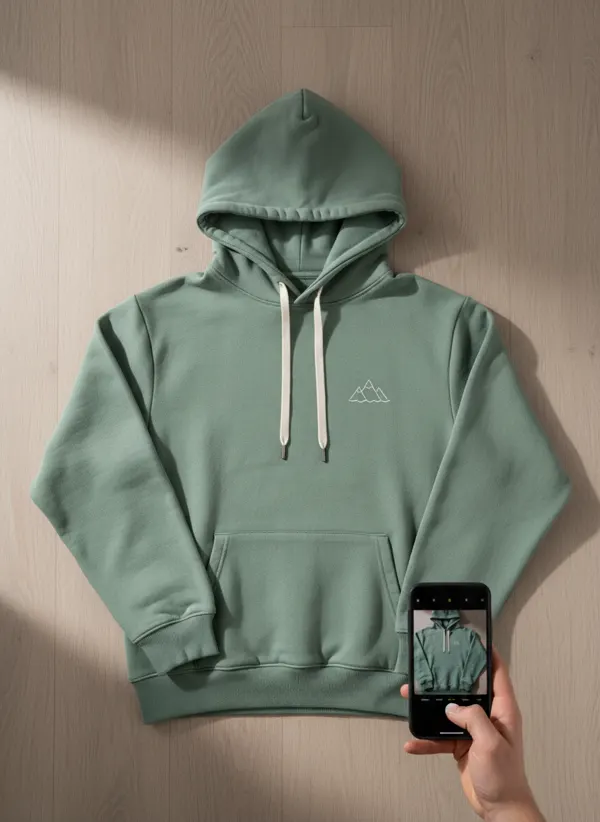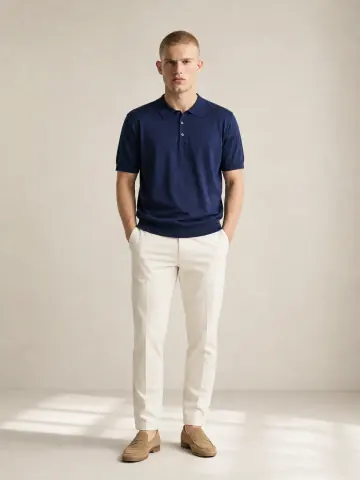



 Garmo team
How to photograph t-shirts for your website: seven shots
Take the same seven shots for every tee, in the same order, so a shopper finds the print, the neckline and the fabric in the same place on every product page. The same photos are also what you need later to put a t-shirt on an AI model.
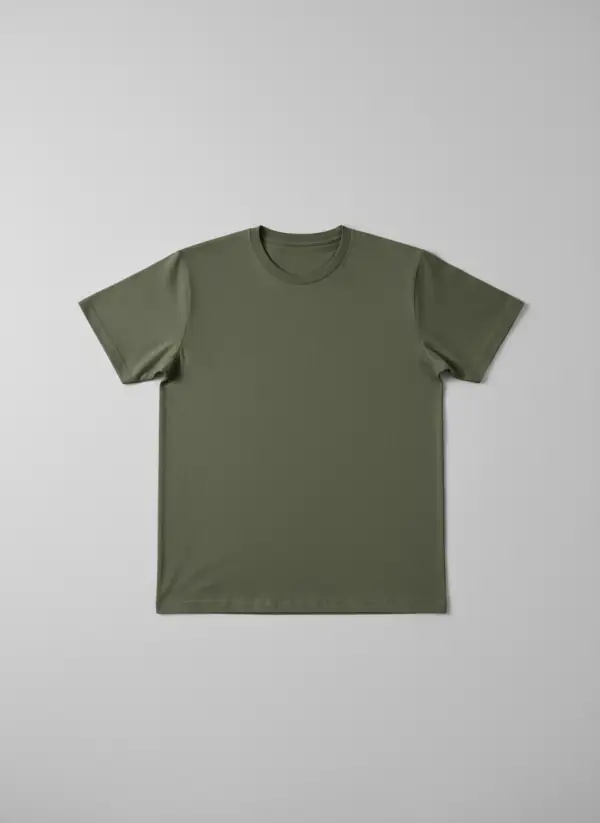
Front, flat
The whole tee from above, squared up. This is the cover photo.
Back
Same position, turned over. Shows a back print or a plain back.
Neckline
The collar rib, inside and out. Shoppers check it is not stretched.
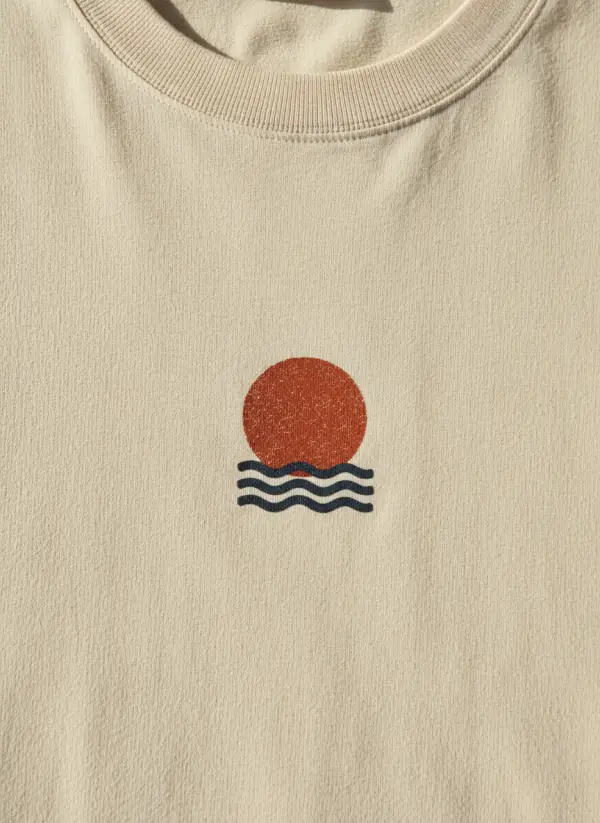
Print
The graphic filling the frame, in side light and true colours.
Fabric
A close crop of the jersey so the weight and texture read.
Label and hem
The neck label, the hem and a sleeve seam.
Worn
One photo on a body, so the drape and length show.
Flat lay: how to take pictures of t-shirts to sell
The simplest answer to how to photograph t-shirts for your website is a flat lay: lay a tee face up on a plain, light surface, smooth the body with your hand and pull the hem straight so it runs parallel to the edge of the frame. Straighten both sleeves so they mirror each other and open the neckline into a round shape. Slip a sheet of thin card inside a floppy tee; it holds the shape and stops the back showing through.
Shoot from directly above, with the phone parallel to the surface and about 80 centimetres up, and keep the whole t-shirt inside the frame with an even margin. Light from a window to one side shows the fabric; avoid the flash, which flattens the jersey and glares on the print. Set the corner up once, as in the clothing photography setup at home guide, and every tee matches the last.
Fold lines from the packet are the usual problem. Steam them out first, as in the prep checklist for clothes, because a camera turns every crease into a dark stripe. A flat photo is also exactly what flat lay to model needs as its starting point.
Photographing a t-shirt on a hanger
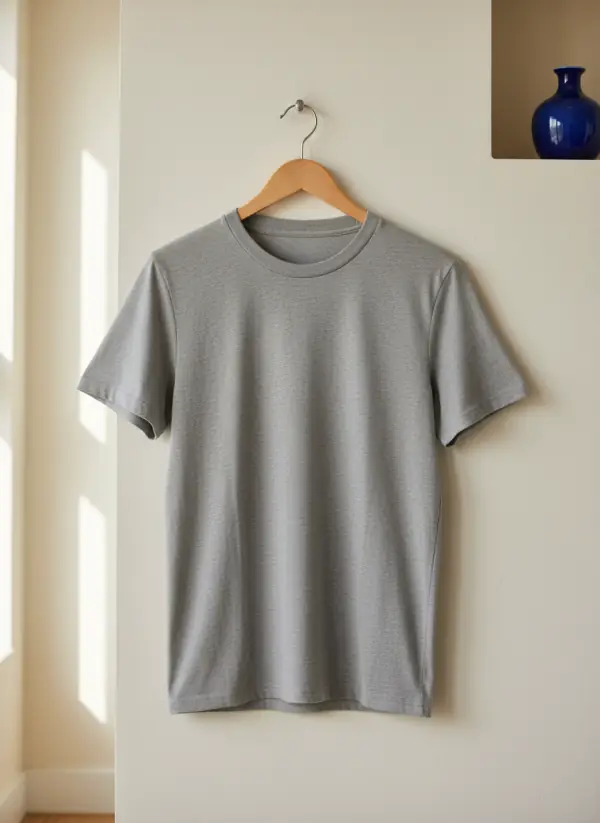
A hanger gives a tee natural volume, which a flat lay cannot, and works well as the second or third photo. Use a slim wooden hanger as wide as the shoulders, hang it on a hook against a plain wall and let the t-shirt fall naturally. Check that the shoulder seams sit on the ends of the hanger and the collar lies flat.
Light matters even more on a hanging tee, because the body is a curved surface. Put the window to one side and a white board opposite to open the shadows. The guide to photographing clothes on a hanger covers hangers, angles and creases in detail.
Do not leave heavy cotton hanging for long: the shoulders can stretch into peaks that show in the photo. If you see bumps, switch to a flat lay. A hanging photo also works as a source for garment to model.
How to photograph a printed t-shirt
The print is what sells a graphic tee, so give it its own photo. Lay the t-shirt flat, bring the phone in close and fill the frame with the graphic, with the phone still parallel to the fabric. Side light from a window shows the ink and the weave; direct light makes a shine on rubbery or puffy prints that hides the design.
Check the colours against the real shirt: a rust orange can turn brown under a yellow lamp, and a navy can look black. Switch off the room lights, shoot in daylight and compare the screen with the garment, as the product photography colour correction guide shows.
Show the scale of the print in the full front photo and say in the listing how far below the collar it sits and how wide it is, in centimetres. If the print is cracked, faded or peeling, photograph that honestly: a close-up of the wear prevents a return. Graphic tees sold as part of a drop also need mood shots; the streetwear photoshoot ideas cover locations, poses and back prints. Selling print on demand without a sample? Start from the flat file instead: print on demand t-shirt mockups on models shows how. Printed hoodies follow the same print rules plus a few of their own; see how to photograph hoodies.
White, black and heather grey t-shirts
Colour changes the job. White tees turn grey or blue easily, so use a light grey backdrop and expose for the white; the guide to photographing white clothing explains it step by step. Black tees lose their seams and texture in shadow, and photographing black clothing shows how to keep the detail.
Heather grey and other marl colours are the easiest, but their flecks can shimmer on a screen if the phone is too far away. Move closer or crop, and check the photo at full size. For a range in several colours, shoot all of them in one session under the same light, so shoppers see a colour difference and not a lighting difference.
Do not use a filter or an auto-enhance mode to boost colour. A buyer who receives a different shade from the photo sends the t-shirt back, and that costs more than any photo.
Size, fit and measurements to show
T-shirts are bought by size and fit, so a measurement tells a shopper more than a photo does. Lay the tee flat and measure the chest width from armpit to armpit, the length from the highest point of the shoulder to the hem and the sleeve length. Give them in centimetres for every size, in the listing or as a small table image.
Say what the fabric is and, if you know it, its weight, such as 100% combed cotton or a blend, because a heavy cotton jersey and a light viscose blend hang completely differently. Mention that cotton can shrink in the first wash, and whether the cut is slim, regular or oversized.
A flat photo cannot show fit. For that, use a worn photo of your own or an on-model image. Garmo has no size selector, so for size claims rely on real fit photos and the measurements, not on the model.
From a flat t-shirt photo to a worn photo
A flat tee tells shoppers about the print and the cut, but a worn photo shows how it hangs. Upload the flat or hanging photo to put clothes on an AI model and Garmo dresses one of 42 ready models (22 women and 20 men) in the same t-shirt, in a studio, street or editorial setting and in the ratio your shop uses. The first 3 images are free.
Garmo copies the t-shirt from your photo, so its colour, neckline, sleeve length and print position carry over; lay the tee straight and photograph the print clearly. Check small details of a print at full size before you publish.
Keep your own flat photos beside the on-model ones, because how to photograph t-shirts for your website does not end with the model image. On Etsy, Vinted or your own shop, buyers still want to see the real garment, and the print close-up is what proves it.
Tees and tops: from a phone photo to a model
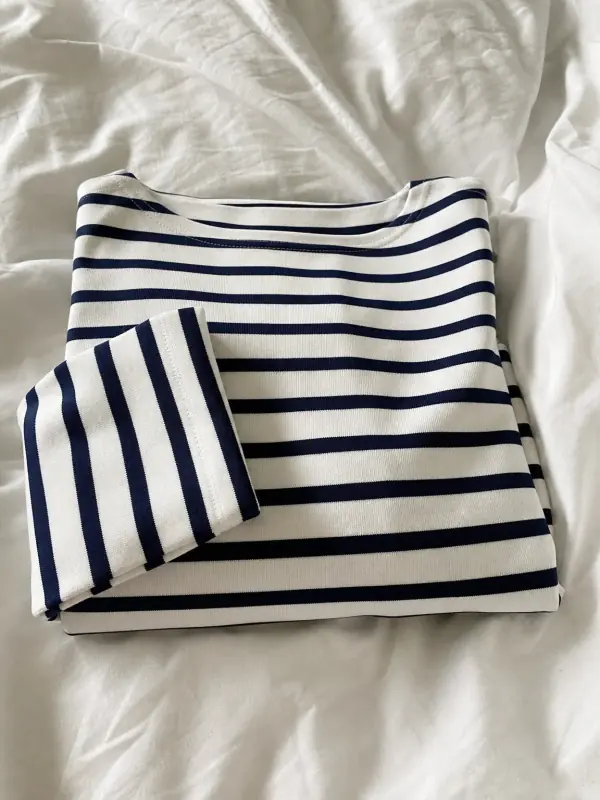
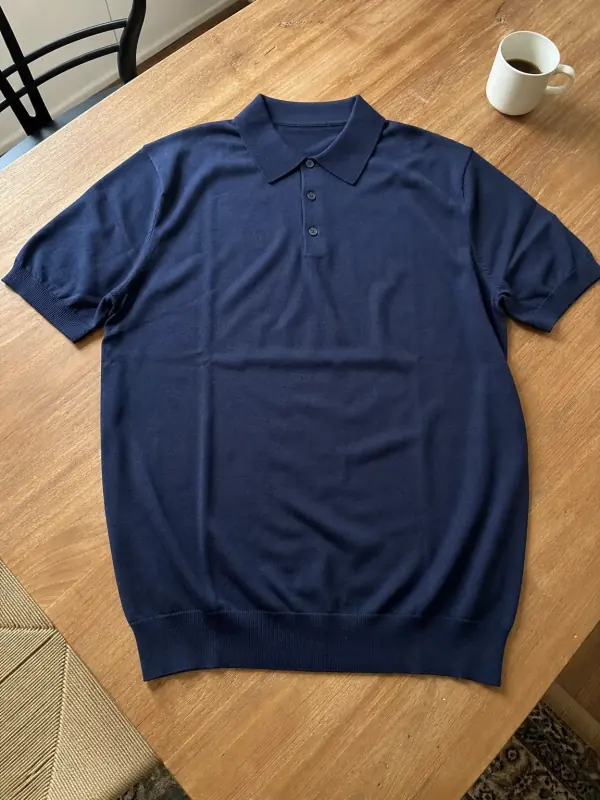
Both pieces were photographed with a phone where they were, folded on a duvet and flat on a kitchen table. The same logic applies to a plain tee.
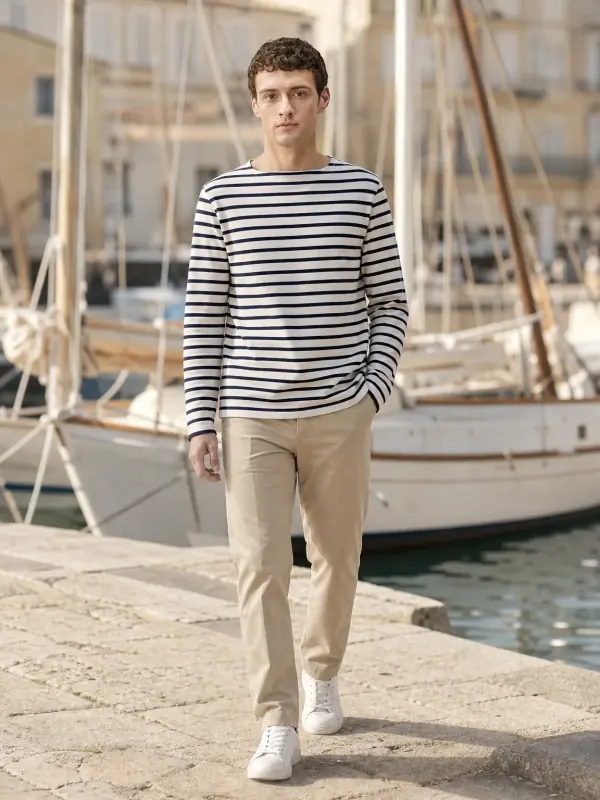
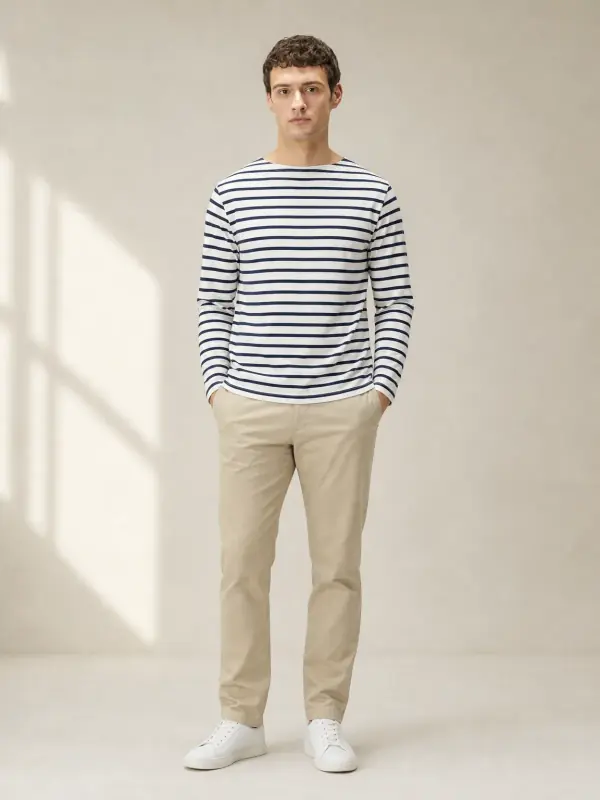
A Breton t-shirt, folded on a duvet
Stripes are where a flat photo lies most, because they bend and bunch. On the model the stripes run straight across the chest, in a harbour scene and in the studio.
 Your photo
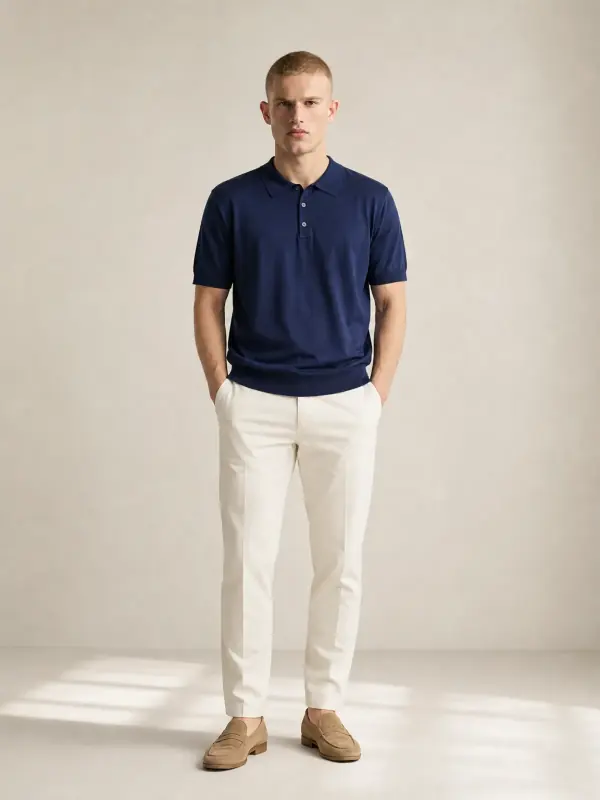
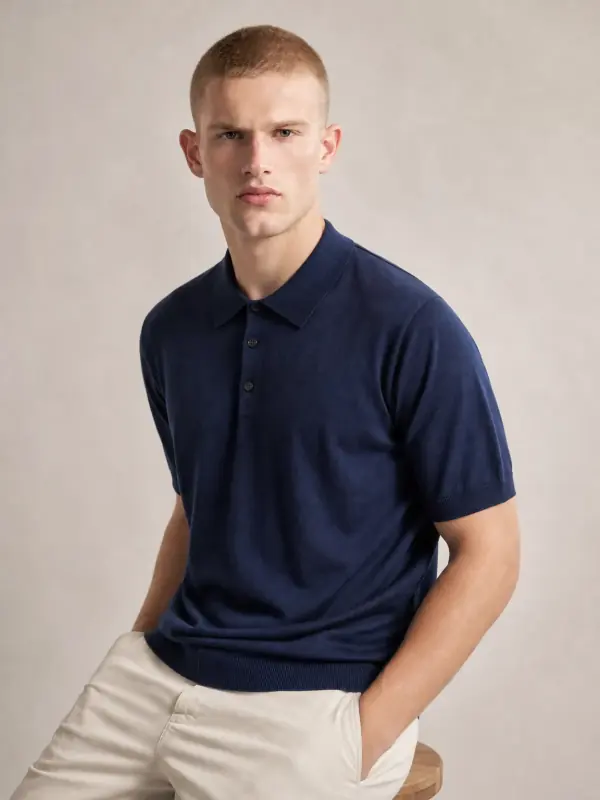
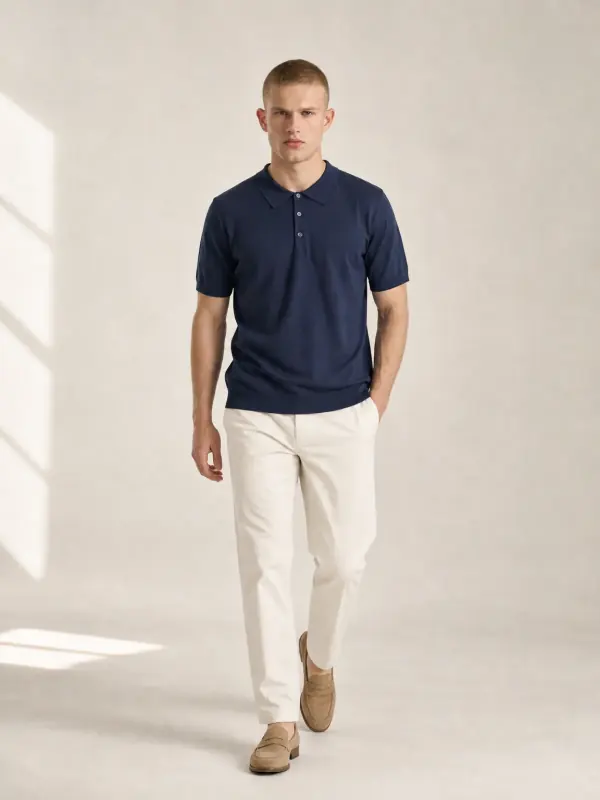
A knitted polo from one kitchen-table photo
A single flat photo gave this set: the rib collar and the knit carry over in the studio, in three-quarter and walking frames. A t-shirt works the same way.
 Your photo
Questions about photographing t-shirts
How do you photograph t-shirts for a website?
Lay each t-shirt flat on a light surface, steamed and squared, and shoot from directly above in soft window light. Add a back view, a neckline and print close-up, the label and one worn photo, and use the same setup for every tee so your product pages match.
How do I take pictures of t-shirts to sell?
Take seven shots: front, back, neckline, print, fabric close-up, label and hem, and one worn photo. Show every flaw honestly, give measurements in centimetres and keep the background plain and light so the shirt is the only thing in the frame.
How do you photograph a t-shirt without a mannequin?
Lay it flat or hang it on a slim wooden hanger; both work without a mannequin. For a worn look, upload the photo to Garmo and it creates an on-model image of the same t-shirt, and the first 3 images are free.
What is the best background for a t-shirt photo?
Light grey or white for coloured tees, light grey for white tees, and a pale surface for black ones. Avoid busy patterns and wrinkled fabric, which compete with the print and make the edges of the shirt hard to read.
How do I photograph a t-shirt print without glare?
Use side light from a window, switch off the flash and the lamps, and keep the phone parallel to the fabric. If a glossy print still shines, move the phone a little or turn the shirt a few degrees until the reflection leaves the graphic.
Tools for t-shirt photos
- Shirts and tops on modelShirts, blouses, polos and t-shirts worn by a model, styled with simple bottoms so the top stays the focus.

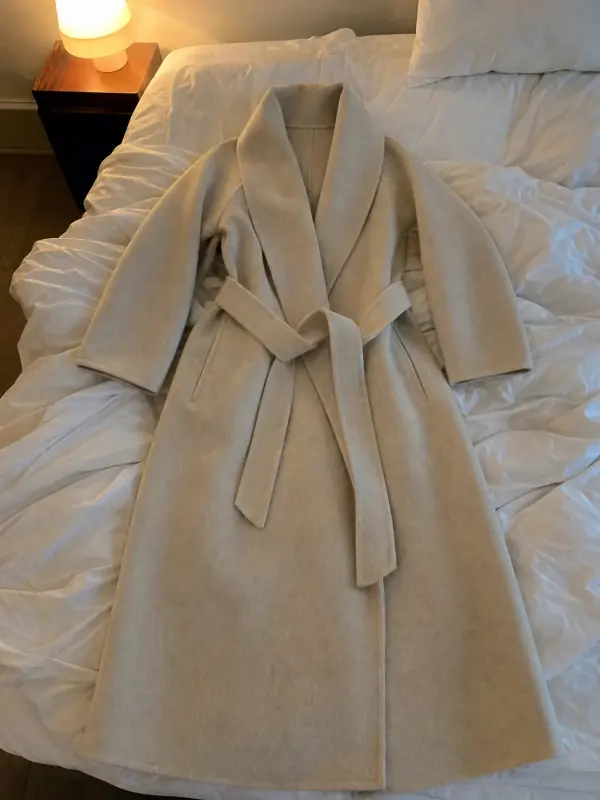 Flat lay to modelLay the garment flat, take one phone photo and get it worn by an AI model from three angles.
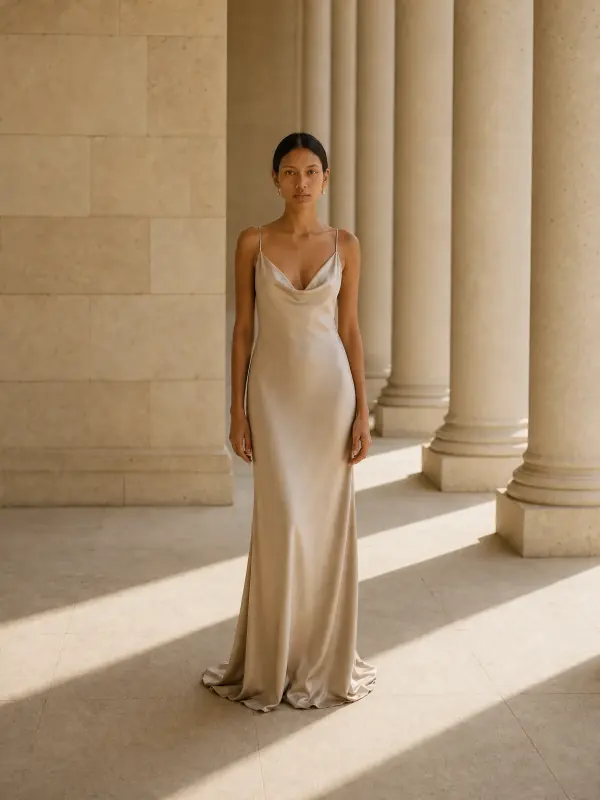
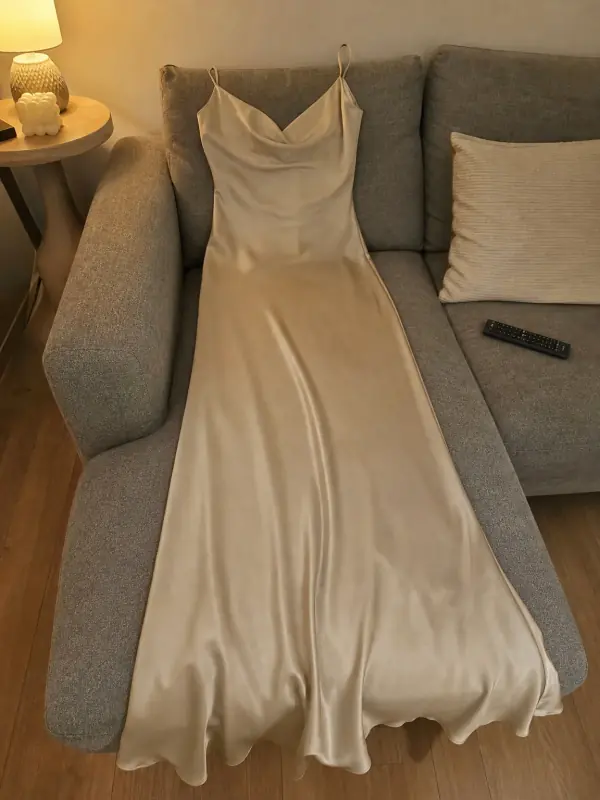 Put clothes on an AI modelUpload a photo of a top, trousers, dress or jacket and see it worn by an AI model, in studio, street or editorial settings.
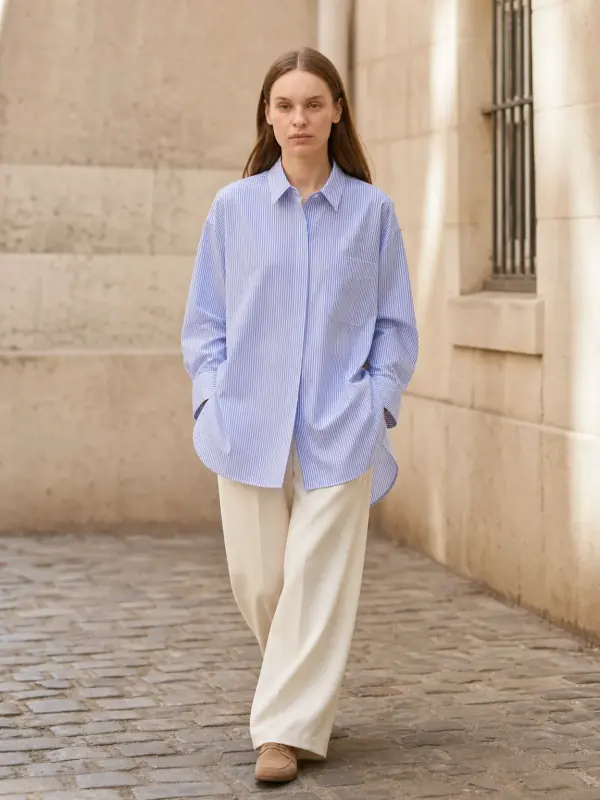
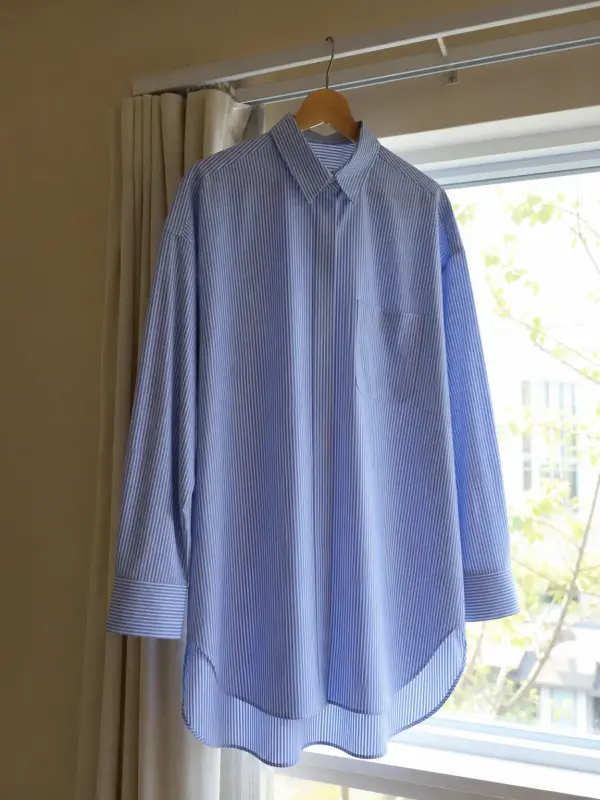 Garment to model AIHang the garment on a door or a rail, take one photo, and get it back worn by a model.
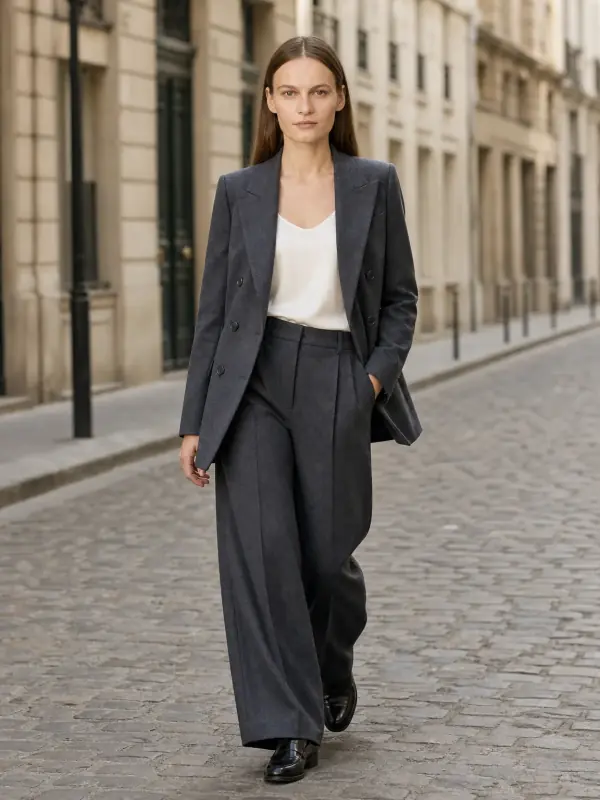
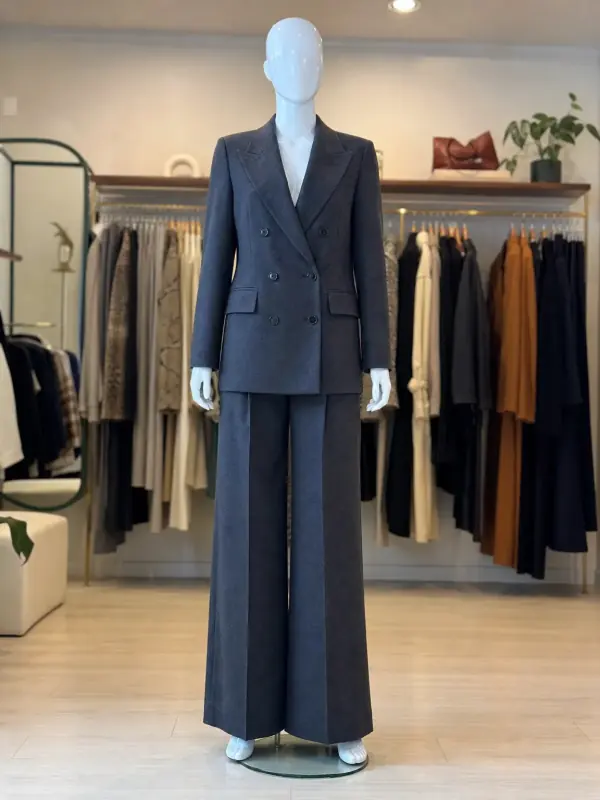 Mannequin to model AIAlready shoot on a mannequin or dress form? Upload that photo as it is and get the same piece worn by a model.

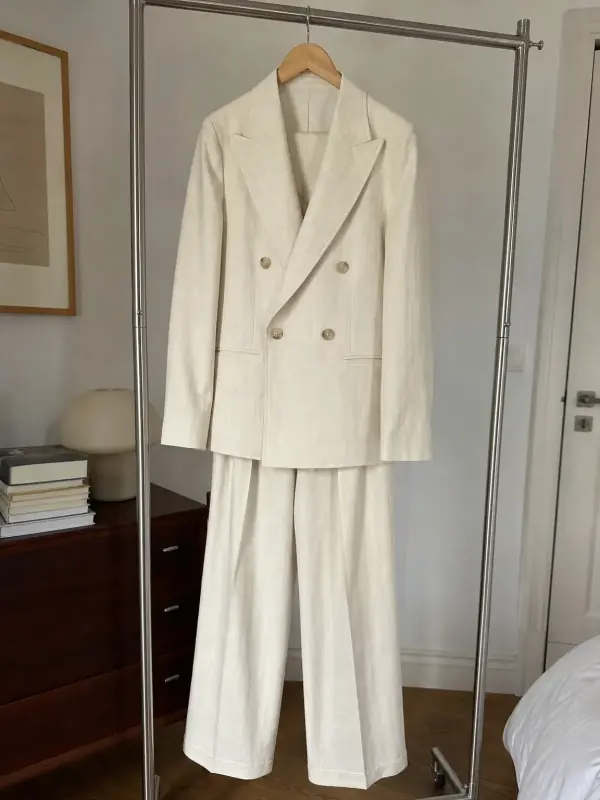 AI model photoshootTurn one product photo into a full photoshoot with a model: studio, street, editorial or a scene you describe, with up to six angles.