 Garmo team
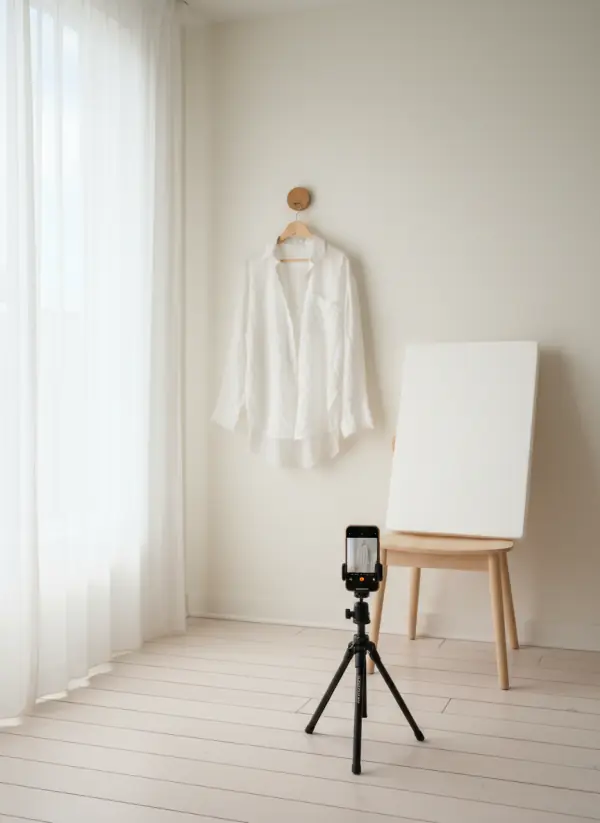
What a clothing photography setup at home needs
Almost everything on this list is already in your home, and the rest costs less than a single hour with a photographer. Once it works, you can photograph a whole rail of garments before you put clothes on an AI model.
A window
The only light source. Soft daylight, no direct sun on the garment.
A plain backdrop
A light wall, or a sheet of white or light-grey poster board.
A foam board
White, the size of a poster. It bounces light into the shadows.
A phone
The main lens, cleaned, with the grid switched on.
A small tripod
With a phone clamp. A shelf or a stack of books works in a pinch.
A table or a hook
A table by the window for flat lays, a wall hook for hanging.
Clips and tape
Binder clips and masking tape hold the backdrop and mark the floor.
Steamer, lint roller
Ten minutes of prep beats an hour of editing.
Light: where the window goes and what to switch off
Soft window light is the whole secret of a good clothing photography setup at home. Place the garment about one metre from a window that does not get direct sun, so the light is bright but gentle; an overcast day works better than a sunny one. If sun falls on the glass, hang a sheer curtain or a white sheet over it to soften the light.
Switch off every lamp in the room. Ceiling bulbs are yellow, daylight is blue, and a garment lit by both comes out with a colour cast that no editing app removes cleanly. Light from one side also gives the fabric a little shape, where light from the front makes it flat.
Shoot a whole batch within an hour or two, because the light changes through the day and your listings will not match otherwise. The product photography lighting setup guide goes deeper on direction and colour.
A DIY clothing photography backdrop that does not wrinkle
The best clothing photography backdrop at home is the one you already have: a plain light wall without a texture, a skirting board or a switch in the frame. If the wall is not clean, use a sheet of poster board, about 70 by 100 cm, from any art shop. It stays flat, has no seams and costs a few euros.
Choose light grey for white and pale clothes and white for everything else; pure white next to a white shirt makes the edges disappear. Avoid fabric, which wrinkles and shows every fold in a close-up. Black and busy backdrops make dark clothes hard to read.
The product photography background post compares more colours and surfaces if you sell something unusual.
A clothing photography table setup in ten minutes
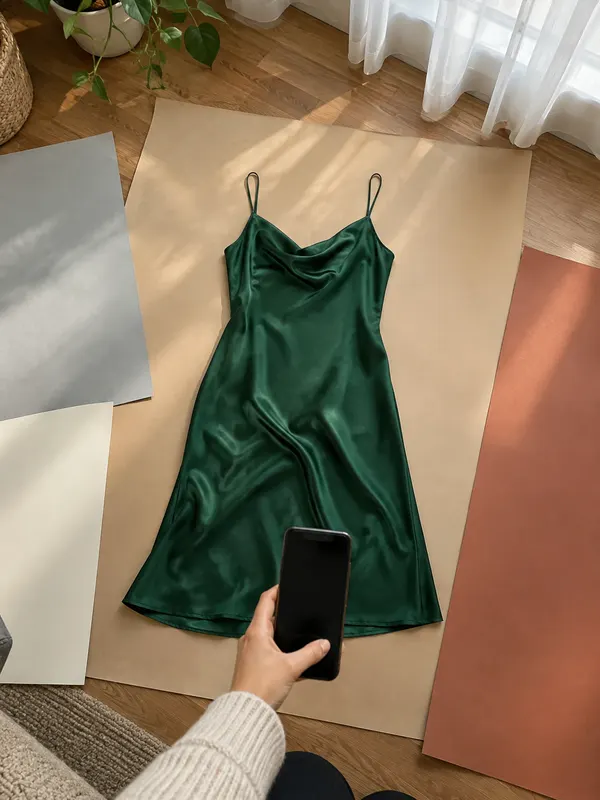
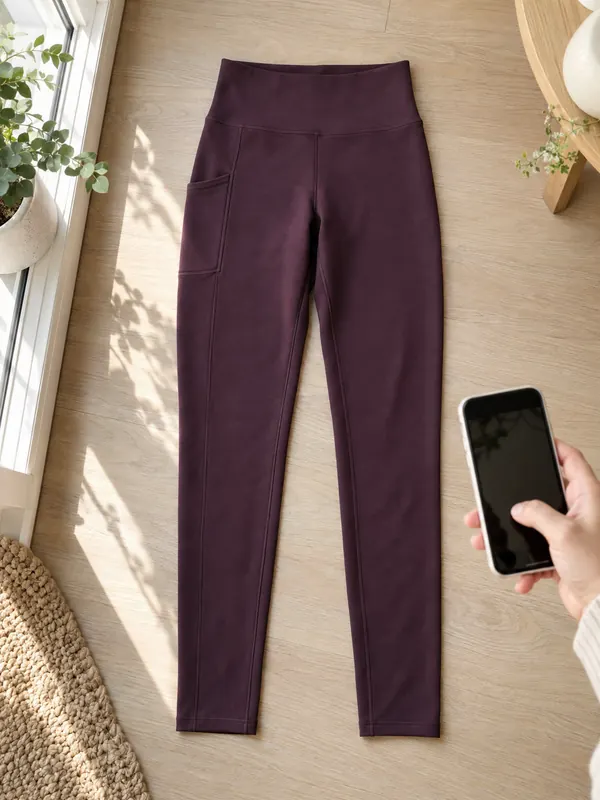
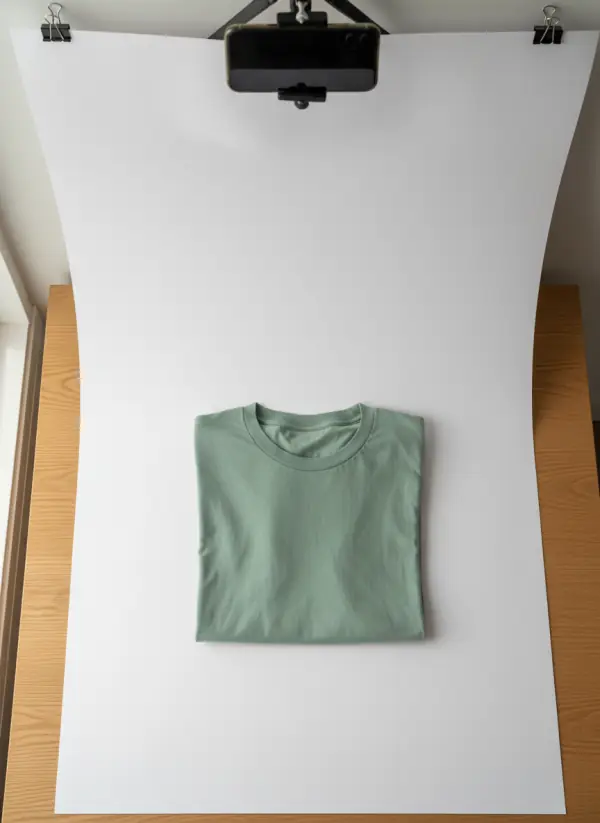
Push a table against the window, tape a sheet of poster board to the wall behind it and let it curve down onto the tabletop: this seamless sweep gives a soft, shadow-free background with no visible horizon. Hold the top edge with binder clips and lay the garment in the middle with space around it. A folded t-shirt, a sweater or a pair of trousers all work.
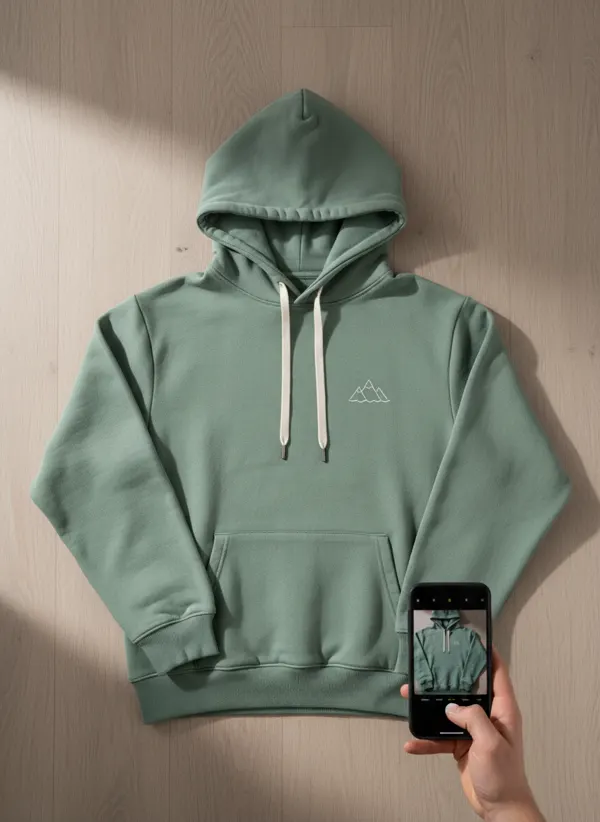
Put the phone directly above the garment on a tripod with a horizontal arm, a phone clamp on a shelf, or two stacks of books with the phone between them. Keep it about 80 to 100 centimetres above the table, parallel to the surface, so the garment keeps its real proportions. The flat lay photography for clothing guide shows how to arrange sleeves and hems.
A flat lay is also the easiest starting point for on-model photos: the flat lay to model tool is built for exactly this kind of photo.
Hanging clothes: hook, hanger and a foam board
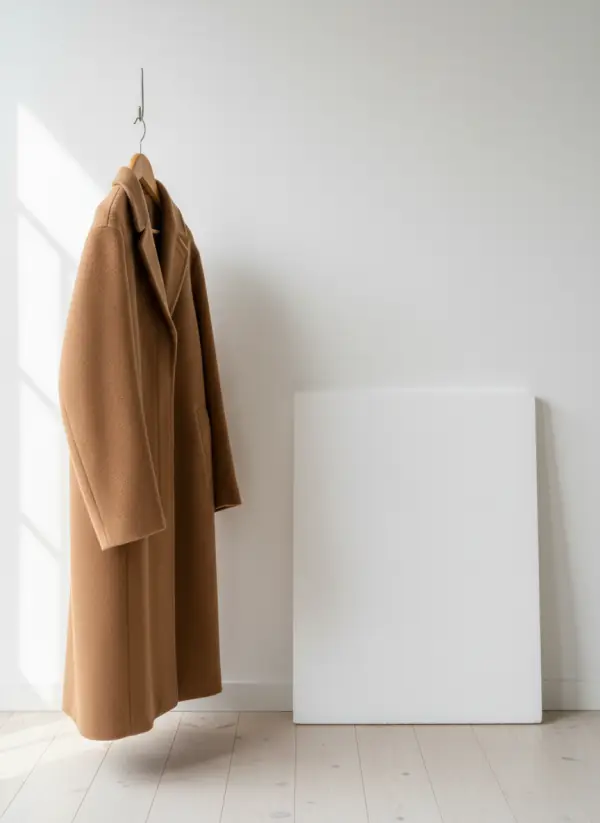
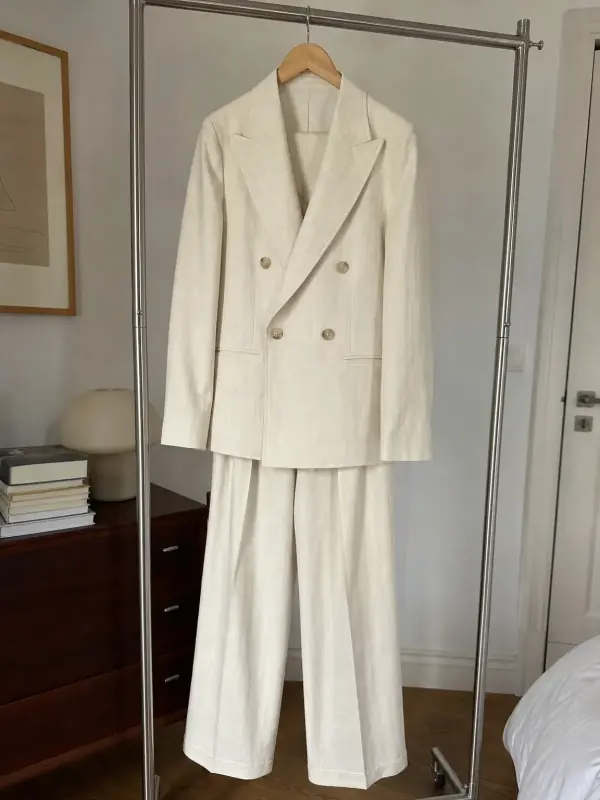
For coats, shirts and dresses, hang the garment on a hook at about eye height, on a hanger as wide as its shoulders. A wire hanger pulls the shoulders into points, so keep a few wooden ones for photos. The photographing clothes on a hanger post covers hangers, creases and angles in detail.
Put the window to one side of the garment and a white foam board on the other, about 30 to 50 centimetres from the fabric. The board bounces the window light into the shaded side, so the garment is evenly lit without a second lamp. Move it closer for deeper shadows to disappear, further for a bit of shape.
A hook on a door or a wall is fine; just keep the wall behind it plain and the garment a few centimetres off it so it does not press flat. If you have a mannequin, the same light works, and the photo can go to mannequin to model later.
Phone, tripod and camera settings
Put the phone on the tripod at the height of the garment centre, about 1.5 to 2 metres away for hanging shots, and zoom with your feet rather than the camera. Use the main lens, not the ultra-wide, which stretches the edges. The point of a clothing photography setup is repeatability, so mark the tripod feet and the garment position with masking tape on the floor and every photo is framed the same way.
Switch on the grid and keep the garment centred with an even margin. Tap the fabric to focus and slide the brightness down until a white garment reads white, not grey. Use the three-second timer or earbuds as a shutter, so your hand does not shake the phone.
Shoot vertically in a 4:5 frame, the shape most shops and marketplaces show, and clean the lens with a cloth first, since a smudge softens every photo. The phone product photography guide covers more camera settings.
From a home setup to photos on a model
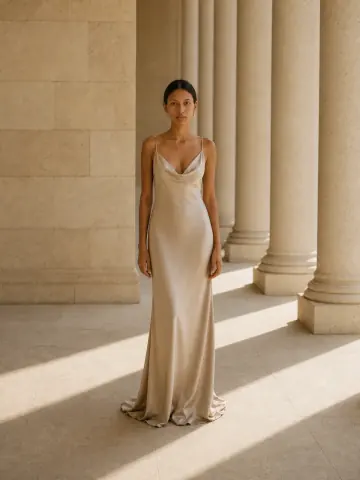
A clean photo from your clothing photography setup is also the best starting point for an on-model image. Upload it to garment to model or the other tools linked on this page, and Garmo dresses one of 42 ready models (22 women and 20 men) in the same garment, in a studio, street or editorial setting and in the ratio your shop uses. The first 3 images are free.
Garmo copies the garment from your photo, so the room behind it does not carry over: the poster board, the hook and the table stay out of the result. What does carry over is what is on the fabric. Creases, lint and a colour cast from a yellow lamp are worth fixing first, and the prep checklist for clothes shows how.
You still need the real photo, though. Buyers on Vinted, Wallapop or Etsy expect to see the actual garment, so keep a plain front, back and detail photo from your setup next to the model images.
Home setup shots, then a model: two examples
Both garments were photographed with a phone where they were, on a table and on a floor. They show what a plain, well-lit home photo gives Garmo to work with.
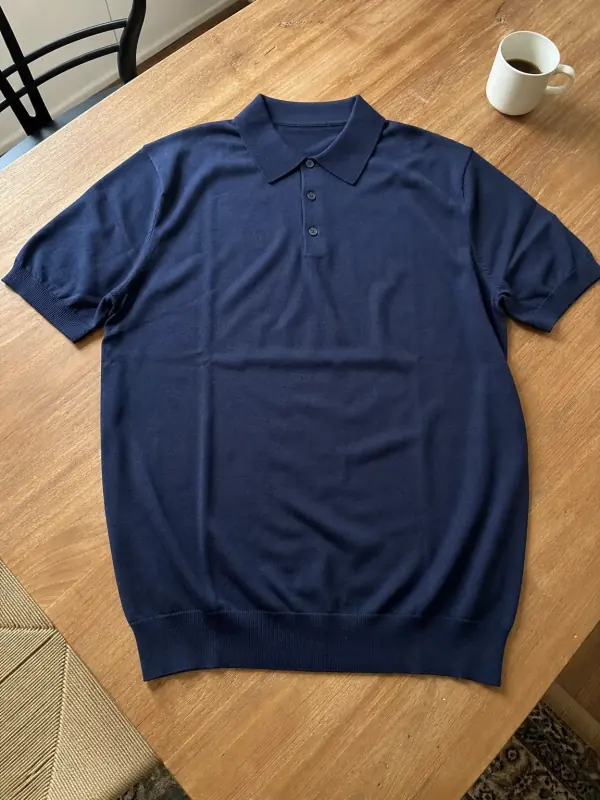
A knitted polo on a wooden table
A flat lay on a wooden table next to a coffee cup, shot in daylight. On the model the knit, the collar and the colour carry over cleanly in the studio, the street and a walking frame.
 Your photo
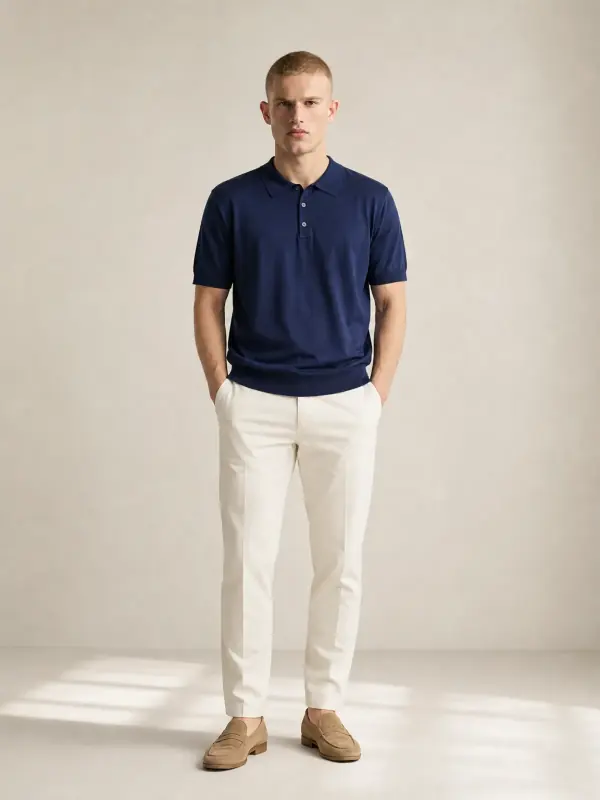
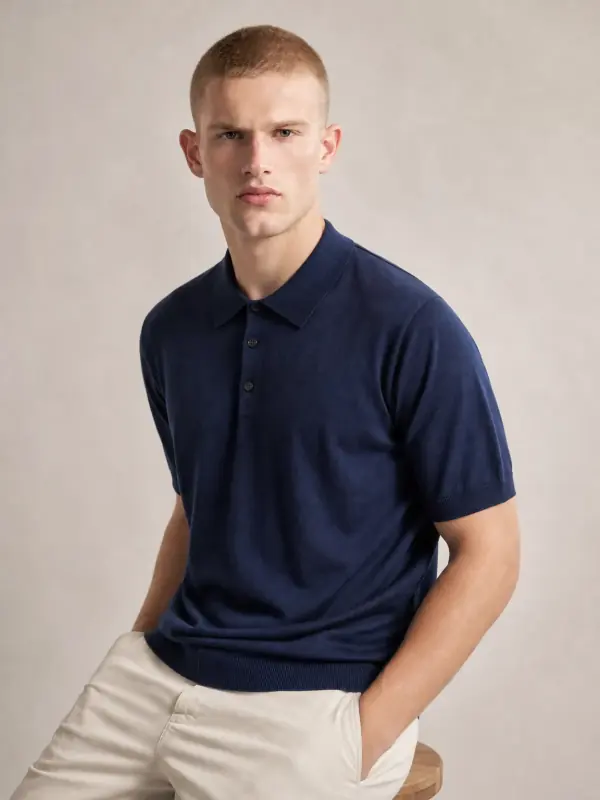
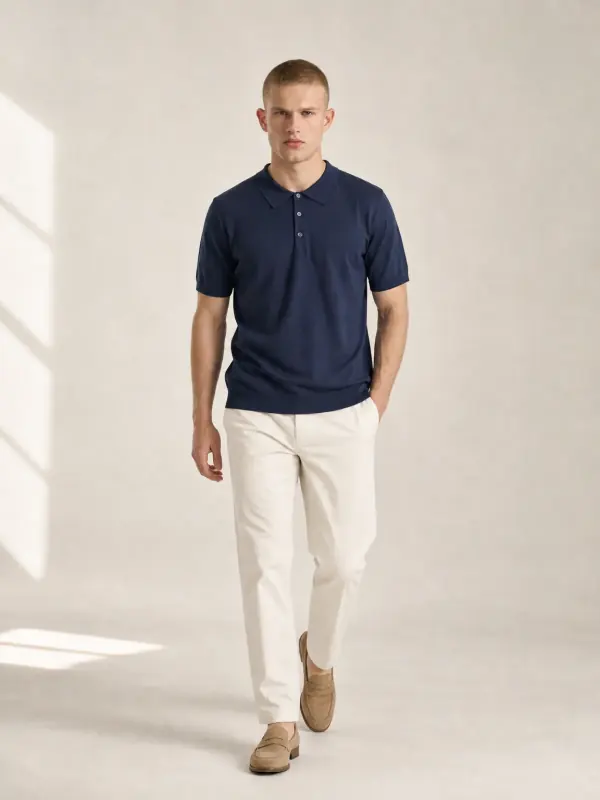
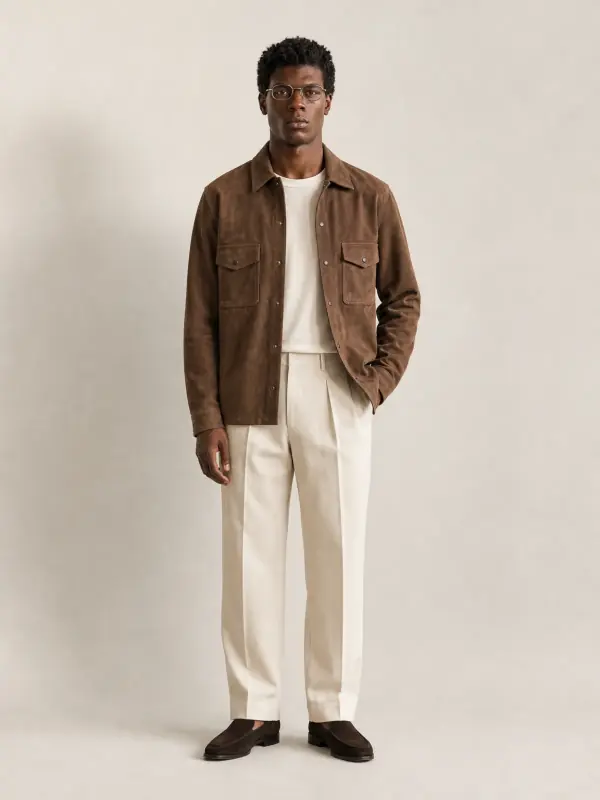
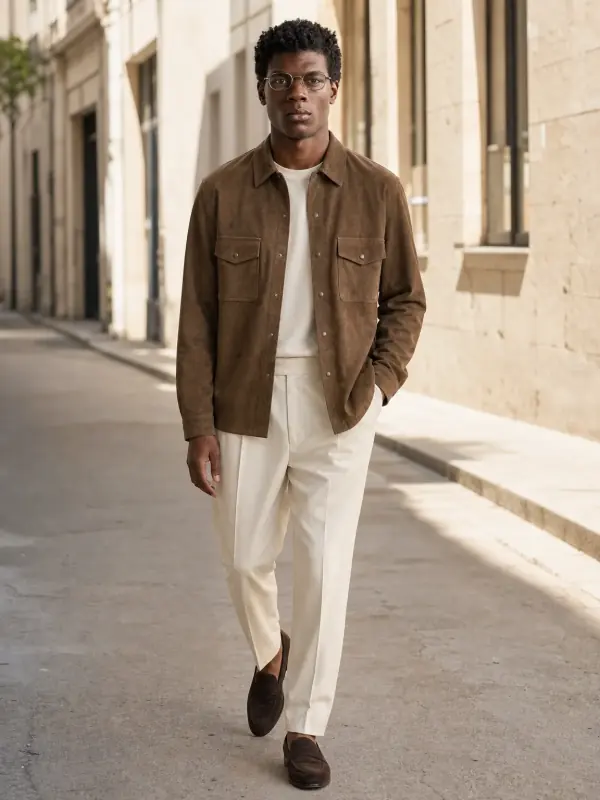
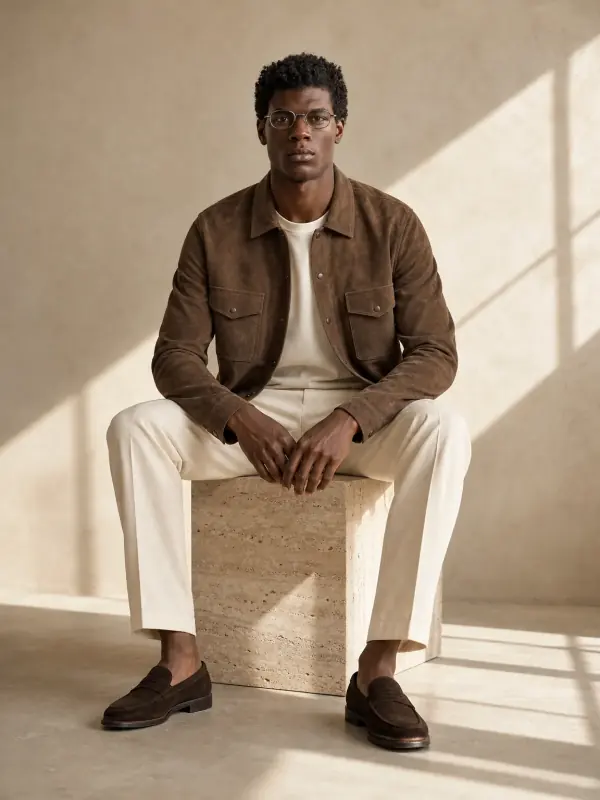
A suede overshirt on a floor in hard sun
Not the ideal light, since the sun is harsh, but the garment is laid straight and the shape is clear. On the model it sits in three different scenes with its colour and texture intact.
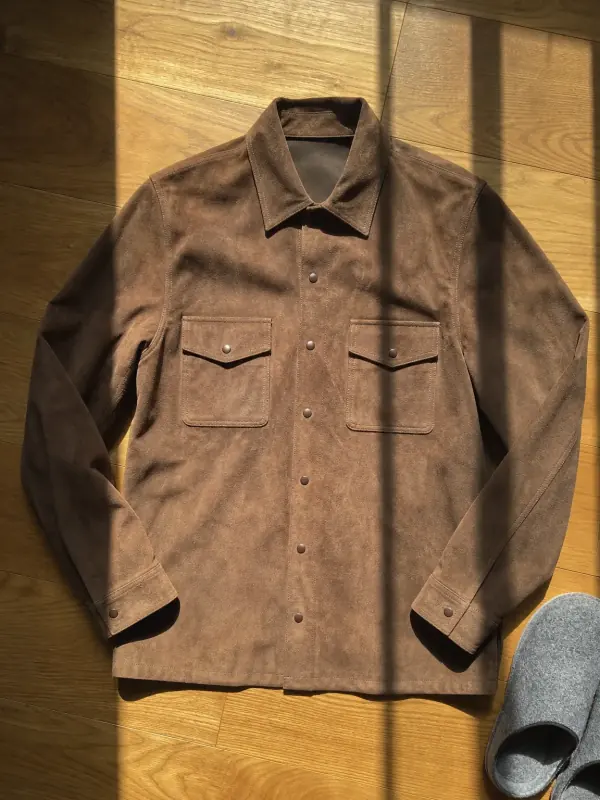 Your photo
Questions about a clothing photography setup at home
How do I set up a clothing photography studio at home?
Use a window for light, a plain wall or poster board as a backdrop, a table for flat lays or a hook for hanging, and a phone on a tripod. Switch off the room lights, add a white foam board opposite the window, and shoot every garment from the same spot.
What is the best backdrop for clothing photography?
A plain light wall or a sheet of white or light-grey poster board. Pick light grey for white clothes so the edges stay visible. Avoid fabric, which wrinkles, and dark or patterned surfaces, which hide the garment.
Can I take good clothing photos with just a phone?
Yes. A modern phone is enough if the light is soft, the garment is pressed and the phone is steady on a tripod. Light and prep matter more than the camera, and a clean photo is all Garmo needs for on-model images.
Where should I place the window light?
To one side of the garment, about a metre away, with no direct sun on the fabric. Put a white foam board on the opposite side to fill the shadows. Switch off ceiling lights so the colours do not mix.
How much does a DIY clothing photography table setup cost?
Very little. A table, poster board, binder clips and a phone you already own are enough; a small tripod and a foam board are the only things most people buy, and both are inexpensive at any art or office shop.
Tools for photos taken at home
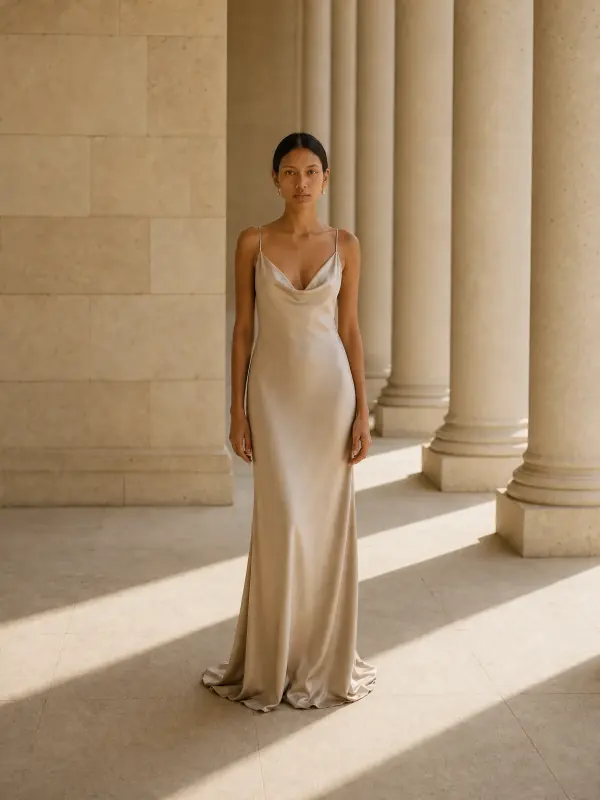
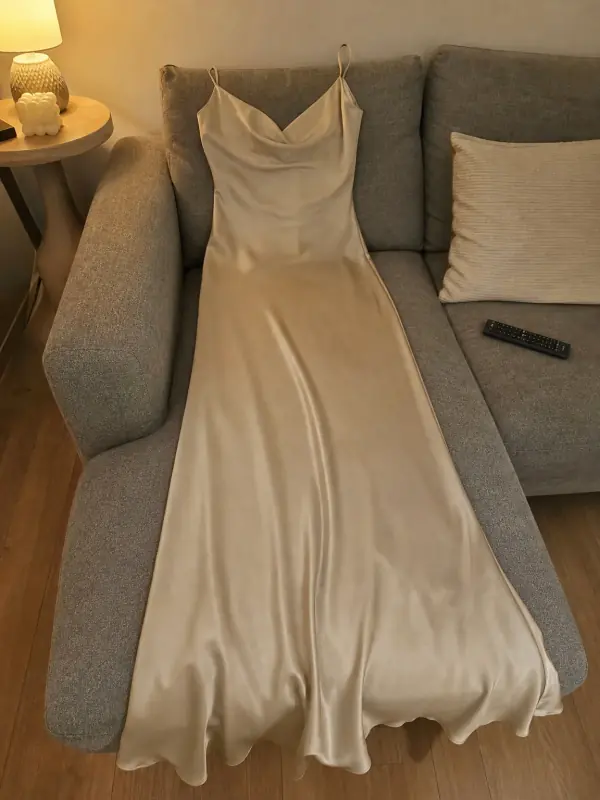 Put clothes on an AI modelUpload a photo of a top, trousers, dress or jacket and see it worn by an AI model, in studio, street or editorial settings.
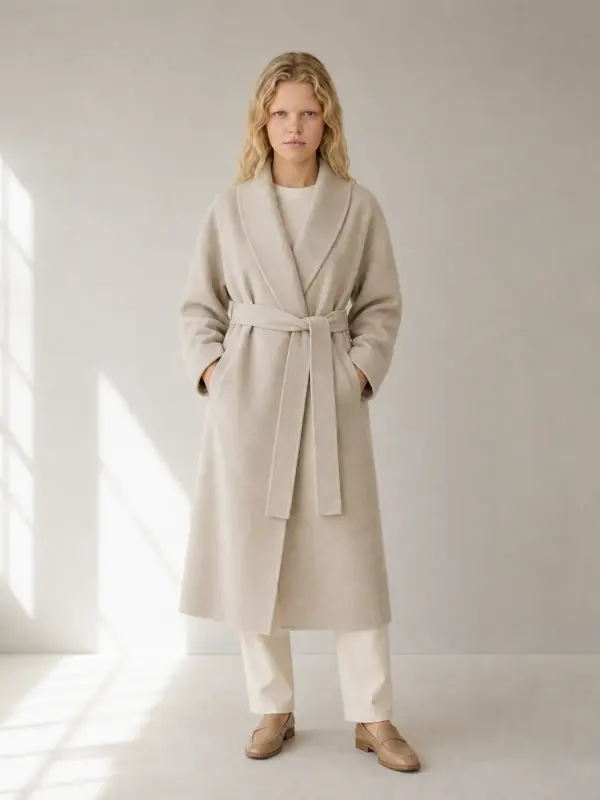
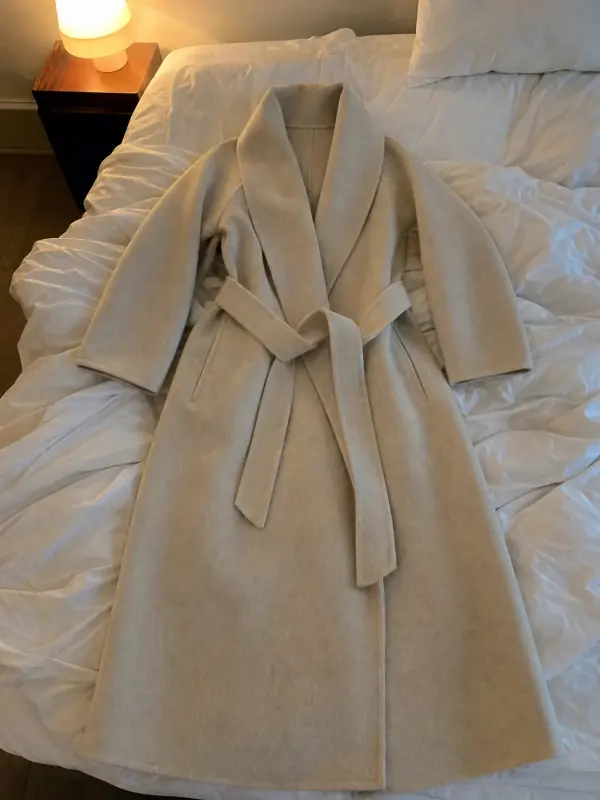 Flat lay to modelLay the garment flat, take one phone photo and get it worn by an AI model from three angles.
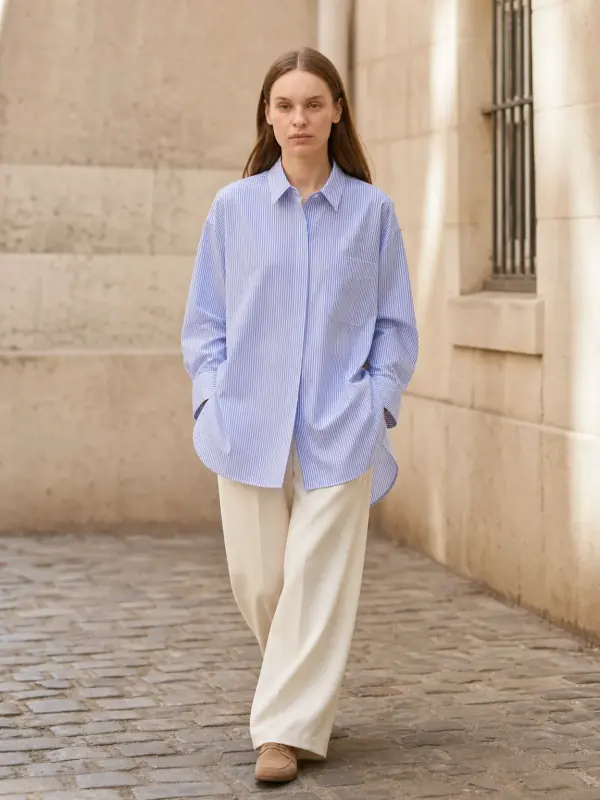
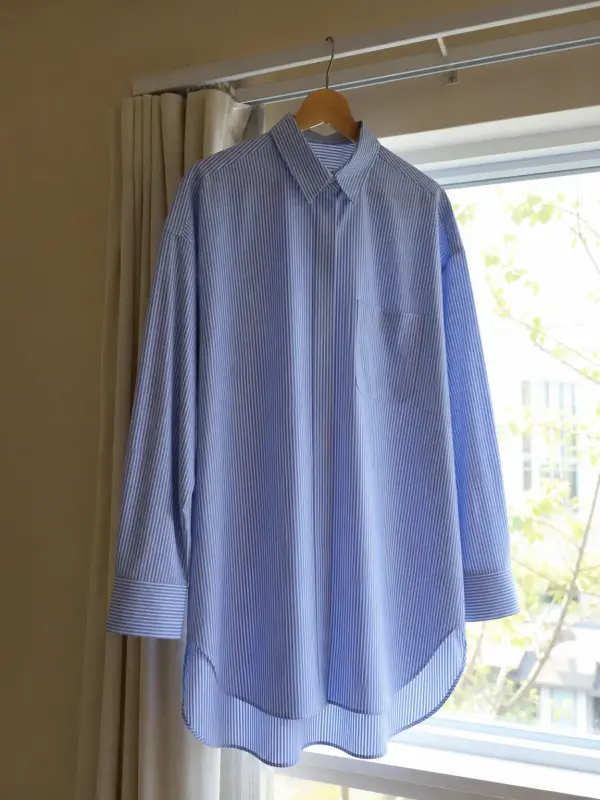 Garment to model AIHang the garment on a door or a rail, take one photo, and get it back worn by a model.
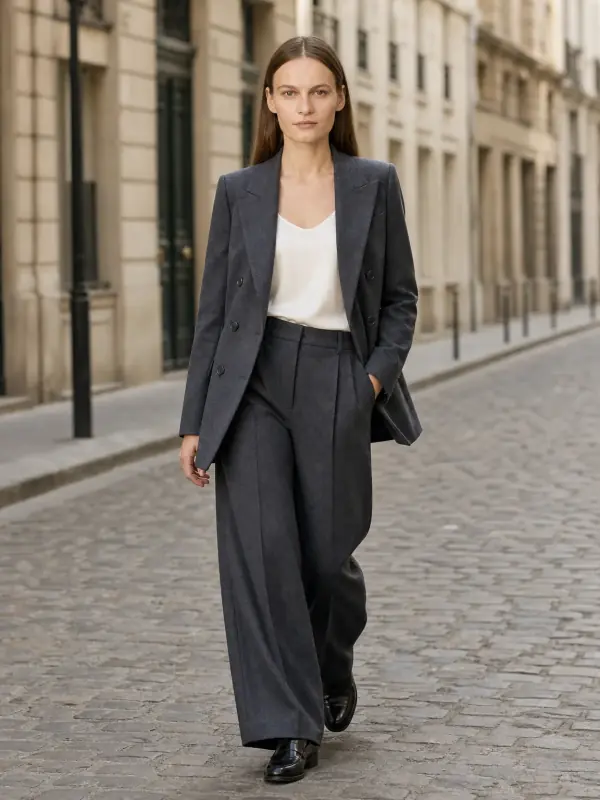
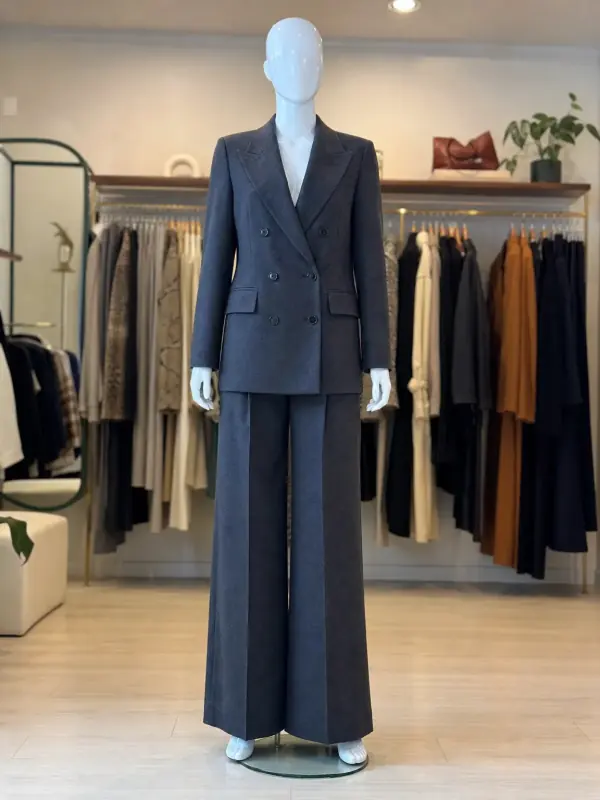 Mannequin to model AIAlready shoot on a mannequin or dress form? Upload that photo as it is and get the same piece worn by a model.
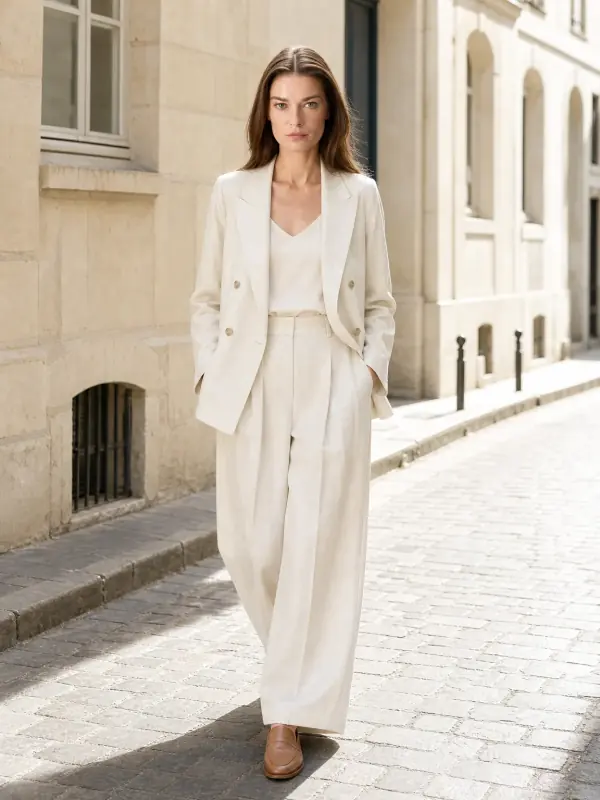
 AI model photoshootTurn one product photo into a full photoshoot with a model: studio, street, editorial or a scene you describe, with up to six angles.
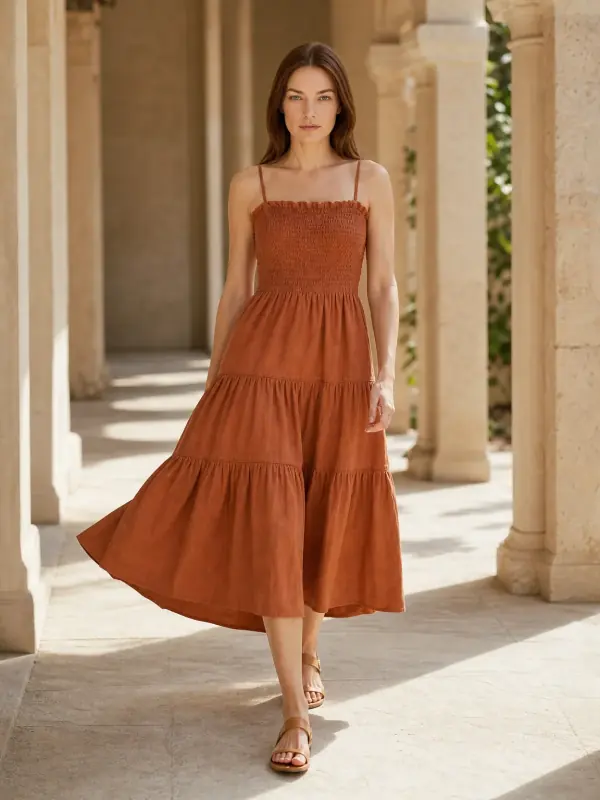
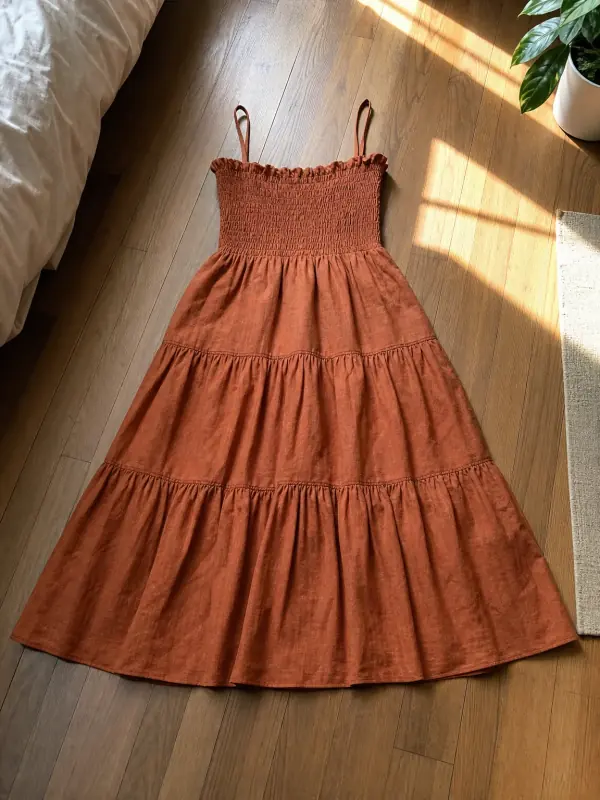 AI product photography with modelsClothing, jewelry and shoes photographed on models from one phone photo, with product-only shots for jewelry and shoes.