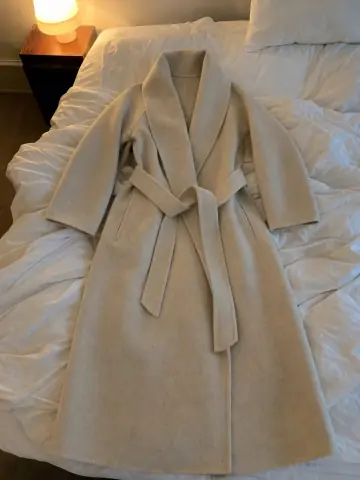
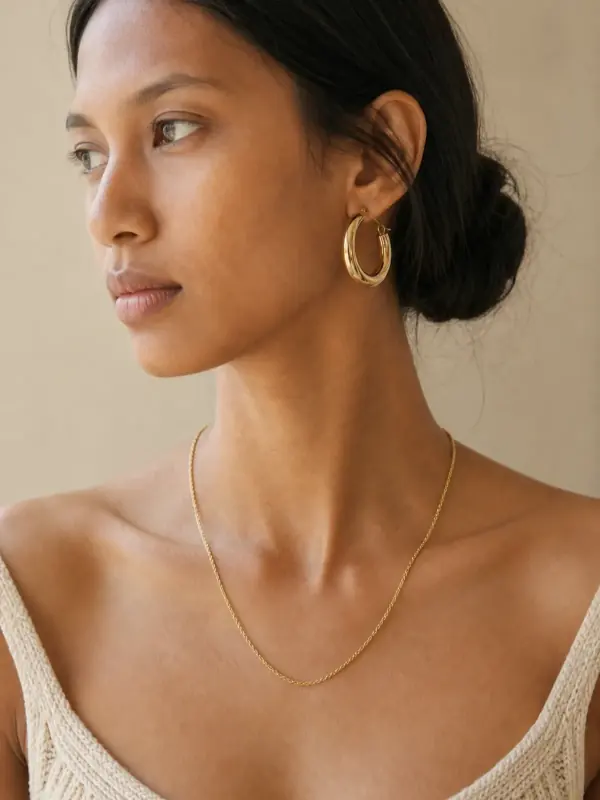
 Garmo team
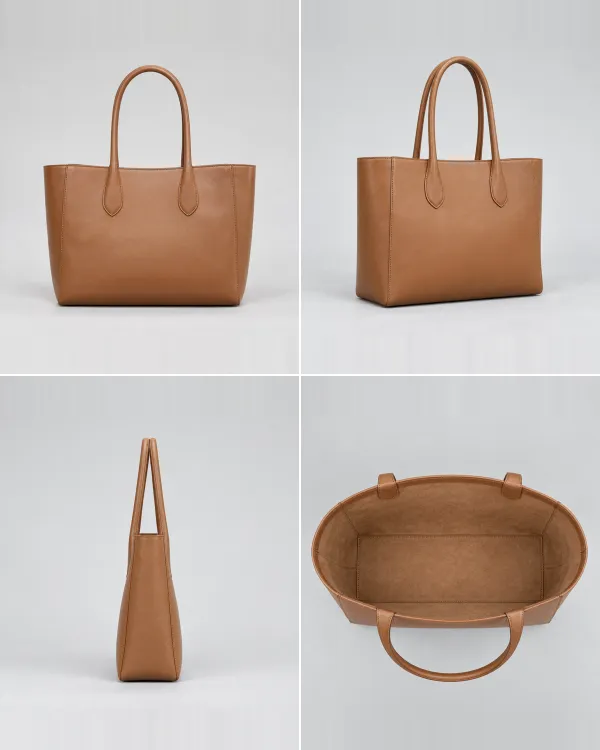
The 8 product photography angles every listing needs
Not every product needs all eight, but checking against this list catches the photo a buyer would miss.
Front
The main image. Straight on, centred, the whole product visible. This is what shoppers see in search results.
Three-quarter
Turned about 45°. Shows front and side together and gives depth, which makes it the most natural-looking angle.
Side
Shows thickness and profile: the depth of a bag, the heel of a shoe, the length of a coat from the side.
Back
Shoppers want to see it. Zips, pockets, prints and seams on the back are a frequent reason for returns when missing.
Top or overhead
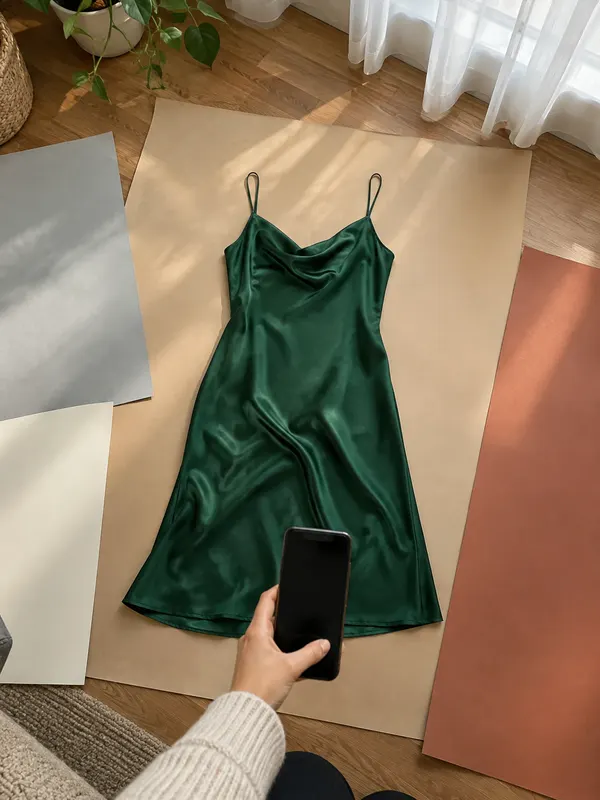
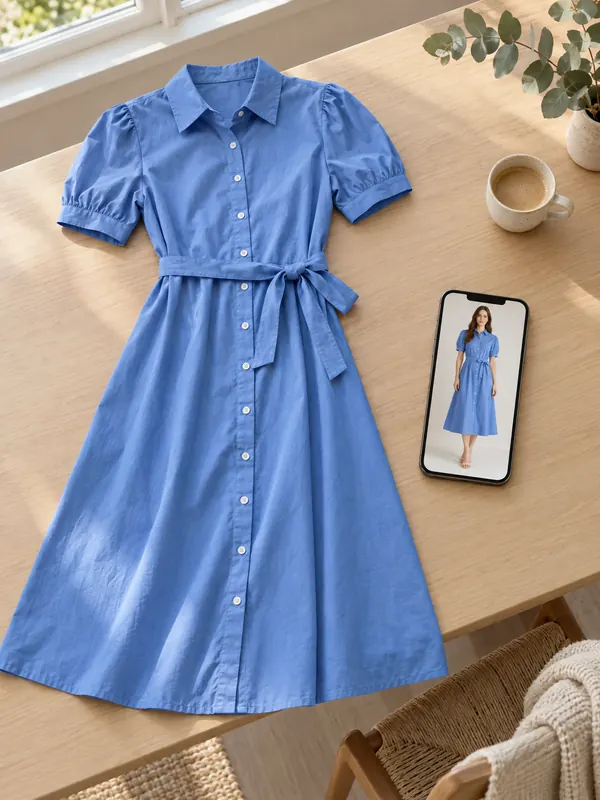
For bags, boxes and shoes: the opening, the inside and the shape from above. For clothing, the flat lay.
Detail close-up
Fabric, stitching, hardware, engraving. One close-up of what makes the product worth its price.
Scale
On a model, in a hand or next to a familiar object, so the buyer understands the size.
Label, sole or inside
Brand label, size tag, care label, the sole of a shoe, the lining of a bag. It answers questions before they are asked.
Camera height and lens for each product
The same product looks different from different heights. Pick one height per product type and keep it for the whole range, so your shop looks consistent. For clothing on a model, shoot from about waist height for a full-length photo; from eye level the legs look shorter. For bags, a little above the middle of the bag, angled slightly down, so the opening reads. For shoes, low, at the height of the sole, with a few photos from above.
Flat lays are shot from directly above, with the camera parallel to the surface; tilt it and the garment looks wider at one end. Jewellery and small items need a close focus distance, so use the phone’s macro mode or a 2x lens from a little further away rather than the wide lens close up.
The wide lens of a phone distorts what is near it: a bag shot from close up gets a big front and a small back. Step back and use the 2x or 3x lens, and the product keeps its real proportions.
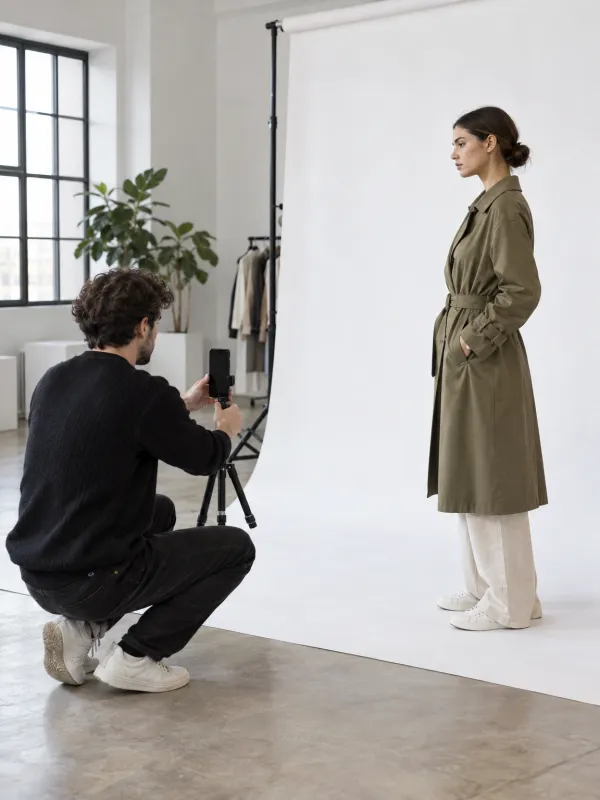
How many photos, and in what order
More angles help, as long as each one shows something new. eBay lets sellers add up to 24 photos per listing (checked on 12 November 2026), and most shops and marketplaces allow at least eight or ten. Six to eight good product photography angles cover most products; add more for items with many details, like handbags and boots.
Order matters more than number. Put the clearest full view first, because that is the thumbnail. Then the three-quarter, the back and the side, then details, then scale and label. Keep the same order for every product, so shoppers learn where to look. If you have an on-model image, test it as the first photo for clothing; for accessories the plain front usually stays first.
For bags, the guide to photographing handbags for sale lists the extra angles, like the strap drop and the inside pockets. For a full shoot plan, see the AI fashion photography shot list.
Product photography angles by product type
The eight angles are a checklist; each product type leans on a few of them. Clothing needs front, back and side on a model plus one fabric close-up, and a flat lay if you sell on marketplaces where shoppers compare items side by side. Shoes need both sides, the heel, the sole and a top view of the toe shape; shoppers check whether the pair is symmetrical, so photograph both shoes, not only one.
Bags need the front, the side for depth, the inside and the strap drop on a model, because the size of a bag is hard to judge without a body. Jewellery needs a macro detail of the stone or engraving and a scale shot on a hand, ear or neck. Whatever the product, write down your product photography angles once, as a list with heights and order, and reuse it for every new item. That list is what makes a shop look consistent, more than any camera.
Common angle mistakes
These are the issues that make a set of product photos feel unreliable.
Only the front
One angle leaves the shopper guessing. A missing back is the most common gap.
Changing heights
Each photo shot from a different height looks like a different product.
Changing light between angles
A dark back photo looks like a different colour. Keep the light fixed and turn the product, not the lamp.
Random order
Front, detail, back, front again: shoppers lose track. Use one order for the whole shop.
Wide lens close up
Distorts proportions. Step back and zoom in.
Angles and poses for clothing on a model
On a model, angles become poses. These five cover how a garment fits and moves.
- 01
Standing front
Arms relaxed, weight on both feet. The neutral reference photo for fit and length.
- 02
Three-quarter turn
Shows the side seam, the drape and the cut in one image.
- 03
Side profile
Length of a coat, the line of a trouser, the fit of the back of a dress.
- 04
Back
Back details and how the garment sits on the shoulders.
- 05
Movement
Walking or turning: how the fabric moves. The guide to fashion model poses has more.
Filling missing angles with the AI pose changer
Shoot days rarely give you every angle. With Garmo’s AI pose changer you upload one on-model photo and pick the poses you need: standing, three-quarter turn, side, back, walking, seated, hands in pockets or leaning. Each pose comes back as a new image with the same model, garment, light and background, framed full length, knee up or waist up.
The back is the angle that AI cannot know. If the garment has a print, a zip or a pleat on the back, add a real photo of the back and Garmo copies it exactly; without it, the back is a plausible guess and should not be used for items whose back is different from the front. You can also describe a custom pose or upload a reference photo of the pose you want. For a seated frame, sitting poses for a photoshoot explains which seat and camera height keep the garment visible.
Each pose is one image and uses one credit; the first 3 images are free. For bags, shoes and jewellery, angles on a model work the same way through the bag on model and AI shoe photography tools.
Pick a pose
Every angle, from one photo.
One finished photo becomes a full set of poses with the same model and outfit.
Pose changer examples
Each outfit was photographed once; the other angles were made from that photo.
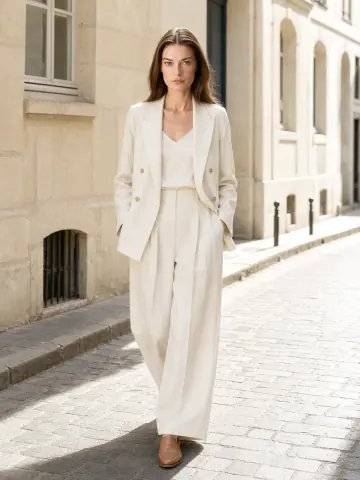
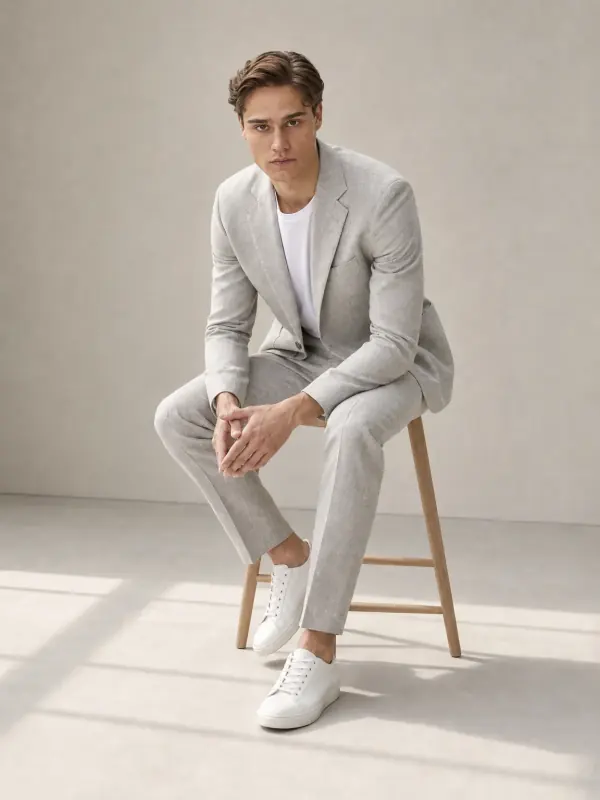
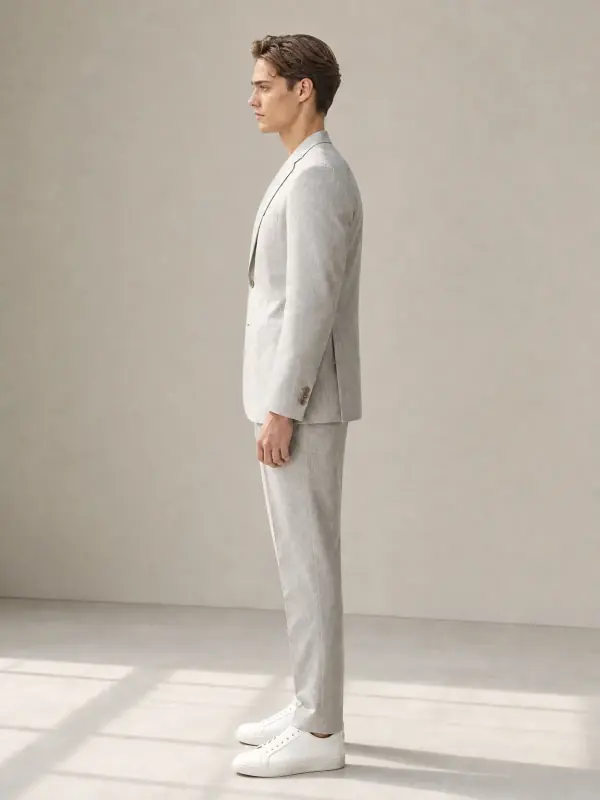
Suit: standing, seated and side
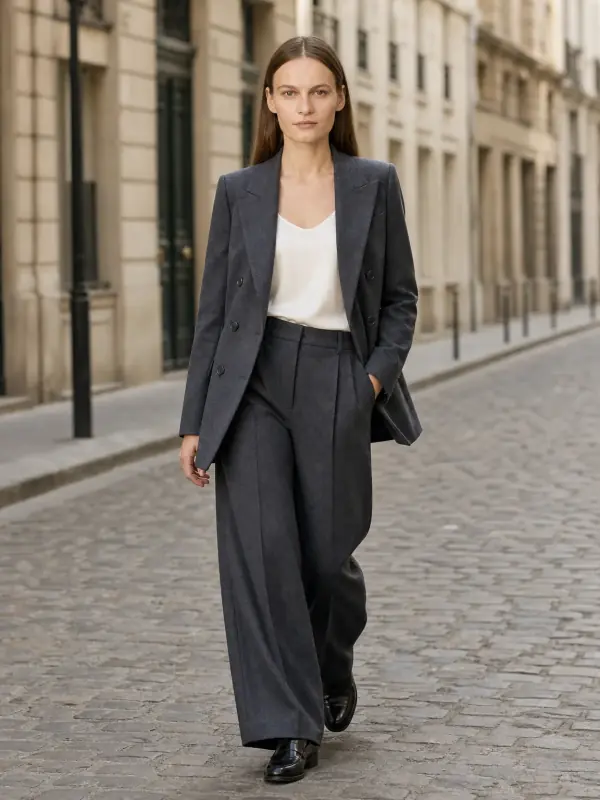
The cloth, the lapels and the trouser break carry over to every pose; the side view shows the jacket length a front photo can’t.
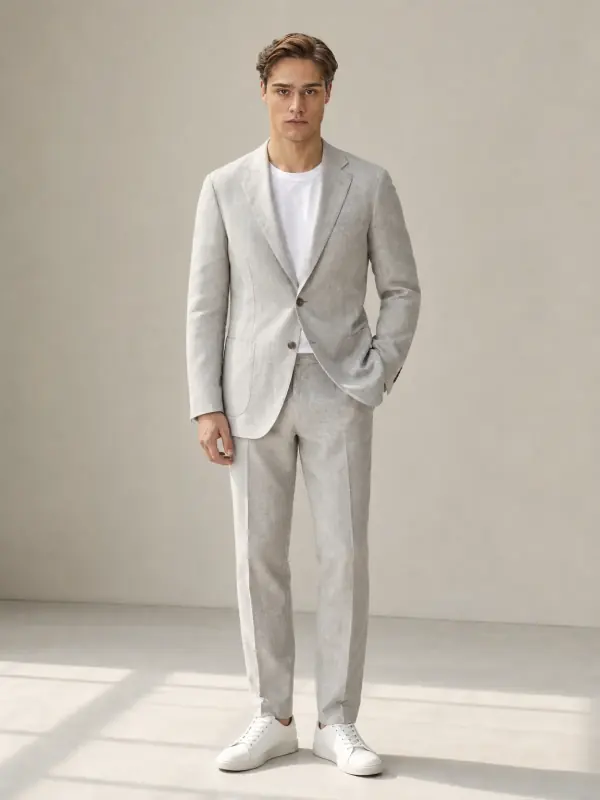 Your photo
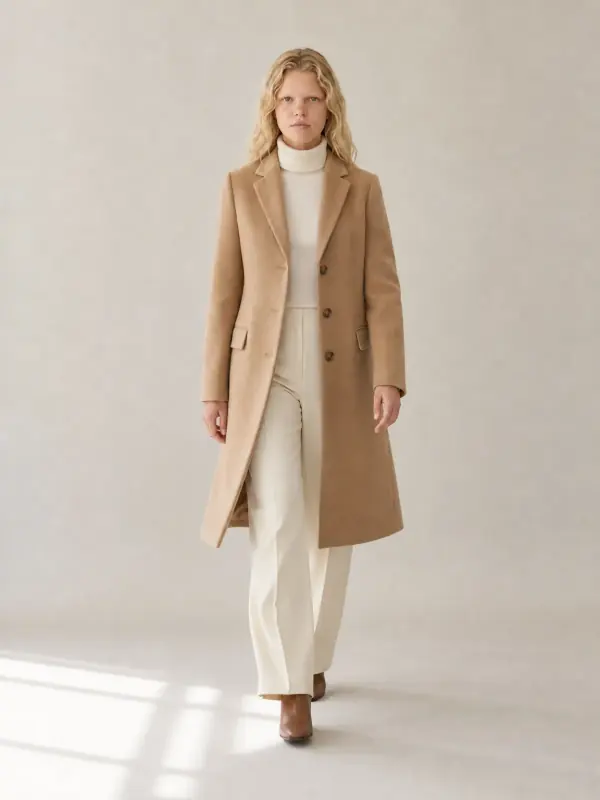
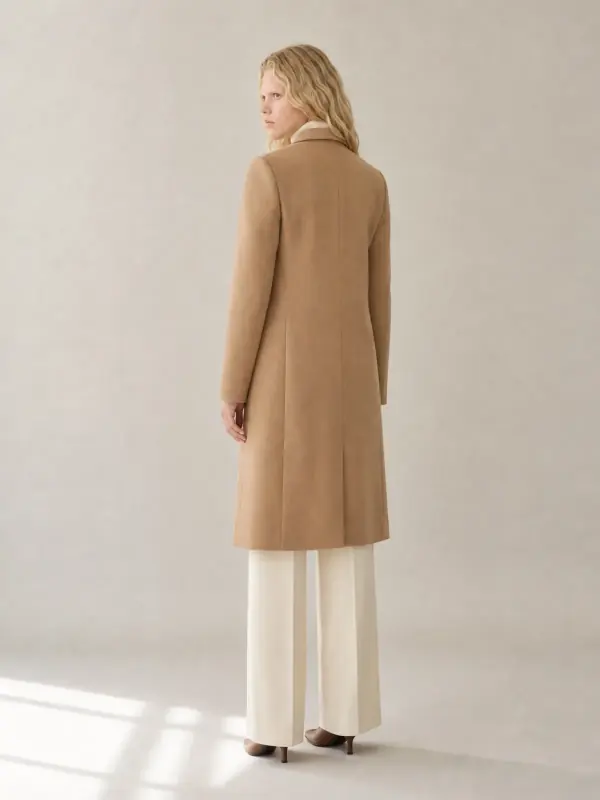
Coat: front, walking and back
The walking frame shows how the coat moves; the back shows the vent and the belt.
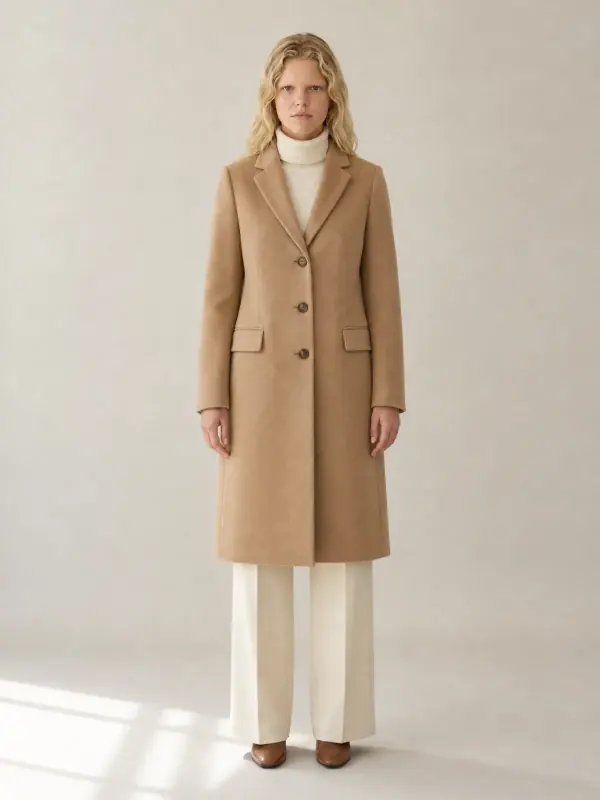 Your photo
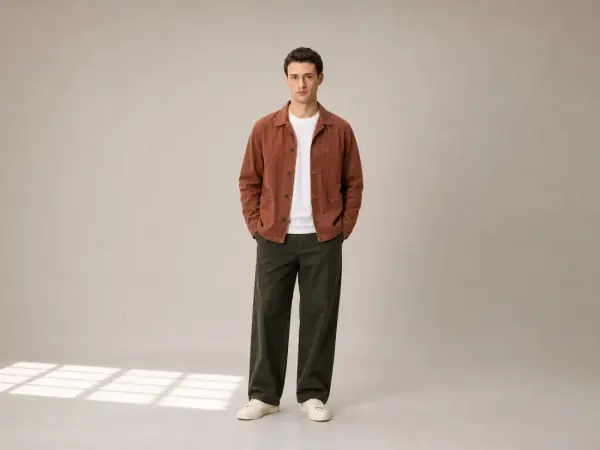
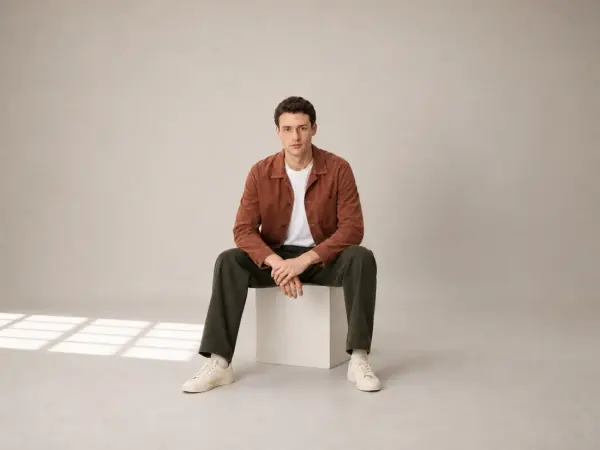
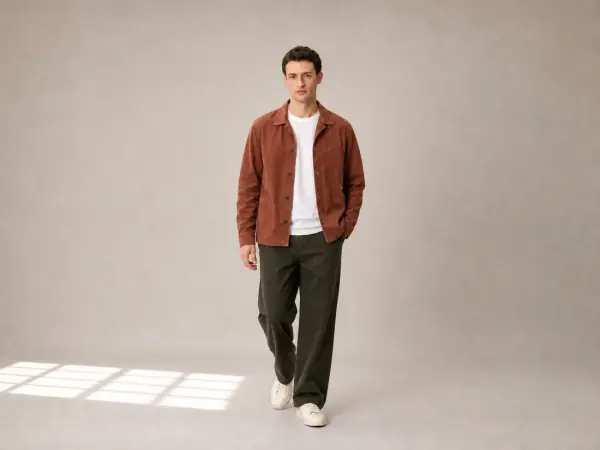
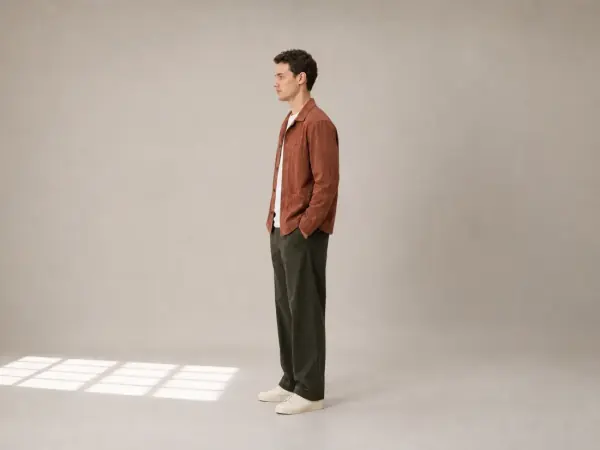
Chore jacket outfit
Seated, walking and side frames from one standing photo: colour, pockets and studio light carry over.
Your photoQuestions about product photography angles
What are the most important product photography angles?
Front, three-quarter, side and back, plus a detail close-up. Add top, scale and label shots depending on the product.
How many product photos should a listing have?
Six to eight cover most products, as long as each one shows something new. Items with many details, like bags and boots, benefit from more.
Which angle should be the main product image?
The clearest full view, usually the straight front. For clothing, test an on-model image as the first photo.
What camera height should I use for clothing?
About waist height for full-length photos on a model, directly above for flat lays. Keep the same height for the whole range.
Can AI create missing angles of my product?
For clothing on a model, yes: a pose changer creates new poses from one photo. Add a real back photo when the back has details, so it is copied exactly.
Tools for on-model angles
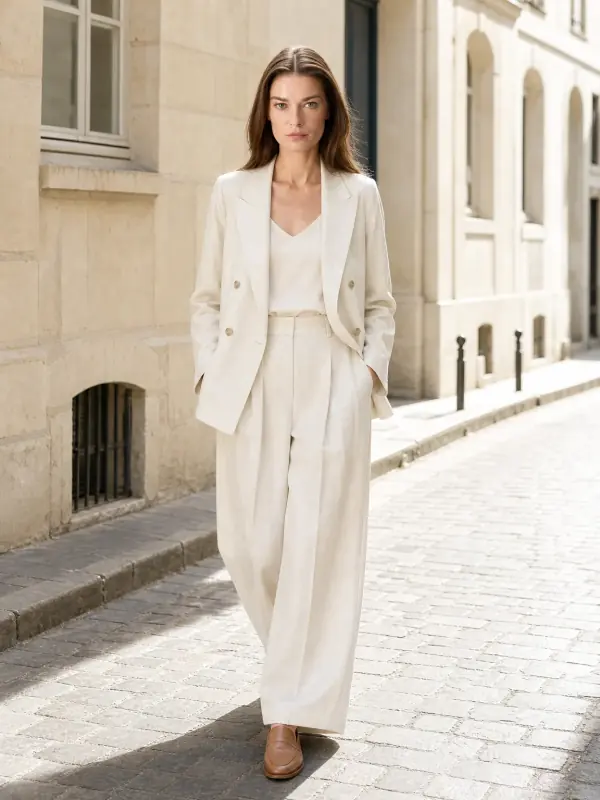
 AI model photoshootTurn one product photo into a full photoshoot with a model: studio, street, editorial or a scene you describe, with up to six angles.
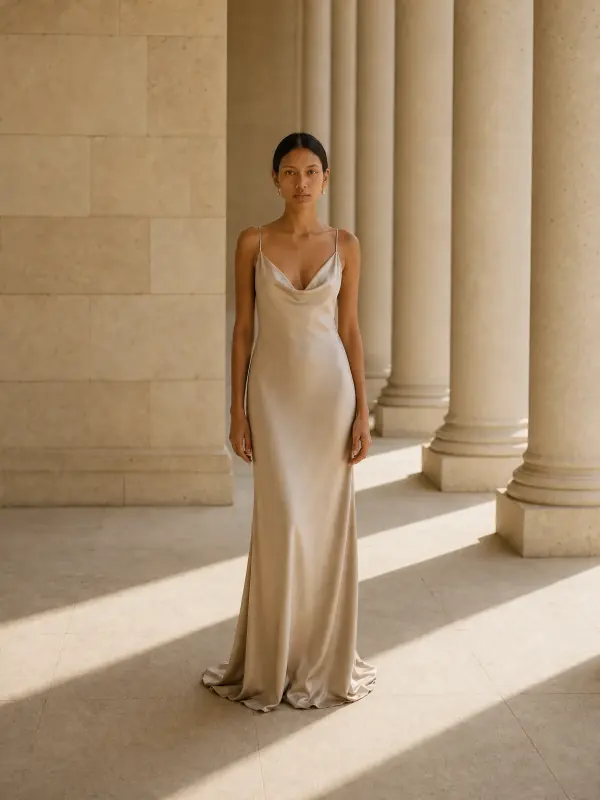
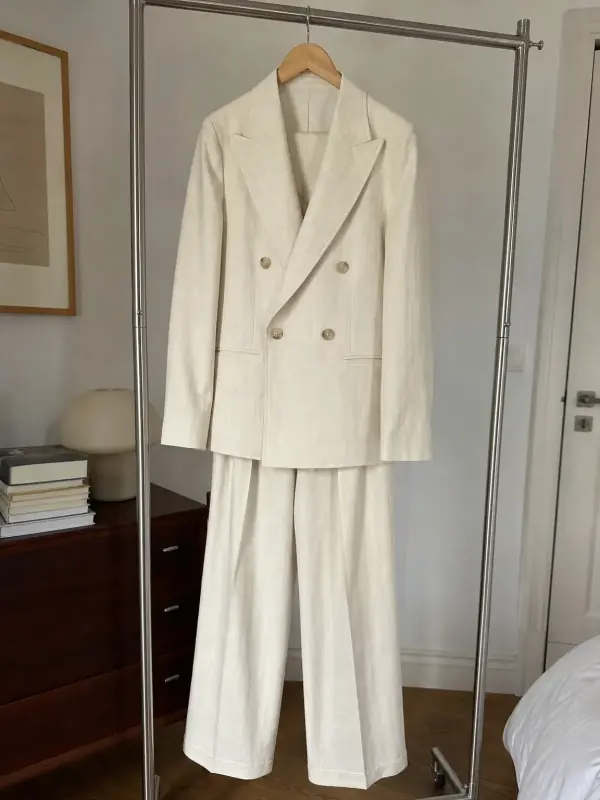
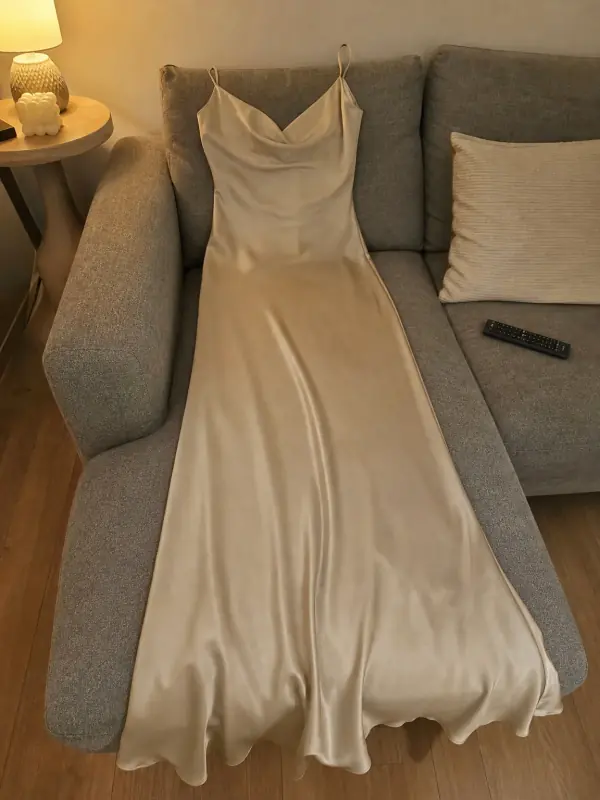 Put clothes on an AI modelUpload a photo of a top, trousers, dress or jacket and see it worn by an AI model, in studio, street or editorial settings.
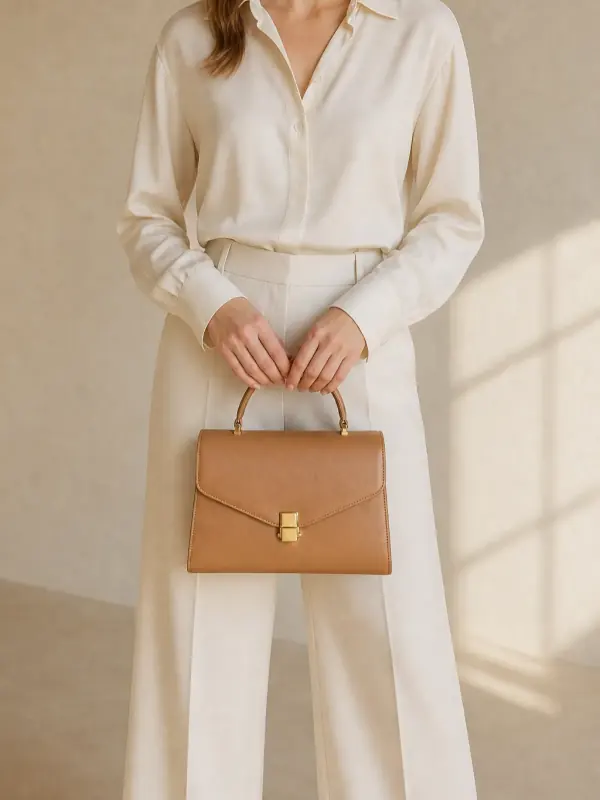
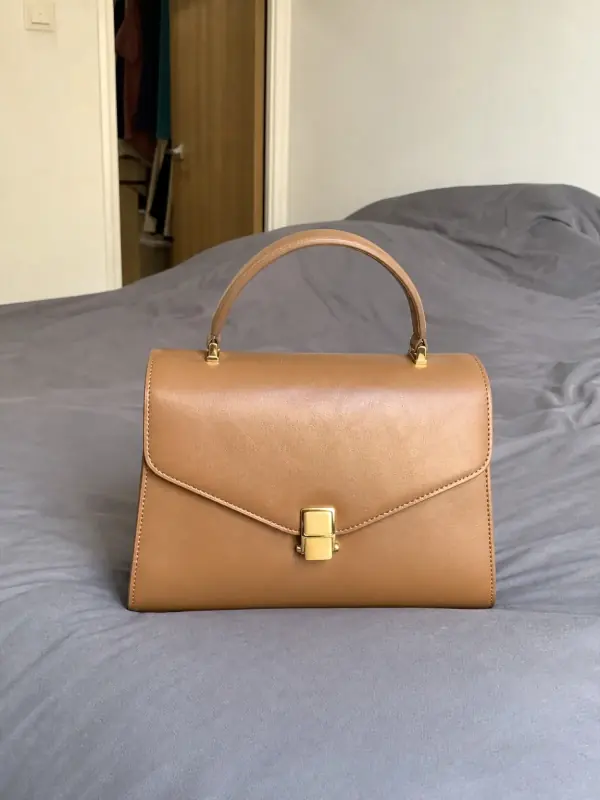 Bag on model AIShow a handbag held, worn on the shoulder or styled with an outfit from one clear source photo.
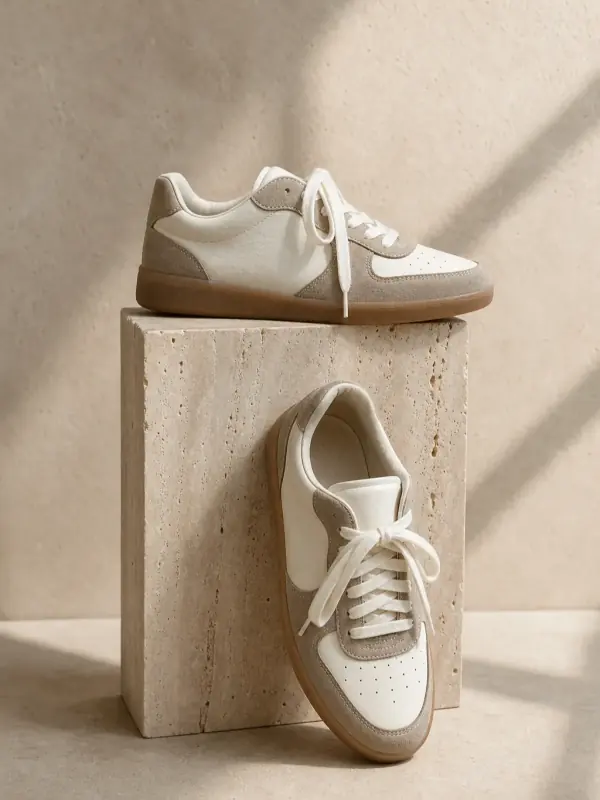
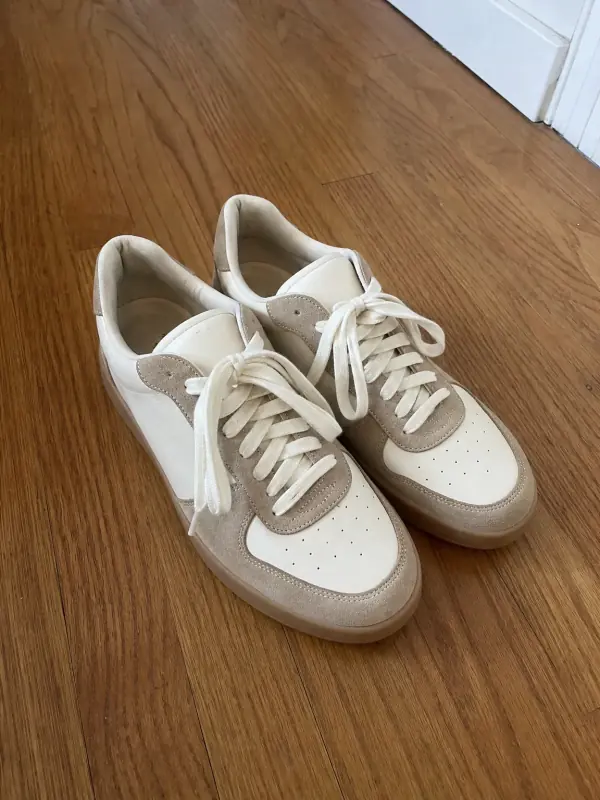 AI shoe photographyAny pair on feet, in a full look and in clean product shots from the side, the top and the sole.
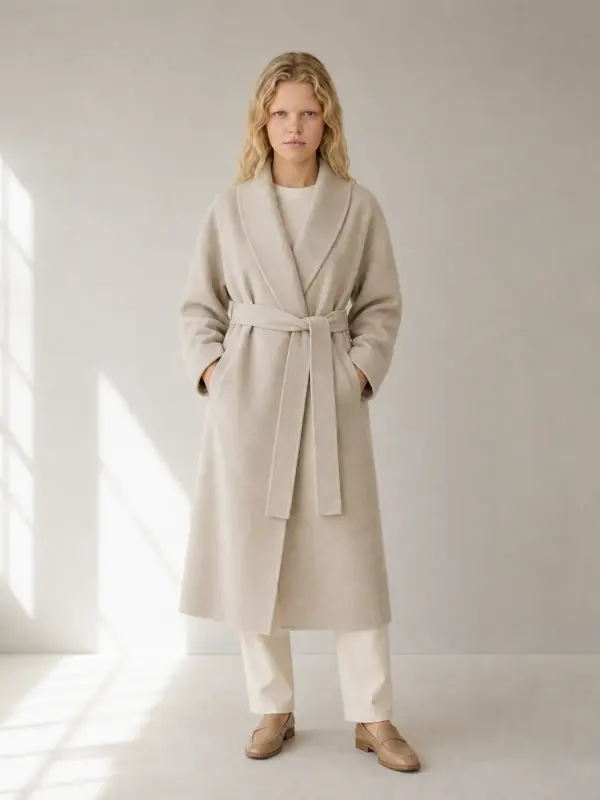
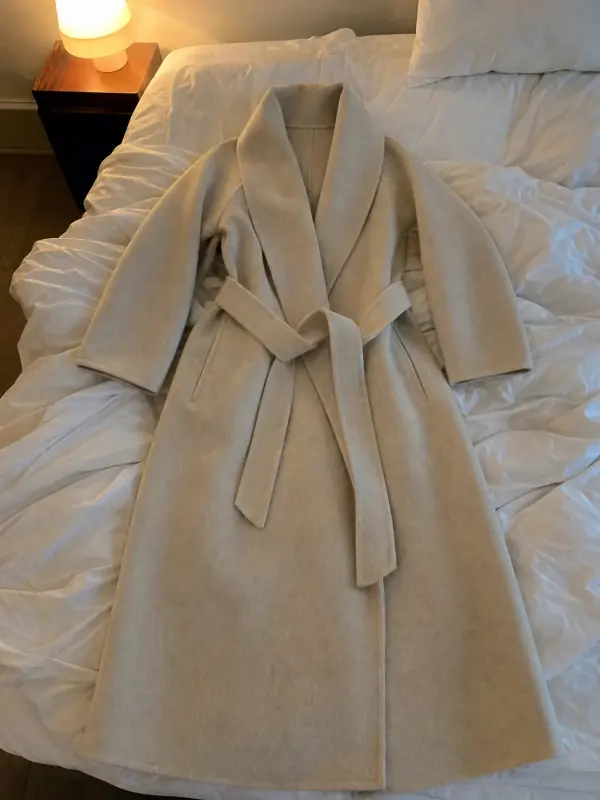 Flat lay to modelLay the garment flat, take one phone photo and get it worn by an AI model from three angles.
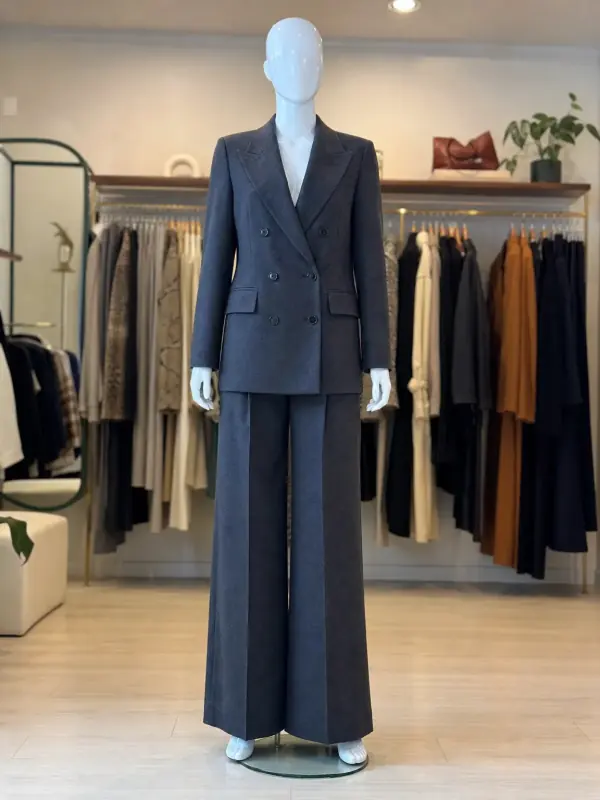 Mannequin to model AIAlready shoot on a mannequin or dress form? Upload that photo as it is and get the same piece worn by a model.