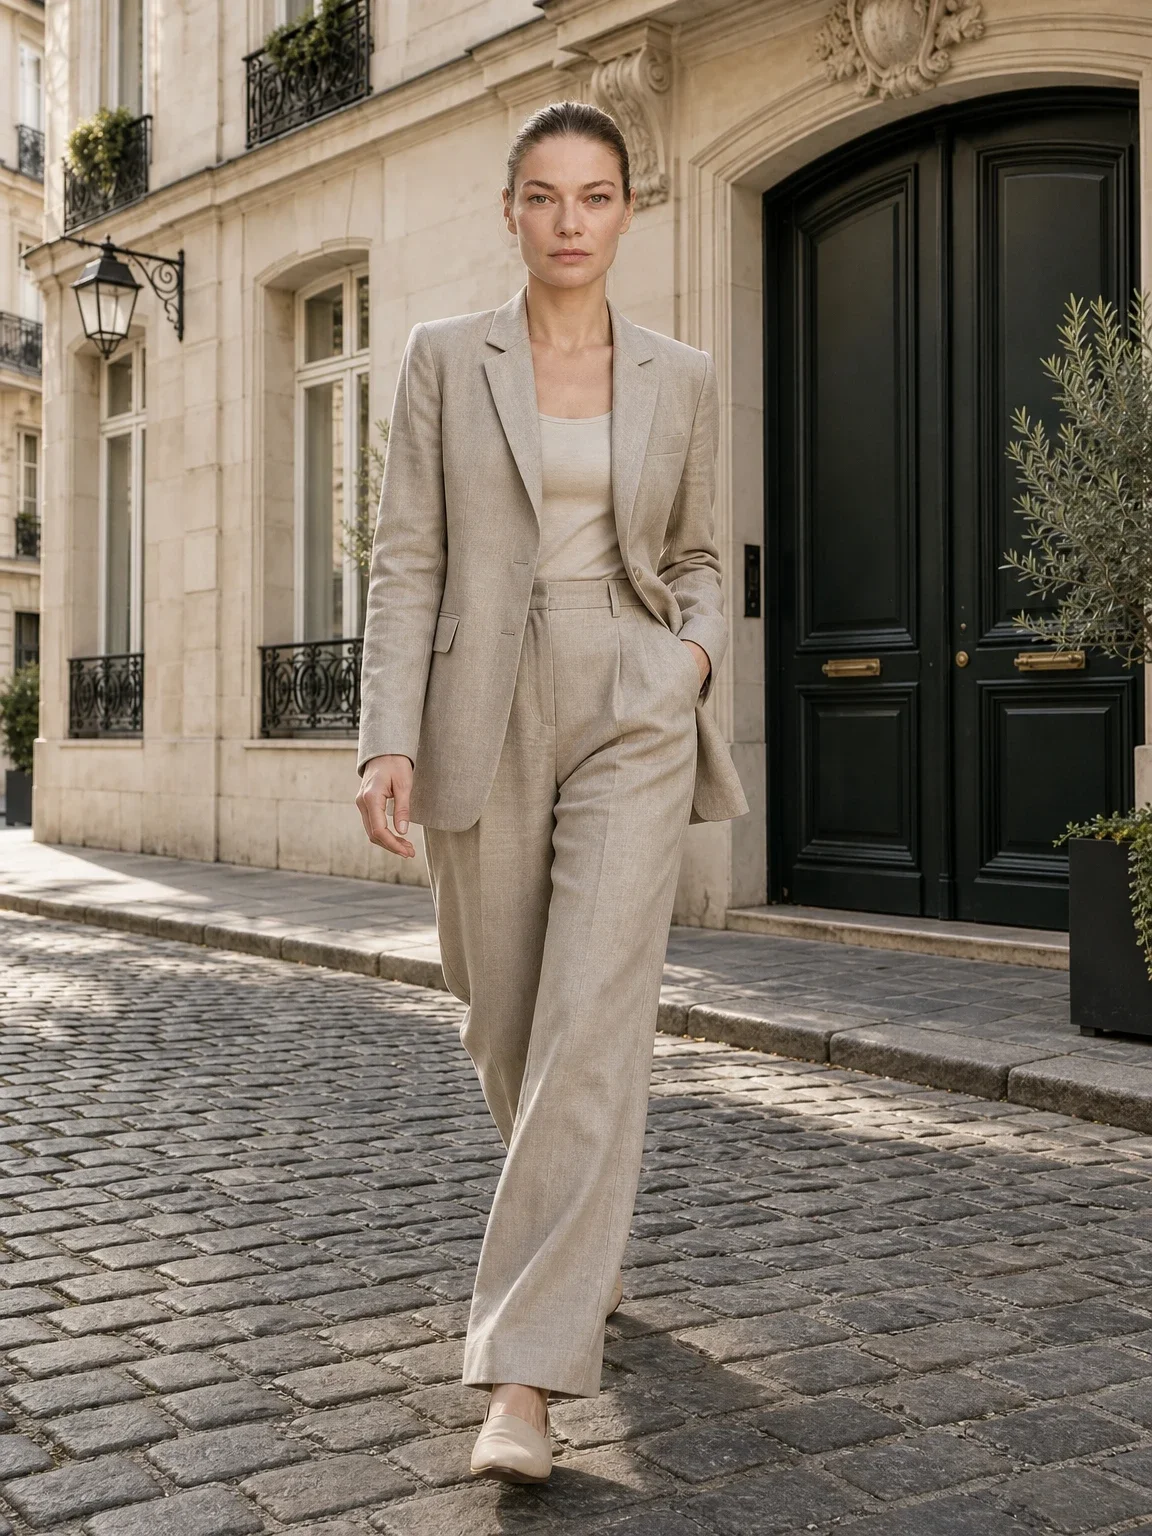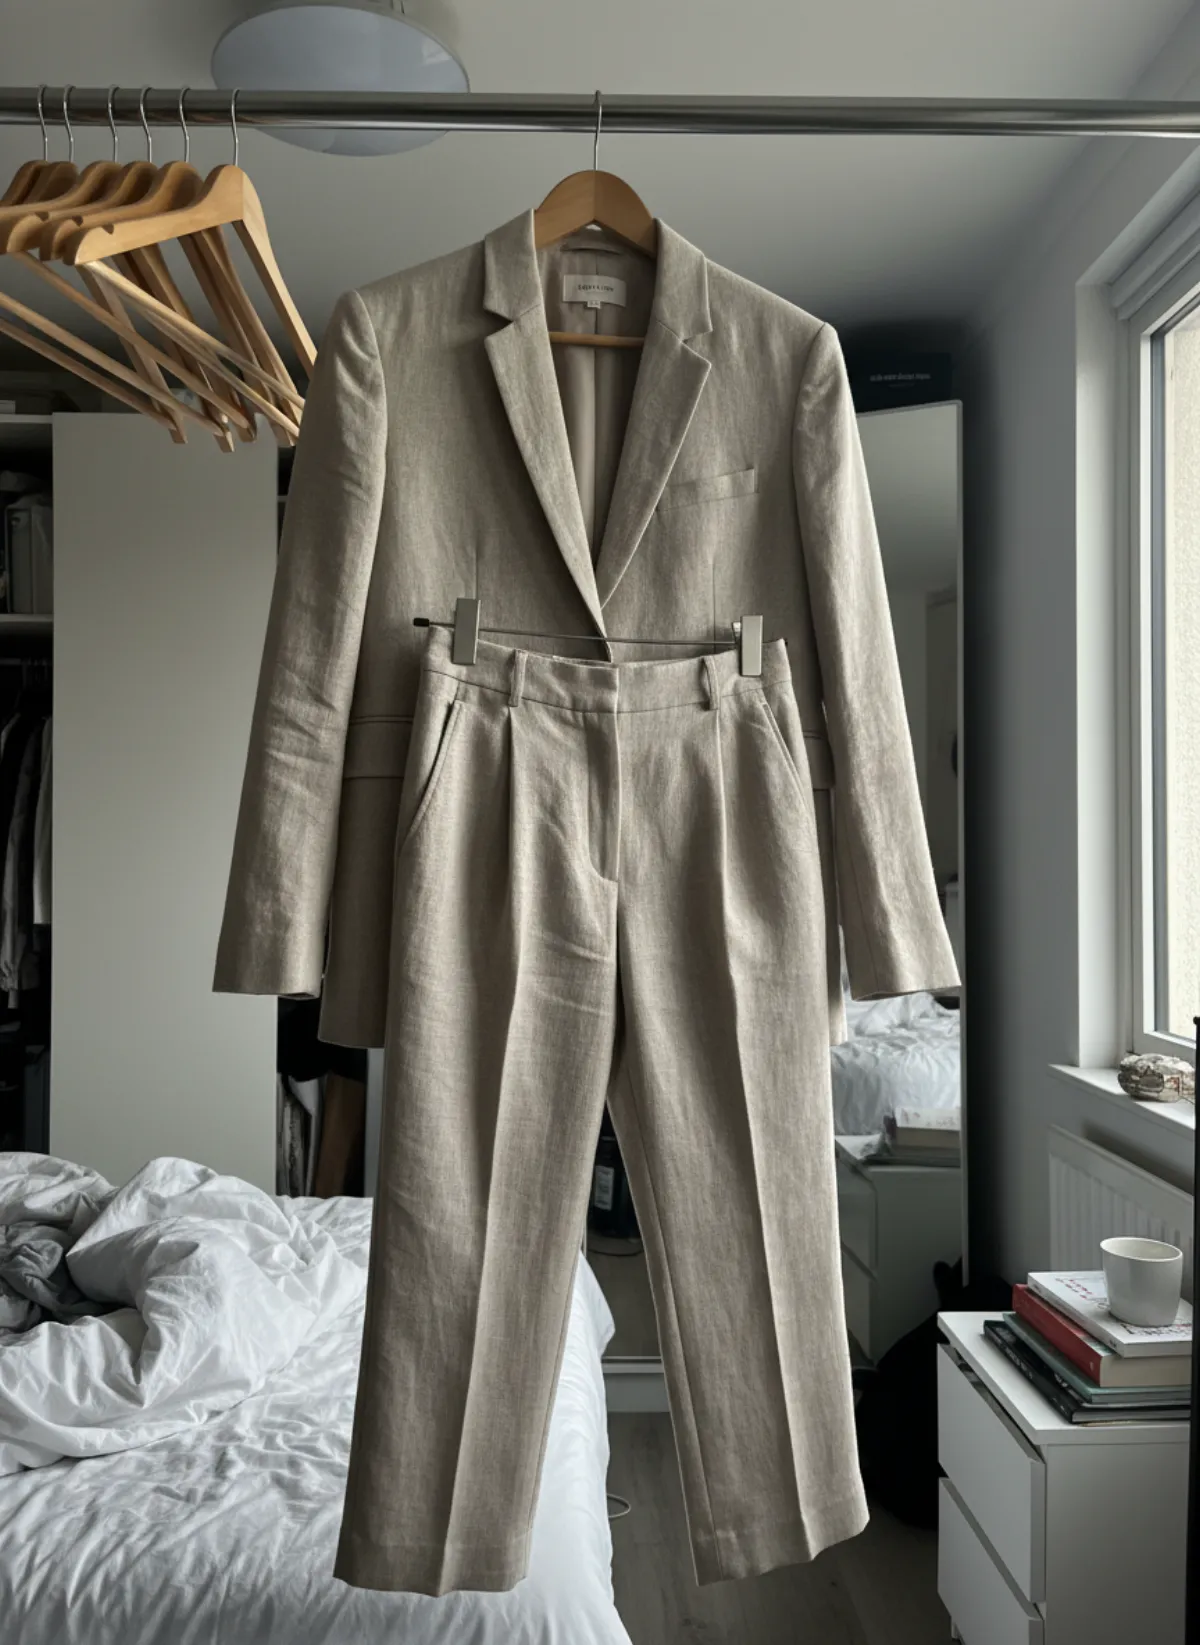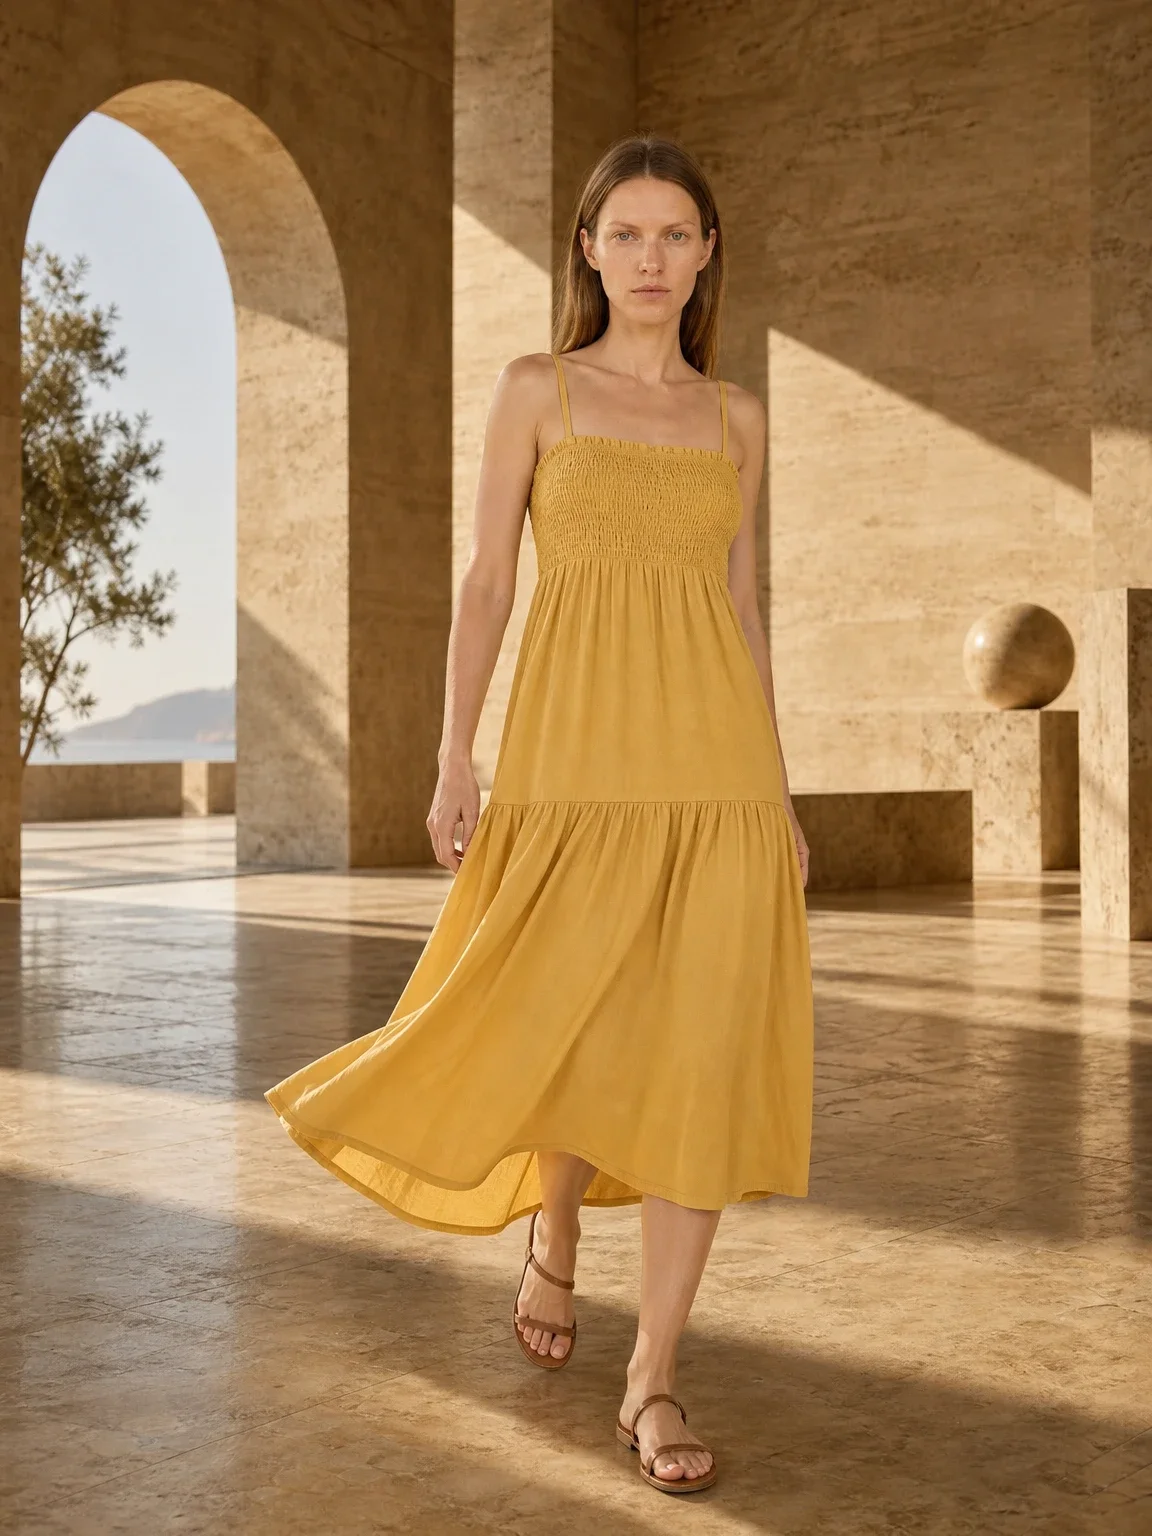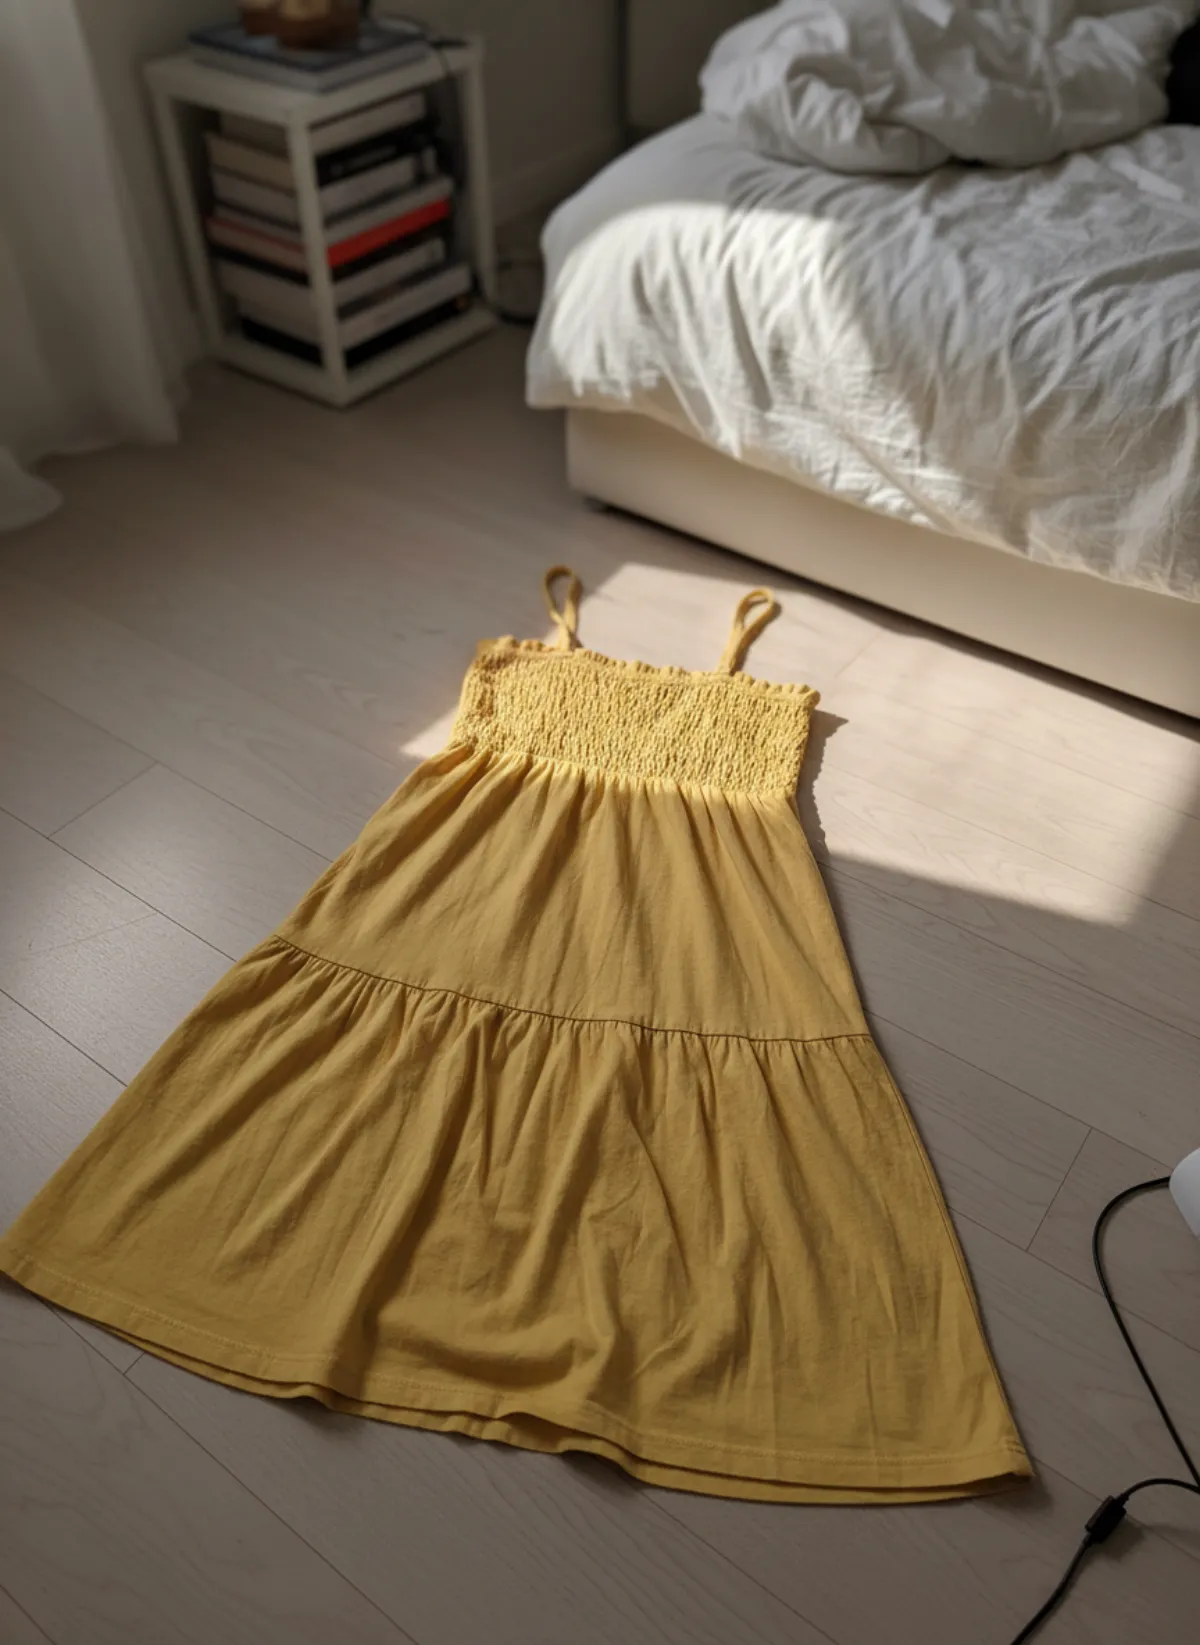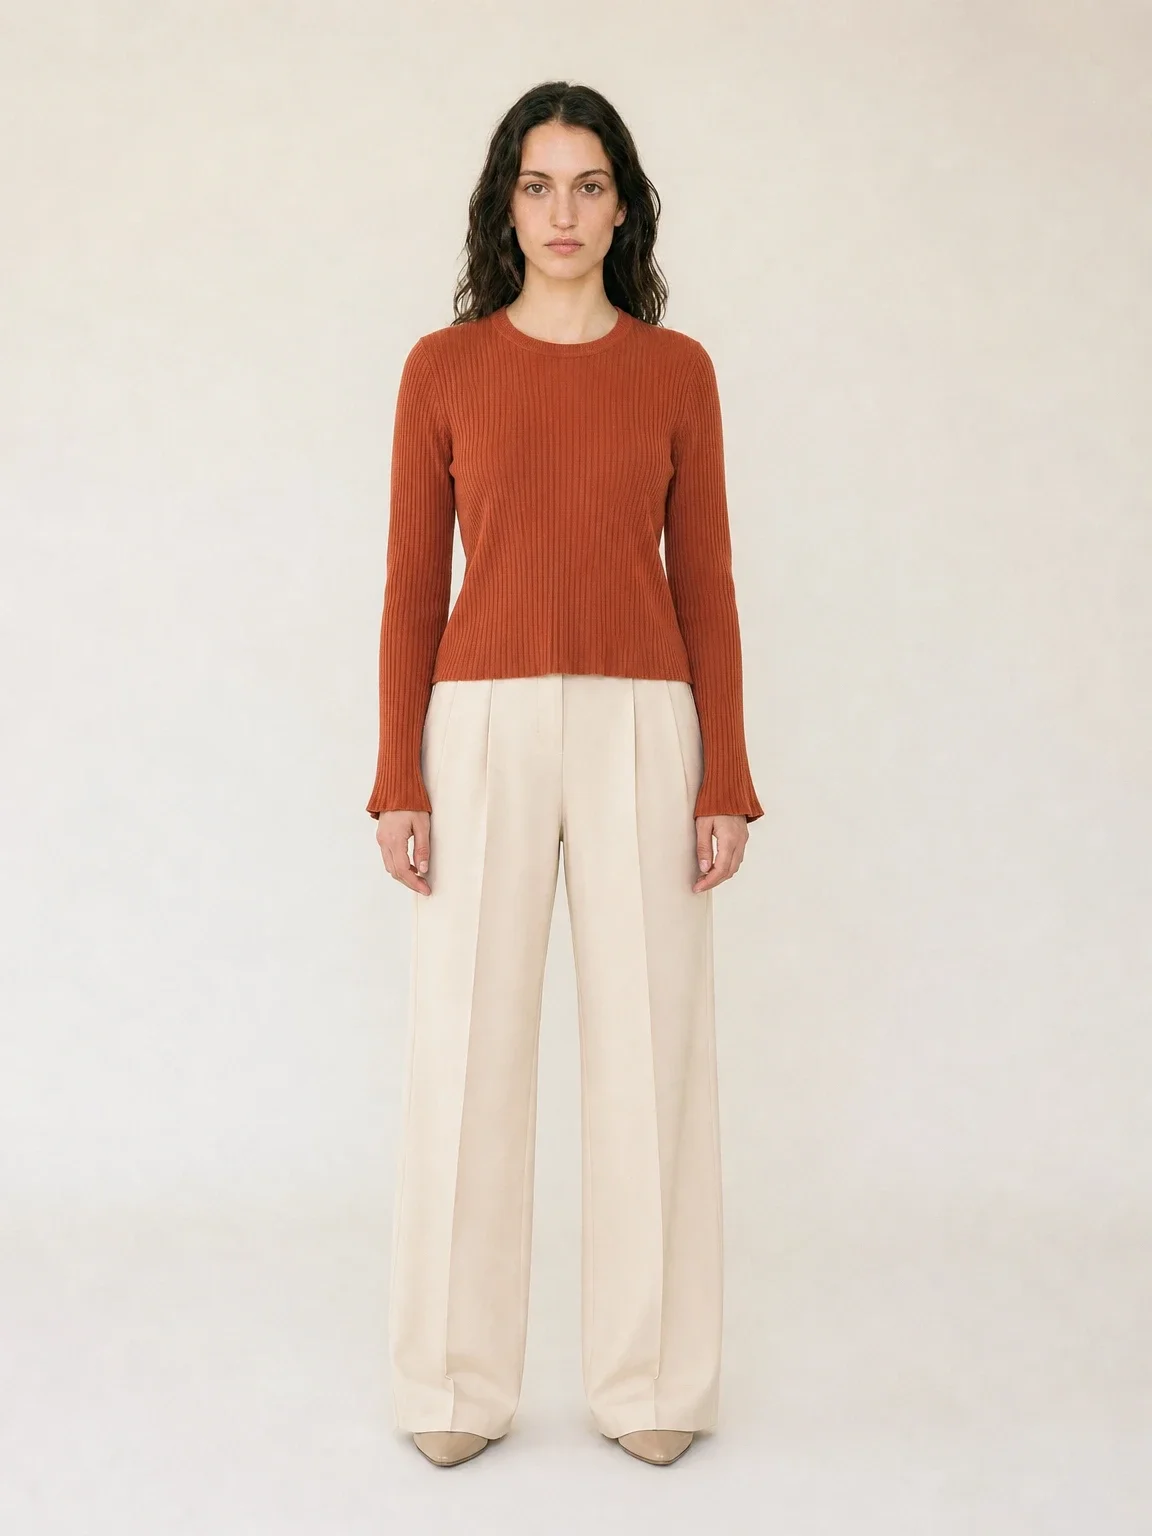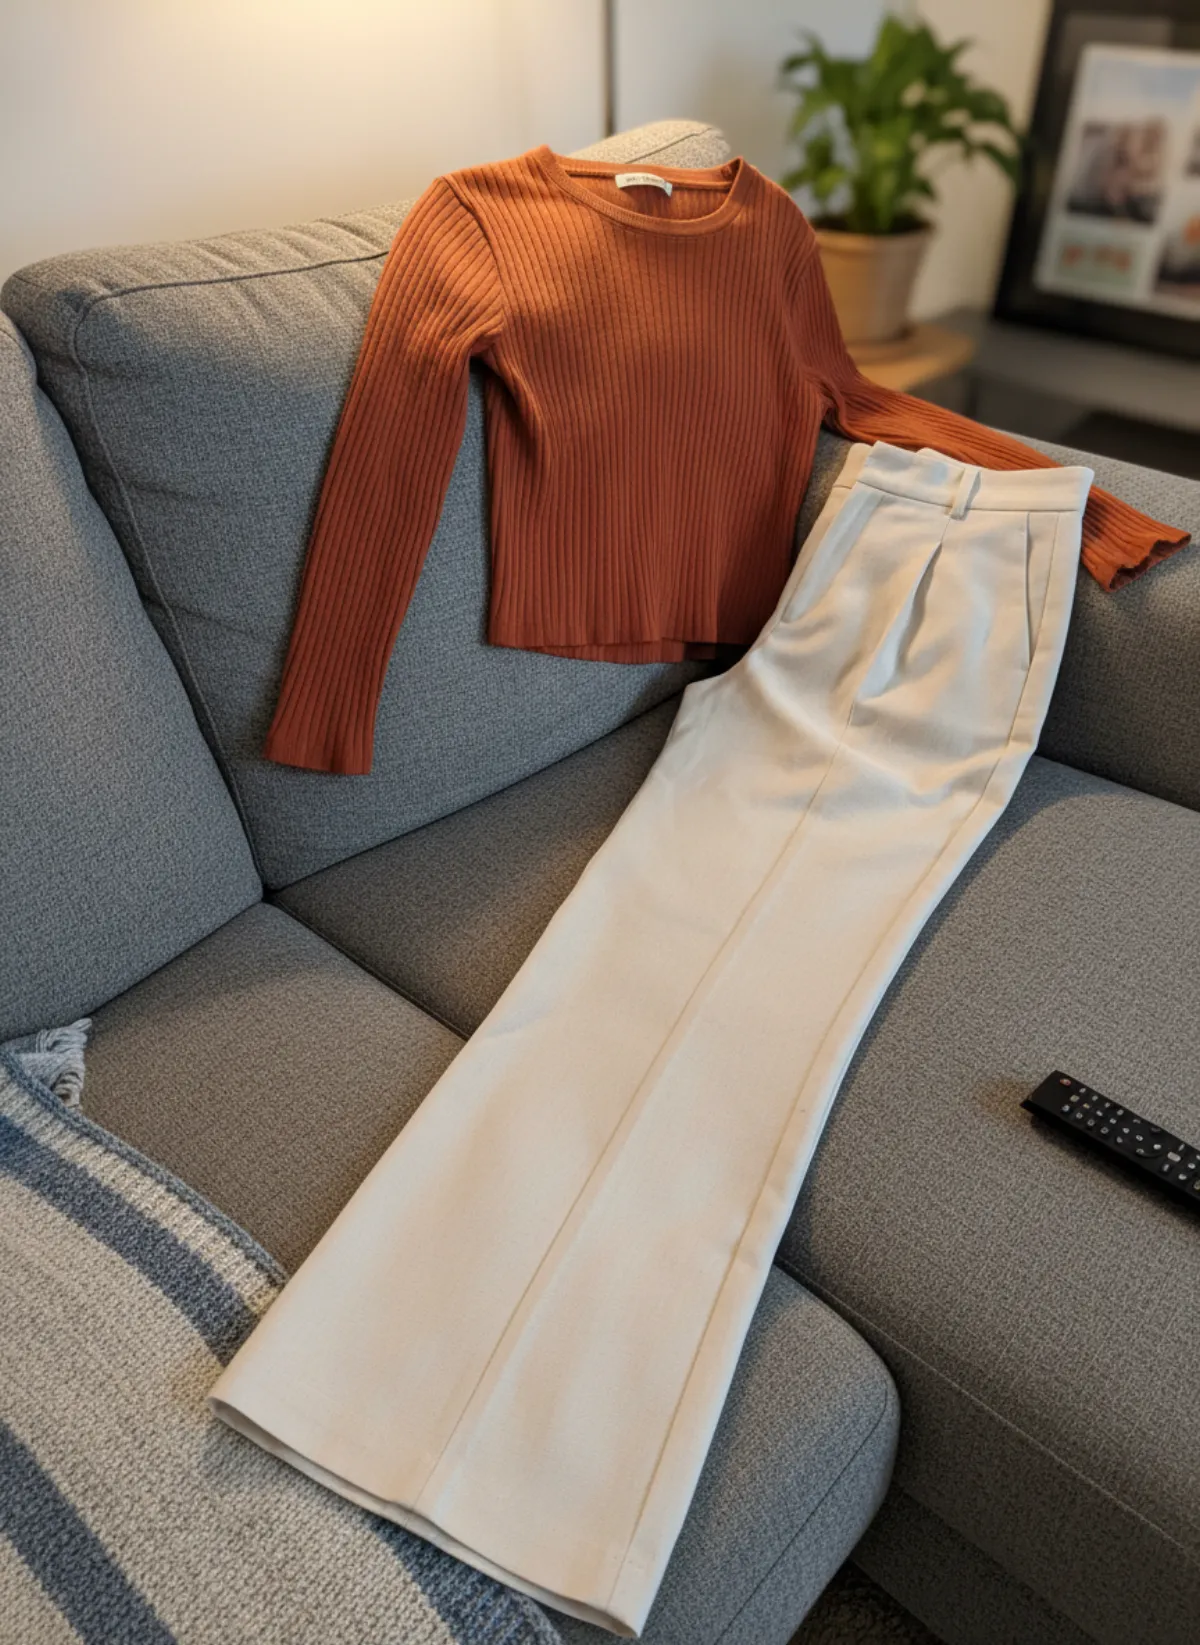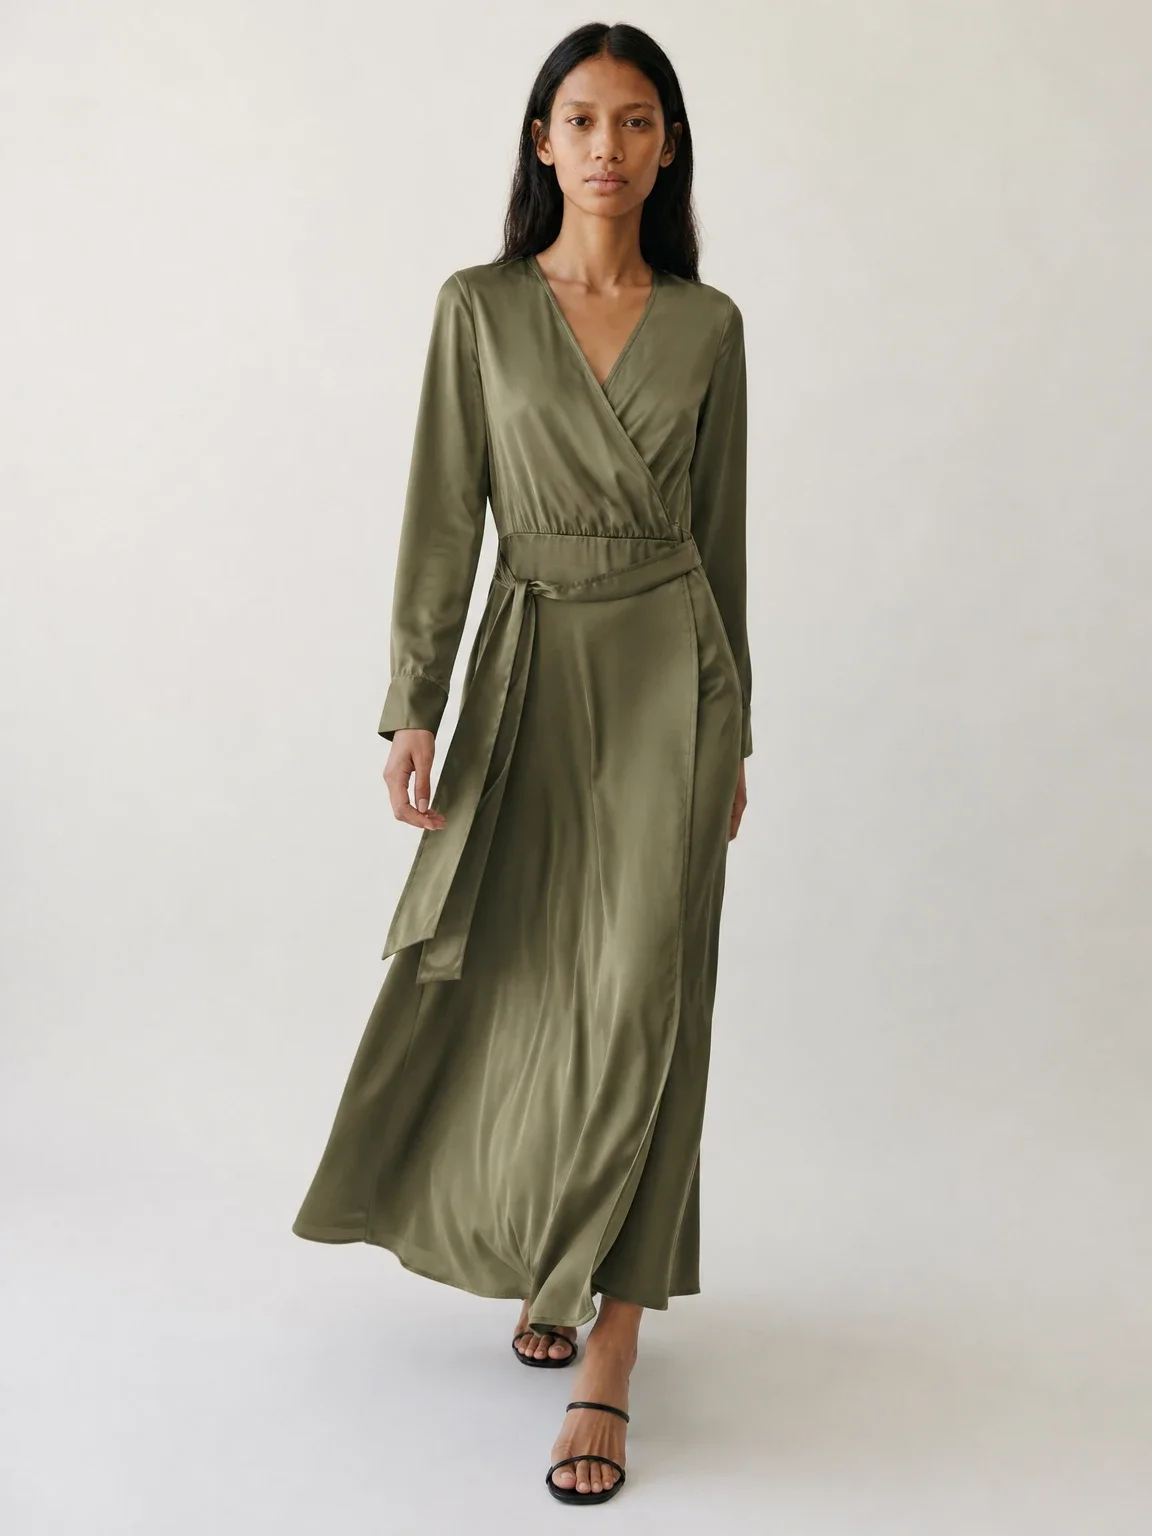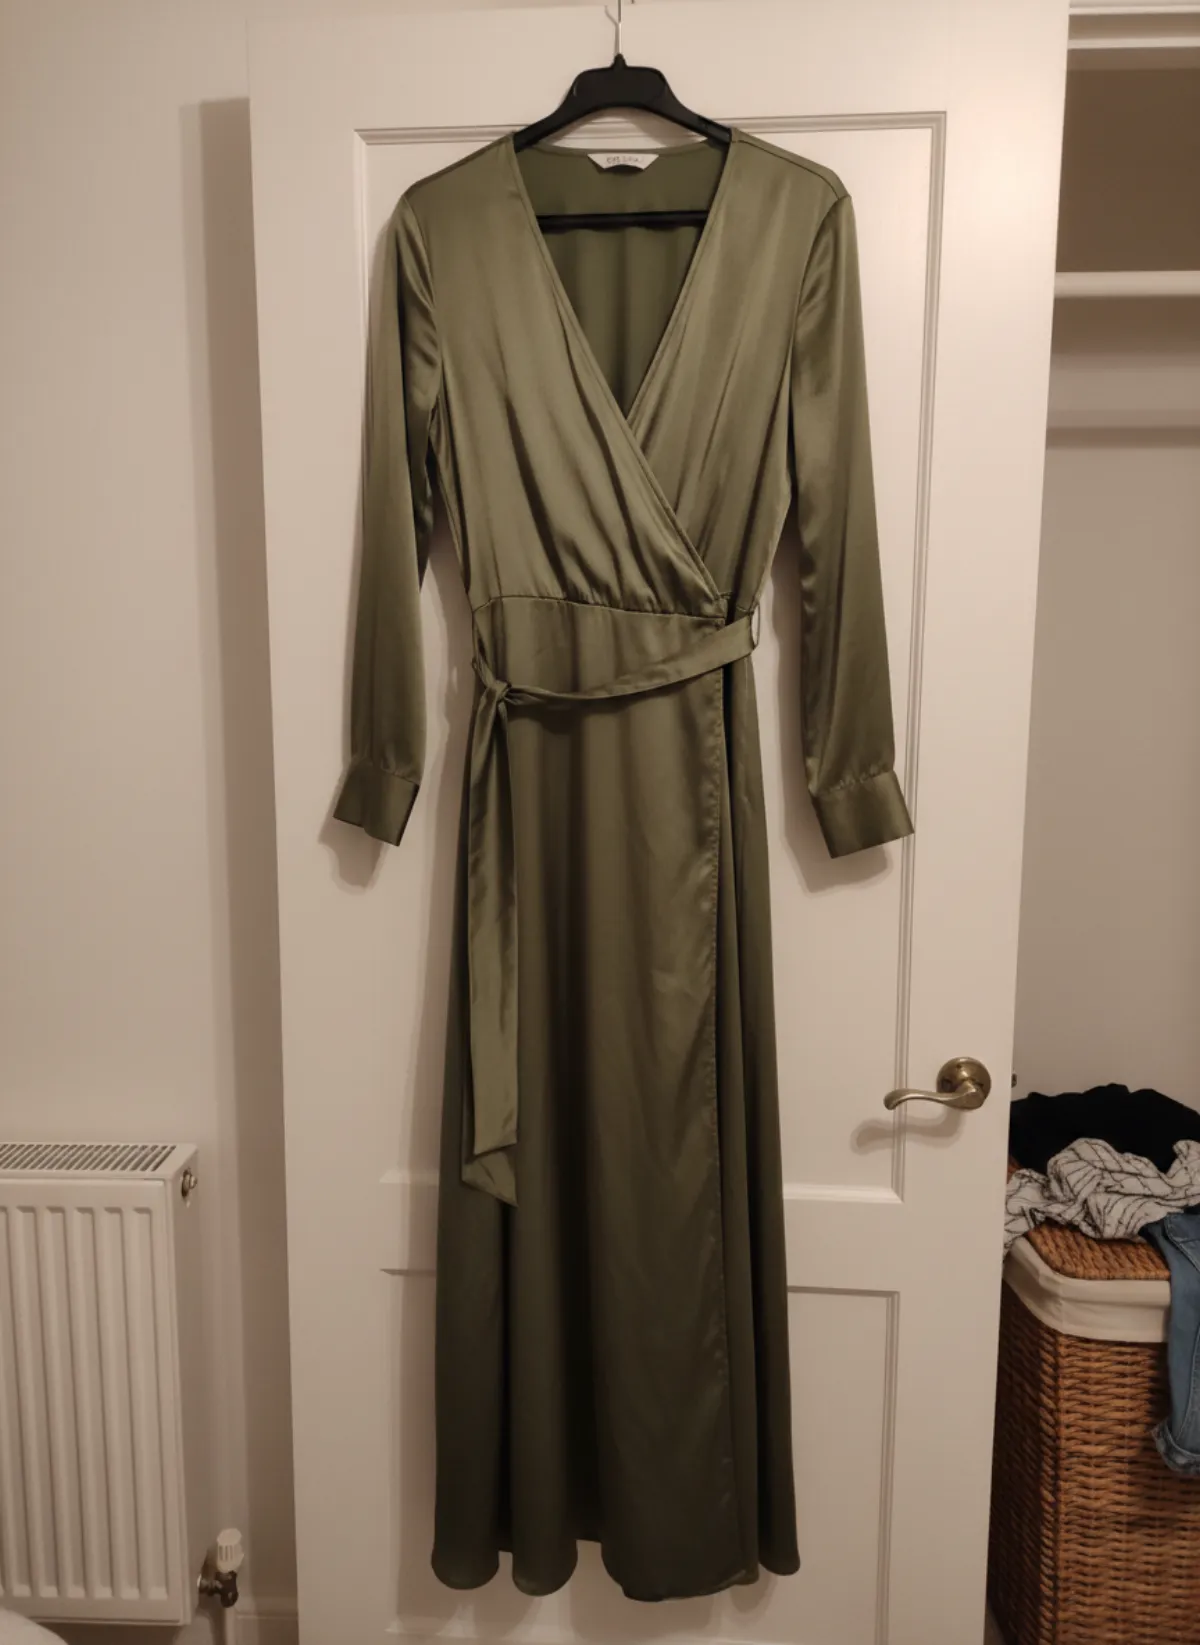
Plan the gallery before generating
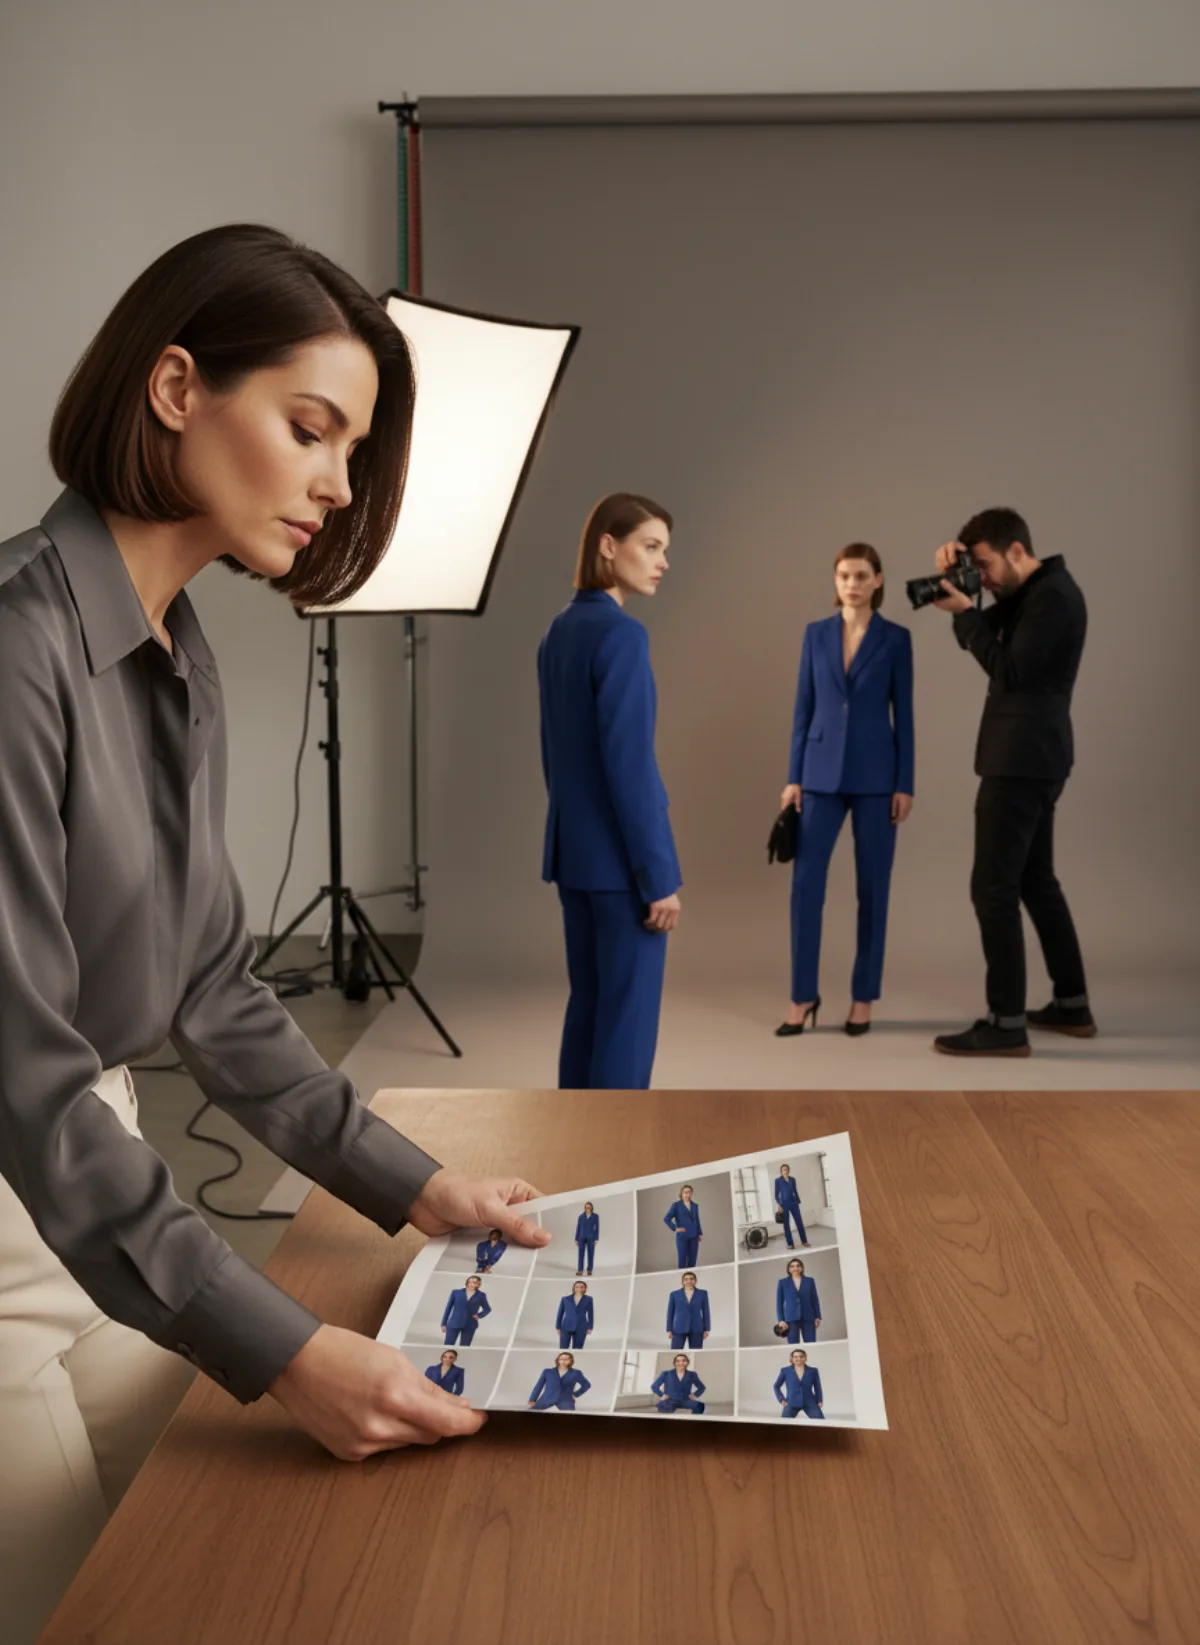
A fashion gallery has several jobs. It must identify the product, explain its cut, show how it behaves on a body and create enough desire to earn a closer look. One dramatic campaign portrait cannot answer all four. Before opening an AI model photoshoot, write the final image slots in order. That simple decision prevents a common waste: producing twenty variations and discovering that none shows the back, hem or fastening.
Start from the sales channel. A Shopify product page can carry a generous sequence, while a marketplace thumbnail needs an immediate, uncluttered silhouette. Instagram may need a 4:5 crop and a story needs 9:16 space, but those are exports, not reasons to hide the garment. Keep one master composition with safe margins around hair, hands and shoes. Crop copies later instead of asking a generator to reinvent the product for every ratio.
Treat the physical item as the source of truth. Photograph the front, back and any construction detail that changes the buying decision. A clean flat lay can enter the flat lay to model workflow, while hanger and mannequin sources have their own routes. AI can create context from visible evidence; it cannot reliably recover a pocket, back closure or print repeat that the source never shows. Before you spend time writing prompts, see why AI prompts for clothing brands are often unnecessary for product photos.
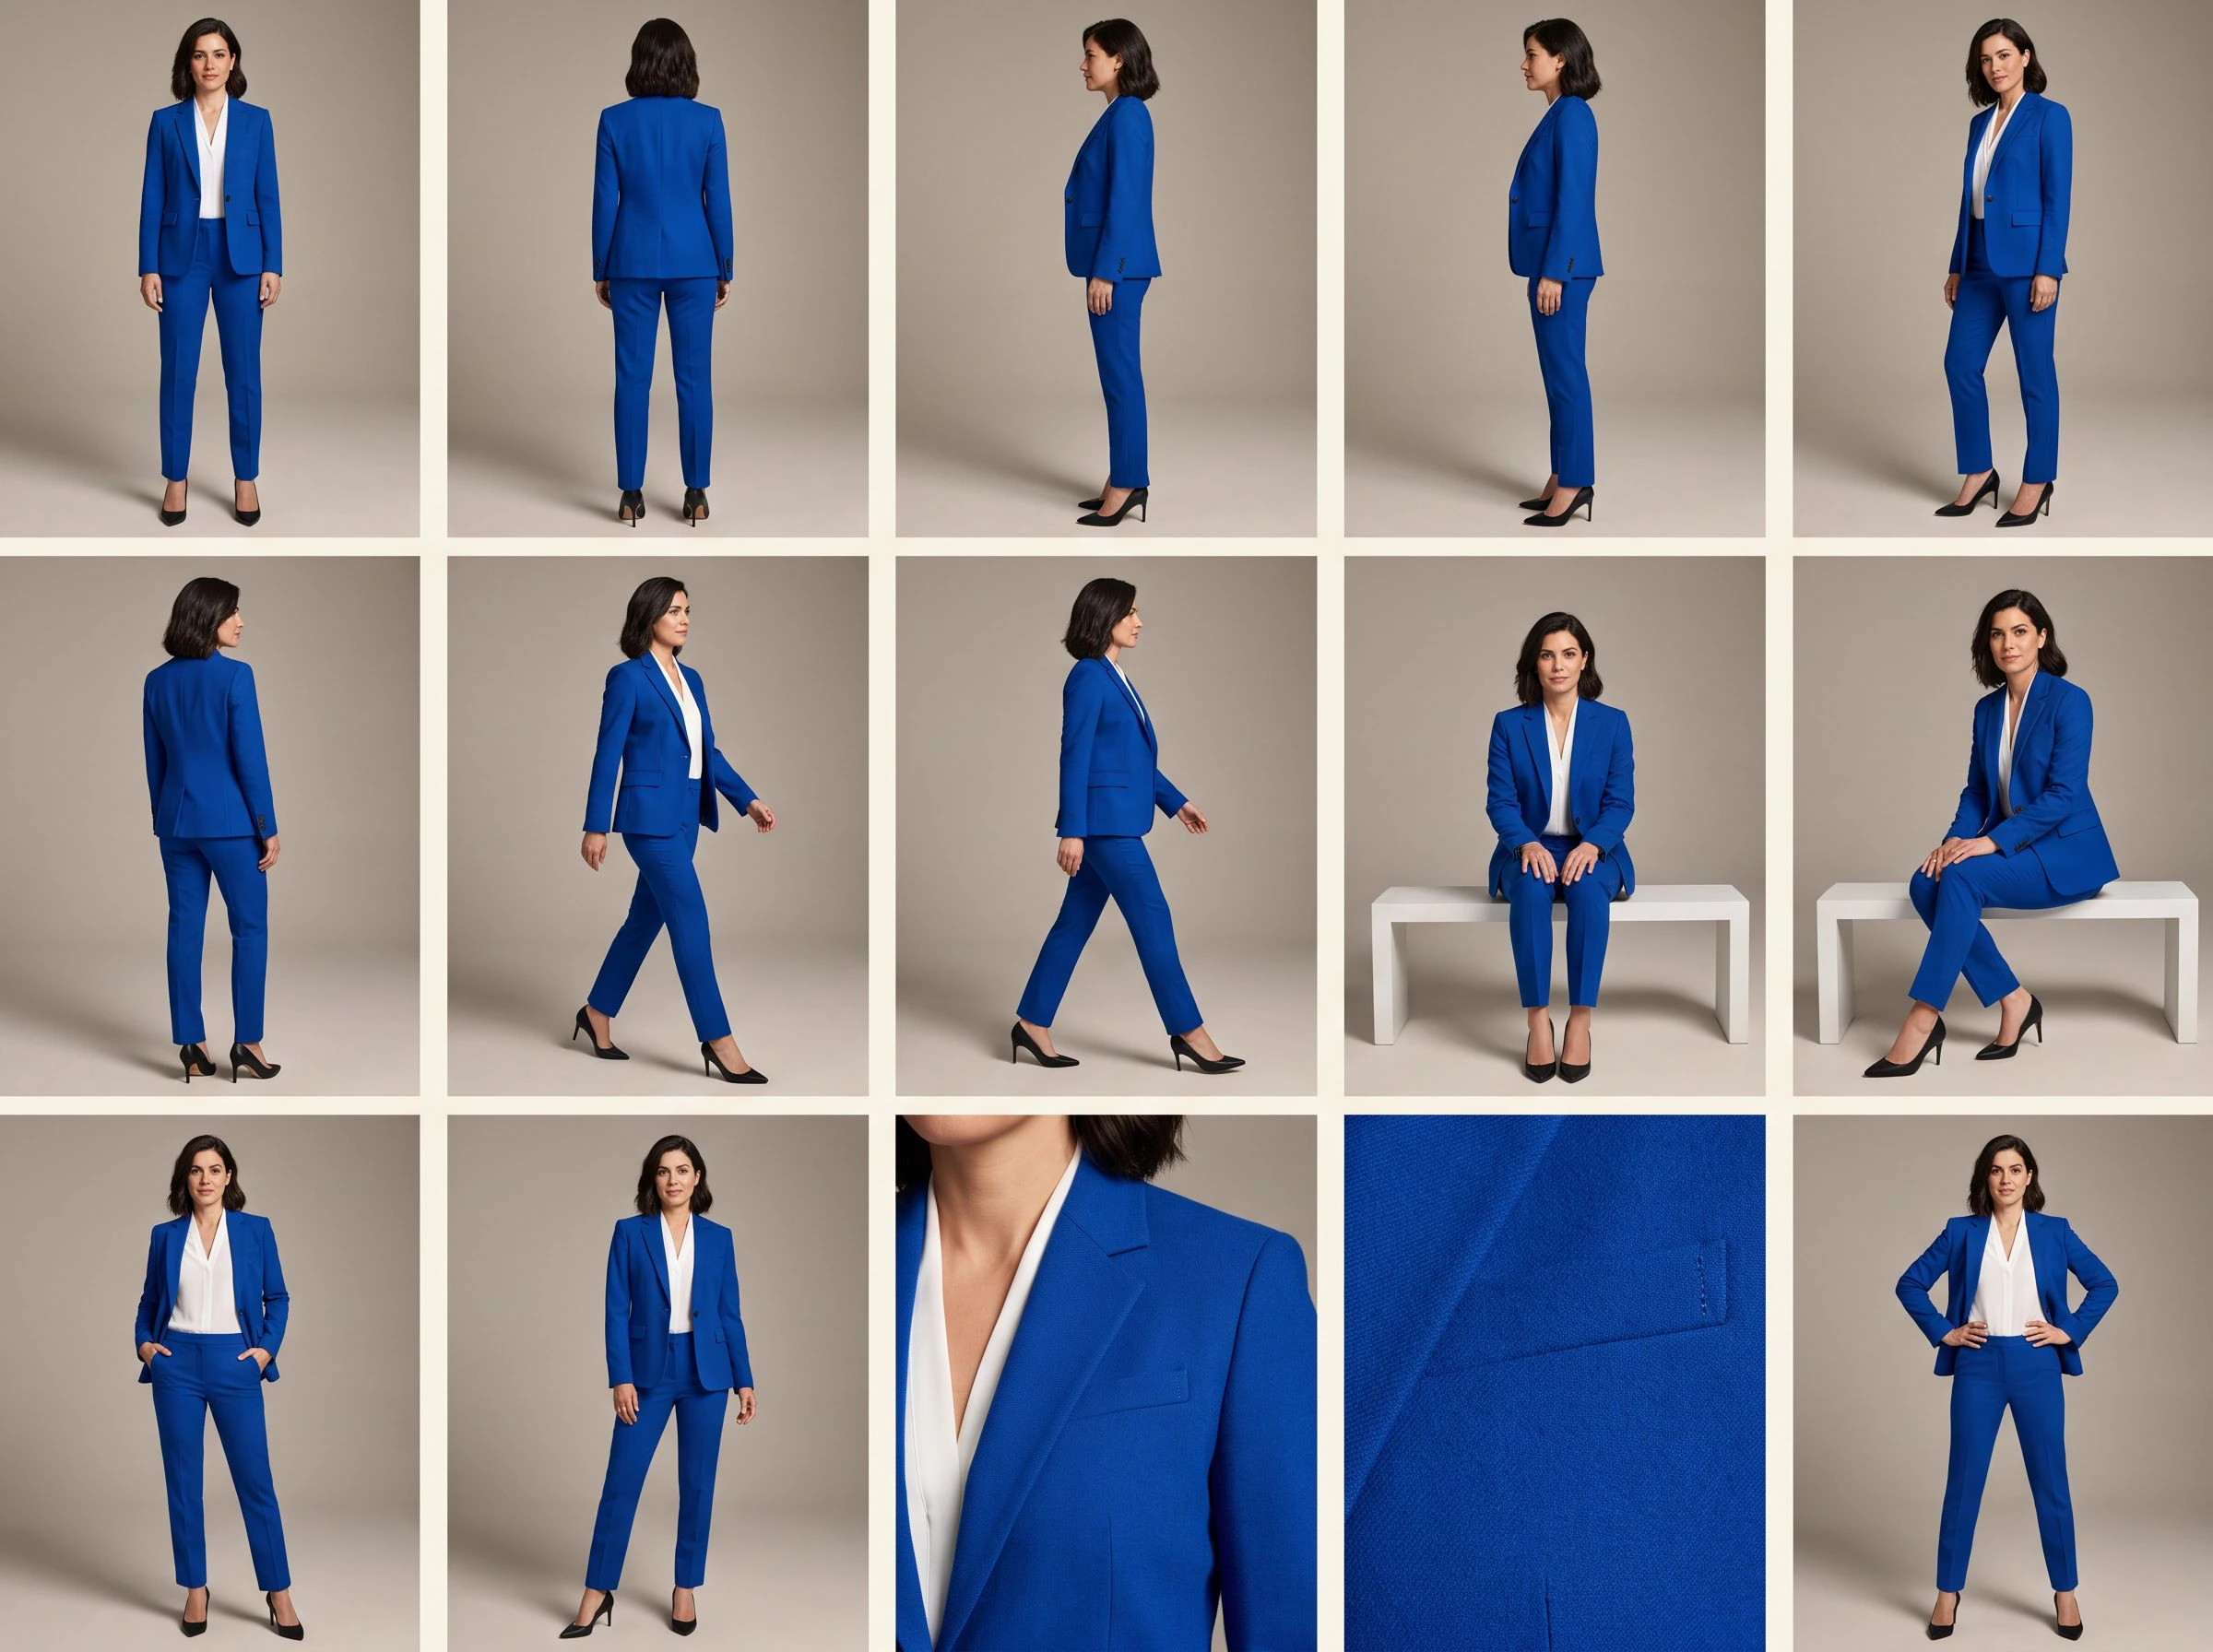
The 15-shot list
Use the first six as the dependable catalog core. Add the remaining frames according to the garment, channel and campaign.
1. Clean front
Full length, camera at a neutral height, arms clear of the garment and even light. This is the gallery anchor and the frame shoppers use to judge silhouette, length and colour.
2. Direct back
Match the front frame in distance, background and light. Show the real back reference when straps, vents, yokes, hoods or closures matter; never ask the system to invent them.
3. Three-quarter view
Turn the body just enough to reveal depth without hiding the front. It explains sleeve volume, waist shaping and side seams better than a second straight pose.
4. Walking frame
Use a restrained mid-step with both shoes visible. Movement reveals drape in dresses, trousers and coats, but the pose should not blur the print or cover a fastening.
5. Construction detail
Crop around the feature that justifies the price: embroidery, knit, lapel, button, cuff or hardware. Compare texture and small geometry with a close source photograph before approval.
6. Honest source image
Keep a real flat, hanger or mannequin photograph in the gallery. It gives buyers a factual reference and makes generated on-model frames easier for your team to audit later.
7–10. Fit and styling
Add a side angle, seated pose, open-layer view and one styling variation only when each answers a real question. A jacket may need open and closed views; a simple tee usually does not.
11–15. Brand and campaign
Finish with one lifestyle scene, an editorial hero, a social crop, a banner with negative space and a seasonal frame. These create atmosphere after product coverage is complete.
Put the shots in a buyer-friendly order
Lead with clarity. A practical sequence is front, three-quarter, back, movement, detail, then lifestyle. The first three help comparison; movement answers drape; detail supports quality; context creates aspiration. If a garment has an unusual feature, move that evidence earlier. A reversible jacket needs both sides near the front of the gallery, and a dress sold for its back should not make shoppers swipe through ten portraits to find it.
Consistency matters more than making every frame novel. Lock the model, background family, camera height, colour treatment and crop before scaling across SKUs. With AI product photography with models, approve one difficult representative product first: a print, reflective fastening or layered collar. If that item survives the workflow, simpler garments will be easier to standardise.
Do not publish straight from generation. Compare neckline, sleeve length, seams, pockets, print placement, logos, hardware and hem against the source at full size. Then check anatomy and contact points: fingers near pockets, straps on shoulders, shoes on the floor and jewelry against skin. Attractive but inaccurate is a failed product image. Keep rejected frames and notes so the next batch does not repeat the same fault.
Turn one approved set into a repeatable system
Name files by SKU, view and ratio rather than by vague adjectives. A pattern such as SKU-front-4x5 and SKU-walk-3x4 keeps the asset library searchable and exposes missing views immediately. Record which source images governed each generated result. When a buyer or merchandiser spots a discrepancy, the team can trace the frame instead of recreating an entire shoot.
Choose the person once for a collection. A consistent body and visual direction make garment lengths easier to compare and the store grid calmer. Use the AI fashion model generator when the ready-made cast does not fit the brand, then test that identity on one front, one walking and one seated frame before committing the whole drop. Diversity should be planned across the catalog, not created as random variation within one product.
The final list does not need all fifteen images for every SKU. Basics may need six; a technical coat may need ten; a launch hero can use the full set. The rule is simpler: every image must either prove something about the item or create a deliberate brand moment. If two frames do neither differently, remove one. A shorter, complete gallery beats a long, repetitive one. When the same shots have to tell a seasonal story, the AI lookbook generator guide shows how to choose and sequence them.
AI fashion photography planning questions
How many images should a clothing product page have?
Use enough images to show the front, back, shape, movement and important details. Six is a useful core, but complex garments need more. Choose coverage by buyer questions rather than a fixed marketplace maximum.
Should every product use the same fifteen shots?
No. Keep a shared core for catalog consistency, then add only relevant views. A coat benefits from open, closed and pocket frames; a plain top may be fully explained by front, back, three-quarter, movement, detail and source.
Can AI create a back view from one front photo?
It can produce a plausible back, but plausible is not product evidence. Supply a real back reference when construction matters, or omit that generated angle and photograph it conventionally.
Do I need to write prompts for every frame?
No. A controlled product workflow should let you select the model, setting and useful shot types without publishing or maintaining a library of long prompts. The shot objective and approval checklist matter more.
Which frame should be the main product image?
Usually choose the clean front or a gentle three-quarter view that keeps the full item readable at thumbnail size. Follow the current rules of the sales channel before using a lifestyle background as the main image.