




 Garmo team
What you need for white background product photography
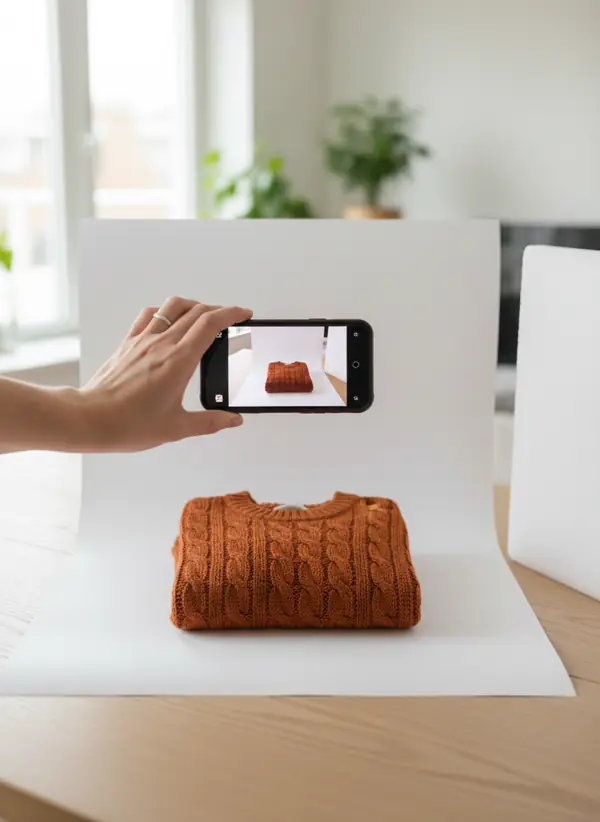
You need less than most kits suggest. A sheet of white paper or thin card about 50 × 70 cm (A2) covers anything from jewellery to a folded sweater; for shoes, bags and boots use 70 × 100 cm. Add a second white board or a sheet of foam board as a reflector, some tape or two clips, and a table next to a window. The phone you already own is enough: a 12-megapixel photo is larger than any marketplace asks for.
Skip the light tent and the ring light for now. A light tent flattens texture, and a ring light leaves a round reflection on leather, glass and satin. Window light from the side shows the weave of a knit and the grain of leather, which is what makes a product look real.
If you already know the photo will go through a background remover for product photos, you can be less strict about the paper. You still want a plain, light surface, because a clean edge between product and background is what makes the cut-out clean.
How to set up a white sweep at home in 6 steps
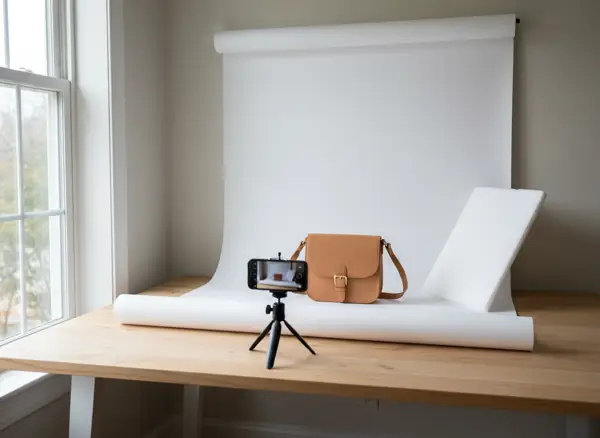
Most white background product photography at home starts from this setup. It takes about ten minutes the first time and two minutes after that. Shoot between mid-morning and mid-afternoon.
- 01
Curve the paper
Tape the top edge of the paper to the wall and let it fall onto the table in a smooth curve. No fold, no corner: the curve is what hides the line where the wall meets the table.
- 02
Light from the side
Put the table so the window is to the left or right of the product, not behind you and not behind the product. Turn off ceiling lights so there is only one colour of light.
- 03
Bounce the shadow side
Stand the white board on the side away from the window, 30–50 cm from the product. It fills the dark side and lifts the paper on that side too.
- 04
Place the product forward
Put the product on the flat part of the paper, at least 20 cm in front of the curve. Its shadow falls on the table instead of climbing the wall.
- 05
Phone at product height
Hold the phone level with the middle of the product, parallel to it, about 50–80 cm away. Use the 1× or 2× lens rather than digital zoom, and lean it on books or a mini tripod.
- 06
Expose for white, then check
Tap the product to focus, then slide exposure up until the paper looks white but the brightest part of the product still shows detail. Take the photo with a 3-second timer so the phone stays still.
Why does a white background look grey in photos?
A white background looks grey because the phone tries to make the whole scene an average brightness. It sees a lot of white, assumes the scene is too bright and darkens it. The result is paper that looks light grey, slightly blue or slightly yellow, with a darker band near the curve.
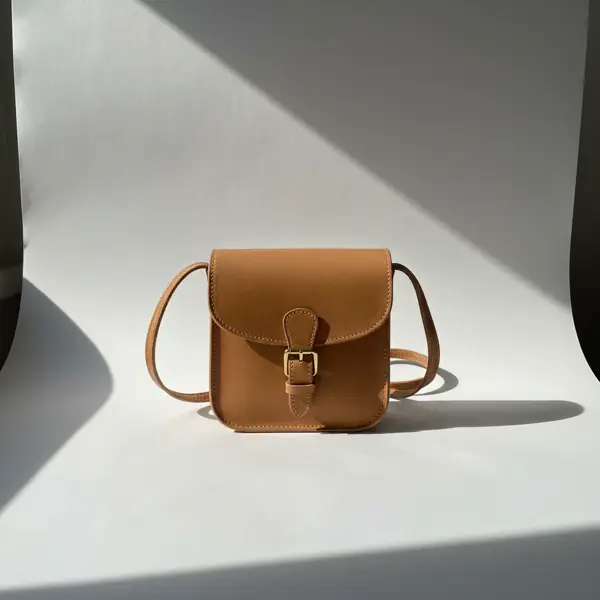
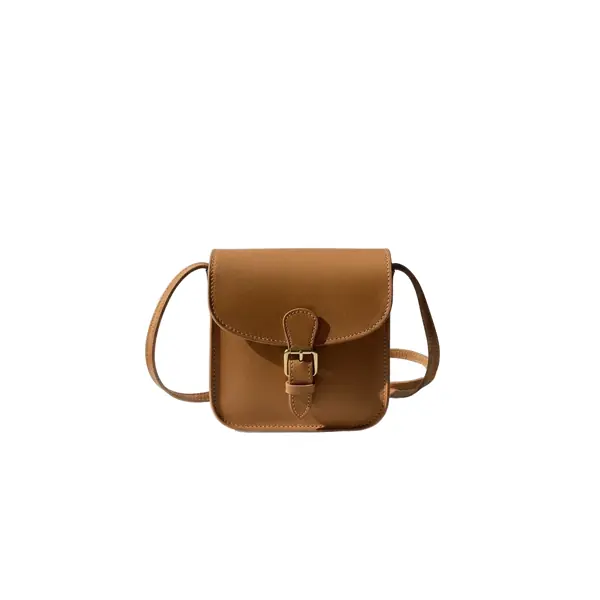
We measured it. In our test photo of a tan leather bag on white paper by a window, the paper read 205 to 225 on a 0–255 scale in the lit areas and 113 in the shadow beside the bag. To the eye that photo looks white; to a marketplace check it is grey. After running it through a background remover, the same background reads exactly 255.
That matters most on Amazon. Amazon’s product image guide asks for a main image on a pure white background, RGB 255, 255, 255, with the product filling 85% of the image (Amazon product image guide, read 14 November 2026). No amount of window light gets a phone photo there on its own; raising exposure gets you close, the edit does the rest.
Phone settings for a whiter background
For white background product photography, these work on any recent iPhone or Android phone. None of them needs an extra app.
Exposure up, a little
After tapping to focus, drag the sun icon (iPhone) or the exposure slider (Android) up. Stop when the paper is white and the product’s highlights still have detail.
Lock focus and exposure
Press and hold on the product until AE/AF Lock appears (iPhone), or use the lock in Pro mode on Android, so each angle comes out the same.
No digital zoom
Move the phone closer or use a real 2× or 3× lens. Digital zoom softens edges, and soft edges cut out badly.
Portrait mode off
Portrait mode blurs edges on purpose and may cut into straps or soles. Use the normal photo mode.
Same framing every time
Turn on the grid and keep the product in the same place for every item. A shop page where every product sits at the same size looks deliberate.
Filters off
No filter and no beauty mode. Correct brightness afterwards, never colour, unless the photo really differs from the item in your hand.
White clothes and white products on a white background
White on white is the one case where the usual setup fails: a white T-shirt on white paper has no edge for the eye or for a cut-out tool to follow. Use a light grey sheet or a pale wooden table instead, and let the background turn white later. Light grey gives the garment an outline; the remover then puts it on white.
Keep the light from the side so the seams, collar and folds throw small shadows. Those shadows are what show the shape of a white garment. Our guide to photographing white clothing covers exposure for white fabric, which overexposes faster than anything else on the table.
Glass, sheer fabric and clear plastic are the other hard case. Shoot them on a slightly darker surface and check the edges after the cut-out, because transparent parts may come out partly see-through. For a garment-by-garment list of which background color to use, see the best background color for clothes.
Get pure white with a background remover
In white background product photography, the fastest way to pure white is to shoot on light paper and let software finish it. Garmo’s free background remover cuts the product out in a few seconds and places it on transparent, pure white or a colour. Only the outline is drawn by the AI; every pixel of the product stays your photo’s own.
The preview is free and needs no account, up to two photos a day. The full size, up to 2048 px on the long side and without the watermark, opens in Garmo Studio after a free sign-up and uses one credit; a new account gets three. The Amazon-ready option centres the product on a 2000 × 2000 white square at 85% of the frame, matching the Amazon guide above. Every Amazon size and ratio rule, with sources, is in Amazon product image size.
For other shops, send the result to the marketplace image resizer for the size and shape your marketplace uses, then check it once with the free listing photo checker. It reports whether the background is white enough, along with sharpness, exposure and framing.
Keep at least one natural photo in the gallery as well: a cut-out shows the product, but a photo with a real shadow shows its size and material. Our guide to product photography backgrounds explains when white, colour or a lifestyle setting fits better.
Good and bad white background photos
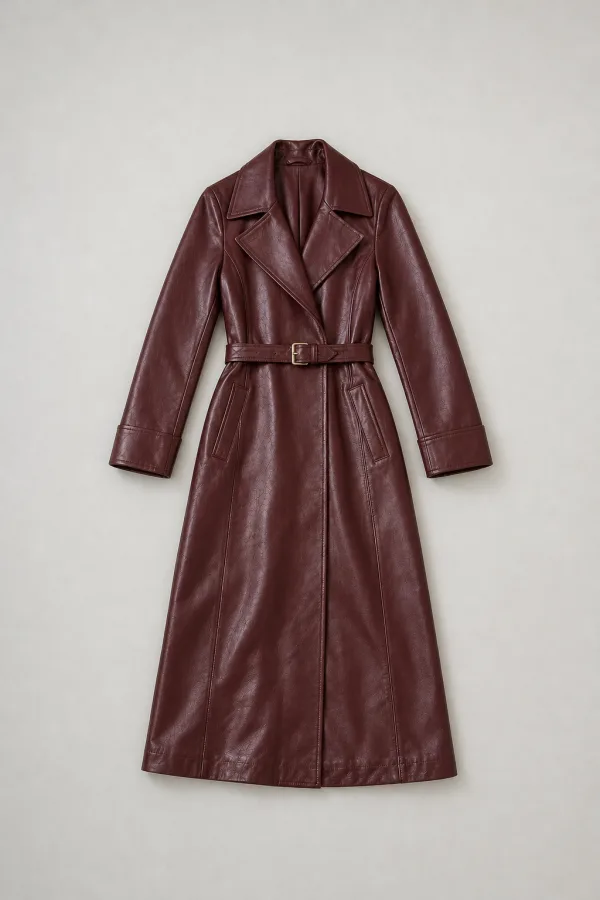
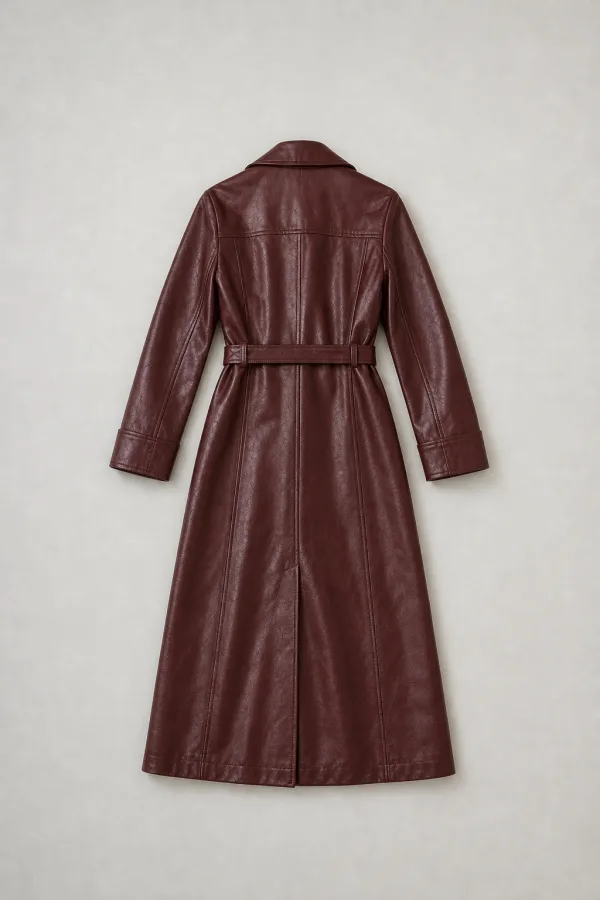
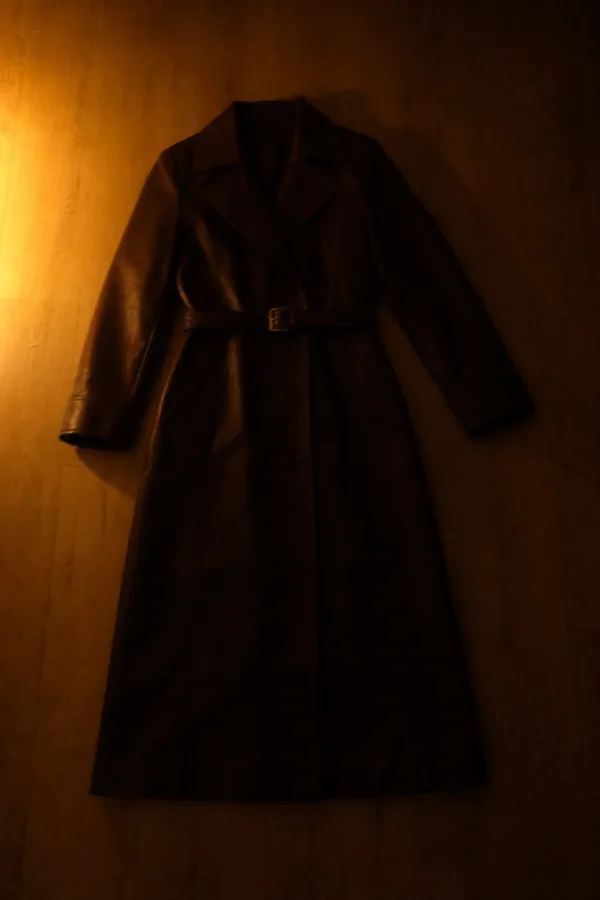
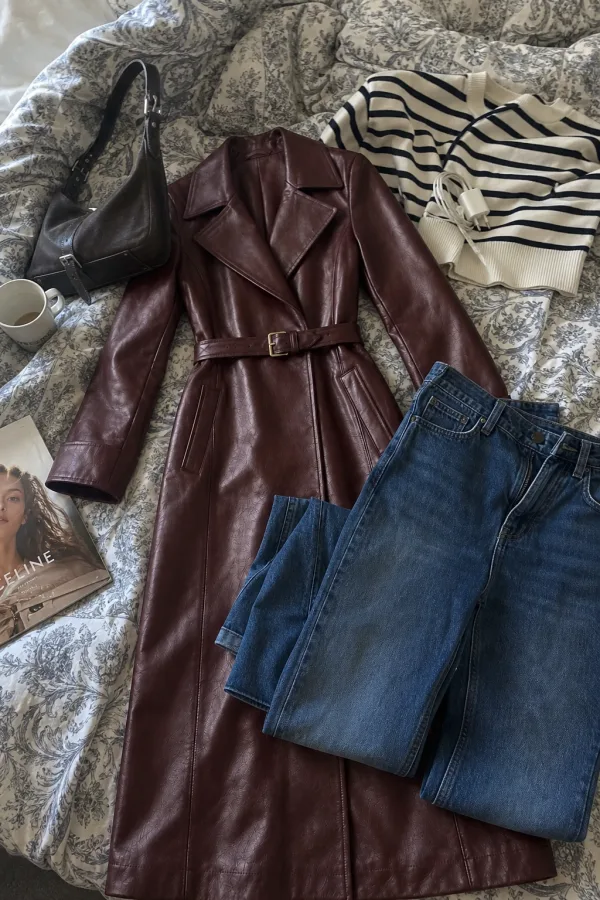
These come from Garmo Studio’s own photo guide. The same rules apply on white paper or after a cut-out.
Works well
Avoid
From white background to an on-model photo
A white background photo shows the product; a worn photo shows how it sits on a body. The same flat or hanger photo can become both. Garmo can put clothes on an AI model from one phone photo, and an AI ghost mannequin gives a garment a hollow 3D shape on a clean background. The first 3 images are free. For more phone basics, see how to take product photos with your phone.
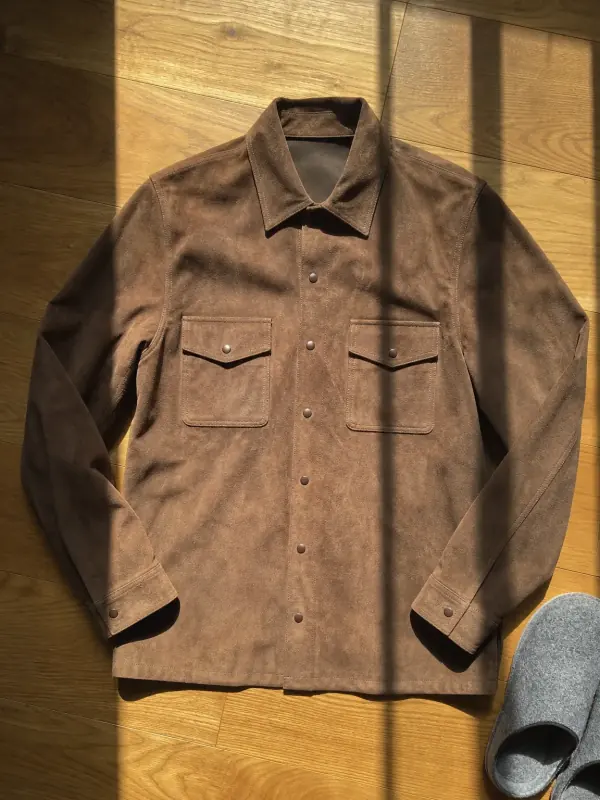
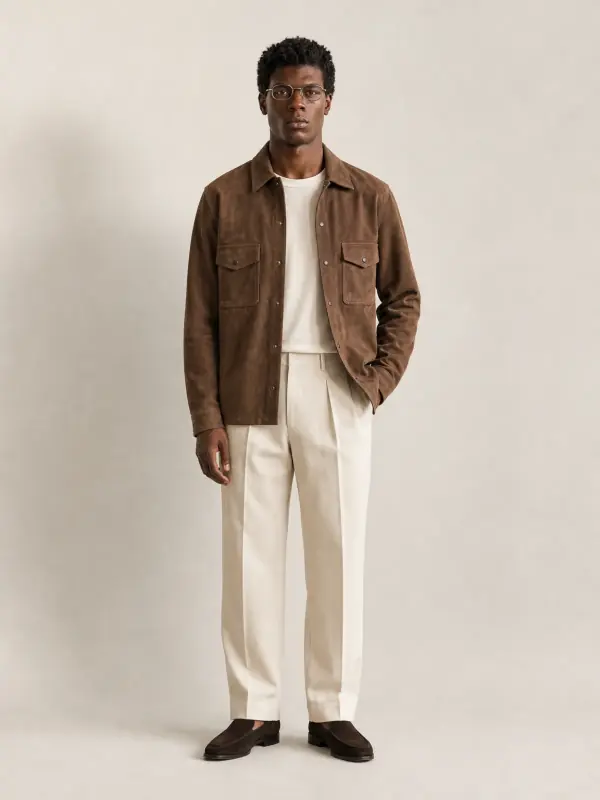
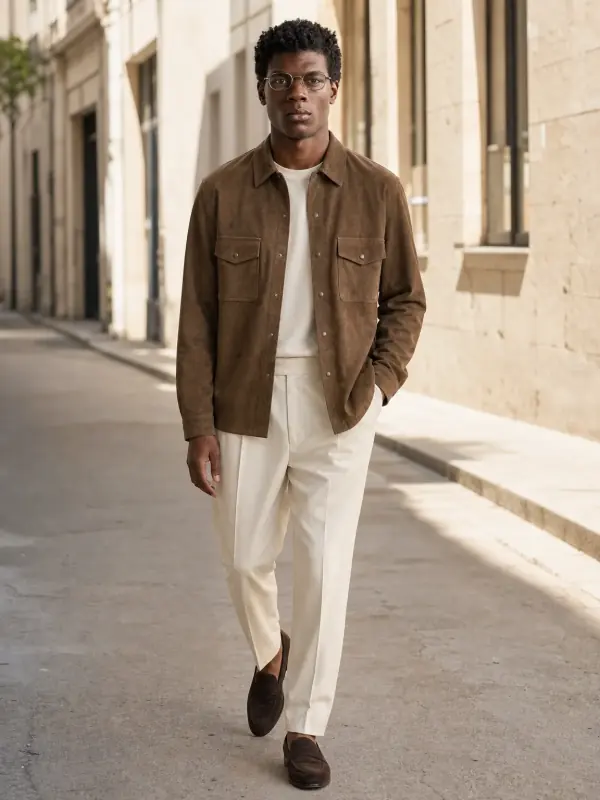
A suede overshirt
One photo on a plain surface, three worn frames. The clean start photo is why the colour and the pockets stay right.
 Your photo

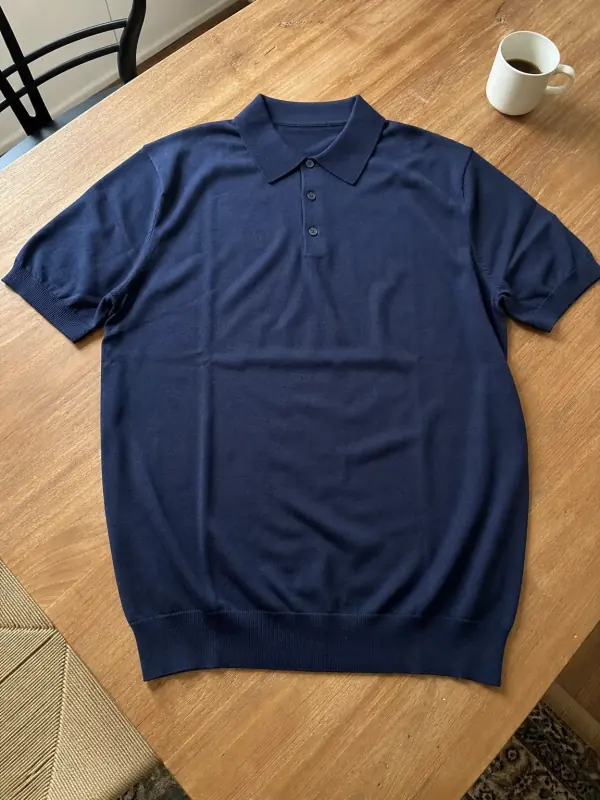
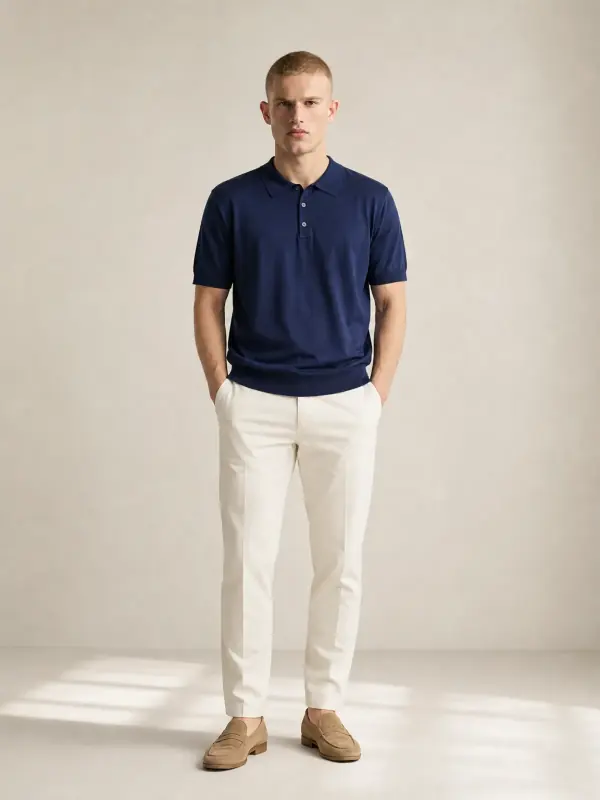
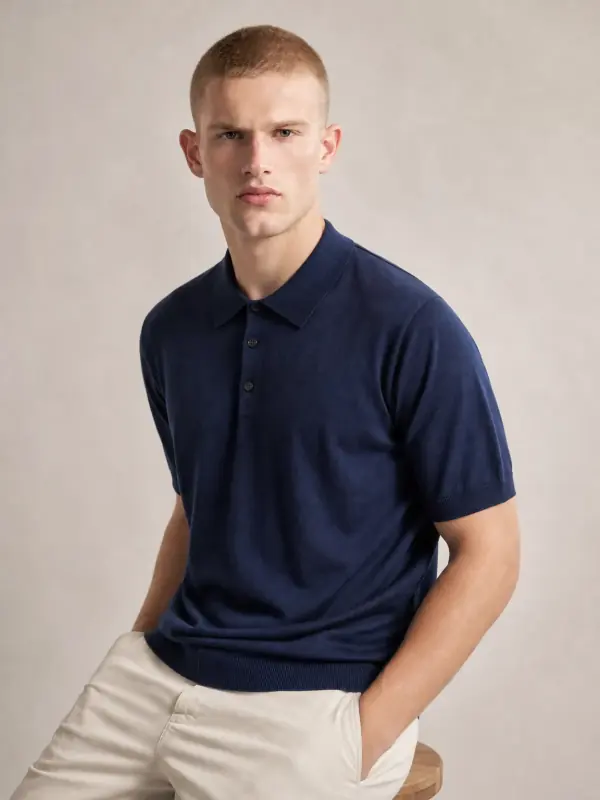
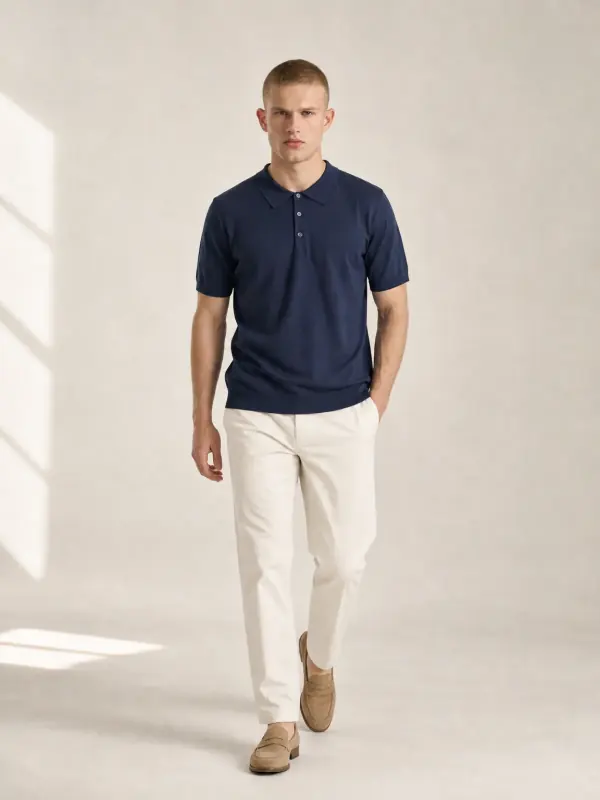
A knitted polo
Garmo’s own shoot: the same polo from a simple phone photo to studio frames on a model.
 Your photo
White background product photography questions
How do I get a pure white background on product photos?
Shoot on white paper with side window light, raise the exposure a little, then use a background remover set to white. Paper alone usually reads 200–230 out of 255 in a phone photo, which looks grey next to edited listings.
Can I take white background product photos with an iPhone?
Yes. Use the 1× or 2× lens, tap the product to focus, drag the sun icon up until the paper is white, and hold to lock focus and exposure. Turn off Portrait mode and filters, and use a 3-second timer.
What is the best white background material for product photography?
Matte white paper or thin card for small items, a paper roll for shoes and bags, and white foam board as a reflector. Avoid glossy board, which reflects the window, and fabric, which wrinkles.
Does Amazon require a white background?
Yes, for the main image. Amazon’s image guide asks for a pure white background, RGB 255, 255, 255, with the product filling 85% of the image. Extra images can show the product in use.
Why do my white background photos look blue or yellow?
Two light colours are mixing, usually a ceiling bulb and daylight. Turn the room lights off and use only the window. If a tint remains, set white balance by tapping the paper in a manual camera app.
Tools for white background product photos

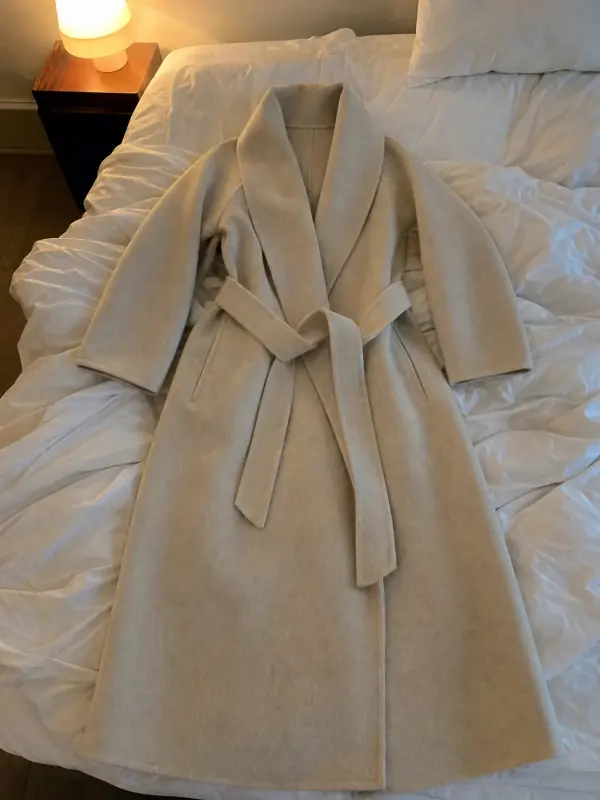 Flat lay to modelLay the garment flat, take one phone photo and get it worn by an AI model from three angles.

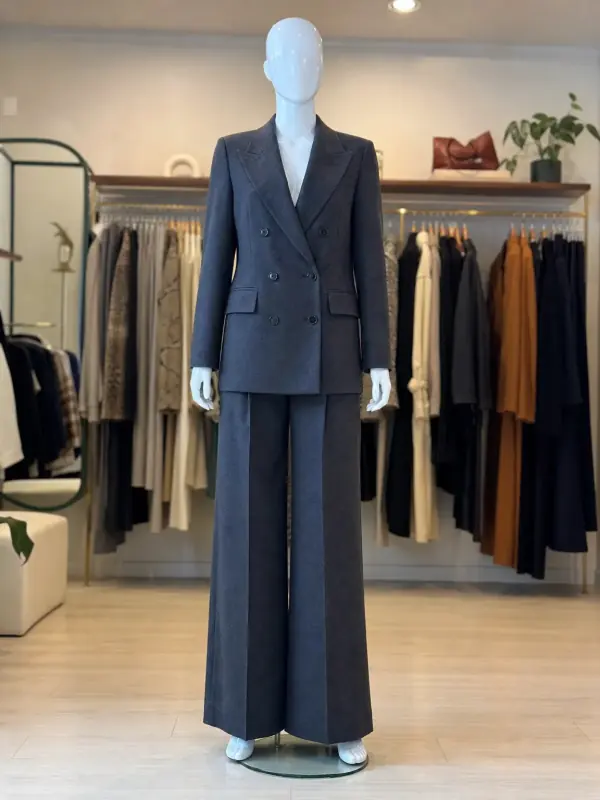 Mannequin to model AIAlready shoot on a mannequin or dress form? Upload that photo as it is and get the same piece worn by a model.
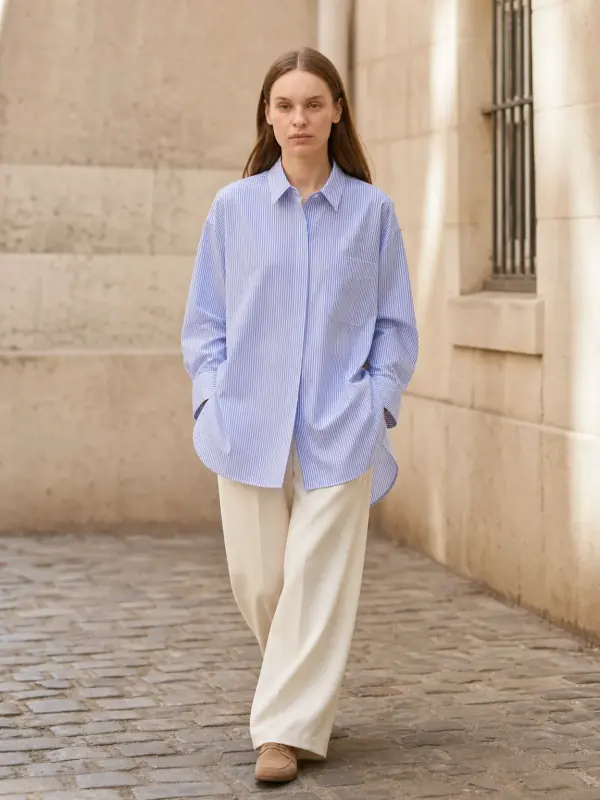
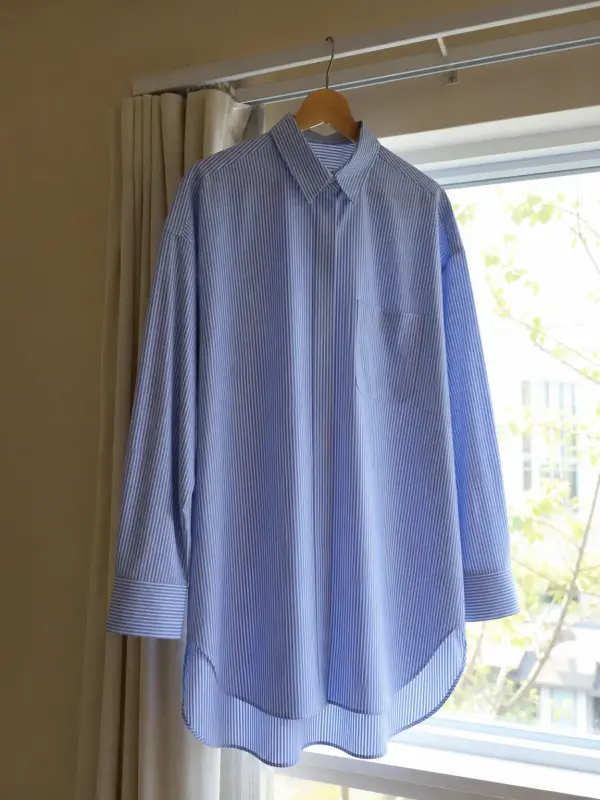 Garment to model AIHang the garment on a door or a rail, take one photo, and get it back worn by a model.

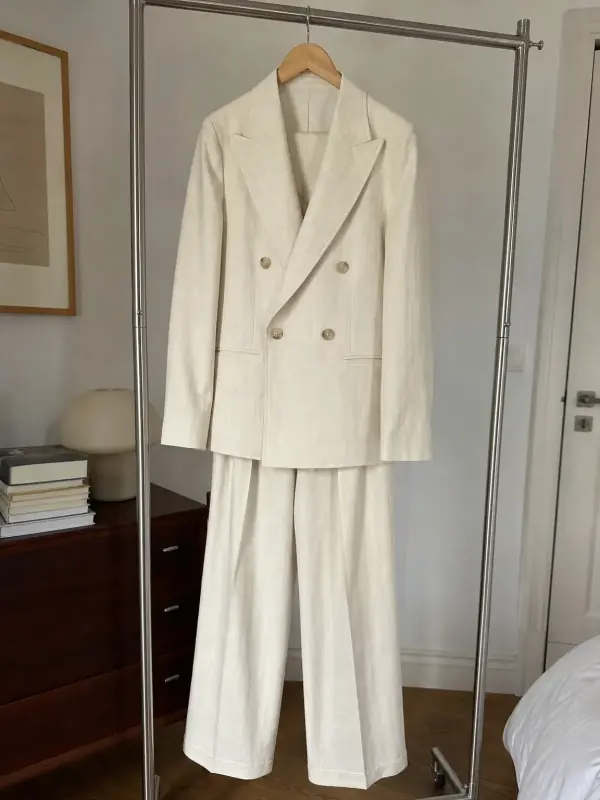 AI model photoshootTurn one product photo into a full photoshoot with a model: studio, street, editorial or a scene you describe, with up to six angles.
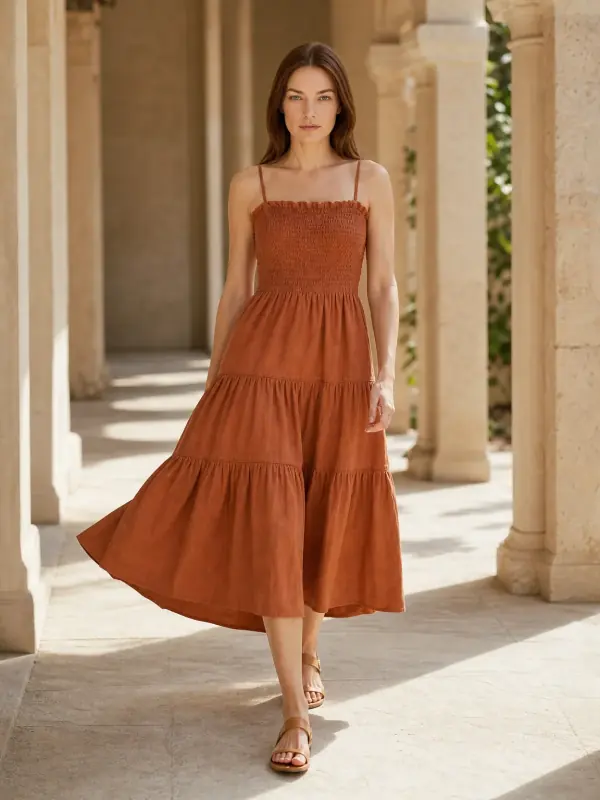
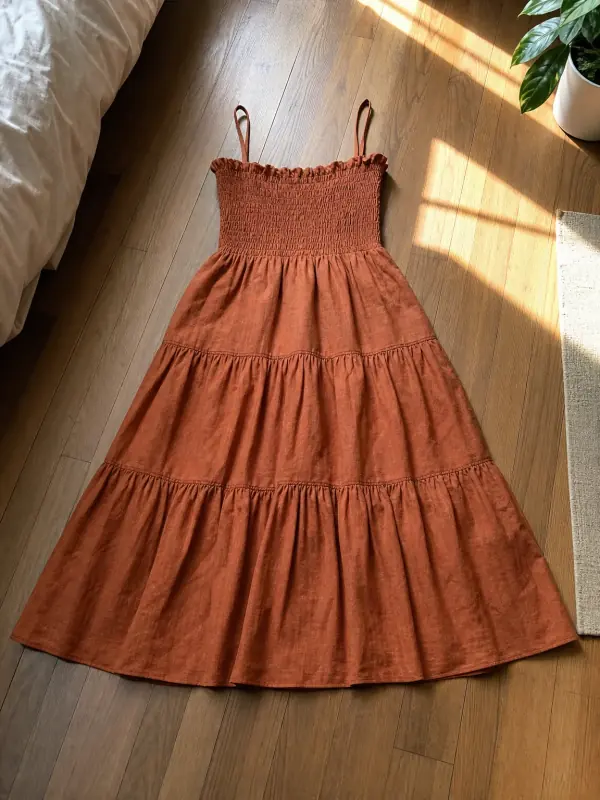 AI product photography with modelsClothing, jewelry and shoes photographed on models from one phone photo, with product-only shots for jewelry and shoes.
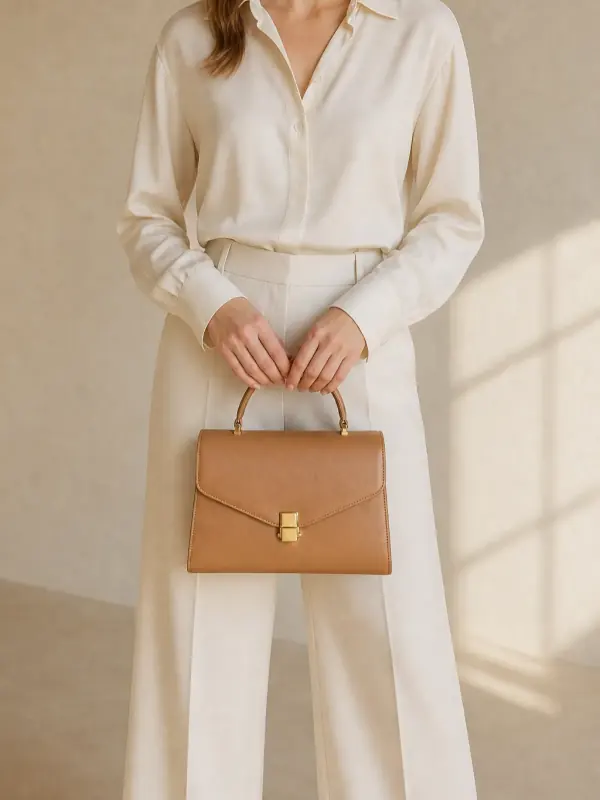
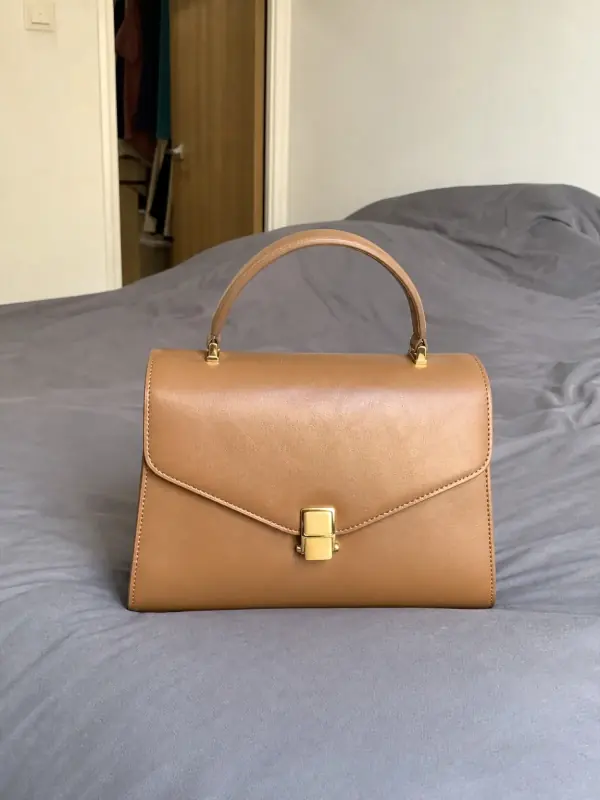 Bag on model AIShow a handbag held, worn on the shoulder or styled with an outfit from one clear source photo.