 Garmo team
Jewelry photography ideas start with the piece
Most jewelry photography ideas fail for one reason: the styling is chosen first and the piece second. Start from what the buyer needs to see. A fine chain needs contrast so it does not disappear. A ring with a stone needs a colour around it that makes the stone look richer. A set needs space so each piece reads on its own.
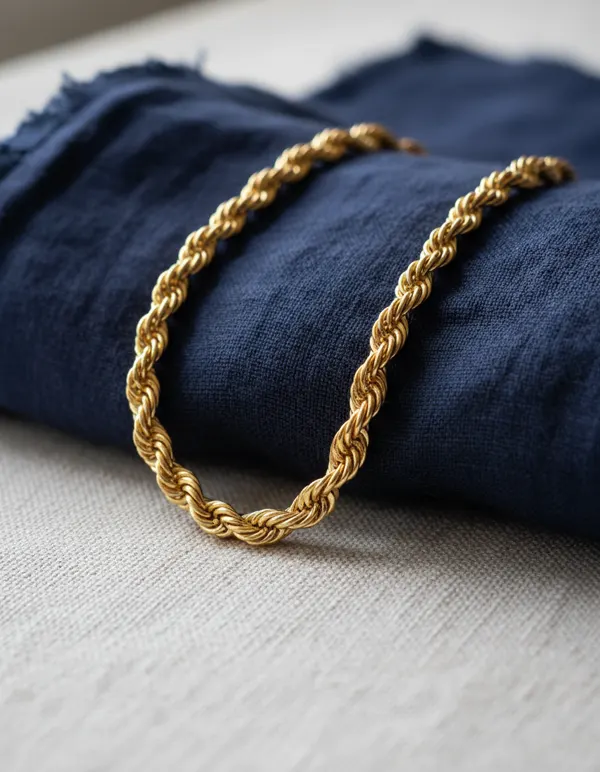
Use this rule of thumb. Gold looks warmest on dark fabric, stone and warm wood. Silver looks cleanest on grey stone, white ceramic and cool linen. Pearls need a slightly darker surface than white, or they vanish. Coloured stones look best next to one muted colour from the same family, never a bright one.
Keep your plain photo too. A styled photo sells the mood; the plain one on a clean background shows the piece without distractions. Our guide to how to photograph jewelry for sale covers that technical part: glare, sharp close-ups and exports. This one is about what to put around the piece.
12 jewelry photography ideas at home
None of these needs a studio. Everything here costs less than a coffee or is already in your kitchen.
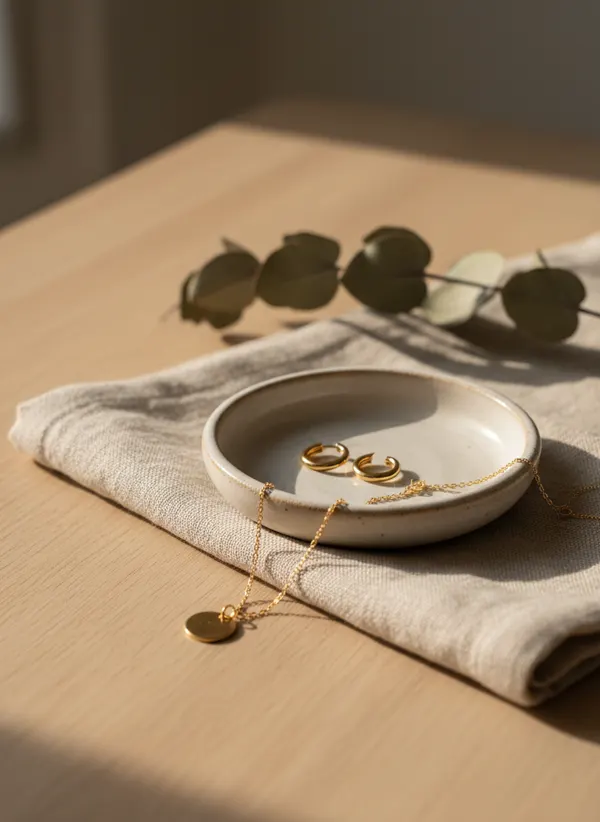
1. A handmade ceramic dish
Small, uneven, off-white. It frames earrings and rings and tells the buyer the piece is handmade too.
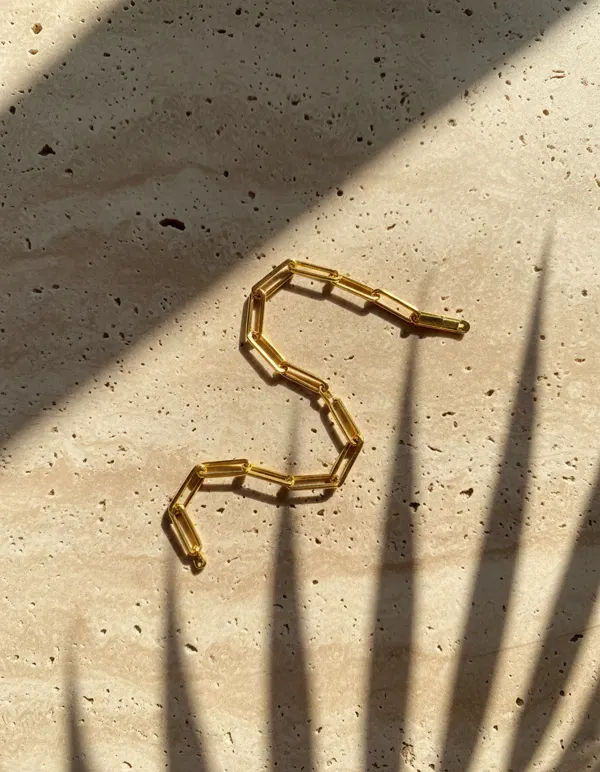
2. Travertine or marble
A sample tile from a hardware shop is enough. Stone gives texture without colour and suits both gold and silver.
3. Dark silk or velvet
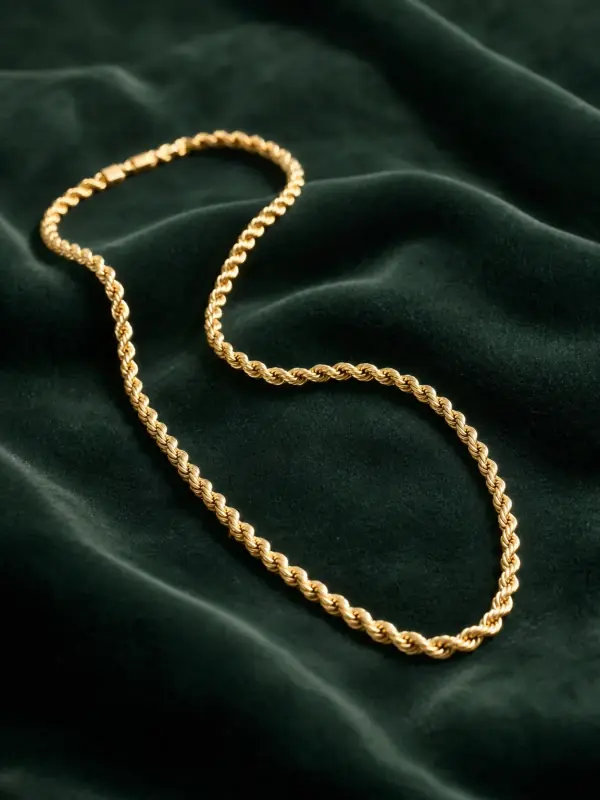
Navy, bottle green or black under gold chains. Fold it so the light catches a ridge behind the piece.
4. Linen and one dried stem
Oatmeal linen and a sprig of eucalyptus or wheat, out of focus. Calm and seasonless.
5. Leaf shadows
Late sun through a plant by the window. Place the piece in a bright gap between shadows.
6. One clear glint
Turn the piece until one point catches the window. One highlight looks precious; ten look cheap.
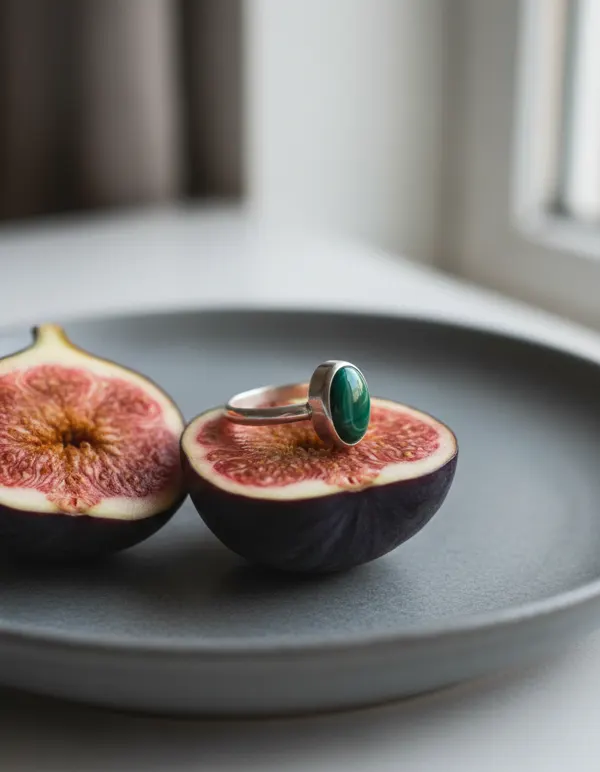
7. Fruit as a prop
A halved fig, a lemon slice, a few cherries. The colour sets off the stone and shows scale at once.
8. A flat lay triangle
Three pieces of a set in a loose triangle with equal space between them, shot from directly above.
9. The packaging
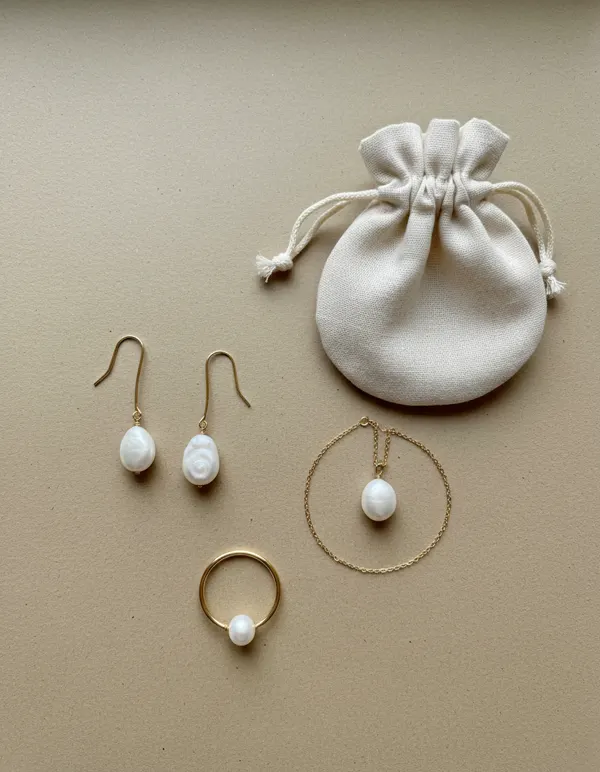
Your pouch or box half open beside the piece. It answers the gift question before it is asked.
10. Earrings on a card
Hang studs or drops through a small plain card, propped upright. They stand the way they will hang.
11. A ring standing up
Press the band into a soft surface such as fruit, putty or a folded cloth, so the stone faces the camera.
12. Worn on a person
Neck, ear, wrist or hand. The only idea that shows true size, and the one that sells small pieces.
Light ideas: soft window light and hard sun shadows
Two kinds of light work for jewelry, and they give opposite moods. Soft window light, on a cloudy day or from a north-facing window, is calm and shows the true colour of stones and pearls. Hard sunlight, late in the afternoon, makes gold glint and throws sharp shadows that turn a plain surface into a graphic photo.
For the shadow idea, put a plant with long leaves between the window and the table and move the piece until it sits in a bright patch between two shadows. If the piece is in shadow, it looks dull; if the shadow crosses it, it looks cut in half. Lower the exposure a little so the highlights on the metal keep their detail.
Avoid mixing light. A warm ceiling bulb plus daylight turns silver yellow and white gold beige, and no edit fully fixes that. Turn every lamp off and use the window only. More on bounce cards and diffusers is in our product photography lighting setup guide.
Prop ideas that show size instead of hiding it
A good prop answers a question. A fig or a cherry next to a ring says how big the stone is, because everyone knows how big a fig is. A ceramic dish says the earrings are small enough to lose. A teacup, a book corner or a matchbox does the same job.
Keep the prop the same size as the piece or smaller in the frame, and keep it to one. Choose its colour from the piece: a purple fig next to a green stone, a lemon next to yellow gold, grey stone next to silver. Two props and three colours make a still life, not a product photo.
Food props are temporary. Shoot quickly, wipe the piece afterwards and never leave silver touching acidic fruit for long. If the piece is plated, a dry prop such as a shell, a stone or a ceramic bead is safer.
Flat lay ideas for jewelry sets
A set sells better as a set. Lay the pieces in a loose triangle with the same gap between them, so the eye travels from one to the next, and shoot from directly above with the phone parallel to the table. Use a plain, slightly warm paper so pearls and gold separate from the background.
Lay necklaces in a soft circle or a gentle U rather than straight; a straight chain looks like a measuring tape. Earrings sit side by side, slightly apart, both facing the same way. Rings stand or lie with the stone towards the top of the frame.
Add the pouch or box as the fourth element, in a corner, half open. For more layouts beyond jewelry, see our Instagram product photo ideas.
Worn jewelry photo ideas without a model
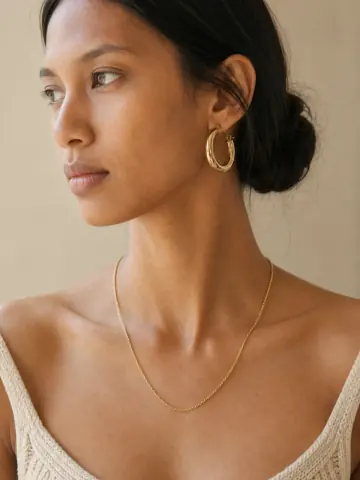
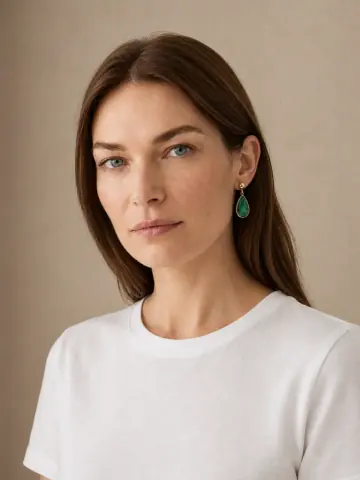
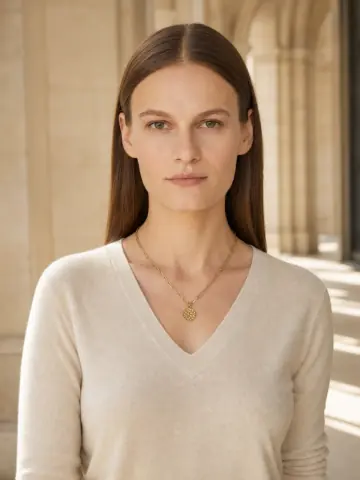
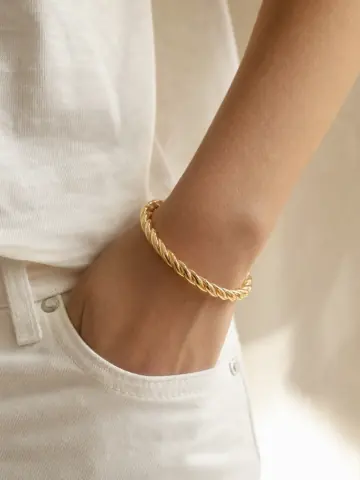
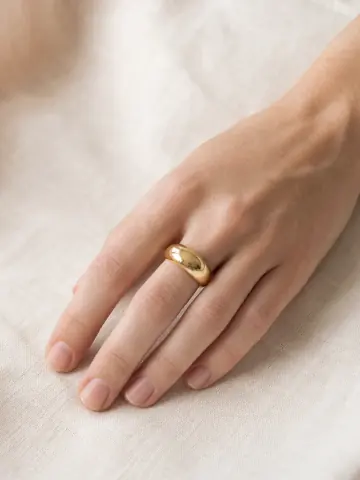
Worn photos are the most useful of all jewelry photography ideas, because they show size. A 15 mm hoop looks large on a dish and small on an ear. Ideas that work: a necklace on the collarbone with a plain neckline, earrings with the hair tucked behind the ear, a bracelet with the sleeve pushed up, a ring stack on a relaxed hand.
The hard part is the person. Your own hand works for rings; necks and ears are harder to shoot alone. Garmo can put jewelry on an AI model from the photo you already took, and it has separate tools for earrings on a model, bracelets on a wrist and necklaces on a model.
It also makes the styled product photo itself. In the sets below, every input was a quick, messy phone photo: earrings in a palm, a bracelet on a towel, a chain on a car dashboard. Garmo turned each into a styled product frame and a worn frame. For the full routine of worn shots, read how to photograph jewelry on a model.
From a quick phone photo to styled and worn shots
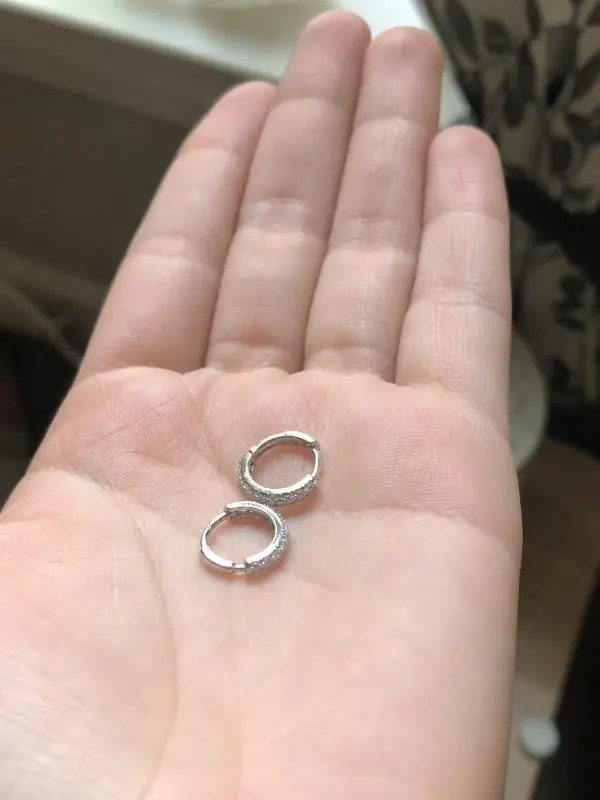
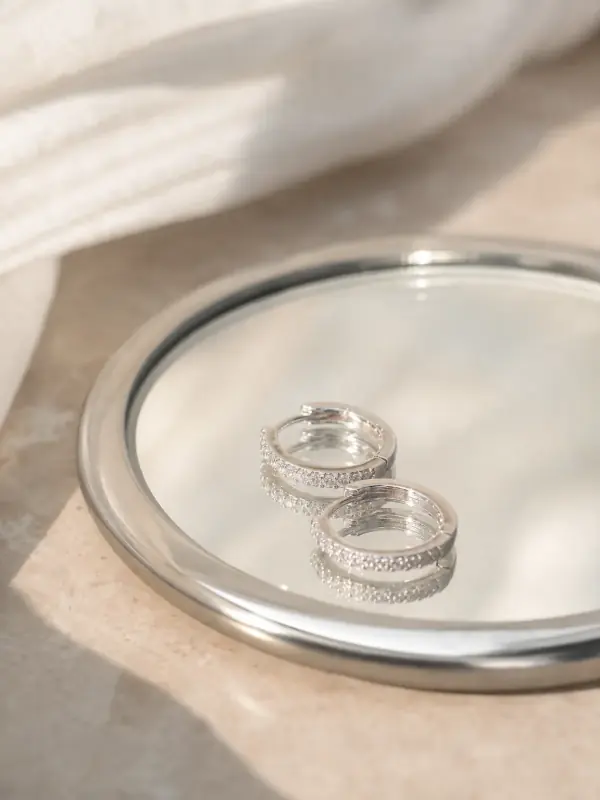
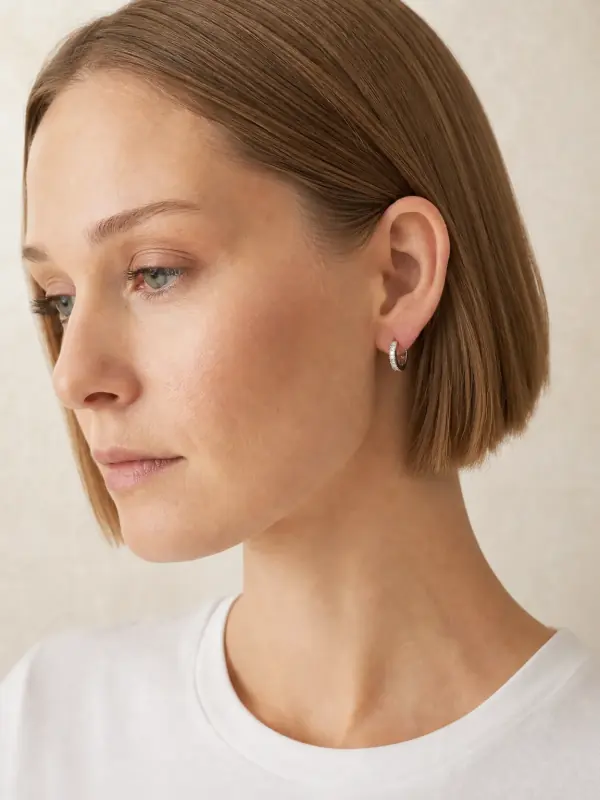
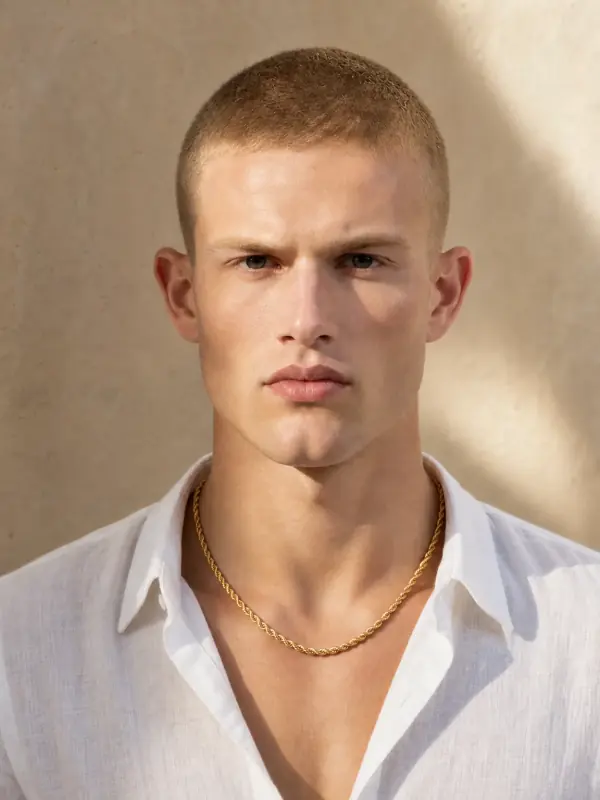
Three real Garmo results. The pavé stones on the hoops, the row of stones on the tennis bracelet and the twist of the rope chain stayed the same as in the input. The first 3 images are free.
Pavé huggie hoops
Shot in a palm, turned into a mirror-tray still life and a profile portrait.
 Your photo
 garmo result
 garmo result
A silver tennis bracelet
Shot on a dark towel, turned into a stone-plate flat lay and a dinner-table wrist shot.
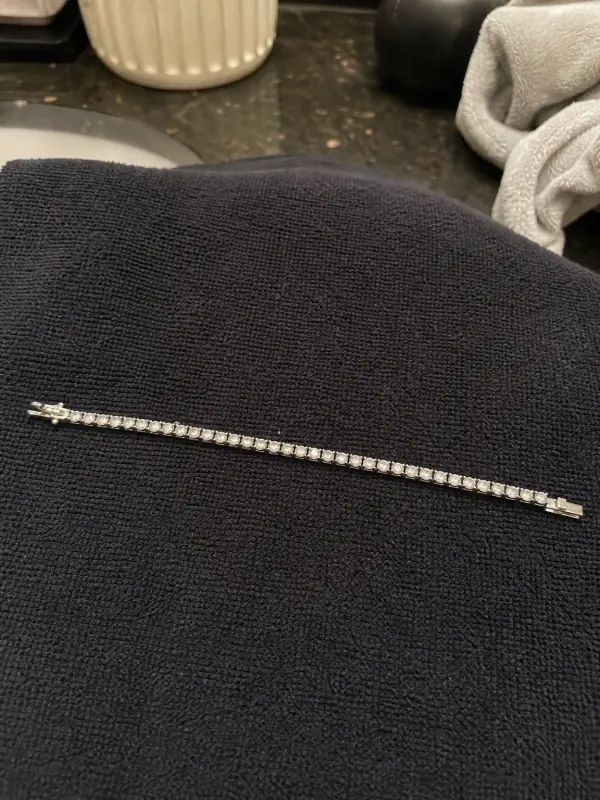 Your photo
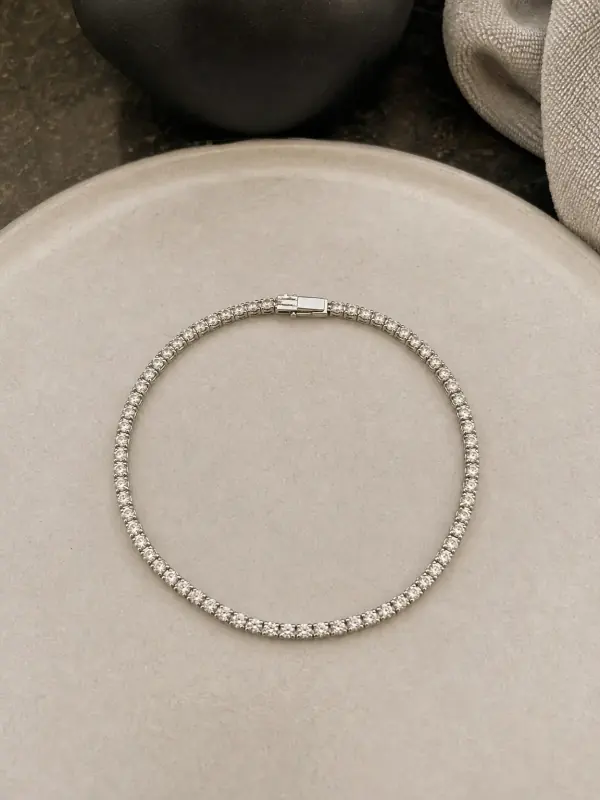 garmo result
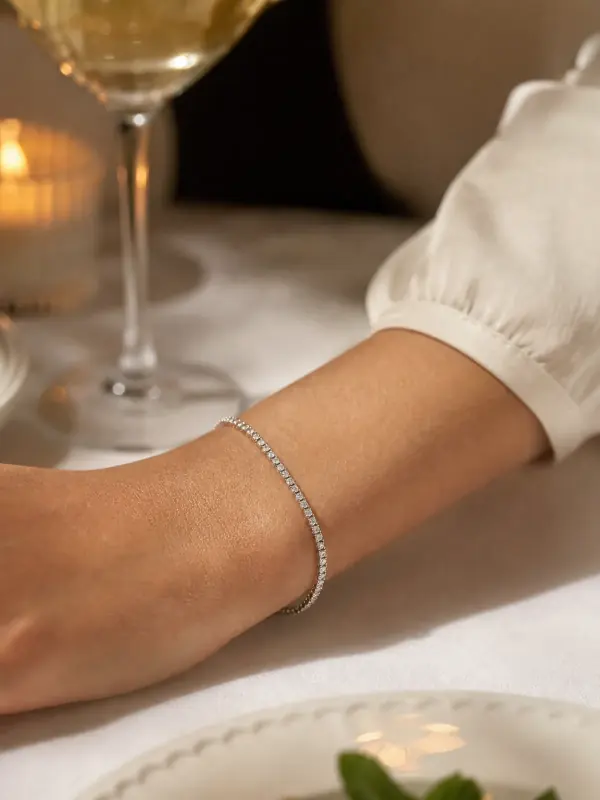 garmo result
A gold rope chain
Shot on a car dashboard, turned into a velvet still life and a portrait.
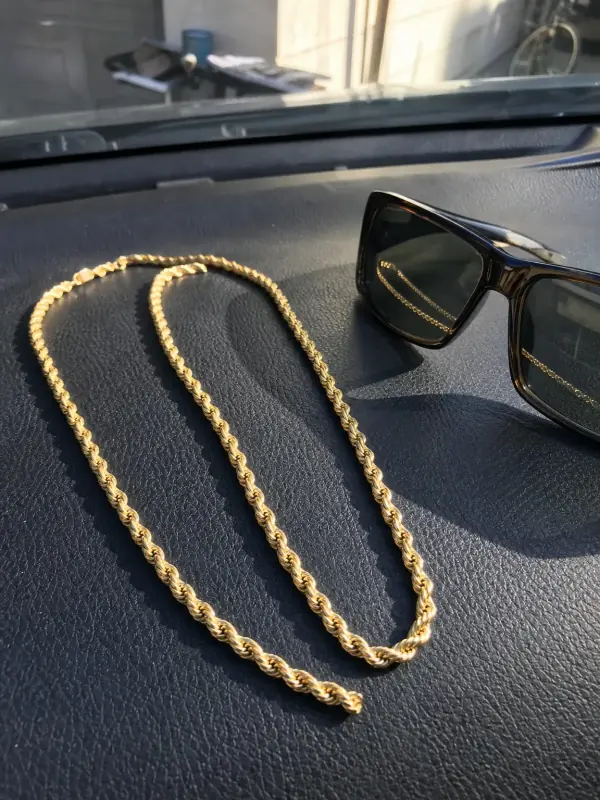 Your photo
 garmo result
 garmo result
Mistakes that make creative jewelry photos look cheap
The prop wins. If the eye goes to the flower first, the photo sells the flower. Shrink the prop, blur it or take it out. Too many pieces. Five rings in one frame look like a market stall; show one, then the set.
Dust and fingerprints. A phone close-up shows every smudge. Wipe the piece with a microfibre cloth and handle it by the edges. The phone in the reflection. Mirror trays and polished silver reflect you; shoot at a slight angle or hold a white card above the phone.
No plain photo. Amazon asks for a pure white background on the main image, and in any search grid a clean first photo is the easiest to read. Keep one photo on white or light grey as the first image and put the styled ideas after it. The free background remover for product photos gives you that clean version from the same shot.
Questions about jewelry photography ideas
How can I photograph jewelry at home with a phone?
Shoot by a window with lamps off, on a textured surface that contrasts with the metal. Use the 2× lens rather than getting too close, tap to focus on the piece, lower the exposure slightly so the metal keeps detail and use a timer.
What background is best for jewelry photos?
For the first listing photo, white or light grey. For styled photos, stone, ceramic or linen for silver and pearls, and dark silk, velvet or warm wood for gold. Avoid busy patterns and glossy surfaces that reflect the window.
What props can I use for jewelry photography?
One small prop the buyer knows the size of: a fig, a lemon slice, a shell, a ceramic dish, a teacup or your packaging. Keep it the same size as the piece or smaller, and pick its colour from the piece.
How do I make a ring stand up for a photo?
Press the bottom of the band into something soft: a piece of fruit, a little museum putty or a tightly folded cloth. Hide the support behind the band and turn the ring so the stone faces the camera.
How do I show jewelry being worn without a model?
Use your own hand for rings and bracelets, or turn the product photo into a worn photo with an AI model. That shows true size on a neck, ear or wrist without booking a model or a studio.
Tools for jewelry photos
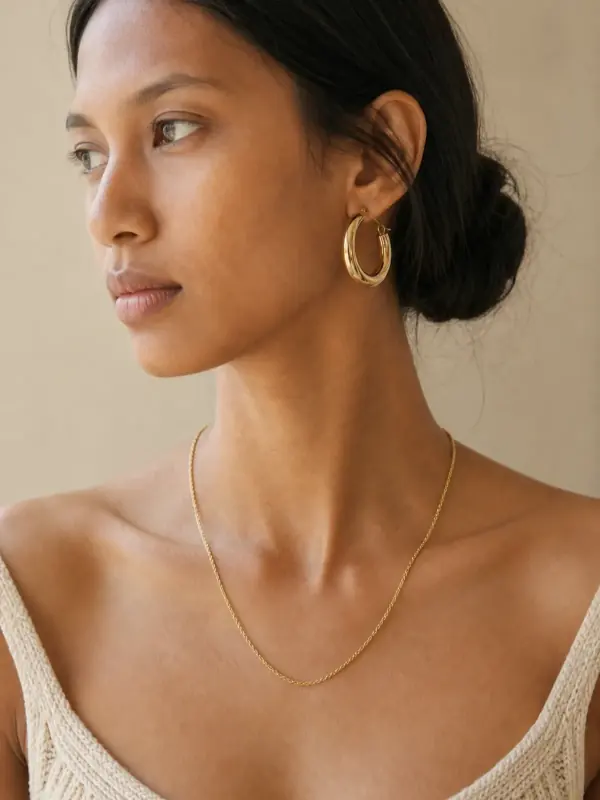
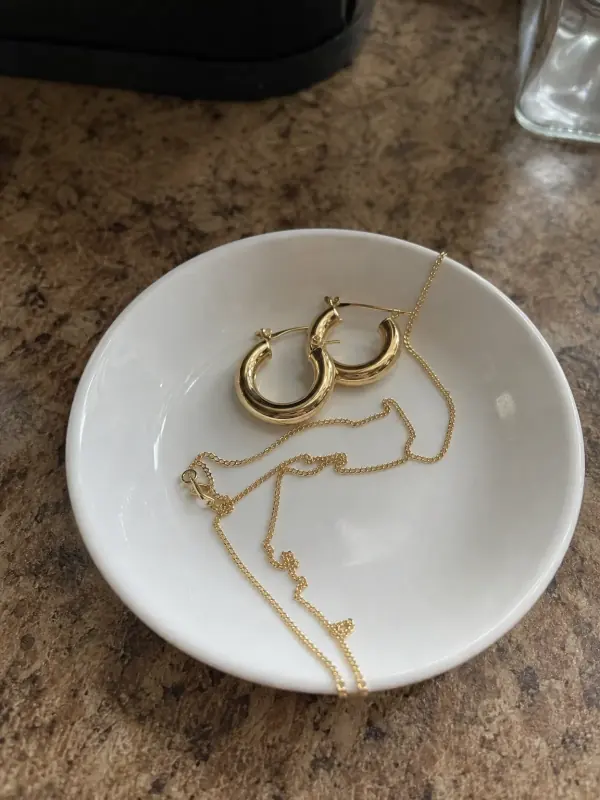 Jewelry on model AIUpload a photo of a necklace, earrings, ring, bracelet or anklet and get it worn by an AI model, plus product and macro shots.
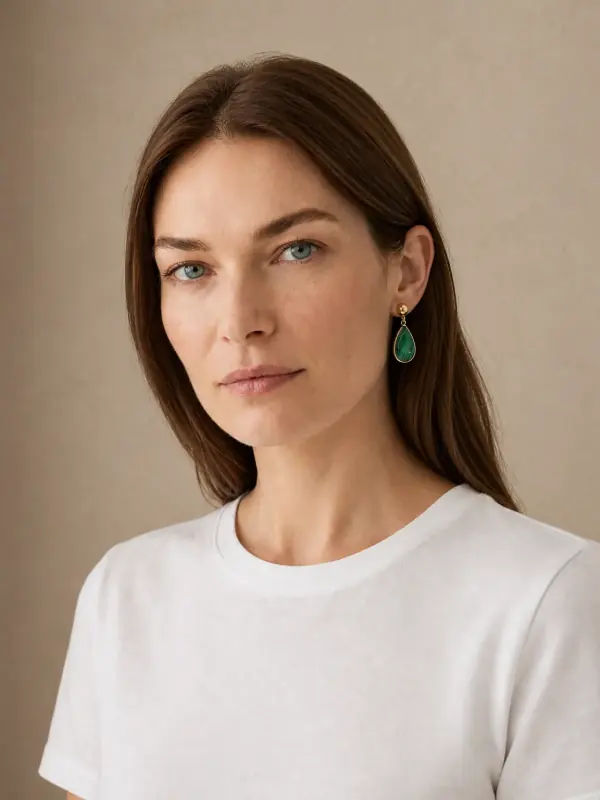
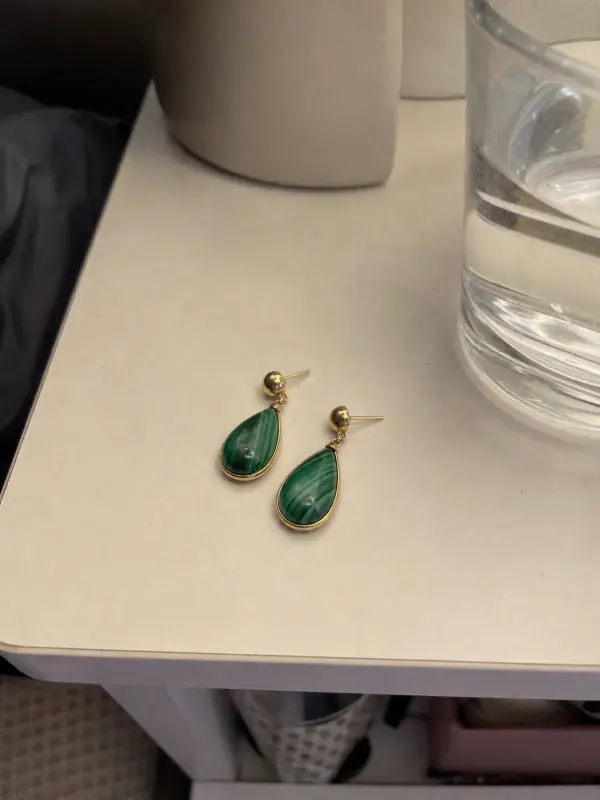 Earrings on model AIDrops, hoops and studs worn by a model, in portraits and close ear shots, plus a clean product photo of the pair.
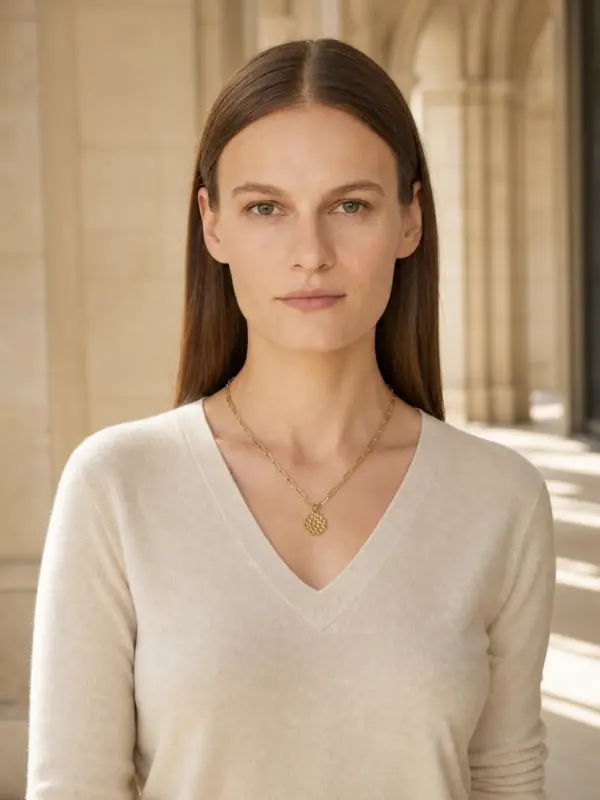
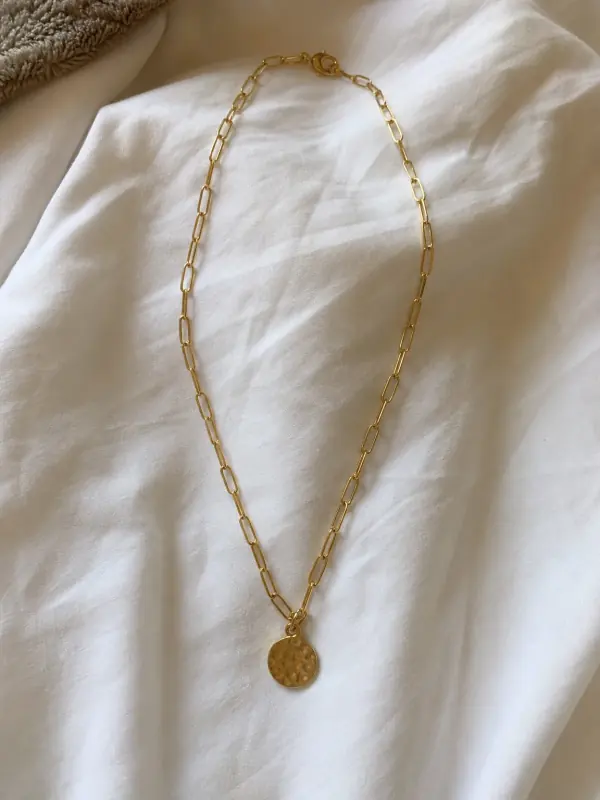 Necklace on model AIChains and pendants worn at the right length on a model, with neckline close-ups and a product shot.
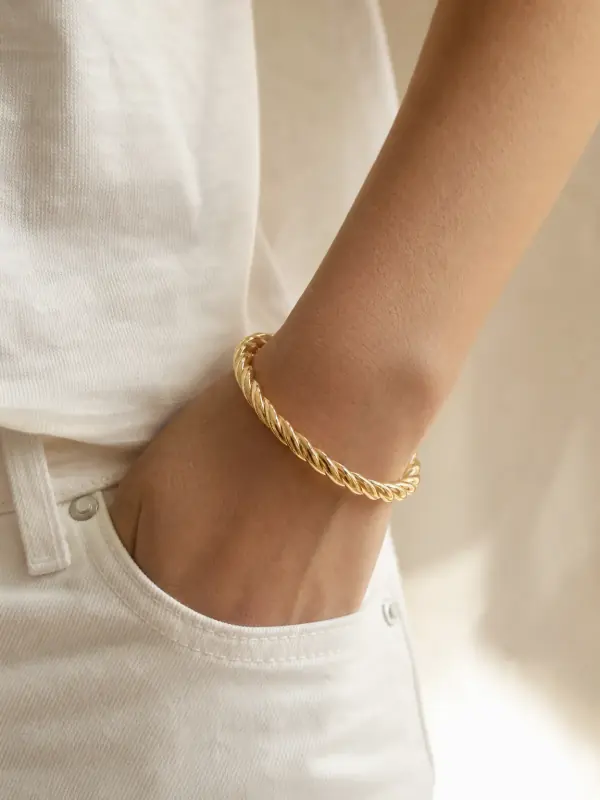
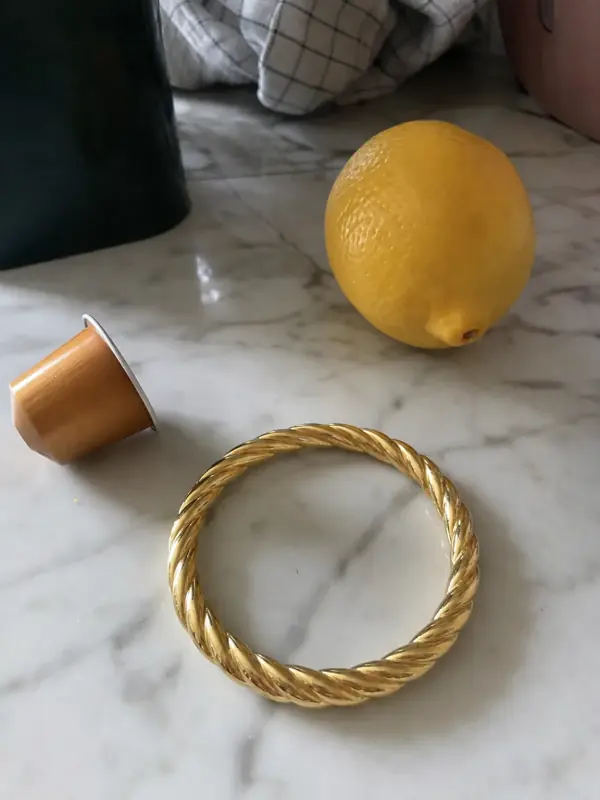 Bracelet on model AIBangles, tennis bracelets and leather bands on a model's wrist, with a portrait and a product shot.
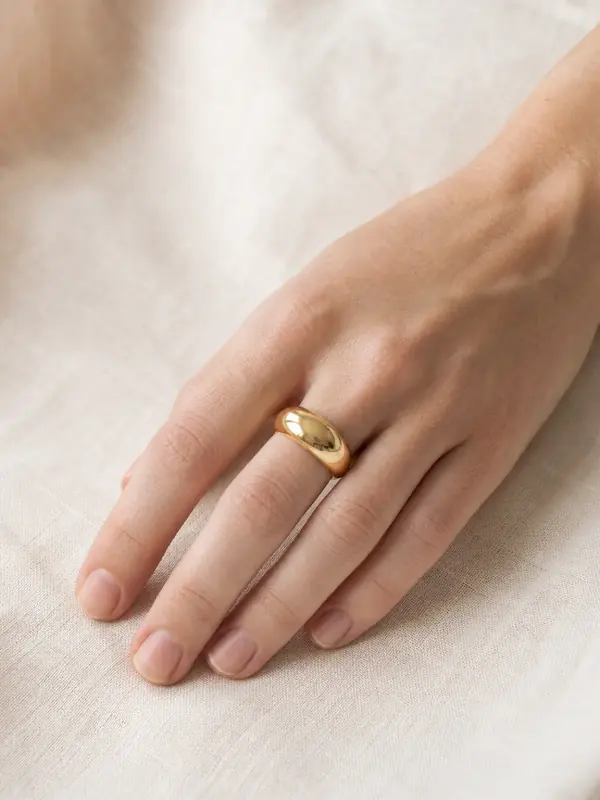
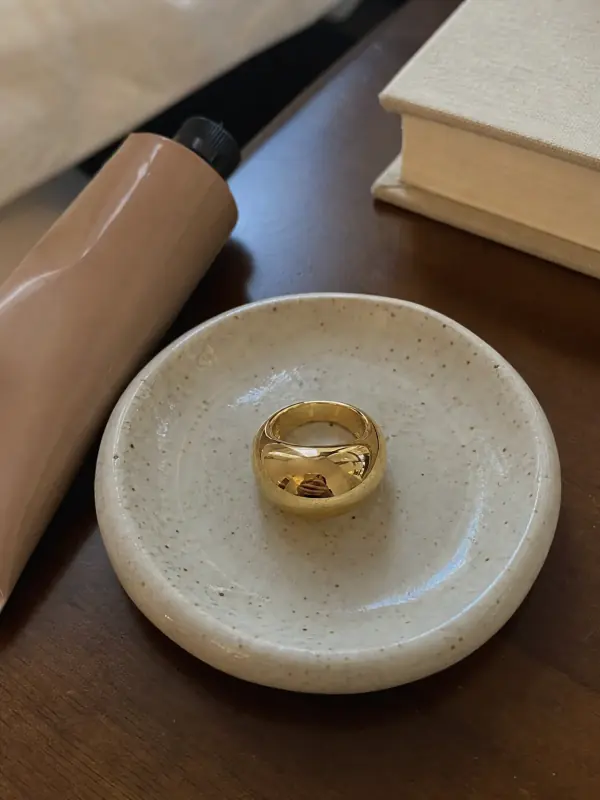 Ring on hand AIRings photographed on a model's hand, in portraits and close-ups, plus a clean product shot of the ring alone.
 Flat lay to modelLay the garment flat, take one phone photo and get it worn by an AI model from three angles.