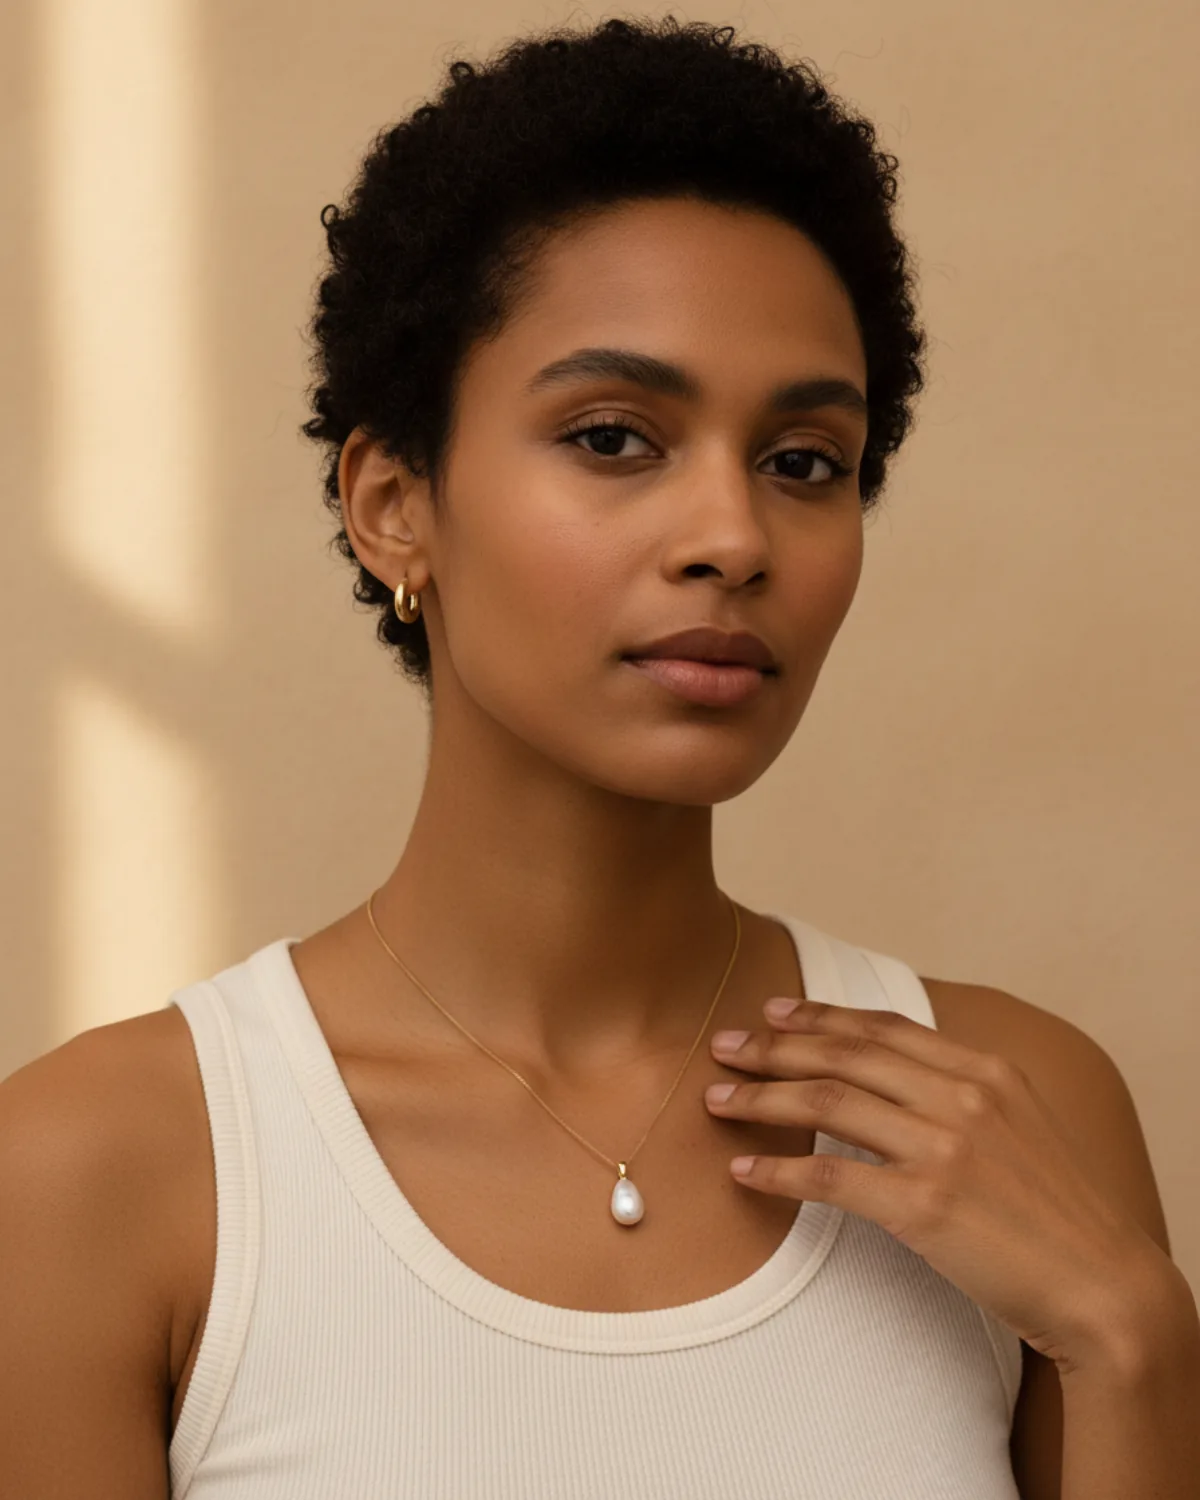
Why jewelry needs a worn photo
A product shot shows what a piece is made of. A worn shot shows what it will be like to own it: how long the chain falls, how big a hoop looks next to a face, whether a ring is delicate or bold on a finger. Those are the questions behind most hesitation at checkout, and a 2 cm pendant and a 4 cm pendant can look identical on a white background.
That is why a jewelry listing usually leads with a clean product photo and follows with at least one on-body frame. You still need the product shots: the clasp, the back of the setting, the hallmark. For those, our guide on how to photograph jewelry for sale covers light boxes, focus and reflections. This post is about the worn frame only.
Five ways to get jewelry on a model
From free to most expensive. Most small shops mix two of them.
Yourself, on a tripod
Free and always available. Works well for rings and bracelets; necklaces and earrings take practice with a timer and a mirror.
A friend or family member
Easier than self-shooting, but every collection ends up on a different person, so your shop looks inconsistent.
A jewelry bust
Cheap and reusable. It shows length, but it is not a person: no skin, no scale, no sense of how it moves.
A booked model
The real thing, with styling and expression. You pay for the model, the photographer and the time, so it suits a campaign more than every SKU.
An AI model from your photo
Upload a product photo and get the same piece worn by a ready model. Consistent across the catalog and fast to update.
Framing by jewelry type
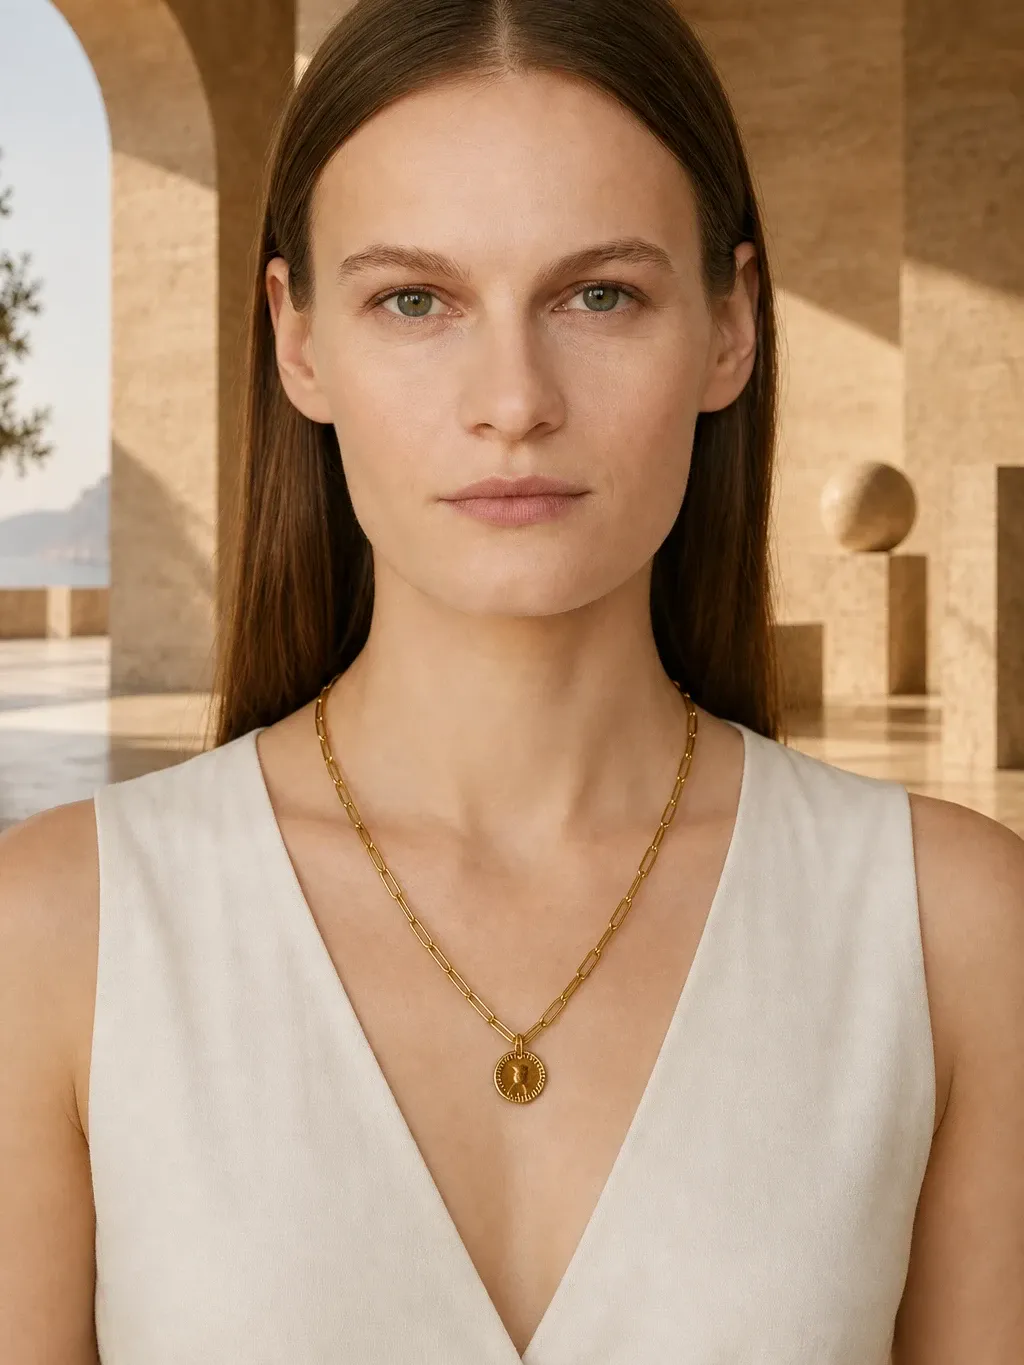
Necklaces: frame from the chin, or the full face, down to the middle of the chest, so the buyer can see where the chain sits against the collarbones. Choose a plain, open neckline that matches the length: a crew neck for chokers, a scoop or V-neck for 45 cm chains, a plain knit for long pendants. If you sell several lengths, keep the framing identical so the difference reads at a glance. Scale is the main job here, as explained in why a worn necklace shows scale.
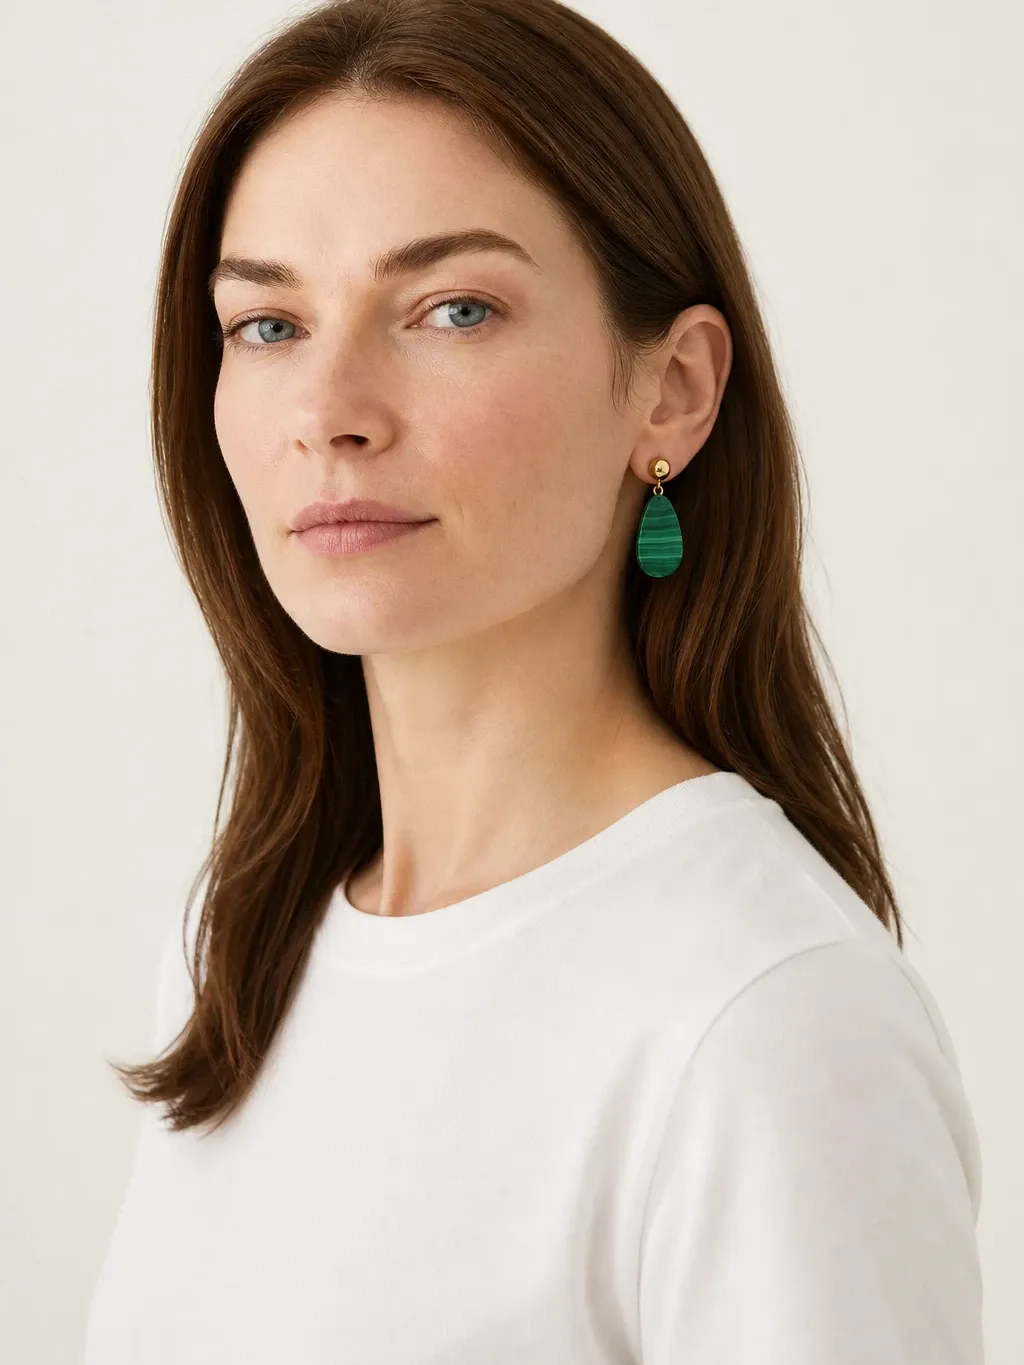
Earrings: sweep the hair behind the ear and turn the head slightly so the near ear faces the camera. Focus on the earring, not the eyes, and frame from the top of the head to the shoulders so the size is clear against the jaw. Keep other jewelry off the face; a second pair of earrings in the frame confuses the buyer about what is for sale.
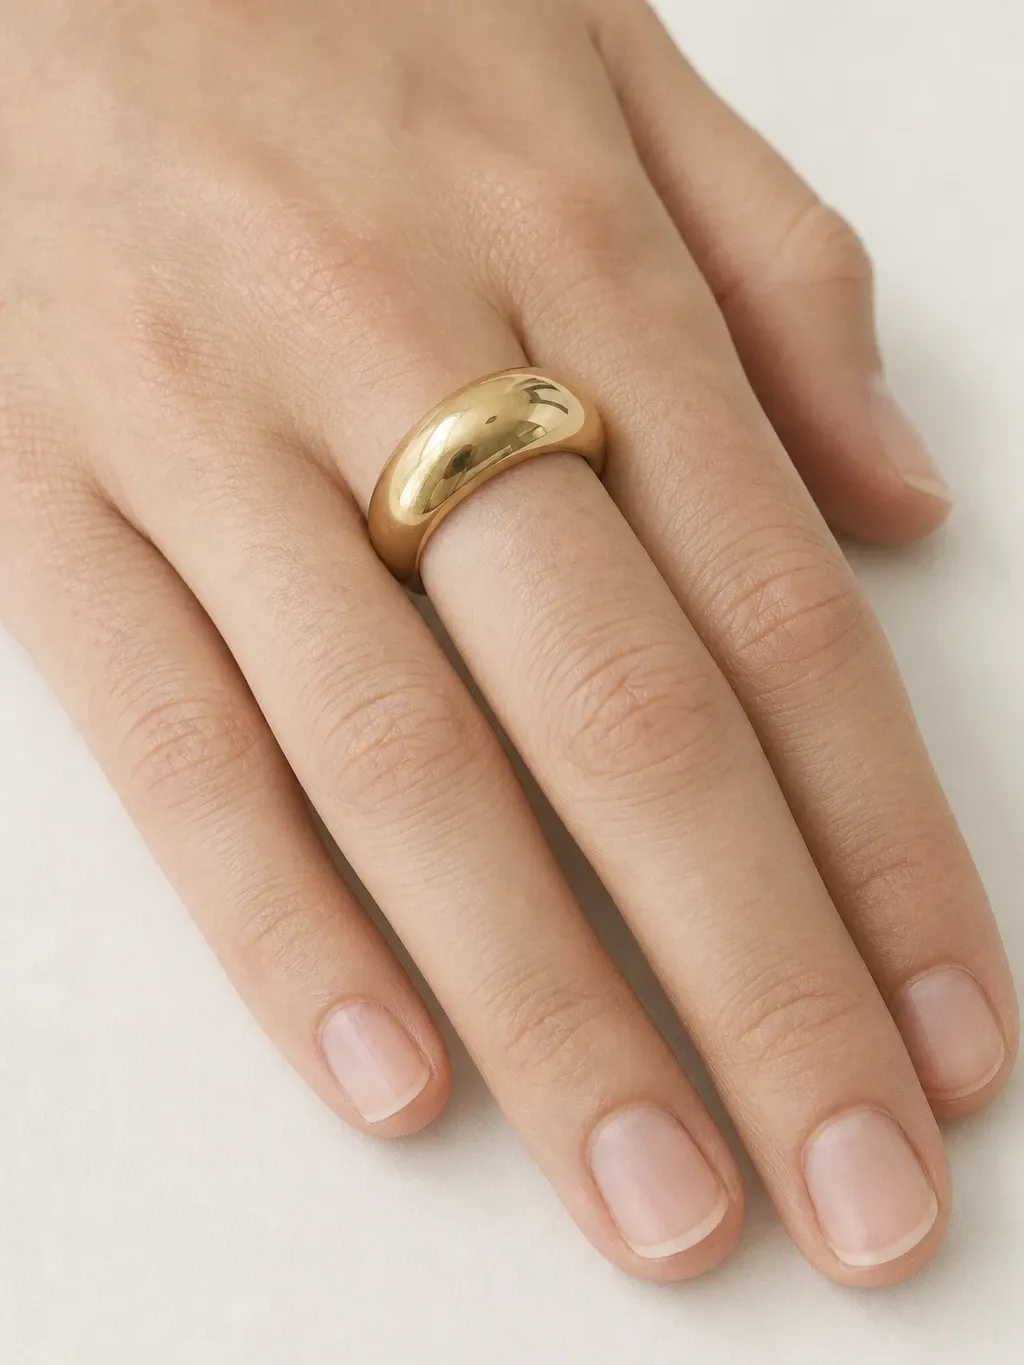
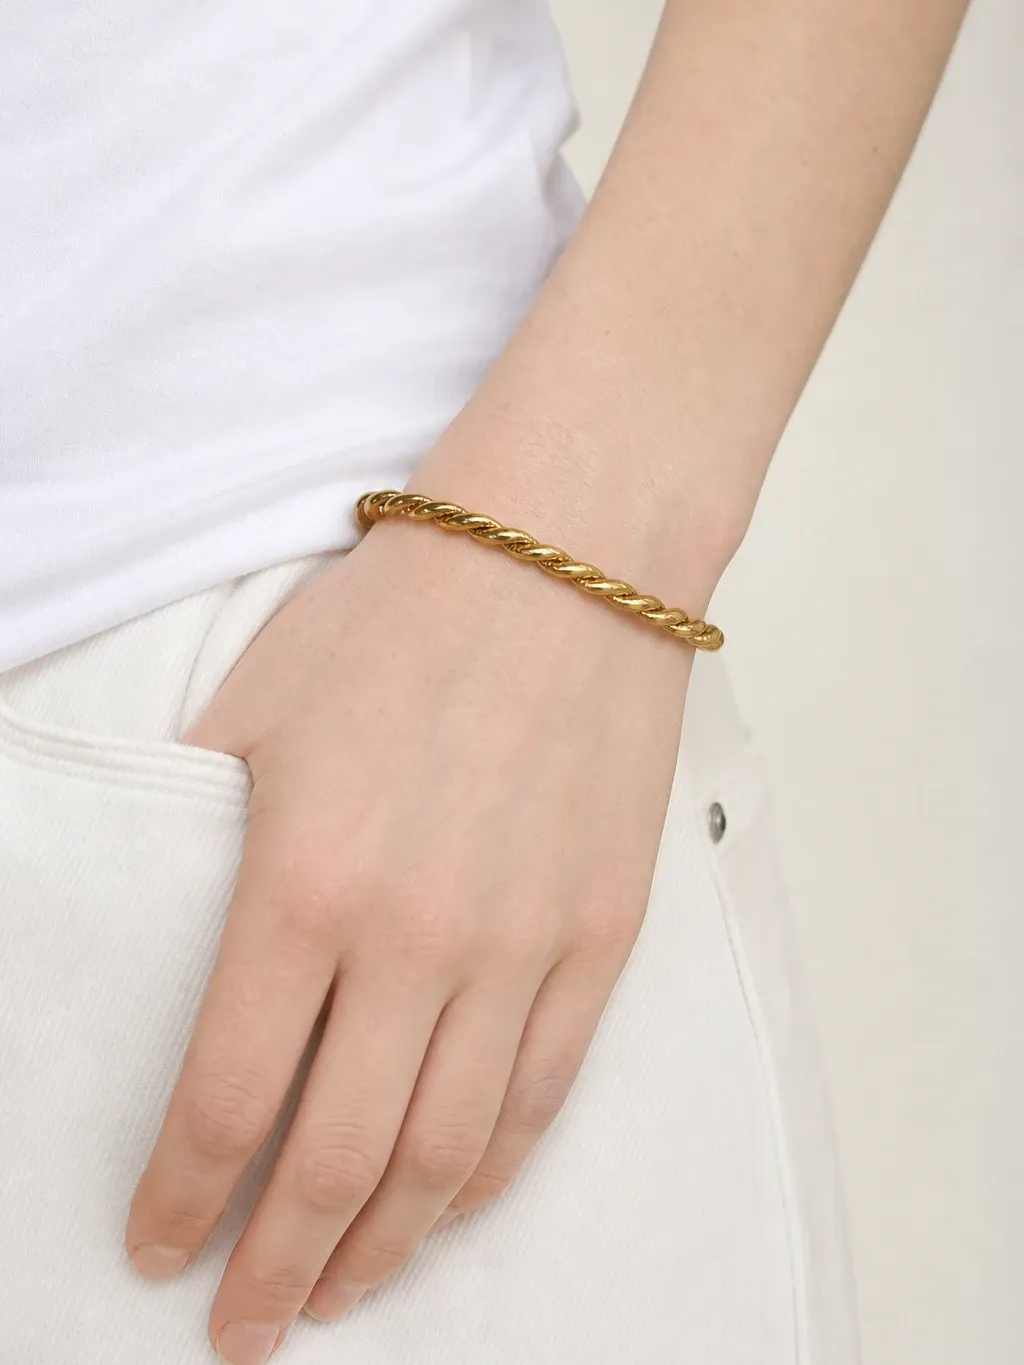
Rings and bracelets: a relaxed hand doing something, holding a cup, resting on fabric or touching the collar, always looks better than a flat hand floating in the air. Short, neutral nails and moisturised skin matter more than you would think at macro distance. For rings in depth, see our guide on how to photograph rings. For props, beads and bangles, see how to photograph bracelets to sell.
Light that flatters skin and metal at the same time
Skin wants soft light; metal wants something to reflect. A large window to one side gives both. Place the model about a metre from the glass, without direct sun, and stand a white card on the opposite side. The card fills the shadows on the face and, just as important, gives gold and silver a clean bright reflection instead of a dark one.
Avoid the ceiling light and the phone flash. Mixed warm and cool light makes yellow gold look green in places and white gold look yellow; flash flattens the metal and burns a white dot into stones. Lock focus on the jewelry by tapping and holding, then lower the exposure slightly so polished highlights keep their detail. Check the colour of the metal on screen against the real piece before you move on.
Keep the styling quiet. A plain top in a neutral colour, hair tied back or tucked away, simple make-up and no competing accessories. The buyer's eye should go to the piece first, then to the person.
Jewelry on a model without booking one
If you have no model and do not want to wear every piece yourself, you can start from a product photo. Upload it to jewelry on model AI, choose the type and Garmo places the same piece on a model: a portrait, a clean product hero and a macro close-up by default; add a worn detail or other frames for up to six per shoot. You choose from 42 ready models (22 women and 20 men) or add your own, and the same model can wear your whole collection.
Each type has its own page with examples. Necklace on model AI shows the chain at its real length on the collarbone; earrings on model AI puts studs, hoops and drops on the ear in profile; ring on hand AI and bracelet on model AI cover hands and wrists.
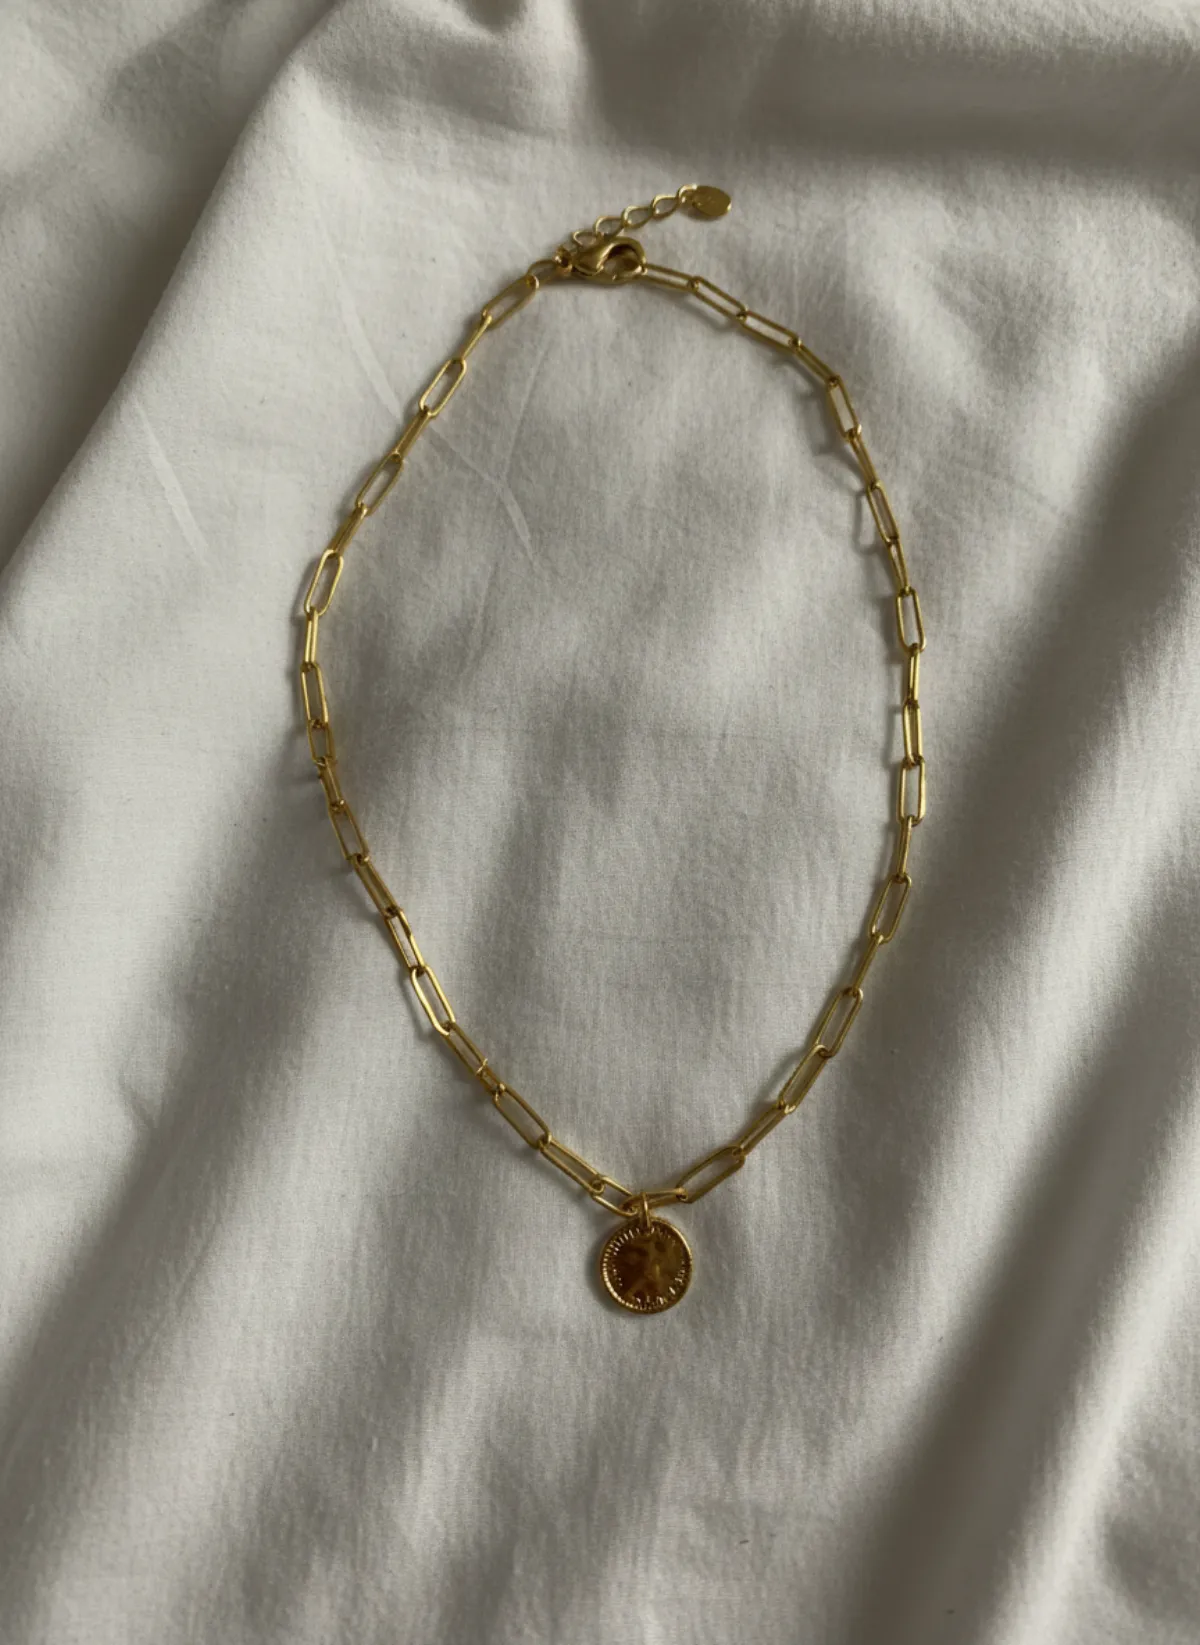
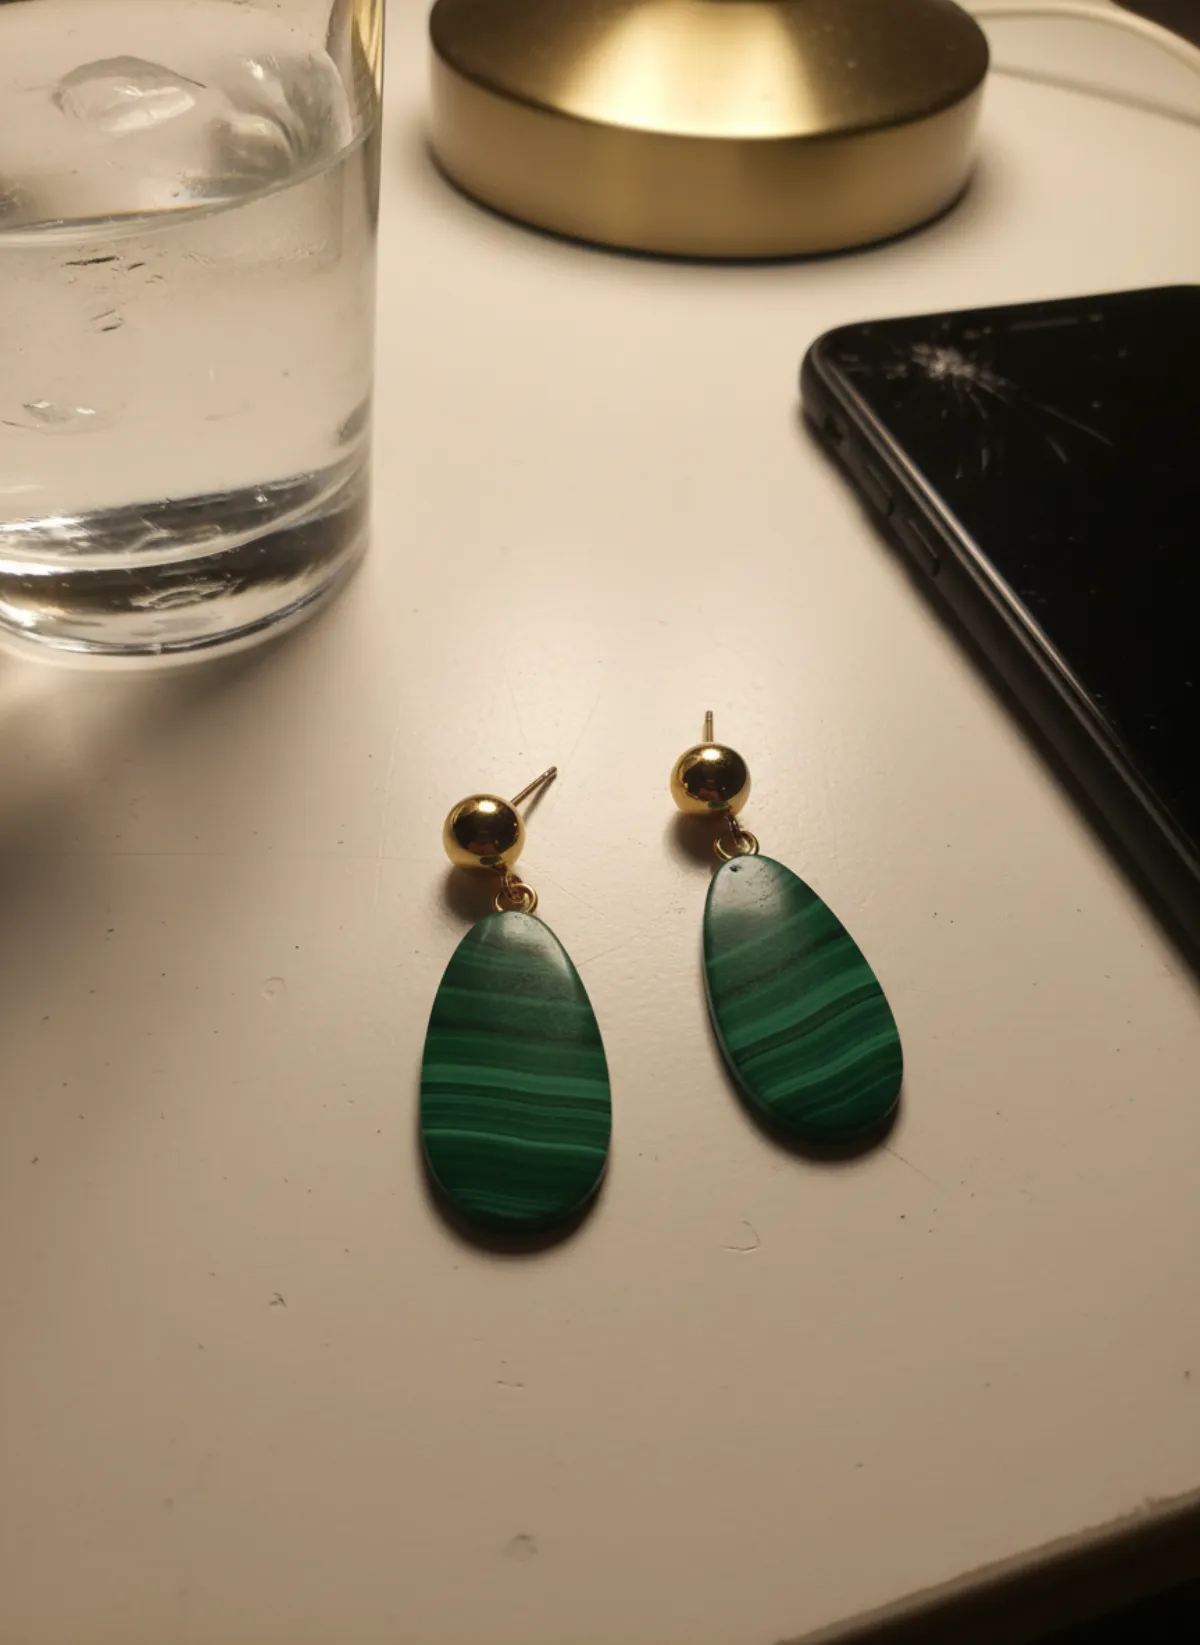
Garmo keeps the metal colour, the stones and the shape from your photo, so the worn image describes the piece you will ship. It does not measure it: write the chain length, stone size and ring size in the description, and keep your real product photos in the gallery.
From a product photo to jewelry on a model
Each piece was photographed on its own at home. Garmo made the worn frames from that one photo.
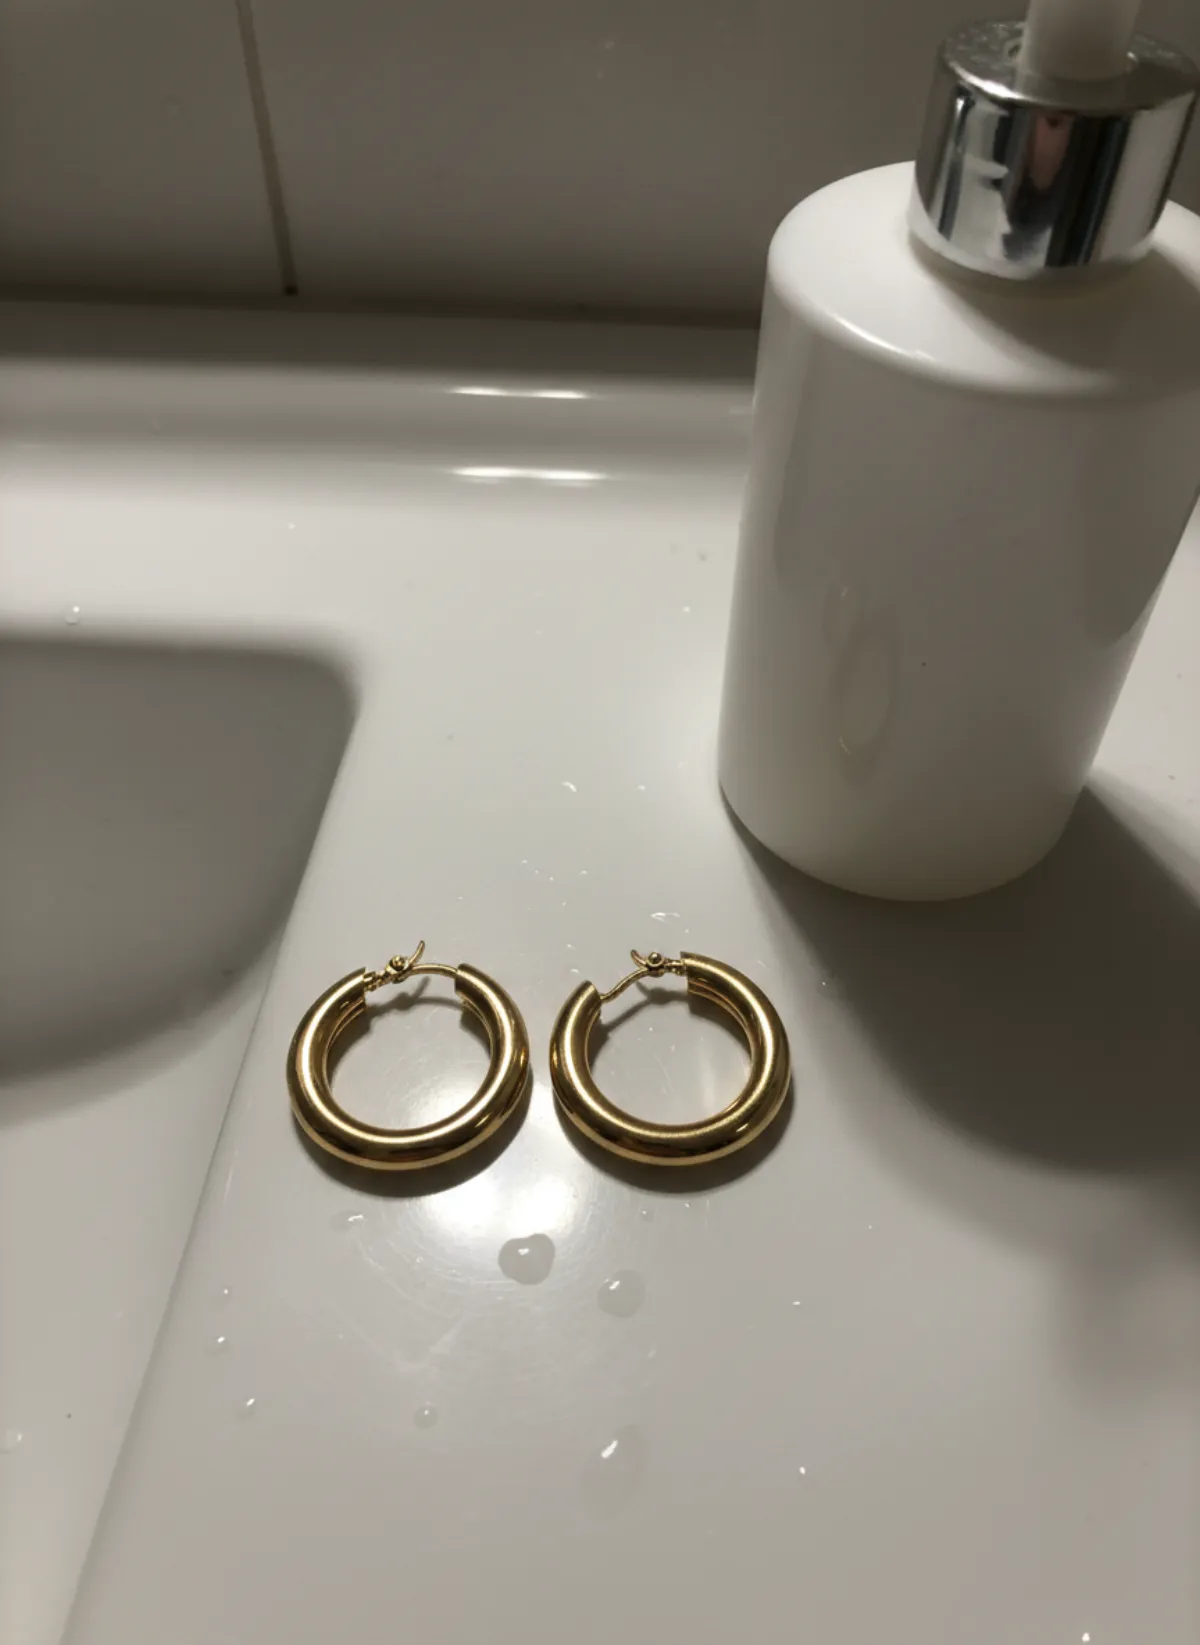
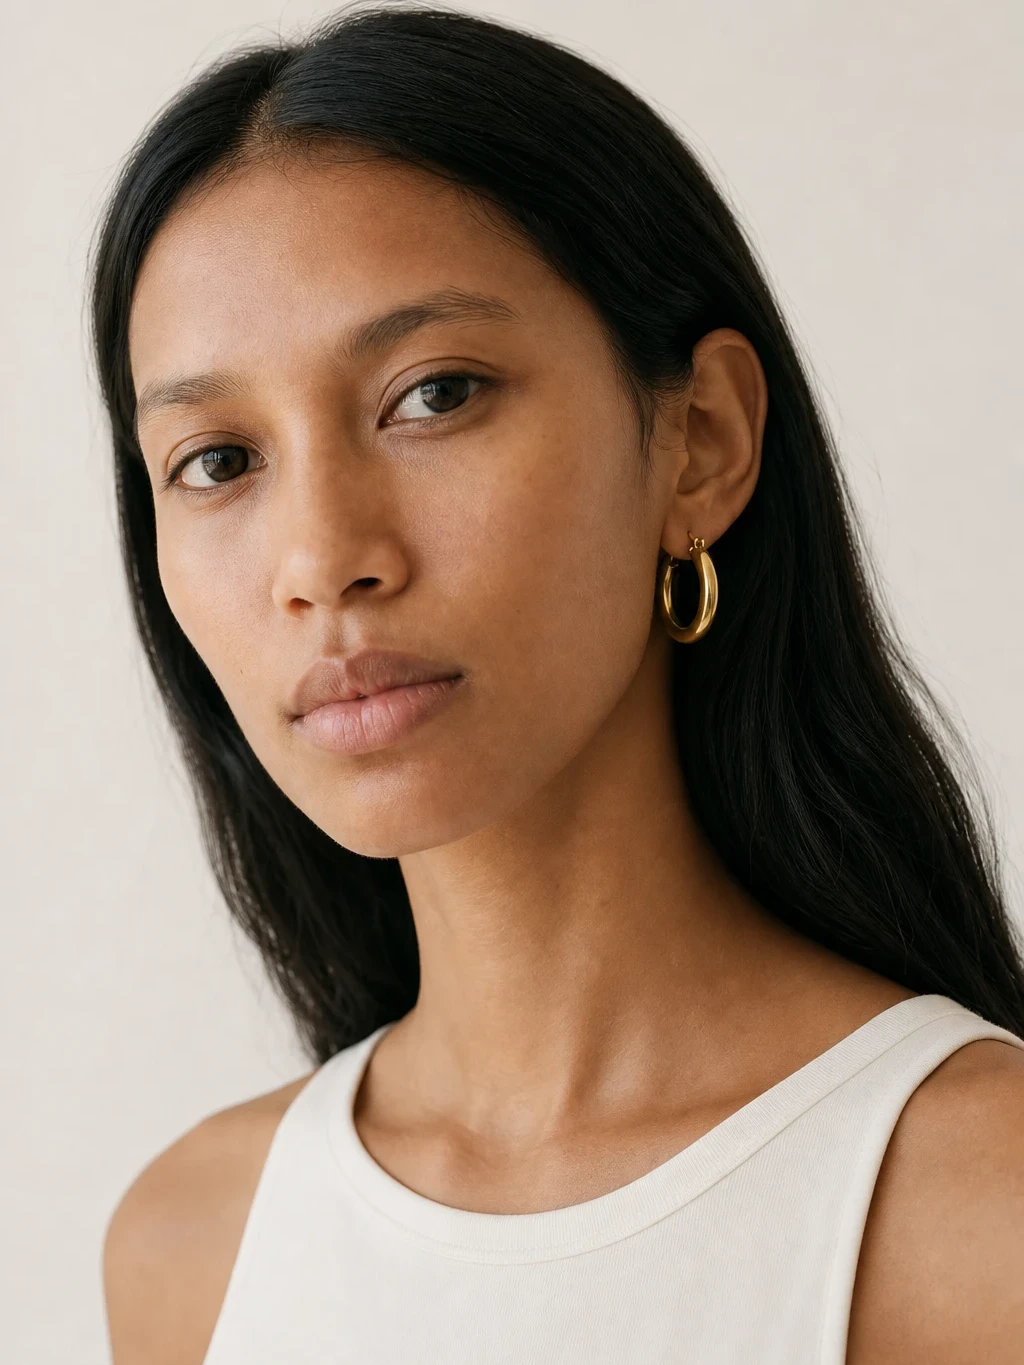
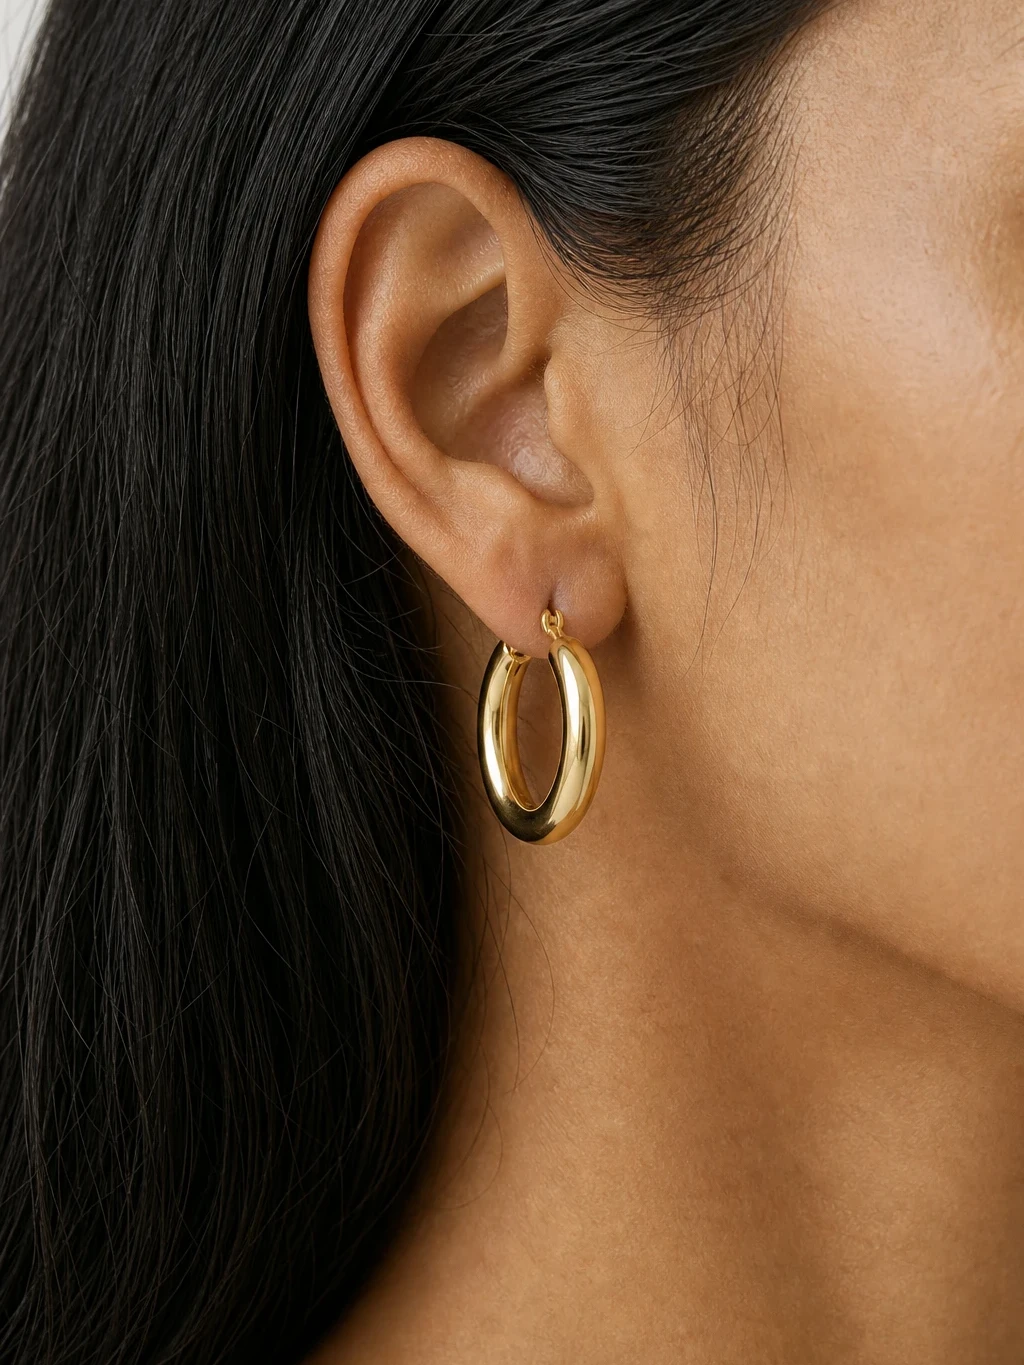
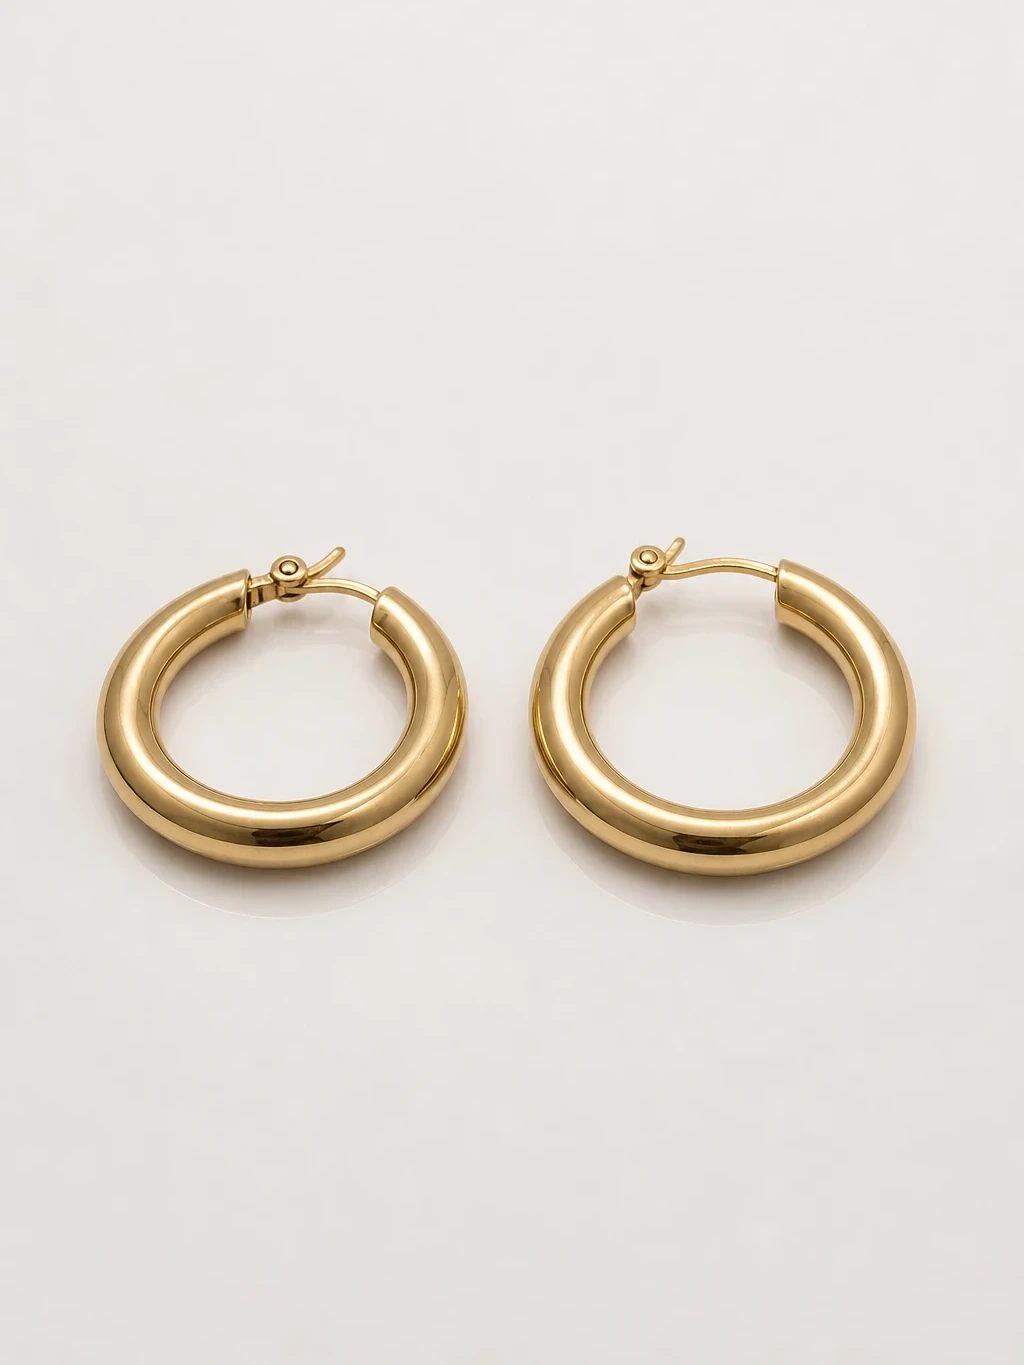
Gold hoops
Shot on a plain surface. The results show the hoops in a portrait, close on the ear and as a clean product frame.
 Your photo
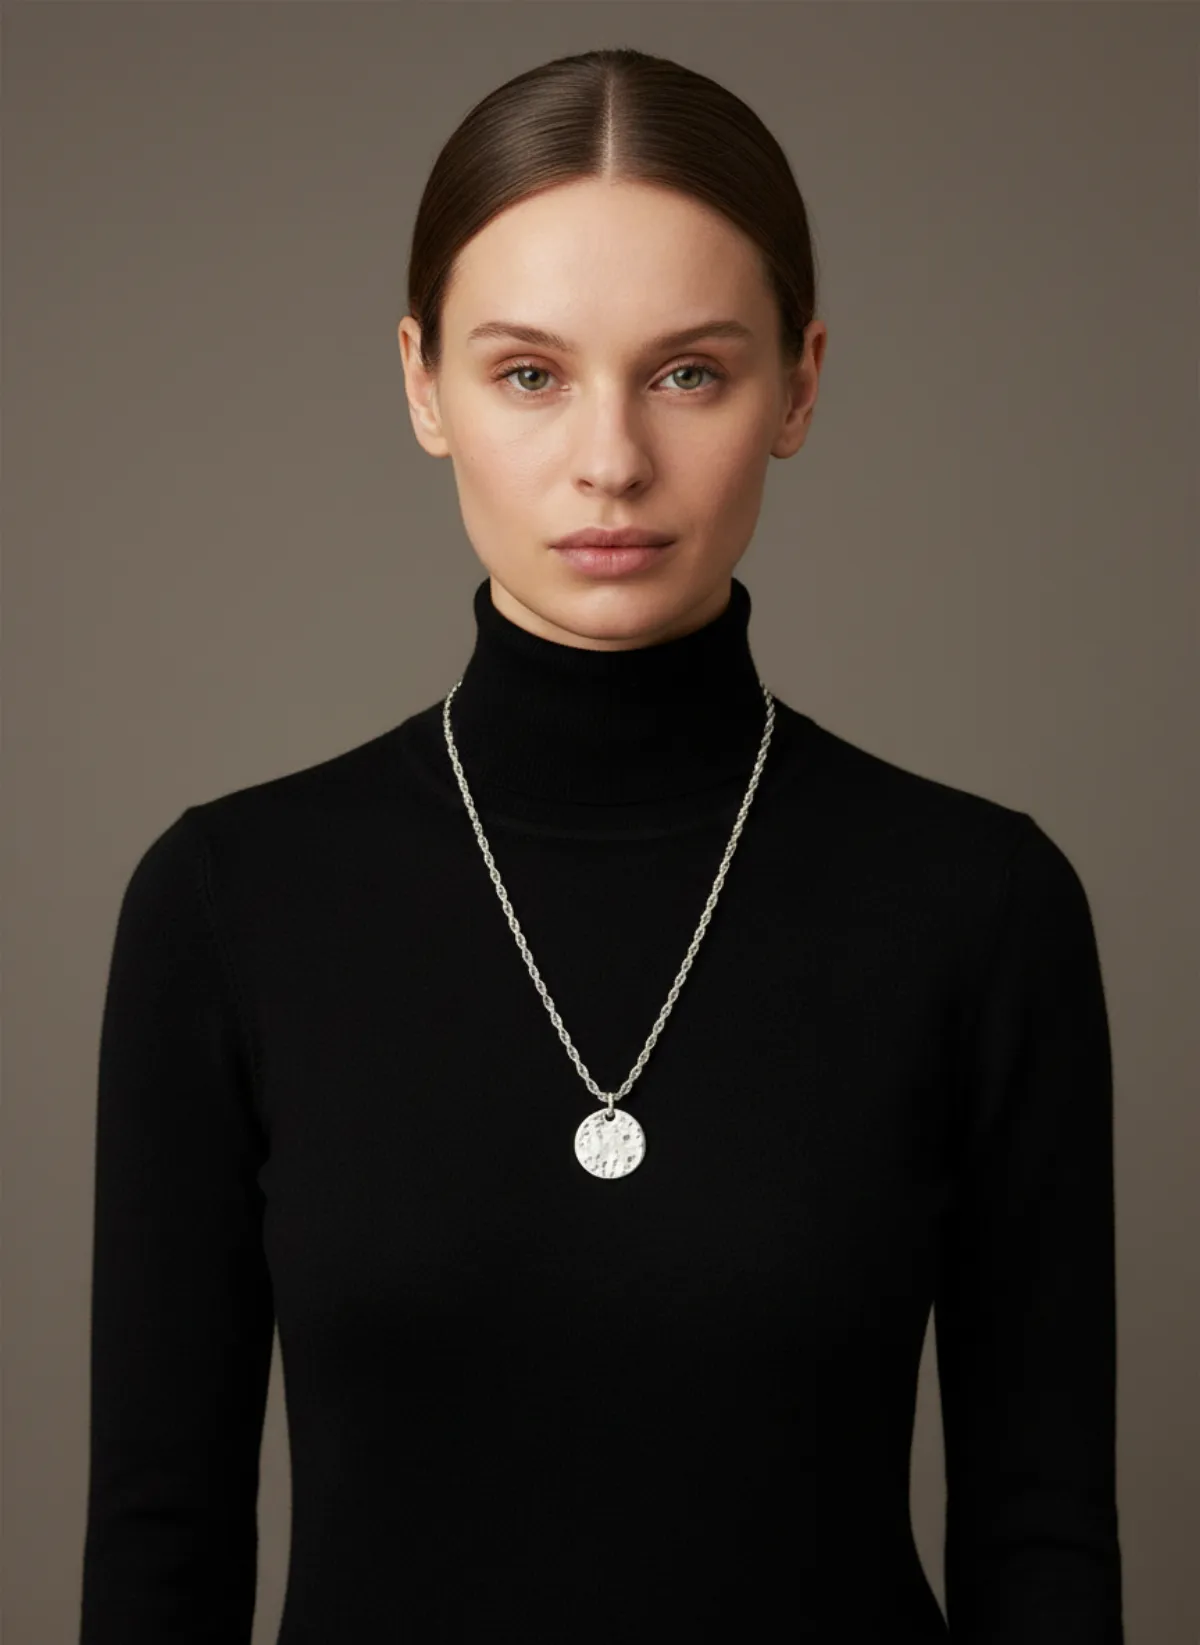
A long pendant over knitwear
A long chain is hard to judge flat. Worn over a knit, its full length and the pendant's size are obvious.
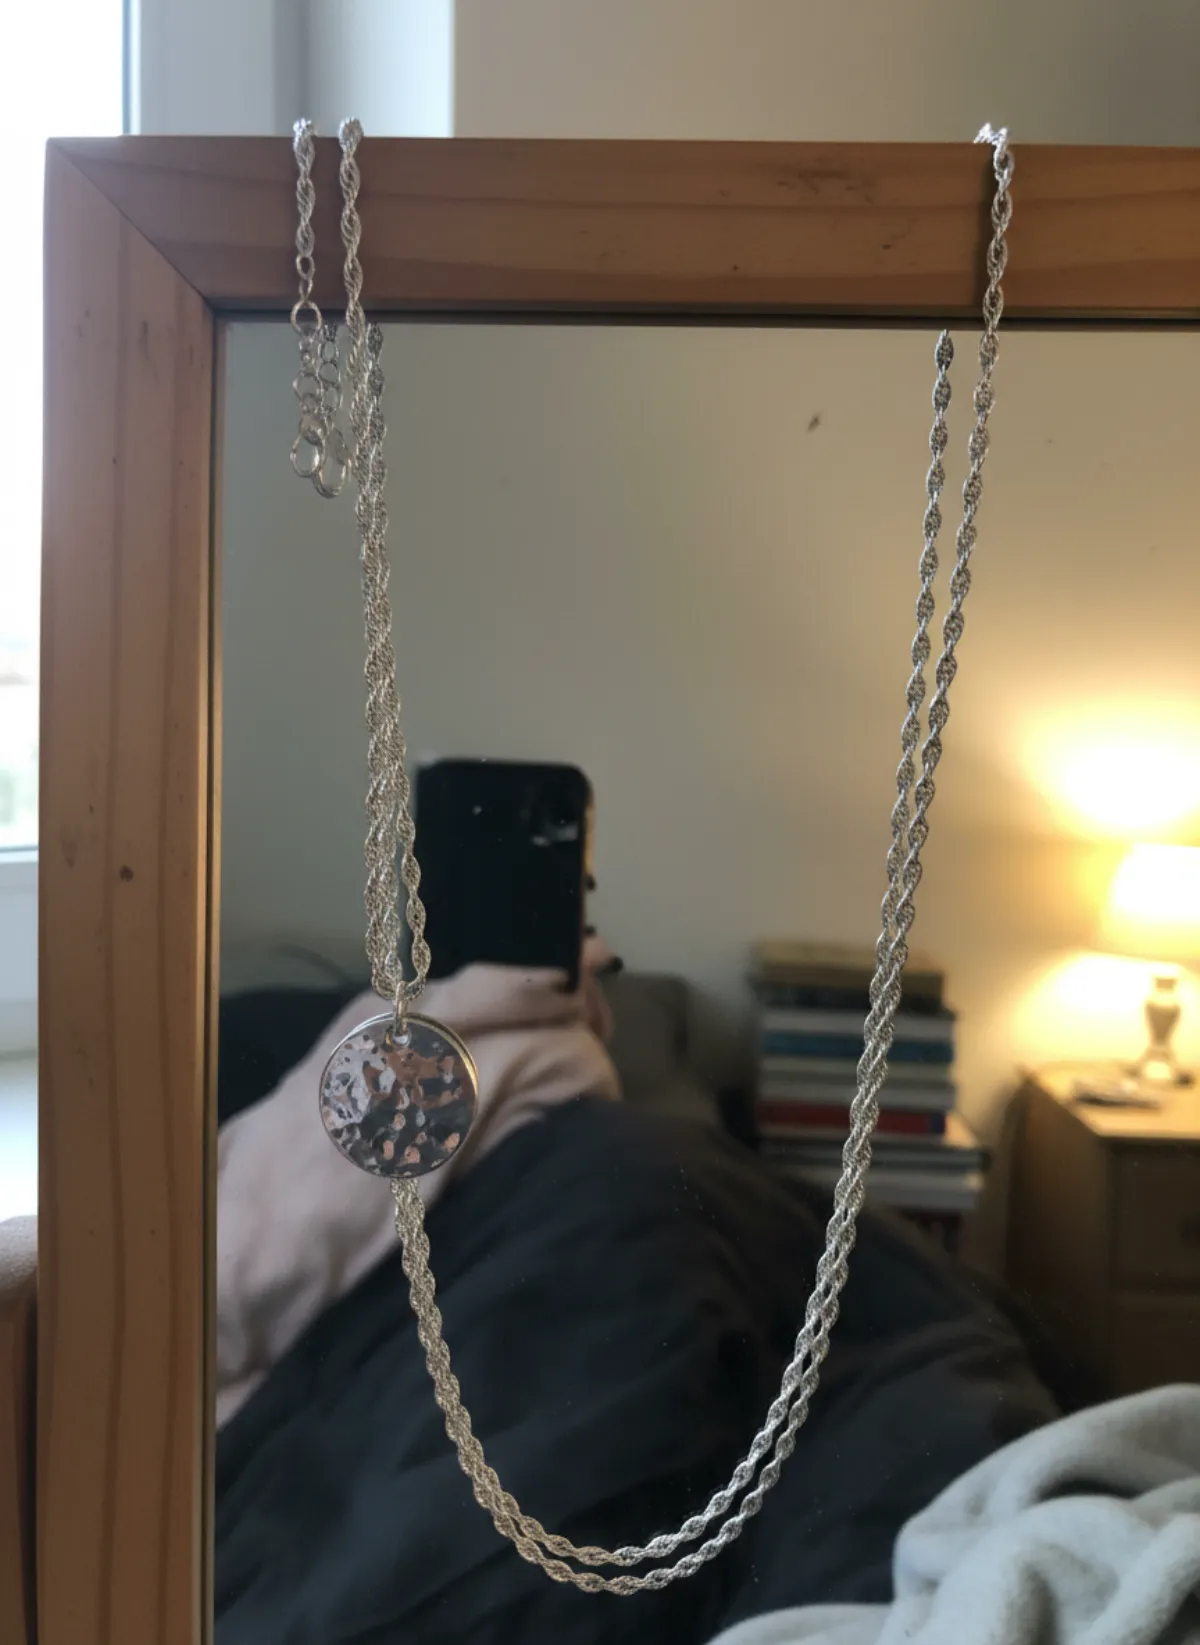 Your photo
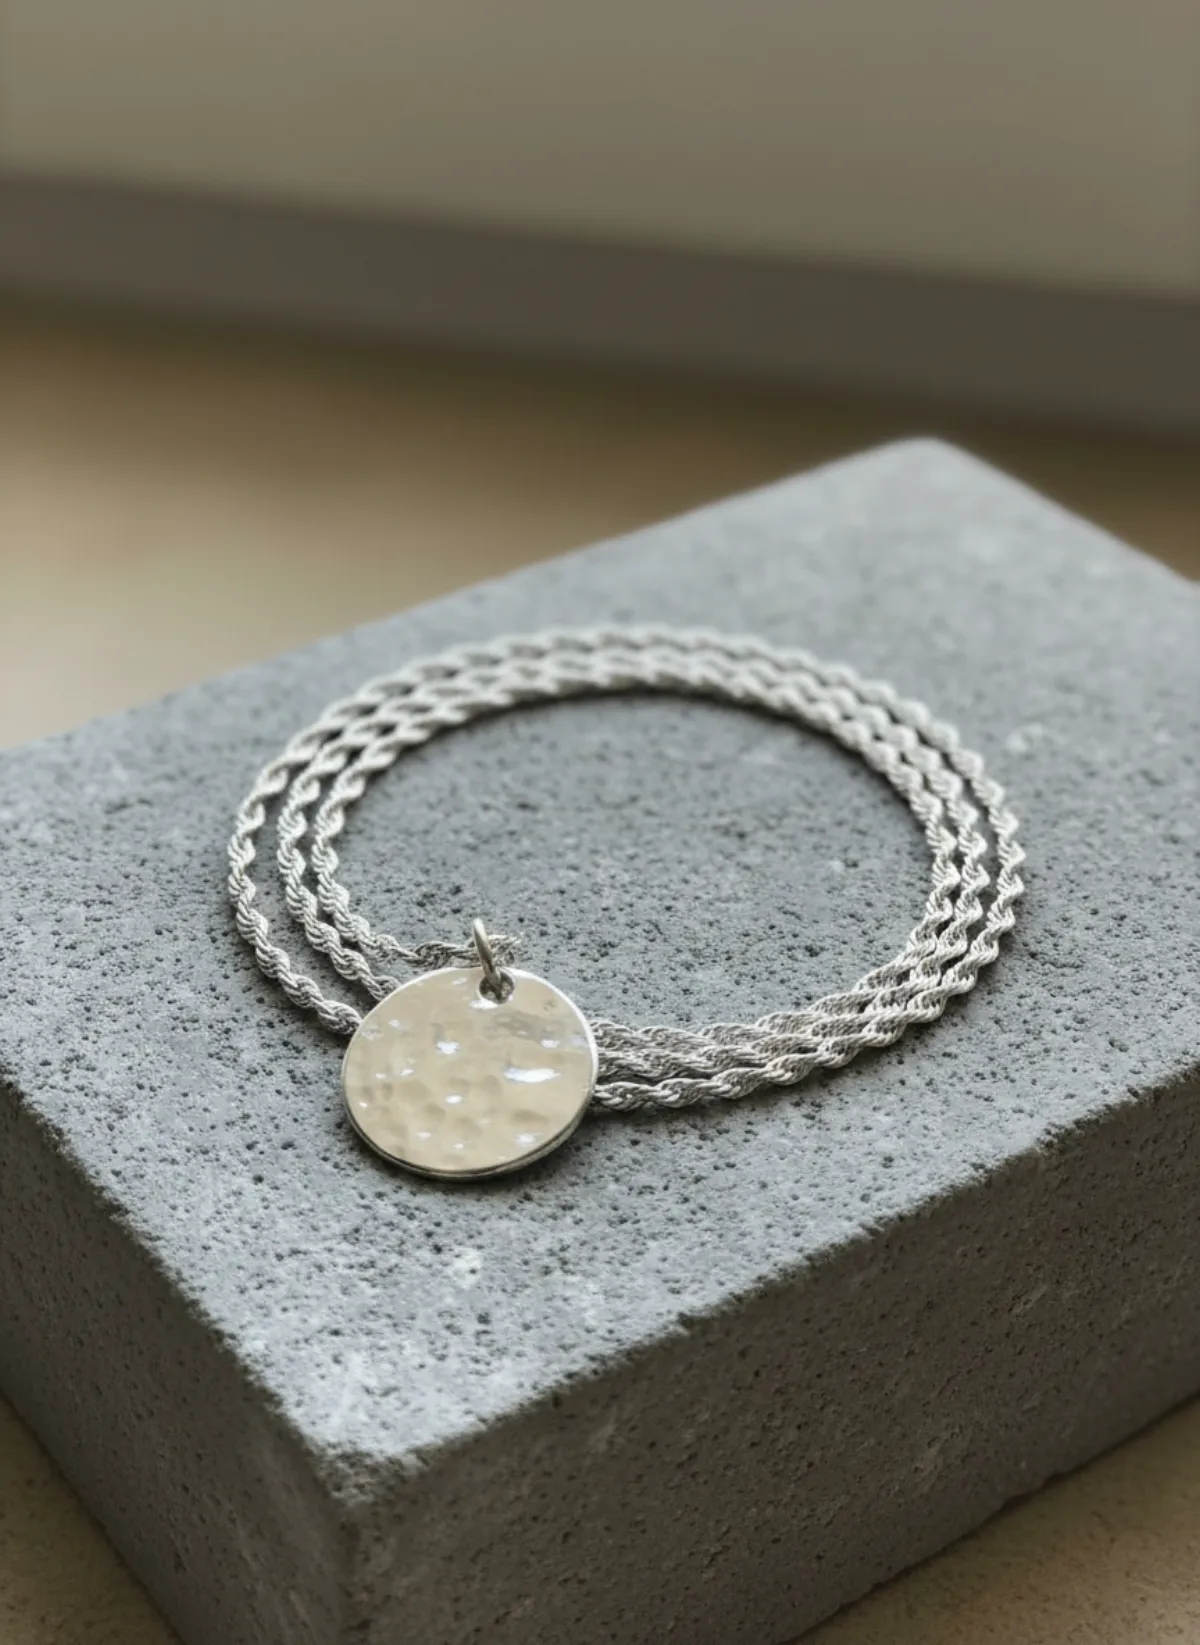
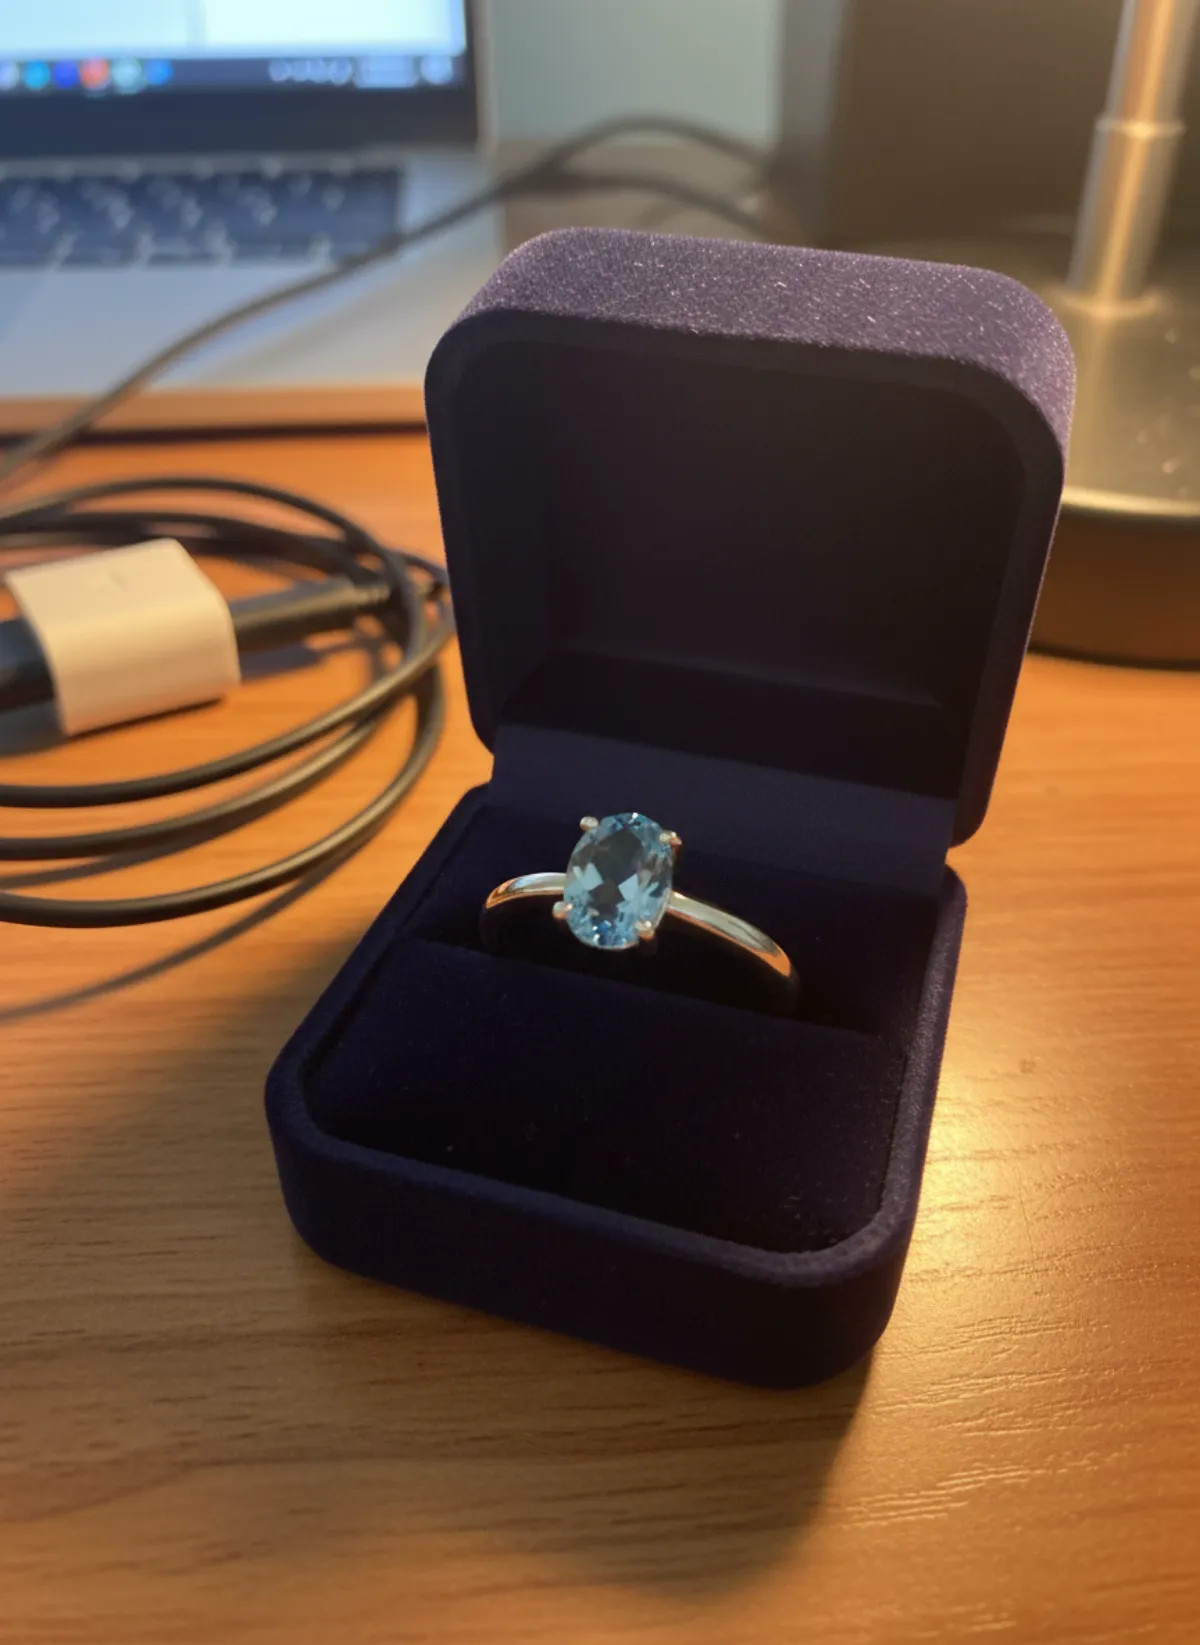
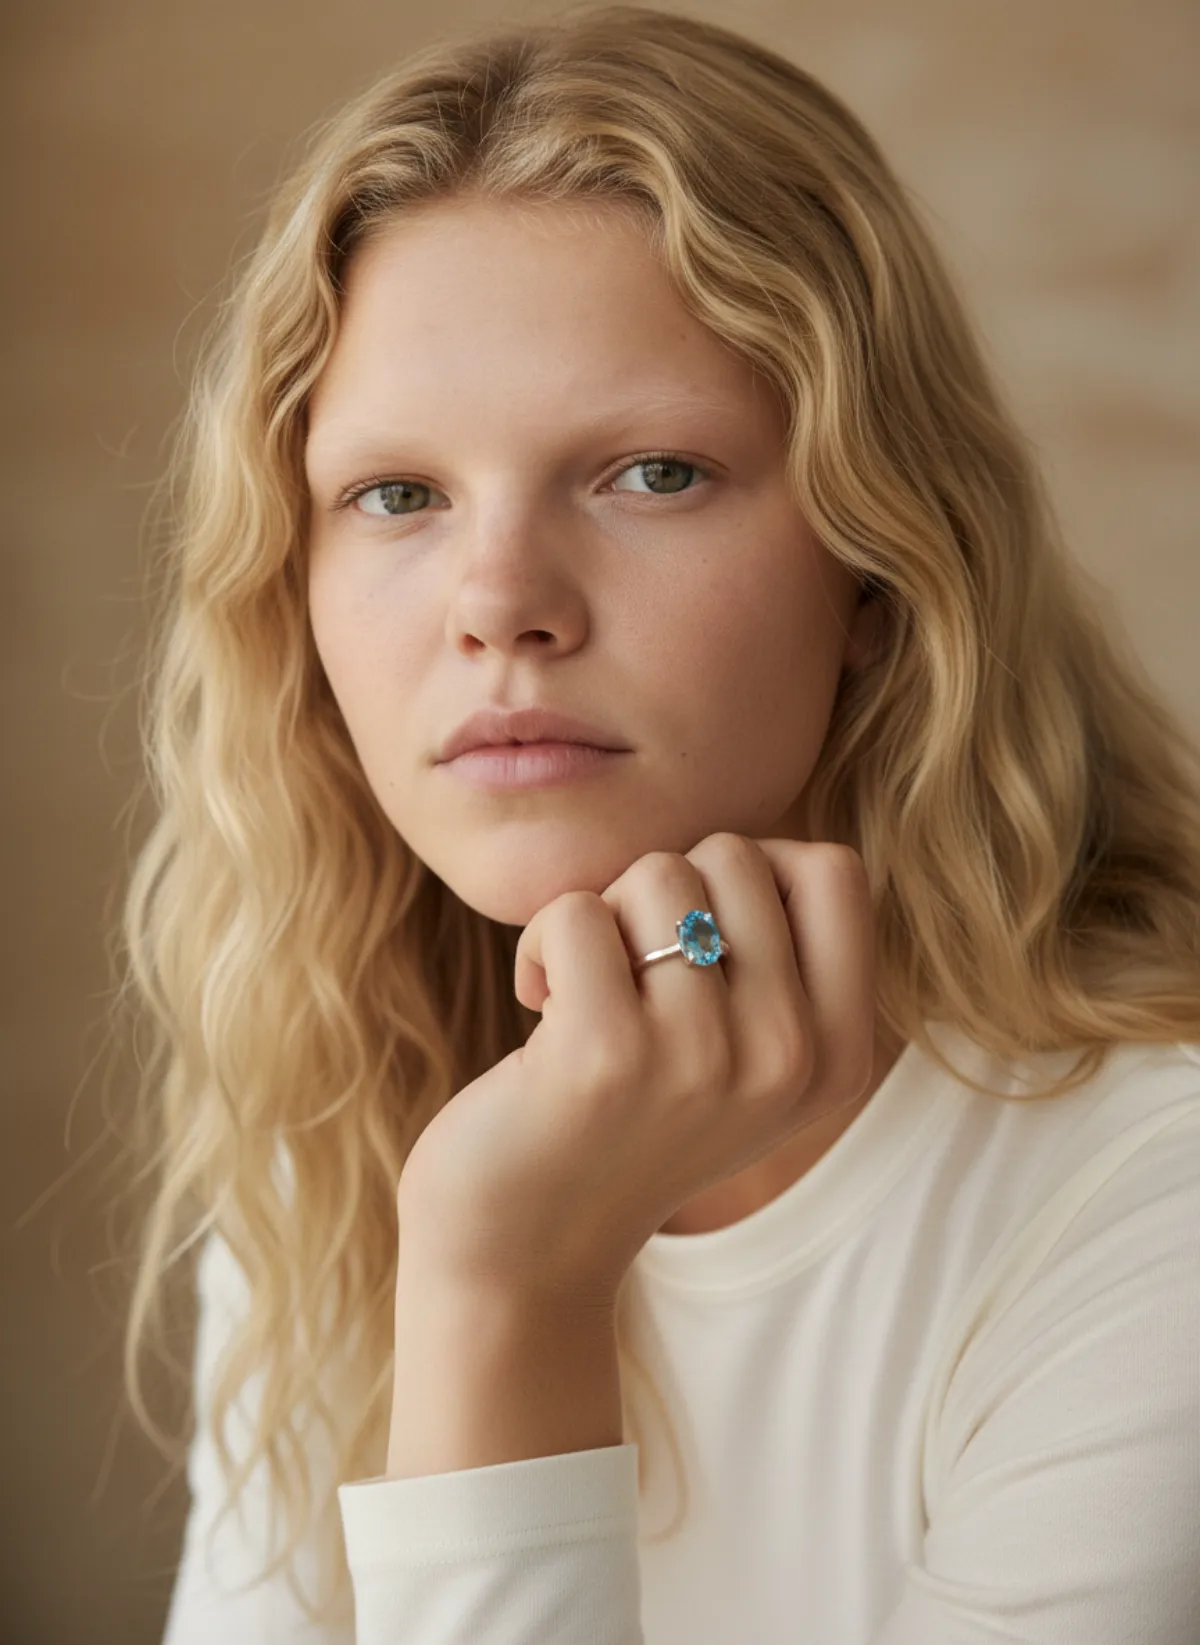
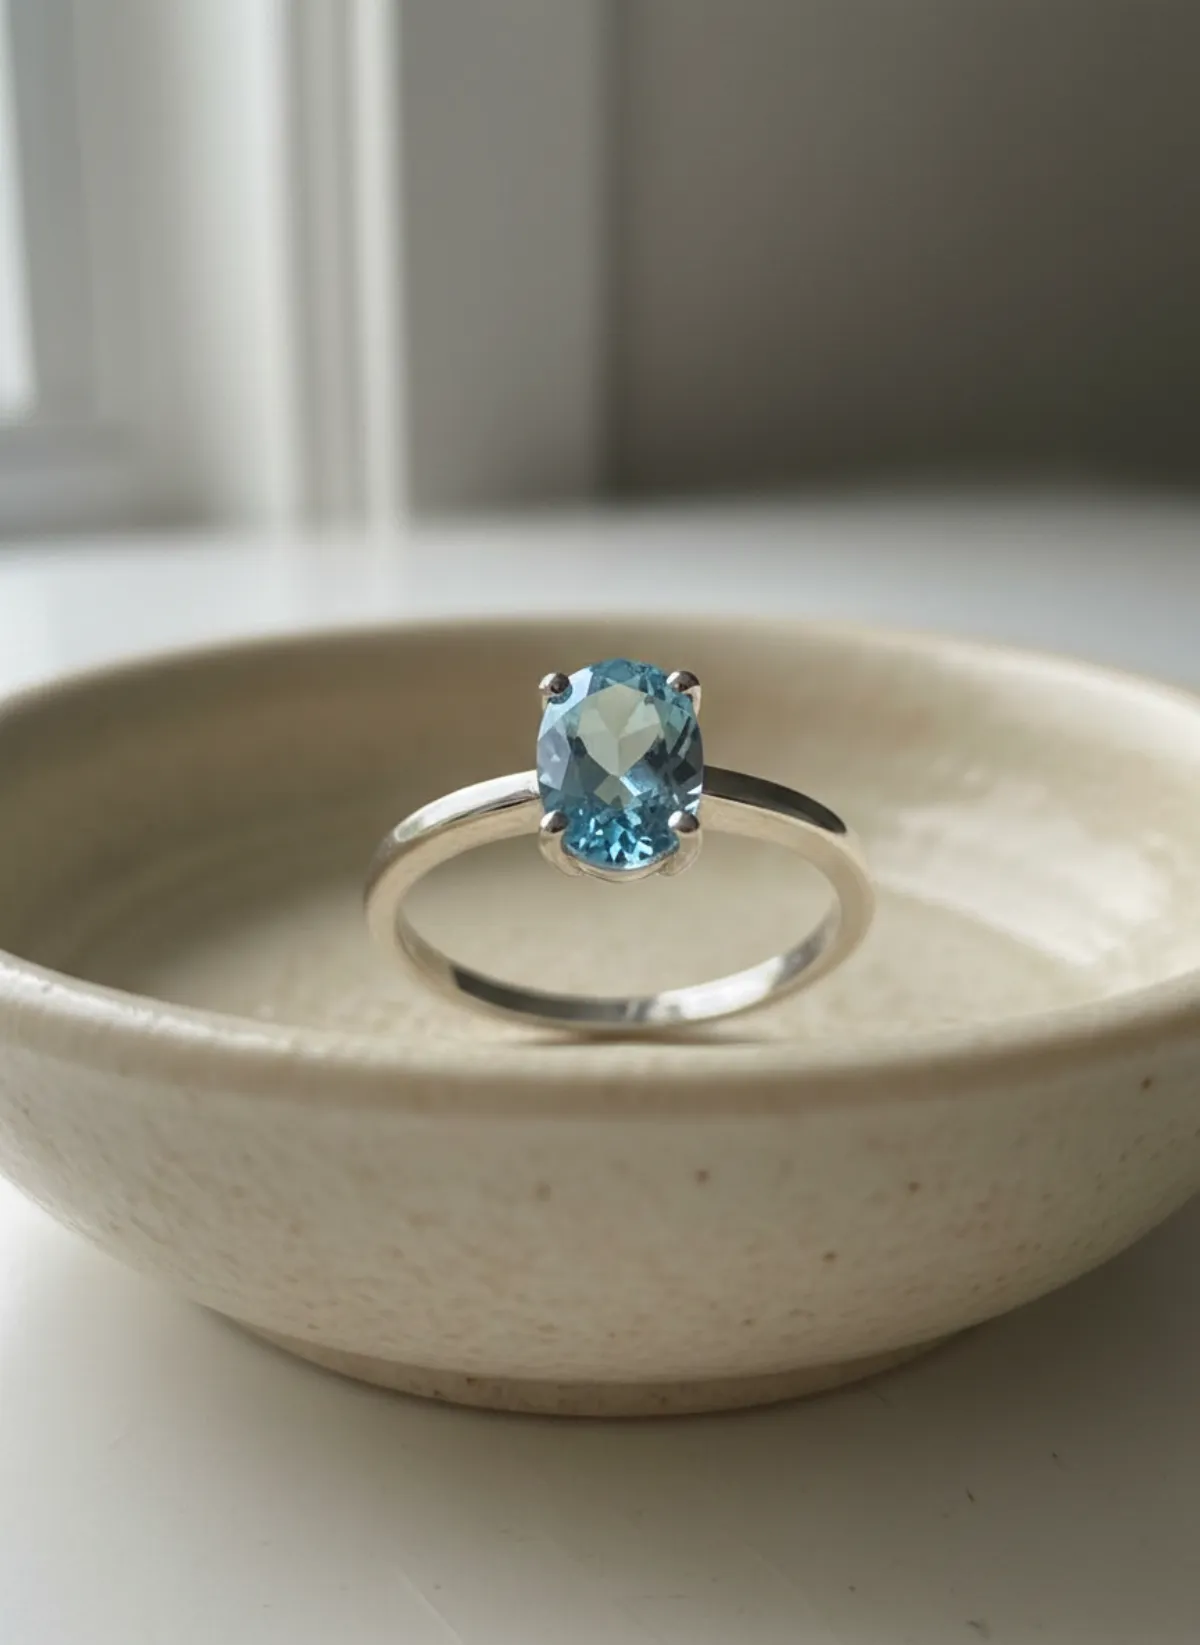
A topaz ring
Photographed on its own. On the hand, the stone's size reads at once against the finger.
 Your photo
Questions about photographing jewelry on a model
How do you photograph a necklace on a model?
Frame from the chin or full face down to mid-chest, use a plain neckline that suits the chain length, and light the collarbones softly from a window with a white card opposite. Keep the framing the same for every length you sell.
Can I model my own jewelry for product photos?
Yes. Put the phone on a tripod, use the timer or a remote and a mirror to check the pose. It works best for rings and bracelets; for necklaces and earrings, practise the framing first.
Is a jewelry bust enough instead of a model?
It shows length and shape, but not scale against skin or how the piece moves. Use a bust for product shots and add at least one worn frame on a person or an AI model.
How do I photograph jewelry on a model without one?
Upload a clear product photo to an AI tool such as Garmo's jewelry on model AI. It places the same piece on a ready model in a portrait and a worn close-up, keeping the metal and stones from your photo.
What should a model wear for jewelry photos?
A plain top in a neutral colour with a neckline that suits the piece, hair away from the jewelry, simple make-up and no other accessories that compete for attention.