Why necklace scale disappears in a flat photo
A chain photographed in a neat curve can look identical whether it is 40 cm or 70 cm long. The frame has no neck, collarbone or garment to act as a reference. A small coin pendant can fill the crop and appear bold; a large disc can be photographed from farther away and appear delicate. That uncertainty turns into pre-sale questions and disappointed expectations.
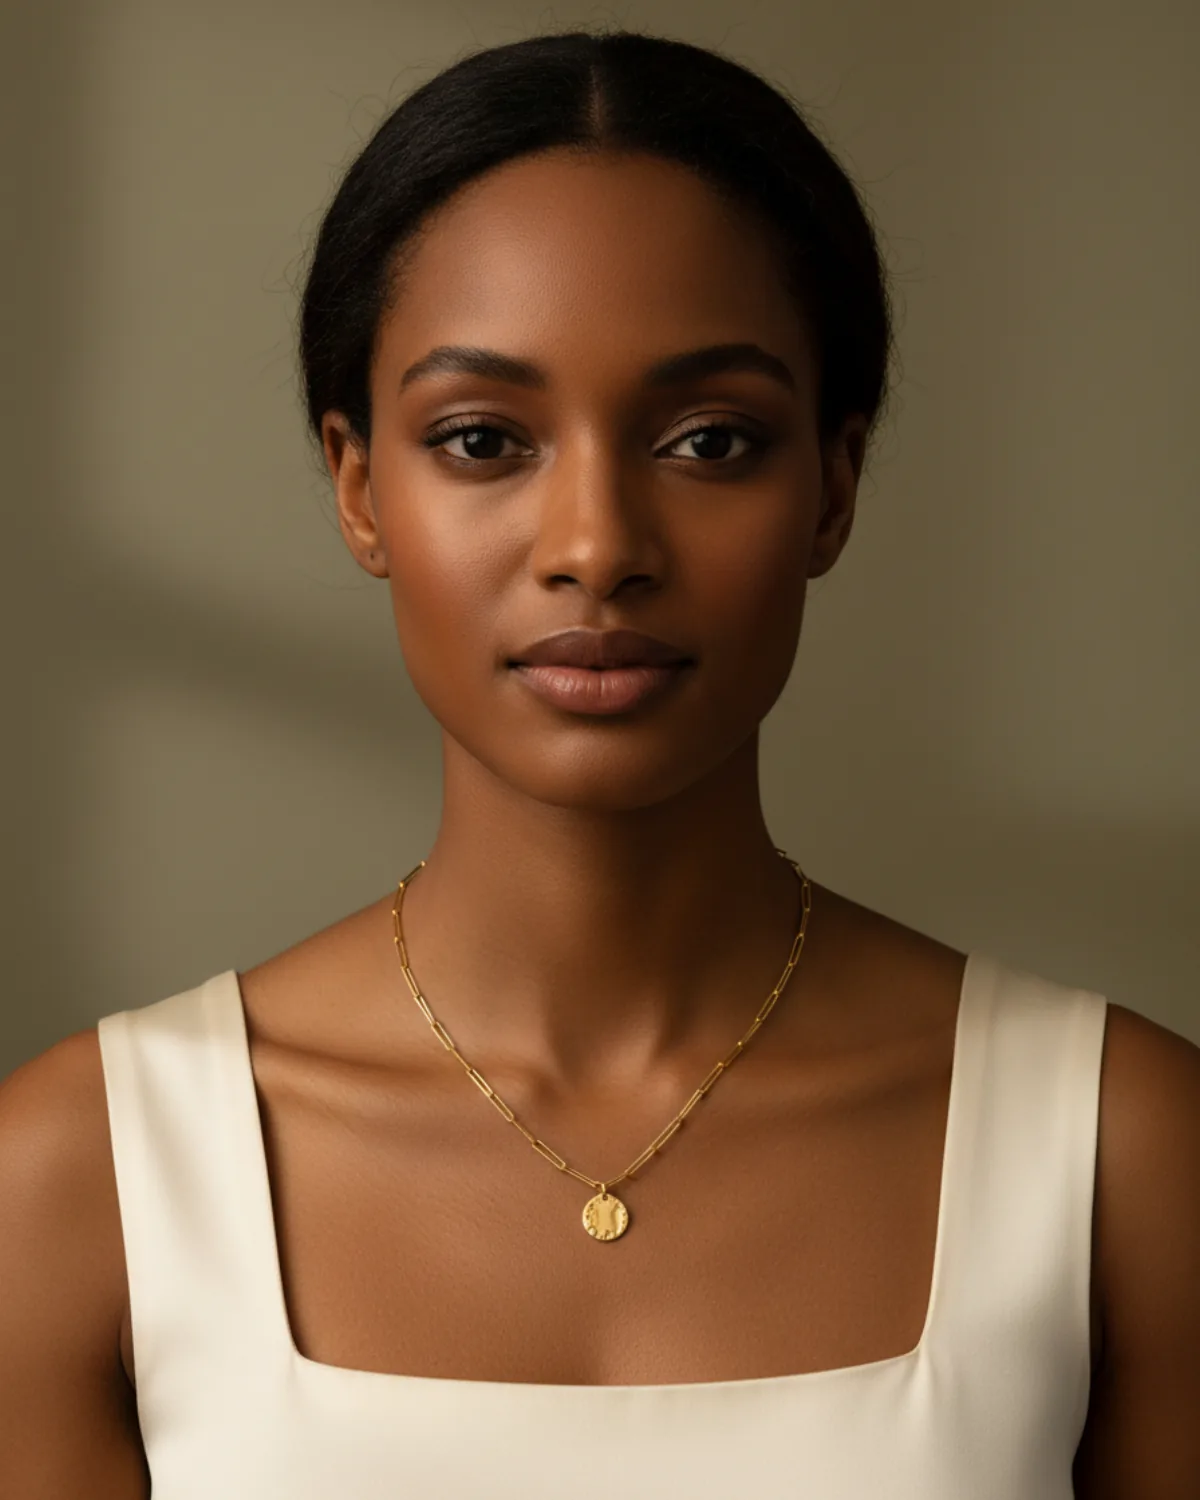
A worn image adds familiar landmarks: jawline, neck, collarbones and neckline. It lets the shopper read whether a chain behaves like a choker, rests near the collarbone or reaches the middle of the chest. A necklace on a model with AI is especially helpful when a small store has the product but no model, makeup artist, stylist or studio slot.
Scale in the image is still an estimate, not a ruler. Neck circumference, torso length and the model's pose change where a chain falls. Always state the actual chain length, extender range and pendant dimensions in the listing. Use the worn view to make those numbers intuitive, never to replace them. For the product photo itself, see how to photograph necklaces to sell.
Record four measurements before generating
Write down the closed chain length, extender length, pendant height and pendant width. If the necklace is adjustable, describe the shortest and longest wearable length rather than one vague number. Photograph a ruler beside the piece for your internal reference, then remove it from the clean source image. These notes give the reviewer something objective to check.
For layered sets, measure every chain separately and note the order in which they should sit. For a necklace that must be worn over clothing, record that styling intention. A 70 cm disc pendant placed at the collarbone is not a creative variation; it is the wrong product story. The same applies when a close choker is rendered as a loose princess-length chain.
Measurements also shape the shot list. A tiny charm needs a tight neckline detail as well as a portrait. A wide statement collar needs a three-quarter portrait showing its relationship to shoulders and neckline. A long pendant needs enough torso in frame to reveal where it ends.
A reliable source-to-model workflow
1. Clean and arrange the necklace
Remove fingerprints and dust, close the clasp and lay the chain in a natural curve on a matte neutral surface. Keep every link and the full pendant inside the frame.
2. Use soft, even light
Diffuse window light so polished metal retains detail instead of becoming a white streak. Move the phone or a black card until your reflection leaves the pendant.
3. Upload the strongest file
Garmo accepts JPG, PNG or WebP up to 12 MB. Do not use digital zoom, screenshots or a compressed marketplace thumbnail when the original phone file exists.
4. Choose model, scene and ratio
Select one of 42 stock models or your own adult model, then choose studio, street or editorial. Use a portrait-friendly 3:4 or 4:5 ratio for the first set.
5. Generate and inspect
Create 1–6 images; a set of three normally renders in under a minute. Compare link shape, pendant face, clasp logic and the measured wearing position at full zoom.
Three views that explain a necklace
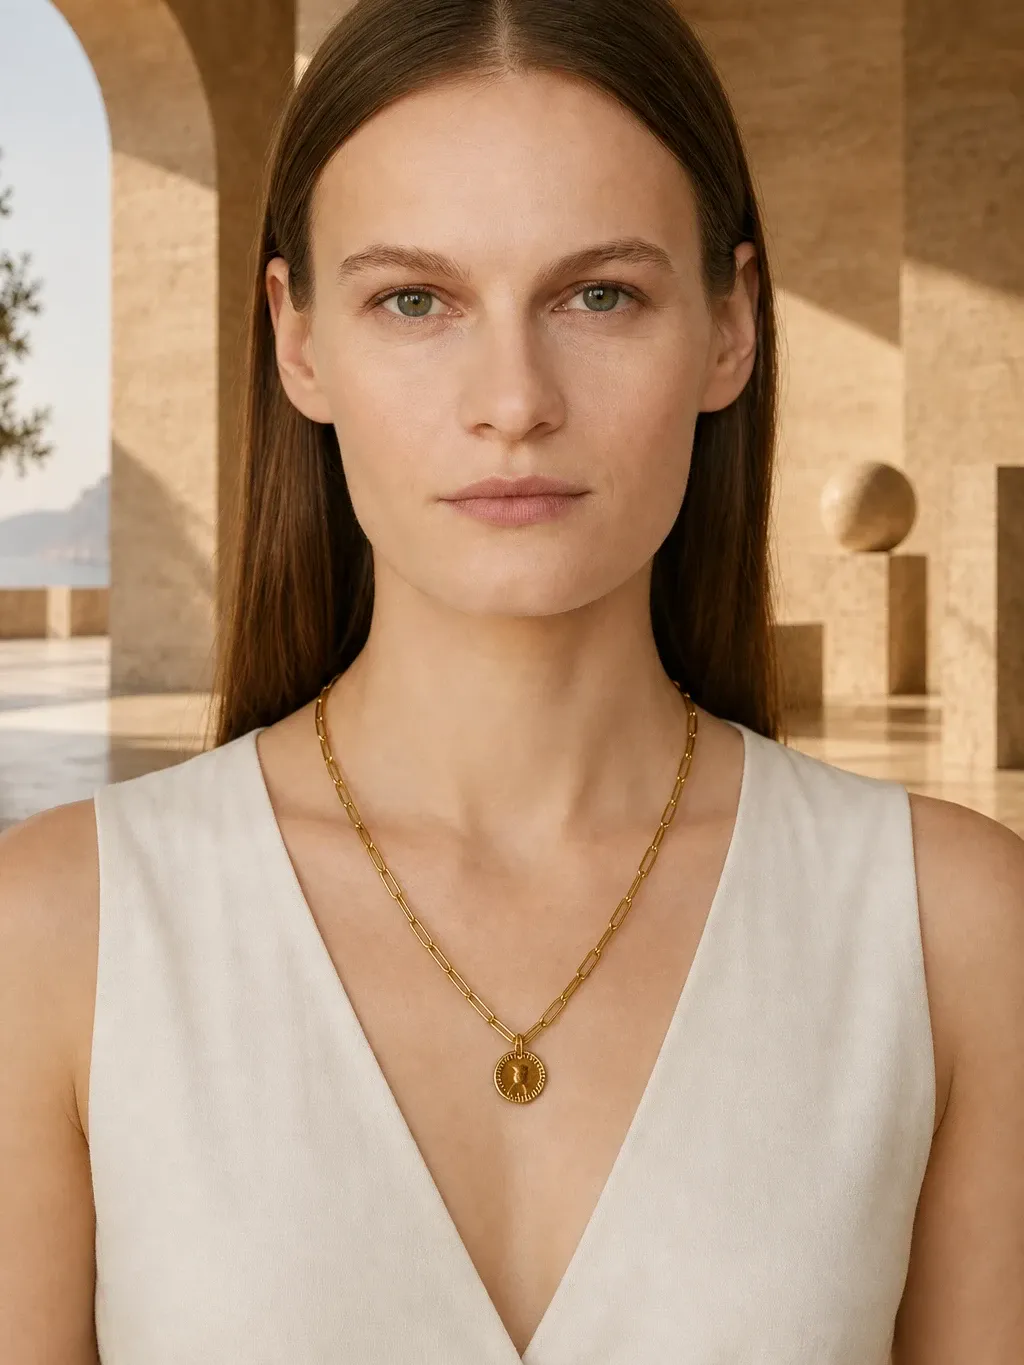
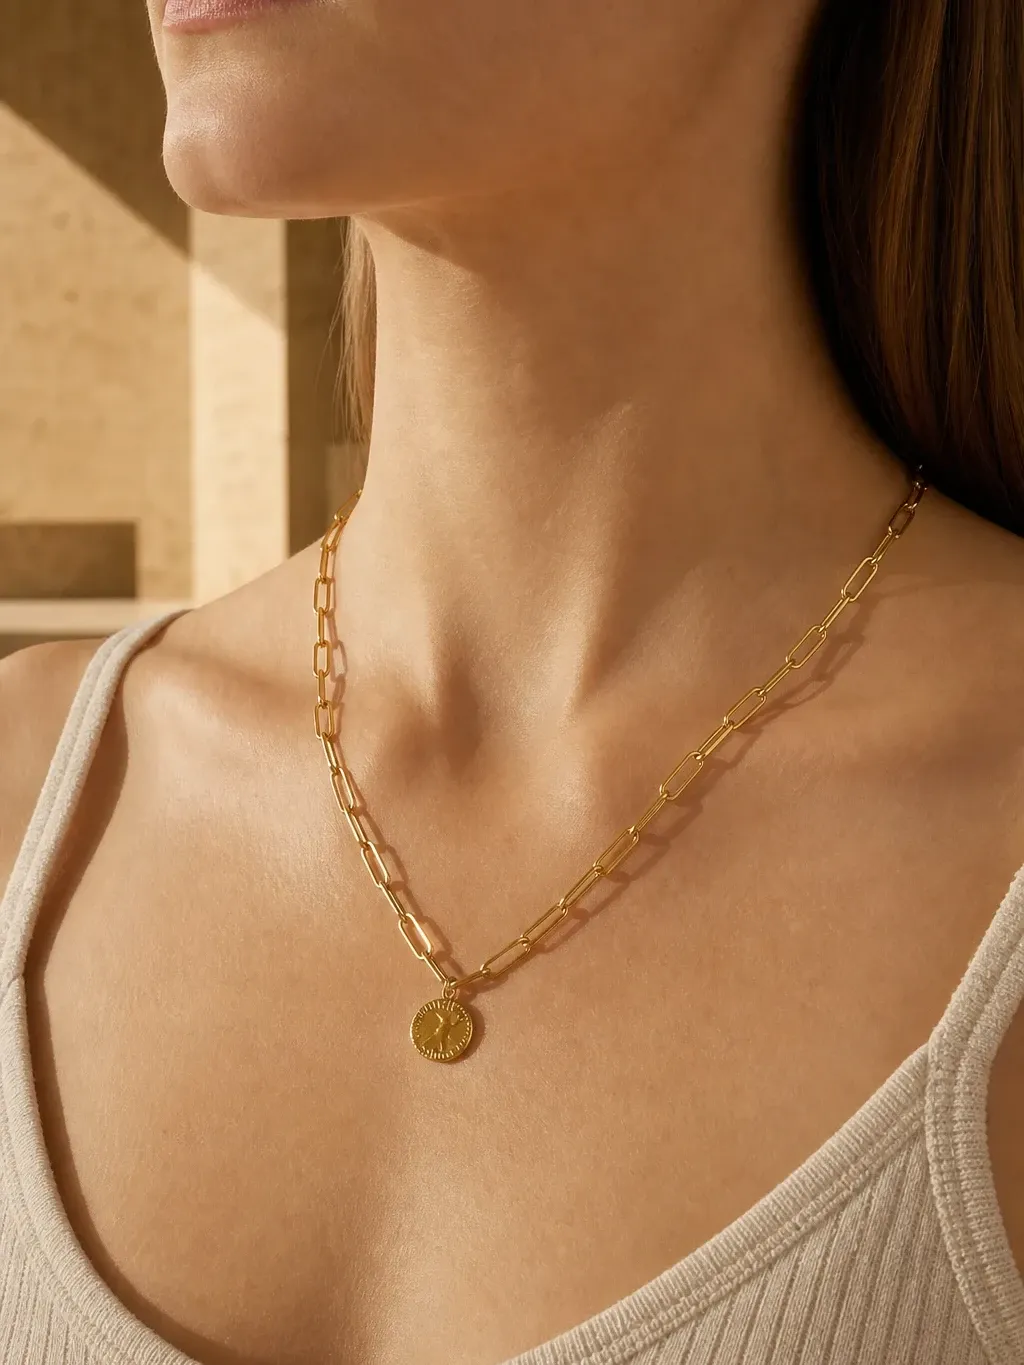
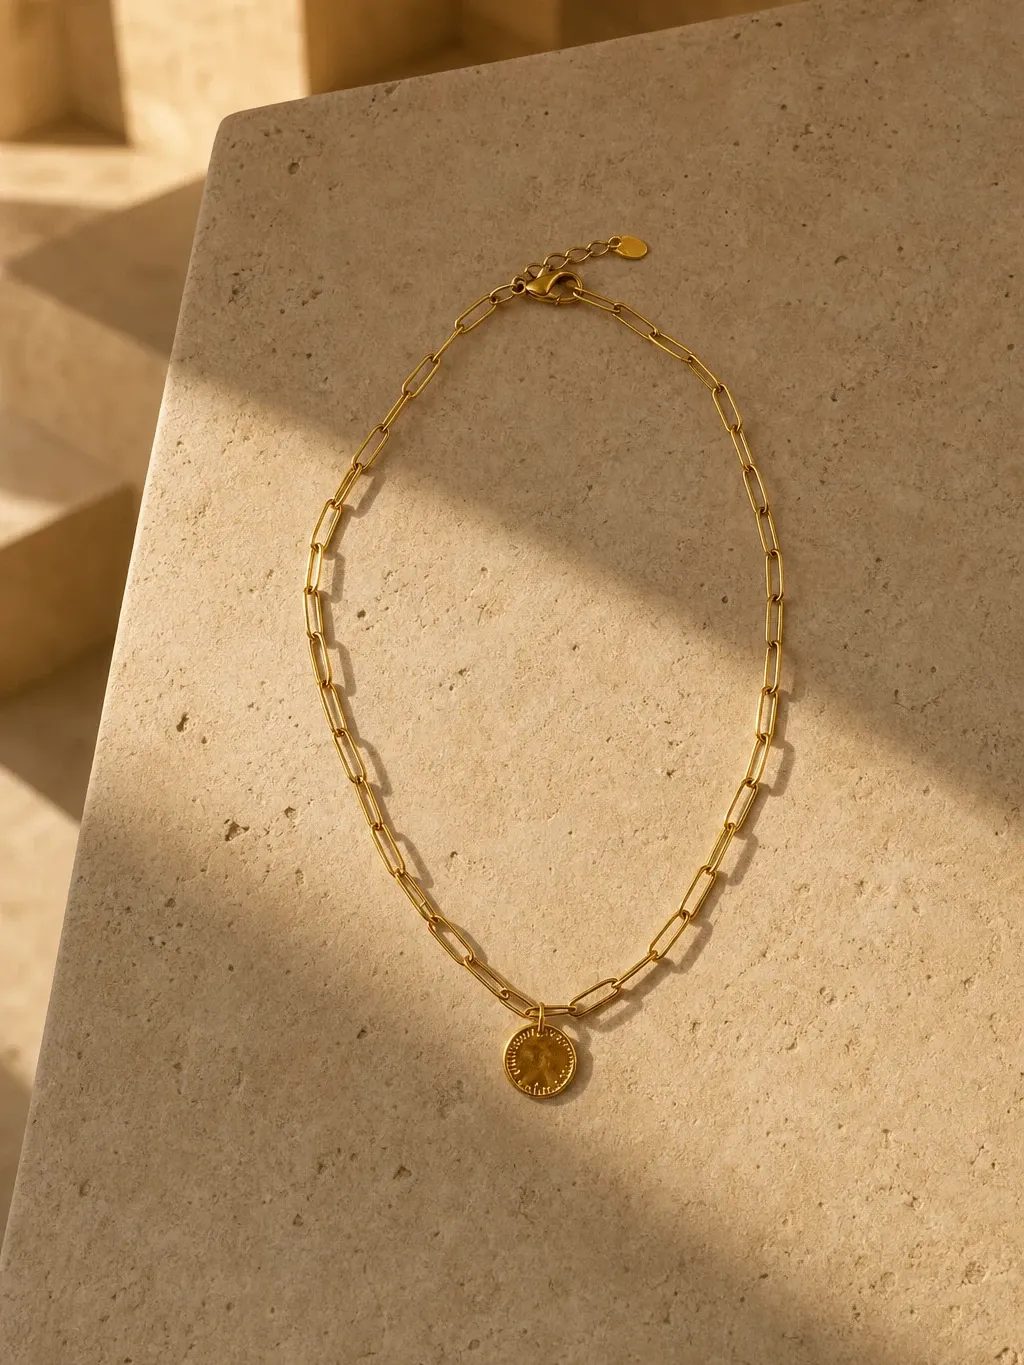
This Garmo set begins with an ordinary phone photo and assigns a distinct job to portrait, neckline detail and product view.
Gold paperclip chain with coin pendant
The source shows elongated links and a hammered round coin. In the portrait, the shopper sees the pendant just below the collarbones and understands its overall presence. The neckline crop reveals link thickness and pendant scale; the product frame remains the cleanest place to inspect the object itself.
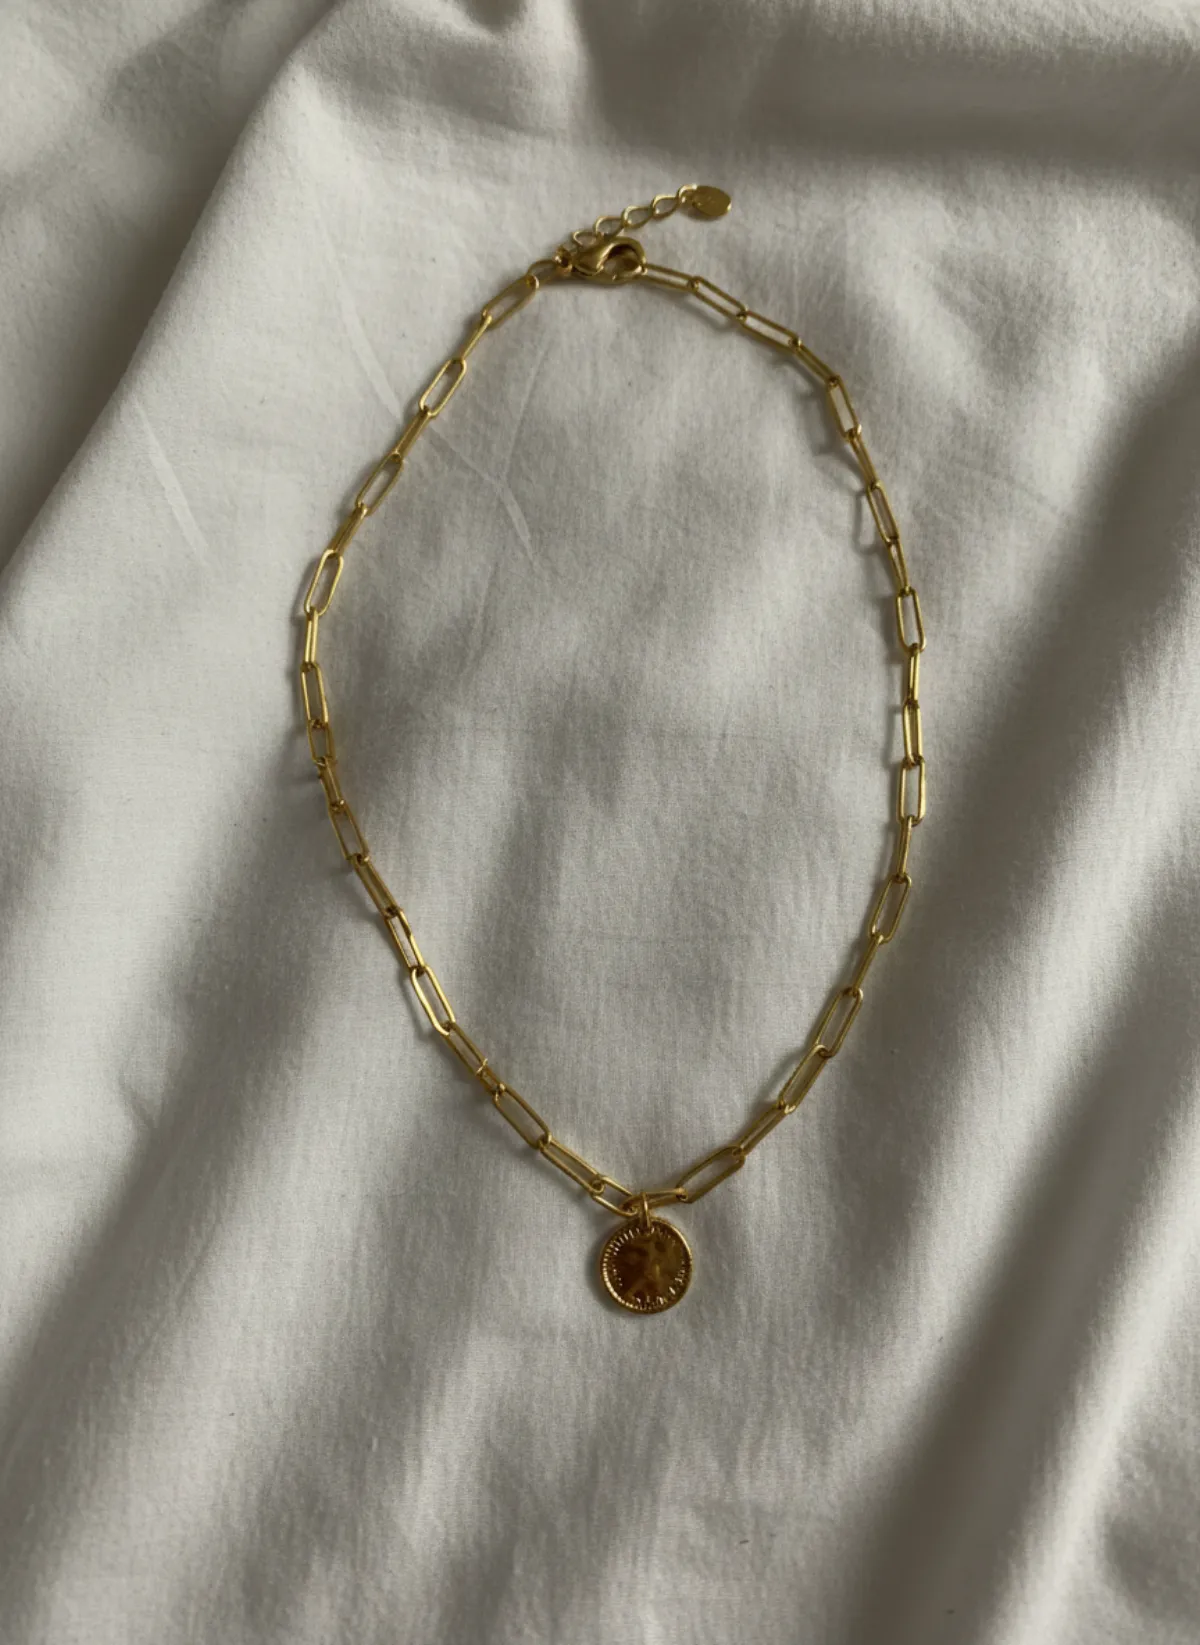 Your photo
Build a gallery that answers different questions
Use the first four slots deliberately. Slot one can remain a clean product image for immediate recognition. Slot two is the portrait that communicates presence on a person. Slot three is a neckline detail for link, clasp or stone visibility. Slot four can show the back closure, extender or a second styling. Repeating four nearly identical portraits wastes valuable space.
Match the crop to the piece. A close crop suits chokers, fine chains and small charms, while a half-body frame suits rope chains and long pendants. Keep hair away from the product and choose a neckline that does not cover it. High-contrast styling helps: cool silver against black knitwear or warm gold against a simple cream top.
If your catalog includes other categories, connect the visual language. Use earrings on a model with a similar portrait crop and bracelet on model AI with the same light. A consistent collection looks intentional even when each piece needs a different anatomical close-up.
What to inspect at 100 percent
Start with identity: count distinctive links, check the pendant outline, look for engraving, stone colour, bail shape and the direction of any motif. Then inspect physics: the chain should meet the bail correctly, follow the neck naturally and not sink into skin or float above it. Hair and clothing must not pass through the metal.
Next inspect scale. Compare the pendant with the model's collarbone span and the documented dimensions. Check the lowest point against the intended chain length. You are looking for a plausible representation, not pretending every person's anatomy is identical. When the visual position conflicts with the measurement, regenerate and keep the written dimension prominent.
Finally review the whole set for consistency. The pendant cannot grow between portrait and close-up, the link style cannot change and a single necklace cannot gain a second chain. The broader jewelry on model AI workflow is useful for mixed collections, but every category still needs its own checklist.
Publish only when these six checks pass
Length looks plausible
The necklace falls in the zone expected from the documented chain and extender measurements.
Pendant is unchanged
Outline, finish, stone, engraving, bail and orientation match the real pendant in the source photo.
Links stay consistent
Link shape, thickness and sequence remain the same from product frame to portrait and close-up.
Nothing is hidden
Hair, collar and shadow do not conceal the detail the image is meant to explain.
Dimensions are written
Chain length, extender and pendant size appear in the product copy even when the worn view looks clear.
Original stays available
A real product photograph remains in the gallery as the factual reference for finish and condition.
Necklace on model AI questions
Can necklace on model AI show the exact chain length?
It can show a useful visual estimate, but not an exact fit on every person. State the chain and extender measurements in writing because neck and torso proportions vary.
What photo should I upload for a necklace?
Upload a sharp, full view of the clean necklace on a matte neutral surface. Keep the complete chain and pendant visible, use soft light and send the original file rather than a screenshot.
Which images best show necklace scale?
Use a portrait for overall presence, a close neckline view for pendant and link size, and a clean product shot for factual detail. Long pendants also need enough torso in frame to show their endpoint.
Does AI replace necklace measurements?
No. Keep closed length, extender range, pendant height and width in the listing. The image makes those measurements easier to imagine; it does not replace them.
Can I use the generated image as my only listing photo?
It is better to keep at least one real product photo, especially for condition, finish and marketplace compliance. Use the generated worn view as additional context after checking it against the SKU.