What a necklace photo has to answer
A necklace buyer wants to know four things: what the pendant looks like up close, how long the chain is, how it closes and where it will sit on them. Most necklace listings answer only the first. A pendant shot from 5 cm away with the chain cropped out tells the buyer nothing about length, and a tangled chain on a bedspread tells them even less.
So when you work out how to photograph necklaces to sell, plan the photos around those four questions. A full-length flat U shows the whole piece and its proportions, a macro of the pendant shows the finish and the stone, a clasp shot shows the closure and any extender, and a worn photo shows the drop. The length in centimetres or inches goes in the description, because no photo measures it reliably.
Focus, light tents and editing for every kind of jewellery are covered in how to photograph jewelry for sale. This guide covers what is specific to chains and pendants.
Setup: window light, a matte surface and a white card
The simplest setup for how to photograph necklaces to sell at home is a small table next to a window with no direct sun. Stand a white card or foam board on the opposite side, facing the window. The card fills the shadows and gives gold and silver something bright to reflect; without it, polished metal mirrors the dark room and turns grey. Switch off ceiling lights and the flash, which add yellow casts and hot spots on stones.
Choose the surface for the metal. Fine gold and pearls read well on pale linen, travertine or cream card; silver and white gold need a mid-grey or dark slate so the chain does not disappear. Avoid glossy surfaces, which double every reflection, and patterns, which compete with a thin chain. Polish the necklace with a microfibre cloth and handle it by the clasp, because fingerprints show at once on a pendant.
Shoot with the main camera, not the wide lens, and step back slightly rather than pushing in close; crop afterwards. Tap to focus on the pendant and lower the exposure a touch so the highlights keep their detail.
How to photograph necklaces to sell: seven shots
Take them in the same order for every piece. Buyers then find the same information in the same slot on every listing.
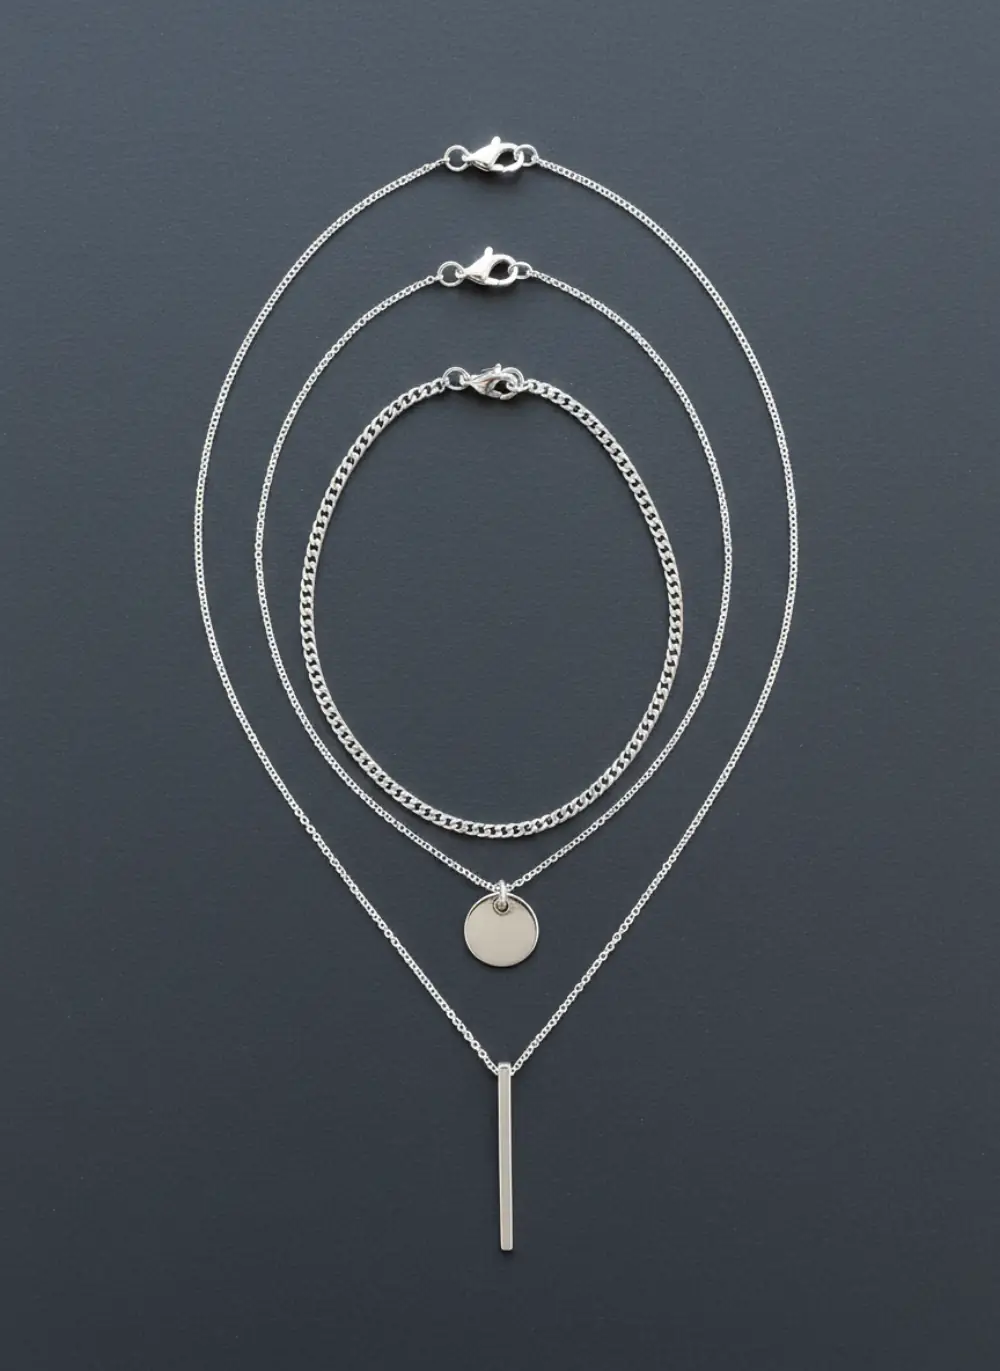
Full flat U
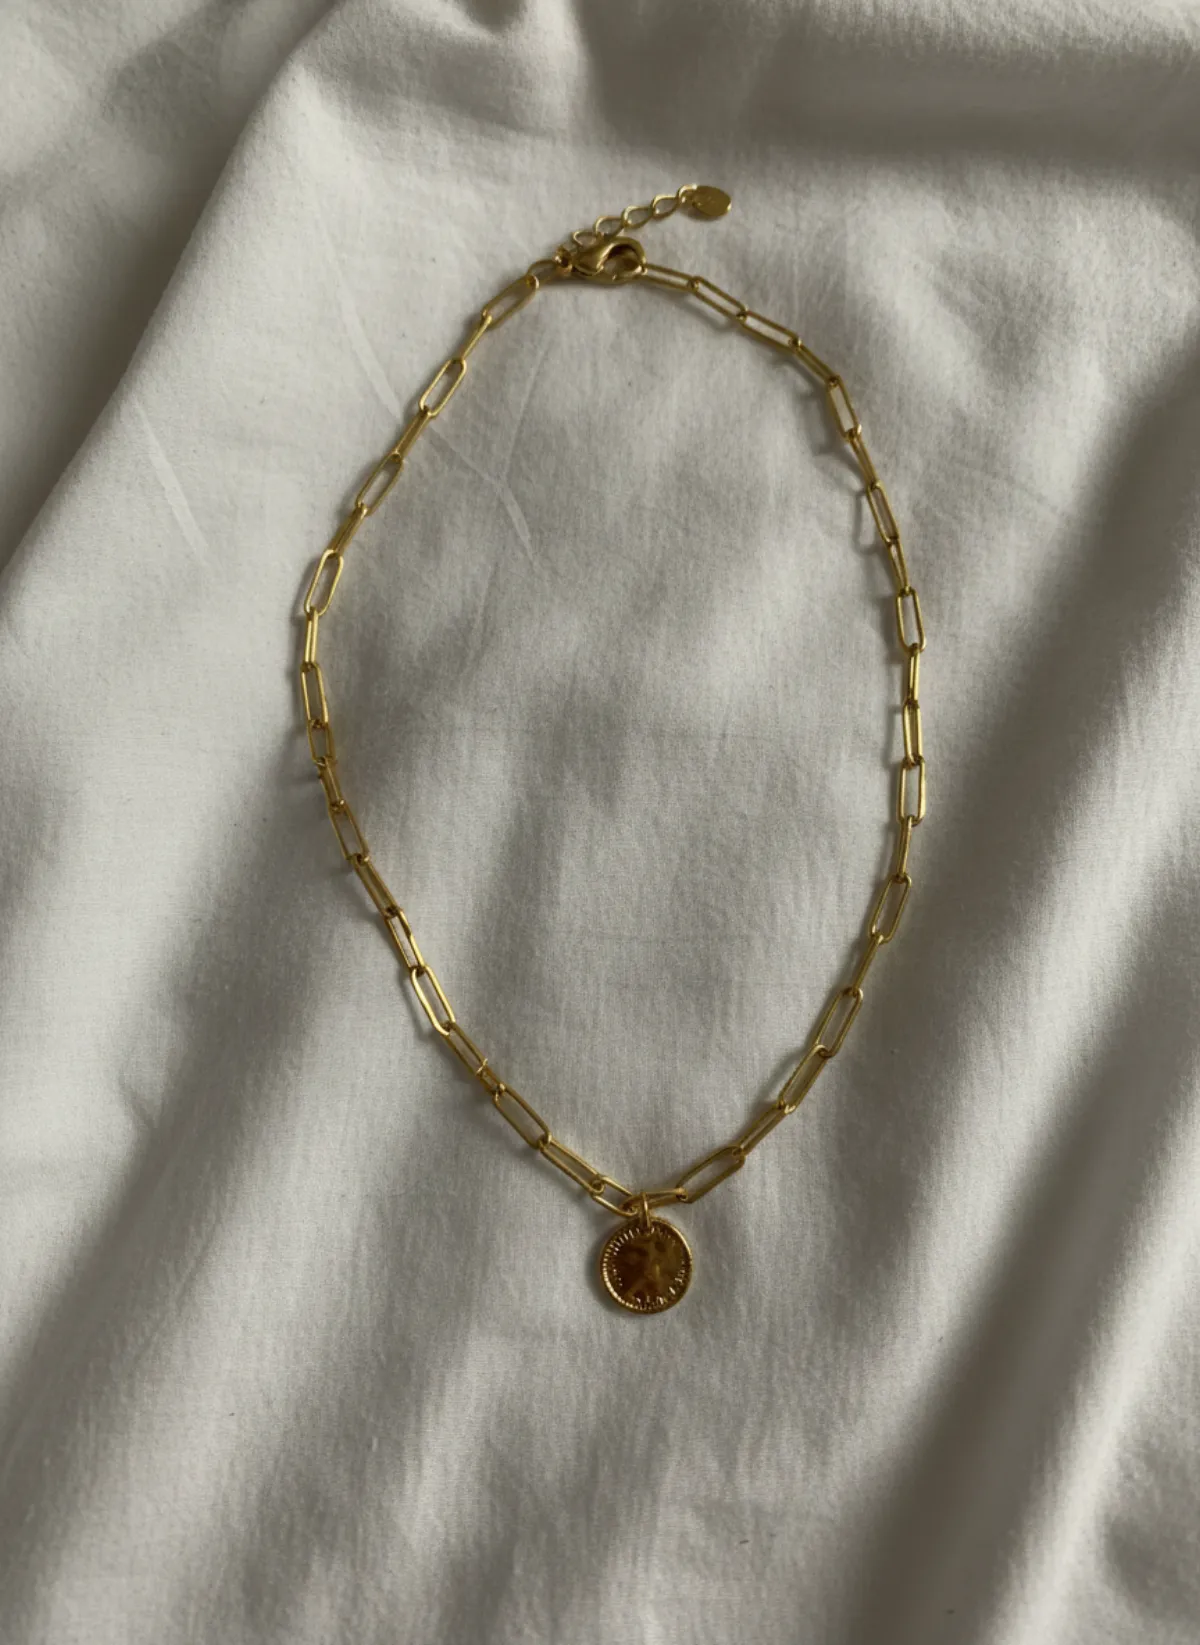
Clasp closed at the top, chain in a symmetrical U, pendant at the bottom. This is the cover photo.
Pendant close-up
Front of the pendant filling most of the frame: stone, engraving, texture and finish.
Pendant back and side
The back, the bail and the thickness. Lockets open, personalised pieces with the engraving.
Clasp and extender
The clasp type, any extender chain and the link pattern, sharp enough to see each link.
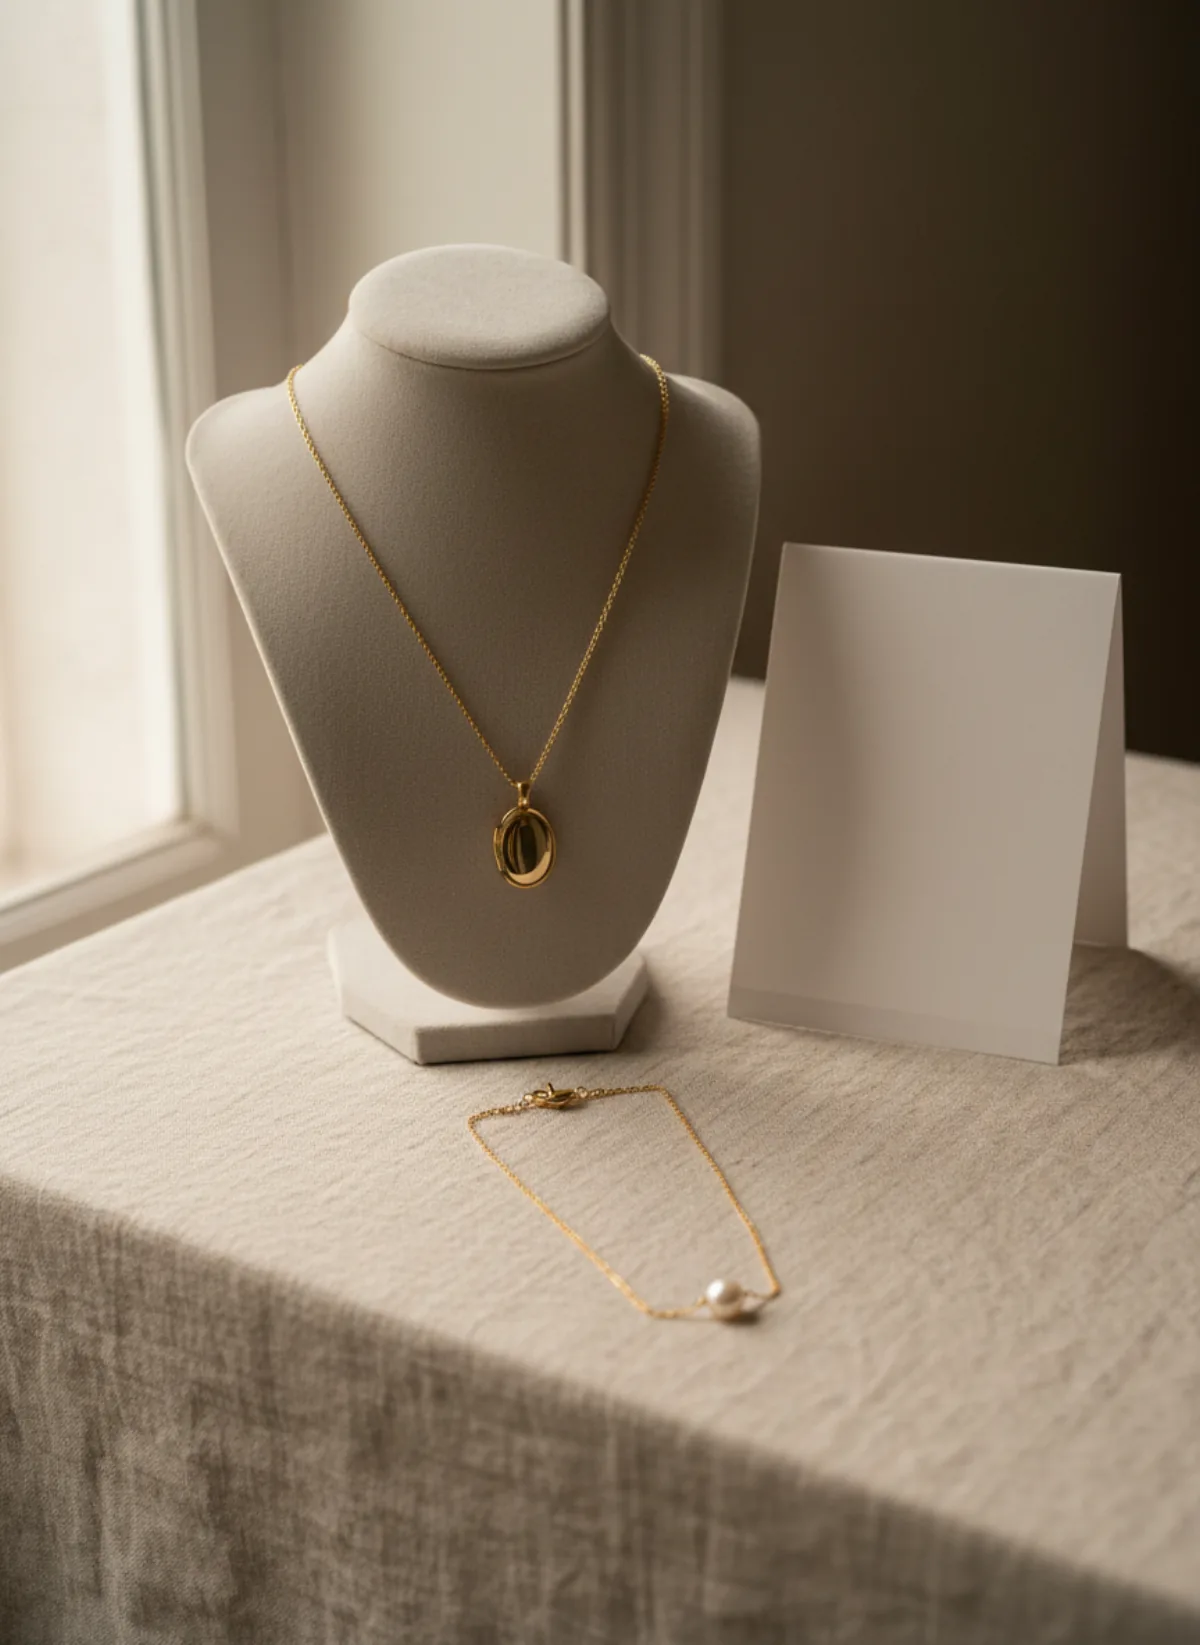
On a bust or stand
Hanging on a neck form, so the drop and the shape of the chain read in three dimensions.
Length reference
A tape along the chain, or the necklace beside a coin or your hand for scale.
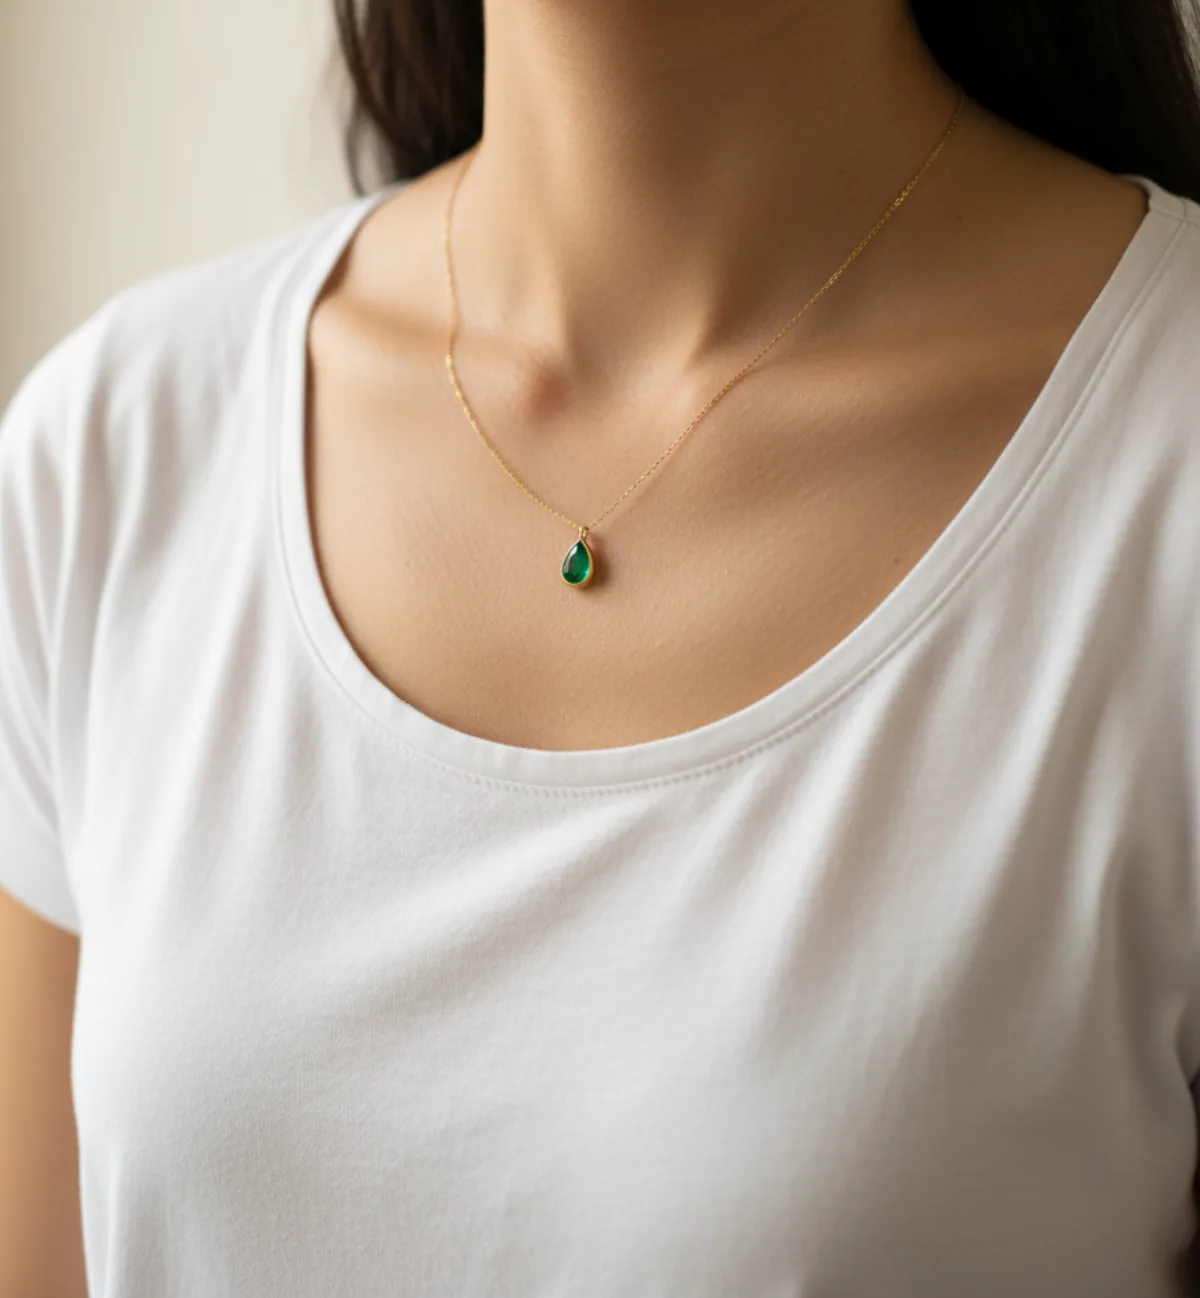
Worn
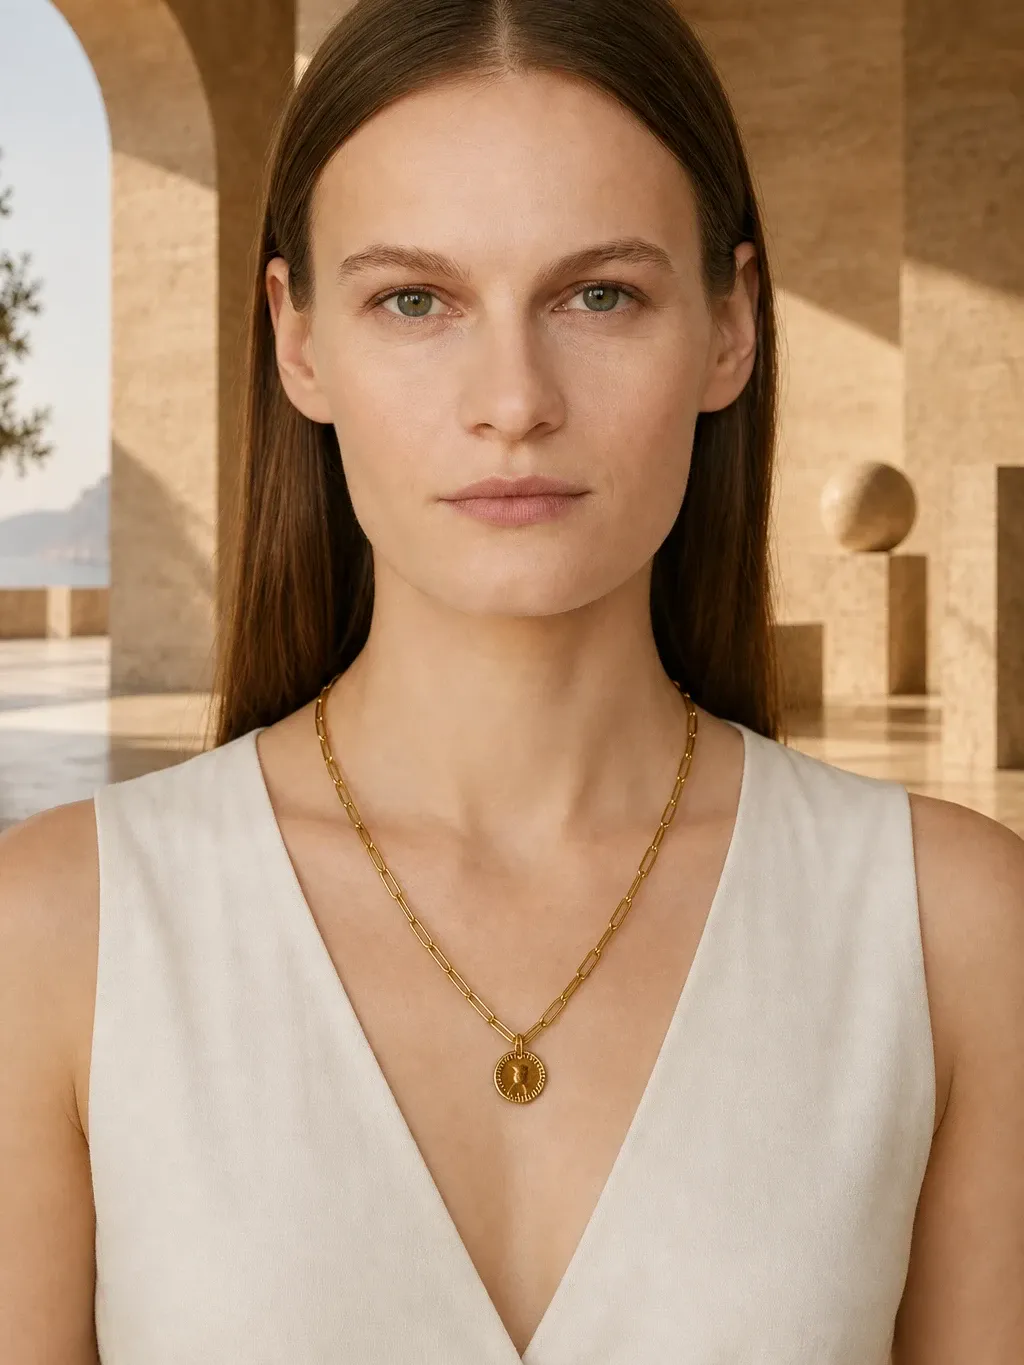
On a neck, from chin to chest, so the buyer sees exactly where it falls.
Flat, hanging or on a bust: which works best?
The best way to photograph necklaces is to use all three, because each answers a different question. A flat U on the table shows the whole chain and the pendant together; it is the cleanest cover photo and the easiest to repeat. Close the clasp, find the centre, lay the pendant at the bottom and pull the two sides out evenly with a fingertip or a pair of tweezers.
Hanging shows weight. A necklace bust or a simple T-bar stand lets the chain fall as it does on a neck, and the pendant turns to the front on its own. A velvet or linen bust in oatmeal or grey works for almost everything; black suits silver and diamonds, cream suits gold. Shoot it straight on, at the height of the pendant, with the bust filling about two thirds of the frame.
Chains that refuse to lie flat, such as rope and snake chains, are easier on a bust. Small charm necklaces that tip over on a stand are easier flat. Pick what keeps the piece symmetrical and use the same method across a collection.
How to photograph long necklaces and show the length
Long necklaces are the hardest to sell from a flat photo, because a 45 cm and an 80 cm chain look almost the same in a U on a table. To photograph long necklaces, step back until the whole chain fits, then add a length reference: a soft tape measure laid along one side, or the same necklace on a bust next to a shorter one so the difference is obvious.
Use the standard length names in the listing and back them with numbers. A choker is about 35–40 cm (14–16 in), a princess length about 45 cm (18 in) and falls just below the collarbones, a matinee 50–60 cm (20–24 in) sits on the upper chest, and opera and rope lengths from 70 cm (28 in) are worn over clothes. Measure the chain closed, from end to end, and write the extender separately.
For the pendant, give the height including the bail and the width in millimetres. Buyers of long necklaces also want to know whether it can be doubled; if it can, take one extra photo of it wrapped twice.
Worn photos: how to take pictures of necklaces on a neck
A worn photo answers the question no flat photo can: where does the pendant land? To take one yourself, set the phone on a shelf or a tripod at chest height, use the timer and crop from just below the chin to the middle of the chest. Wear a plain top in a contrasting colour: white or cream under gold, black or navy under silver.
Match the neckline to the length. A scoop or V-neck frames short and princess chains; a crew neck works for a choker; a fine knit or a turtleneck shows a long pendant on top of the clothes. Push your hair behind your shoulders and check the clasp has slid to the back, then take one straight-on and one slightly turned frame.
Self-shot worn photos have limits. Your neck and skin tone appear on every listing, a long chain needs a wider frame that shows more of you, and you have to change top for every metal. For a shop with fifty pendants that is a long afternoon.
No model? Put the necklace on one from your product photo
The flat U you already took is enough to get a worn photo. Upload it to necklace on model AI, and Garmo puts the same necklace on a model: a portrait, a close shot of the neckline and a clean product photo, in about a minute. You choose from 42 ready models (22 women and 20 men), so a men's rope chain goes on a men's model with an open collar.
Garmo keeps the metal, the chain type and the pendant from your photo. Fine links, engravings and small stones are where any image tool can slip, so compare them with the real piece before you publish and render again if a detail is off. The length on the model is an impression, not a measurement; our post on showing necklace scale on a model explains how to check it against your numbers.
Necklaces are often sold with matching earrings. Put them on the same model with earrings on model AI and the set looks like one shoot; for rings and bracelets, jewelry on model AI covers the rest. The shot list for studs and drops is in how to photograph earrings to sell.
From a phone photo to a necklace on a model
Each necklace was photographed with a phone, just where it was. The results show the drop on a person and a clean product view.
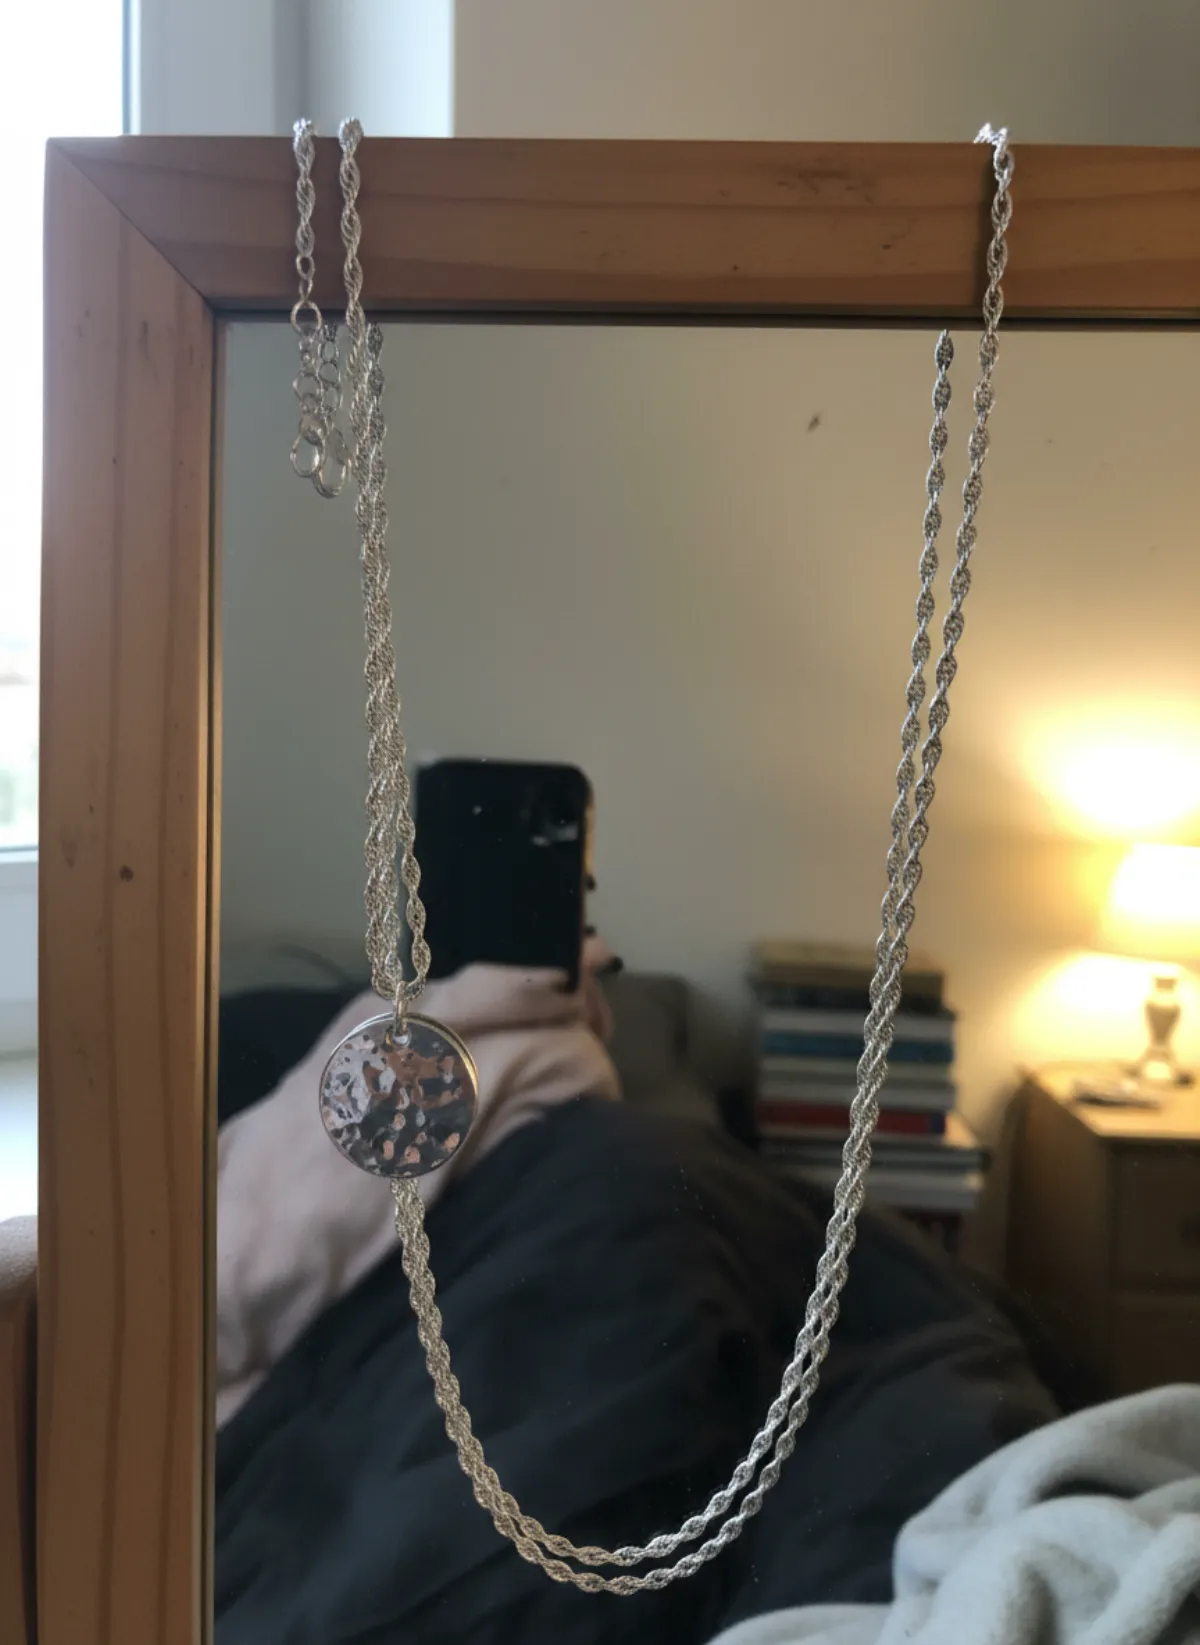
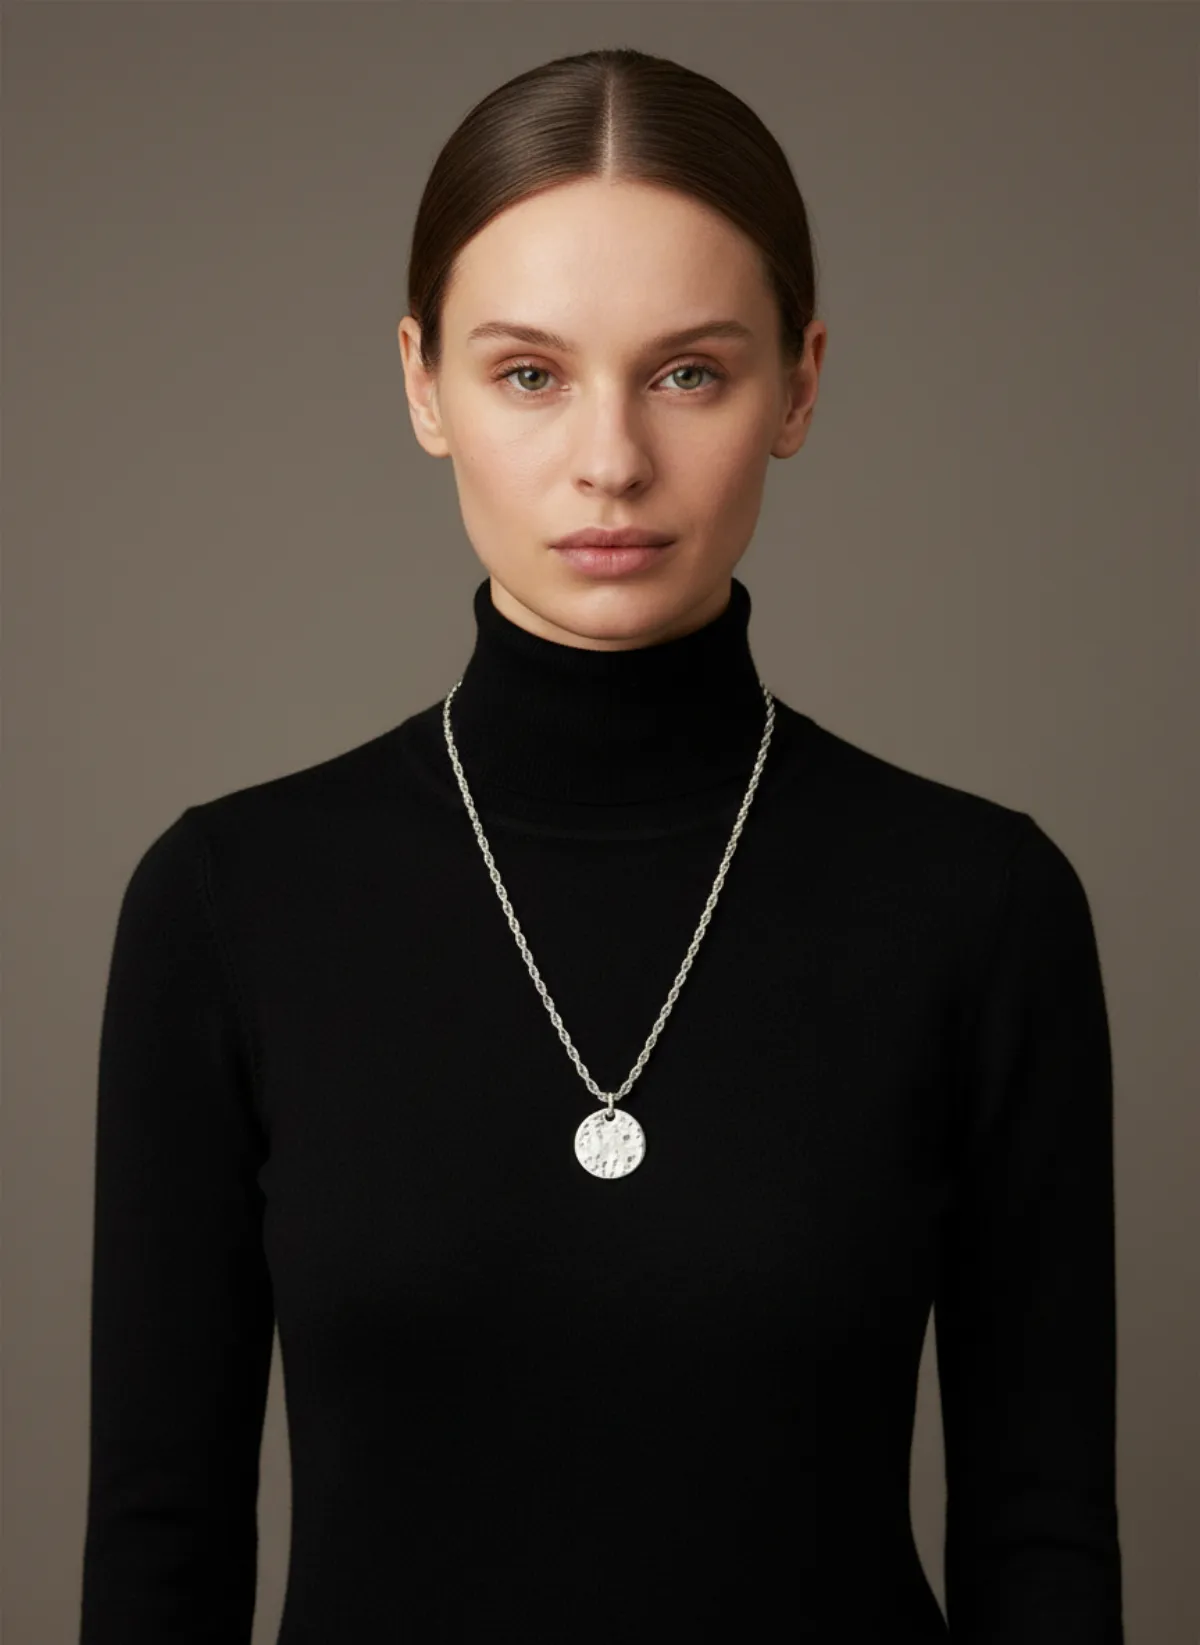
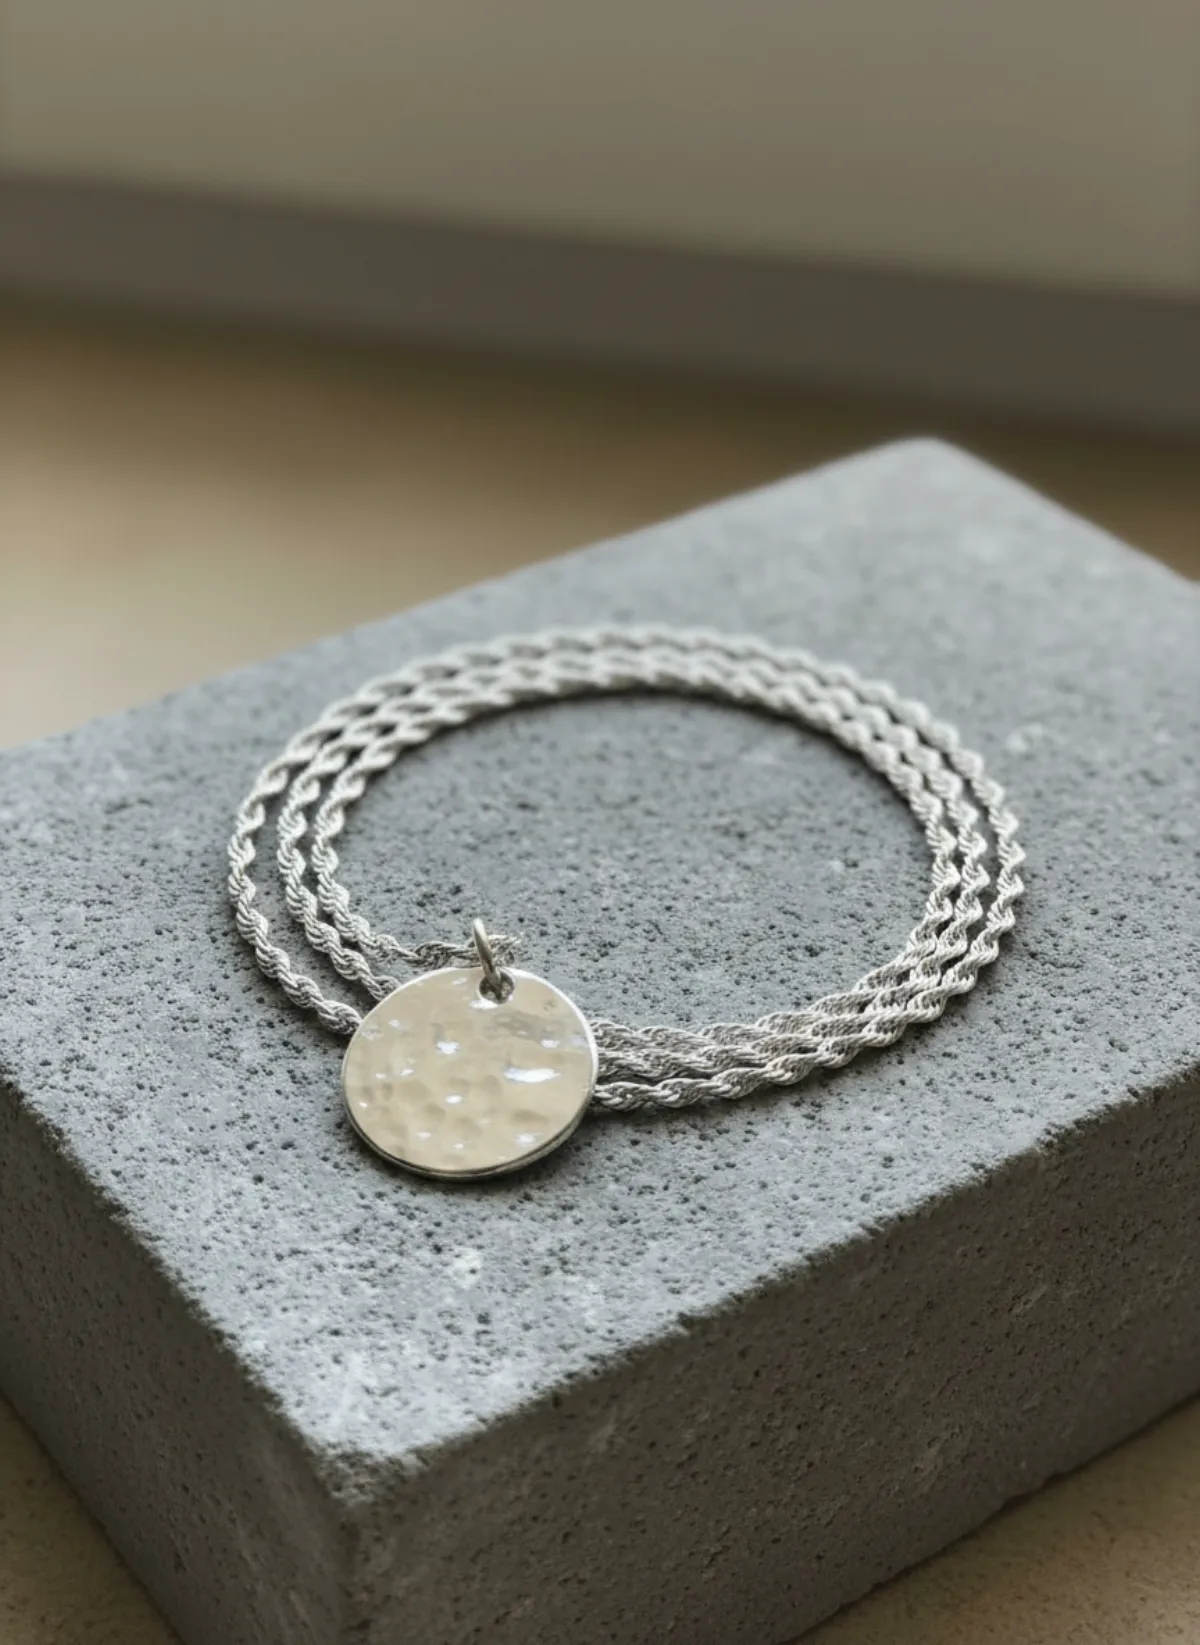
A long pendant on Vera
Shot hanging from a bedroom mirror. Over a black turtleneck, the disc lands mid-chest, exactly the length the flat photo could not show.
 Your photo
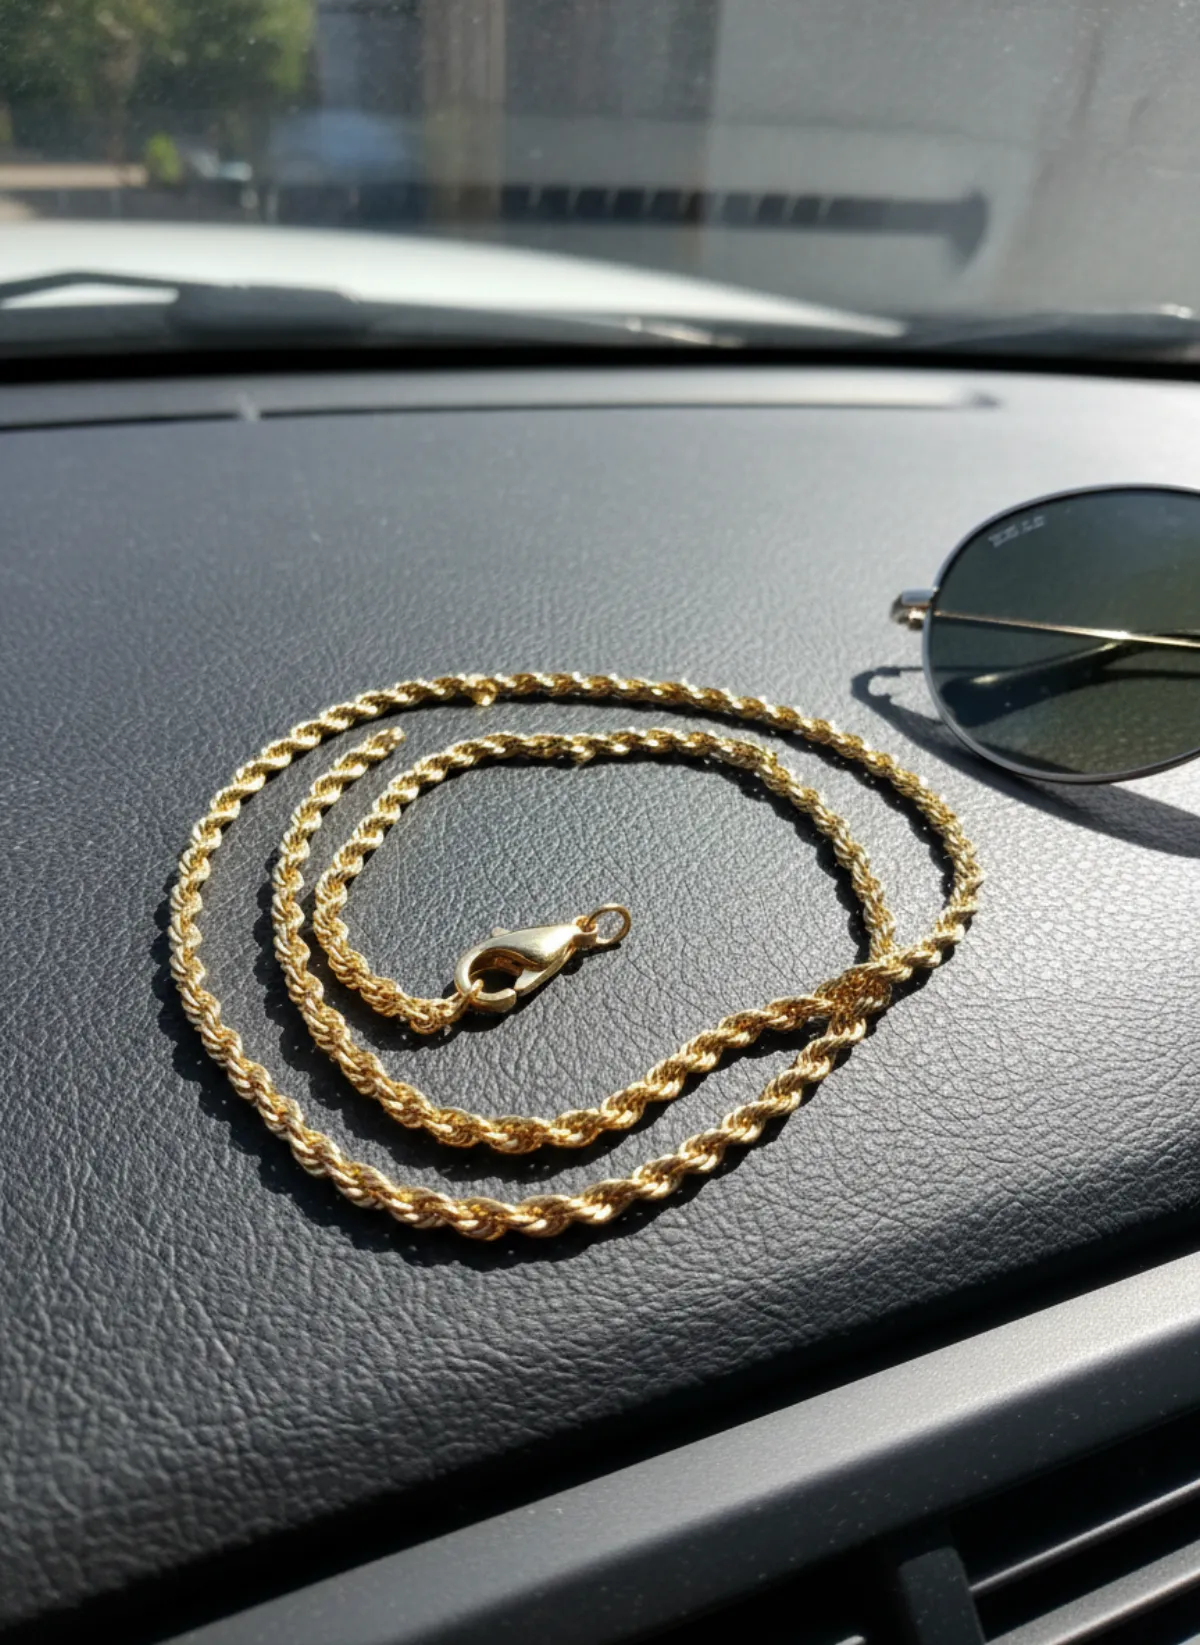
A men's rope chain on Rafael
Photographed on a car dashboard next to sunglasses. With an open linen collar, the thickness of the rope chain is clear.
 Your photo

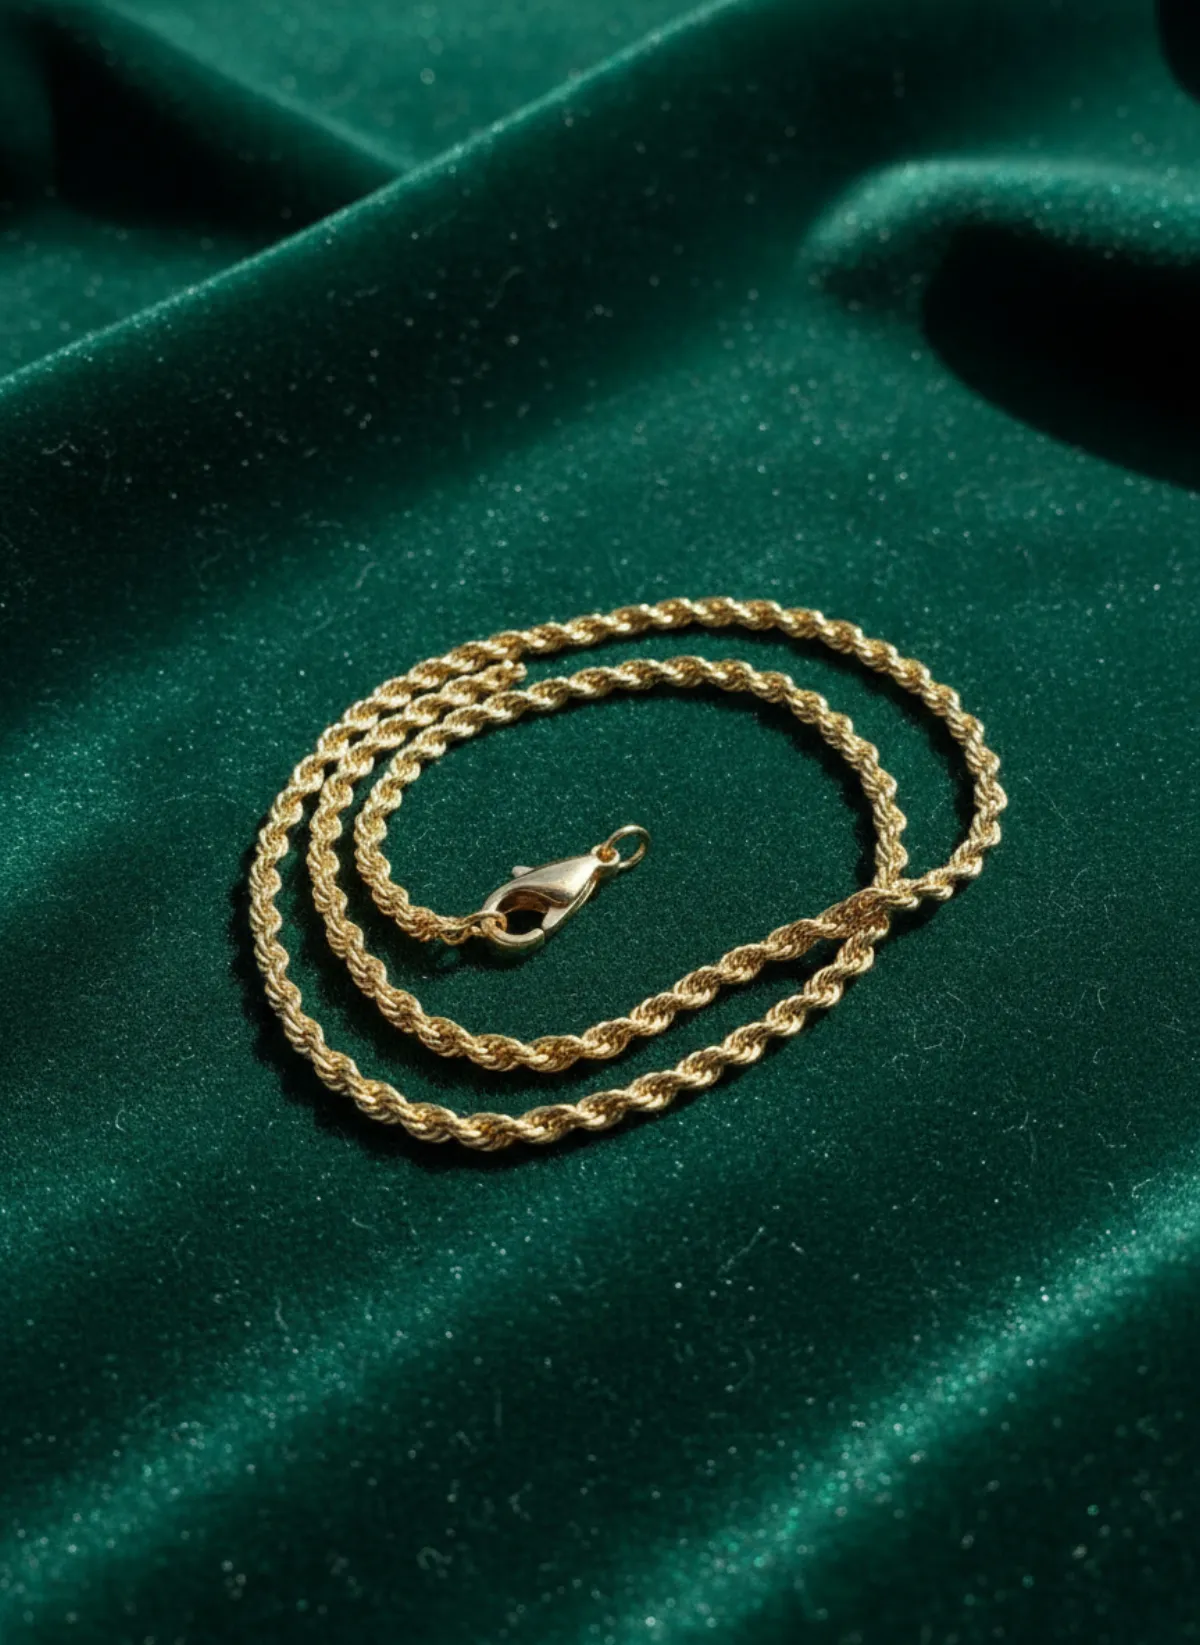
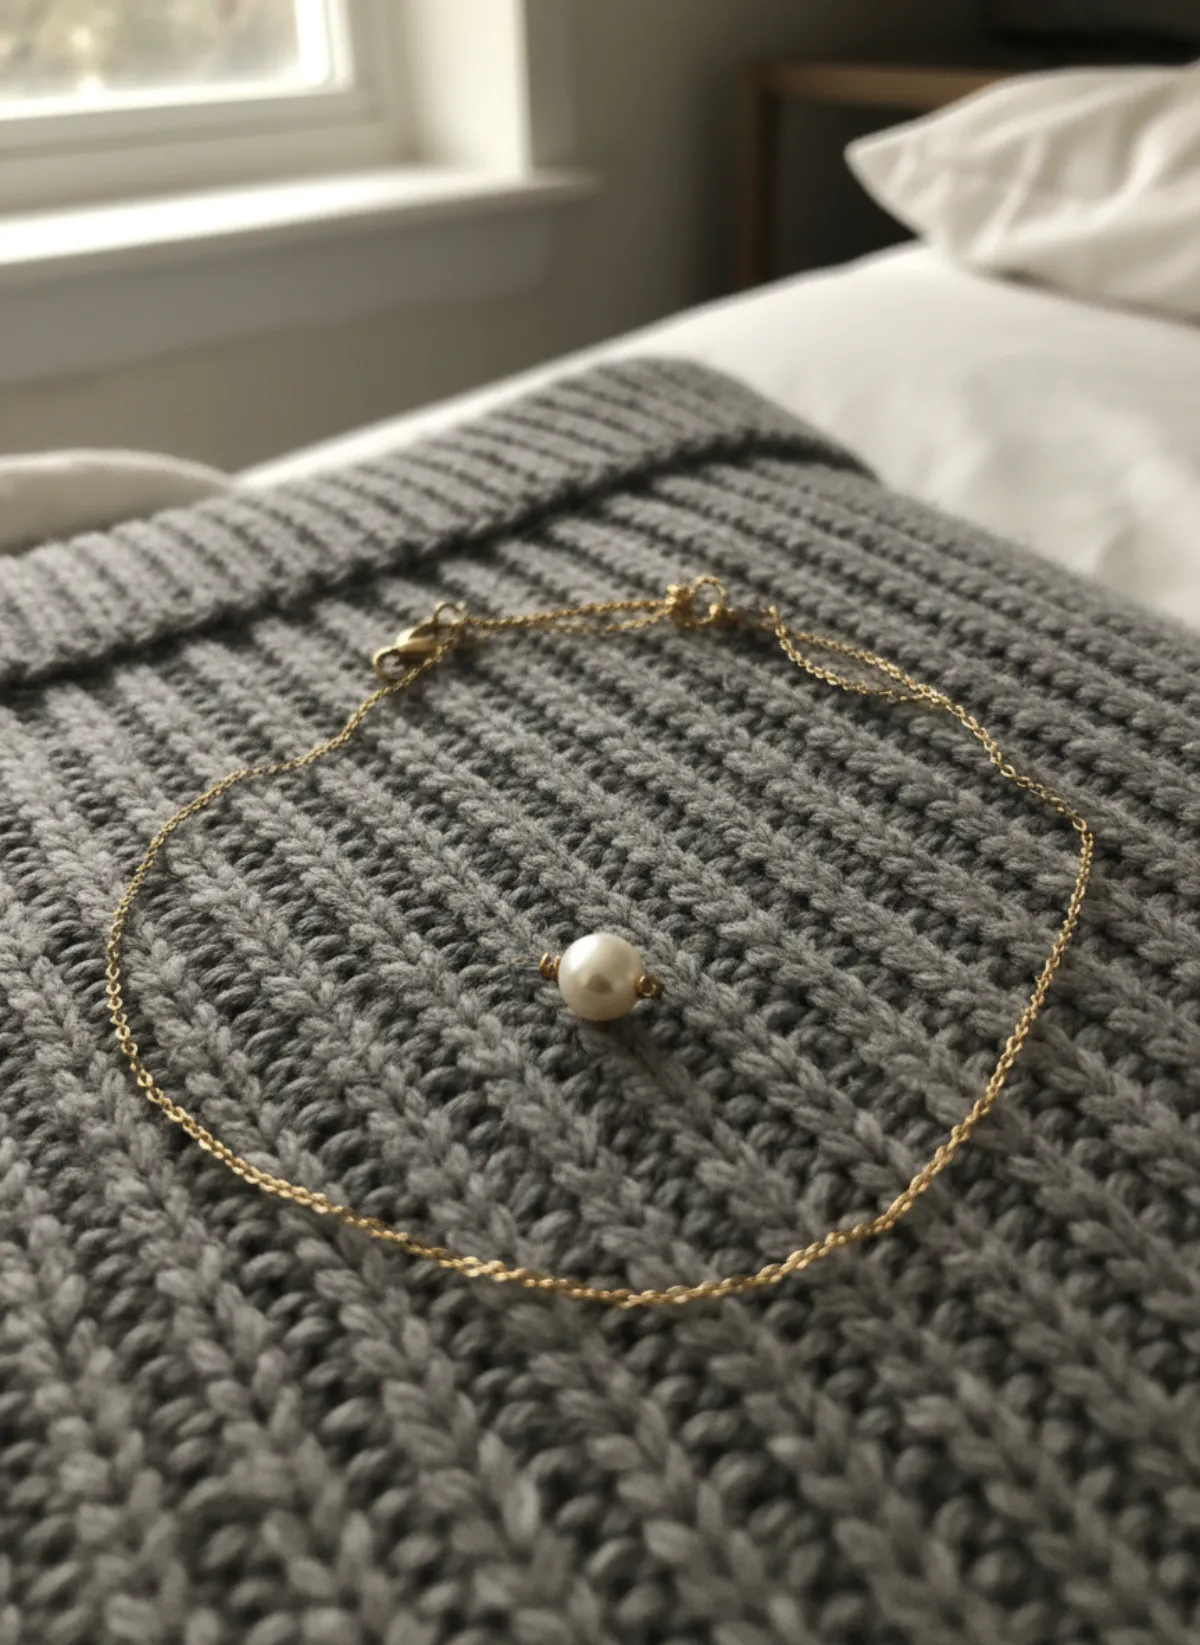
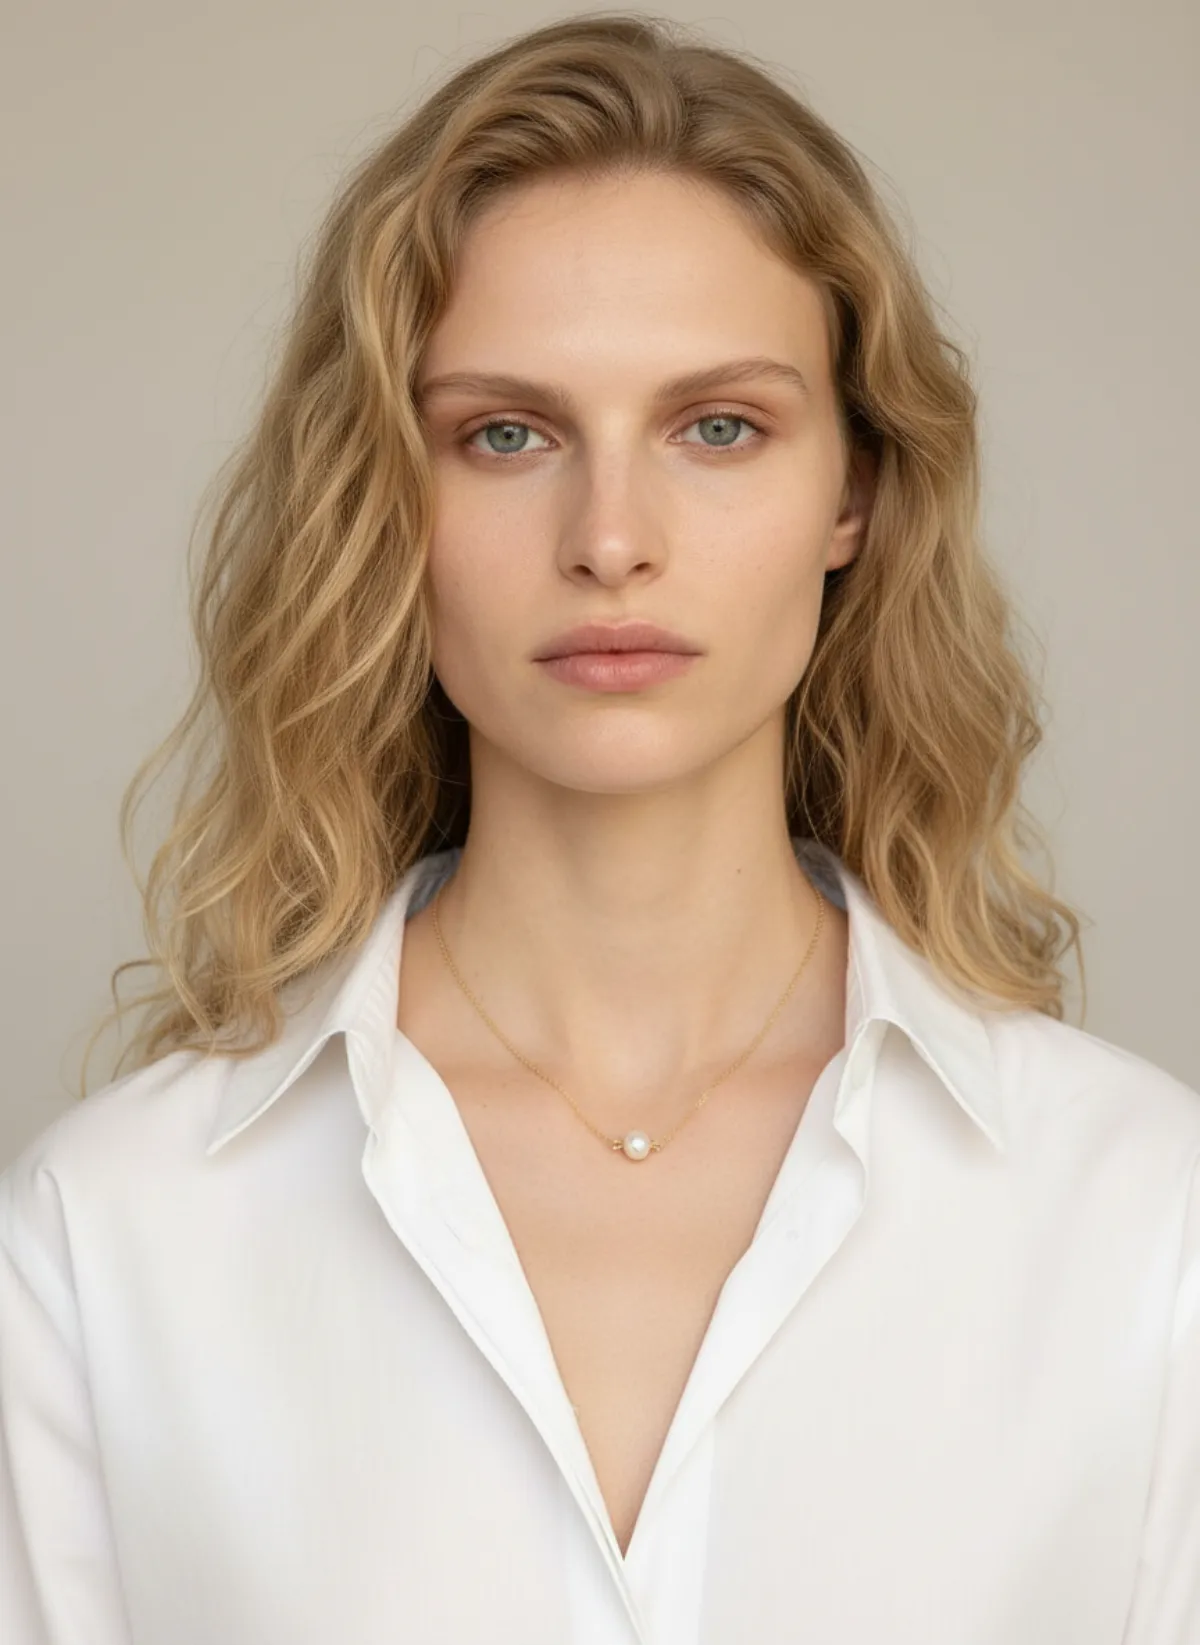
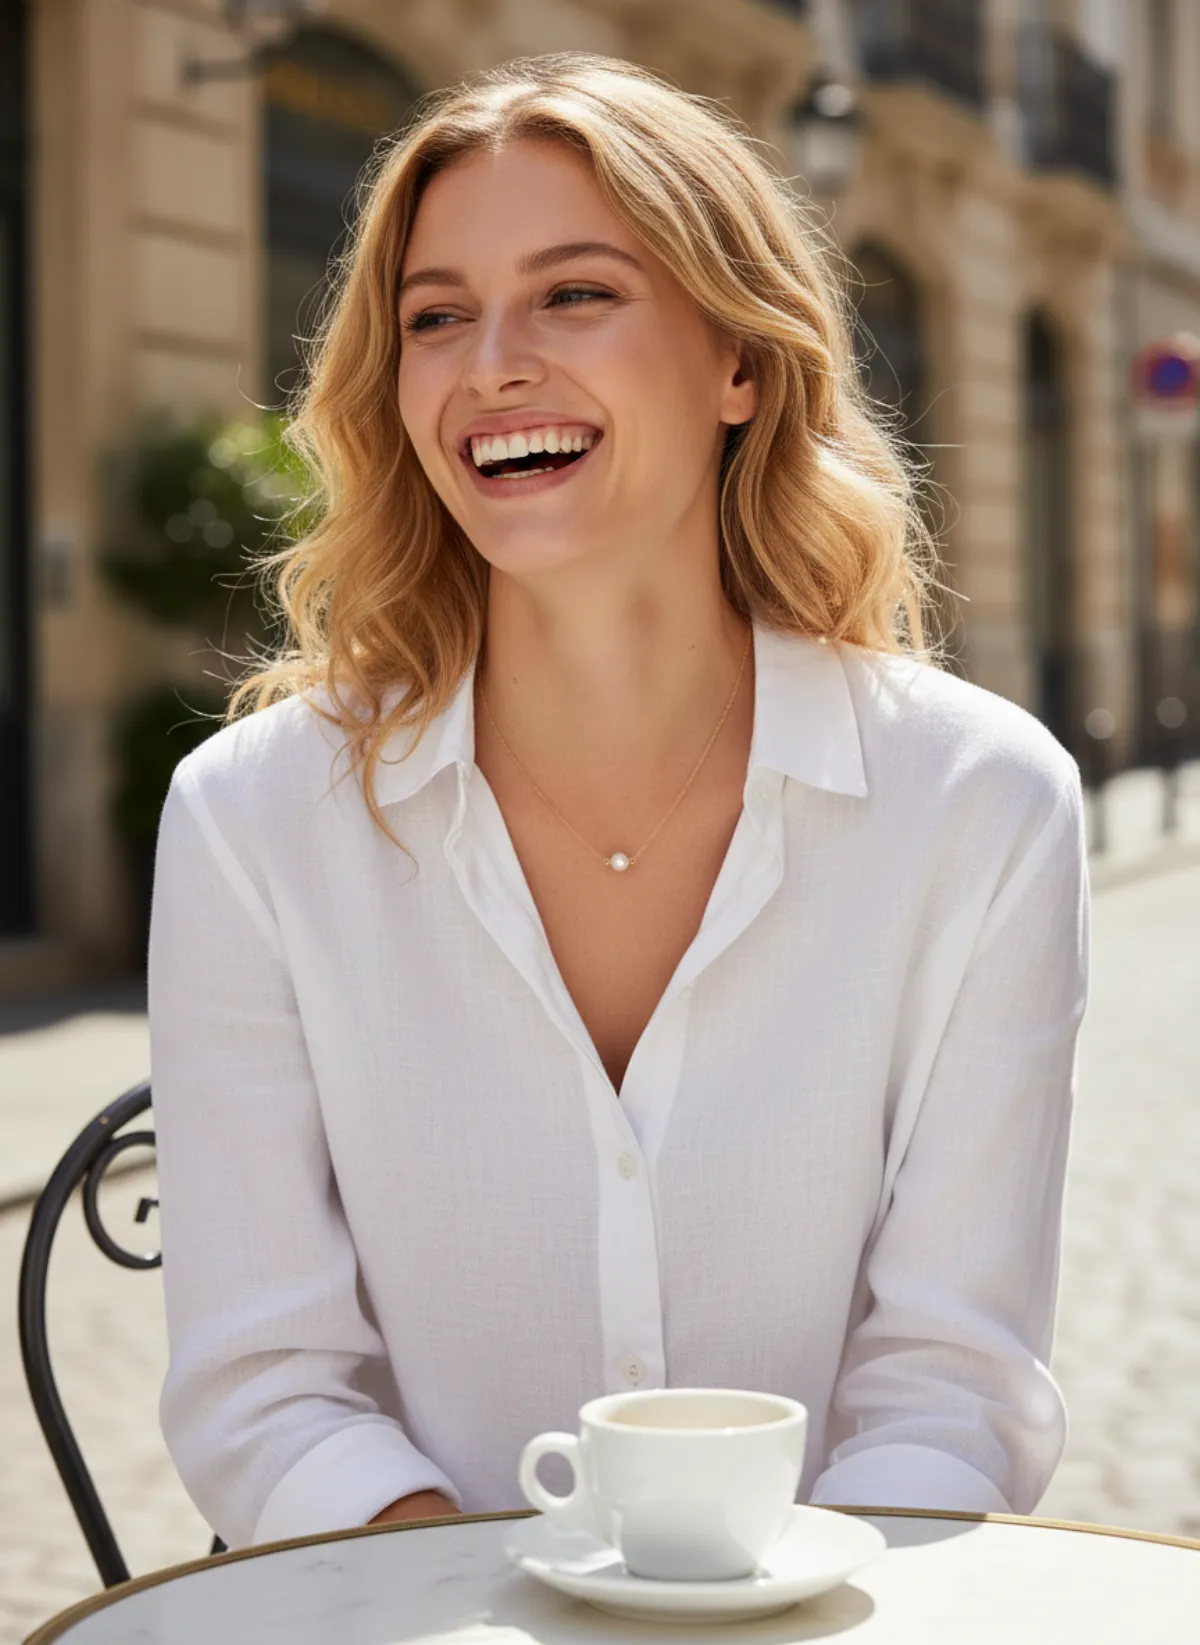
A pearl pendant on Derya
Shot lying on a grey knit sweater. The neckline frame shows where the pearl sits below the collarbones.
 Your photo
Questions about photographing necklaces
What is the best way to photograph necklaces?
Lay the closed necklace in a symmetrical U on a plain matte surface in soft daylight, with a white card opposite the window. Add a pendant close-up, the clasp, a bust or stand view and one worn photo.
How do you take pictures of necklaces without a model?
Use a necklace bust or a T-bar stand to show the drop, and a flat U for the full piece. For a worn photo, shoot your own neckline from chin to chest, or upload the flat photo to Garmo to get the necklace on a ready model.
How do you photograph long necklaces?
Step back so the whole chain fits, then add a length reference such as a tape measure or a shorter necklace beside it. A worn or bust photo shows the drop best. Always write the closed length in the description.
What background is best for necklace photos?
Pale linen, travertine or cream card for gold and pearls; mid-grey or dark slate for silver and white gold. Keep it matte and plain so a fine chain stays visible and reflections stay under control.
Should I use a necklace bust for product photos?
Yes, for at least one photo. A bust shows how the chain hangs and turns the pendant to the front. Choose a plain velvet or linen bust in a neutral colour so the necklace stays the subject.