What an earring photo has to show
Earring buyers want to know four things: what the pair looks like together, how big it really is, how it closes and how it hangs from an ear. Earrings are the smallest items most jewelry sellers photograph, so a phone camera at normal distance turns them into two shiny dots on a table. Most weak listings have one top-down photo of the pair lying flat, with the hooks tangled.
So when you plan how to photograph earrings to sell, build the photos around those four questions. A front shot of the pair upright shows the design and the symmetry. A side shot shows thickness, the back shows the post and butterfly or the hinge, and a hanging or worn shot shows the drop. Sizes go in the description in millimetres, because no photo measures them reliably.
For focus, light boxes and editing for all jewelry, see our guide on how to photograph jewelry for sale. This post covers what is special about earrings.
Setup: window light, a matte surface and a stand
Put a small table next to a window, out of direct sun, and stand a white card or foam board on the side away from the glass. The card fills the shadows and gives gold, silver and stones something bright to reflect; without it, polished metal reflects a dark room and looks grey. Turn off the ceiling lights and the flash, which add yellow casts and burn white spots into stones.
Use a matte surface: travertine, a ceramic tile, linen or plain card. Glossy surfaces double the reflections, and patterns compete with something this small. Clean the earrings with a microfibre cloth and hold them by the edges, because fingerprints show at close range.
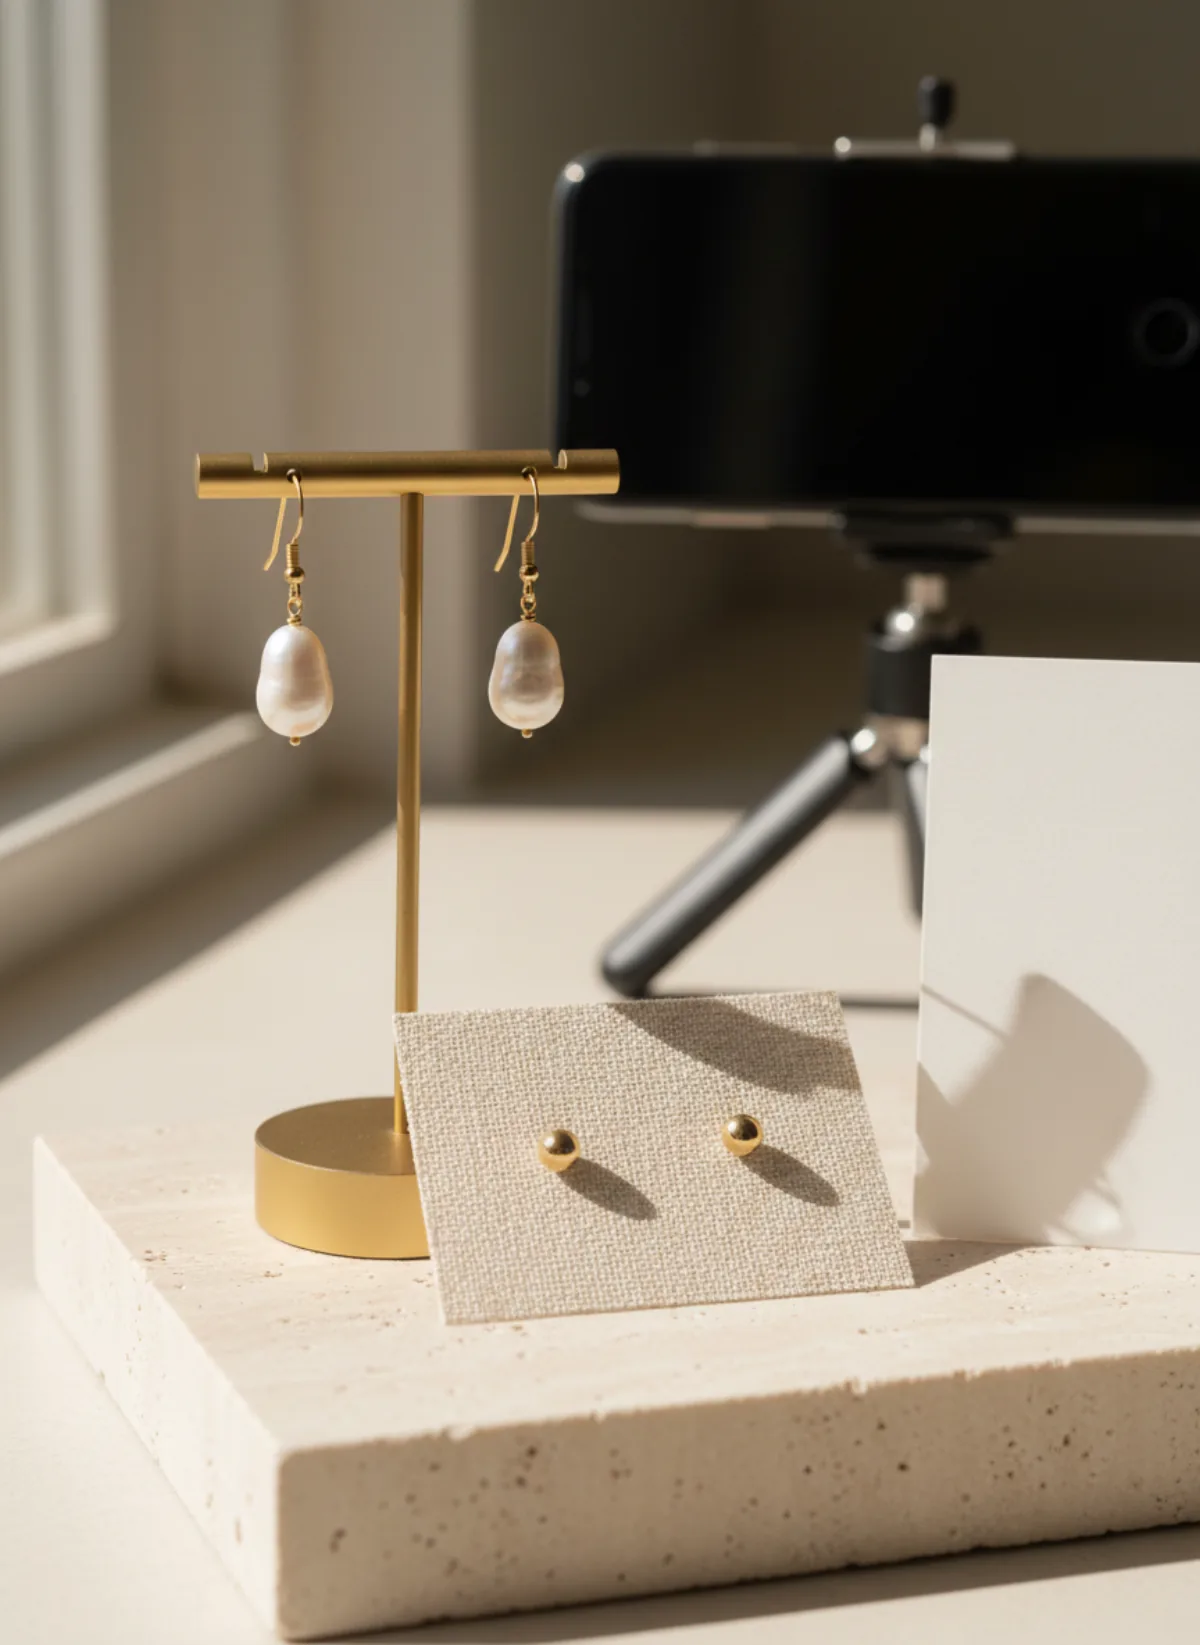
The prop that changes earring photos most is something to hold them upright. A T-bar stand or two pins in a foam block holds hooks and drops; a square of linen-covered card with two pinholes holds studs side by side; a pea of poster putty stands a hoop on its edge. Keep the stand plain so it does not compete with the pair.
How to photograph earrings to sell: seven shots
Take them in the same order for every pair, so the listing always answers the same questions in the same place.
Pair, front
Both earrings upright and side by side, filling most of the frame. This is the cover photo and shows the symmetry.
Side profile
One earring turned 90 degrees, so the buyer sees the depth of a stud, the width of a hoop or the curve of a hook.
Back and closure
The post and butterfly, screw back, hinge, lever back or clip, plus any hallmark stamped on it.
Hanging
Drops and hooks hanging free from a stand or thread, so the length and movement read naturally.
Detail
A macro of the stone setting, the enamel or the texture, sharp enough to judge the quality.
Scale
On an ear, or next to a fingertip or an everyday object, so the size is clear at a glance.
Worn
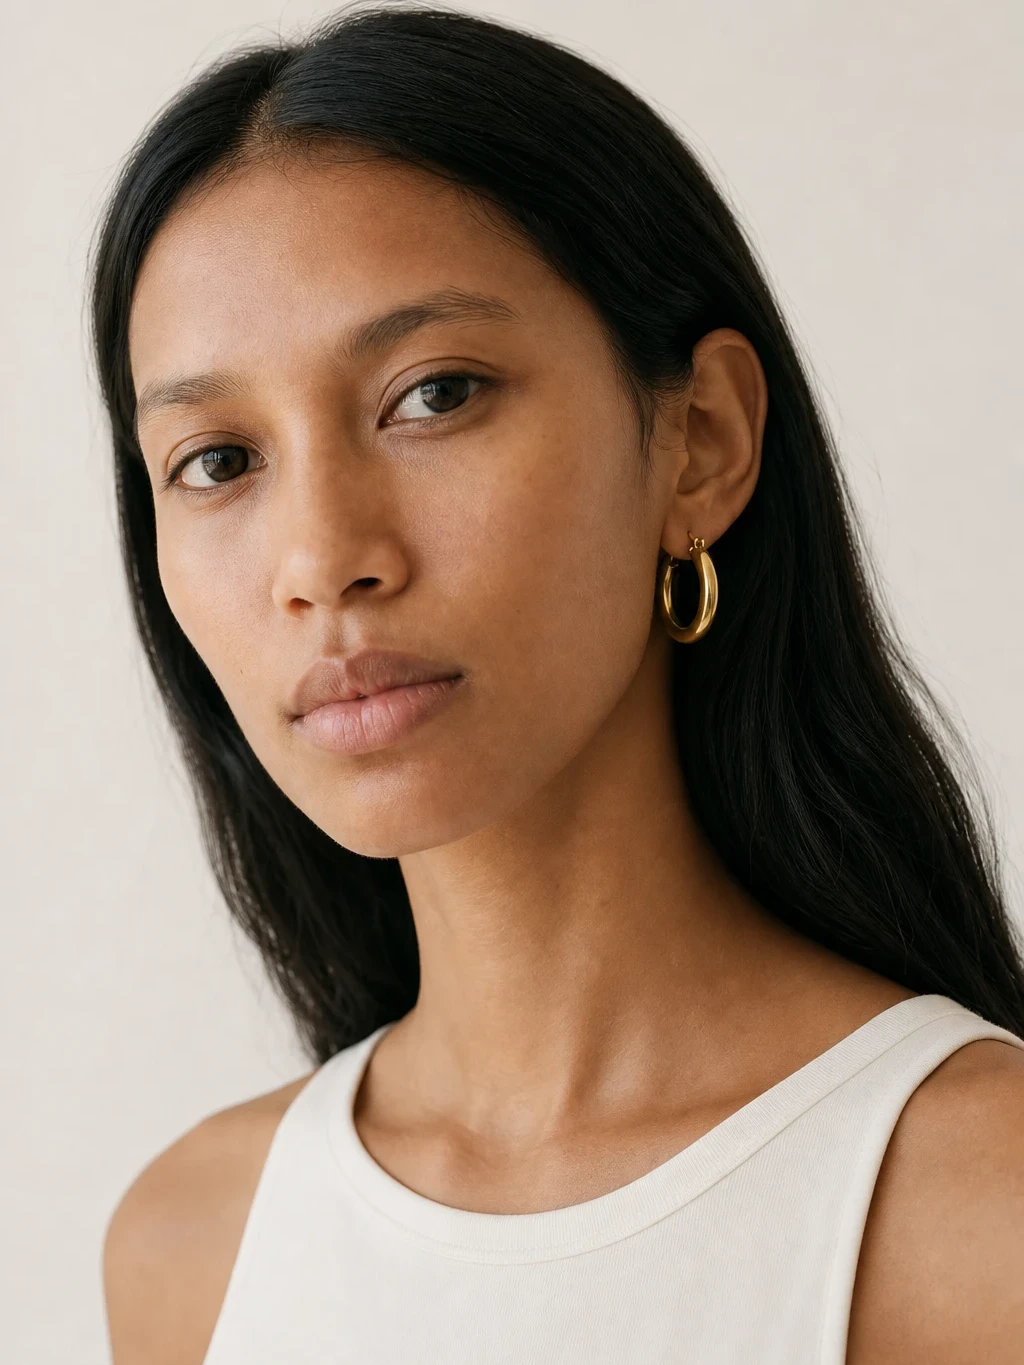
On an ear with the hair tucked behind it, in profile or three-quarter, in the same soft light.
Focus and distance: getting a tiny earring sharp
Blur is the most common problem when you work out how to photograph earrings to sell, and it usually comes from standing too close. Phones cannot focus closer than a few centimetres with the main lens; when you get too near, they either blur or switch to the ultra-wide macro mode, which bends straight lines. Step back a little, use the 2x or 3x lens and crop the photo afterwards.
Tap and hold on the front earring to lock focus and exposure, then lower the exposure slightly so the metal keeps its detail. Rest the phone on a stack of books or a small tripod and use the timer; at this distance, the movement of pressing the shutter is enough to blur a stud. Take several frames and keep the sharpest.
If you sell earrings on Etsy or Instagram with a white background, shoot on white card in daylight and keep the shadow soft rather than removing it. A floating earring with no shadow looks pasted on; a small natural shadow makes it look real.
Studs, hoops and drops: shots and sizes for each type
Studs are about the face. Push the posts through a card so both studs face the camera at the same angle, focus on the stone and add a side shot that shows the post length and the back. For tiny studs, a scale or worn photo is essential; on a table they read as larger than they are.
Hoops are about shape and size. Stand them on edge with a little putty hidden behind, shoot from slightly above so the inside and outside both show, and photograph the hinge or catch open and closed. Write the outer diameter and the thickness; huggies and large hoops look the same size in a close photo.
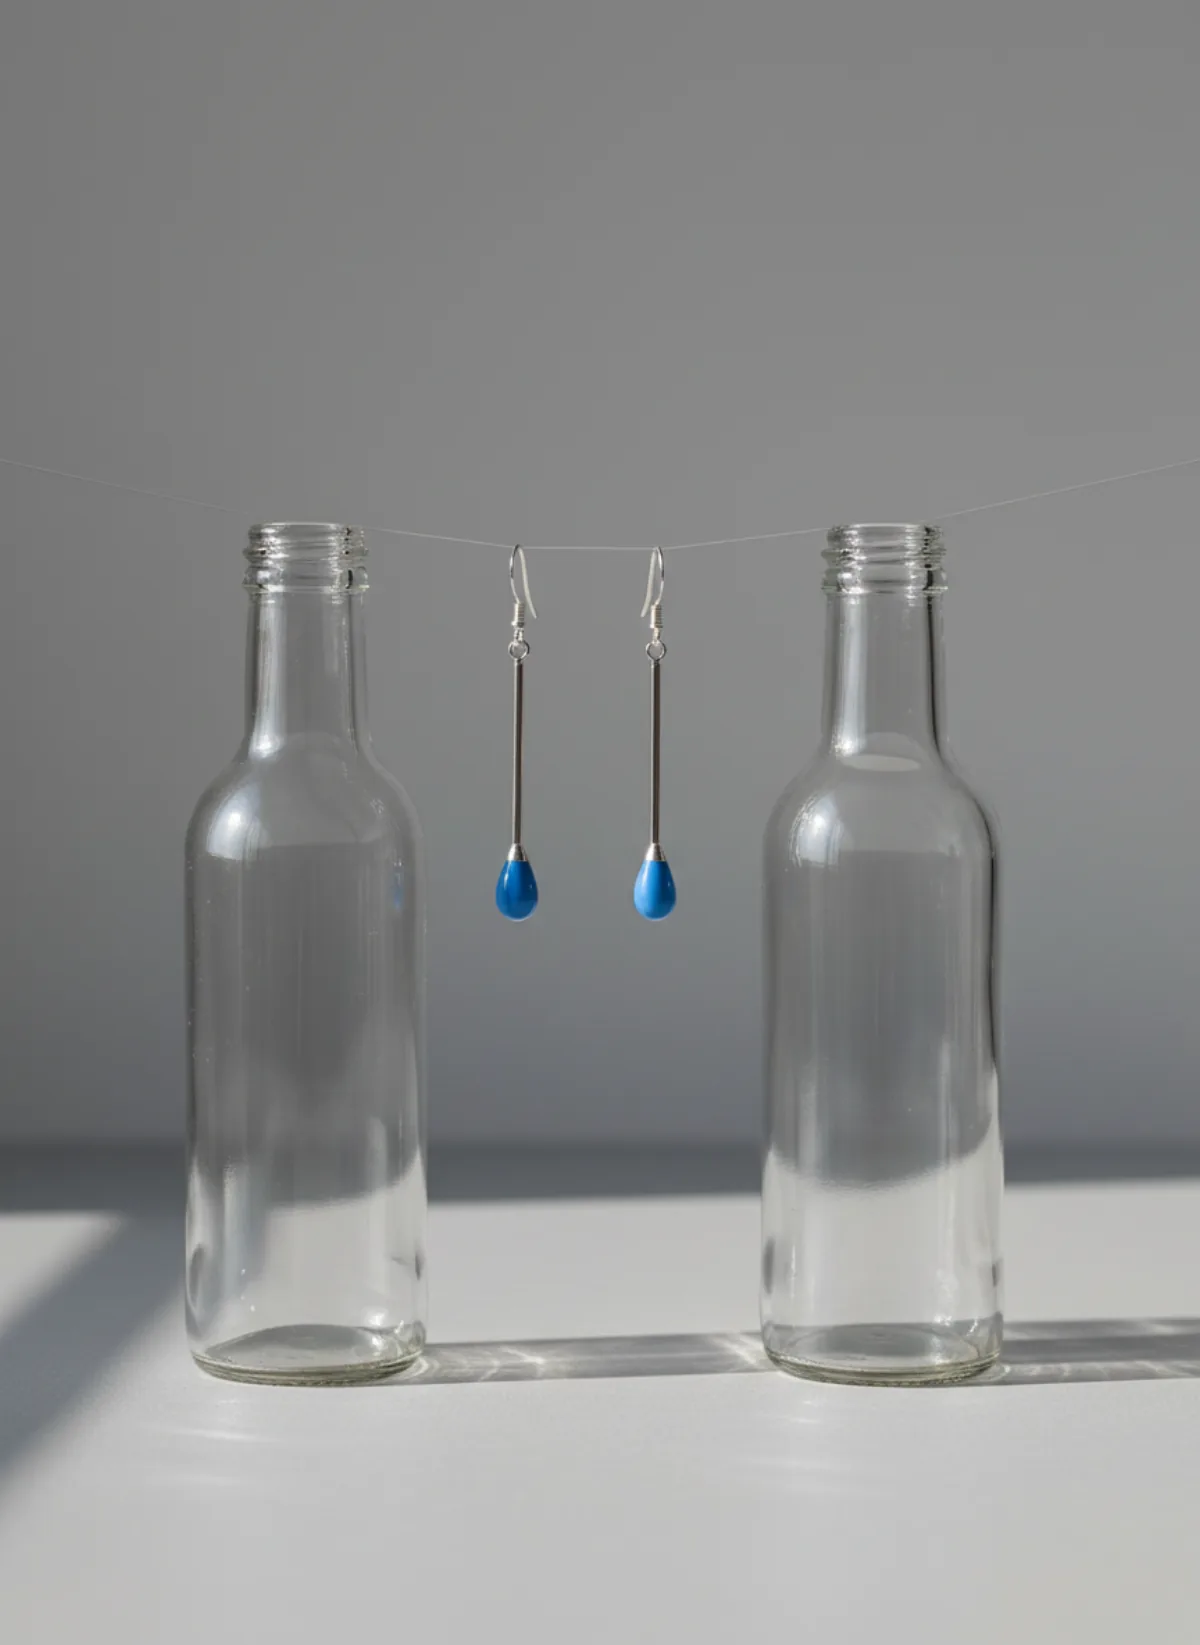
Drops and dangles must hang. Stretch a fine fishing line between two bottles, hang the pair from it and shoot from the side at earring height, so the drop falls straight and moves like it will on an ear. Lying flat, long earrings tangle and lose their shape.
Write down what photos cannot show reliably. For studs, give the diameter of the face in millimetres; for hoops, the outer diameter and the thickness; for drops, the total length from the top of the hook or post to the bottom. Add the weight in grams for statement earrings, since heavy pieces pull on the lobe.
List the metal and the plating, the stones, and the closure type: post and butterfly, screw back, hinged hoop, lever back, fish hook or clip-on. Buyers with sensitive ears search for nickel-free, surgical steel or solid gold, so mention it when it is true. If the pair comes in a box or pouch, photograph it last.
Photographing earrings on your own ear
A worn photo answers the size question better than any measurement. Sit side-on to a window, tuck your hair behind the ear or tie it back, and wear one earring only. Hold the phone at ear height with your other hand, or use a tripod and the timer, and crop from the cheekbone to the collarbone so the ear and the earring stay large in the frame.
Plain clothes and a plain wall keep the attention on the piece. For drops, look slightly down so the earring hangs clear of the jaw; for studs and huggies, a straight profile is enough. Take one photo with the face turned three-quarters too, which shows how the earring frames the face.
Only shoot pre-owned pairs or your own samples this way. New earrings for pierced ears should not be tried on before they are sold, so use a clip-on sample, the model photo below or a scale photo instead.
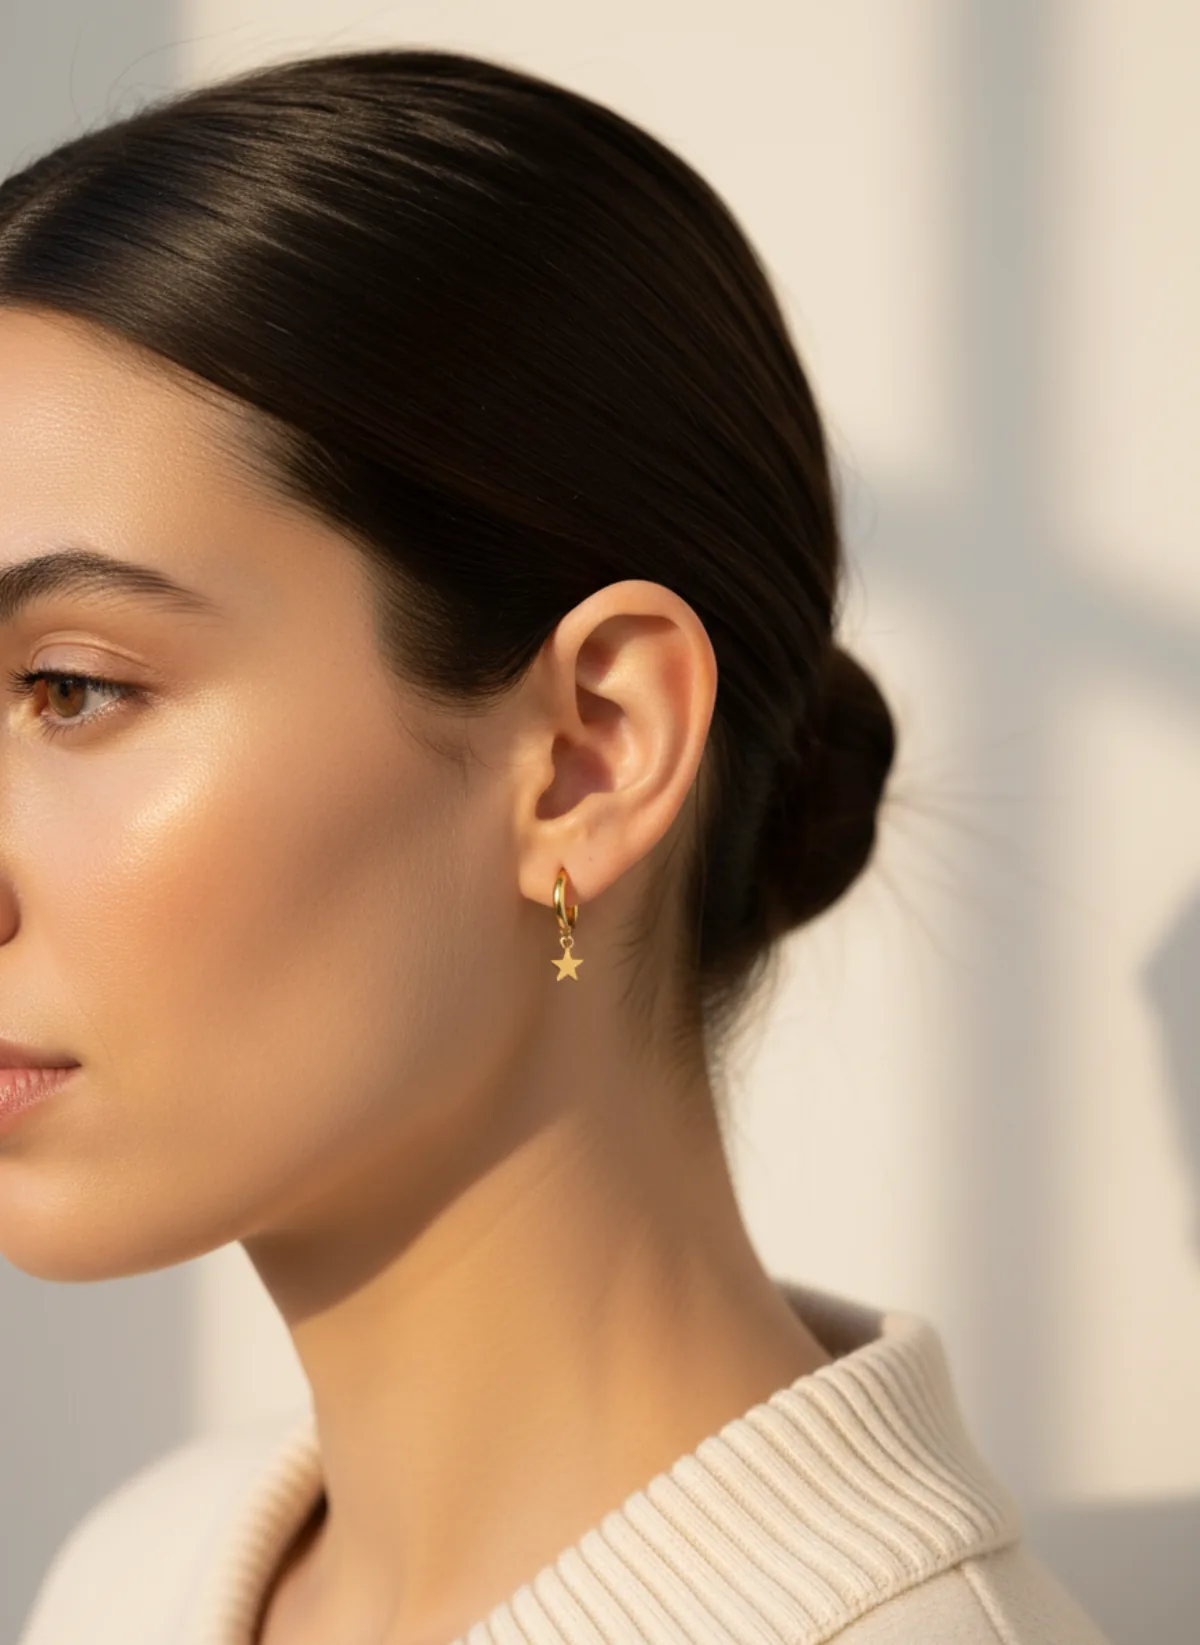
No model? Put the earrings on one from your product photo
If you cannot or should not wear the pair, start from the product photo you already took. Upload it to earrings on model AI and Garmo places the same earrings on a model: a portrait, a close shot of the ear and a clean product photo, in about a minute. You choose from 42 ready models (22 women and 20 men), so a single men's stud can go on a men's ear.
Garmo keeps the metal, the shape and the stone colour from your photo. Small parts are where any image tool can slip, so check the number of stones, the hook shape and whether the pair is identical before you publish, and render again if a detail is off. Our post on earrings on model AI goes deeper into those checks.
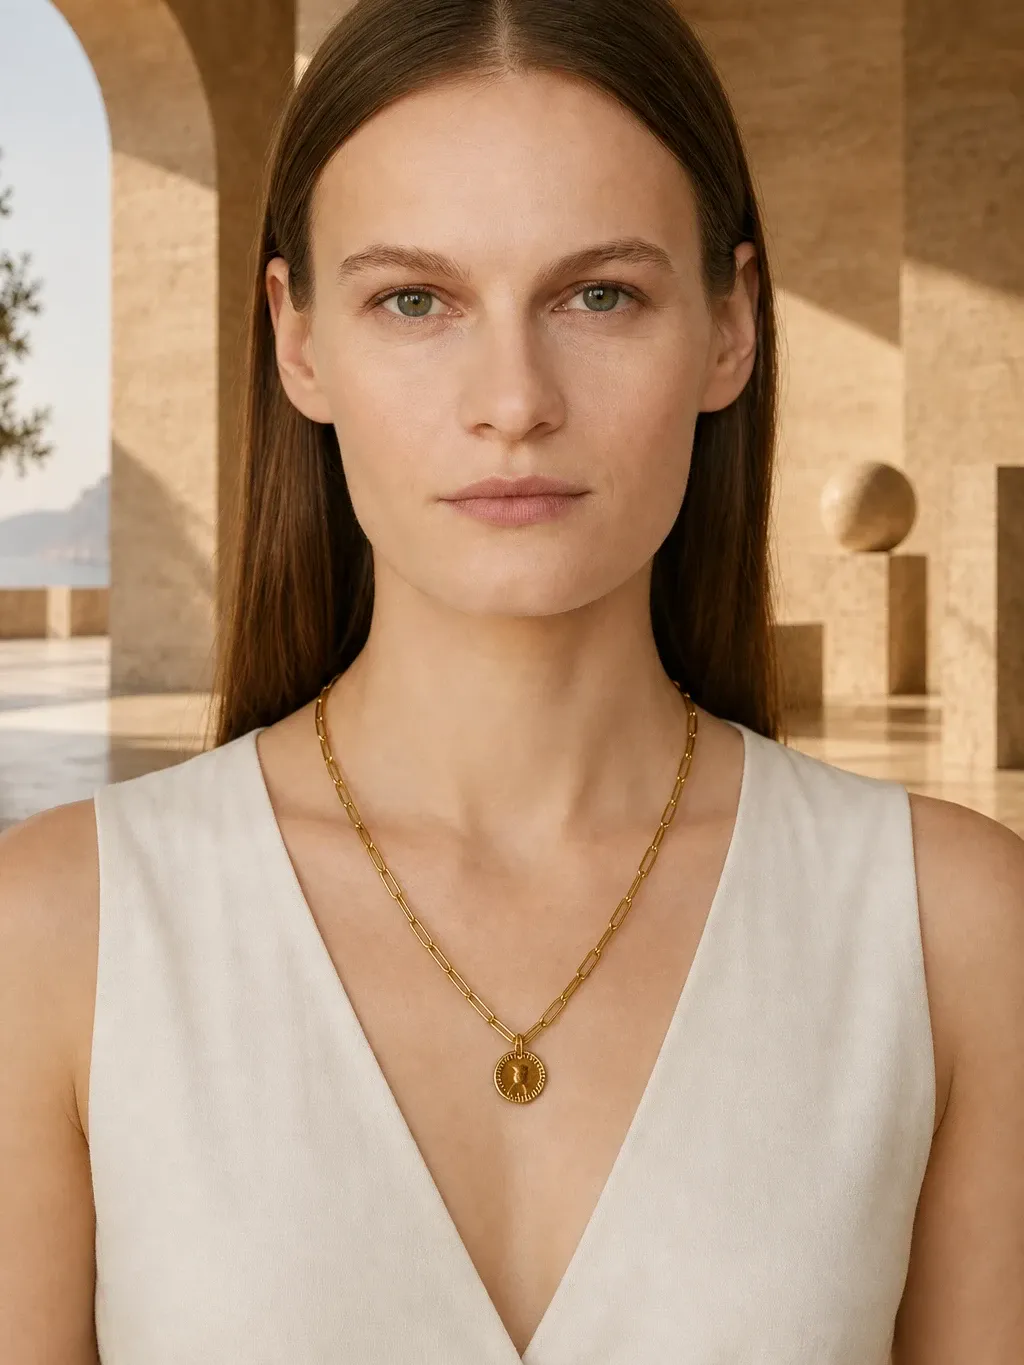
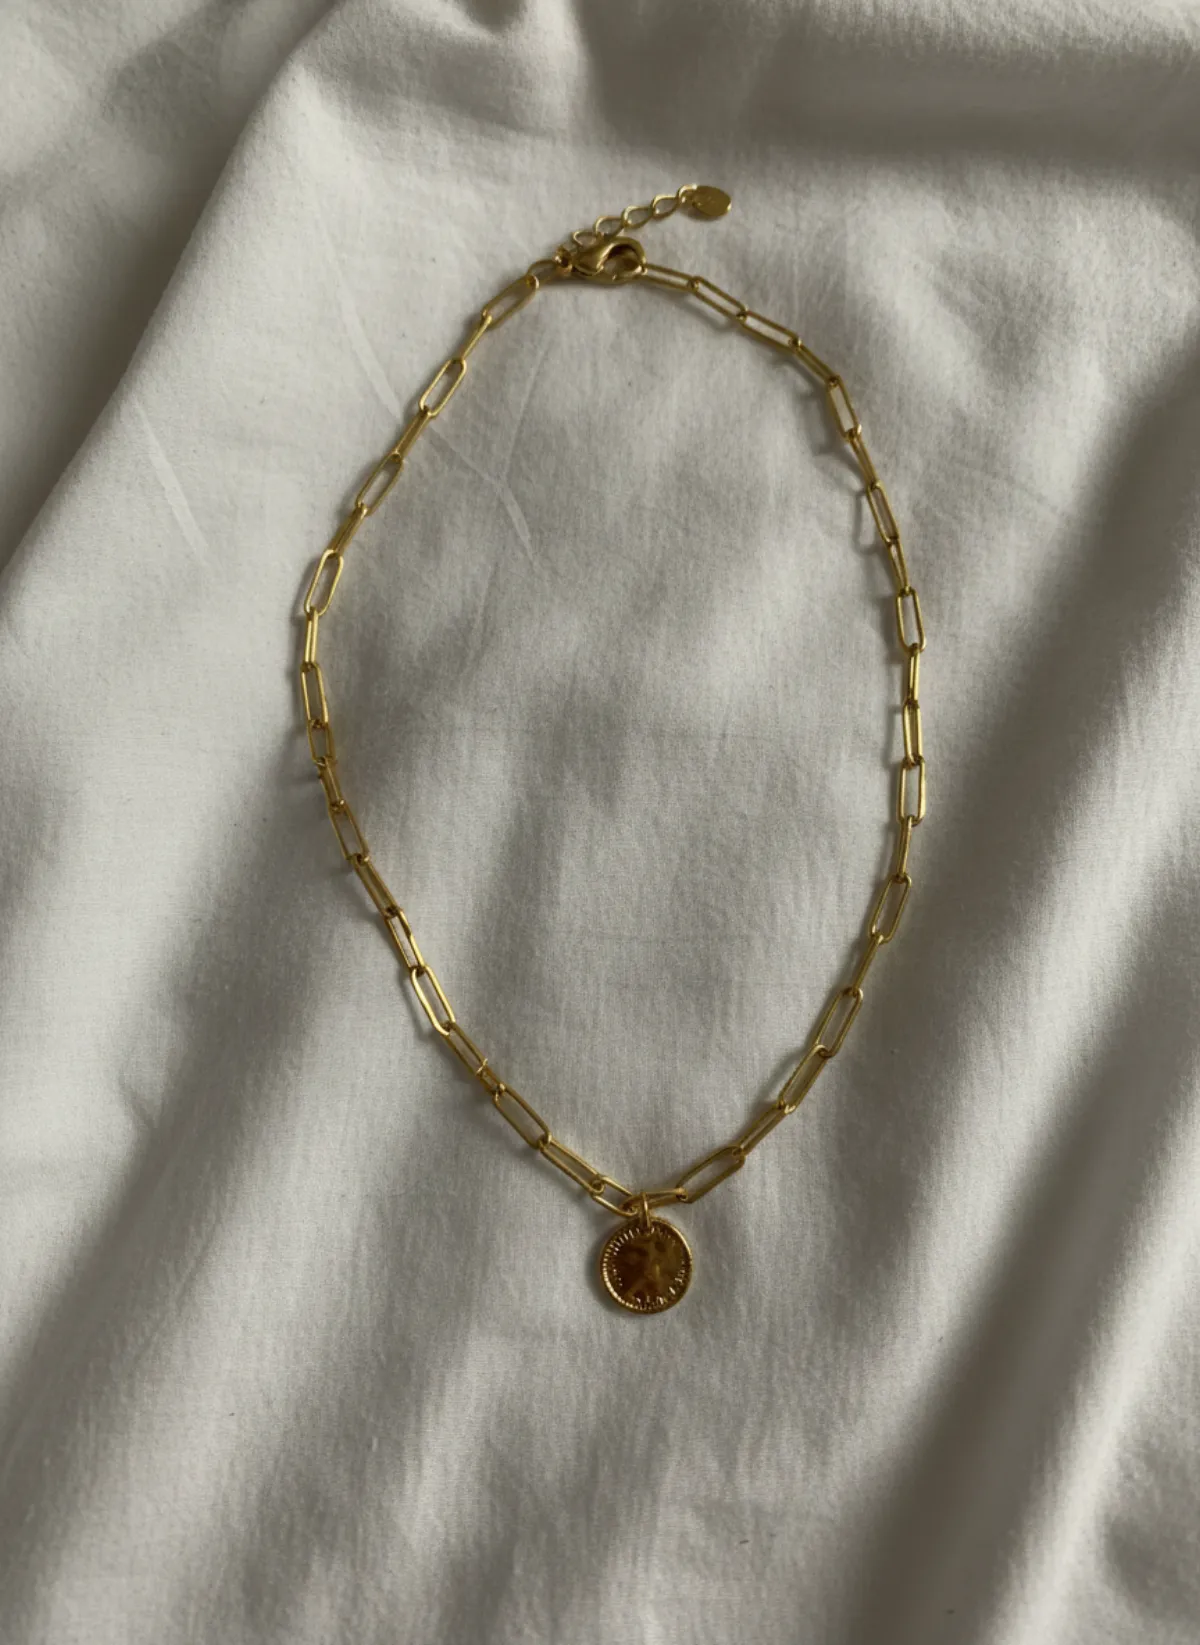
Earrings are often sold with a matching necklace. Put them on the same model with necklace on model AI or show a set with jewelry on model AI, and the gallery looks like one shoot. For bracelets in the same collection, see how to photograph bracelets to sell. For a matching necklace, see how to photograph necklaces to sell.
From a bedside photo to earrings on a model
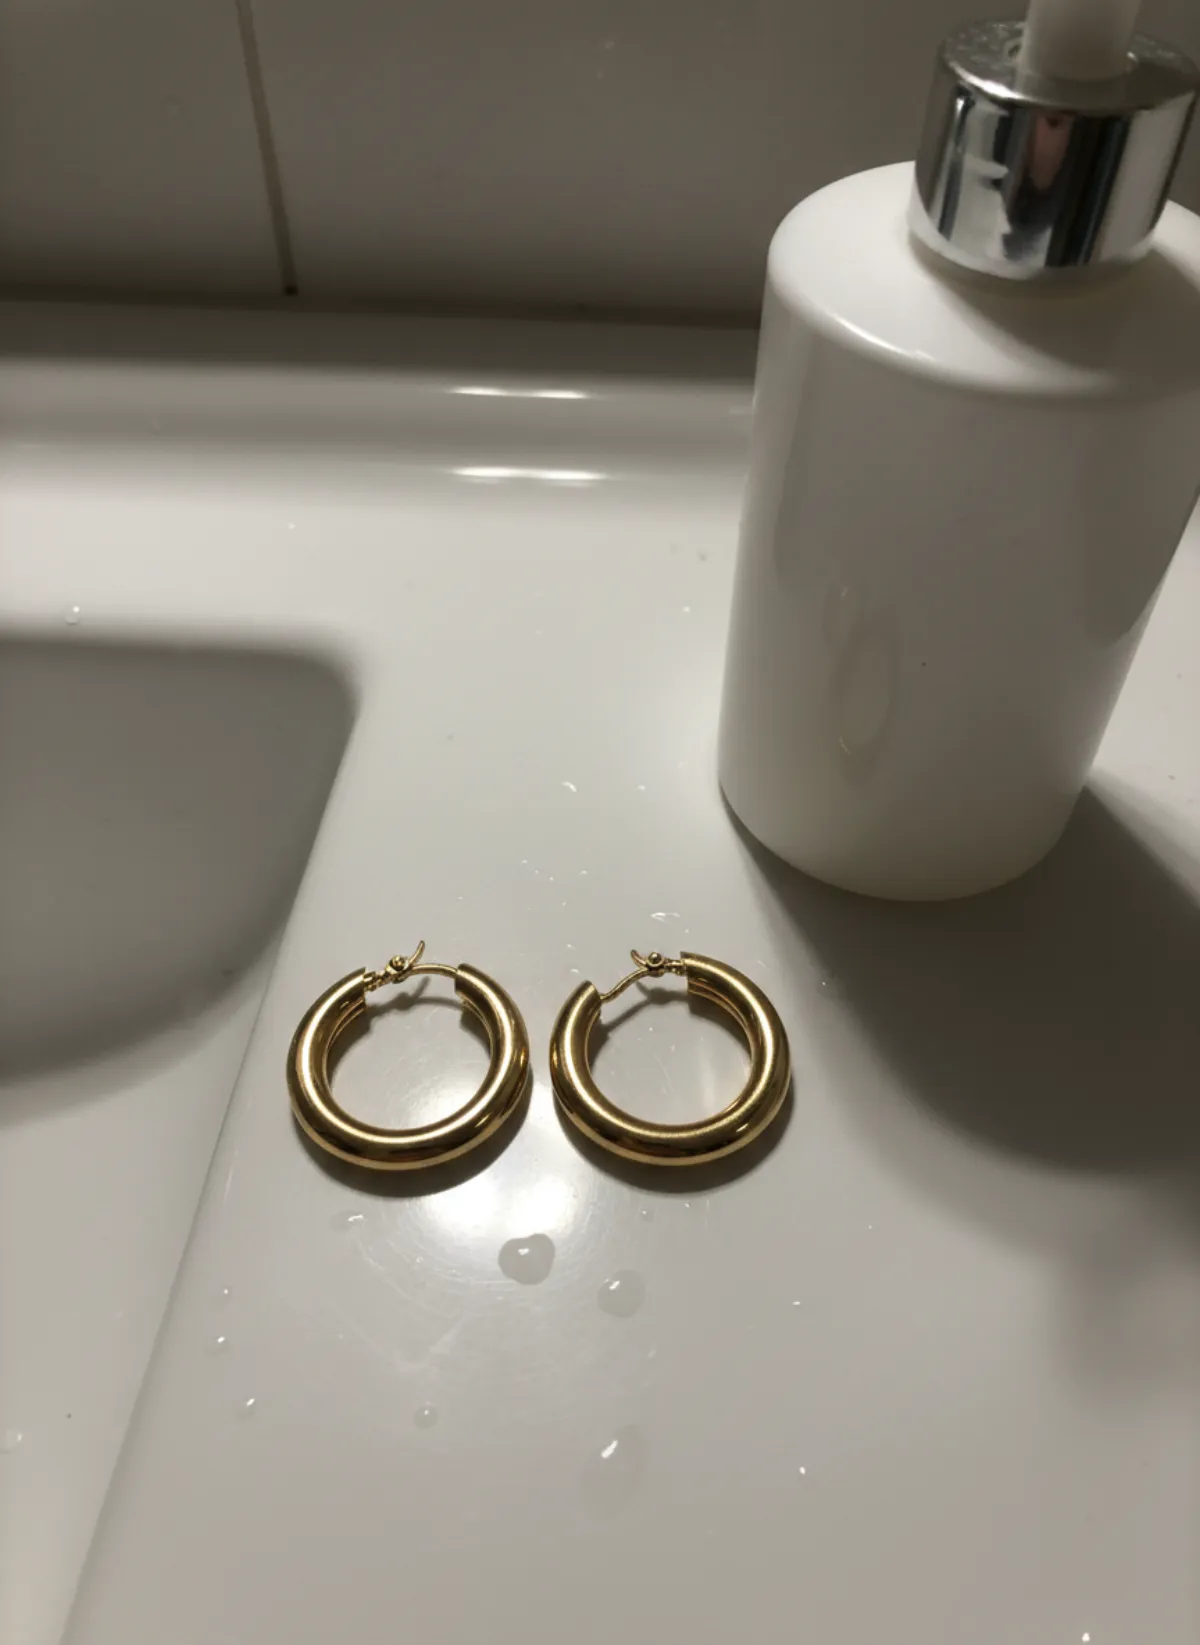
Each pair was photographed with a phone where it happened to be. The first set is Garmo's own shoot.
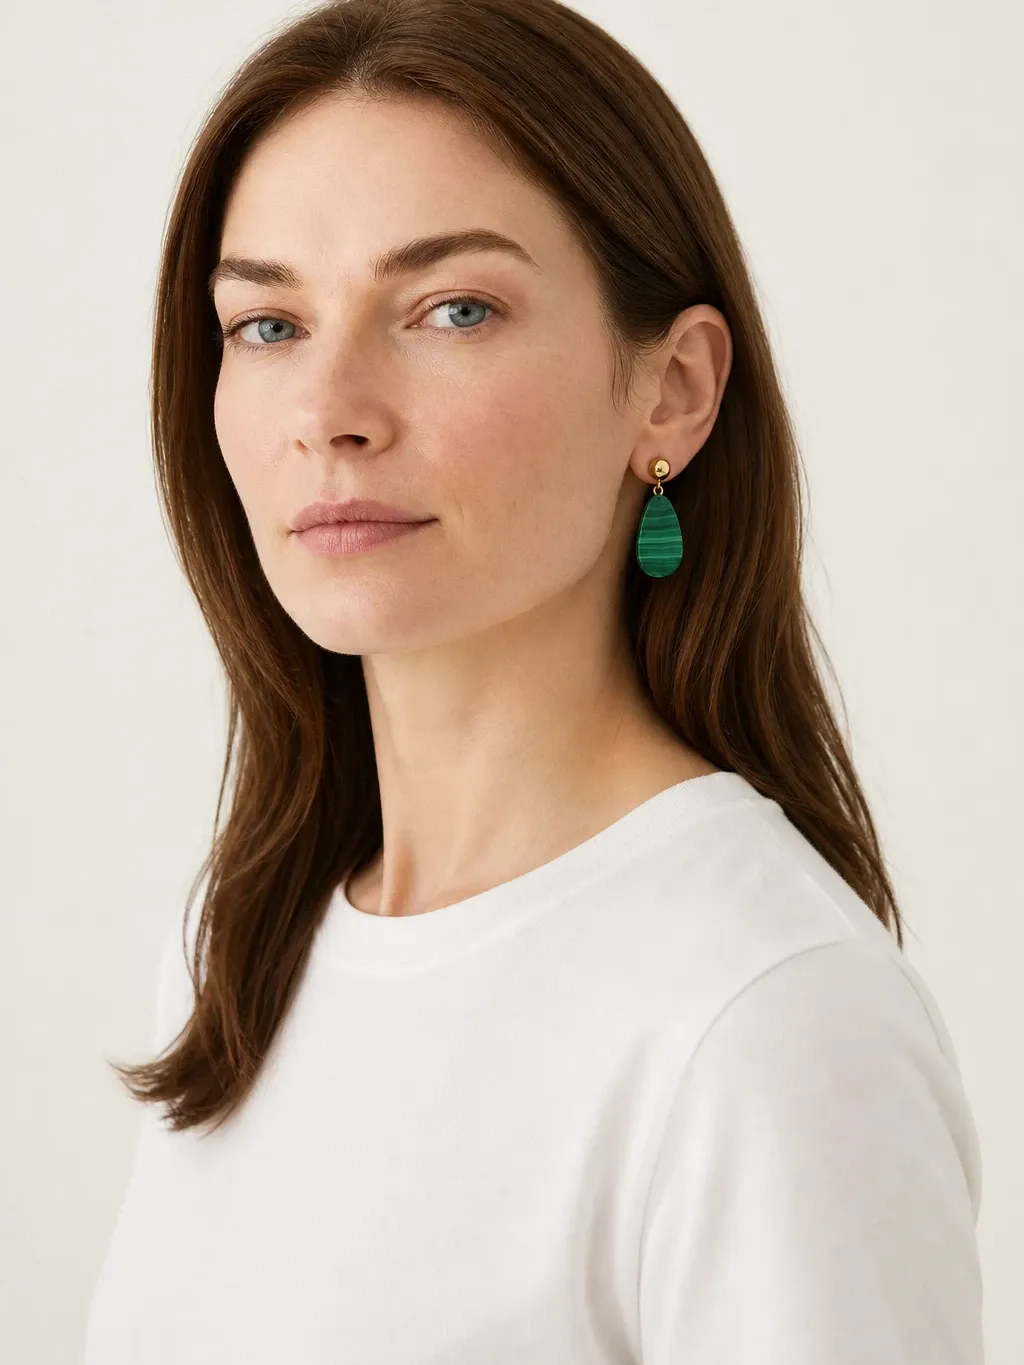
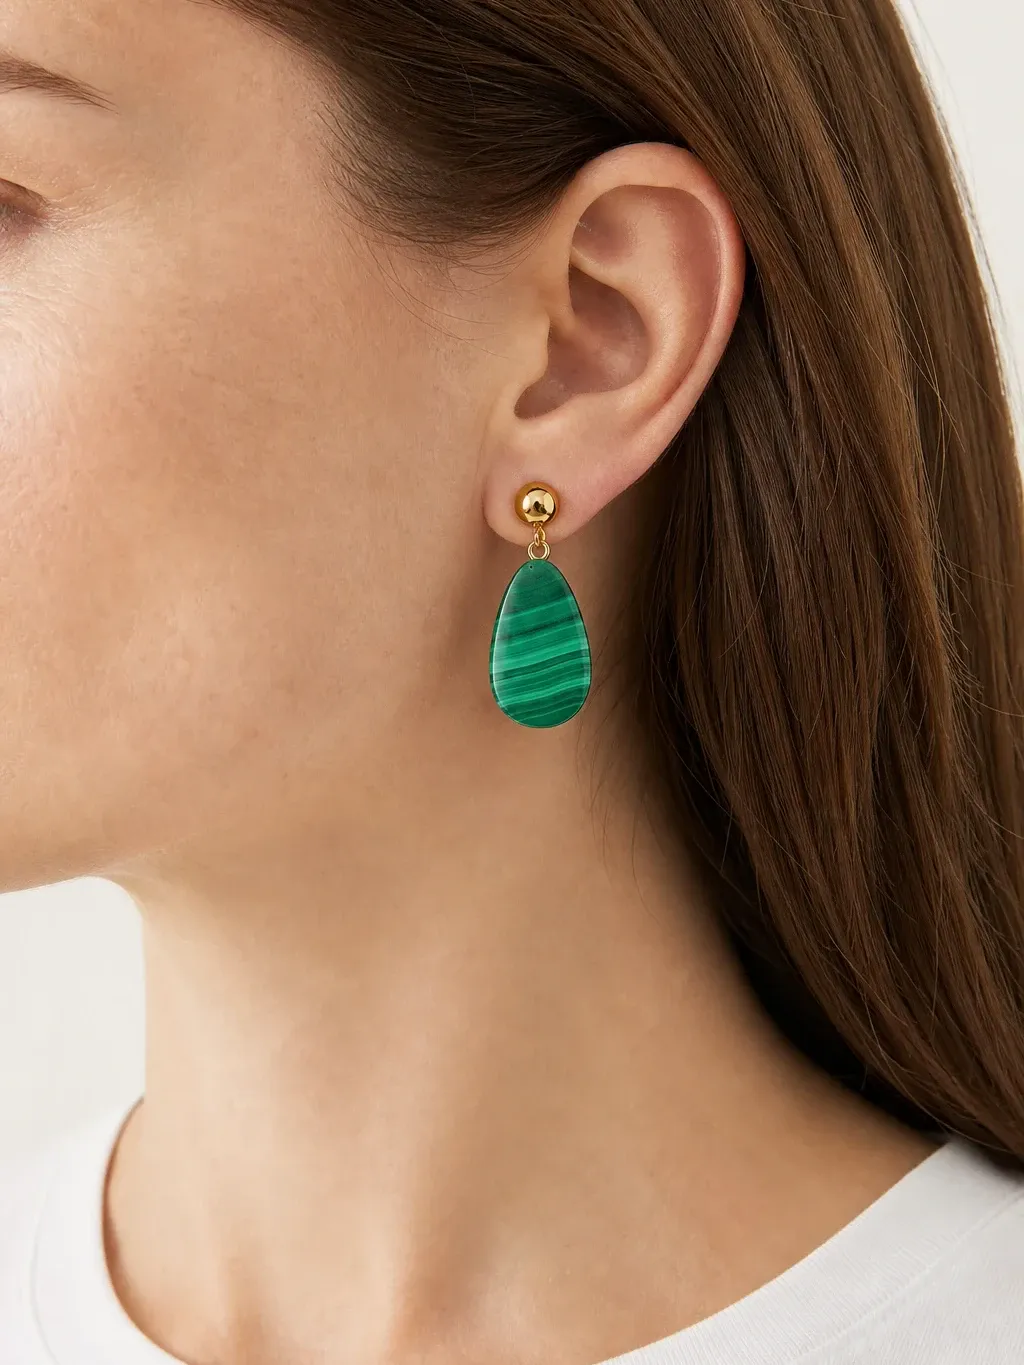
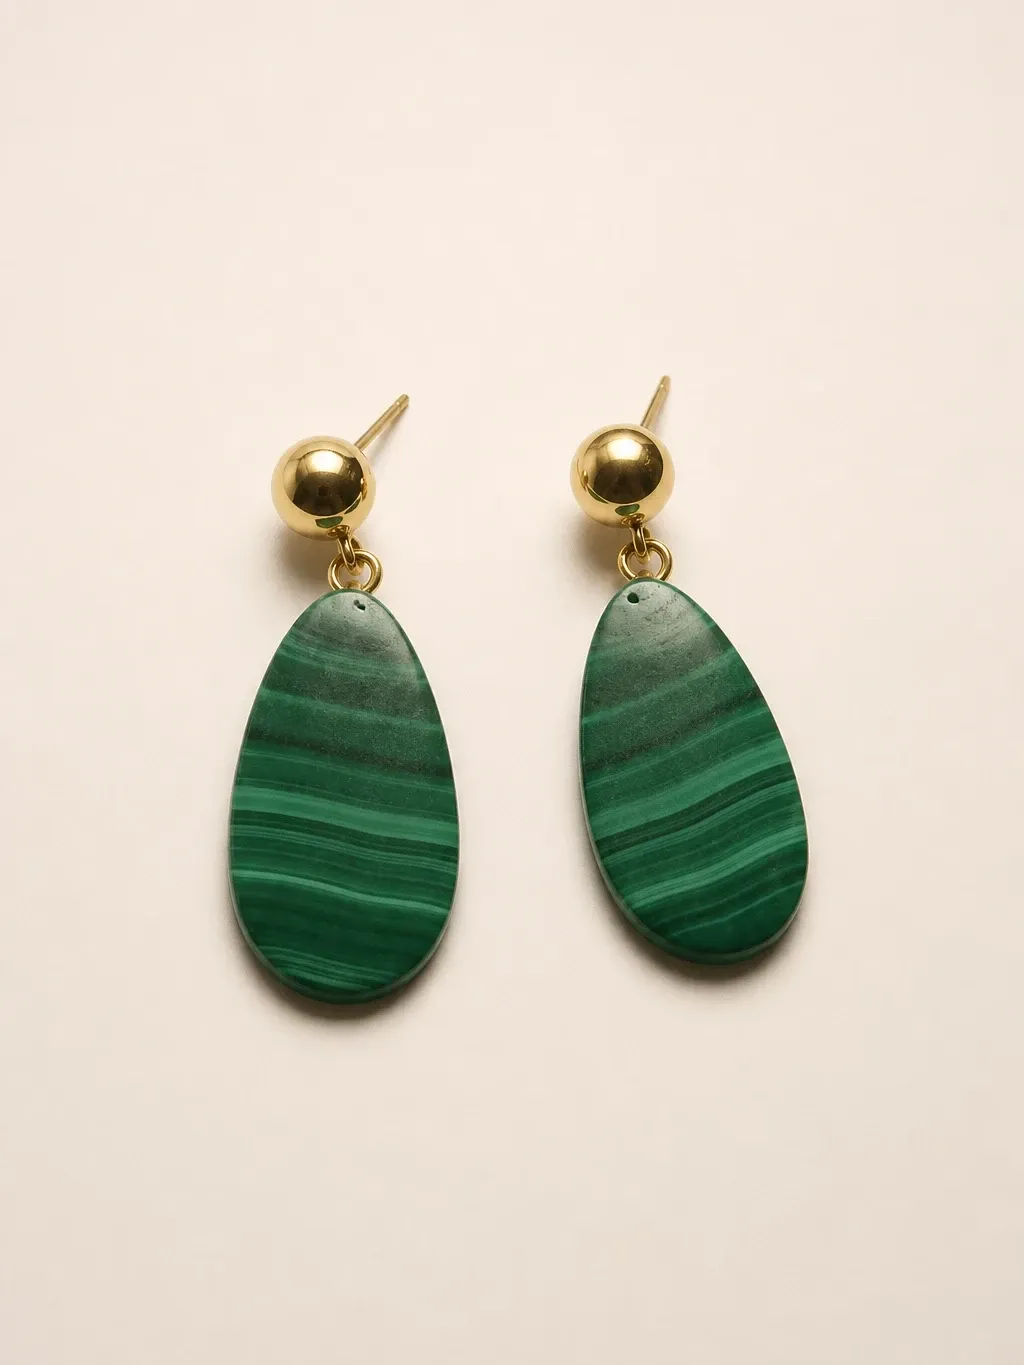
Malachite drops on Leyla
Shot on a bedside table next to a glass of water. The results show the drop on the ear, in a portrait and as a clean pair.
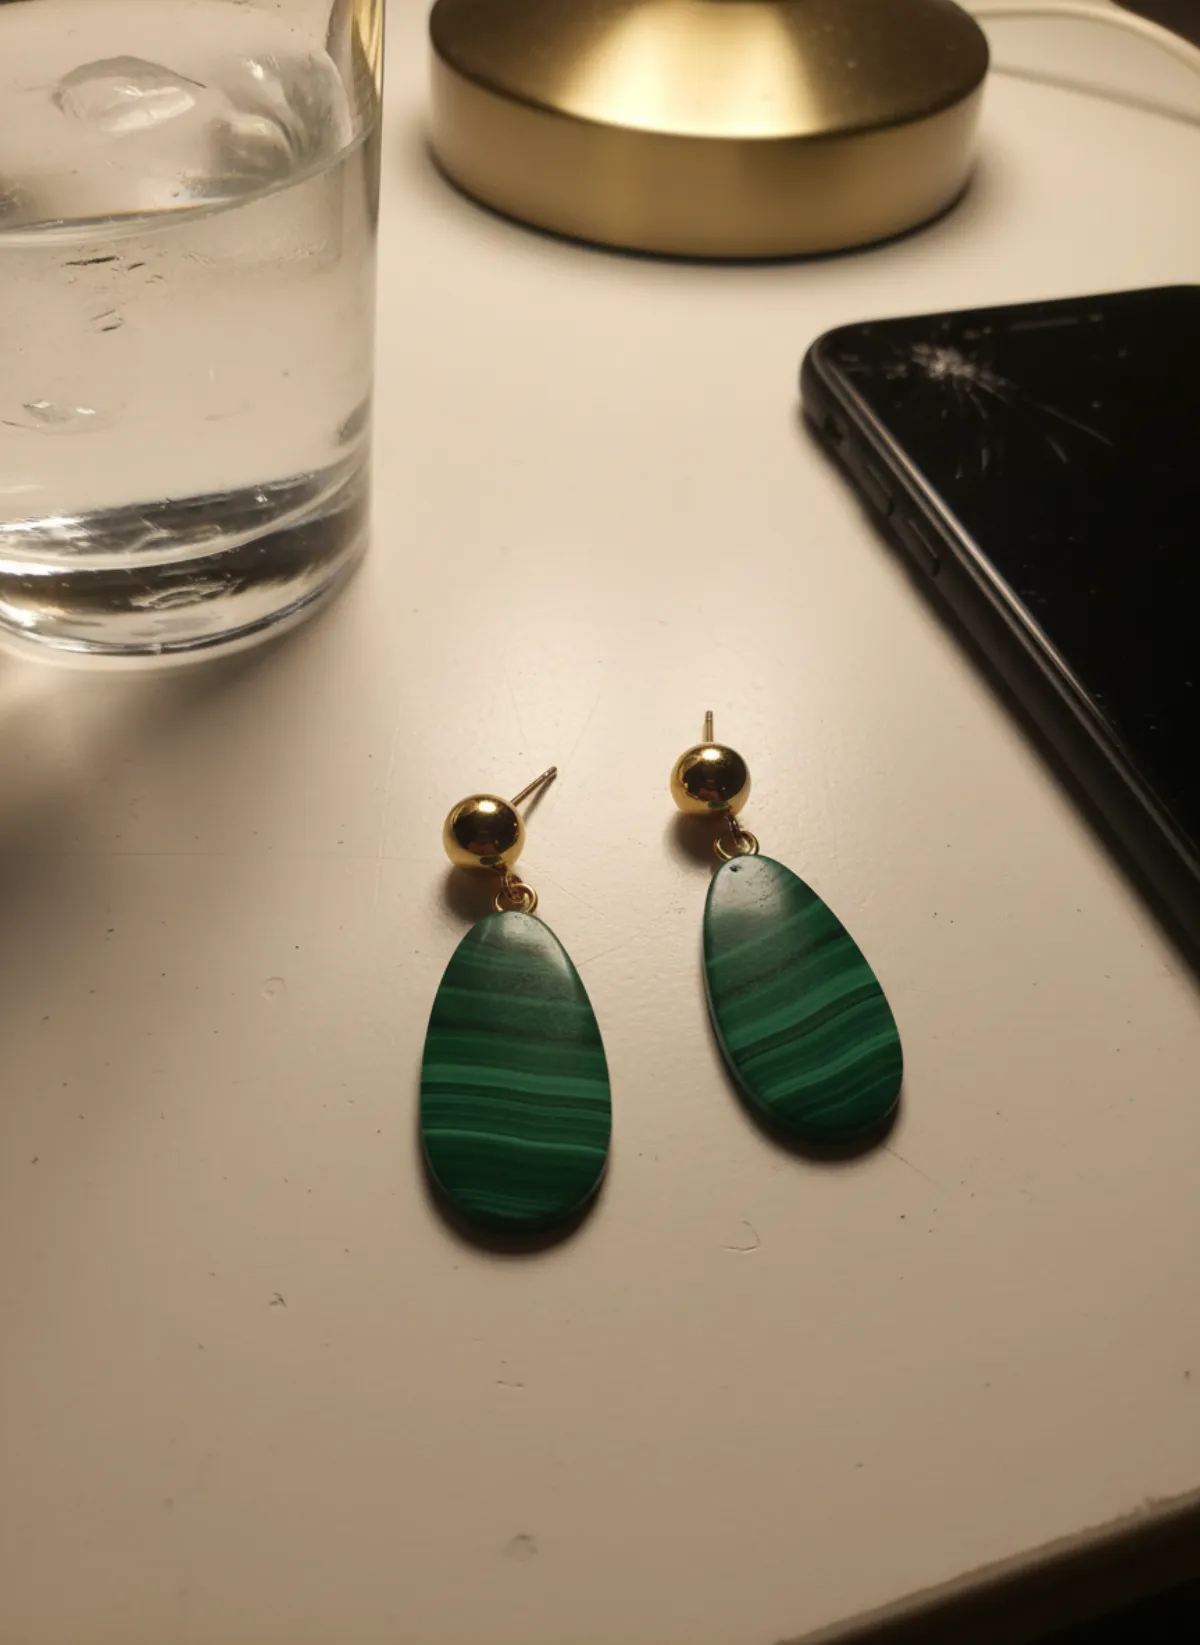 Your photo
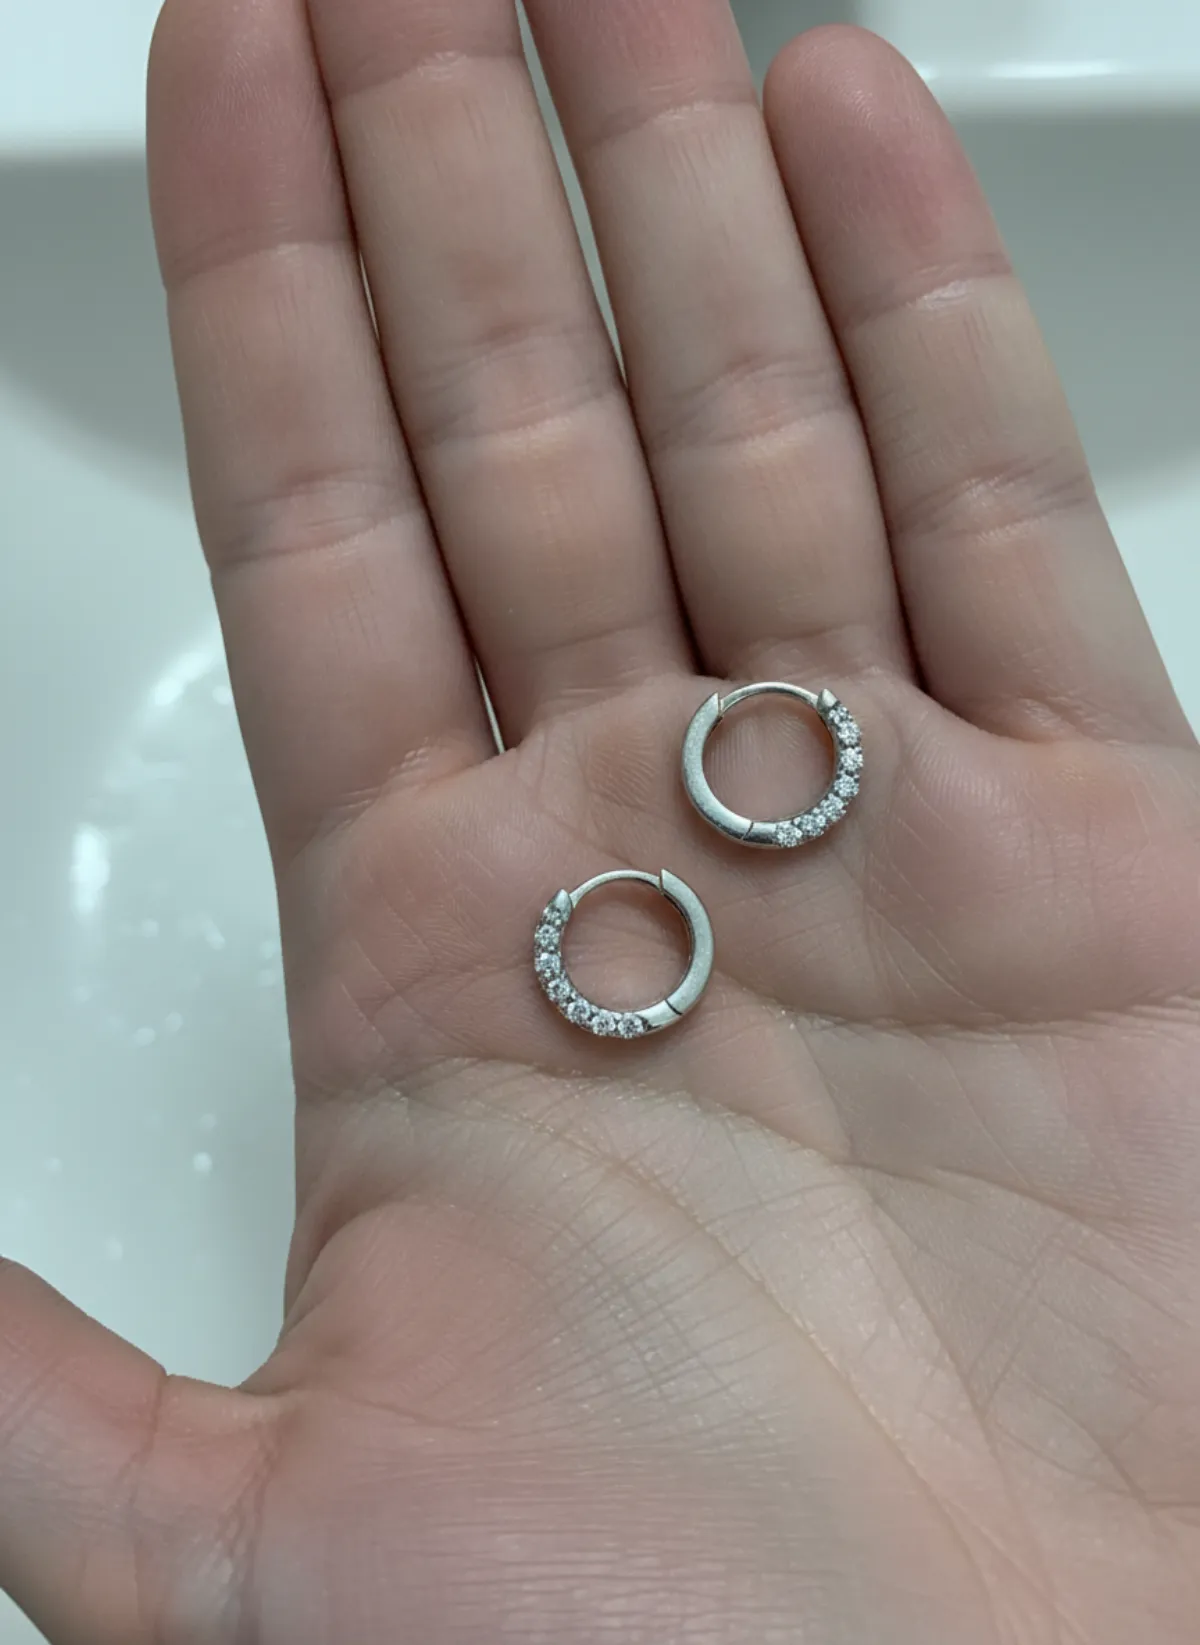
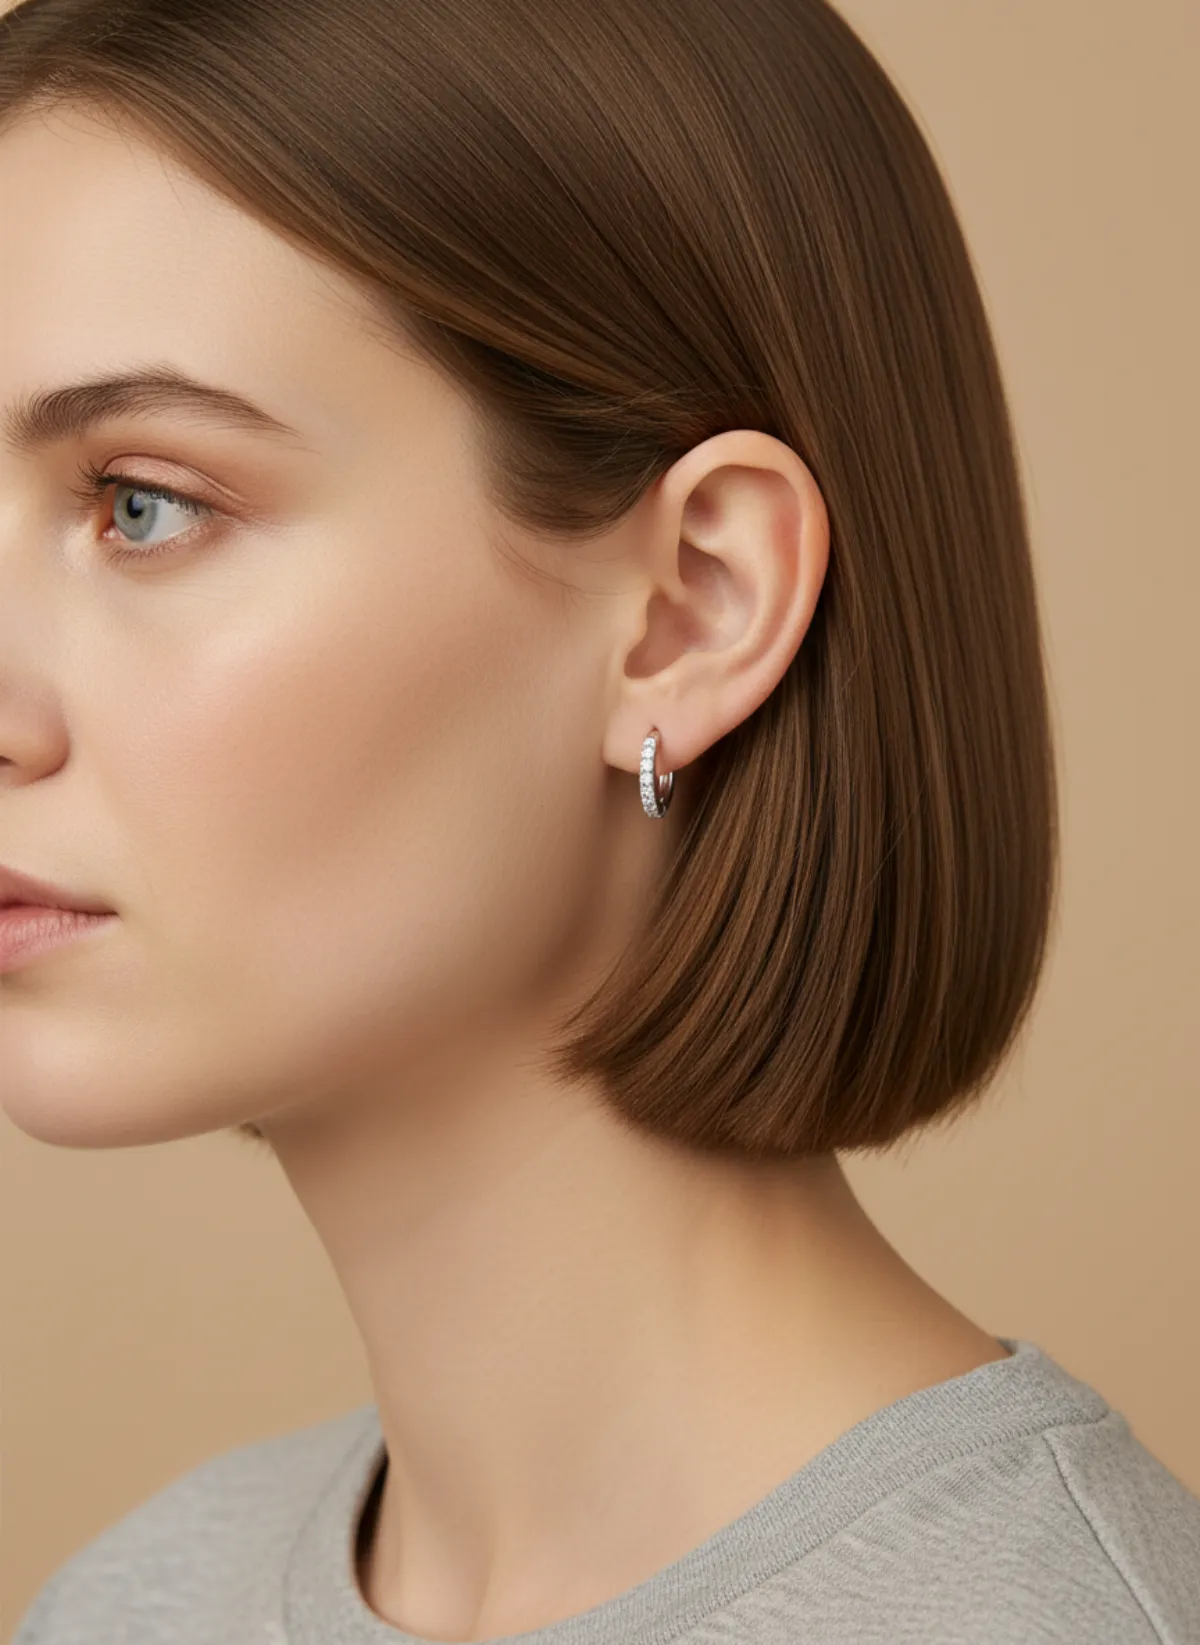
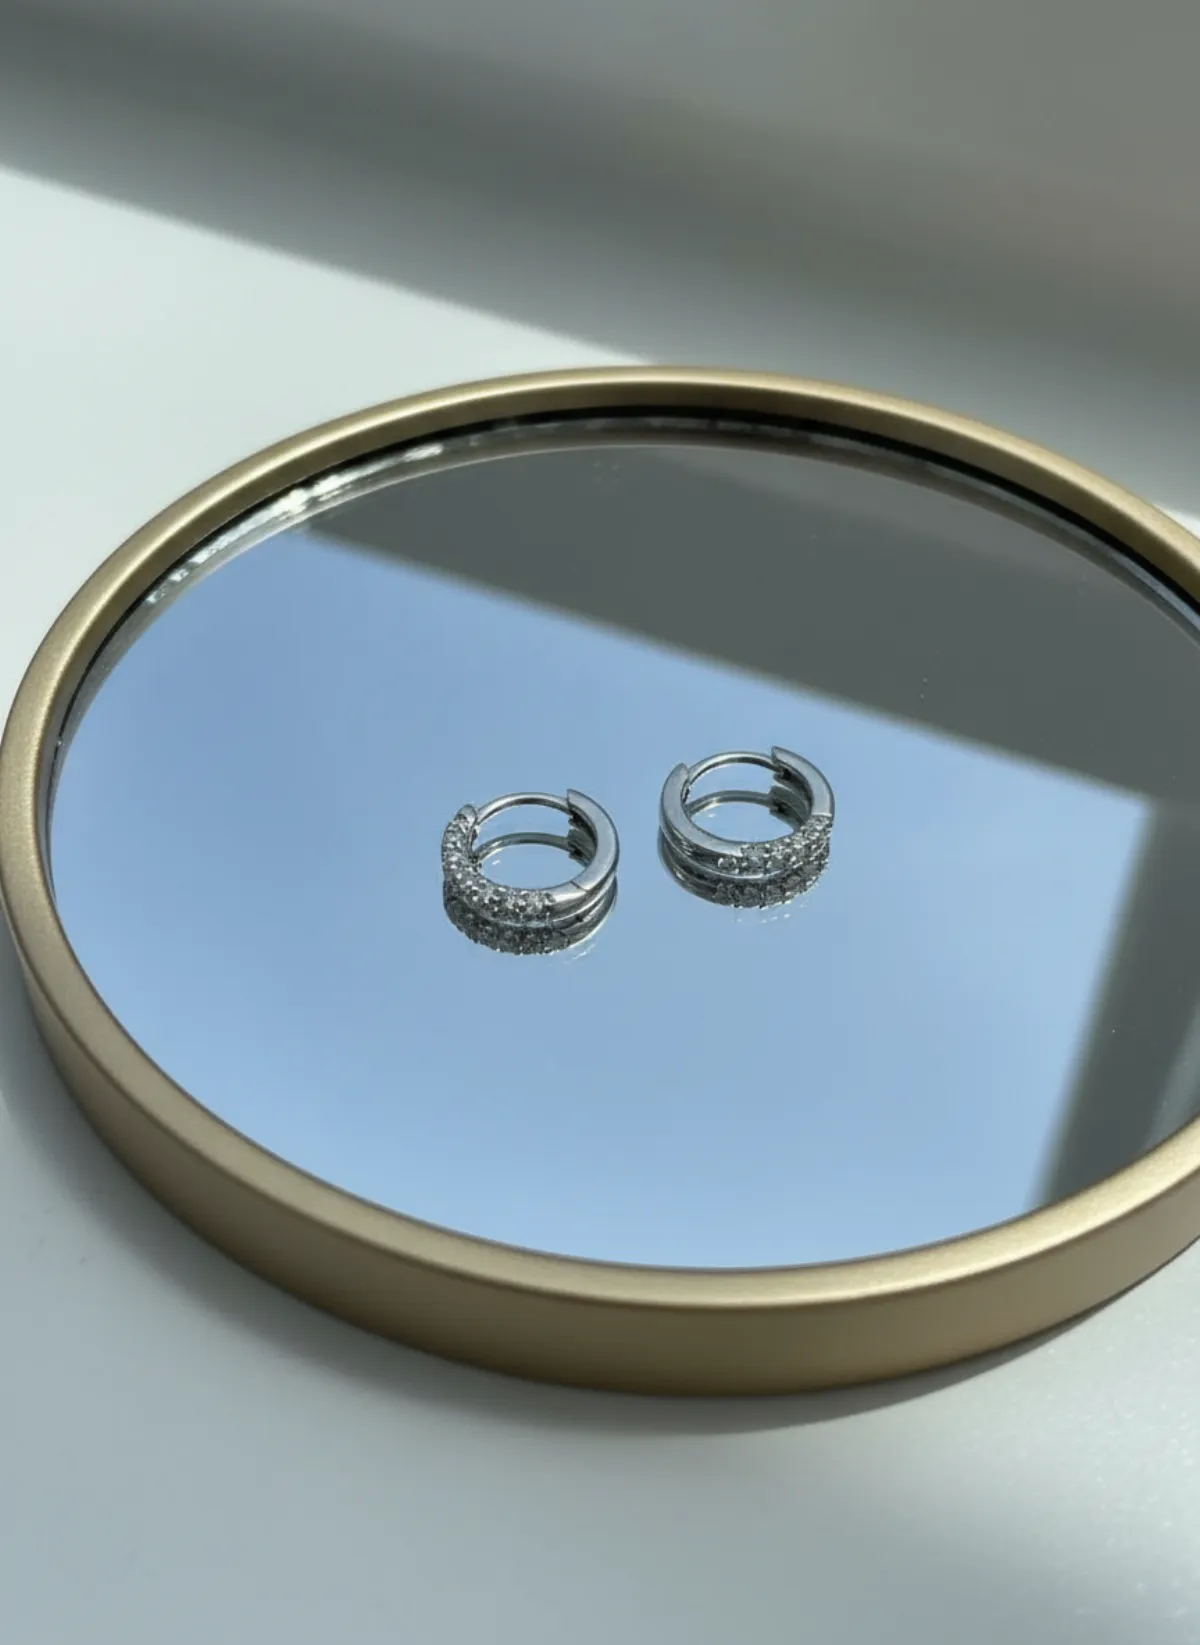
Small silver huggies on Mira
Photographed in the palm of a hand. In profile, the size of the huggie on the lobe is obvious.
 Your photo
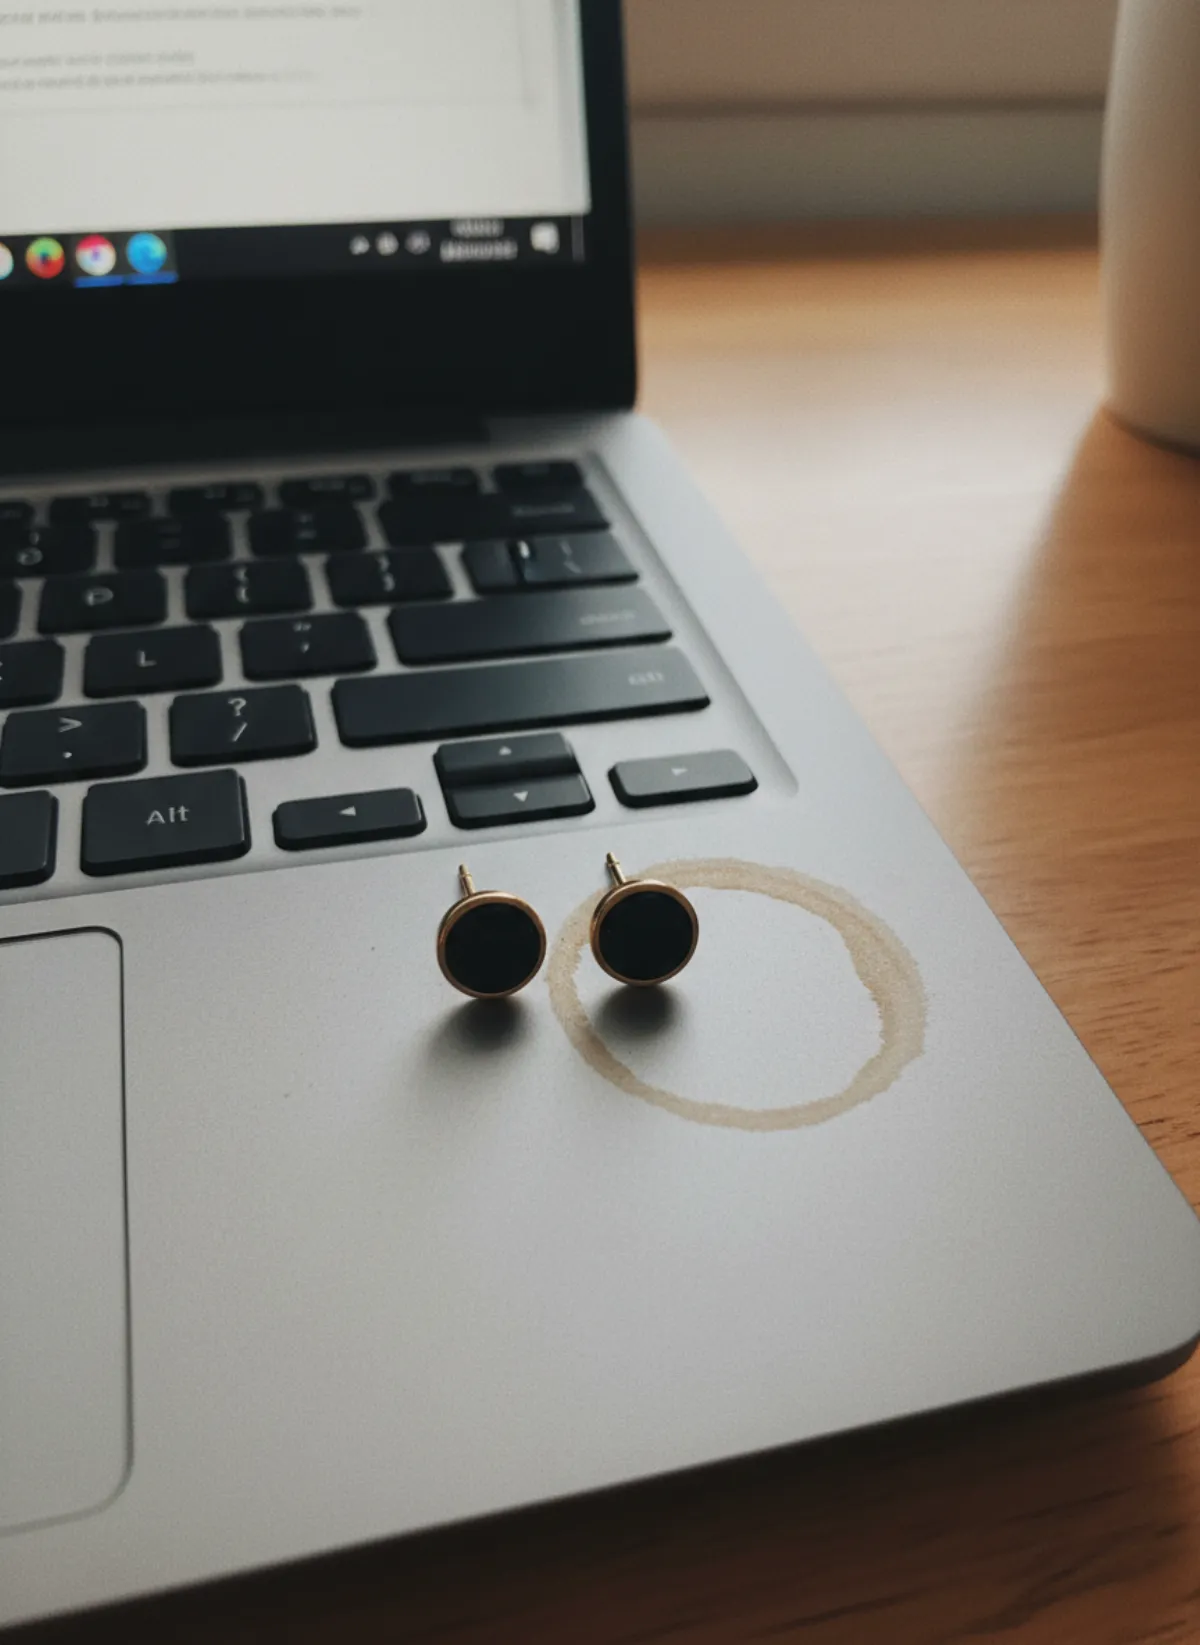
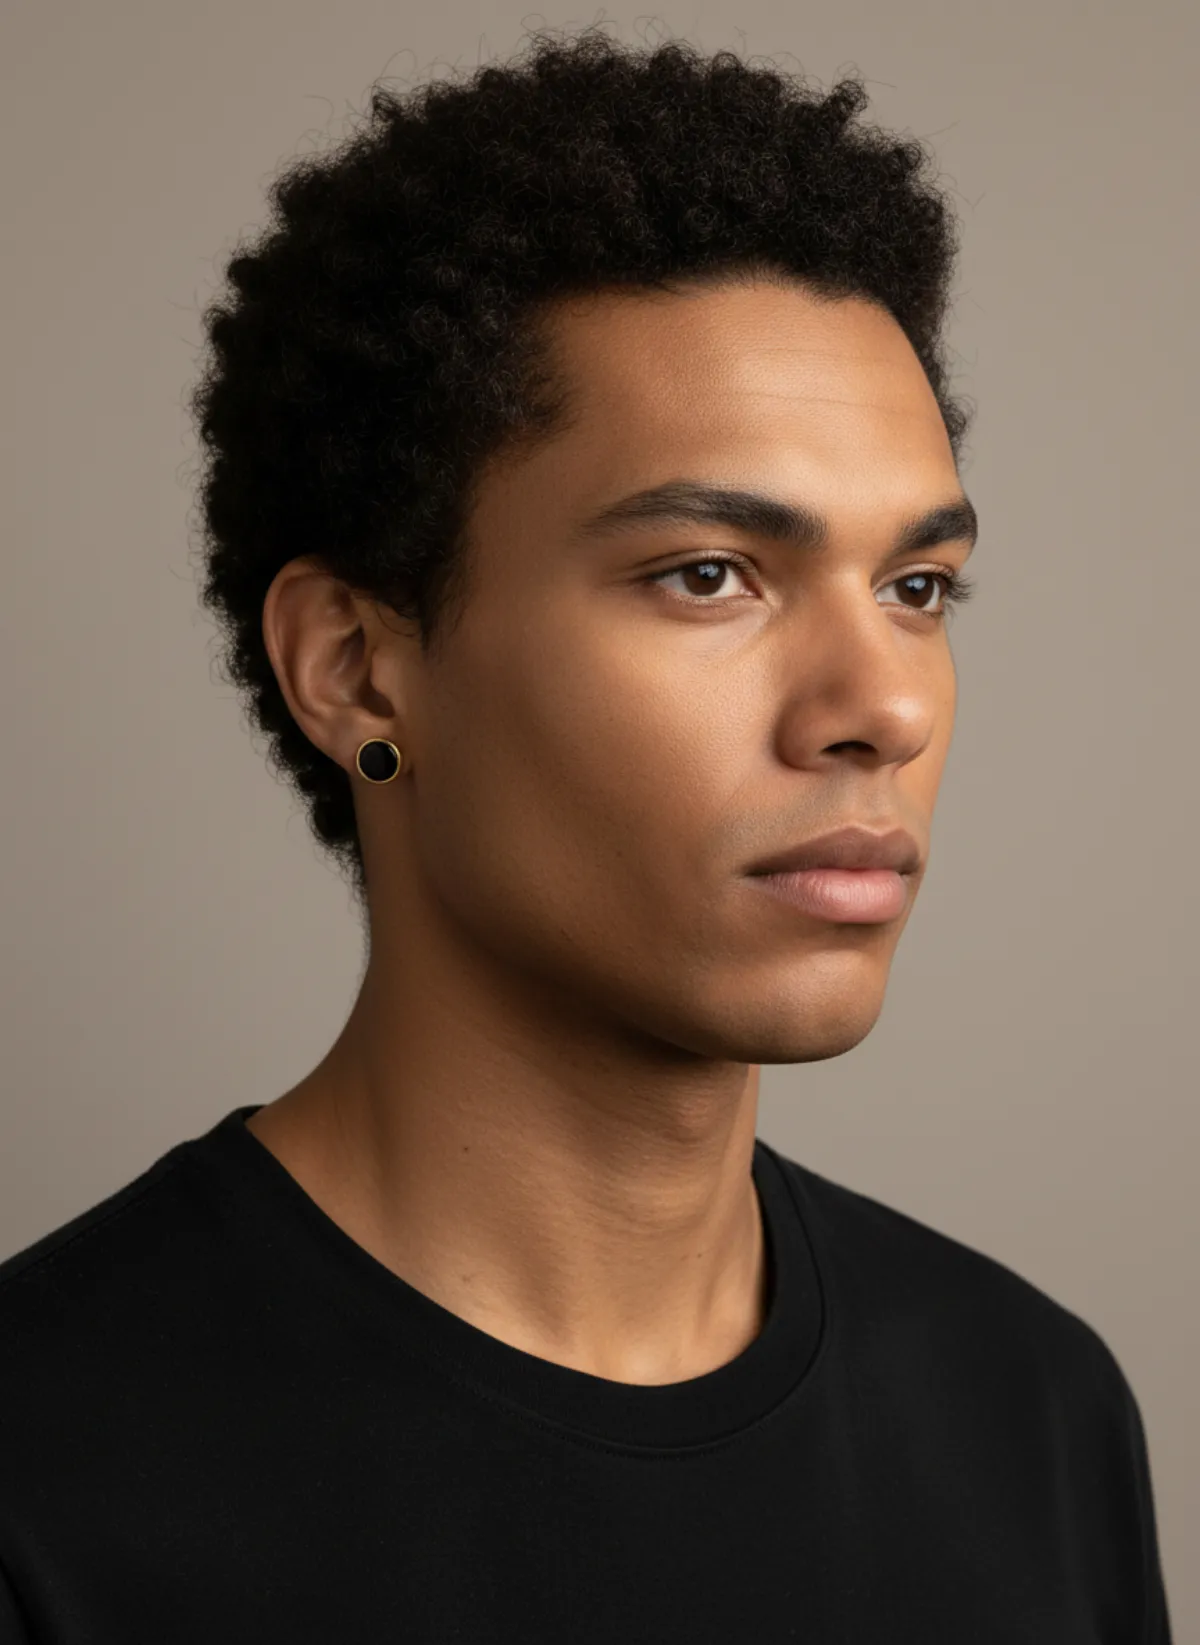
A single onyx stud on Kai
Shot on a laptop keyboard. One stud on a men's ear in a three-quarter portrait shows the scale.
 Your photo

Questions about photographing earrings
What is the best way to photograph earrings?
Show the pair upright on a stand or card in soft window light with a white card opposite, and focus on the front earring with the 2x lens. Add a side, closure, hanging, detail and worn shot. Flat, tangled top-down photos hide the design.
How do you photograph earrings for Etsy?
Use the same seven shots and keep the light, background and angle consistent across your shop, since buyers browse many listings side by side. Put the size in millimetres and the materials in the description.
How do you take pictures of earrings on a white background?
Shoot on white card next to a window, with a second white card opposite, and lower the exposure slightly so the metal keeps its detail. Keep a small soft shadow under the earrings so they do not look pasted on.
How do you photograph stud earrings?
Push both posts through a card so the studs face the camera at the same angle, lock focus on the stone and step back to the 2x lens. Add a side shot of the post and back, plus a worn or scale photo.
Can I show earrings on a model without hiring one?
Yes. Upload a clear product photo to Garmo's earrings on model AI and it places the same pair on a ready model in a portrait and a close ear shot. Check the stones and hooks before publishing.