What a bracelet photo has to show
A bracelet listing has to answer three questions: how big it is, how it closes and how it sits on a wrist. Necklaces hang and rings stand, but a bracelet is a loop that falls flat on a table, rolls if it is beaded and throws reflections if it is polished. Most weak bracelet photos are a circle lying on a surface, shot from above, with nothing to show thickness or size.
So when you work out how to photograph bracelets to sell, plan the photos around those questions. A front shot of the piece standing up shows the design. A side shot shows width and thickness. The clasp, the inside and a worn shot answer the rest. Put the inner length in centimetres and inches in the description, because neither a table photo nor a wrist photo measures it.
For general jewelry setup, our guide on how to photograph jewelry for sale covers light boxes and focus. This post is about what is special to bracelets.
Setup: window light, a plain surface and a prop
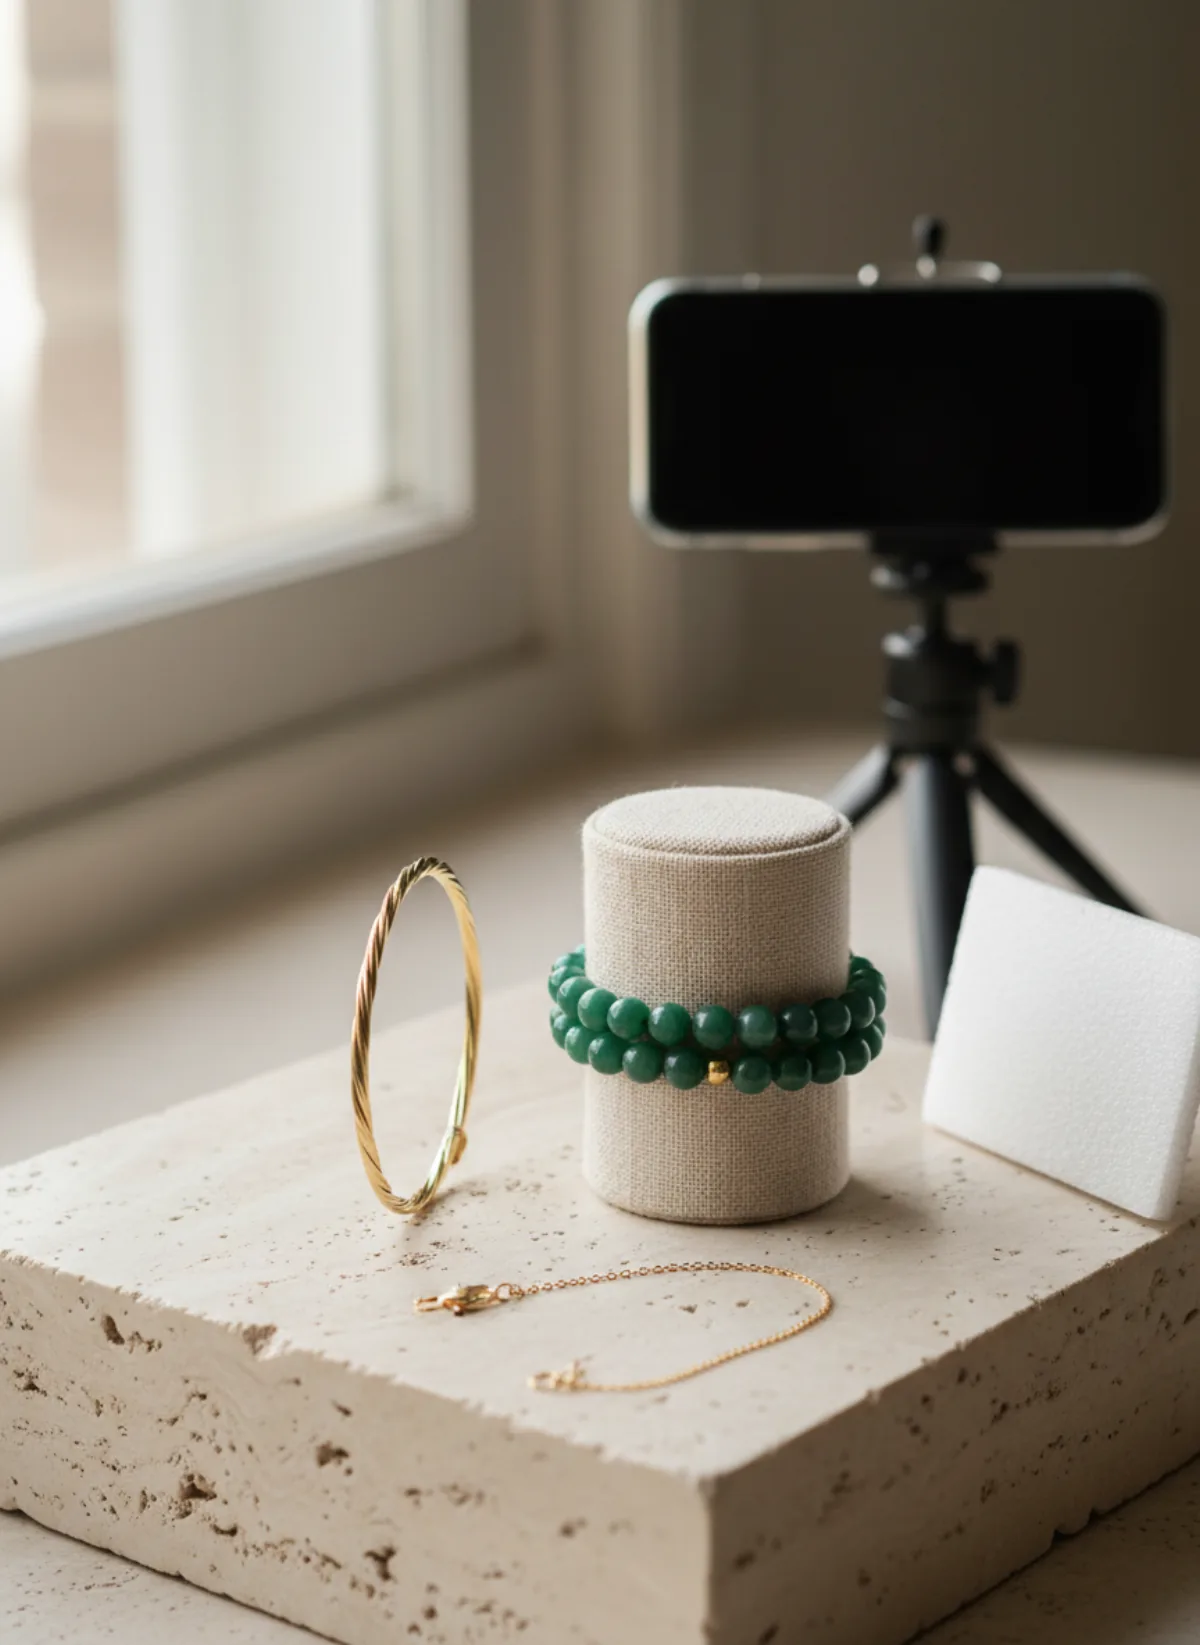
The simplest setup for how to photograph bracelets to sell at home is a table next to a window, without direct sun, with a white card or foam board standing on the side away from the glass. Bracelets are small, so the card can be close; it fills shadows and, just as important, gives polished metal something bright to reflect. Ceiling lights and the flash give gold a green or yellow cast and burn white dots into stones.
Choose a matte surface that is lighter or darker than the piece: white or light grey board for dark beads and leather, a slab of stone, wood or linen for gold and silver. Avoid glossy surfaces; they double the reflections. Wipe metal with a microfibre cloth and handle it by the edges, because fingerprints show at macro distance.
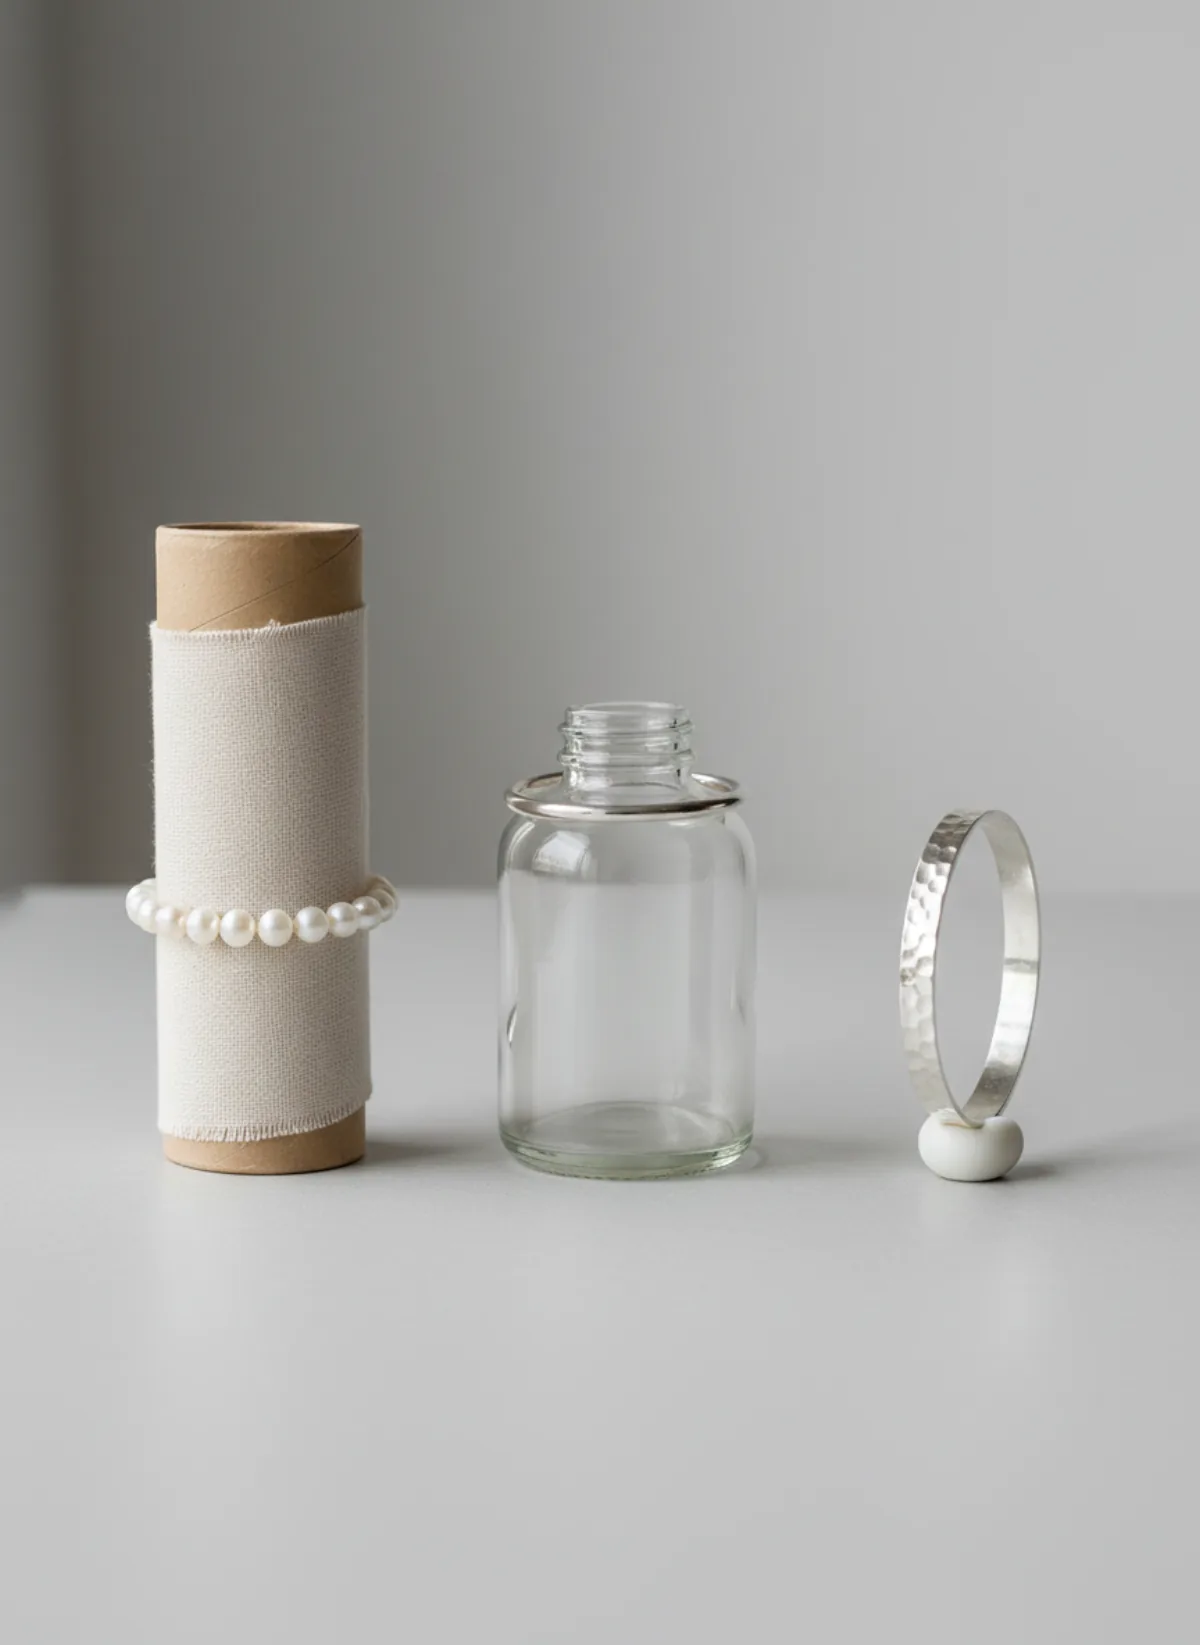
The trick that changes bracelet photos most is a prop that holds the piece upright. A cardboard tube from a kitchen roll wrapped in linen works for stretch and beaded bracelets; a small glass bottle holds cuffs; a pea of poster putty under one edge makes a bangle stand on its side. A jewelry T-bar or a velvet bracelet stand does the same if you want a tidier look.
How to photograph bracelets to sell: seven shots
Use the same order for every bracelet so your shop looks consistent and buyers know where to look.
Front, standing
The main photo: the bracelet upright on its prop, centred, filling most of the frame.
Side profile
Turned 90 degrees, so the buyer sees the width of the band and how thick the beads or metal are.
Clasp or closure
Close on the clasp, open and closed, or the elastic knot and the adjustable slider.
Detail
A macro of the stones, a charm, the hammered texture or the twist, sharp enough to judge quality.
Inside and hallmark
The inside of a bangle or cuff, with any stamp or engraving readable.
Scale
On a wrist or next to an everyday object, so the size is clear at a glance.
Worn or styled
On a wrist with a plain sleeve, or stacked with pieces sold together.
How to photograph beaded bracelets
Beaded bracelets are the easiest to photograph badly. Laid flat, an elastic strand collapses into an oval and the beads at the back hide behind the ones in front. Slide it over a wrapped tube or a short bottle so it keeps a round shape, and turn it until the best beads and any spacer or charm face the camera.
Focus on the front row of beads, not the middle of the circle. With a phone, tap and hold on a bead to lock focus and exposure, then step back slightly and use the 2x lens so the bracelet does not look bulged. Natural stones vary from bead to bead; show the actual strand rather than a "best" one, and mention the bead size in millimetres in the description.
Colour matters most with gemstone beads. Shoot in daylight, set the white balance on the white card if your app allows it, and check the photo next to the real strand before you publish. If you sell many colourways of one design, keep the same prop, angle and light so the only difference between listings is the colour.
How to photograph bangles and cuffs
Bangles and cuffs are about shape and finish. Stand a bangle on its edge with a small piece of poster putty hidden behind it, and photograph it slightly from above so the inside and the outside both show. For a cuff, rest it on a bottle neck or a rolled towel so the opening faces the camera; that opening is what buyers want to see.
Polished metal reflects everything in the room, including you and the phone. Keep the white card close so the bangle reflects white instead of a dark ceiling, and move around until the highlight runs along the curve rather than sitting as one bright spot. Hammered and twisted bangles are easier: light from the side brings out the texture.
Stack bangles in one photo only if they are sold together. Otherwise give each one its own front shot and add the stack as a styled photo, so the buyer is never unsure what is included.
Photographing a bracelet on your own wrist
A worn photo answers the size question better than any measurement, and your own wrist is free. Wear the bracelet on the hand you do not use for the phone, rest the forearm on a table by the window and turn the wrist slightly so the bracelet faces the light. A plain sleeve pushed up, short neutral nails and moisturised skin matter more than you would think at this distance.
For Instagram or a gift-style listing, give the hand something to do: hold a cup, rest it on a knit sleeve or touch a collar. Use a tripod and the timer if you need both hands in the frame. Pair the bracelet with a matching ring only if you sell the ring too; for those close-ups, see how to photograph rings.
The weak point of self-shooting is consistency. Your wrist, your skin tone and your sleeves end up in every photo, and men's pieces look different on a woman's wrist and the other way round. That is where a model, real or AI, helps.
No wrist to shoot on? Put the bracelet on a model
If you have no model and do not want your own wrist in every listing, start from the product photo you already took. Upload it to bracelet on model AI and Garmo places the same bracelet on a model: a wrist close-up, a portrait that shows the whole look and a clean product photo, in about a minute. You choose from 42 ready models (22 women and 20 men), so leather and chain bracelets can go on a men's forearm.
Garmo keeps the metal, the shape and the stone colour from your photo. Check the number of stones and fine clasps before you publish, and render again if a detail is off; small parts are where any image tool can slip. The worn photo shows the style, not the size, so keep the inner length in the listing.
Bracelets are often bought with a ring or a necklace. Shoot them on the same model with ring on hand AI and jewelry on model AI, and the listing gallery looks like one shoot. Our guide on how to photograph jewelry on a model covers framing and light for all jewelry types. For matching earrings, see how to photograph earrings to sell.
From a bracelet photo to a worn wrist
Each bracelet was photographed on its own at home. Garmo made the worn and product frames from that one photo.
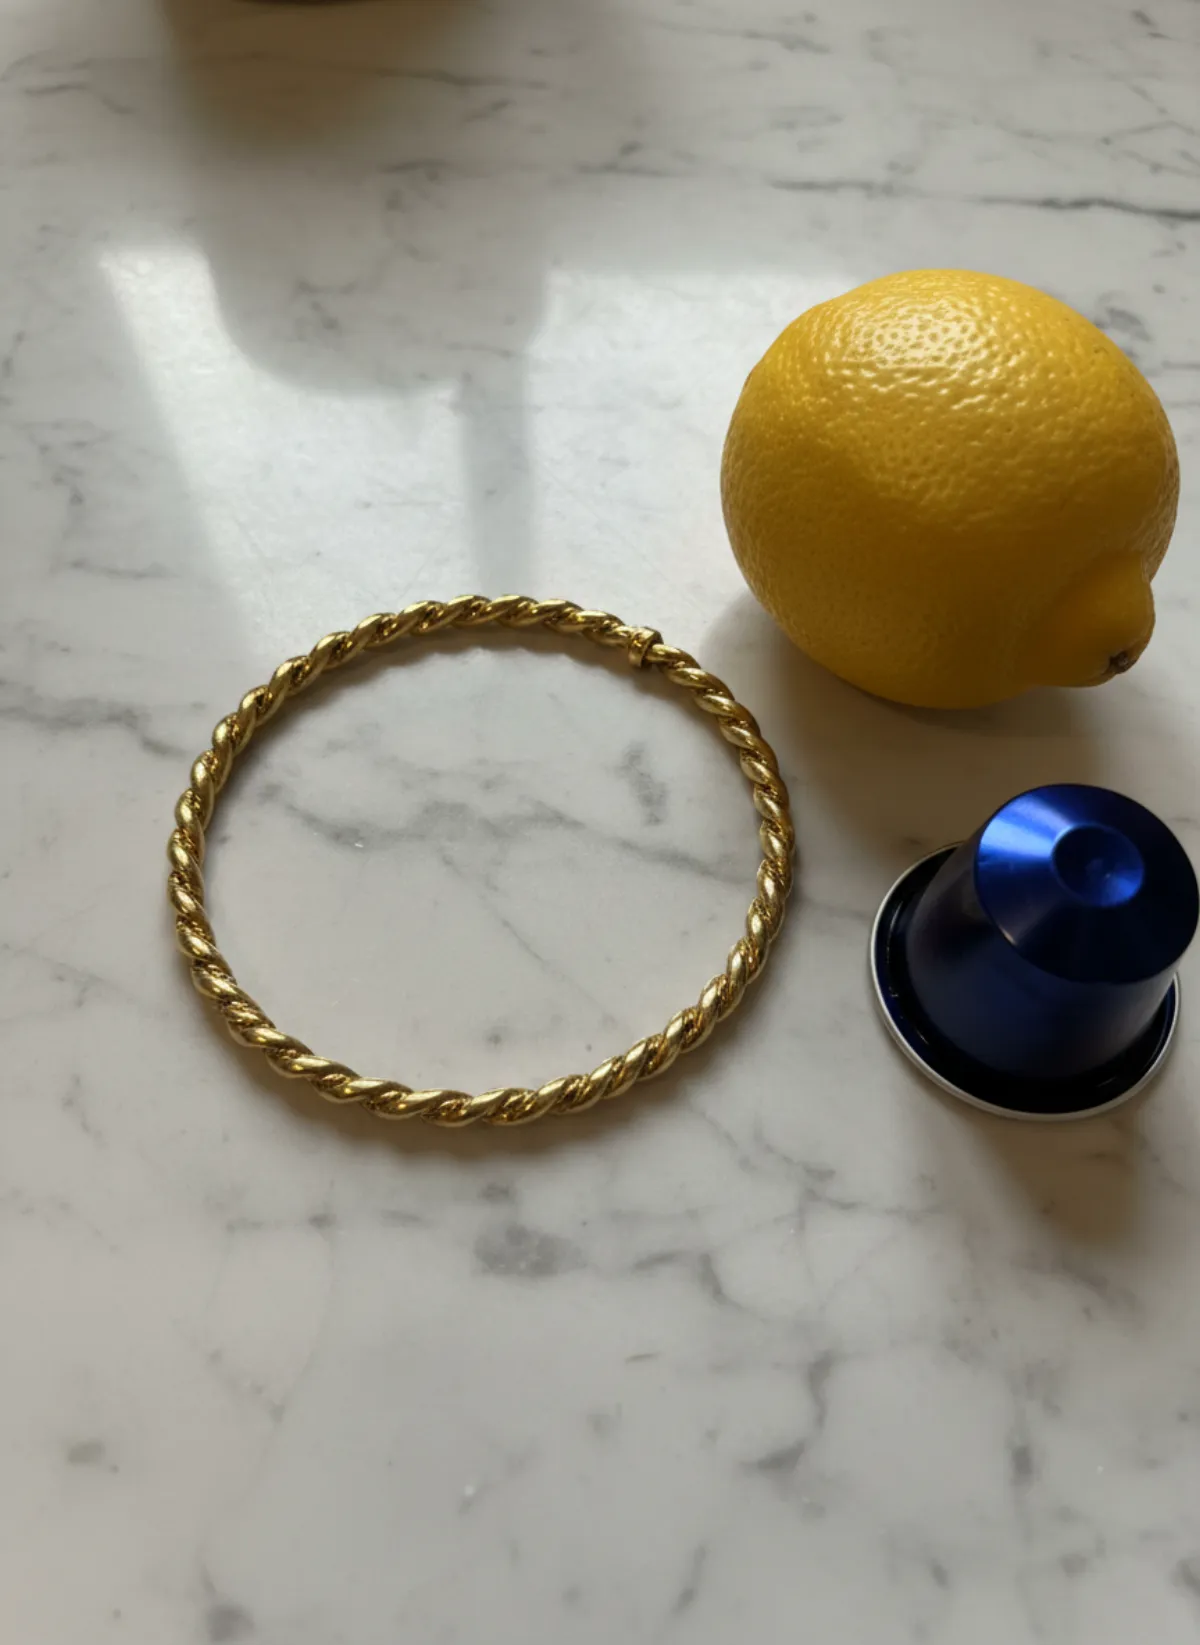
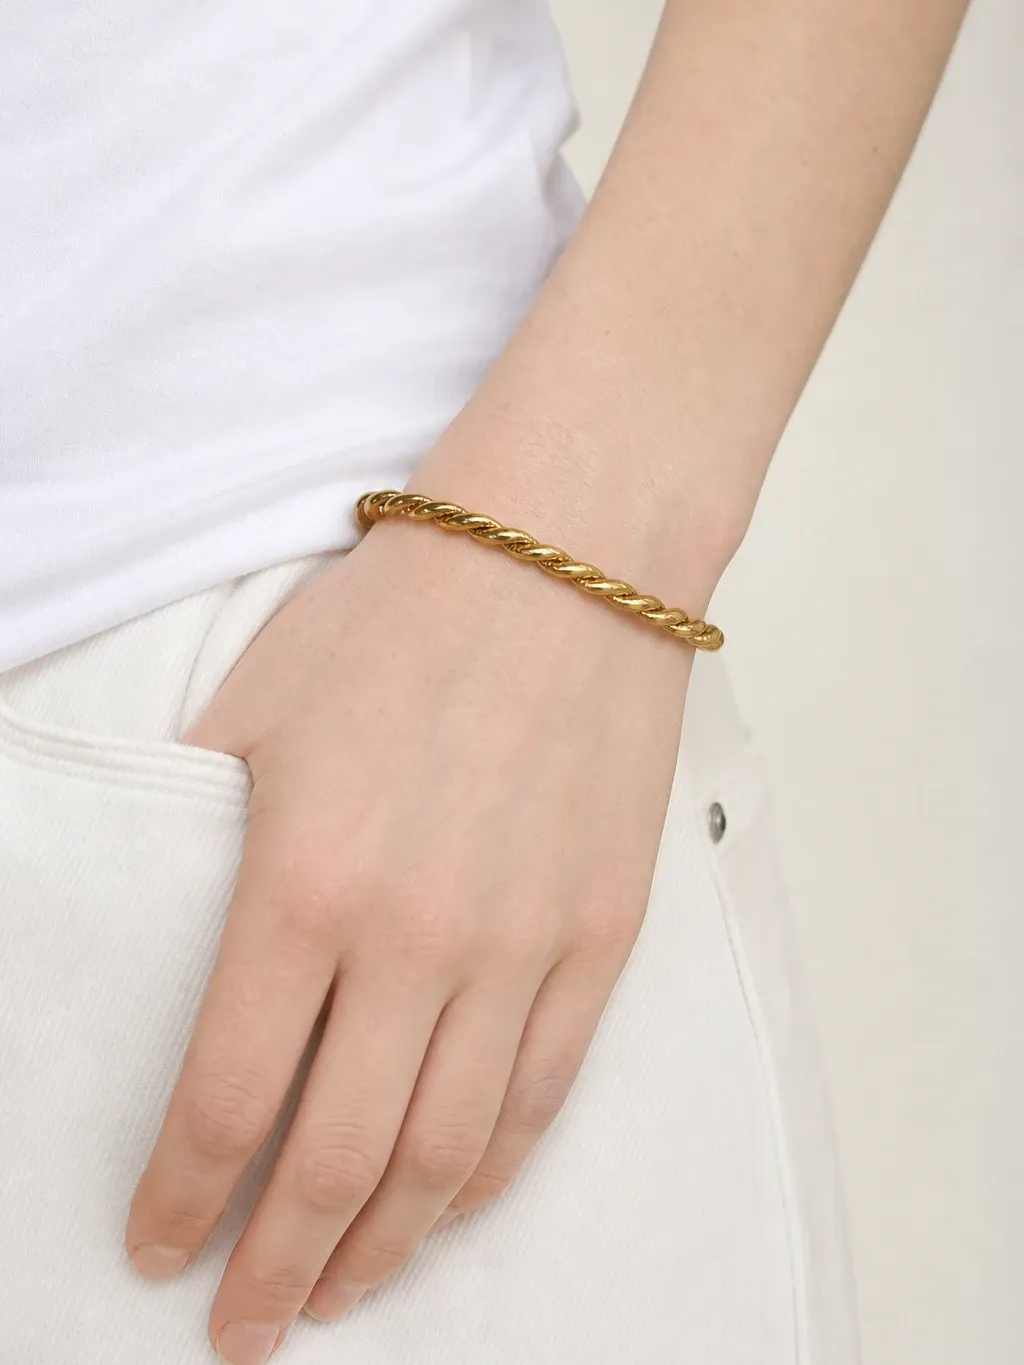
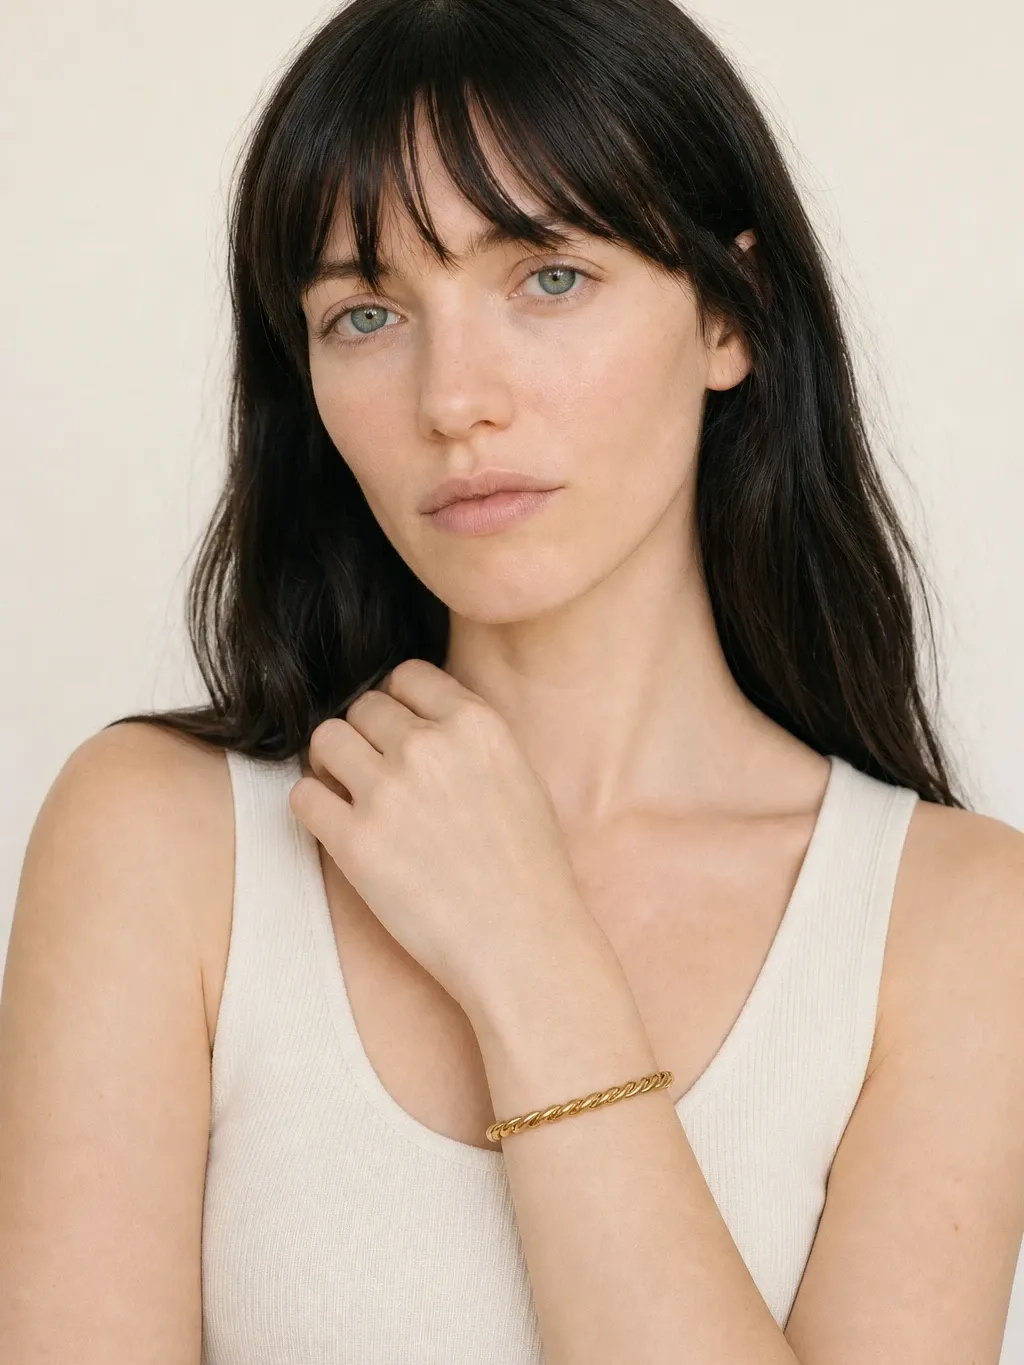
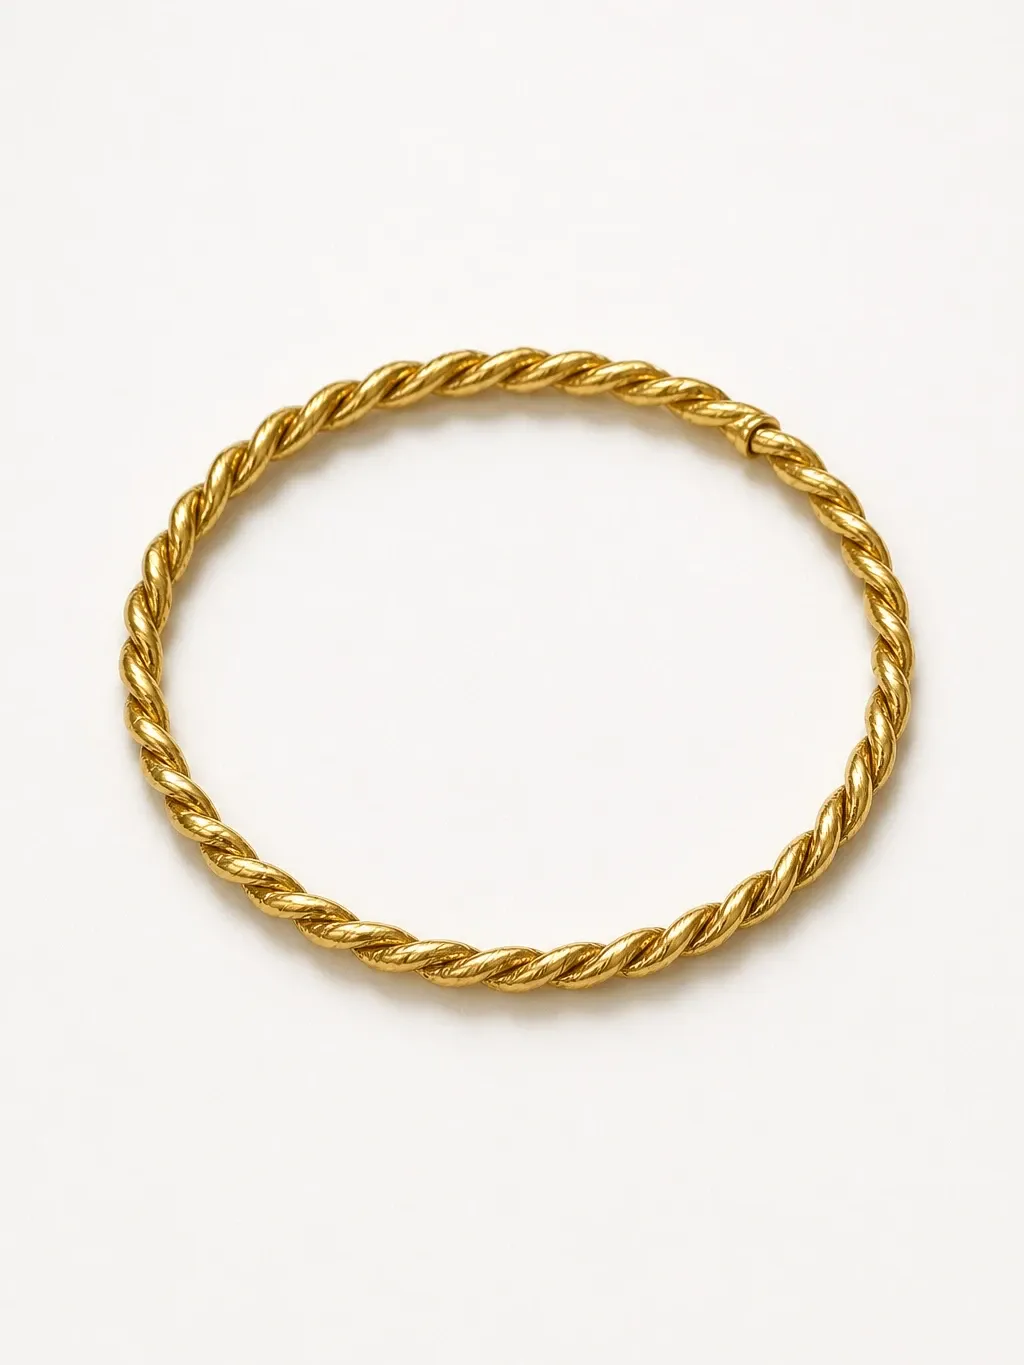
A twisted gold bangle
Shot on marble next to a coffee capsule. The results show the bangle on a relaxed wrist, in a portrait and on a plain background.
 Your photo
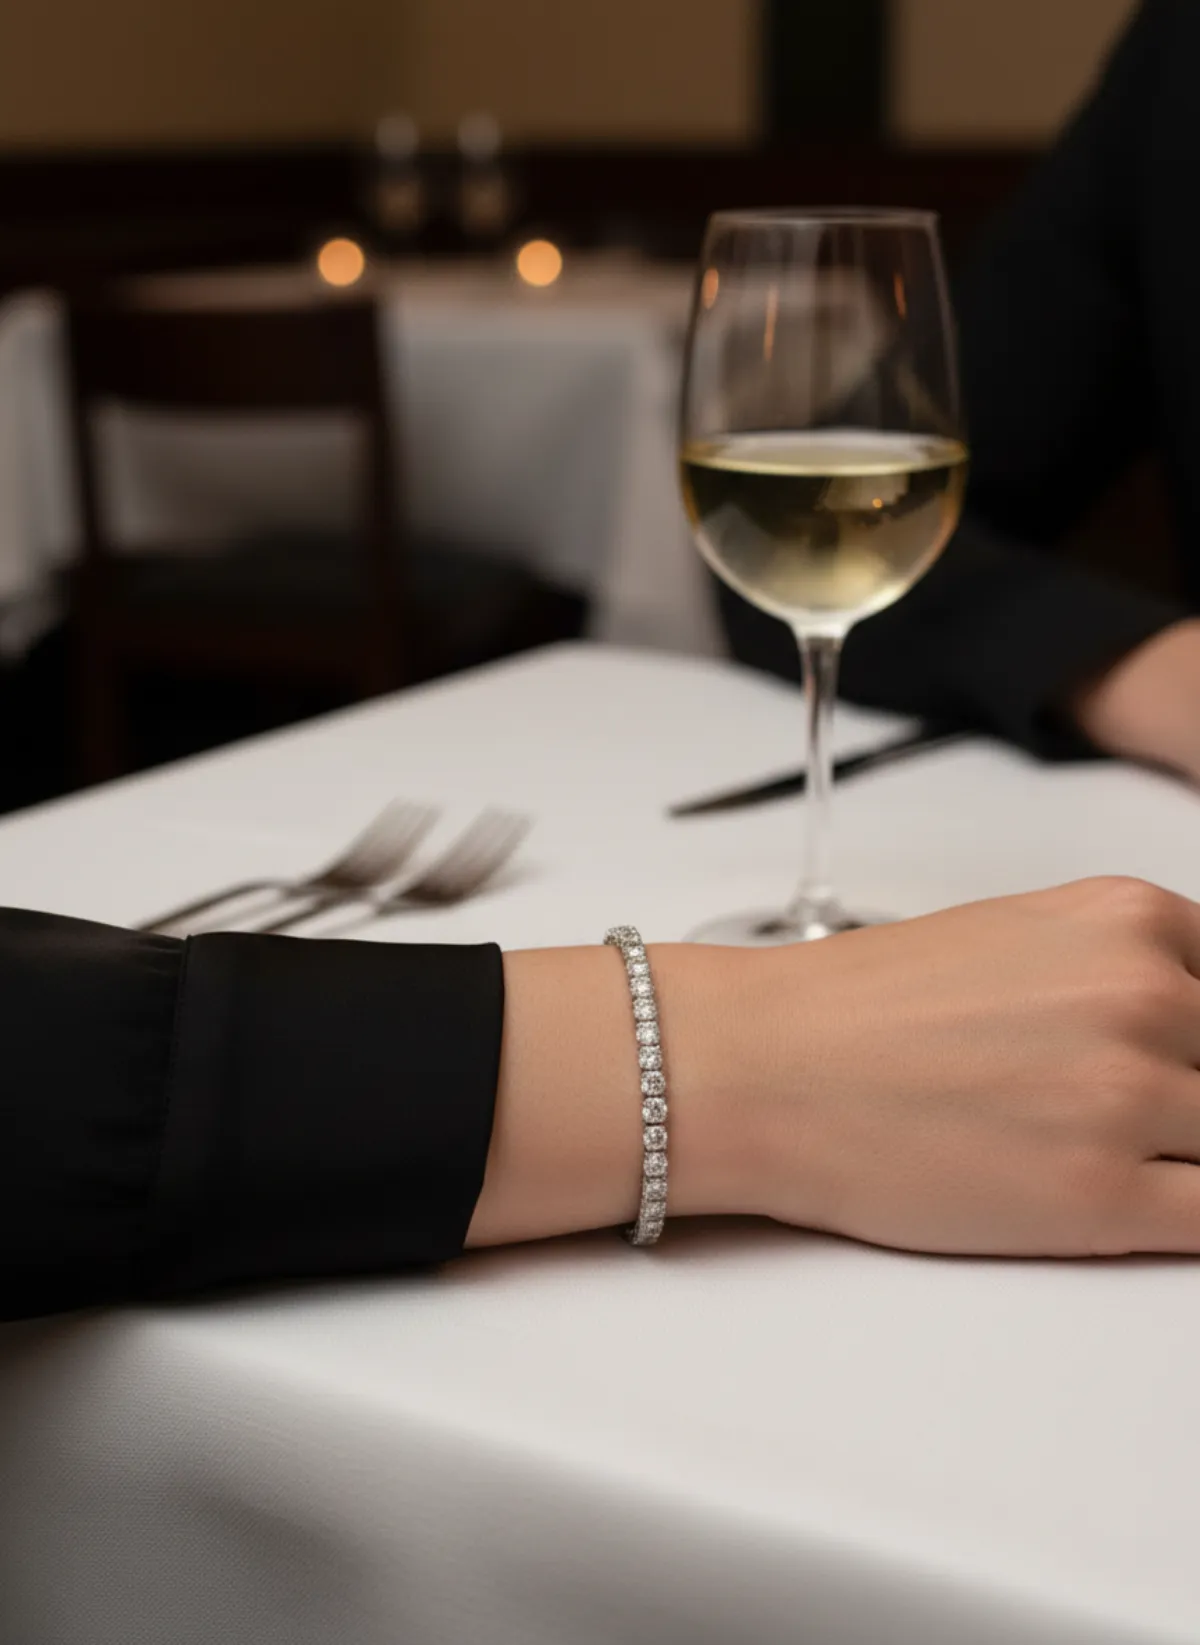
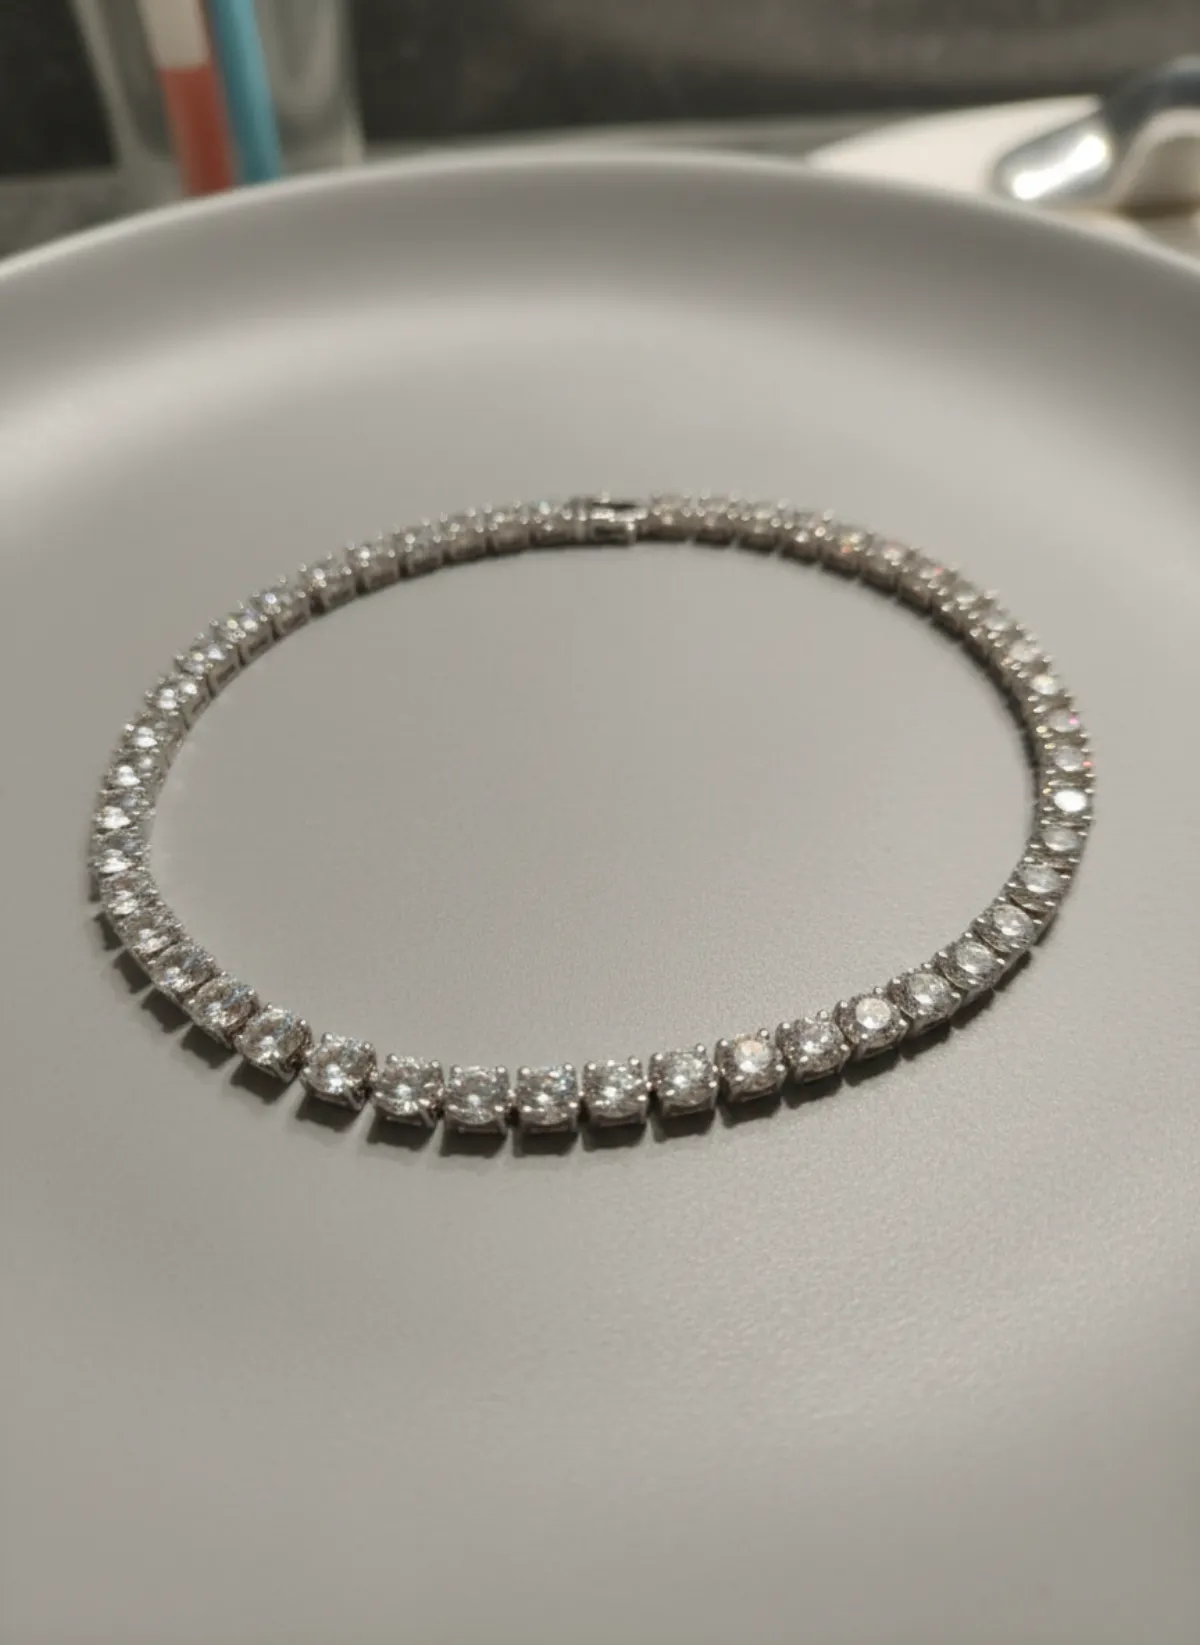
A silver tennis bracelet
Stretched out on a black towel. Worn at a dinner table, the stones face up and the length reads at once.
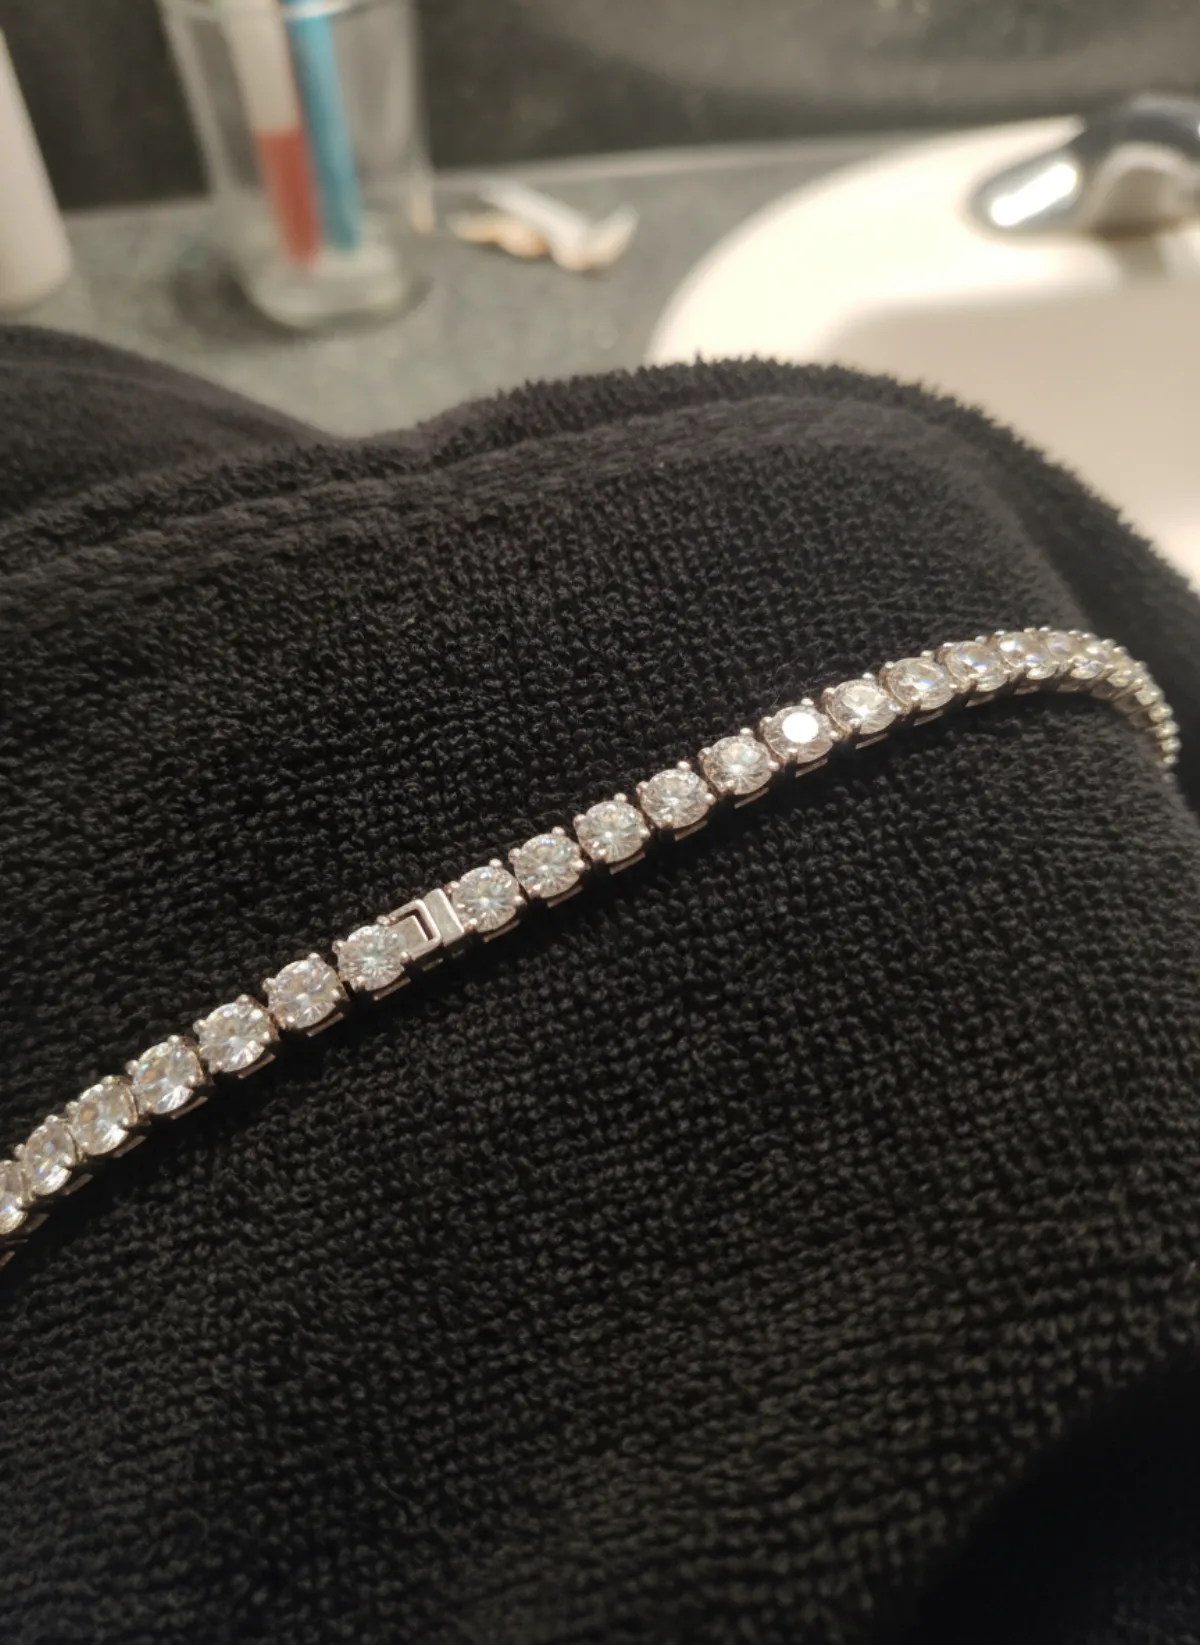 Your photo
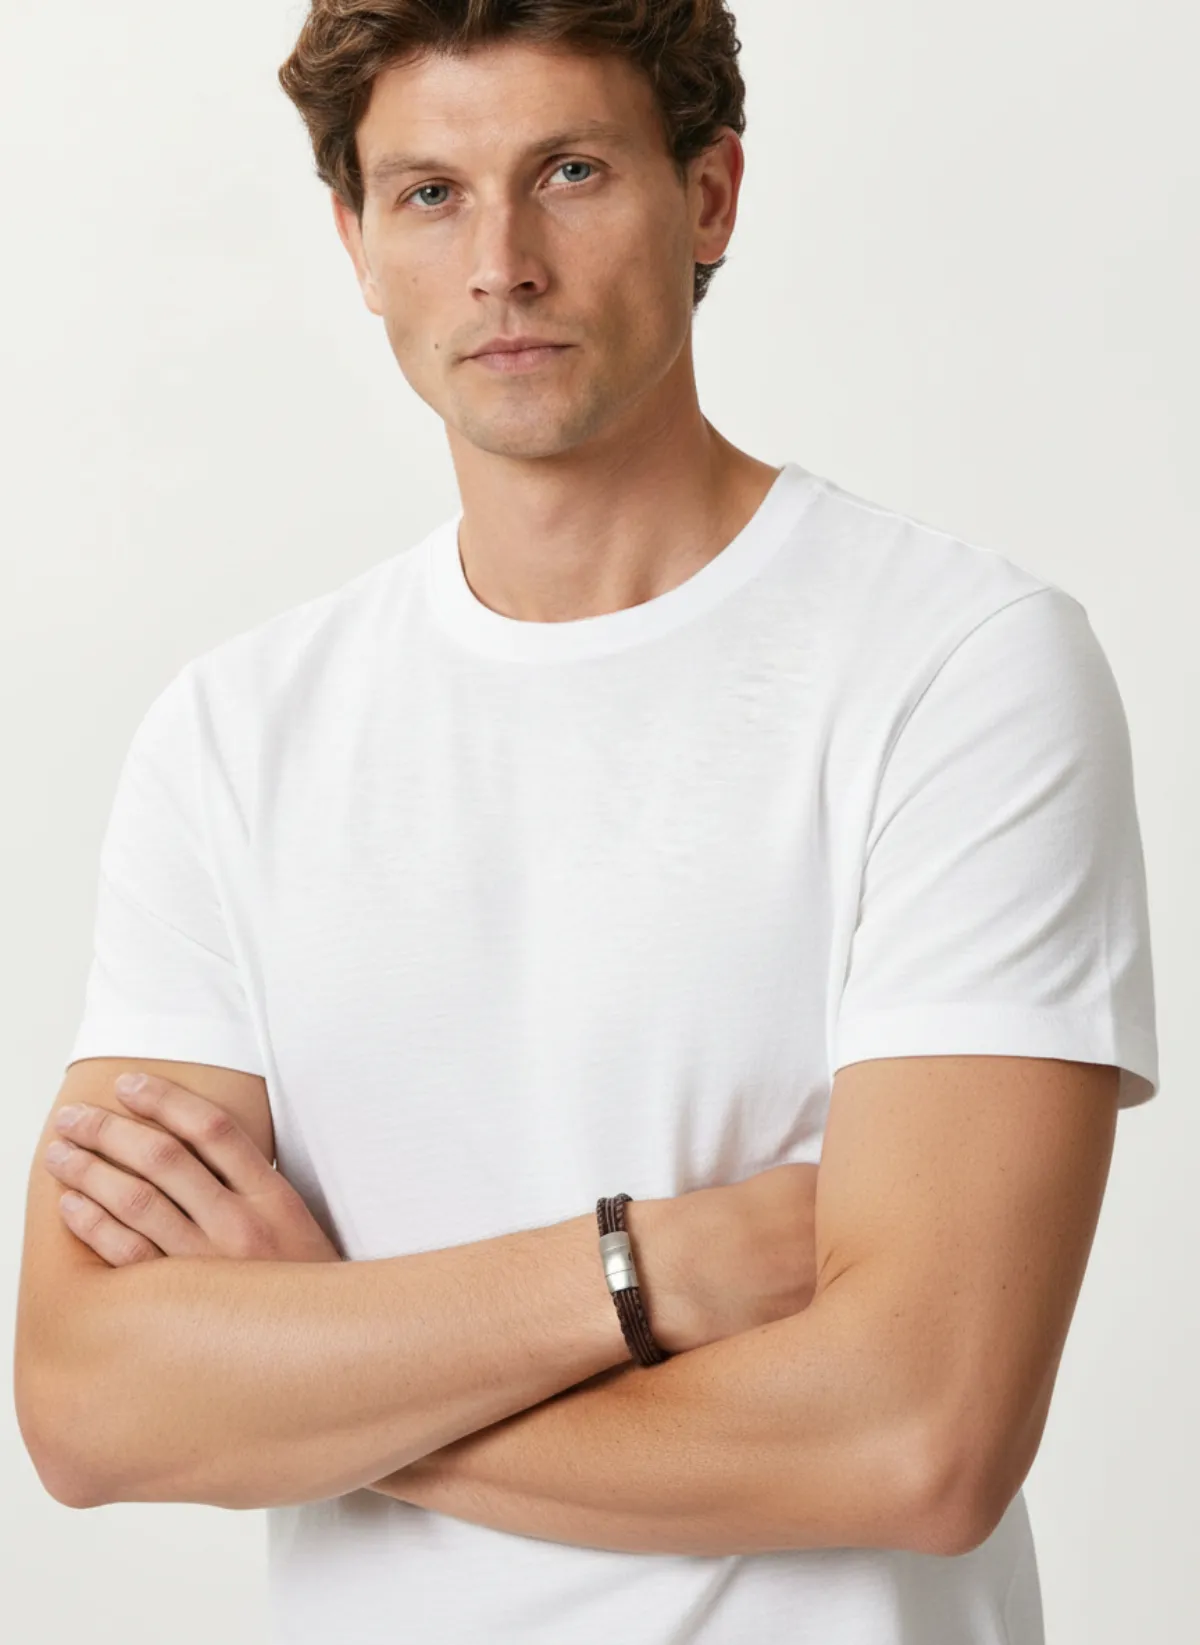
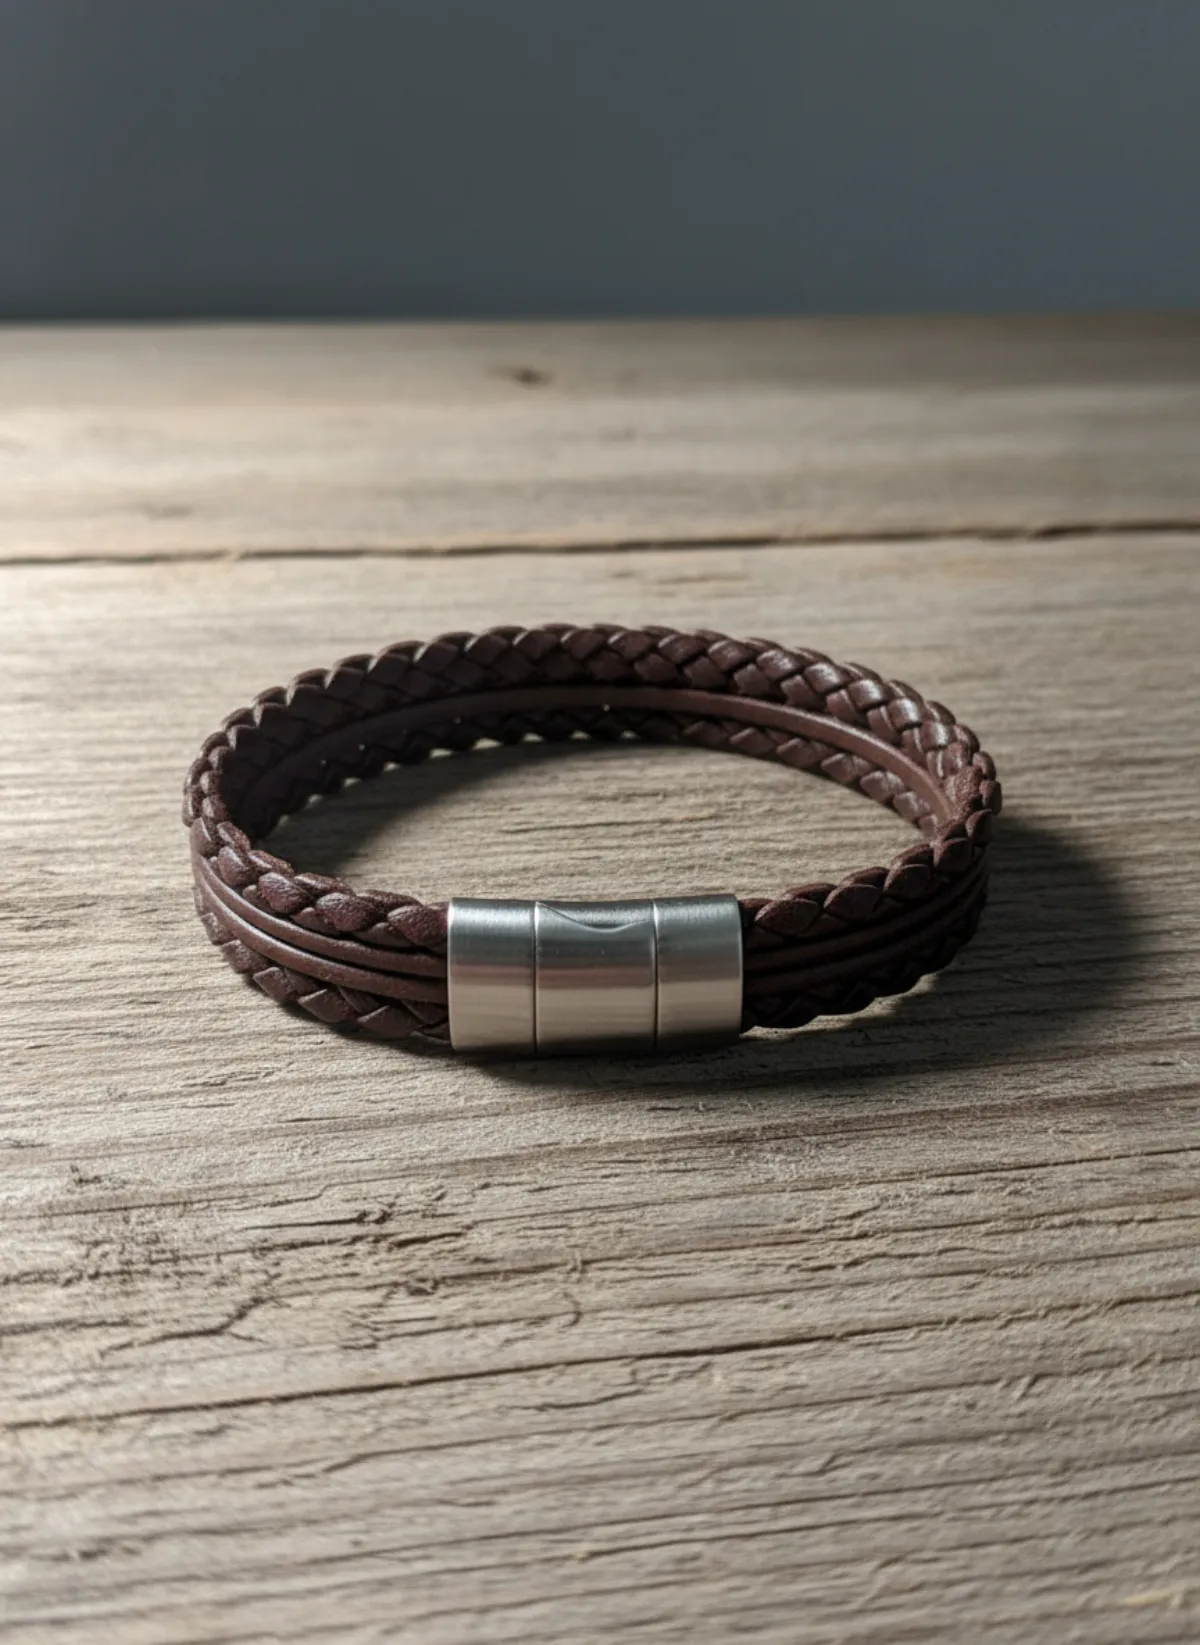
A braided leather bracelet on Aras
Photographed on a wooden desk. On a men's forearm with crossed arms, the piece reads as menswear.
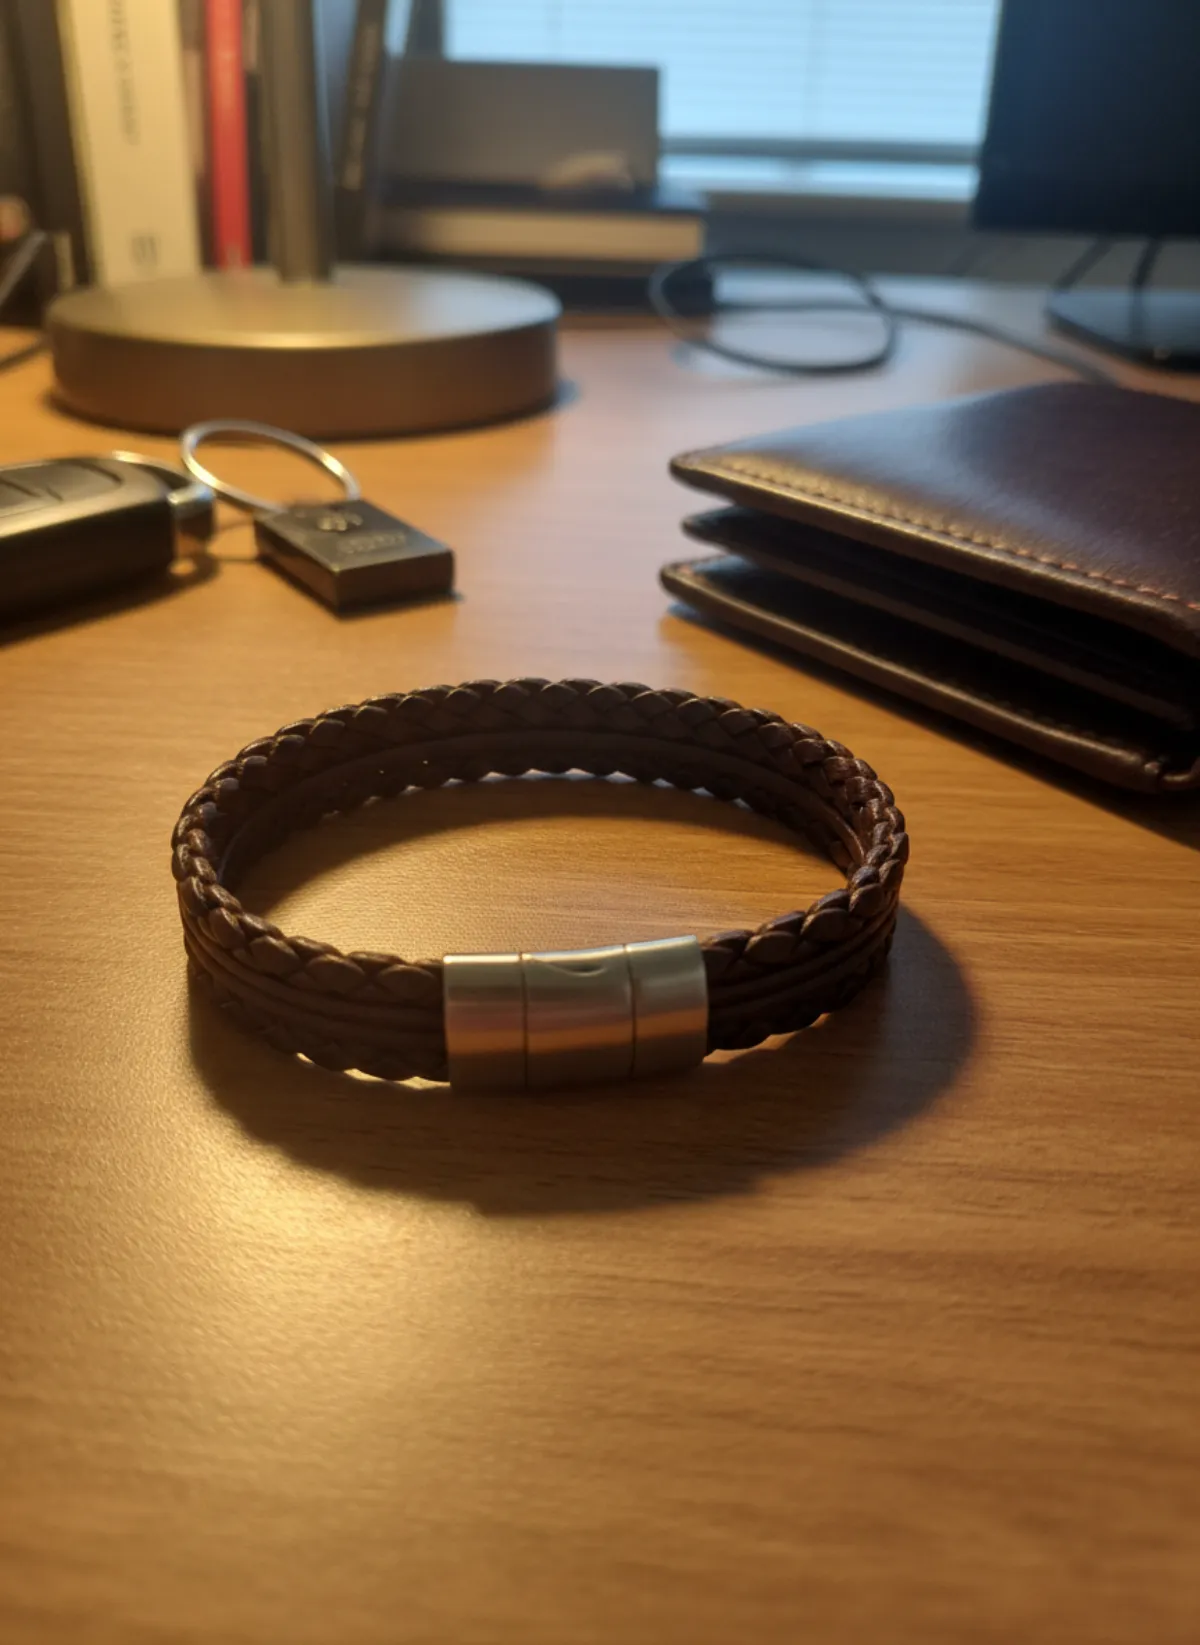 Your photo
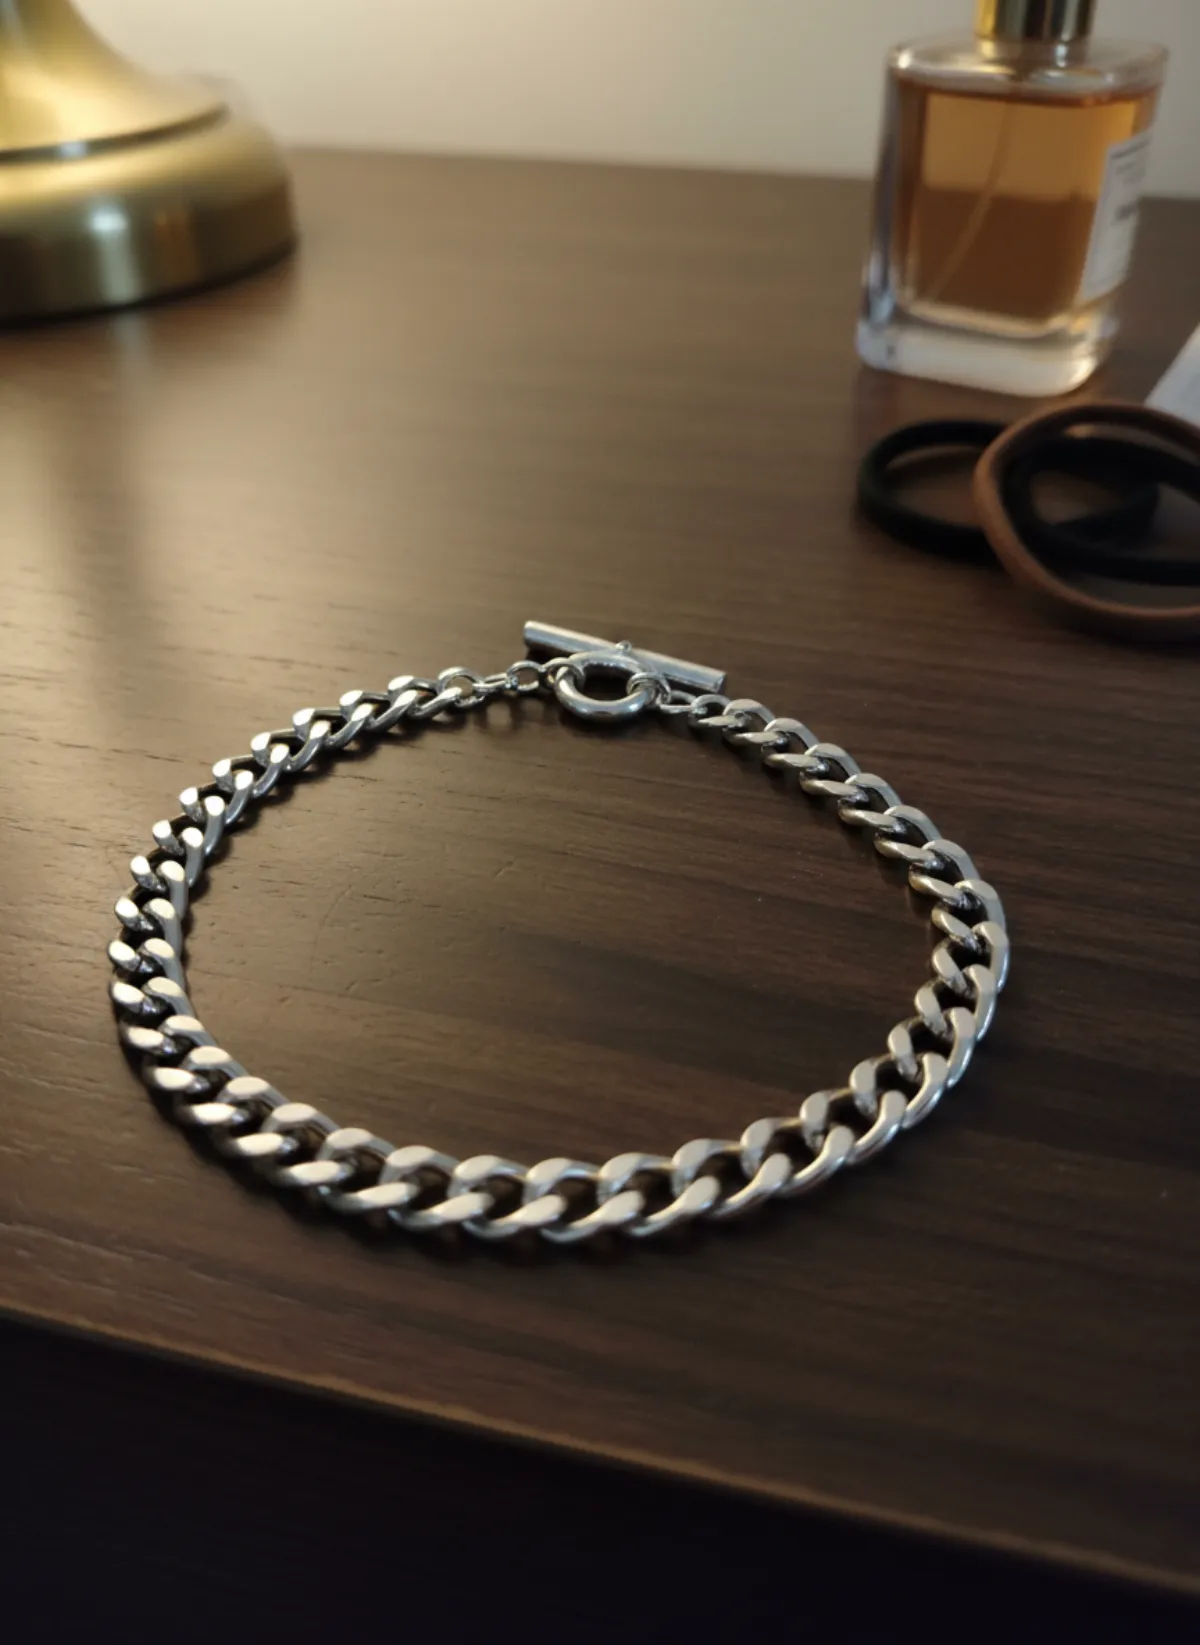
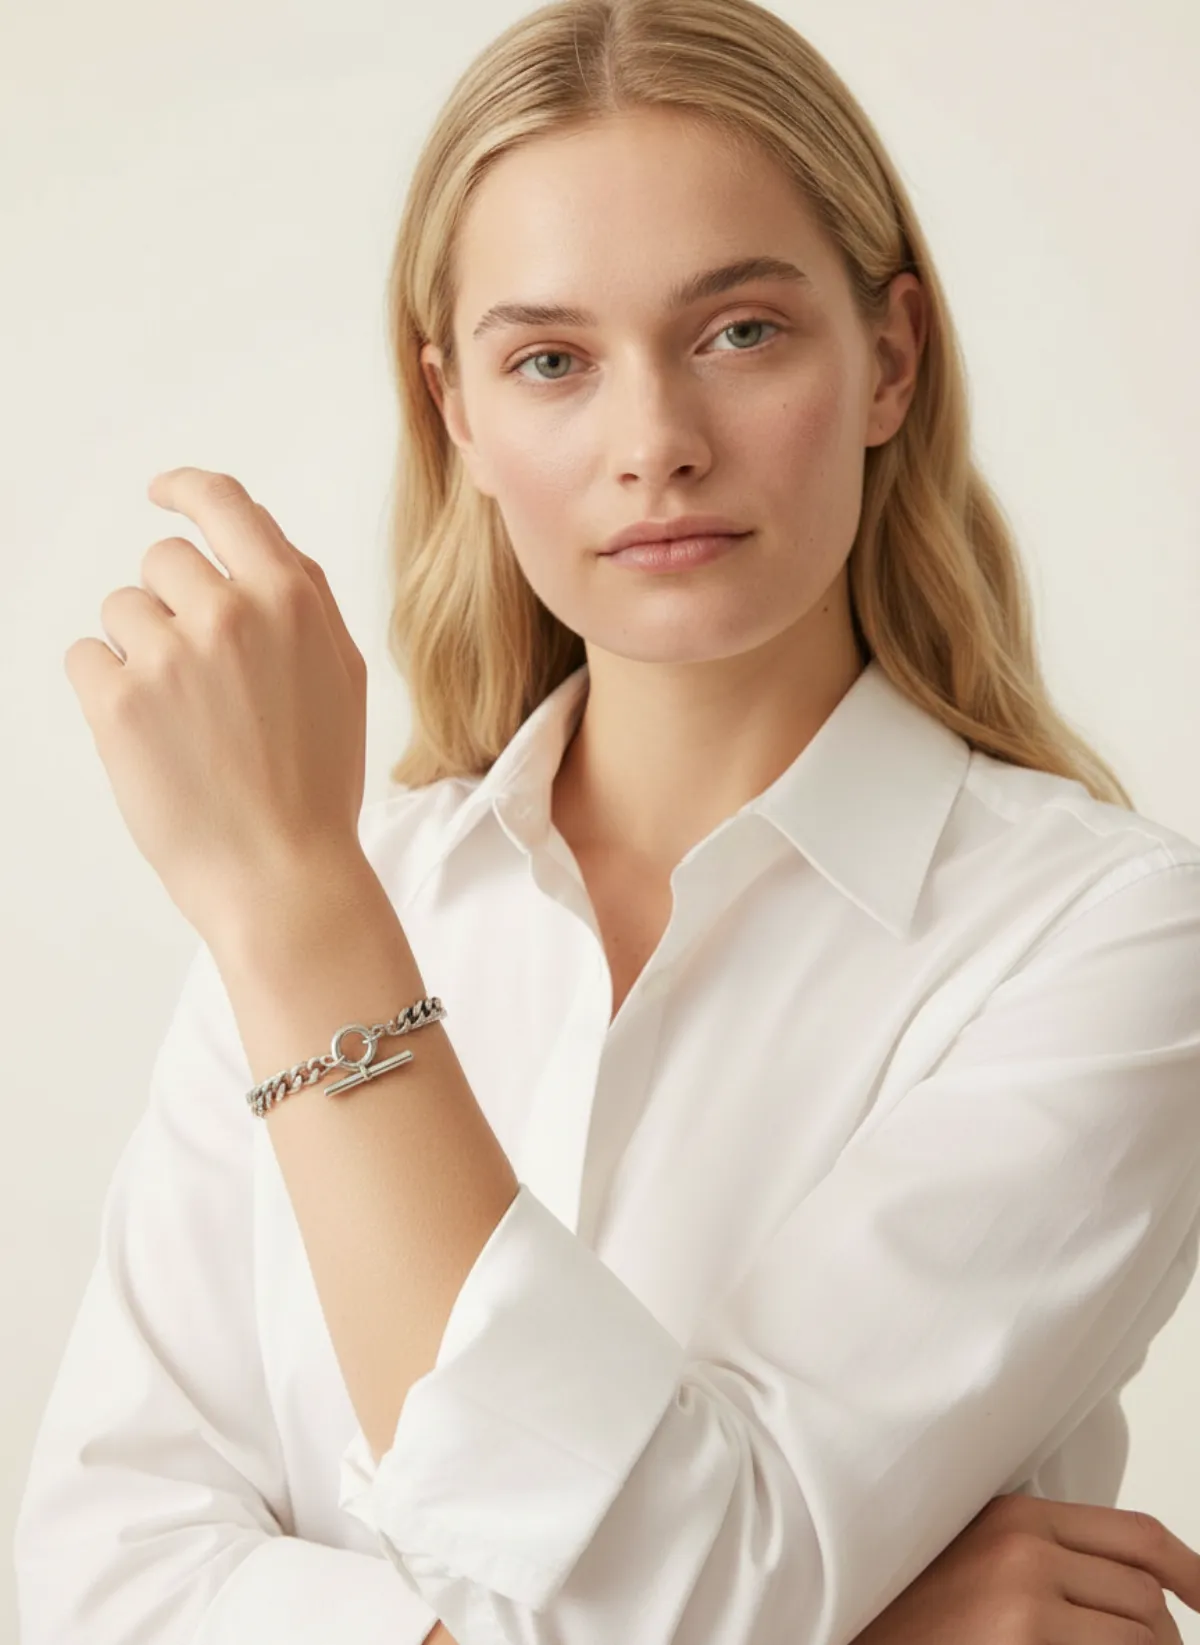
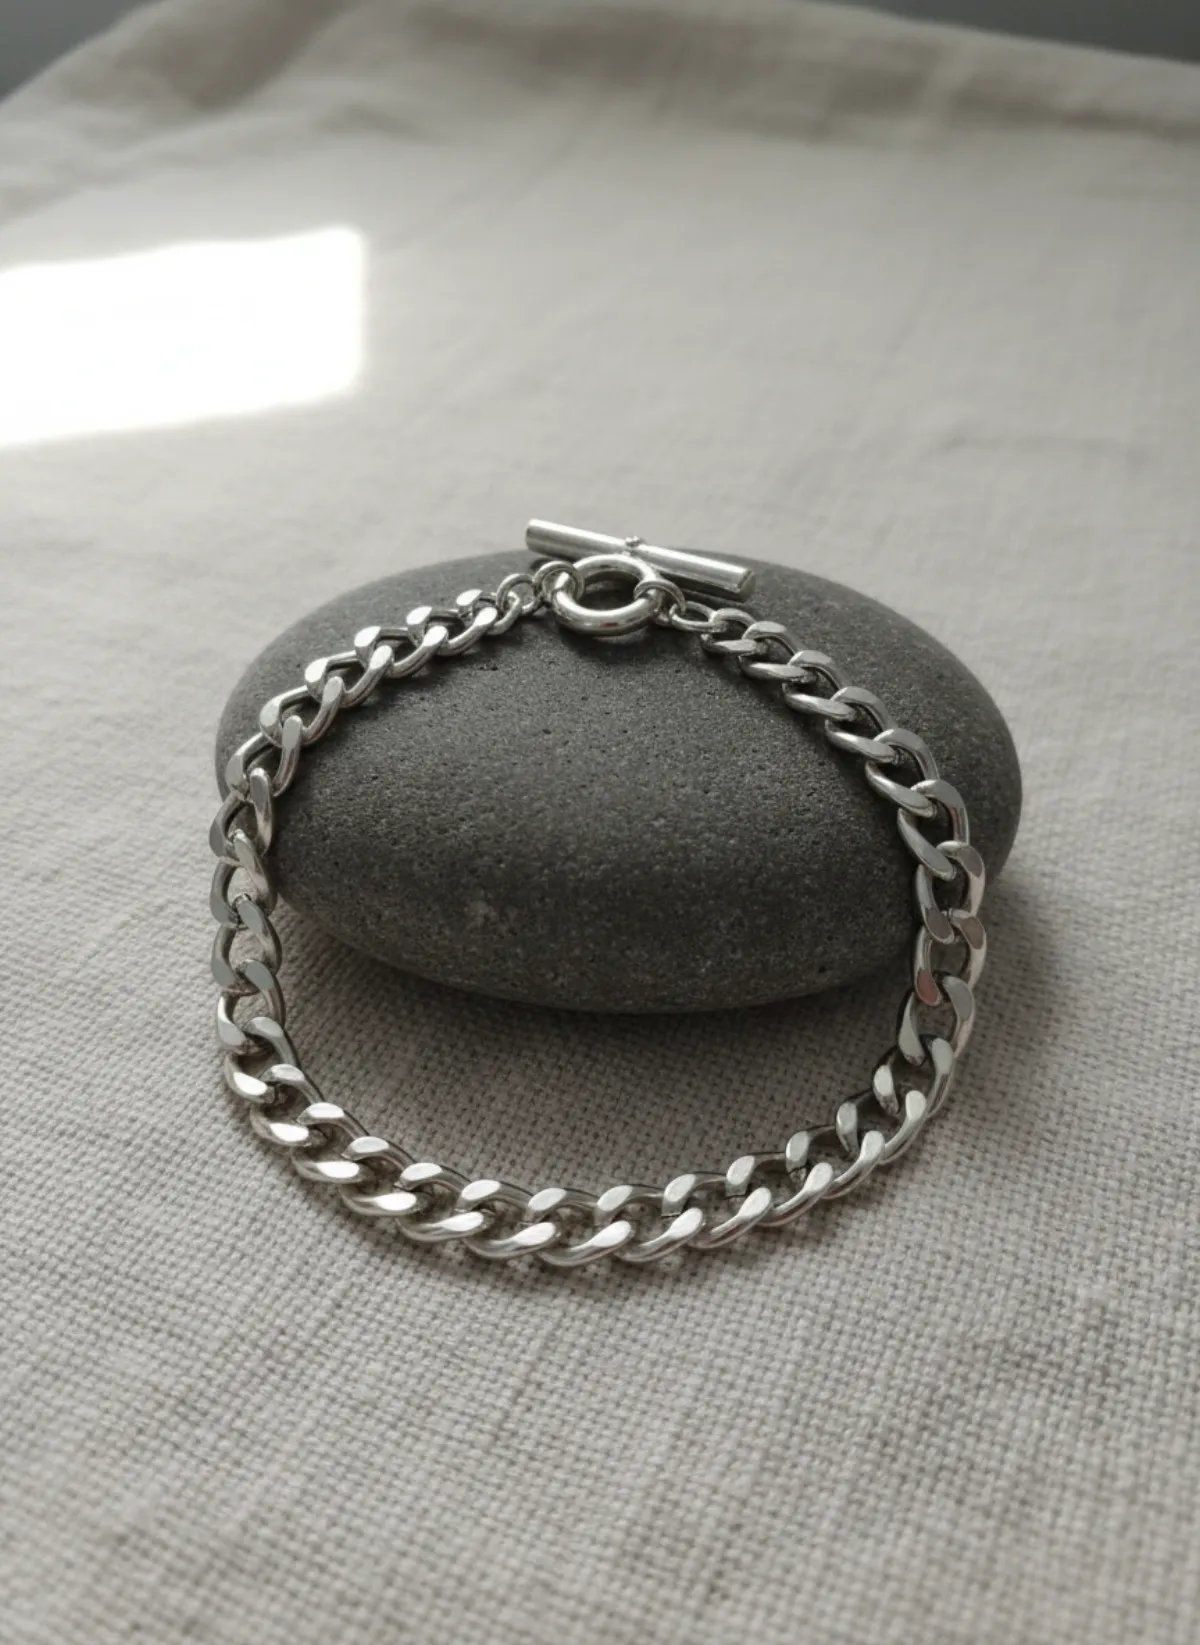
A chunky silver curb chain
Shot on a dresser beside a perfume bottle. On a raised wrist, the weight of the links is obvious.
 Your photo
Questions about photographing bracelets
What is the best way to photograph bracelets?
Stand the bracelet upright on a prop, light it from a window with a white card opposite, and lock focus on the front of the piece. Then add a side, clasp, detail and worn shot. Flat, top-down photos hide the shape.
How do you make a bracelet stand up for a photo?
Use a pea of poster putty hidden behind a bangle, slide stretch bracelets over a linen-wrapped cardboard tube, and rest cuffs on a small glass bottle. A jewelry T-bar or velvet stand works too.
How do you photograph beaded bracelets?
Keep the strand round on a tube or bottle, turn the best beads to the camera and focus on the front row. Shoot in daylight and compare the colour with the real beads before you publish.
How do you photograph bracelets for Instagram?
Use a worn, styled frame: a wrist on a knit sleeve, a hand around a cup or a stack of pieces sold together, in soft window light. Keep the plain product shot for the listing itself.
Can I show a bracelet on a model without hiring one?
Yes. Upload a clear product photo to Garmo's bracelet on model AI and it places the same bracelet on a ready model in a wrist close-up and a portrait. Check stones and clasps before publishing.