Control the glare first
Metal and stones reflect whatever is around them, including you, your phone and the window. The fix is soft, wide light and a clean surround. Place the piece on a plain surface beside a window and diffuse the sun with a thin white curtain, a sheet of baking paper or a white sheet. Direct sun on gold or silver gives hard white hotspots that hide detail.
To tame reflections, work with cards. A sheet of white card held beside the piece fills dark areas with soft light, which suits silver and white gold. A sheet of black card held where the reflection falls adds contrast, so a diamond or a polished edge shows depth instead of flat white. Move the card in small steps and look at the screen each time.
Move yourself, too. If you can see your own reflection in the piece, shift the phone a few centimetres or change the angle by a few degrees. Small moves change what the metal mirrors more than any editing will.
Getting a sharp close-up
Use a tripod or lean the phone
At close range every tiny shake blurs the shot. A stack of books or a cheap tripod keeps the phone still.
Tap on the focal point
Tap the stone, the clasp or the engraving, then hold to lock focus and exposure before you shoot.
Do not zoom digitally
Digital zoom just crops and softens the photo. Move the phone closer or use the macro mode, then crop later.
Take a few frames
Take five of each angle and keep the sharpest. Pieces are small, and one frame in five is usually the crisp one.
Clean the piece and the lens
Dust, fingerprints and polish residue show up large in a close-up. Wipe the jewelry with a soft cloth and clean the lens.
Shoot at the longest side you will need
Take detail shots larger than you need. A marketplace thumbnail can crop a close-up hard.
Background and angles
Use a plain, matte background: white paper, a light grey card, a piece of linen, or a stone or wooden tray. Avoid glossy surfaces unless you want a reflection, and avoid patterns that fight with the piece. A dark velvet works for silver and pearls, a white surface for gold and coloured stones.
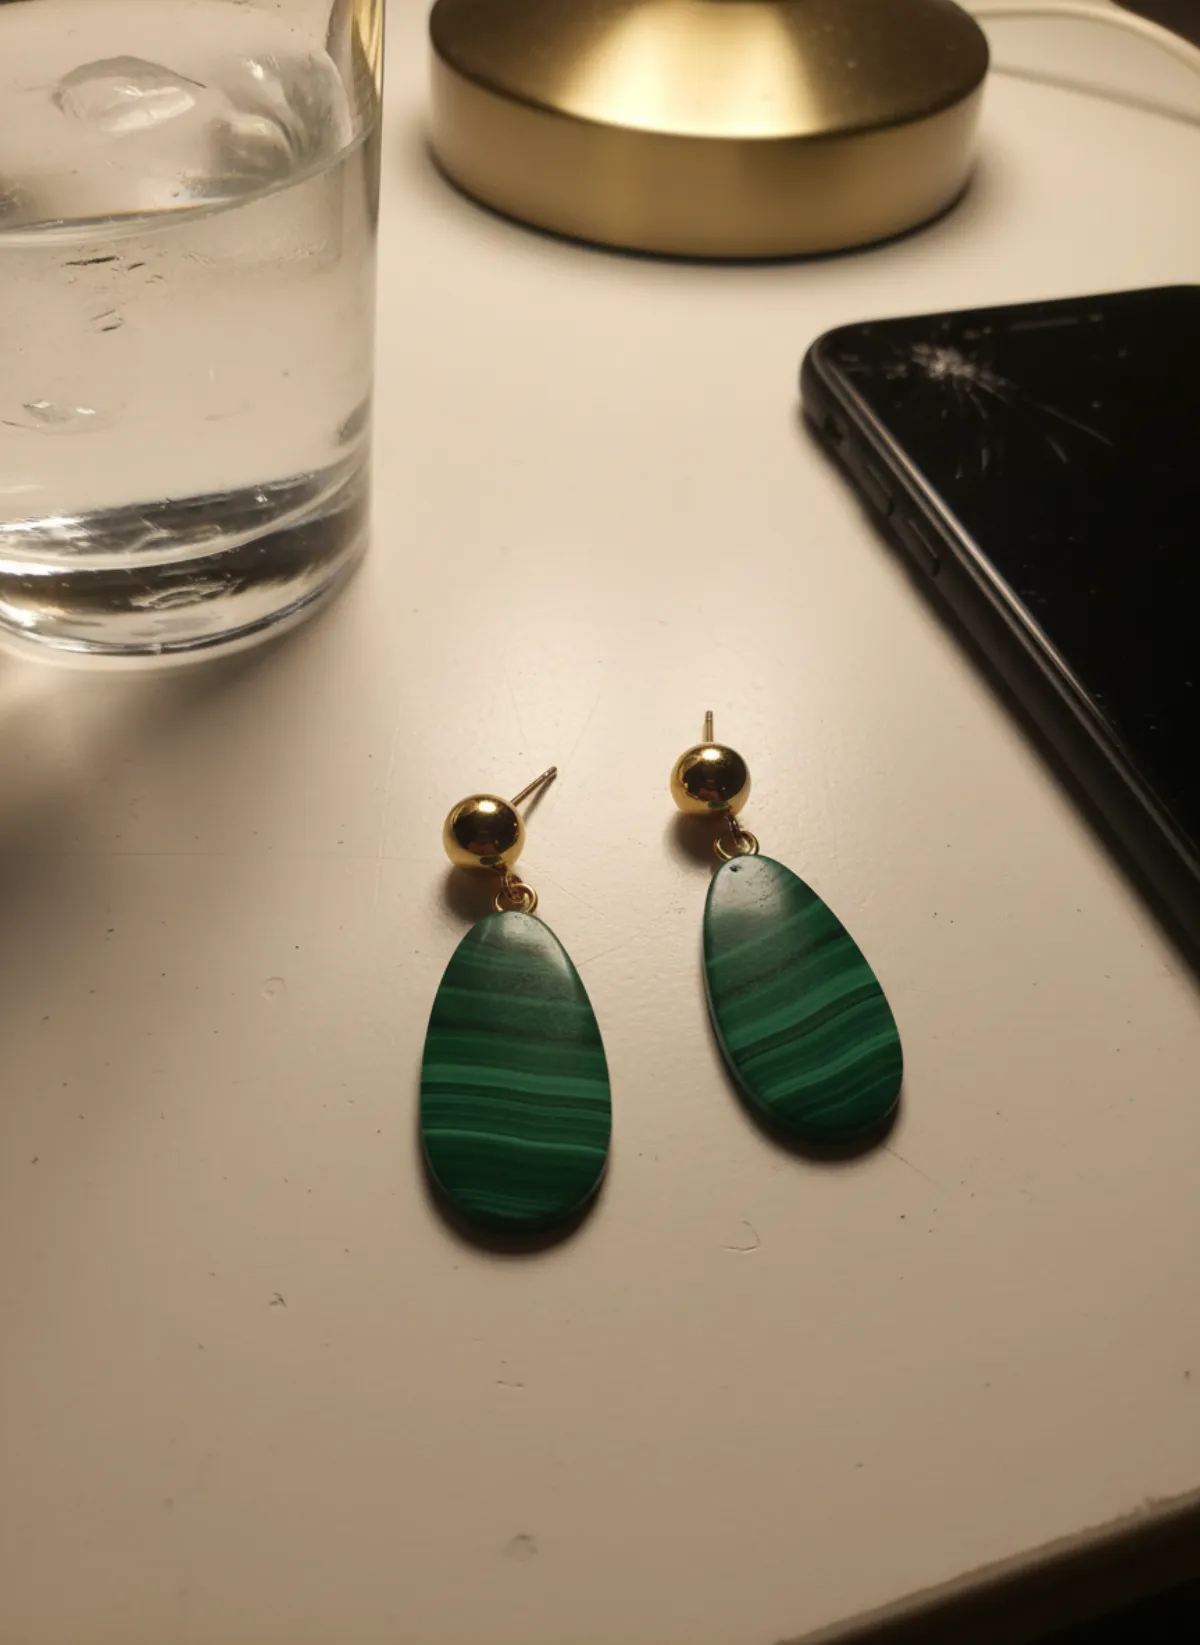
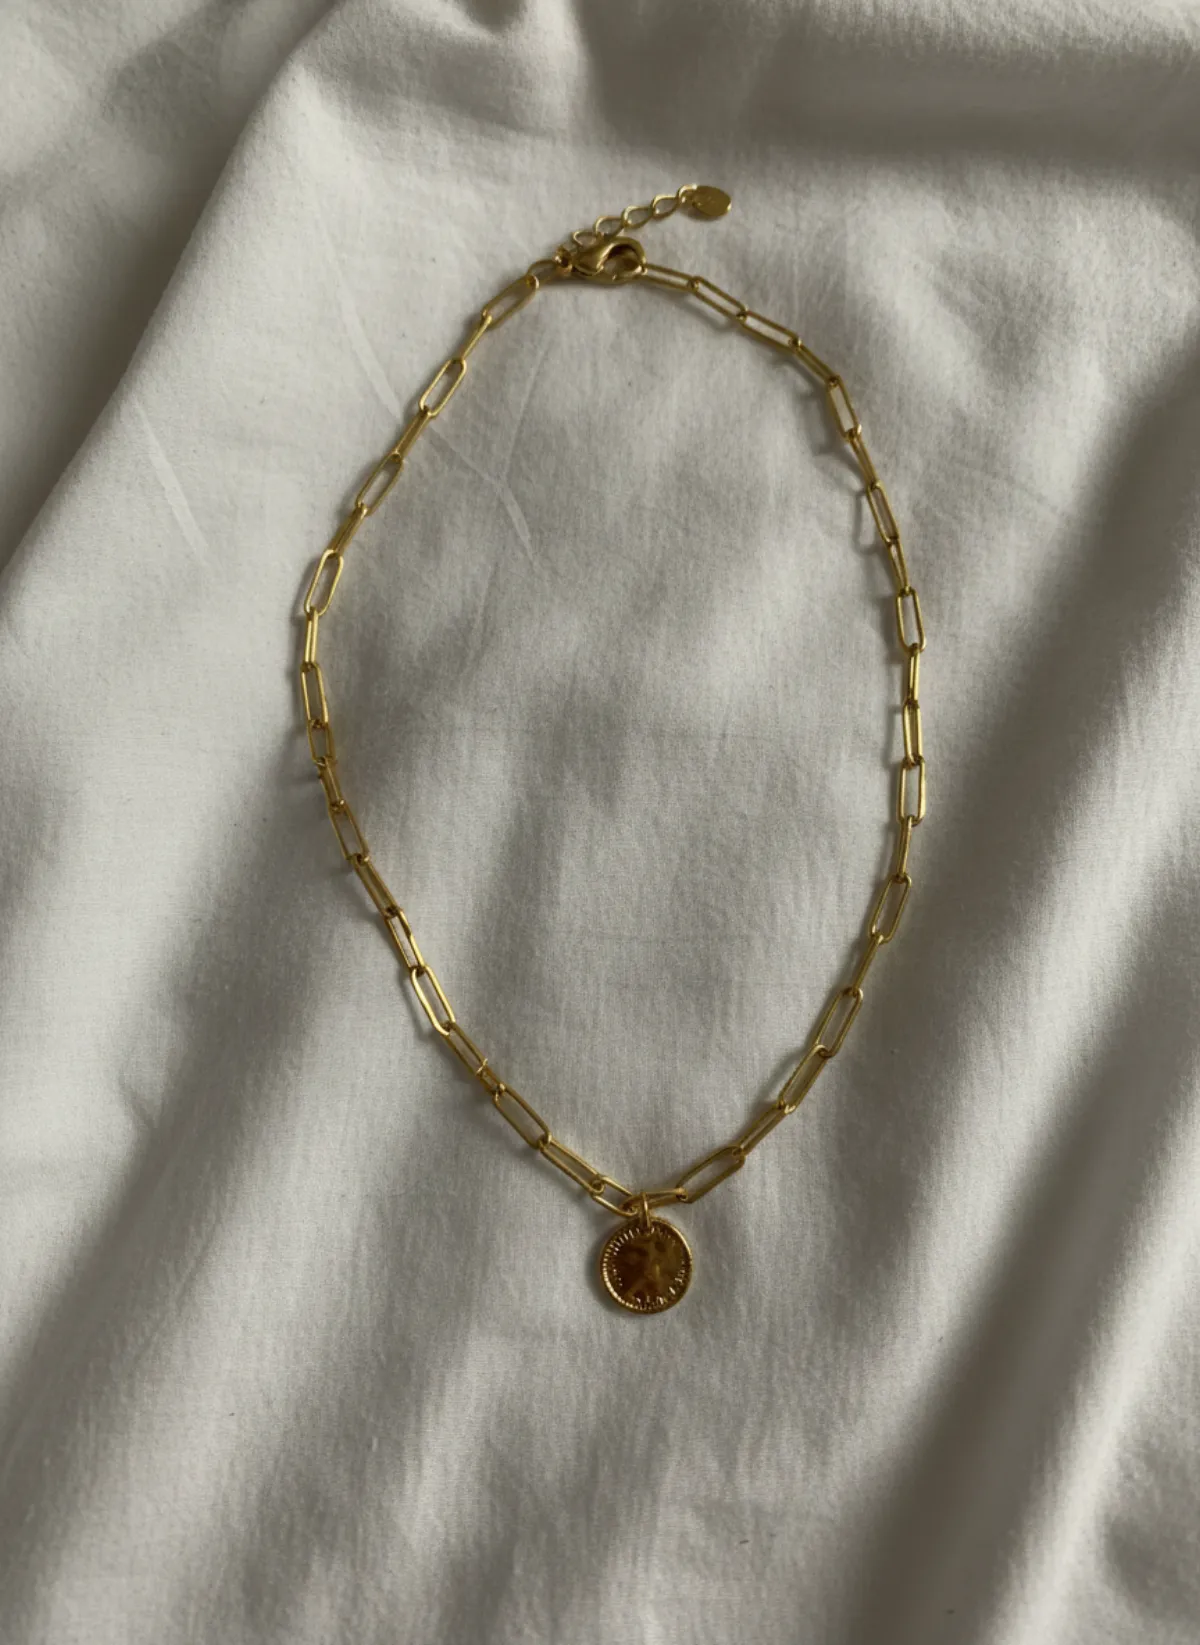
Shoot more than one angle for each piece. For a ring: from above, from the side to show the band and the setting height, and a three-quarter view. For earrings: one flat on the front and one from the side, so shoppers see the drop and the thickness. For a necklace: laid flat in a gentle curve and one with the clasp visible. Long chains need more than that; see how to photograph necklaces to sell.
Leave a border around the piece in every shot. Marketplaces crop thumbnails into squares and rectangles, and a ring that fills the whole frame will lose its edge. Etsy, for example, tells sellers to shoot from farther back and centre the product; see Etsy's photo requirements. If you need the piece worn but have no model, see how to photograph jewelry on a model.
Show the real size
A flat shot on a table cannot tell a shopper if a ring is delicate or chunky, or if hoops are 15 mm or 40 mm. Returns for "smaller than expected" are one of the biggest costs in jewelry, so show scale in at least one photo. A coin next to a ring works, but a worn shot is better. Write the dimensions in the description too.
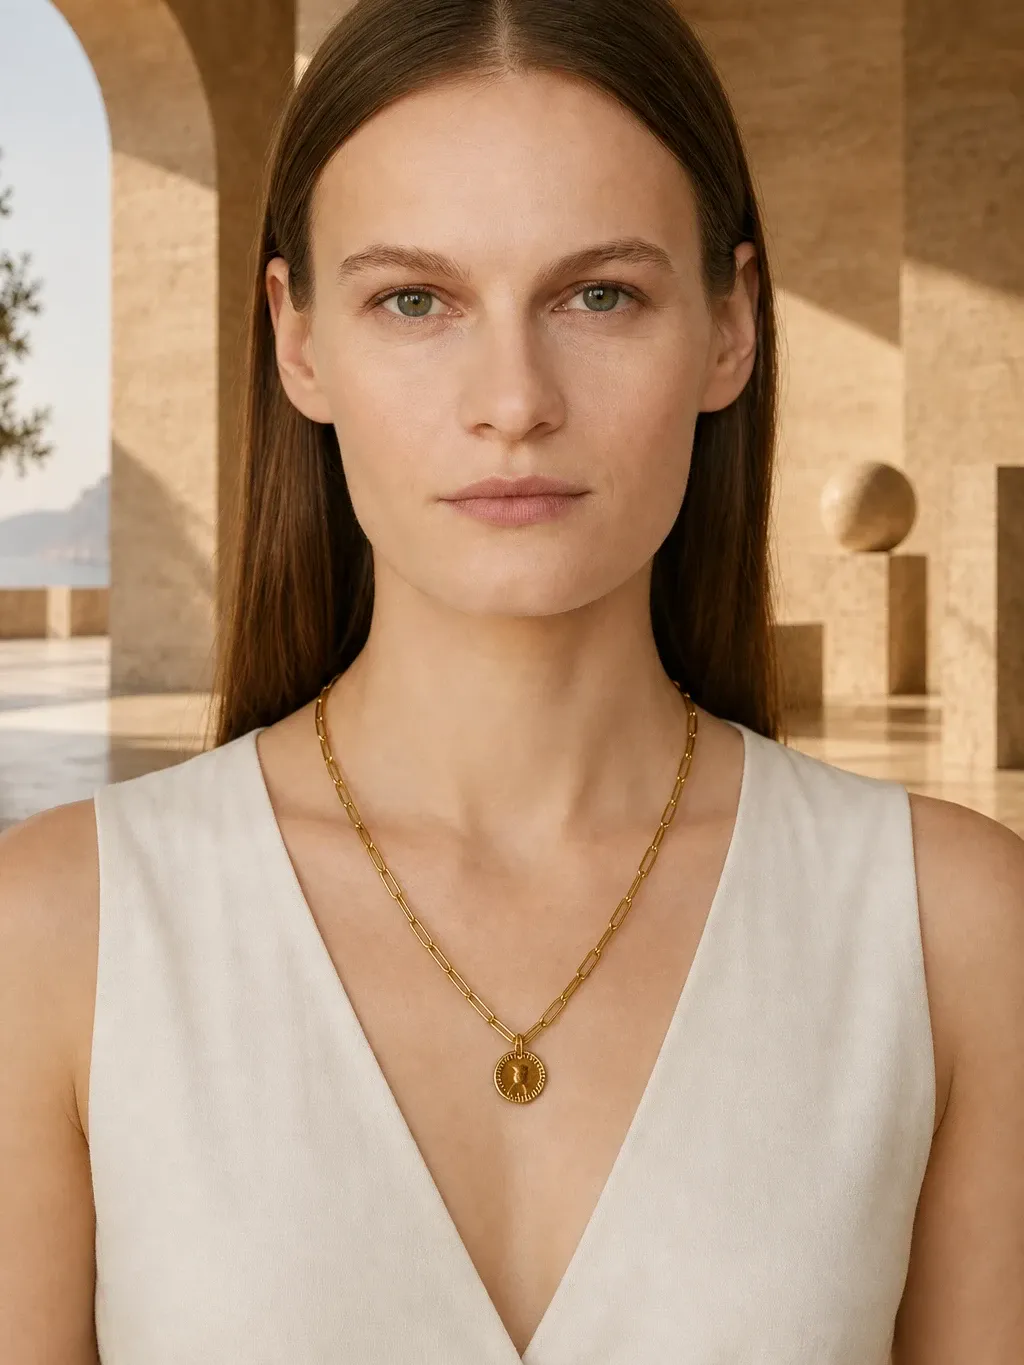
Worn photos are harder, because they need a model, a good hand or ear, and consistent light for every piece. That is where jewelry on an AI model helps: you shoot the piece once on a table, and Garmo puts it on a model, so you see how it sits on an ear, a hand or a neck. For specific pieces there are pages for rings on a hand and earrings on a model.
From a countertop photo to a worn shot
Both pieces below were photographed with a phone on an ordinary surface. Garmo built the worn images around them.
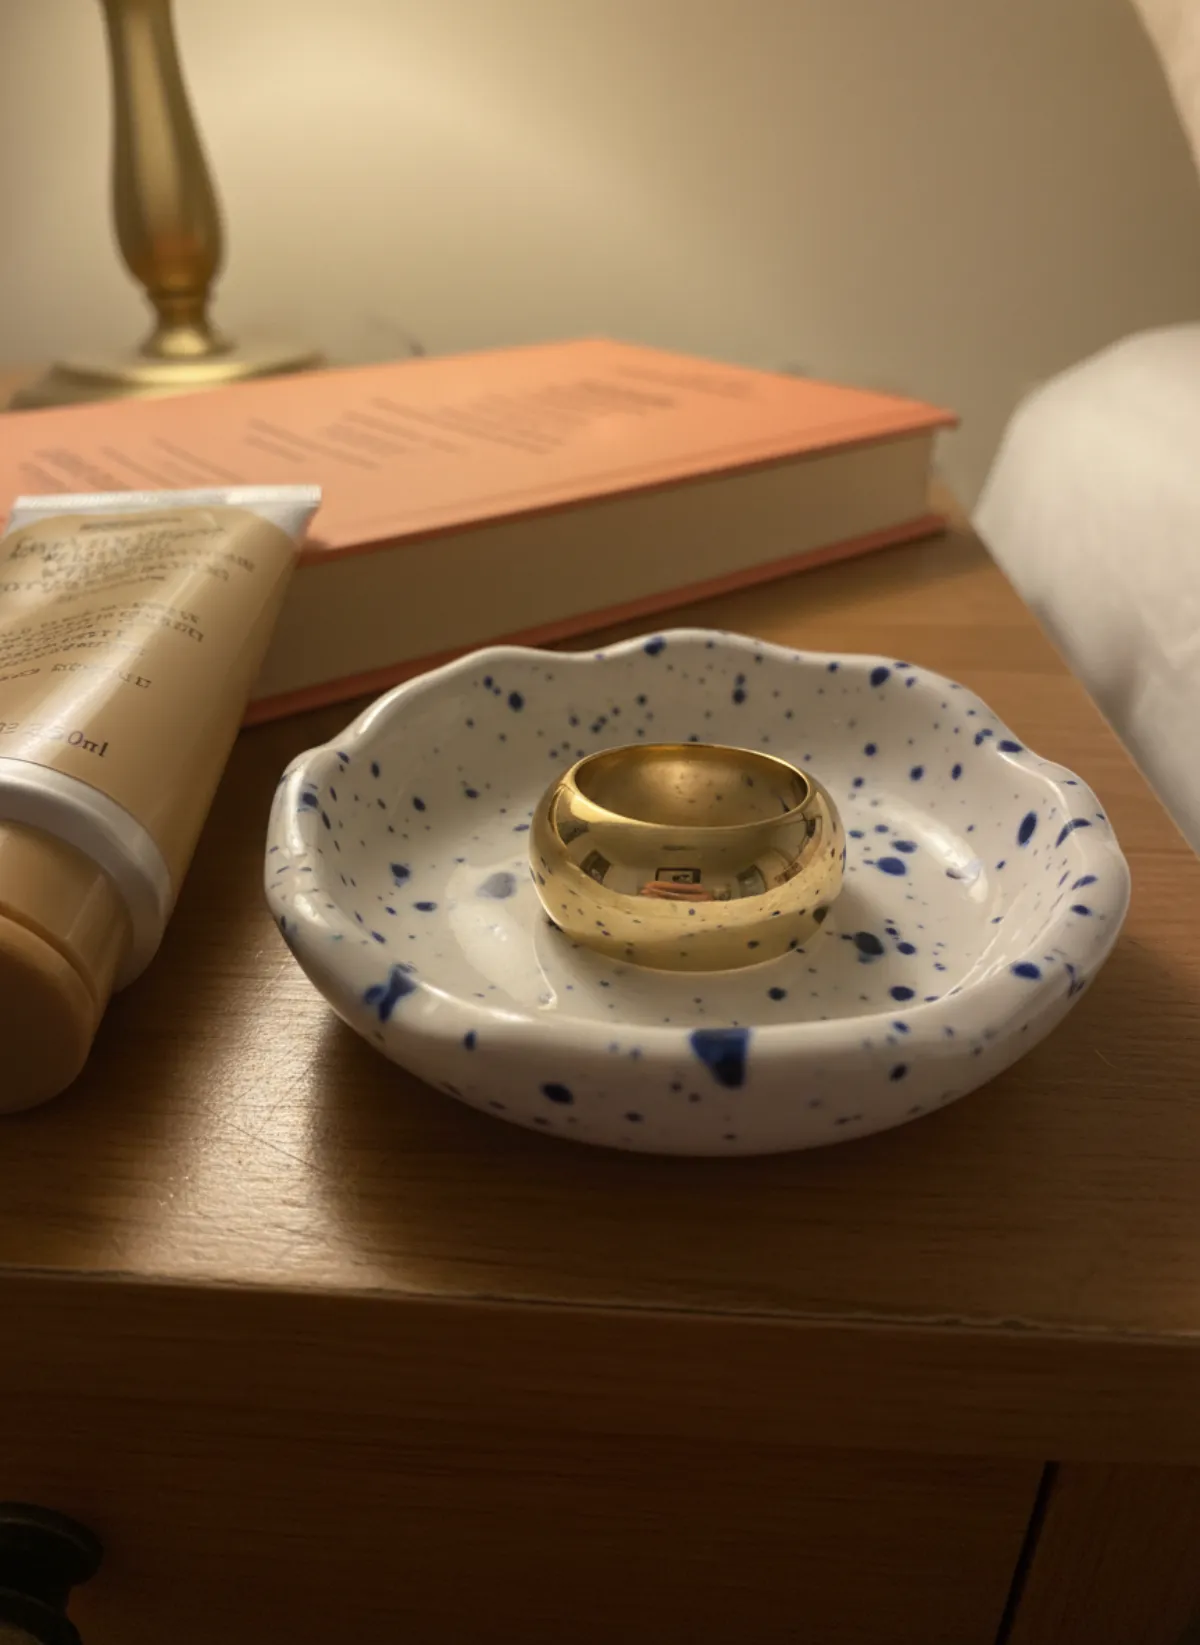
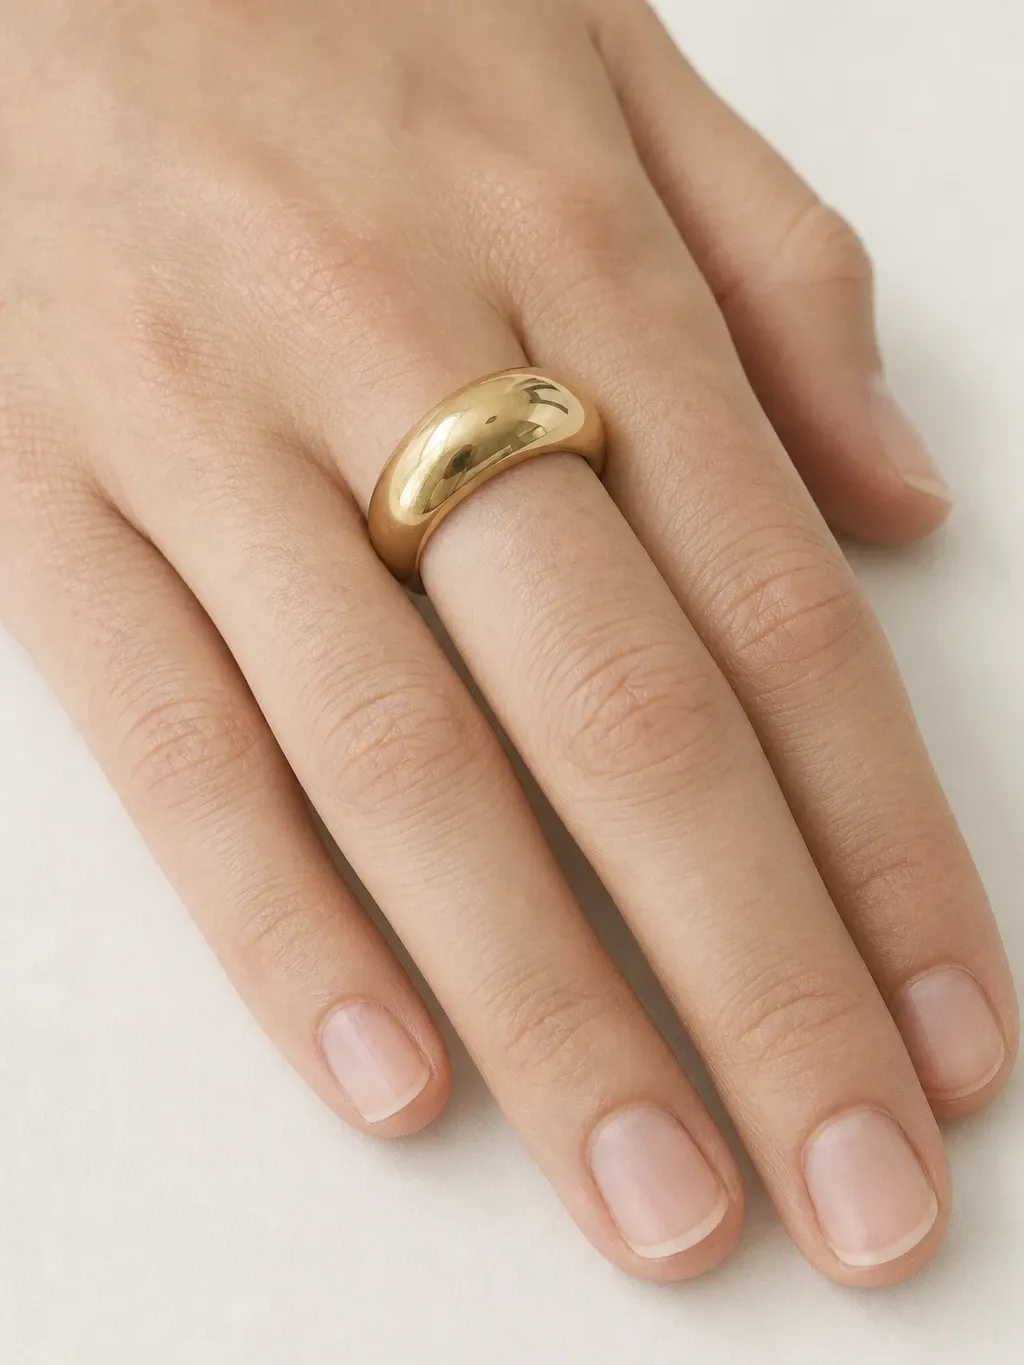
A gold dome ring
A chunky ring in a ceramic dish on a nightstand, next to hand cream and a book. The result shows it on a hand, so the size and the shine are clear.
 Your photo
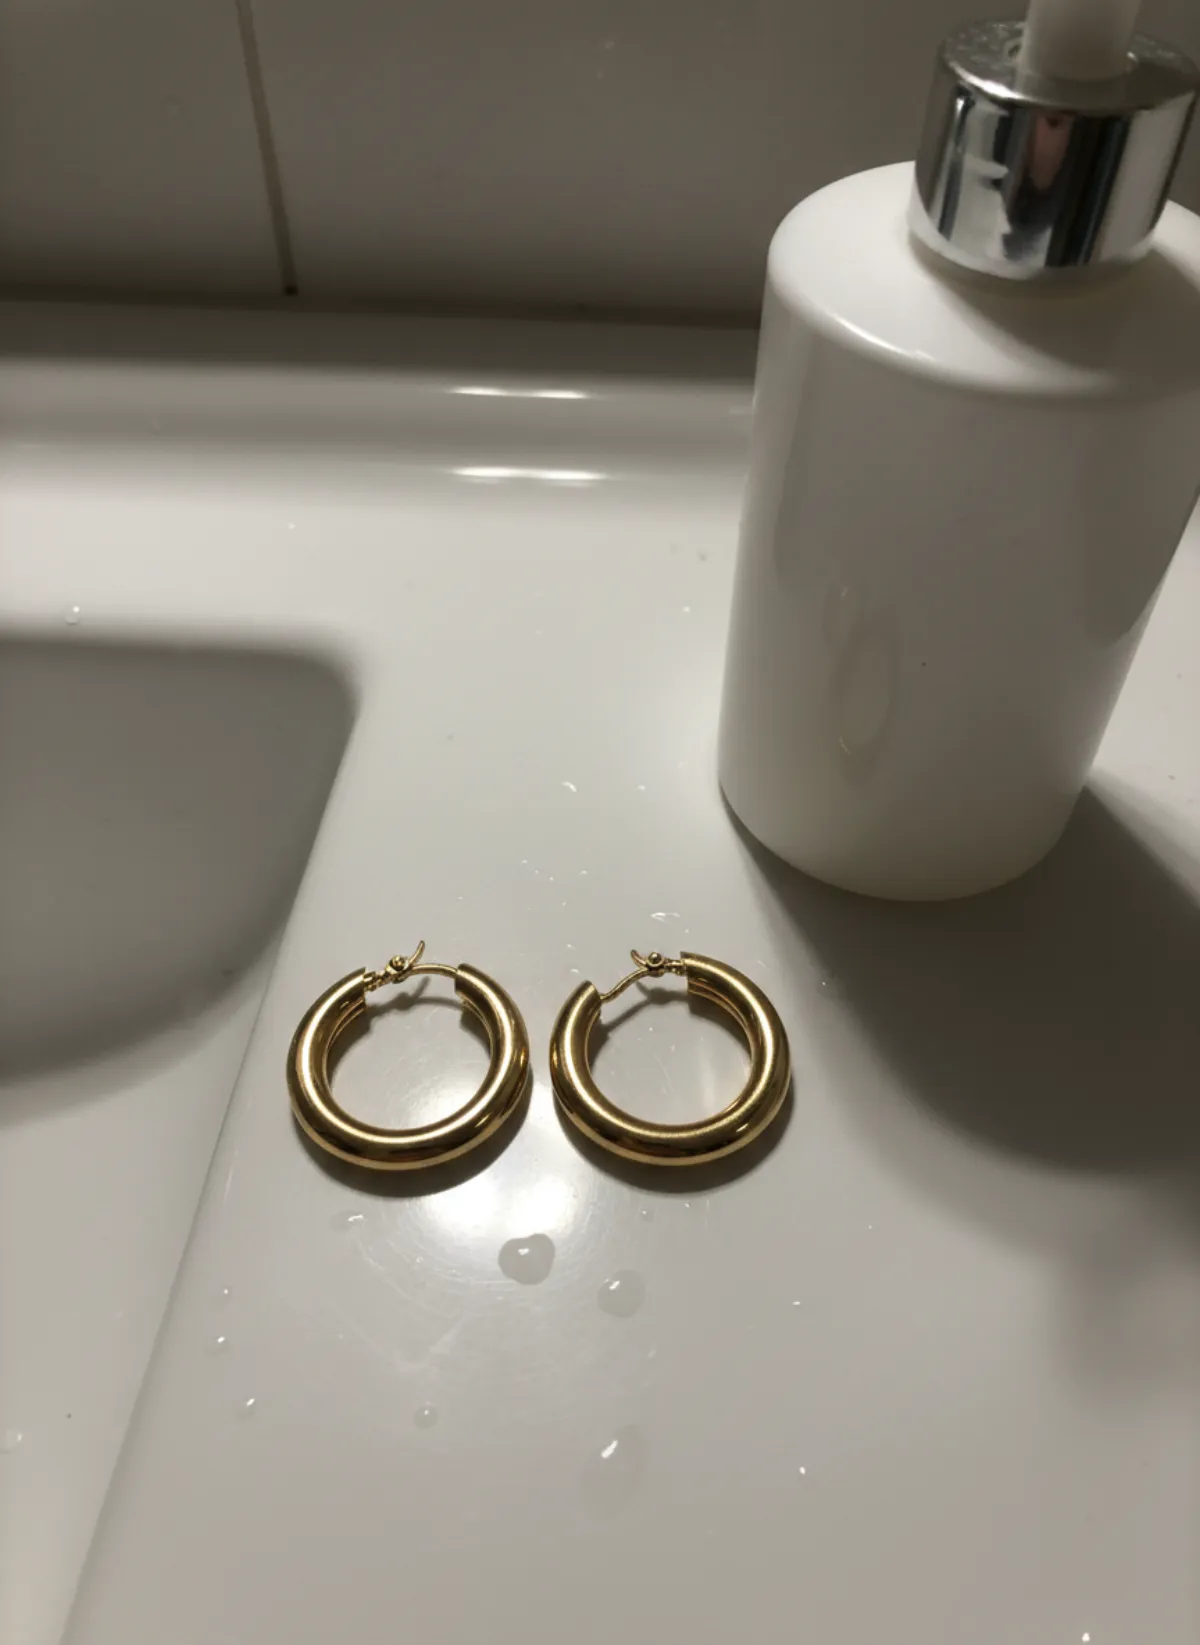
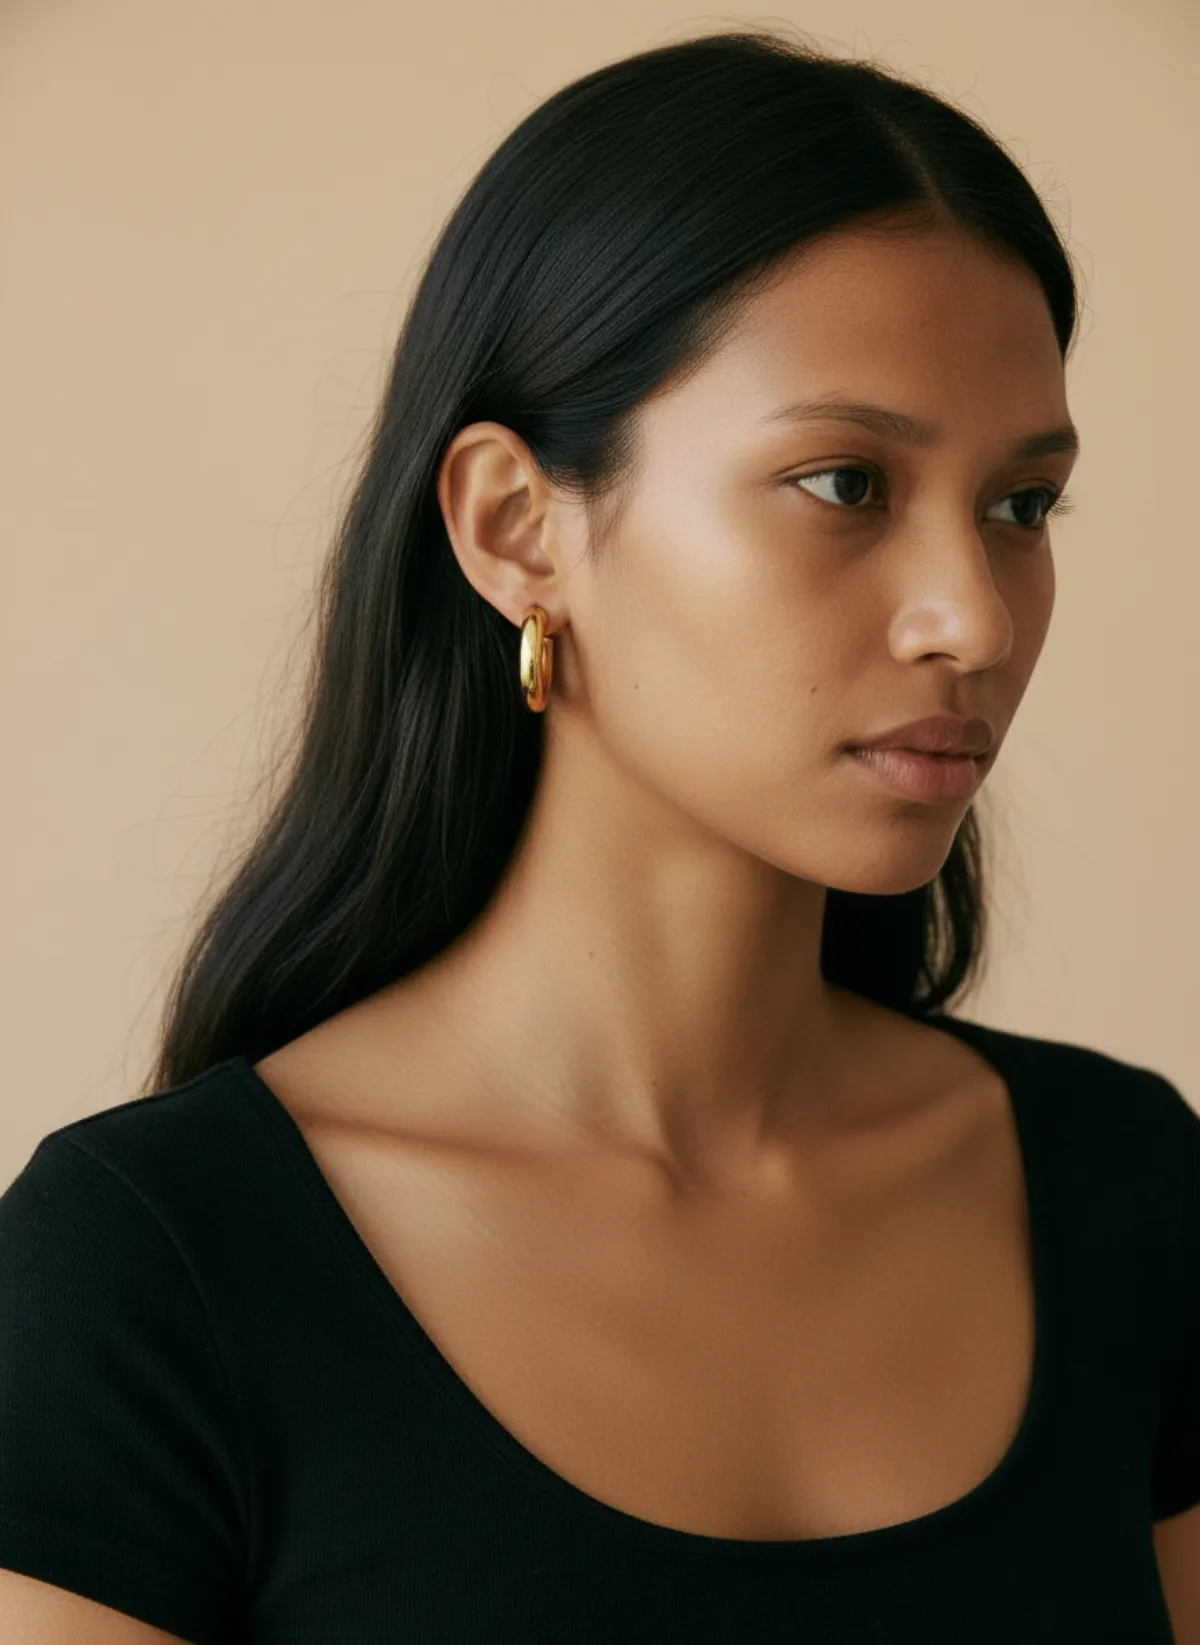
Gold hoop earrings
Two hoops on a wet white sink counter. The worn shots show the diameter against an ear.
 Your photo

Edit and export
Edit lightly: crop, straighten, lift the brightness so a white background looks white, and match the colour of the metal to the real piece. Do not push contrast or saturation to make stones look brighter, because buyers compare the photo with what arrives.
Export a JPG in sRGB at about 2000 pixels or more on the long side, and keep the original. Check the marketplace's own limits before you batch-export; sizes and rules differ by platform and change over time.
Jewelry photography questions
How do I photograph jewelry without glare?
Use soft window light diffused with a white curtain, keep your own reflection out of the piece, and use a white card to fill dark areas or a black card to add contrast where a reflection falls.
Can I photograph jewelry with just a phone?
Yes. A recent phone with its macro mode, a steady surface and window light is enough for clean listing photos. Tapping to focus on the stone makes the biggest difference.
What background is best for jewelry?
A plain, matte one: white paper, light grey card, linen or a stone tray. Use a dark velvet for silver and pearls. Avoid glossy surfaces and busy patterns.
How many photos should a jewelry listing have?
At least three or four: a clean front, a side or detail shot, a worn shot for scale and one in context. Add the dimensions in the description.
Can I get worn photos without a model?
Yes. Upload a clean photo of the piece to Garmo, choose a model, and get worn images on an ear, a hand or a neck in about a minute. The first 3 images are free.
Plan the worn views by category
Once the flat photo is sharp, plan a different worn crop for each piece. Use the necklace on model AI scale guide for chains and pendants, and the earrings on model AI camera guide for studs, hoops and drops. For bangles, beaded strands and chains, see how to photograph bracelets to sell. For stands, hidden threads and sizes, see how to photograph earrings to sell.