The five ring photos a listing needs
A ring is small, shiny and hard to judge from a screen. The buyer wants to know three things: how big it is, what the metal and stone really look like, and how it sits on a finger. One beautiful close-up answers only the second question. A complete listing answers all three, and it does so in a fixed order so every product in your shop looks like part of one collection.
Plan five frames. The front view shows the face of the ring straight on; this is usually the lead image. The three-quarter view turns the ring about 45 degrees so the setting and the shoulders of the band are visible. The side profile shows the band width and how high the stone sits. The inside of the band shows a hallmark, engraving or comfort-fit finish. The worn shot shows scale. Add a box or packaging photo only if the packaging is part of the offer.
If you sell many rings, write the five frames on a card next to your table and shoot every ring in the same order. Consistency matters more than a clever angle. For general jewelry setups such as earrings and necklaces, see the broader guide on how to photograph jewelry for sale; this post goes deeper on rings only. If you need the piece worn but have no model, see how to photograph jewelry on a model.
Light a ring without glare
Polished metal is a mirror. It does not show its own colour so much as reflect whatever is around it: the window, your phone, your shirt, the ceiling lamp. The trick is to control what it reflects. Work beside a large window with no direct sun, or tape baking paper over the glass to soften it. Turn off ceiling lights so you do not mix warm and cool colour on the metal.
Place a sheet of white card or foam board on the side opposite the window. It fills the shadow side and, just as importantly, gives the band a clean white reflection instead of a dark one. For a mirror-polished band, curve a second card around the back of the ring so the reflections form smooth white gradients. Black card does the opposite: a strip of black on one side adds a dark edge that makes a silver or white-gold band read as solid and three-dimensional.
Stones need a slightly different light. A faceted stone sparkles when small points of light hit its facets, so after the soft main shot, try one extra frame with a small, harder light such as a phone torch held low and to the side. Coloured stones need even, neutral light so the colour stays true; check the screen against the real stone before you move on. Avoid flash on the phone itself: it flattens the metal and burns a white spot into the stone.
Sharp macro shots on a phone
Most blurry ring photos come from shooting too close. Every phone has a minimum focus distance; inside it the lens simply cannot focus. Move back until the ring is sharp, then crop later, or switch to the phone's macro mode or the 2× lens if it has one. A cropped sharp image always beats a full-frame blurry one.
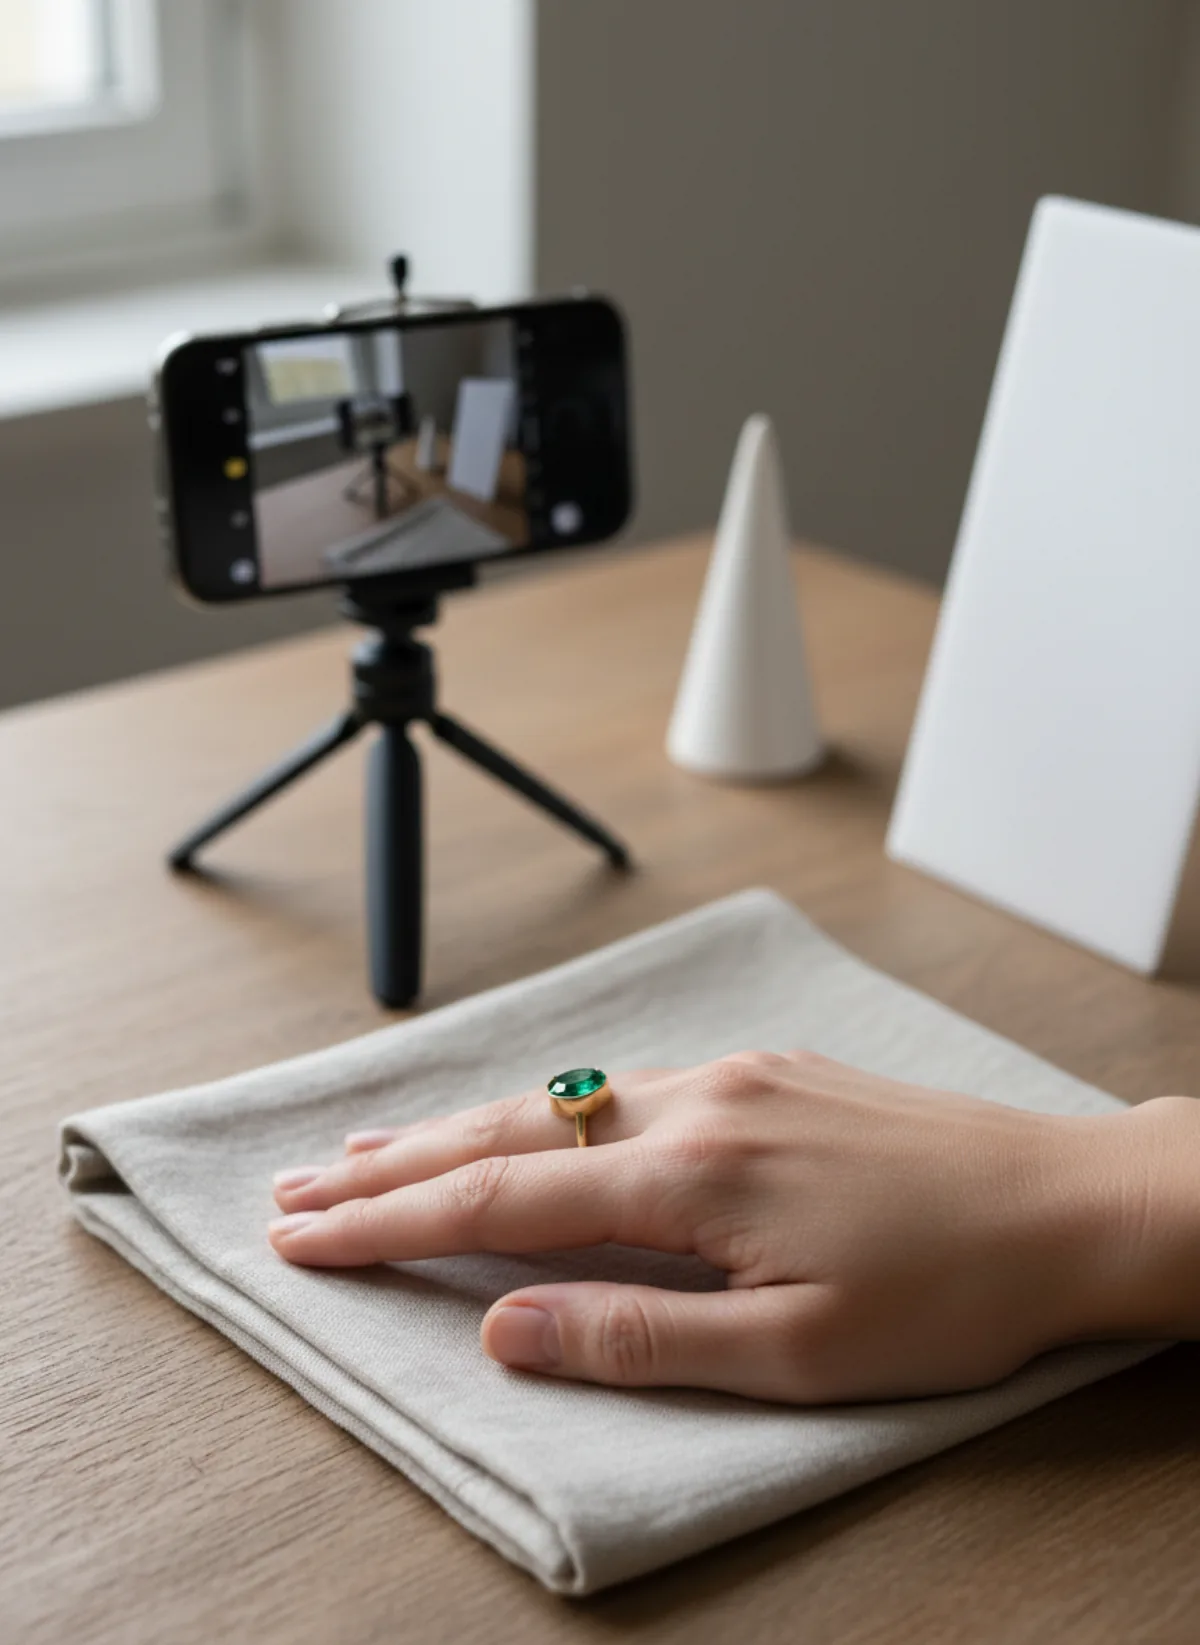
Put the phone on a small tripod or a stack of books and use the timer or a remote shutter. Tap on the front edge of the stone or the face of the ring and hold to lock focus and exposure, then pull the exposure slider down slightly. Shiny metal fools the meter, and a slightly darker image keeps detail in the highlights.
Stand the ring upright. A ring cone, a ring clip, a slit in a piece of foam or a small blob of jewelry wax under the band all work; hide the support behind the band or crop it out. Clean the ring with a lint-free cloth before each frame and check the screen at full zoom for fingerprints and dust. At macro distance, a single fibre looks like a rope.
Angles that answer buyers' questions
Each frame should answer one question. If a picture does not answer anything new, leave it out.
Front view
The face of the ring straight on, centred, with even space around it. This becomes the thumbnail, so keep it simple.
Three-quarter view
Turn the ring about 45 degrees to show the setting, the prongs and how the stone is held.
Side profile
Shoot level with the table to show band width and how high the stone sits above the finger.
Inside the band
A hallmark, engraving or comfort-fit finish builds trust. Tilt the ring so light falls inside.
On a hand
The only frame that shows real size. Keep the hand relaxed and the ring on the ring finger or index finger.
Show the real size on a hand
Size is the question buyers ask most and the one product shots answer worst. A 2 mm band and a 6 mm band can look identical when each fills the frame. The worn shot fixes that: a finger is a ruler everyone carries. State the band width and stone size in millimetres in the description as well, and give the ring size in the system your buyers use.
For a worn shot, the hand matters as much as the ring. Ask the model to moisturise, keep nails short and neutral, and relax the fingers instead of spreading them. Rest the hand on fabric, hold a cup or touch the collarbone; a hand doing something looks natural, a hand floating in the air looks like a mannequin. Keep the ring closest to the camera and in focus, and let the rest of the hand fall slightly soft.
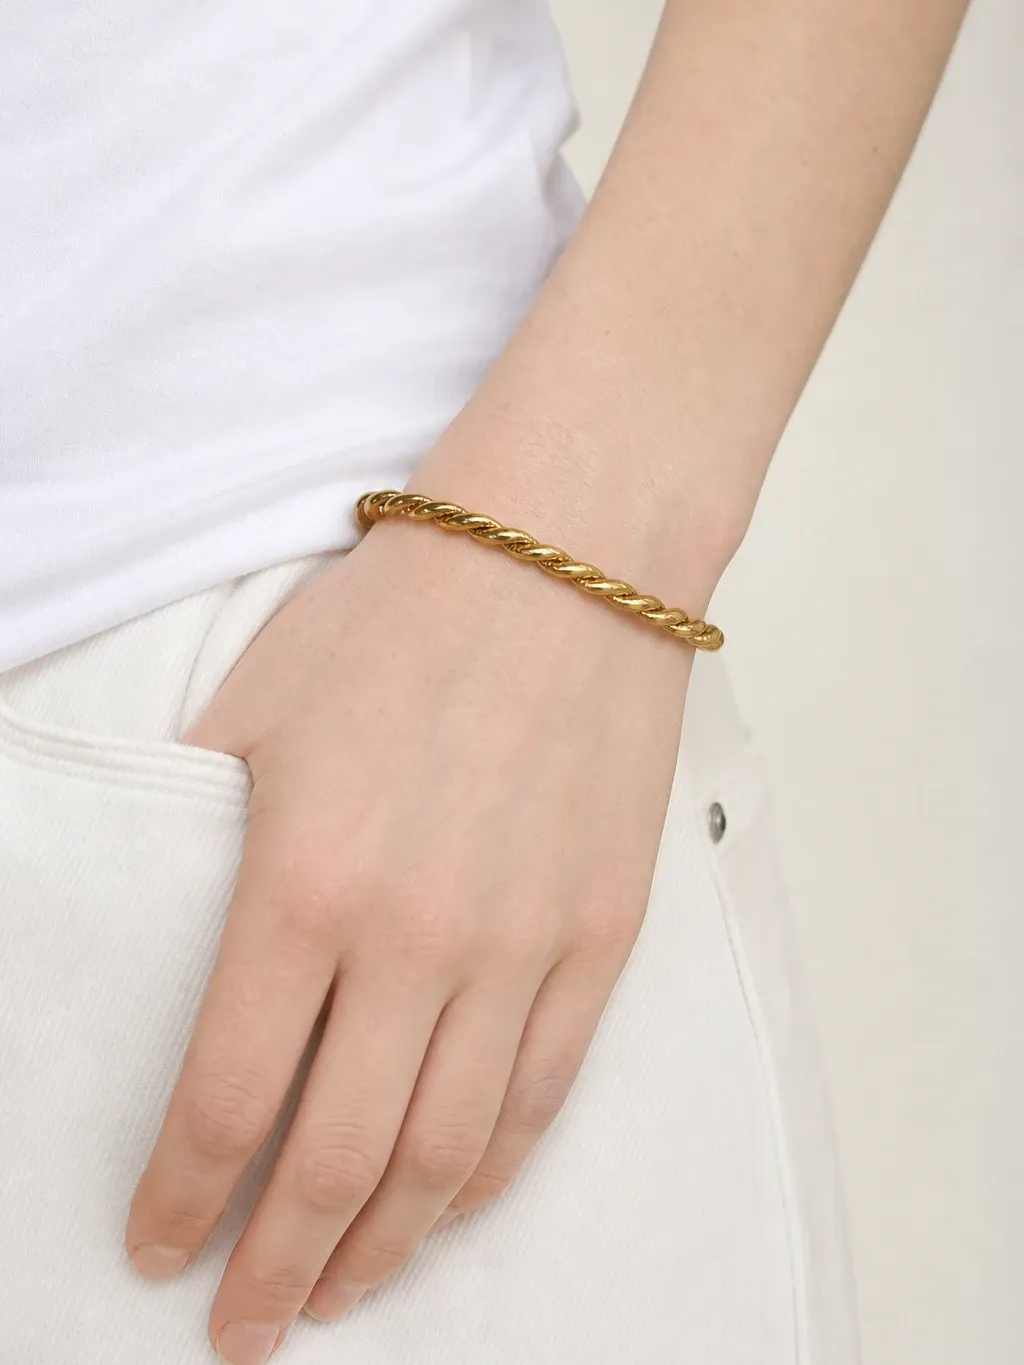
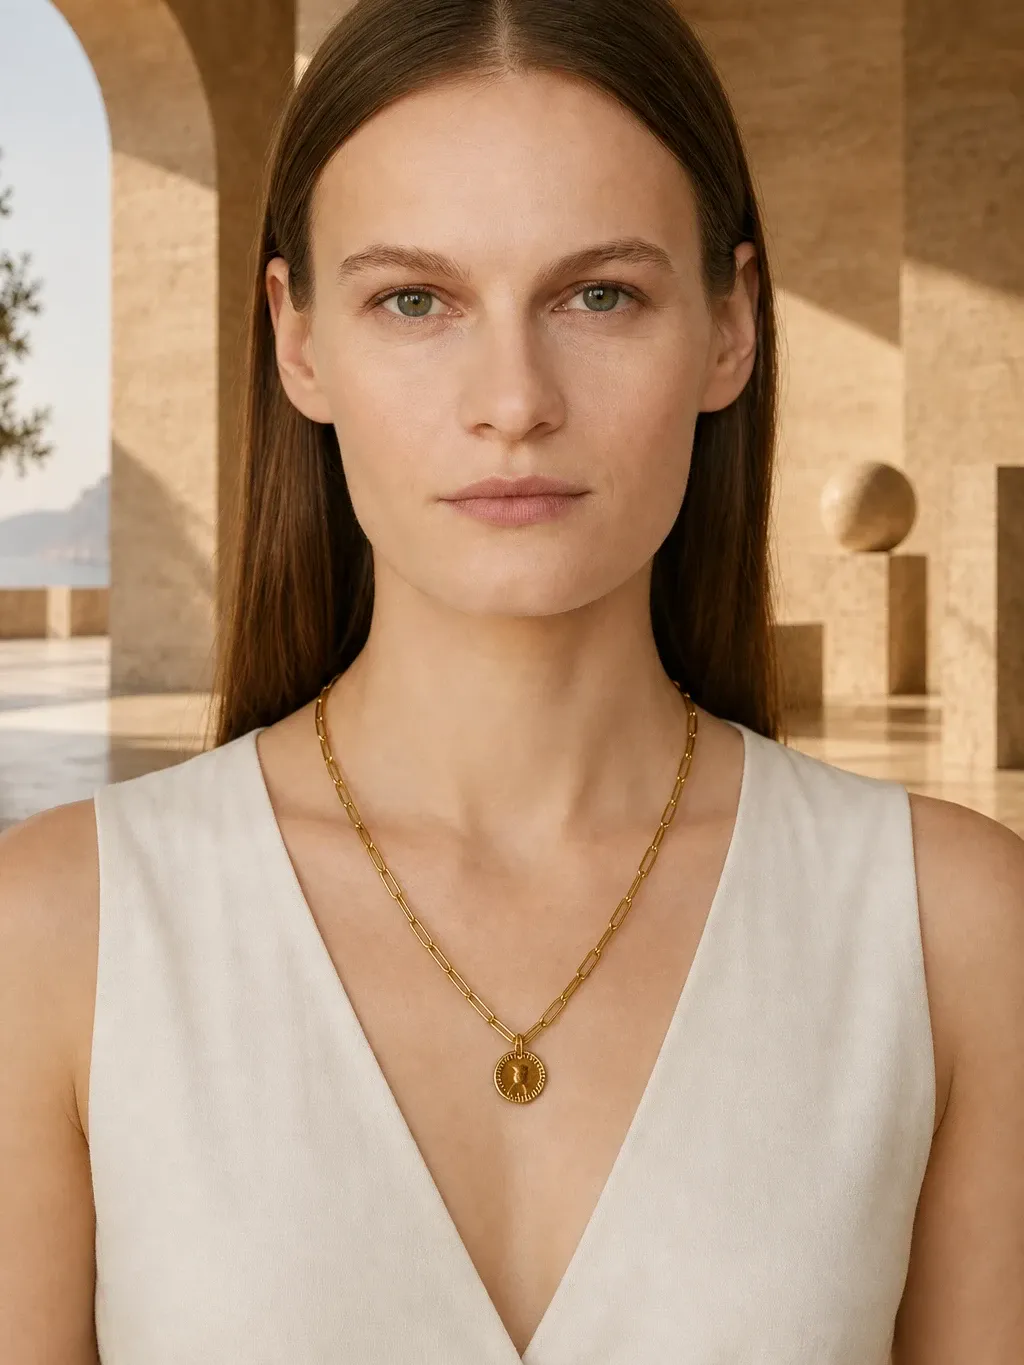
If you have no hand model, you can still get the frame. Upload your phone photo of the ring to AI ring on hand photos and Garmo places the same ring on a model's hand, in a close detail, a portrait or a product shot. It keeps the metal colour, the stone and the band shape from your photo, so the worn image describes the item you will actually ship. For pieces sold as a set, jewelry on model AI and bracelet on model photos keep the same model across the collection. Bracelets have their own shot list in how to photograph bracelets to sell.
From a quick phone photo to a ring listing
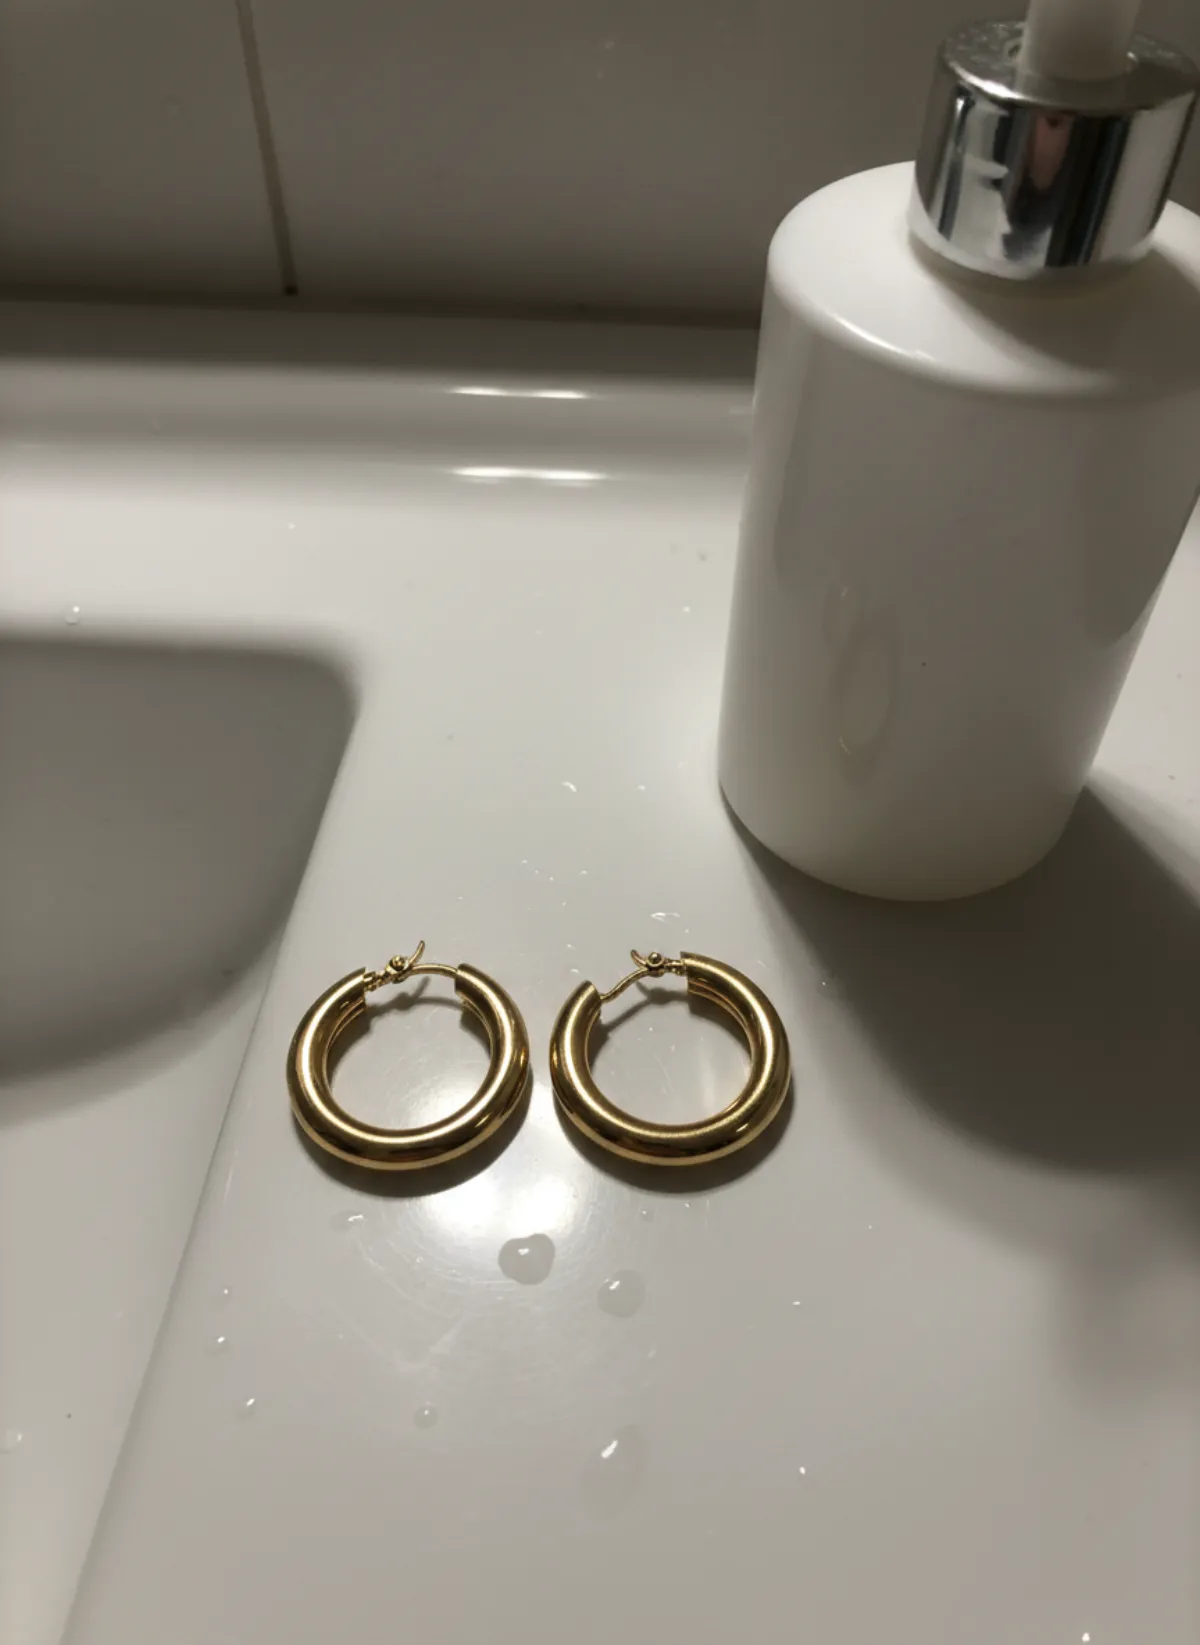
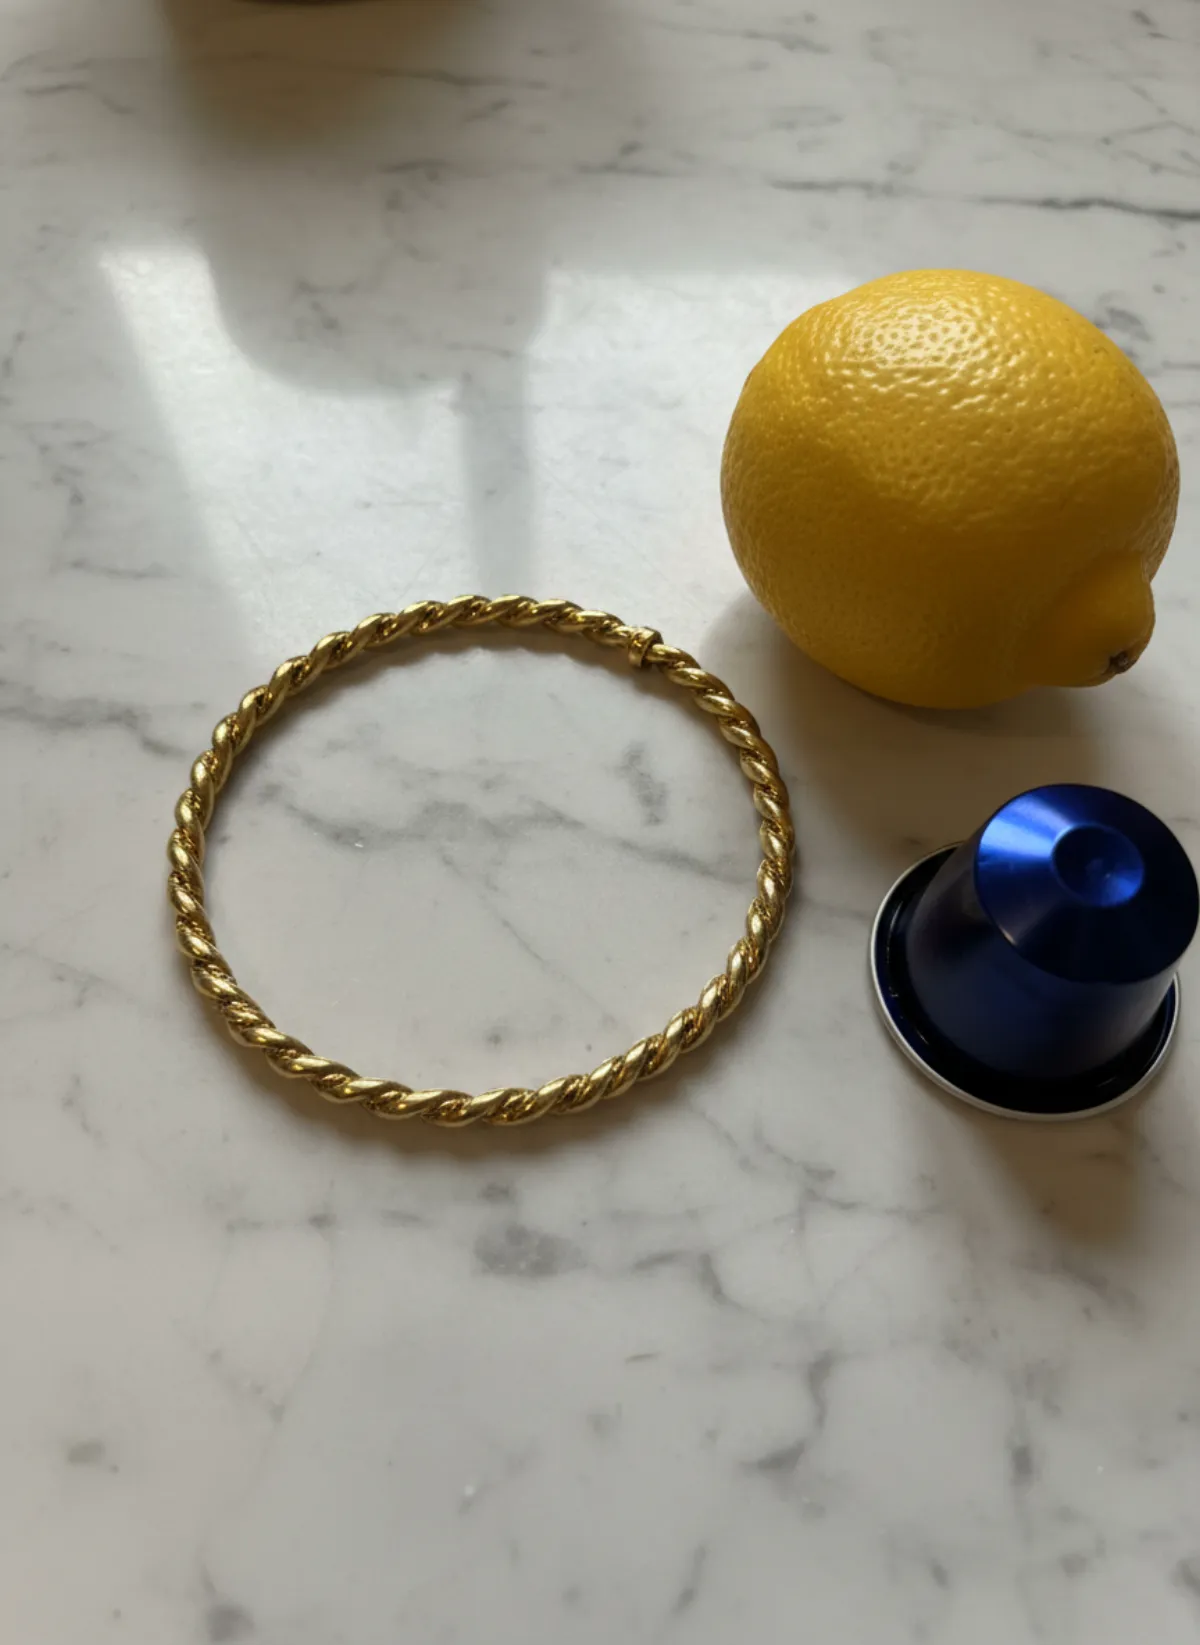
Each ring below was photographed on an ordinary surface at home. Garmo made the product and worn frames from that one photo.
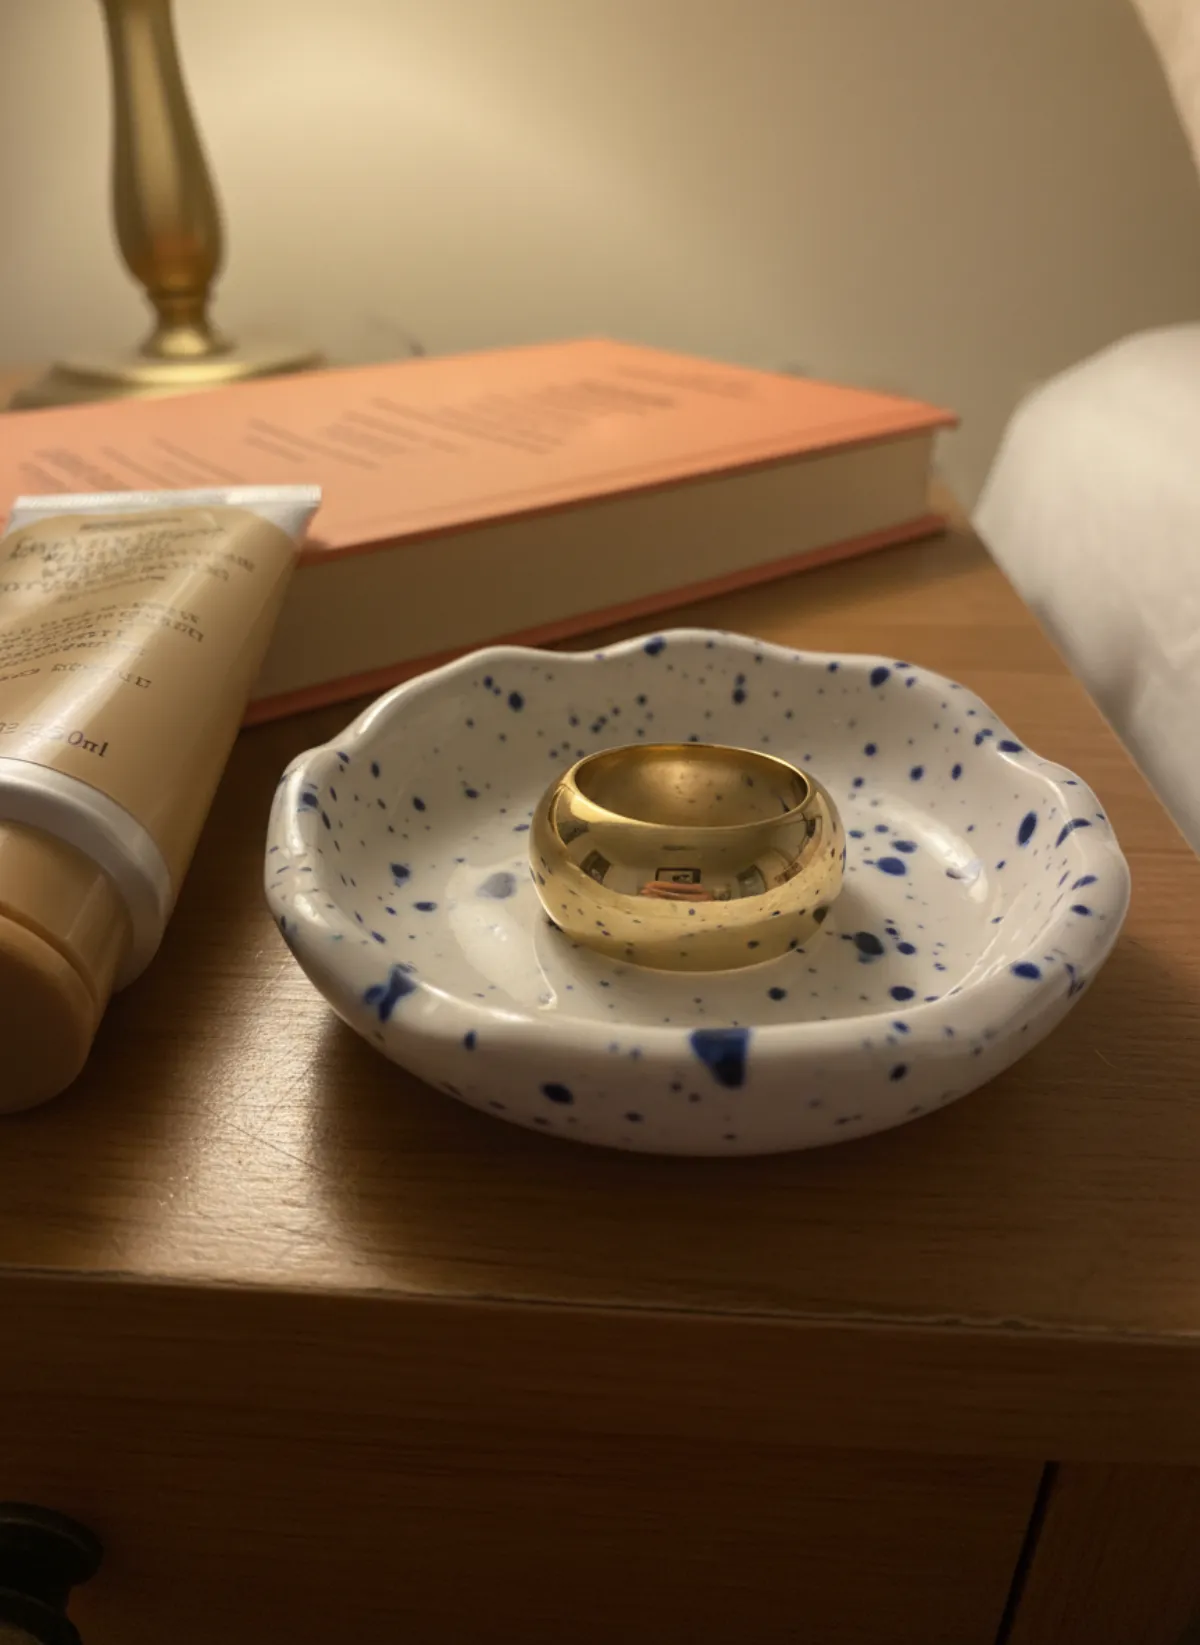
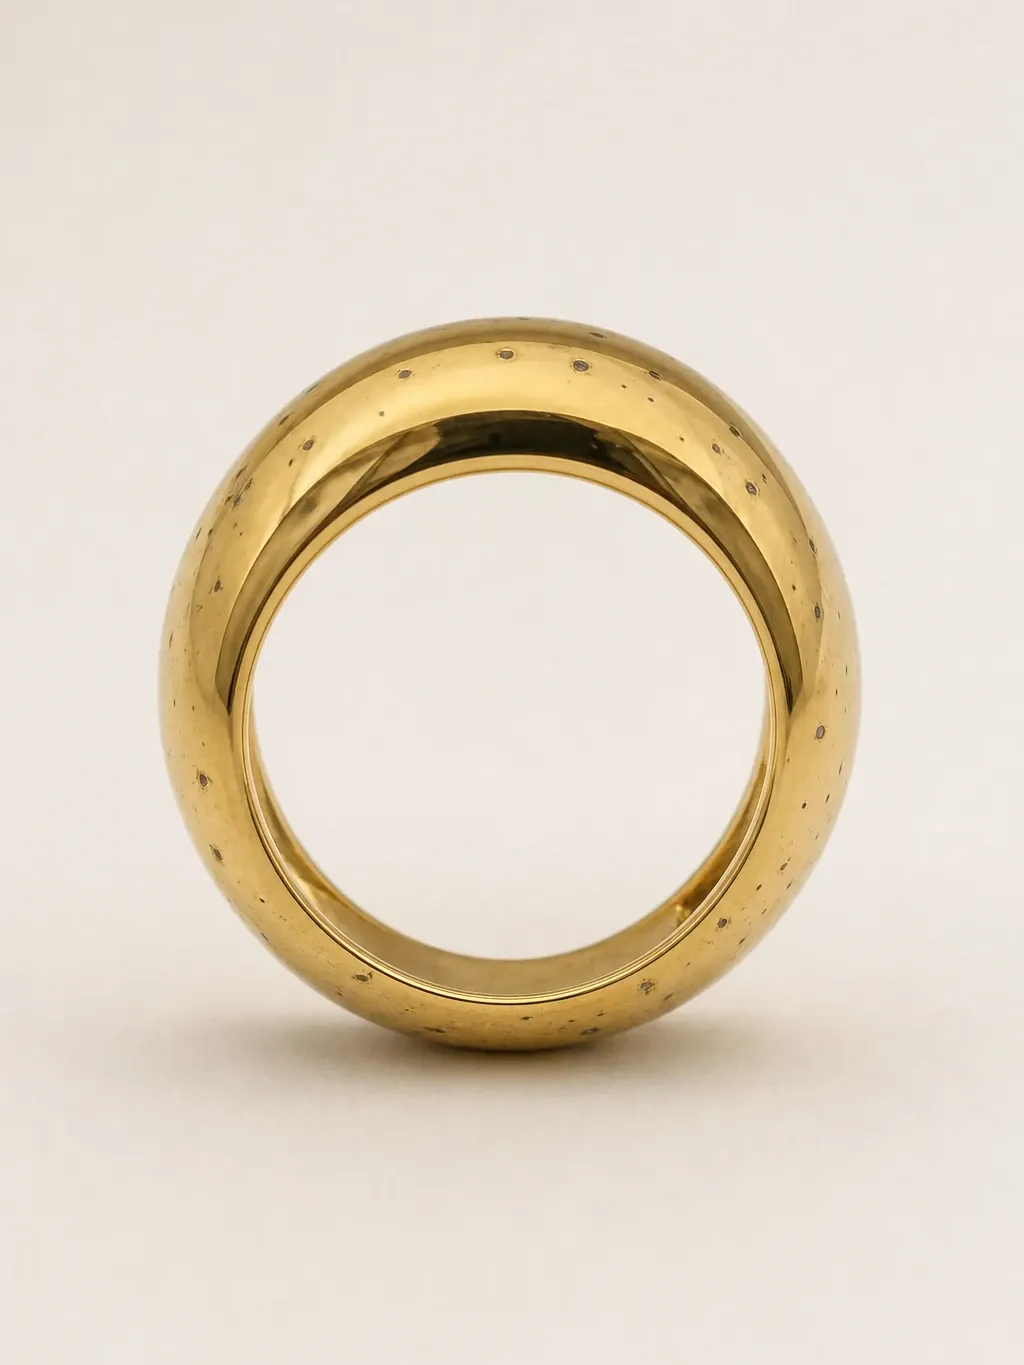
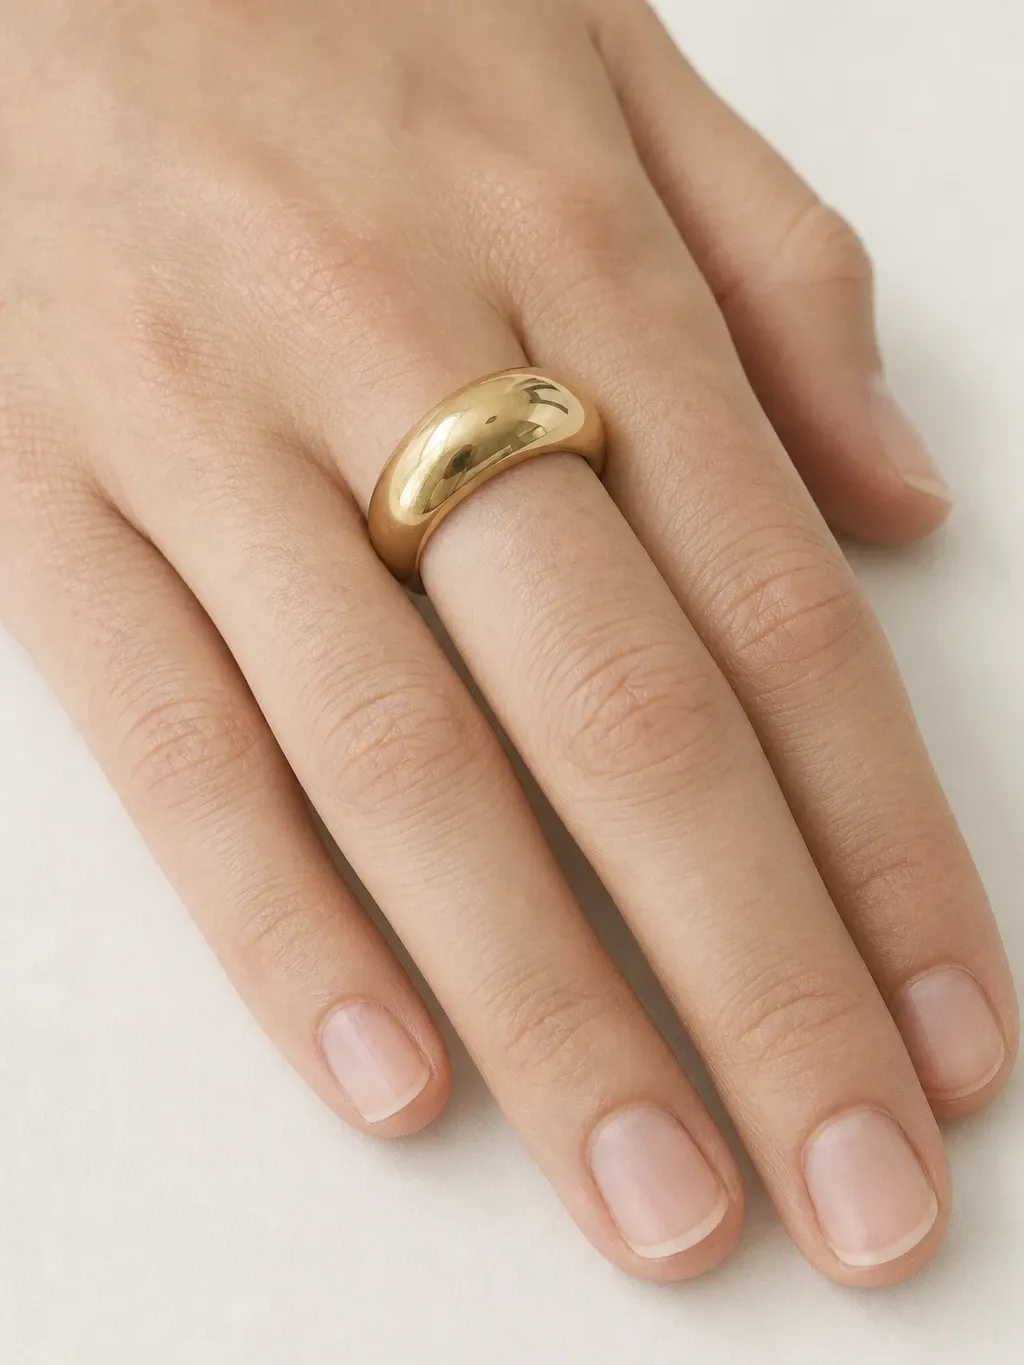
A gold dome ring
Shot in a ceramic dish on a nightstand. The results add a clean product frame and a close worn shot that shows how chunky it really is.
 Your photo
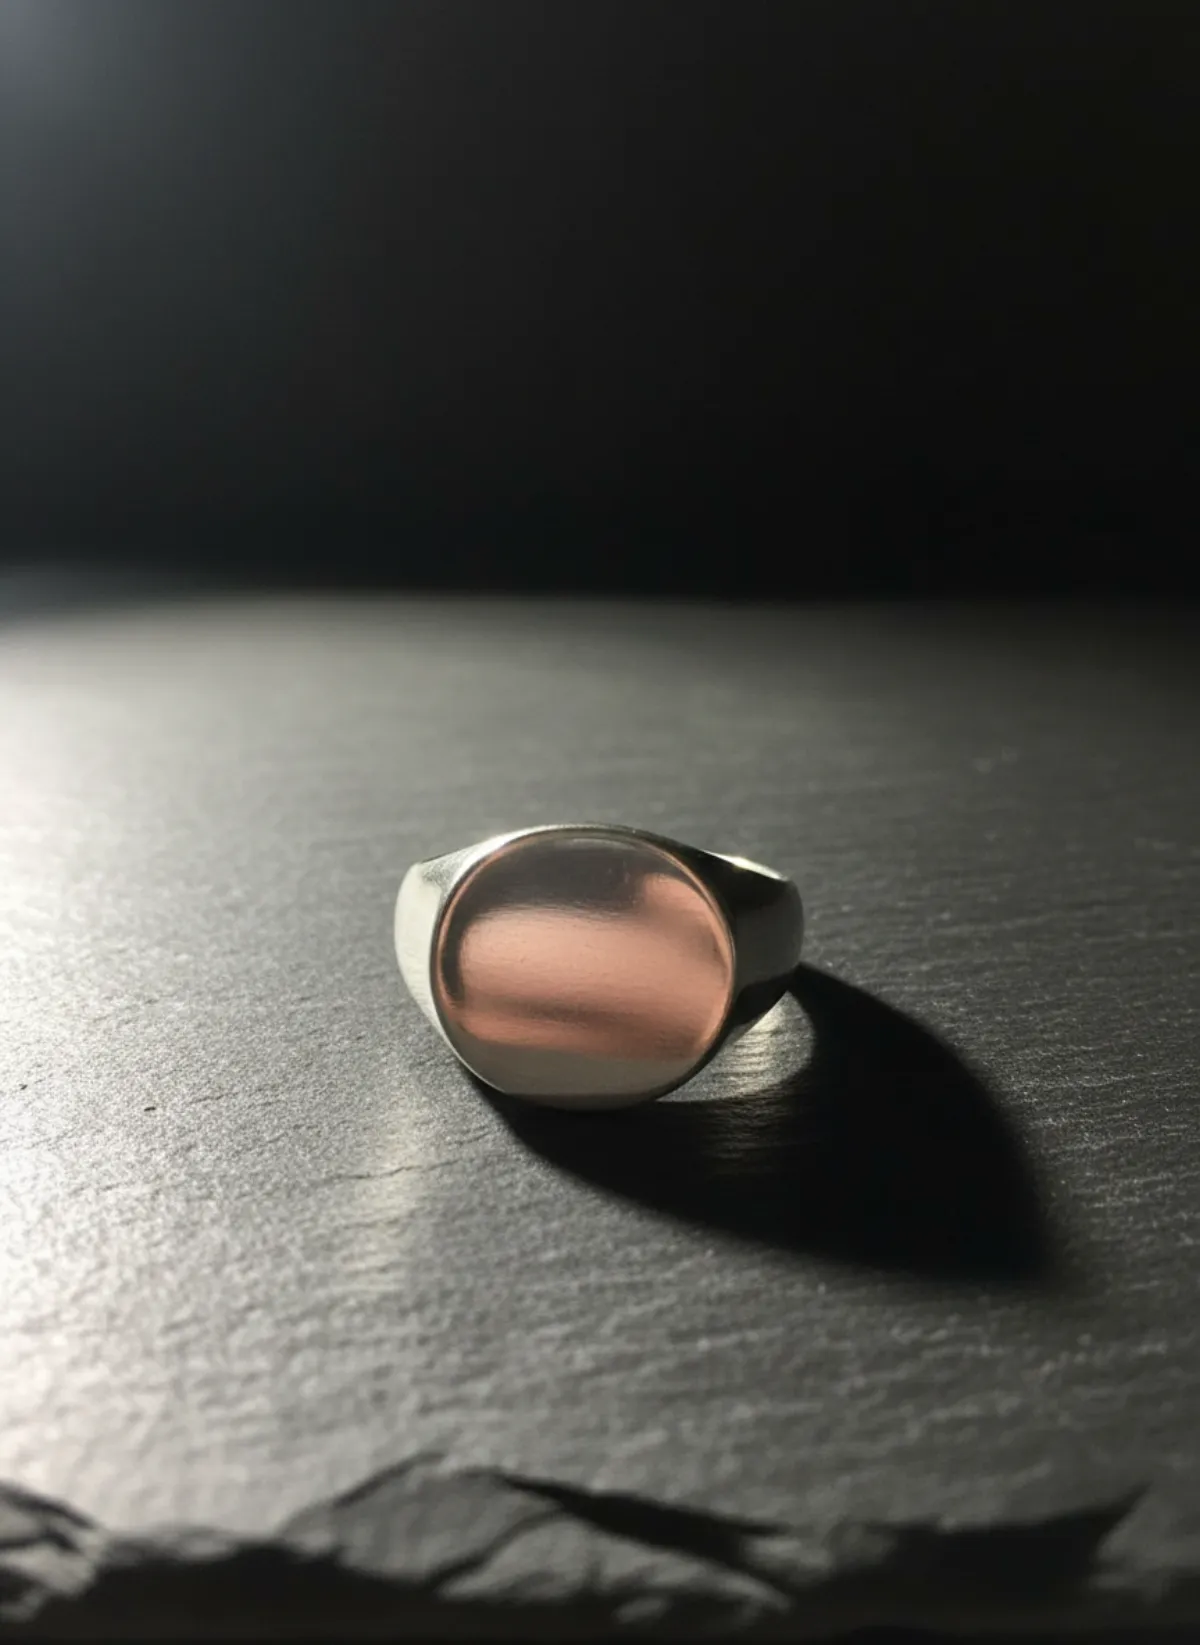
A silver signet ring
Photographed on a wooden workbench. The worn frame puts it on a man's hand at a coat collar, which suits a menswear listing.
 Your photo

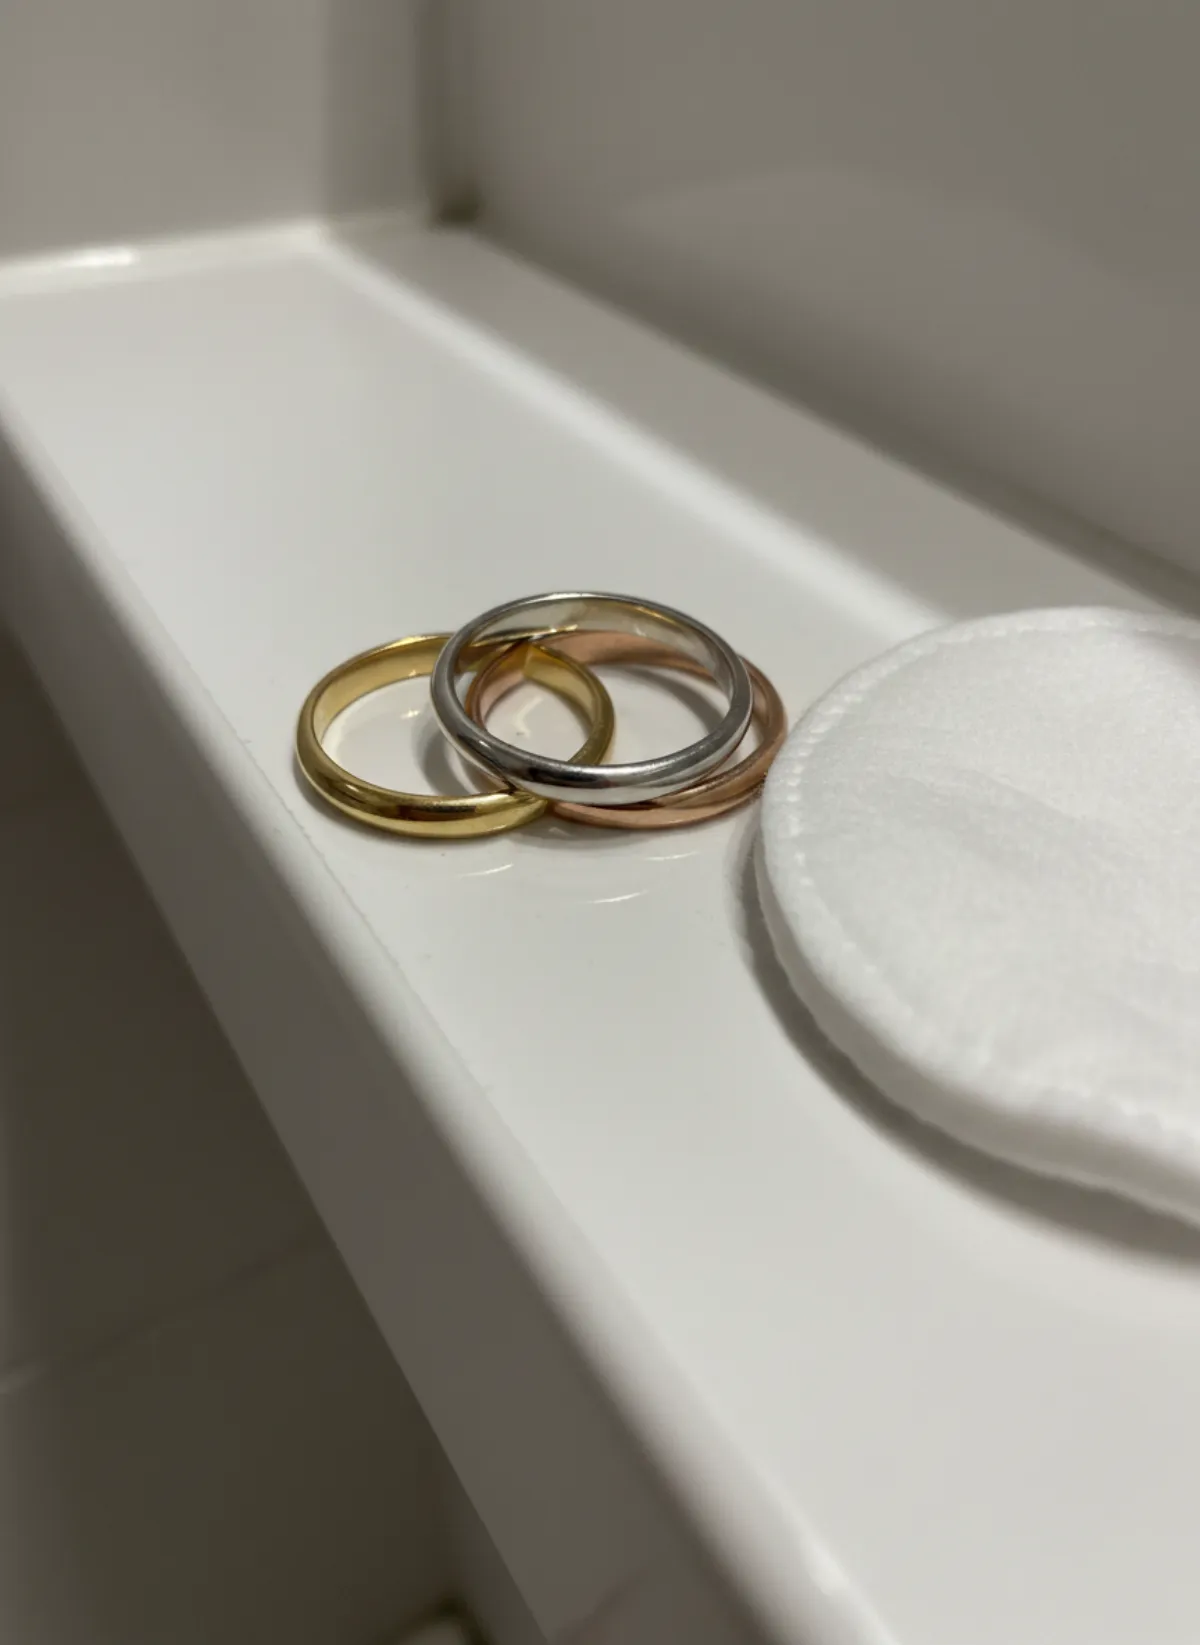
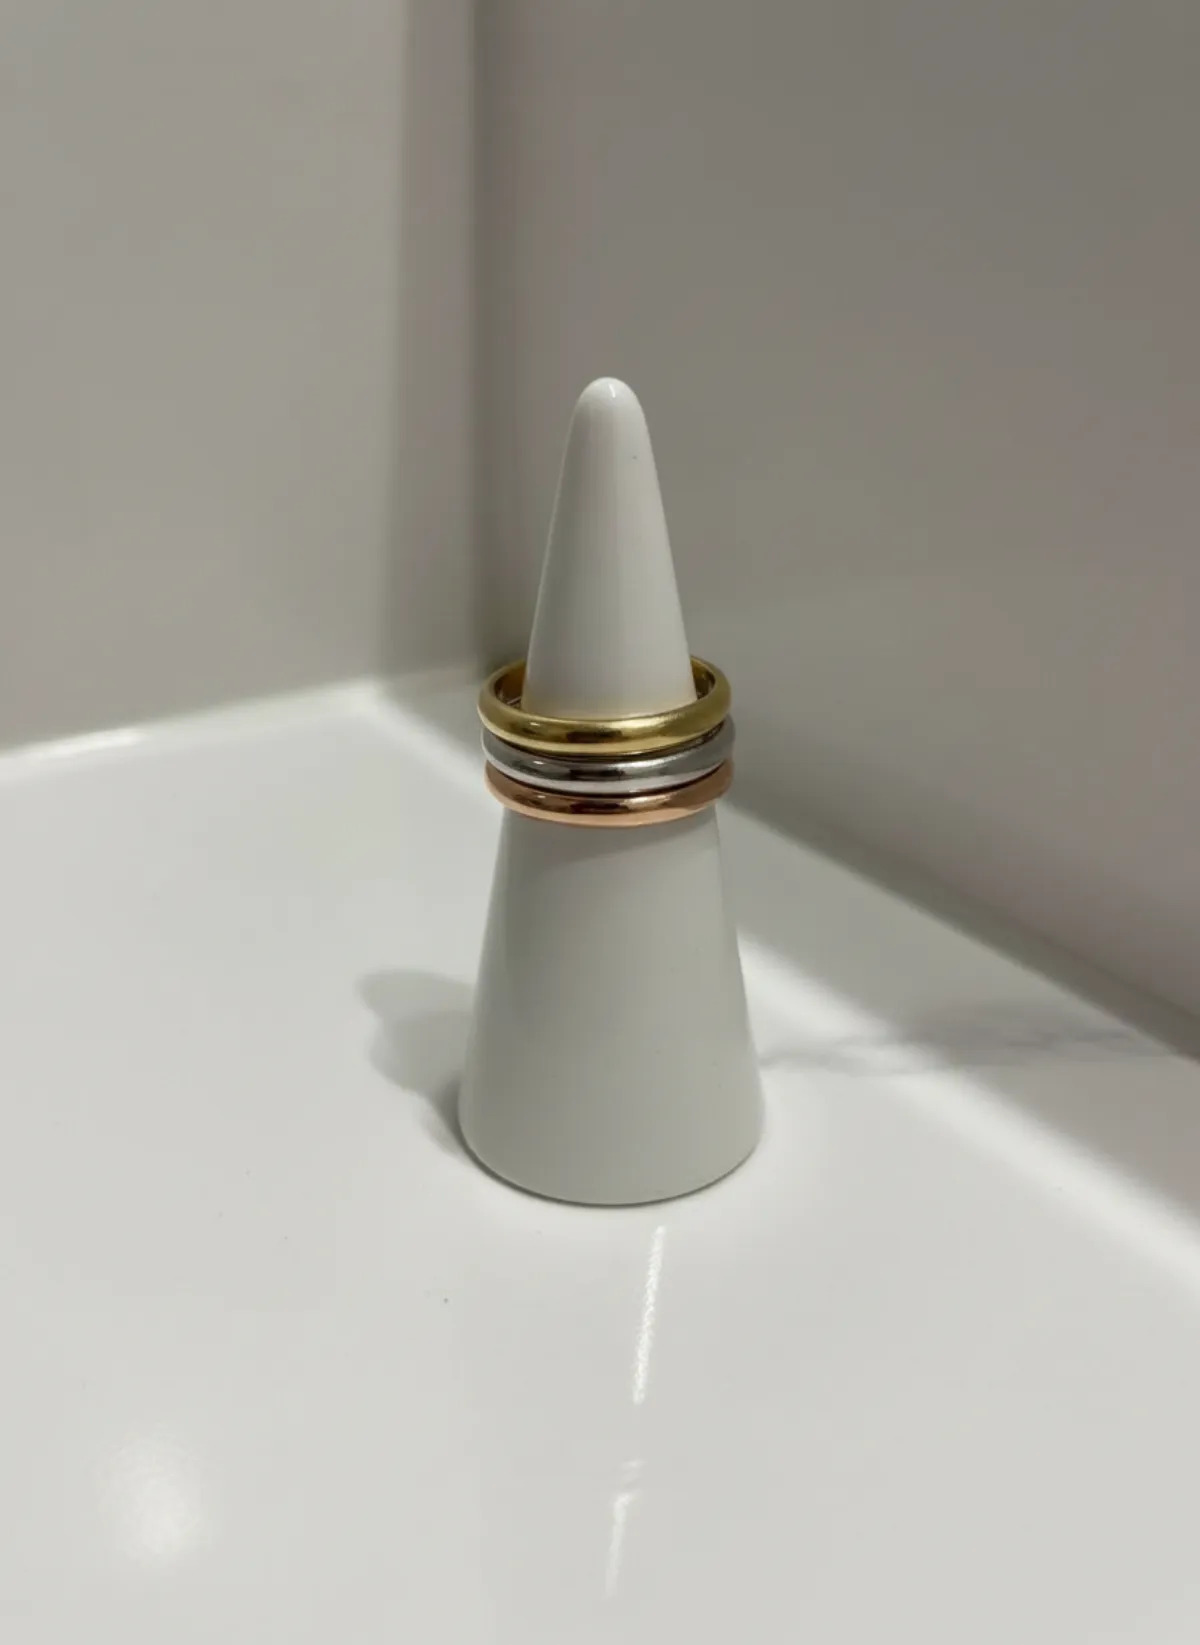
Three stacking rings
Gold, silver and rose gold on a bathroom shelf. Worn together around a coffee cup, the stack shows how thin each band is.
 Your photo

Edit rings honestly
Edit for accuracy, not for drama. Set the white balance on the white card in the frame so yellow gold stays yellow and white gold does not drift blue. Lift shadows a little, add gentle clarity to the metal and remove dust spots. Do not change the stone's colour or saturation beyond what you see in daylight; a ring that arrives paler than its photo is a return.
Keep the background calm and the same across the collection. A light neutral surface suits gold and coloured stones; dark slate or charcoal makes silver and diamonds stand out. The guide on product photography backgrounds covers how to choose one system and stick to it.
Export in sRGB at the size your shop recommends and check the thumbnail on a phone. If the ring disappears at thumbnail size, crop tighter on the lead image and keep wider frames for the gallery. Name files plainly, for example gold-dome-ring-front.jpg, and write alt text that says the metal, the stone and the view.
Ring photography questions
How do you photograph rings without reflections?
You cannot remove reflections, only choose them. Use soft window light, surround the ring with white card so it reflects clean white, turn off mixed room lights and keep the phone slightly above the ring so the lens does not appear in the band.
What is the best background for ring photos?
A plain, matte surface in one tone: light neutral for gold and coloured stones, dark slate or charcoal for silver and diamonds. Avoid glossy surfaces that create extra reflections, and keep the same background for the whole collection.
How do I take pictures of rings on fingers?
Use a relaxed hand doing something, such as holding a cup or resting on fabric, with short neutral nails. Focus on the ring, keep it closest to the camera and let the rest of the hand fall slightly soft. Without a model, an AI on-hand tool can place your photographed ring on a hand.
Can I photograph rings with an iPhone or Android phone?
Yes. Use the macro mode or the 2× lens, stay outside the minimum focus distance, put the phone on a stand and lock focus and exposure on the stone. A sharp crop from a phone is better than a blurry close-up.
How many photos should a ring listing have?
At least five: front, three-quarter, side profile, inside of the band and one worn shot for scale. Add packaging only if it is part of what the buyer receives.