 Garmo team
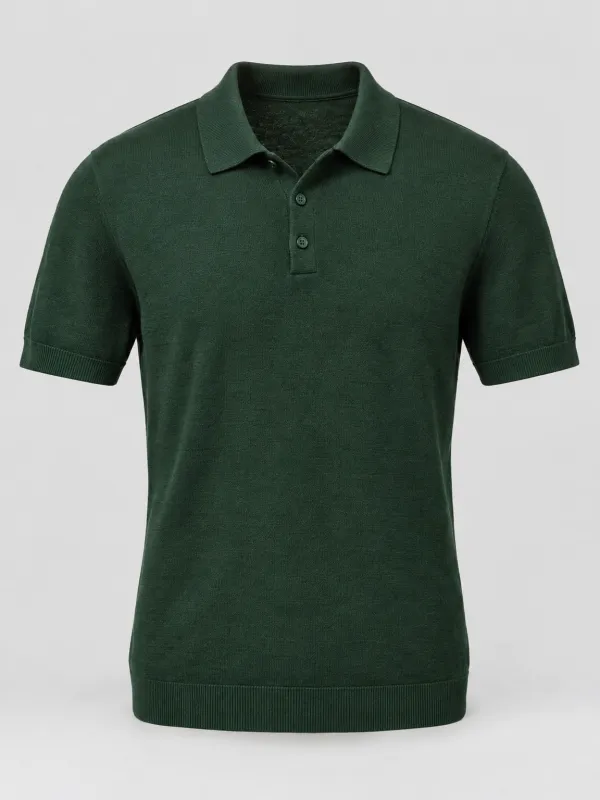
What is ghost mannequin photography?
Ghost mannequin photography, also called invisible mannequin or hollow man photography, is a product shot in which the garment keeps the volume it has when worn, but the mannequin or model has been removed. You see the shape of the shoulders, the curve of the chest and the inside of the back neckline, and nothing else. That is why catalogue stores use it for tops, shirts, knitwear, jackets and dresses.
The look solves a problem every clothing seller knows. A flat lay is honest but looks lifeless, a hanger photo makes shoulders droop, and a model photo shows fit but pulls attention to the face, the hair and the pose. A ghost mannequin image shows the cut and the proportions with nothing in the way, and it keeps a whole category page uniform.
There are two ways to get it today: the classic studio method with a mannequin and retouching, described below, or an AI ghost mannequin that builds the hollow 3D shape from one ordinary photo of the garment.
How to do ghost mannequin photography in a studio
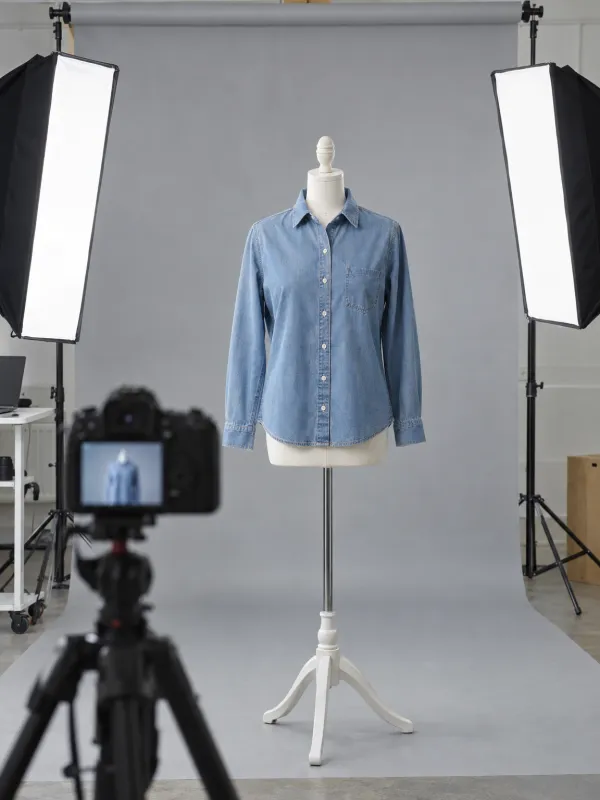
The studio method needs a mannequin whose neck, chest plate and arms can be removed, a camera on a tripod that does not move between shots, and image-editing software with layers.
- 01
Dress the mannequin
Put the garment on a mannequin in the right size and pin the back so the front sits smooth. Steam out creases first; a retoucher can hide a mannequin, but not wrinkles.
- 02
Shoot the front
Lock the tripod, set the camera to manual exposure and shoot the front with soft, even light from both sides. Every later shot must line up with this one.
- 03
Remove the neck and shoot the inside
Take off the neck piece, or turn the garment inside out on the mannequin, and photograph the inside of the back neckline. This is the piece that fills the collar later.
- 04
Repeat for the back and sleeves
Shoot the back the same way. For sleeves held away from the body, some studios shoot extra frames with the arms removed.
- 05
Merge and retouch
In layers, mask out the mannequin, place the inside-neck shot behind the collar, rebuild any edge that the stand hid and replace the background.
- 06
Check the result
Compare colour and length with the real garment, check that the hem is straight and the two sleeves match, then export every product at the same size.
What the studio method costs in time and kit
The studio method is cheap in equipment but expensive in hours. A good ghost mannequin with removable parts, two softboxes and a tripod are a one-off purchase. The real cost is the two to four exposures per side of every garment and the layer work that follows, which is why retouching studios usually price ghost mannequin editing per image.
Volume decides whether it pays off. A brand that shoots hundreds of pieces a season can justify a dedicated setup and a retoucher. A small shop with twenty new pieces a month usually cannot, and ends up mixing flat lays, hanger photos and the occasional model shot, which makes the category page look patchy.
Size is the other hidden cost. One mannequin fits one size range, so a brand that sells petite and plus sizes needs more than one form, or has to pin and pad each garment until it looks right.
Ghost mannequin vs flat lay vs model: which one to use
Each style answers a different shopper question. Most product pages use two of them.
Ghost mannequin
Shows cut, volume and the inside of the collar without distraction. Best for catalogue grids, tops, knitwear, jackets and dresses.
Flat lay
Fast, honest about colour and print, good for details. Looks flat on the main image. See the guide to flat lay photography for clothing.
Hanger photo
Quick for second-hand sellers, but the shoulders droop and the body shape is missing.
On a model
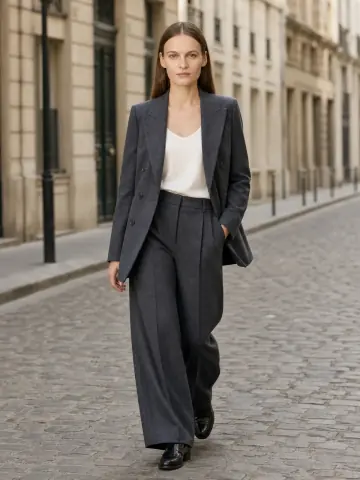
Shows fit, length and how the fabric moves, and sells the mood. You can put the clothes on an AI model from the same photo.
Ghost mannequin from one phone photo with AI
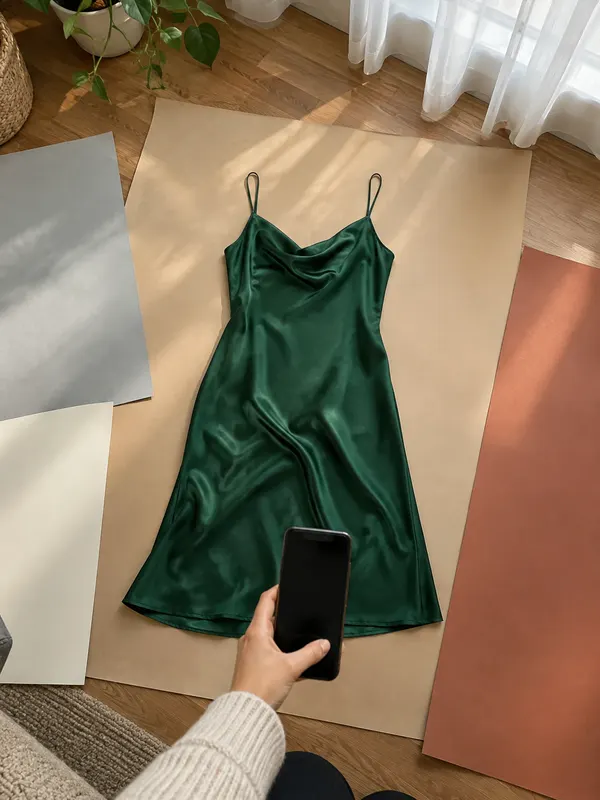
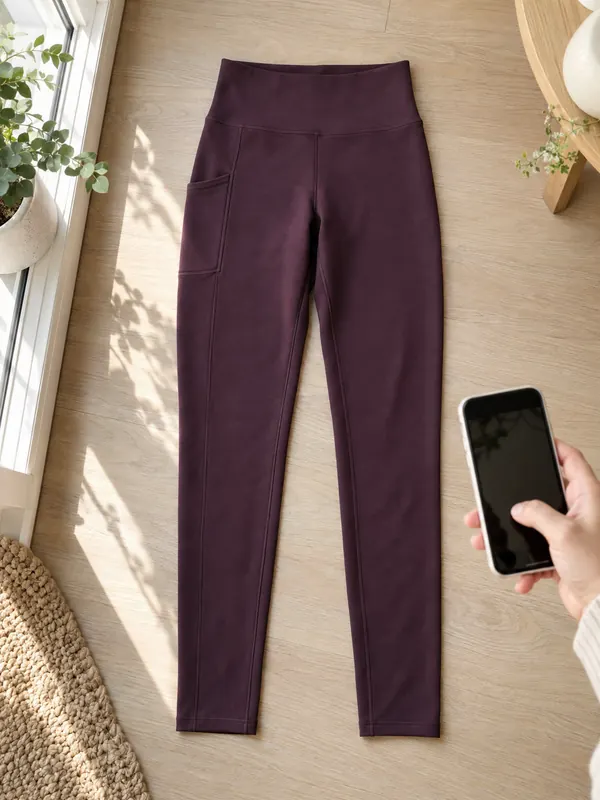
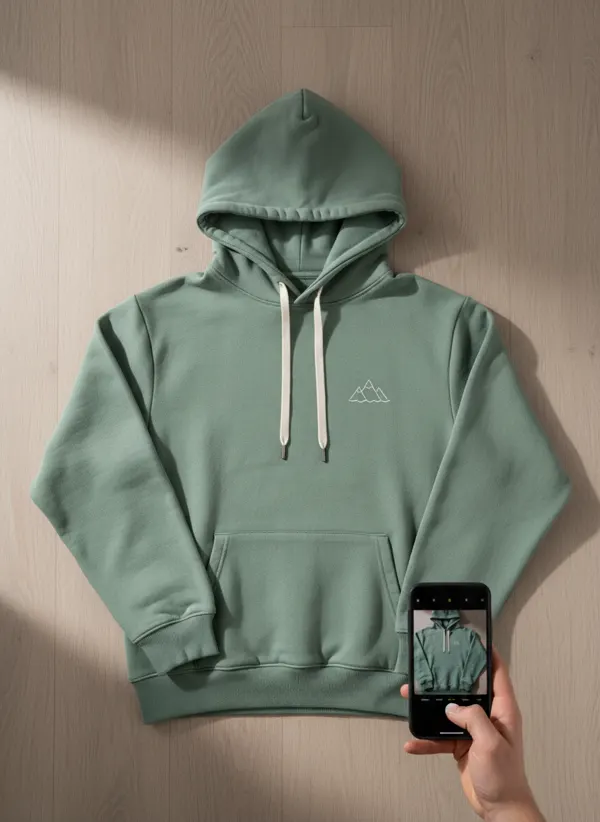
You do not need a mannequin to get the ghost mannequin look any more. Lay the garment flat or hang it up, take one clear photo with your phone, and upload it to Garmo. The AI reads the outline, the colour and the details, gives the garment a hollow, body-shaped 3D form, removes any hanger, clips and tags, and fills in the inside of the back neckline that a mannequin would hide.
You choose the background: pure white for a marketplace, light grey for a calm catalogue, or your own brand colour. Each ghost mannequin image uses one credit, the first 3 images are free, and uploads can be JPG, PNG or WebP up to 12 MB. If a mannequin photo is all you have, mannequin to model turns the same shot into a model photo instead.
Check every result against the real garment before you publish, the same way you would check a retoucher’s work: buttons, pocket count, length and the colour under daylight. A photo taken with good technique, as in the guide to photographing clothes on a hanger, gives the AI more to work with.
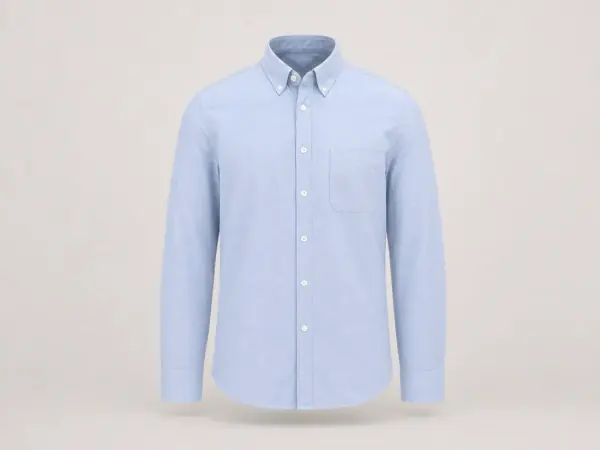 Your photoGhost mannequin
Drag
Drag to compare
Your catalogue, without a mannequin.
A flat lay or hanger photo becomes a hollow 3D product shot, no mannequin to hide.
What makes a good input photo for ghost mannequin AI
The result can only be as accurate as the photo you start from. Five things matter most.
The whole garment in frame
Both sleeves, the hem and the collar visible, with a little space around the edges.
Soft daylight, no flash
Near a window, out of direct sun. Flash flattens knit and shifts colour.
Smoothed, straight and symmetrical
Sleeves laid along the sides, buttons closed, creases steamed out.
Sharp details
Tap to focus on the garment and hold still. Blurry buttons stay blurry.
A plain surface
A bed sheet, a floor or a door; it is replaced anyway, but busy patterns confuse the outline.
Ghost mannequin images on Etsy, eBay and other marketplaces
Ghost mannequin images are accepted on most marketplaces as long as they show the real item accurately. On Etsy, the listing image requirements (checked on 12 November 2026) ask for at least one unedited photo of the actual product on most items, so keep your original phone photo in the gallery next to the ghost mannequin image.
eBay’s picture policy asks that photos represent the item accurately and does not allow stock photos for used items. For second-hand clothes, a ghost mannequin image works as a clean first impression, followed by real photos of the label, the fabric and any flaws.
Whatever the platform, never use the effect to hide something: a stain, pilling or a faded colour must still be visible in the real photos. That honesty is also what keeps returns down.
Ghost mannequin examples from one photo
Three garments, each photographed once at home and turned into a ghost mannequin image.
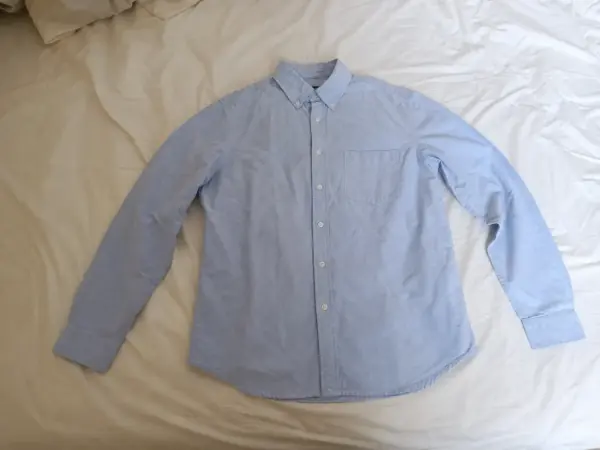
Oxford shirt on an unmade bed
A creased shirt on a duvet becomes a clean catalogue shot. The button-down collar and the chest pocket stay, and the inside of the neck is filled in.
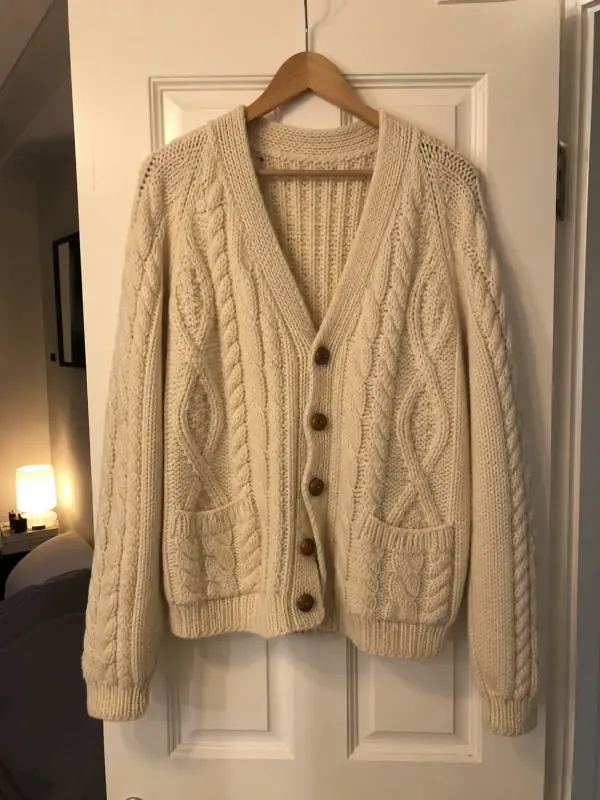
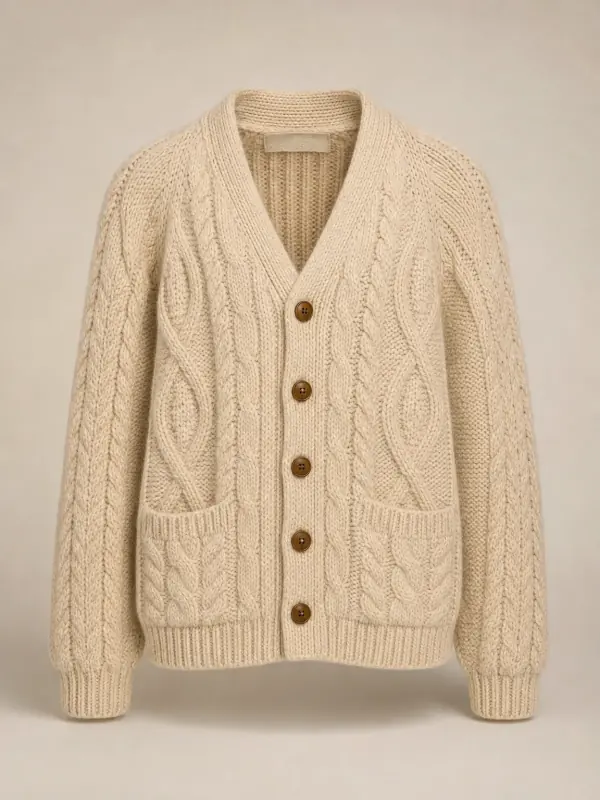
Your photoCable-knit cardigan from a hanger
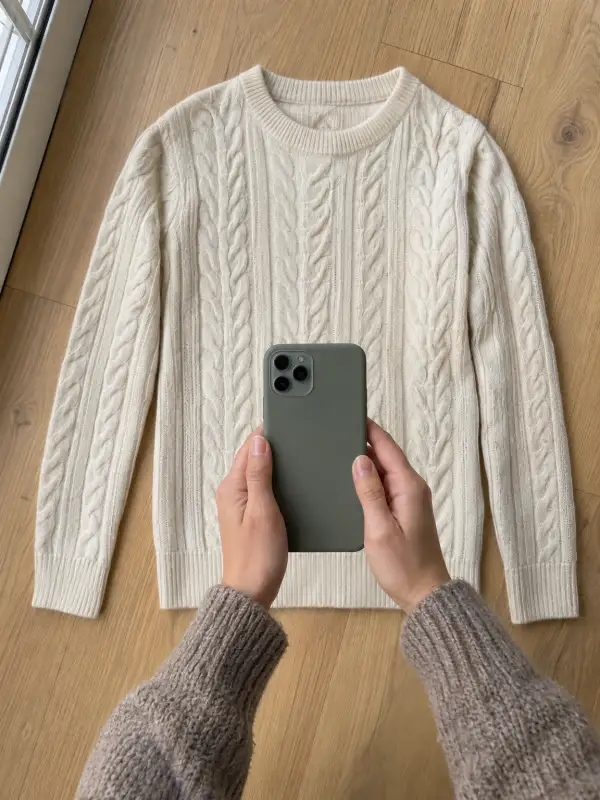
A cardigan hanging crooked on a door. The shoulders fill out, the buttons close and the cable pattern stays sharp.
 Your photo
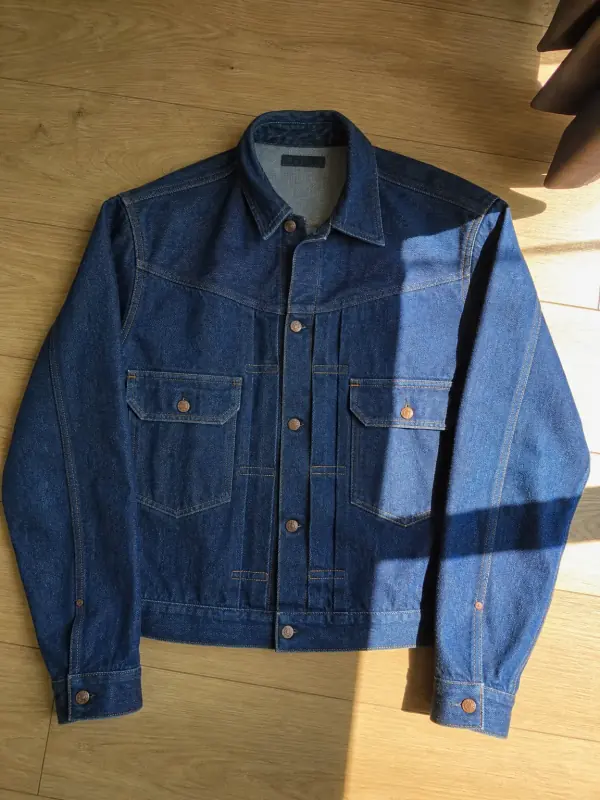
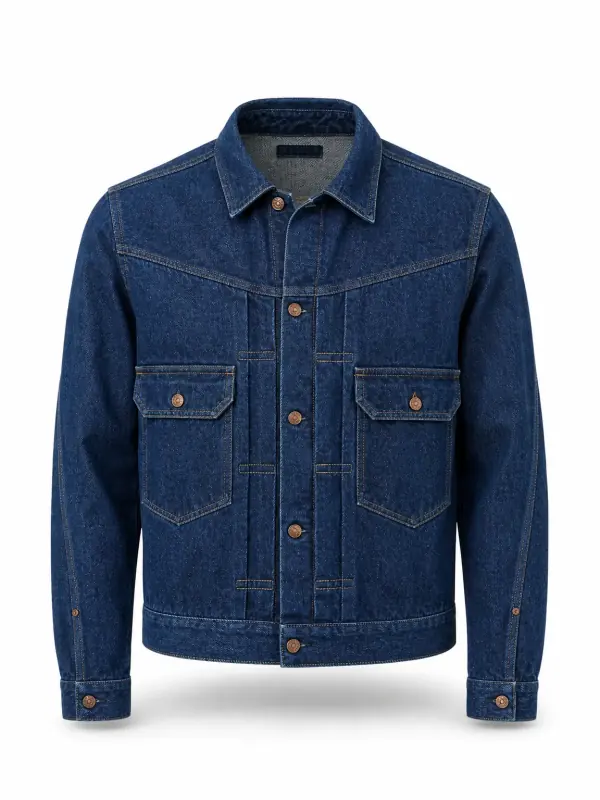
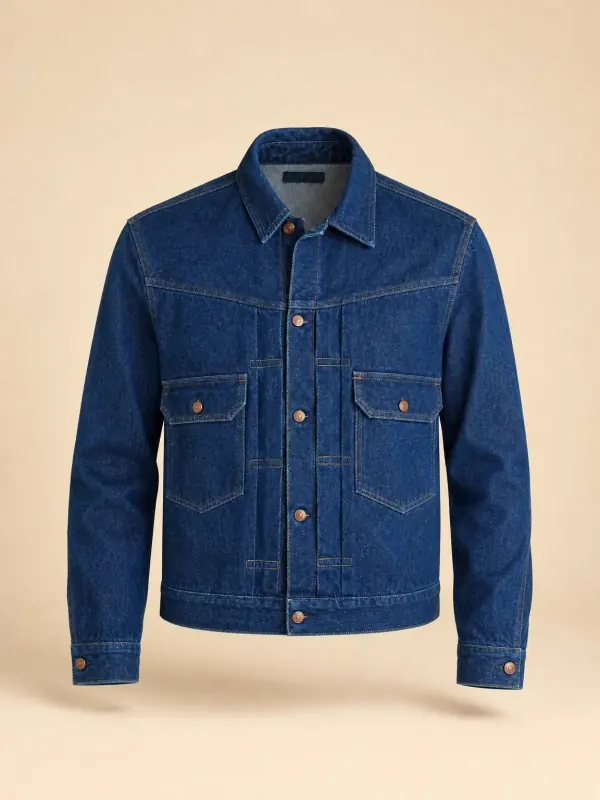
Denim jacket on two backgrounds
The same result on pure white for a marketplace and on a sand brand colour for a shop page.
 Your photo
Ghost mannequin photography questions
How do you do ghost mannequin photography?
Dress a mannequin with removable parts, shoot the front and back from a locked tripod, then photograph the inside of the back neckline. In editing software, mask out the mannequin and place the inside-neck shot behind the collar. With AI, one flat or hanger photo replaces all of these steps.
Do I need a special mannequin for ghost mannequin photos?
For the studio method, yes: a form whose neck and chest plate can be removed makes the inside-collar shot possible. An ordinary shop mannequin can work, but the retouching takes longer. With an AI ghost mannequin you need no mannequin at all.
Is ghost mannequin better than a flat lay?
For a catalogue main image it usually is, because the garment has volume and looks worn. A flat lay is still useful for prints, details and honest colour. Many stores show the ghost mannequin image first and a flat lay or close-up after it.
Can I make ghost mannequin photos with my phone?
Yes. Take one sharp photo of the whole garment flat or on a hanger in daylight, then let an AI ghost mannequin tool build the 3D shape. Garmo gives you 3 images free to try it.
Which clothes do not work well as ghost mannequin?
Very sheer fabrics, garments with many layers and pieces that only take their shape on a body, such as some swimwear, are the hardest. Check those closely, or show them on a model instead.
Tools for ghost mannequin and on-model photos
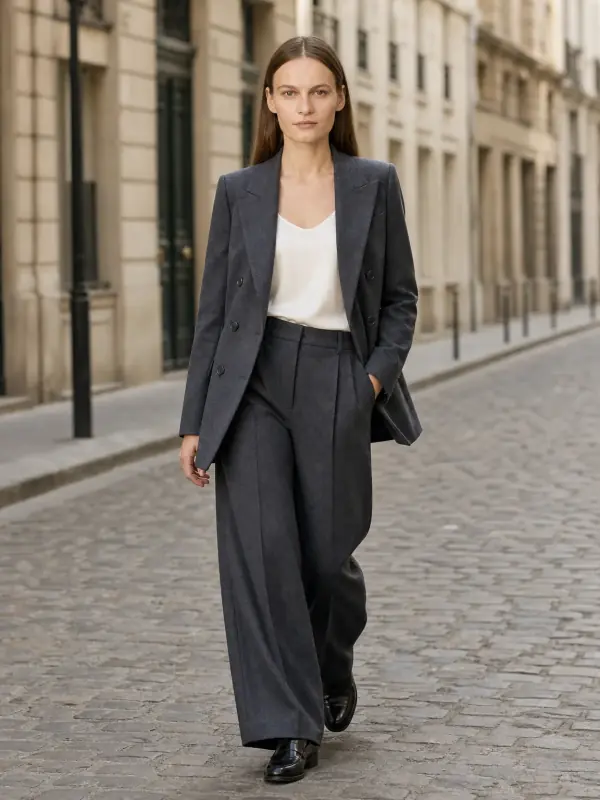
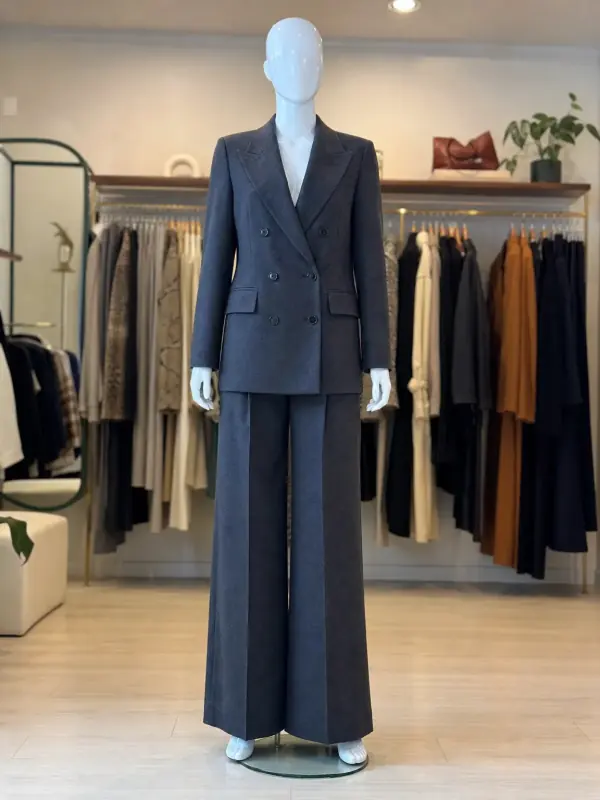 Mannequin to model AIAlready shoot on a mannequin or dress form? Upload that photo as it is and get the same piece worn by a model.
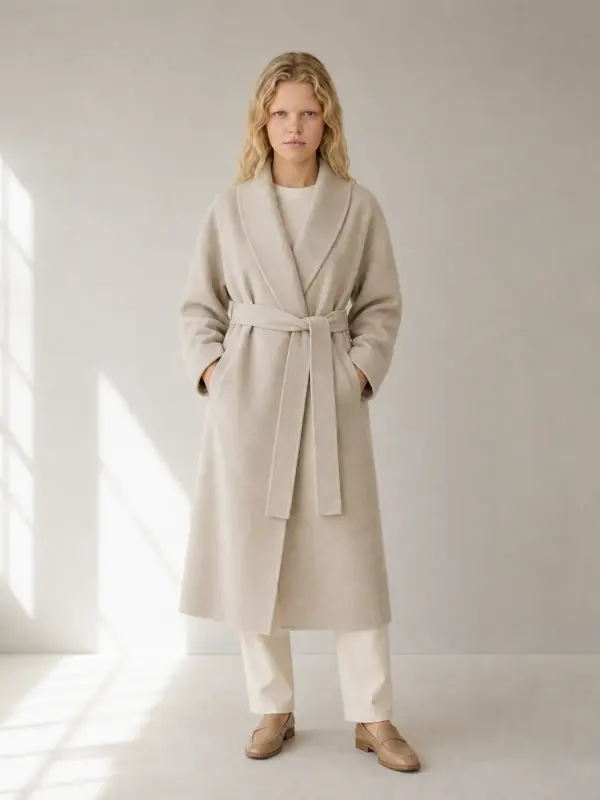
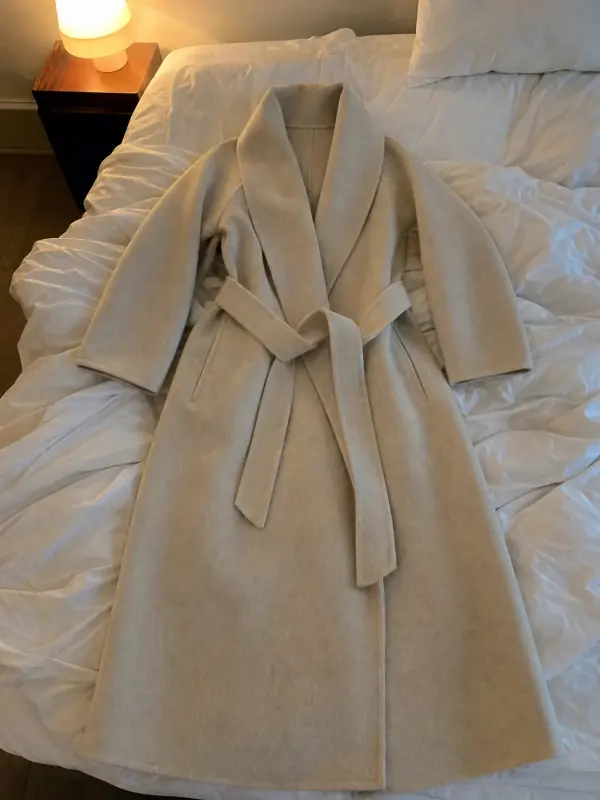 Flat lay to modelLay the garment flat, take one phone photo and get it worn by an AI model from three angles.
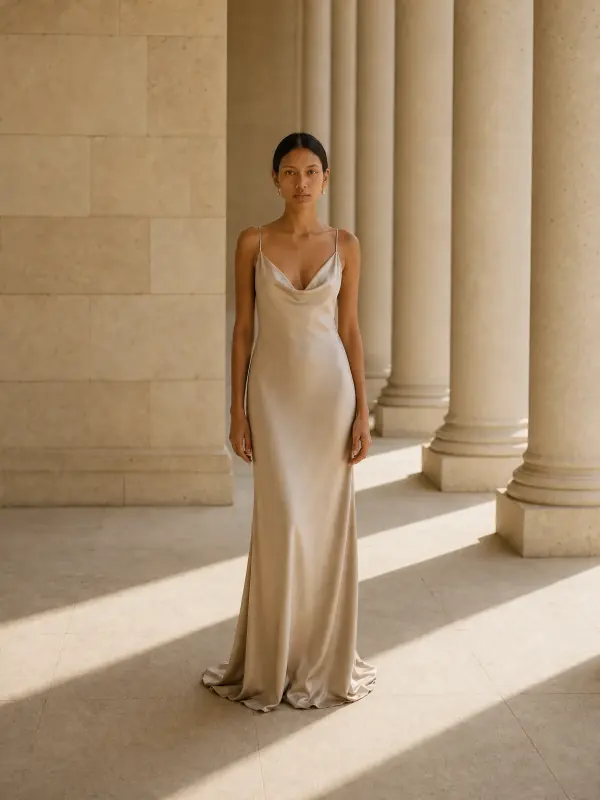
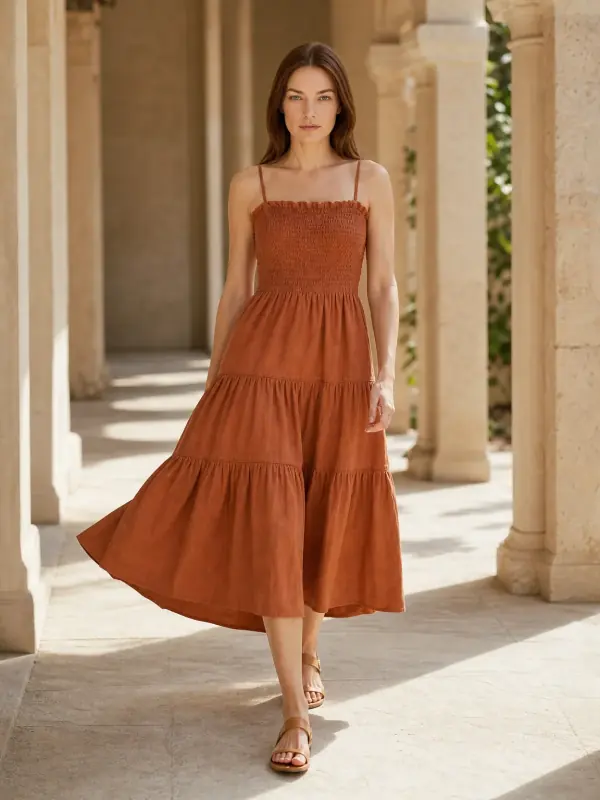
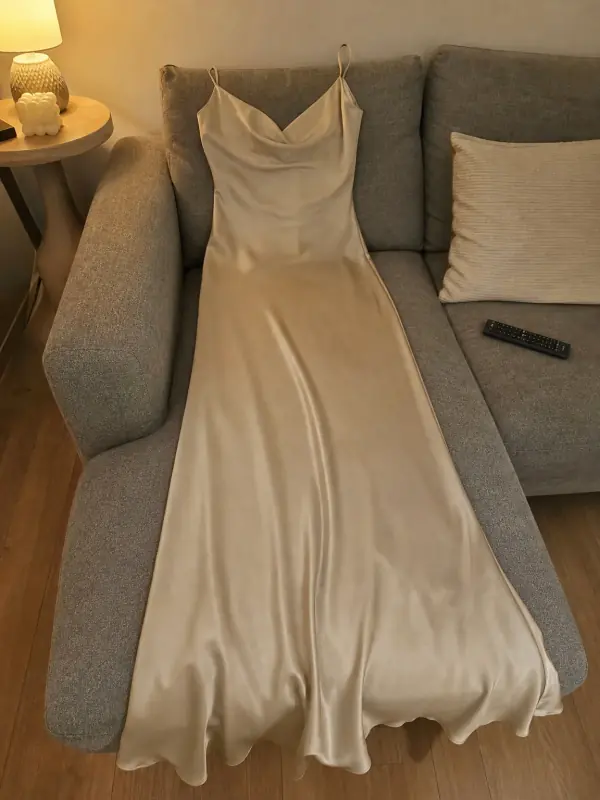 Put clothes on an AI modelUpload a photo of a top, trousers, dress or jacket and see it worn by an AI model, in studio, street or editorial settings.
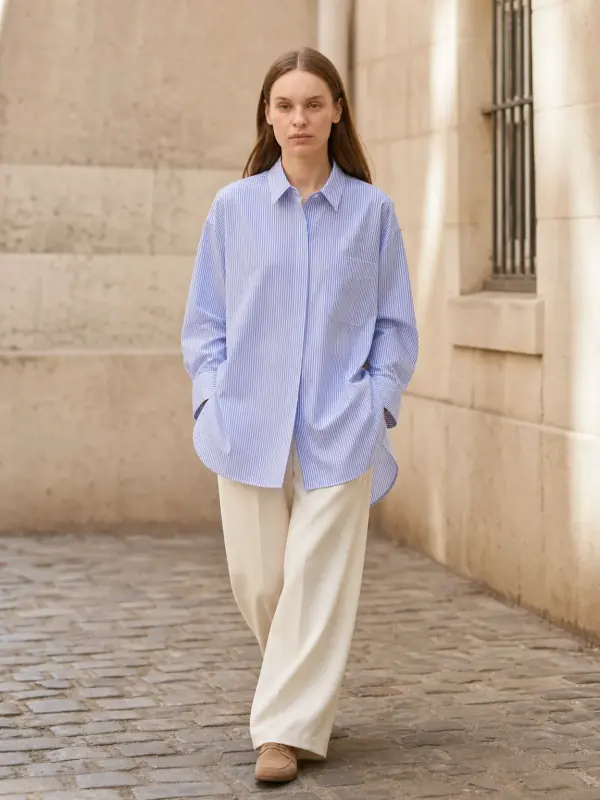
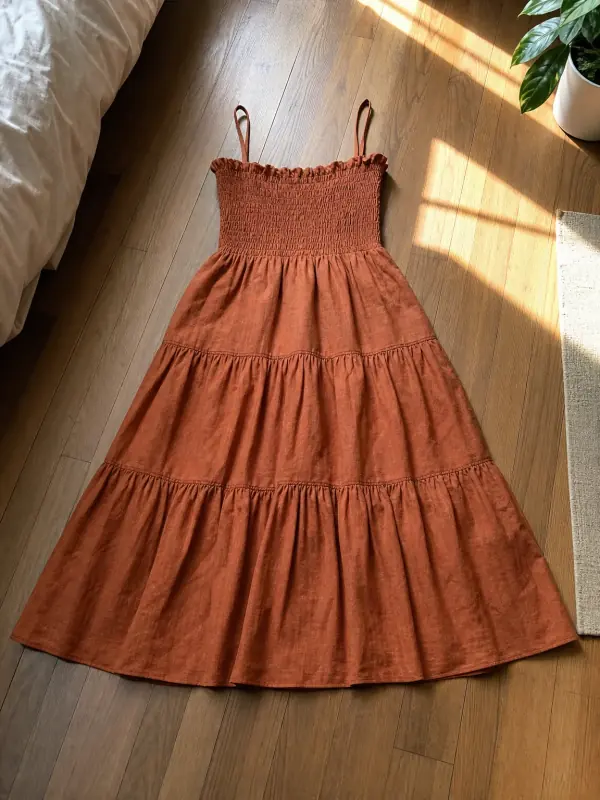
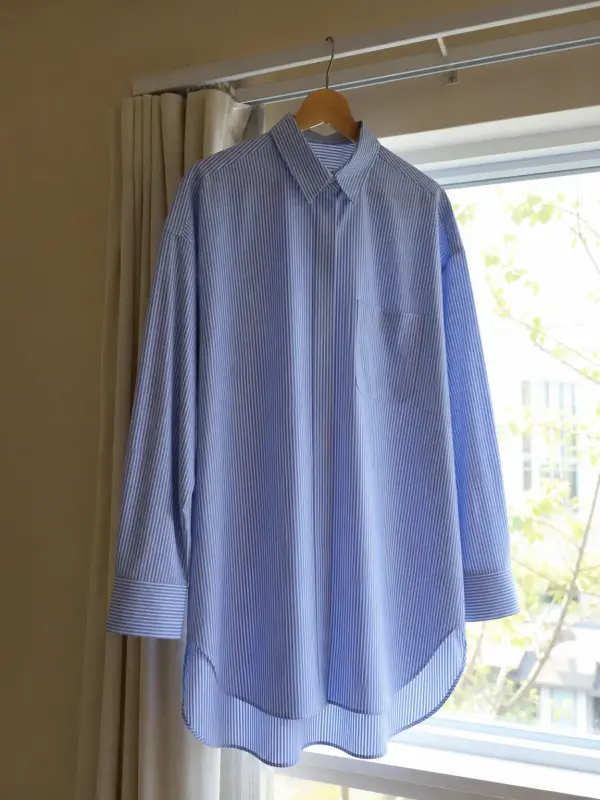 Garment to model AIHang the garment on a door or a rail, take one photo, and get it back worn by a model.
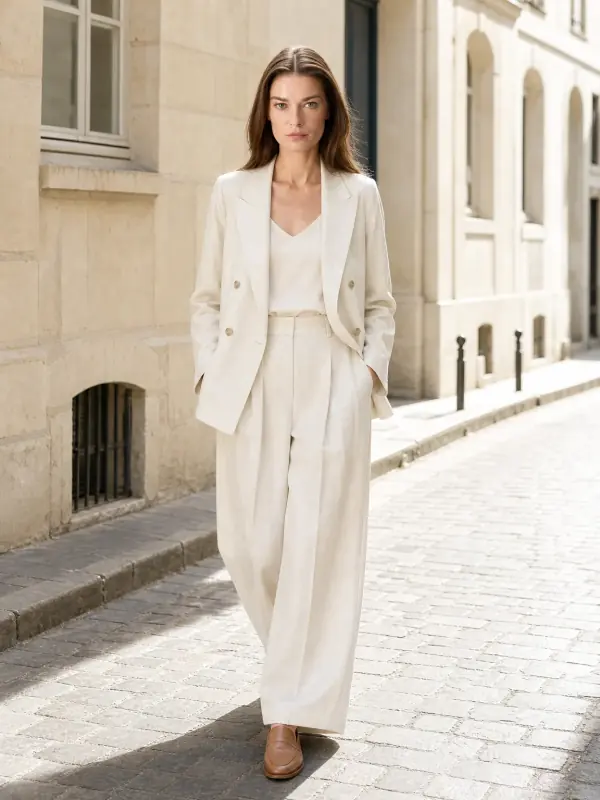
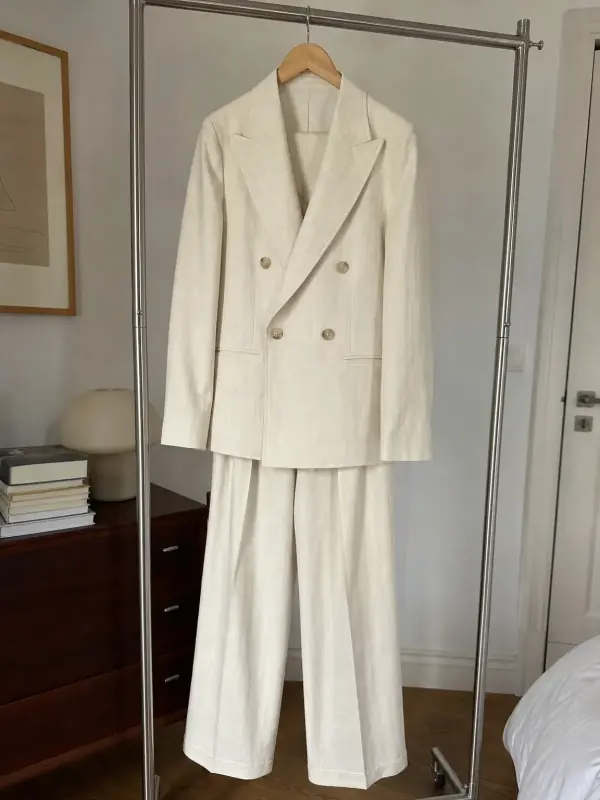 AI model photoshootTurn one product photo into a full photoshoot with a model: studio, street, editorial or a scene you describe, with up to six angles.
 AI product photography with modelsClothing, jewelry and shoes photographed on models from one phone photo, with product-only shots for jewelry and shoes.