What lifestyle product photography does
A studio or white-background photo answers the question "what is this?". A lifestyle photo answers "what would it be like to own this?". The buyer sees the linen shirt on a warm morning street, the pearl pendant at a café table, the coat on a rainy pavement, and fills in the rest: the weekend, the trip, the dinner. That emotional step is why lifestyle images are used in ads, social posts, collection banners and the second or third slot of a product gallery.
It does not replace the clean shot. Most shoppers decide whether to click from a thumbnail, and a thumbnail needs a calm background and a clear outline. Many marketplaces also expect a plain lead image. The usual pattern for fashion is a clean first image, then one or two lifestyle frames, then details. The guide to product photography backgrounds explains how to pick the plain system that sits beside them.
Lifestyle does not mean busy. The best examples have one location, one light direction and one idea. If the eye goes to the café, the dog or the sunset before it goes to the dress, the frame is a nice photo but a weak product photo.
Four kinds of lifestyle shot
Pick the type that answers what your buyer is unsure about.
On model, in a place
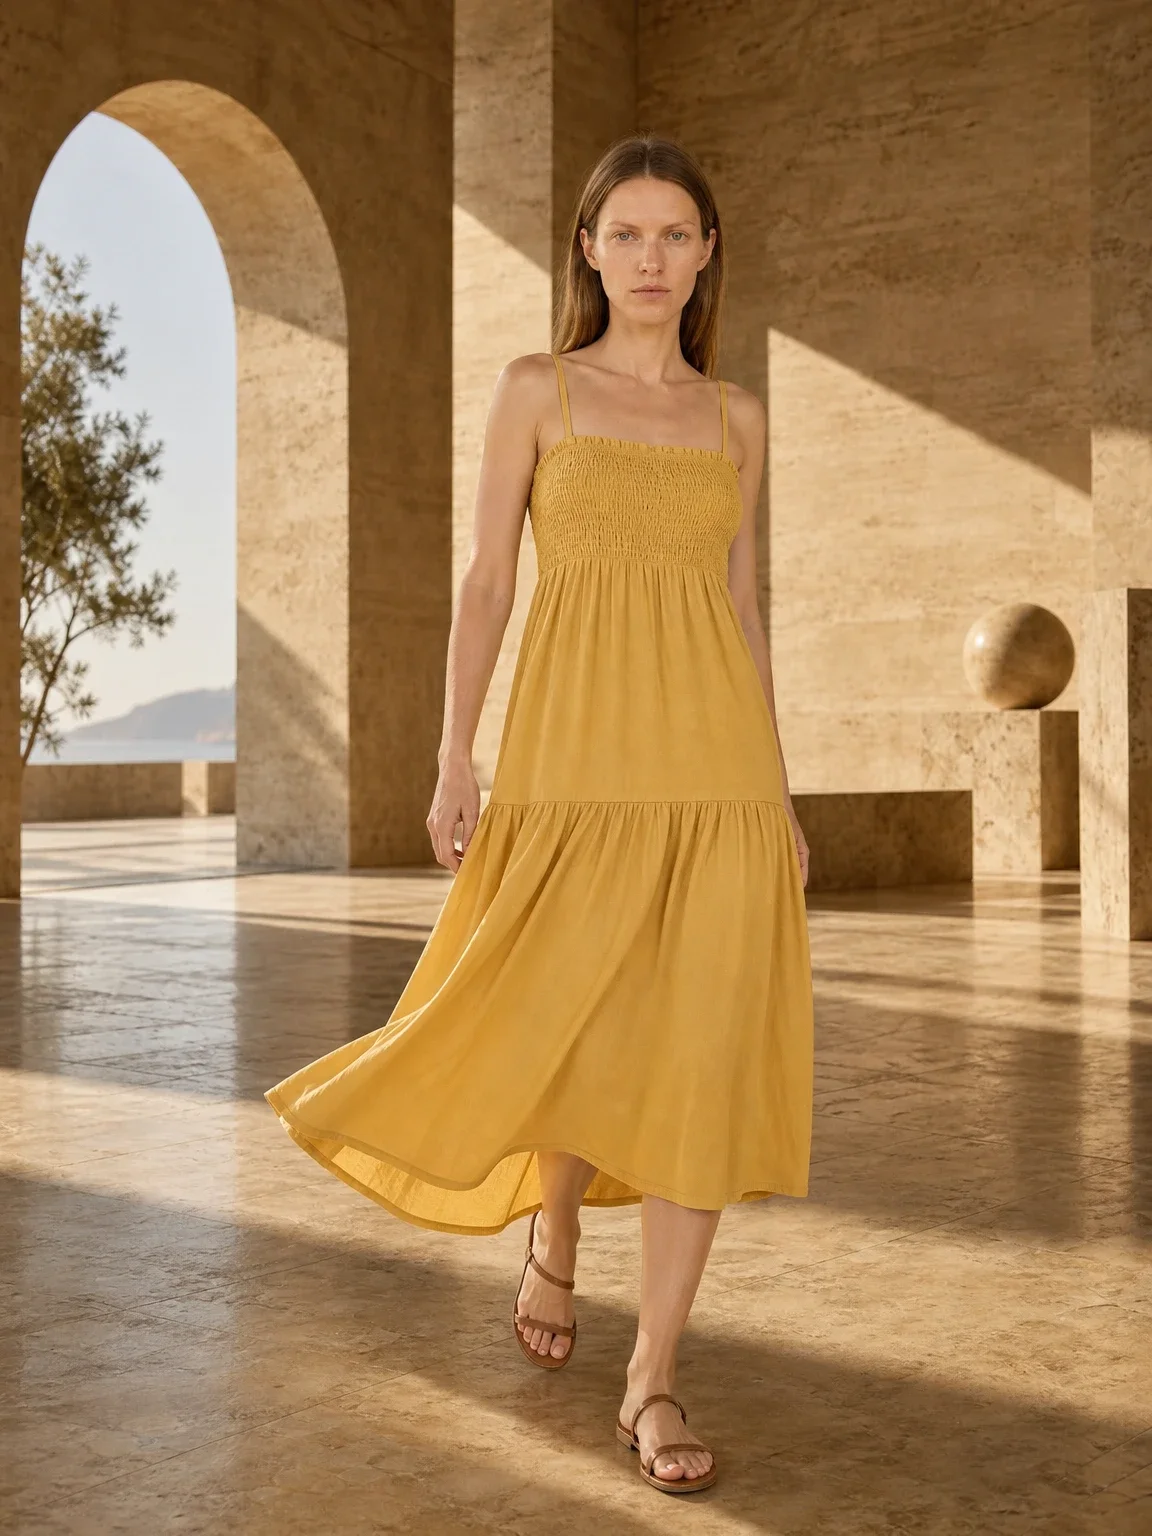
A model wearing the piece on a street, terrace or interior. Shows fit, movement and the occasion in one frame.
Styled still life
The product with a few props that suggest a use, such as sunglasses and a book beside a summer dress.
Detail in use
A close crop of the product doing its job: a ring around a coffee cup, a hand in a coat pocket.
Scene and context
A wider frame that sets the mood of a collection, best for banners, ads and the top of a collection page.
Plan the scene around the buyer
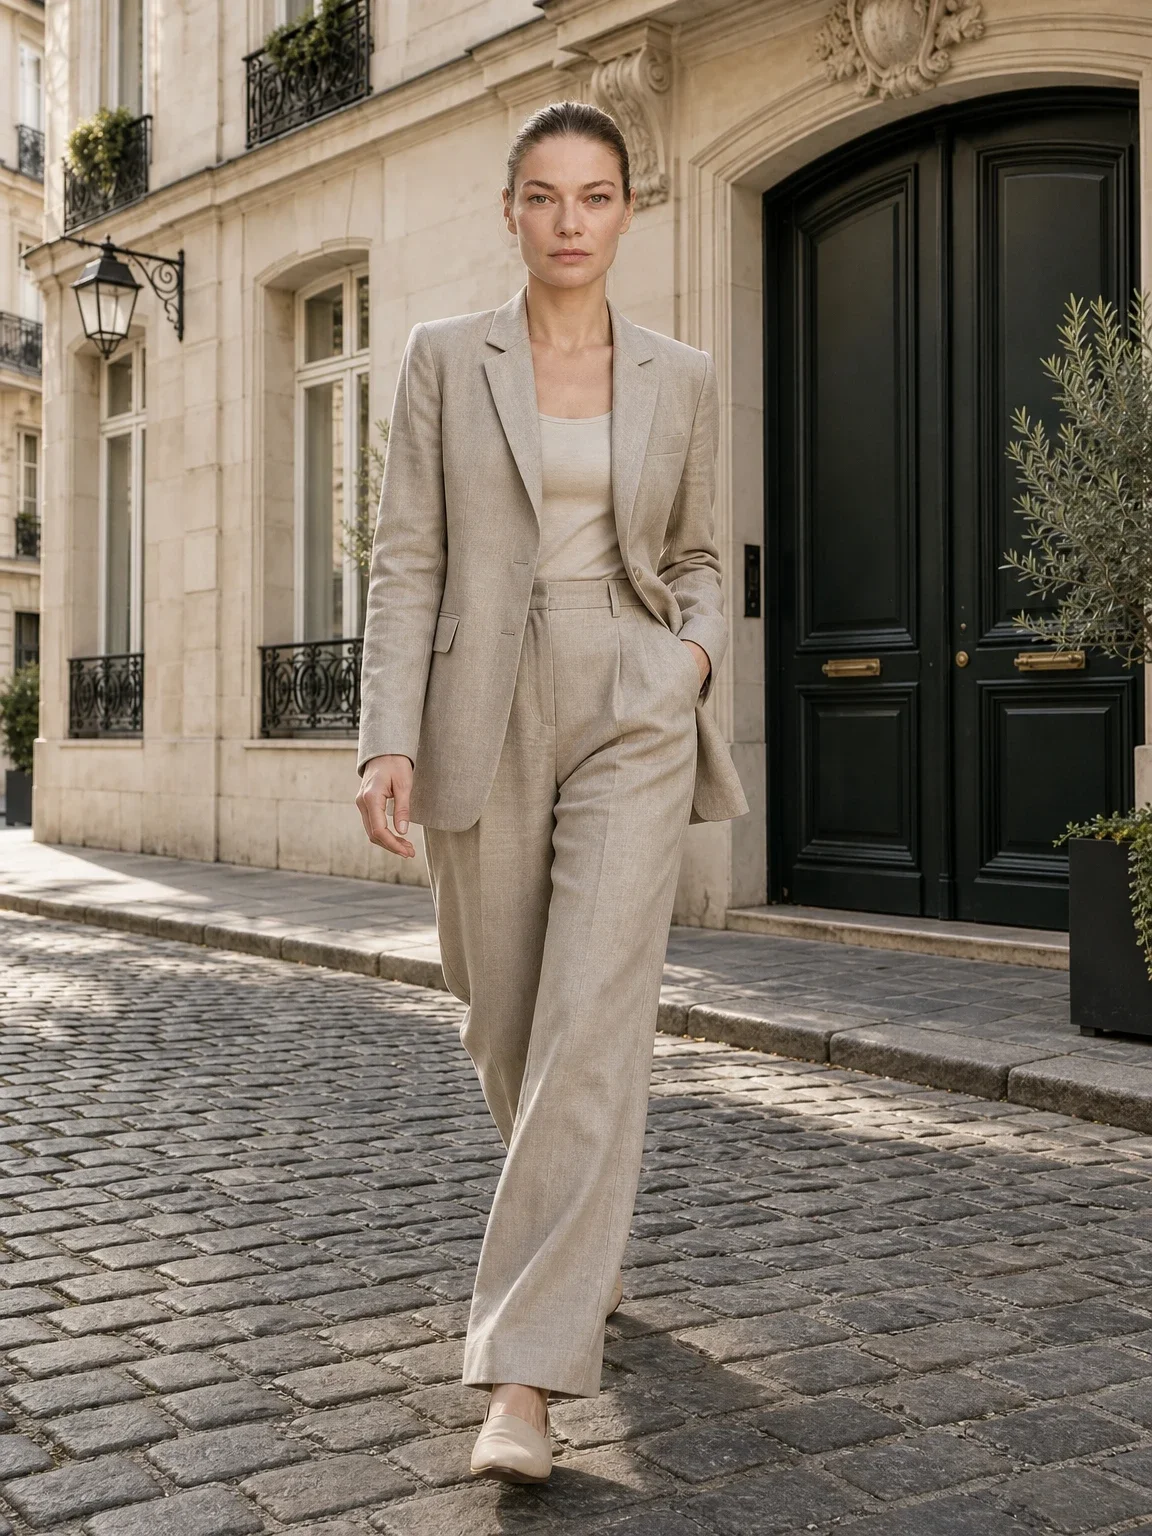
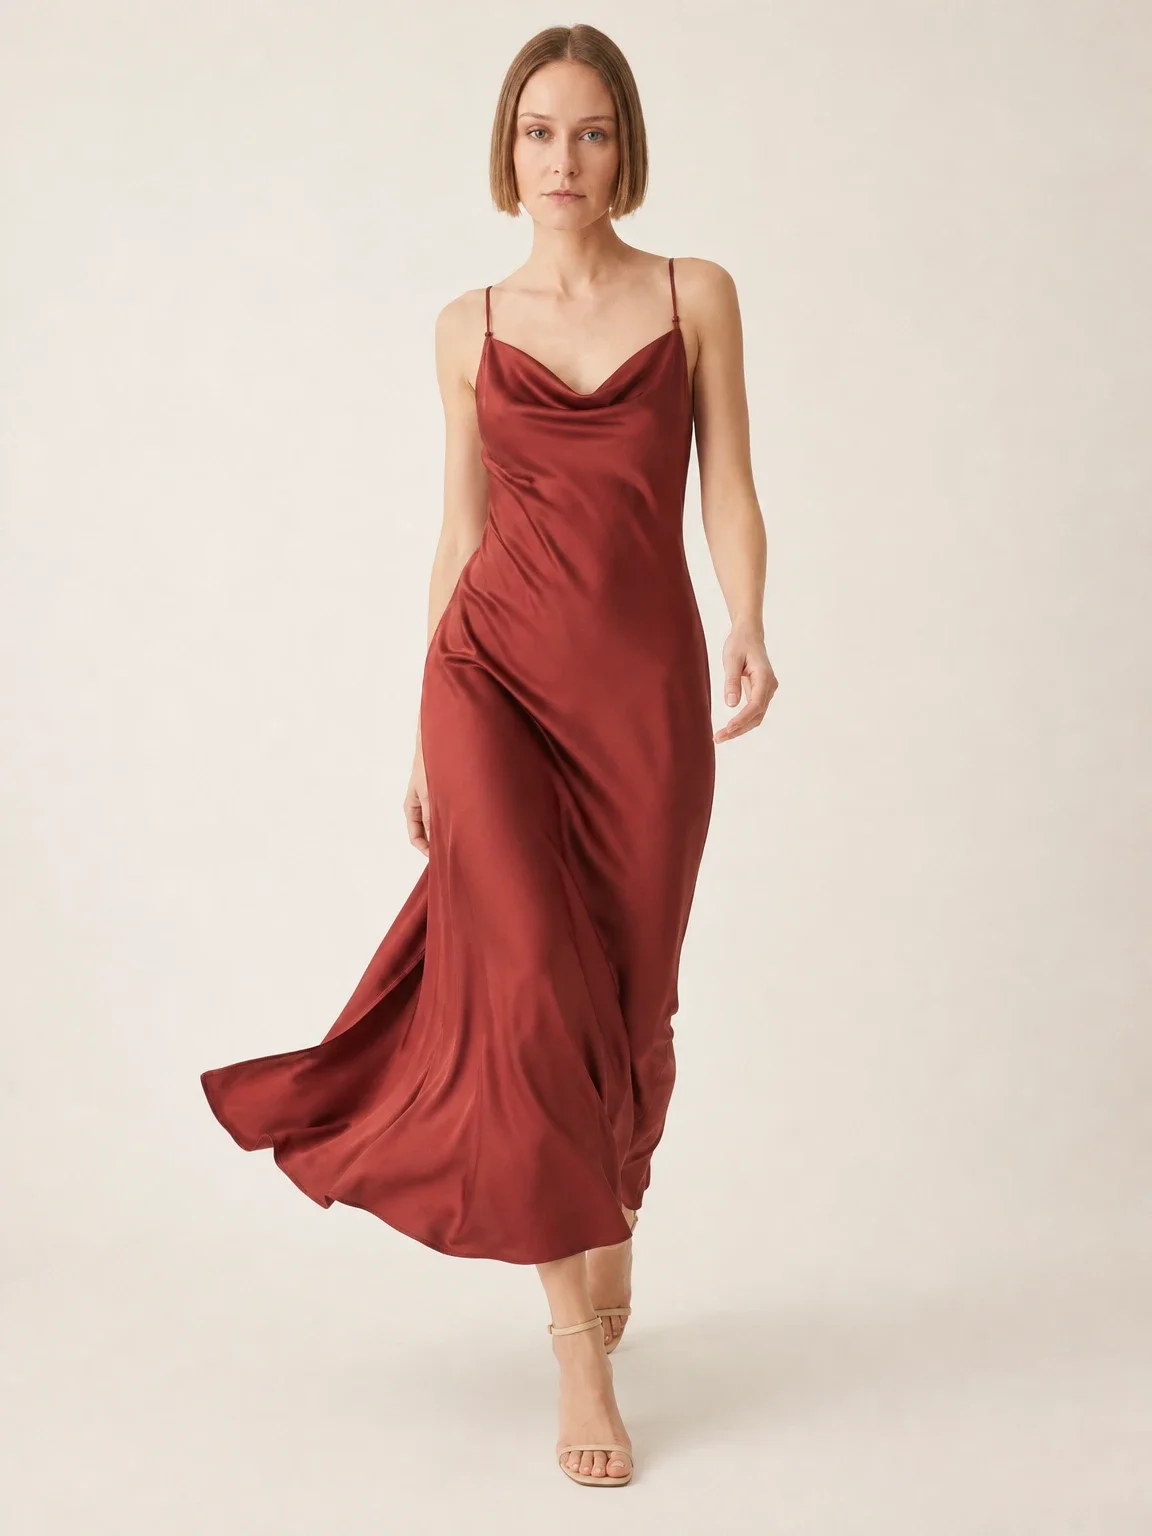
Start with the customer, not the location. Ask where your buyer will actually wear the piece and at what price level. A linen set sells on a sunlit stone street or a whitewashed terrace; a wool coat on a grey city pavement; a satin slip dress in warm evening light. A luxury setting can make an affordable product feel out of reach, and a messy home can make a premium one look cheap. Match the scene to the price.
Write a short brief before you shoot: the setting, the time of day, the colour palette, two or three poses and the frames you need. Morning and late-afternoon sun are soft and warm; midday sun is hard and makes squinting faces and dark eye sockets. Overcast days are underrated for clothing because colours stay accurate and shadows stay gentle.
Keep props few and honest. Every prop must either suggest the use or balance the composition, and none should look like it is included in the sale. Avoid recognisable brands, other designers' products and anything that needs a permit you do not have. Plan the same model, light and palette across a collection so the gallery looks deliberate. For more concepts, see the list of clothing product photography ideas.
Keep the product the hero
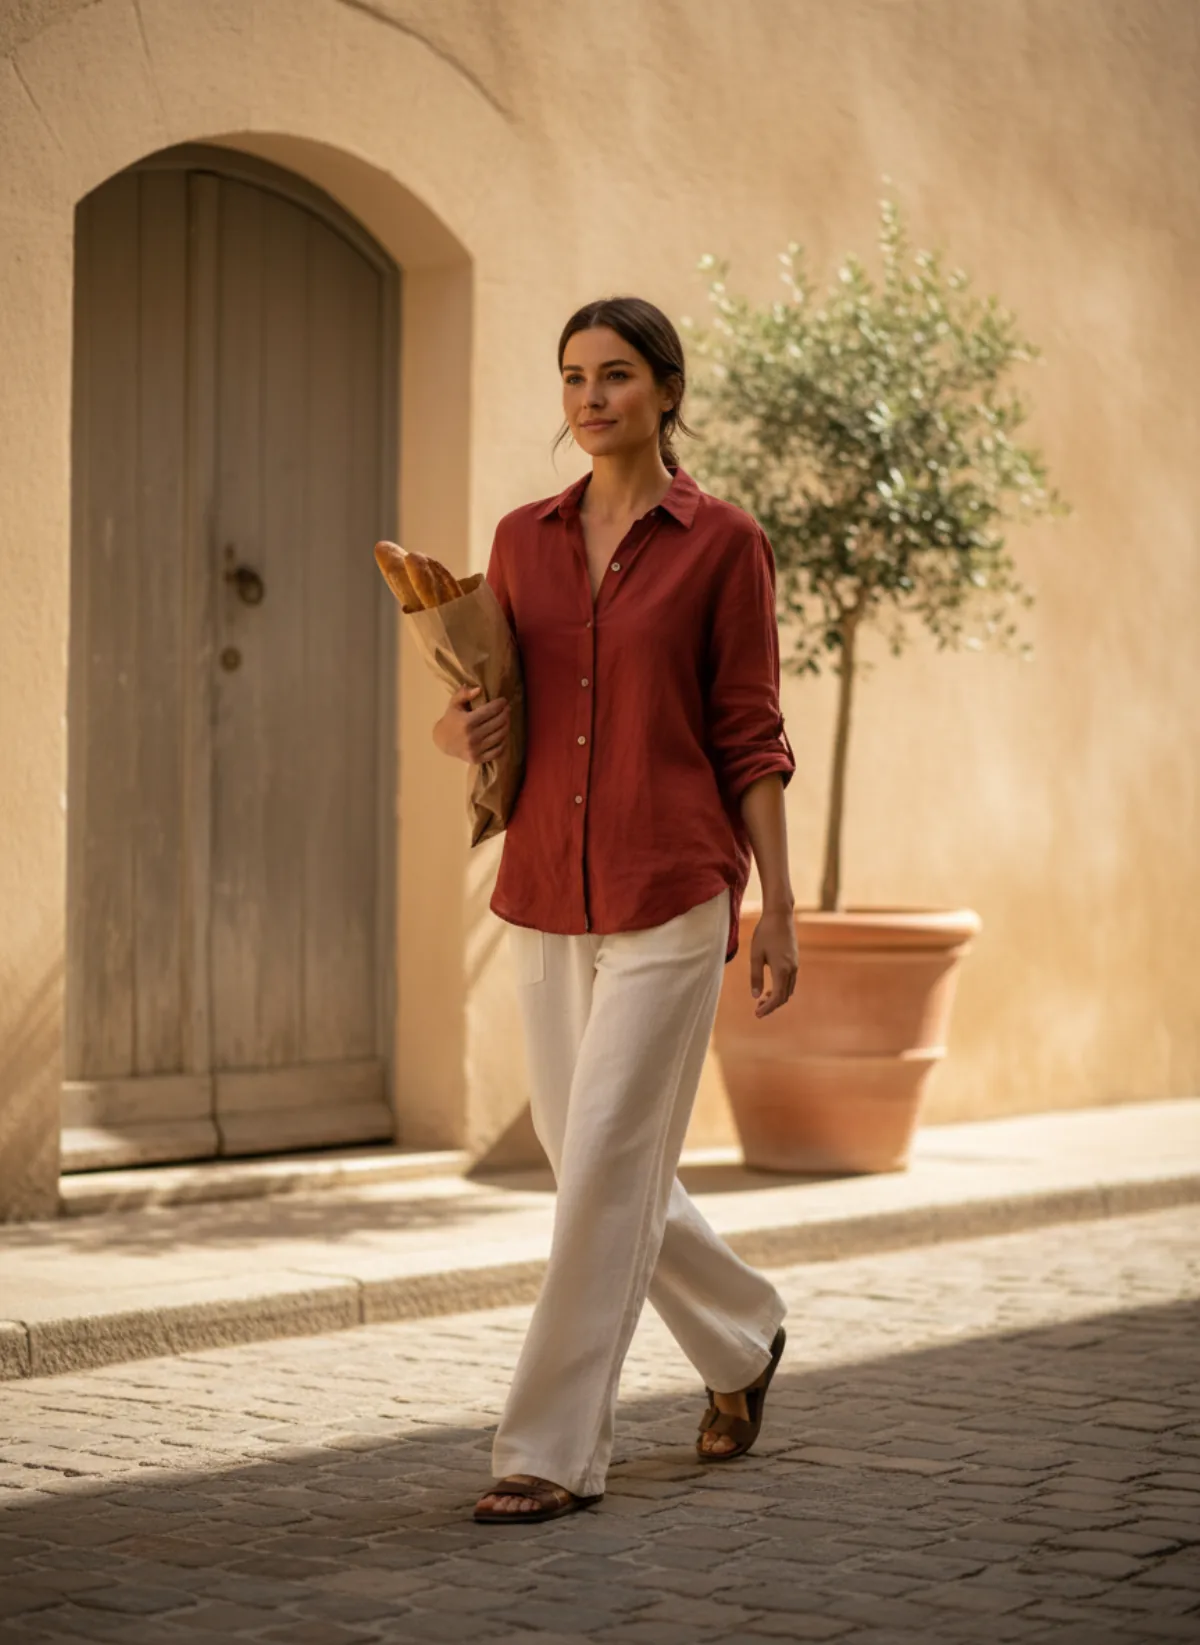
The test is simple: show the image to someone for two seconds and ask what was for sale. If they name the bread, the street or the model's hair, the frame needs work. Put the product in the sharpest, brightest part of the image. Use a background that contrasts with it: a rust shirt against a pale stone wall, a white dress against green olive trees, a black coat against a light street.
Colour accuracy matters more outdoors than in the studio. Warm sunset light turns white fabric cream and blue fabric teal. Check the colour against the real garment and, if the scene shifts it, correct it in editing or say in the description that the light is warm. Returns caused by "the colour looked different" cost more than the extra minute.
Show the whole product at least once. A cropped lifestyle frame can be beautiful, but the buyer still needs to see the hem, the sleeve length and how the piece falls. Keep at least one full-length lifestyle frame per outfit and avoid poses that hide the product: crossed arms over a top, a bag in front of a skirt, hair over a necklace.
From a hanger photo to a lifestyle image
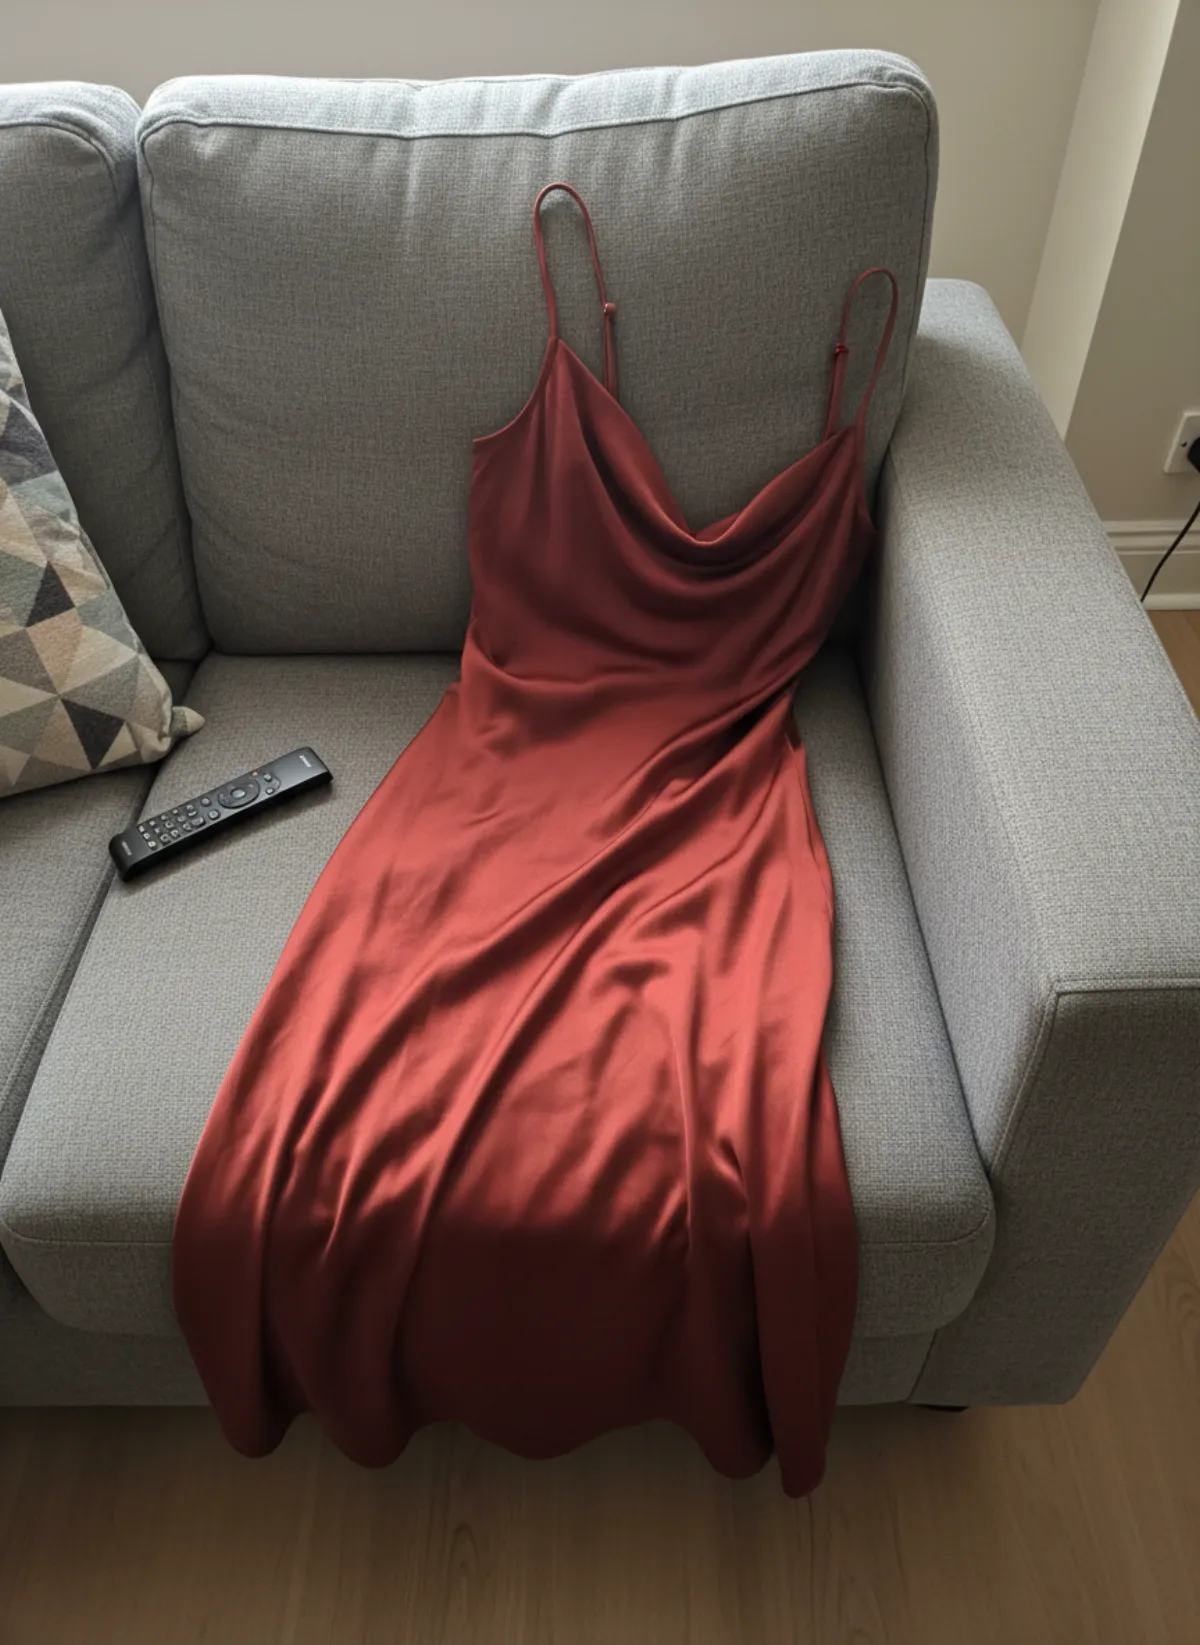
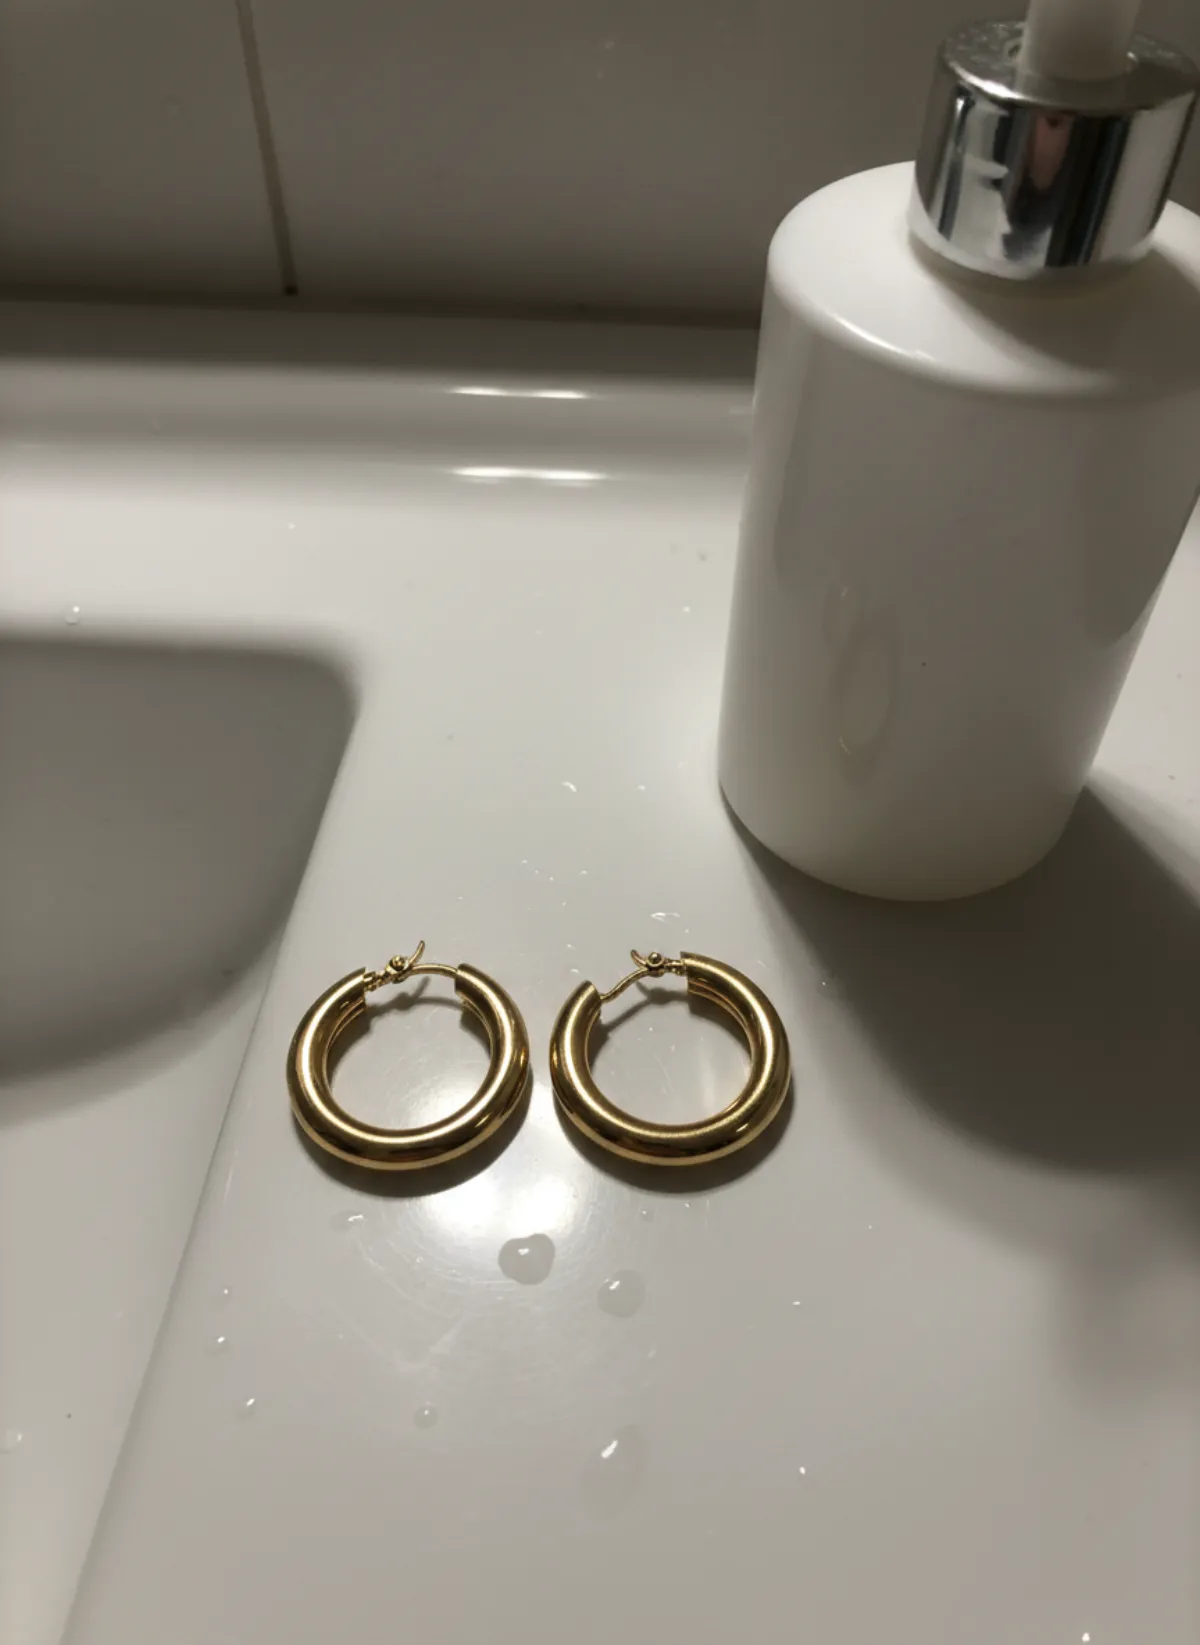
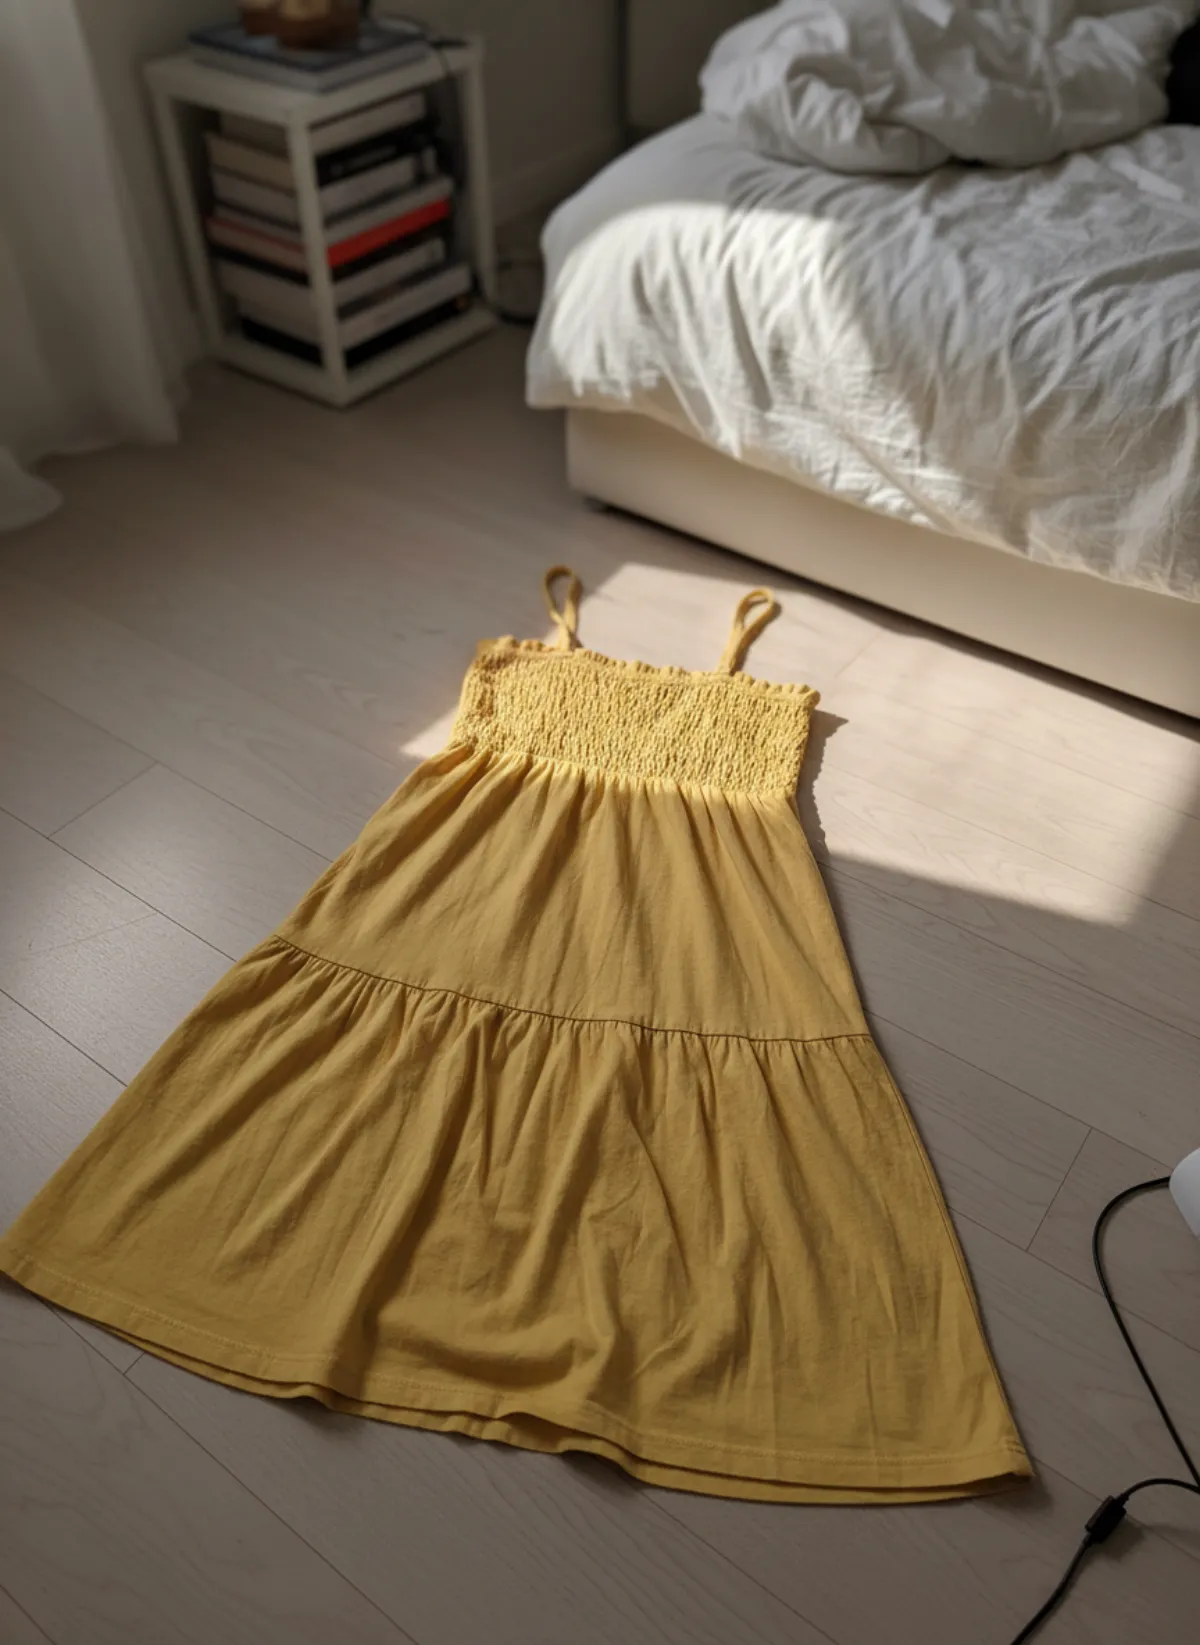
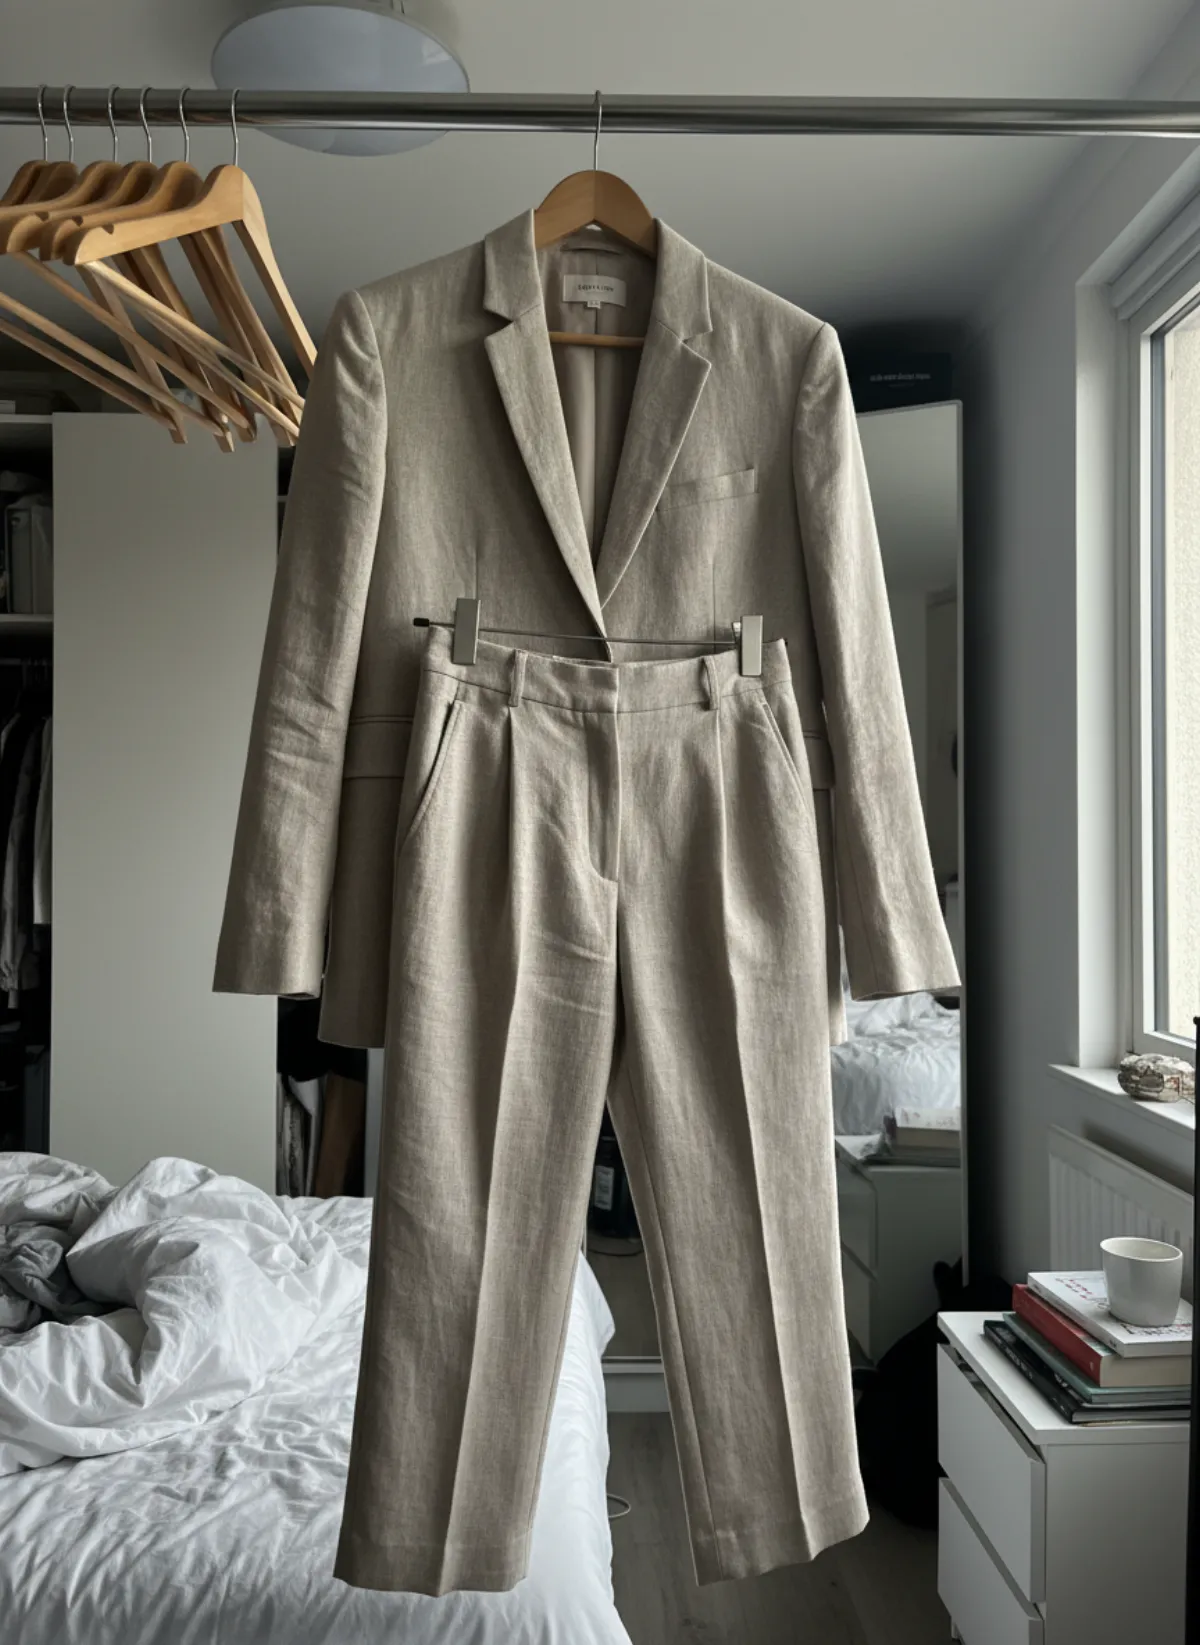
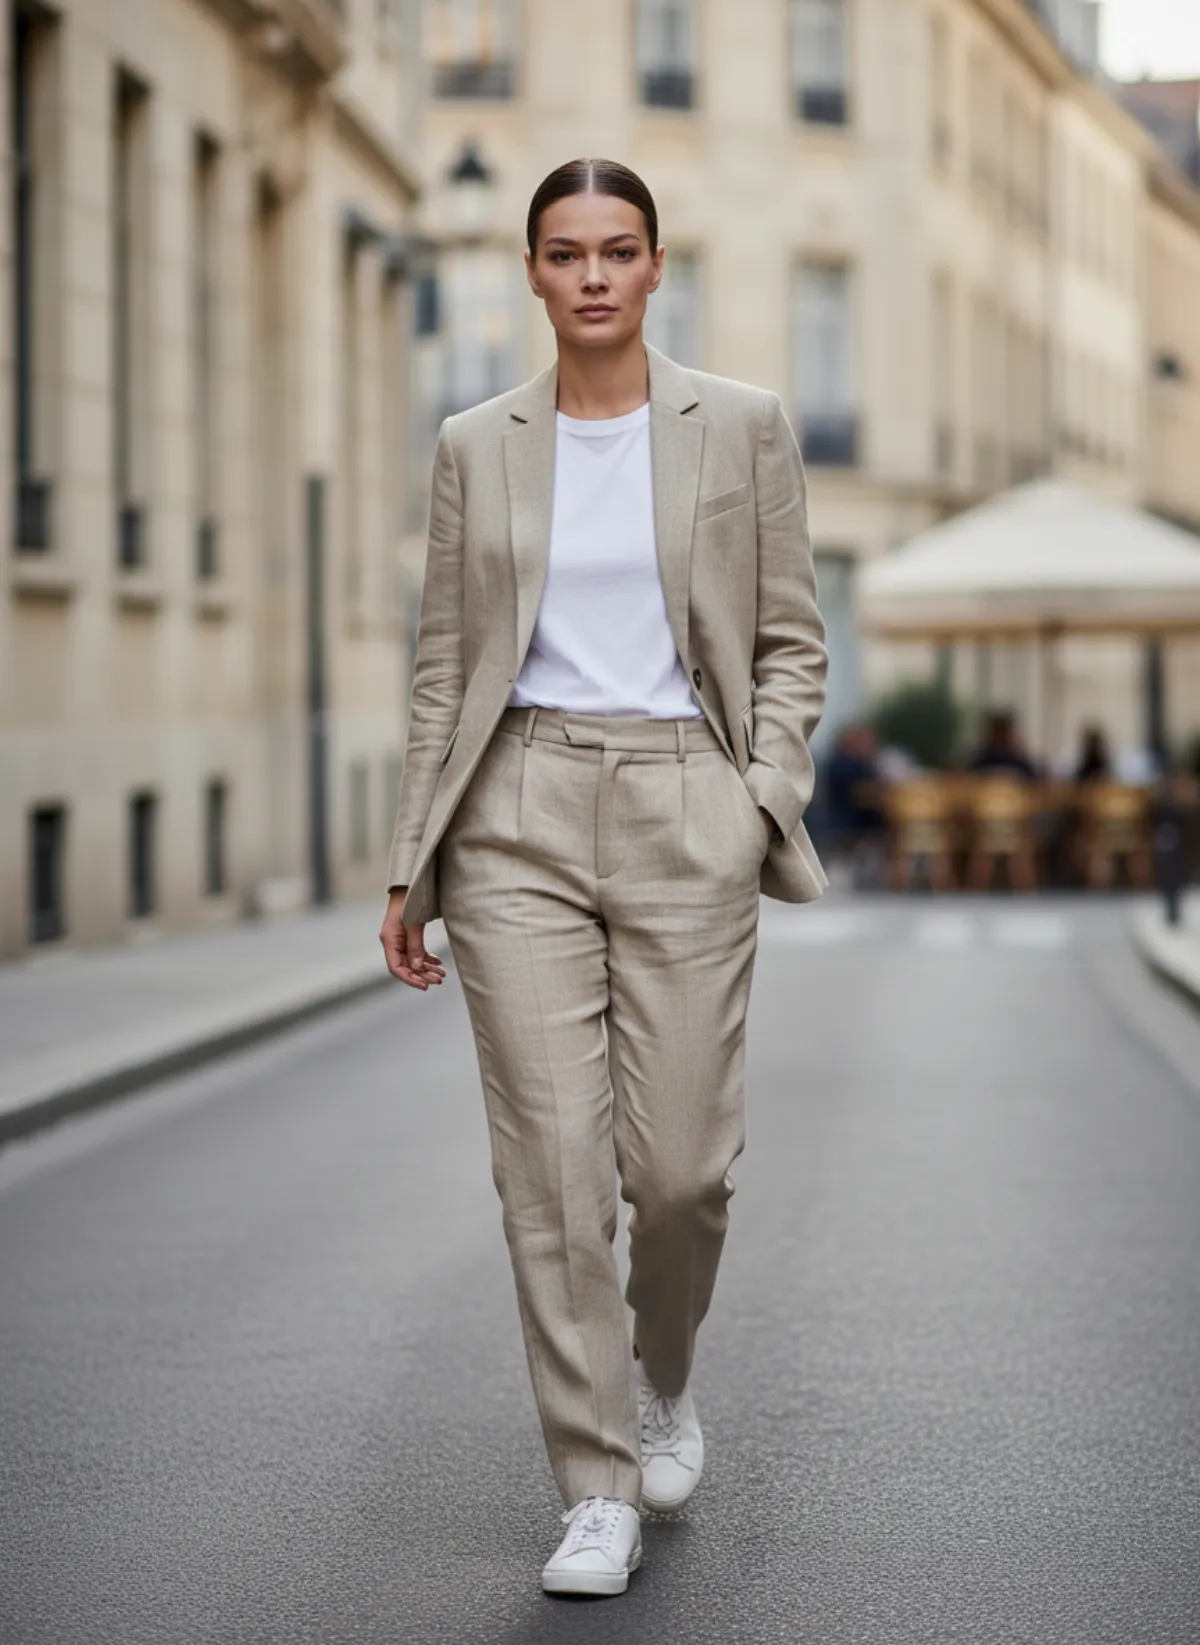
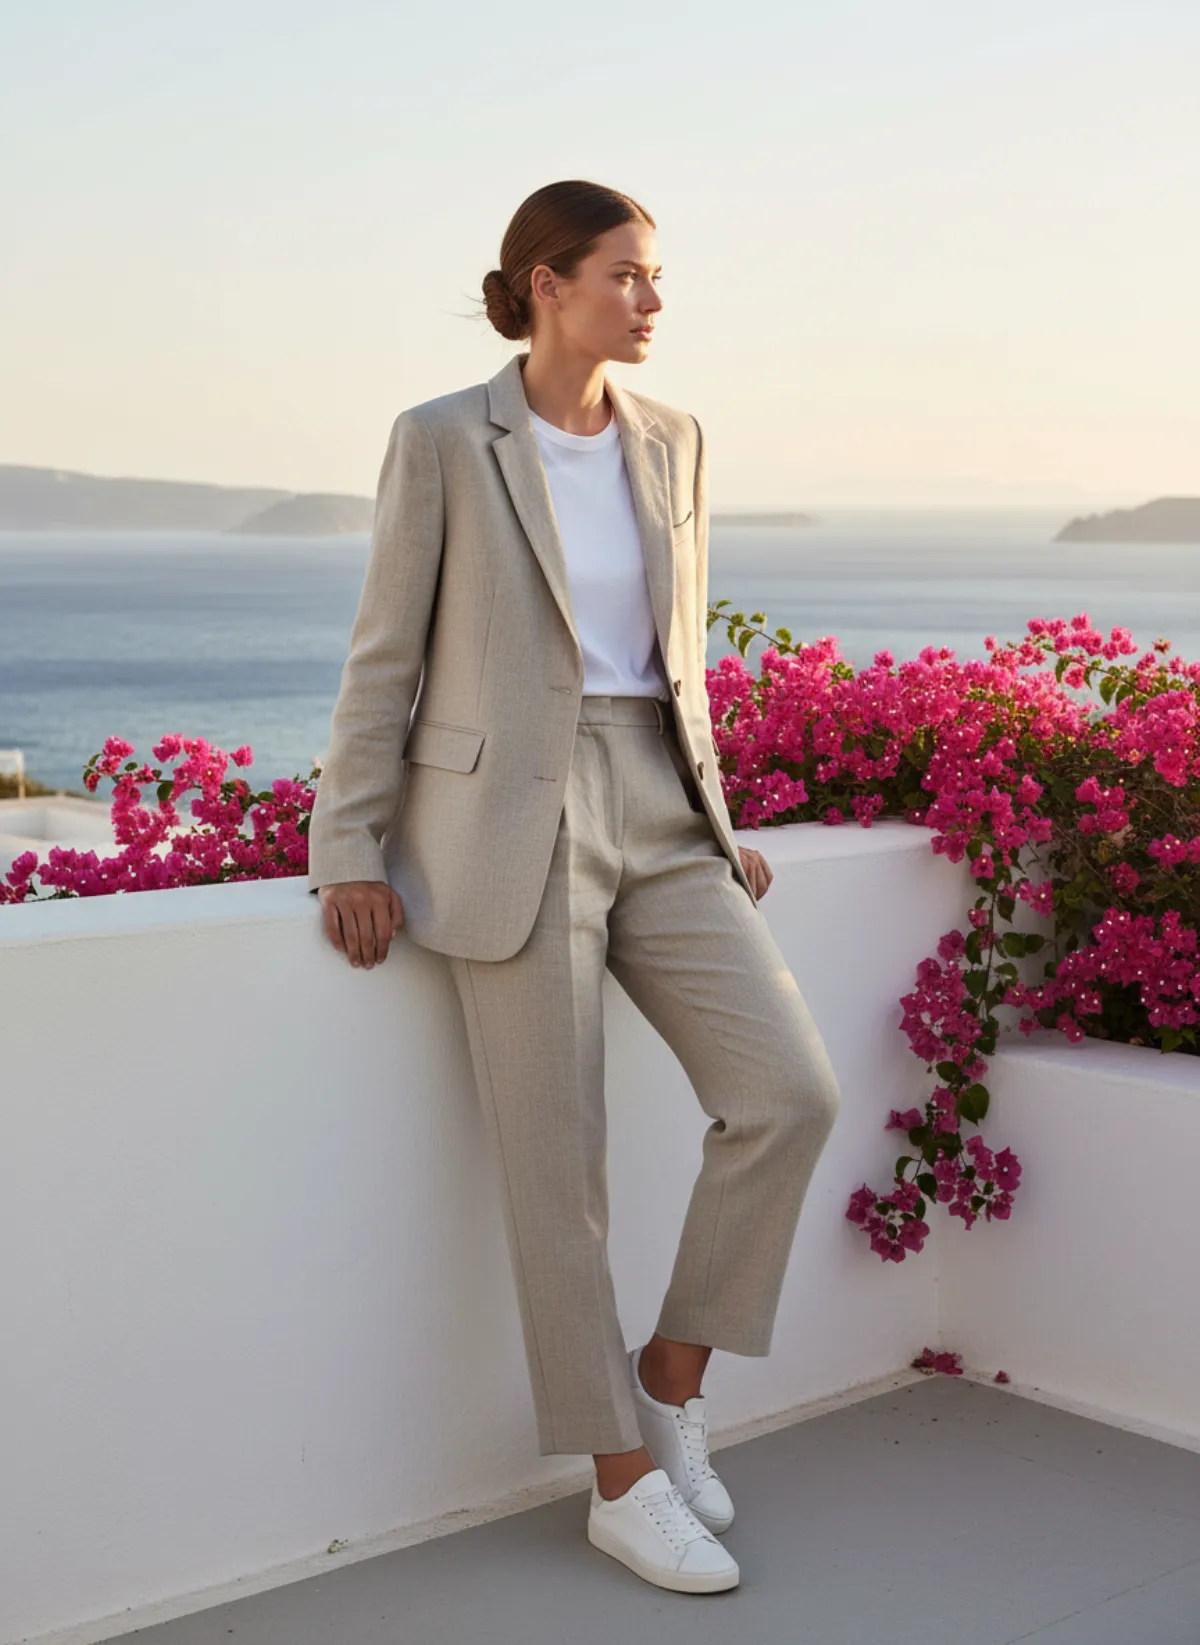
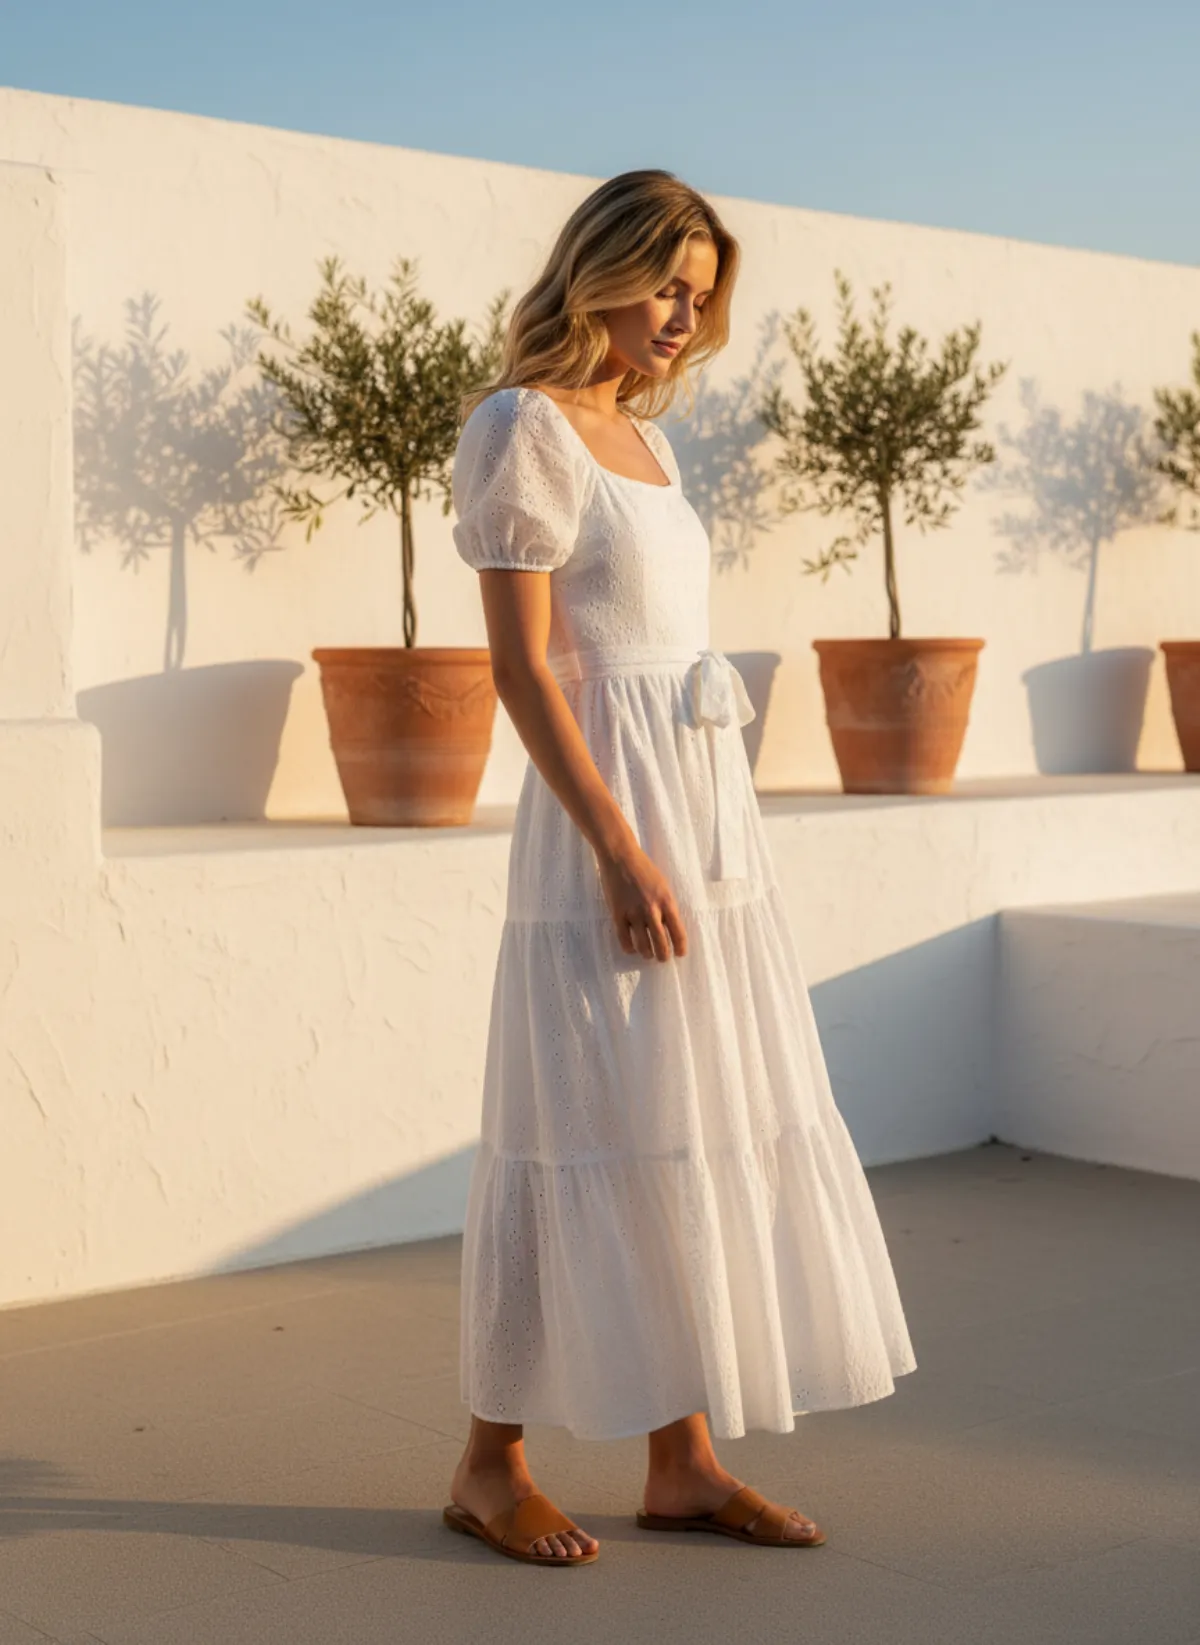
Each product below started as an ordinary phone photo at home. Garmo placed it on a model in a lifestyle setting while keeping the colour and details of the original.
A linen suit on a city street
A sand-beige suit on a clothes rail became a street frame and a seaside terrace, both with the same model.
 Your photo
An eyelet dress on a terrace
A white maxi dress on a wardrobe door became a sunny terrace image that suits a summer collection.
 Your photo
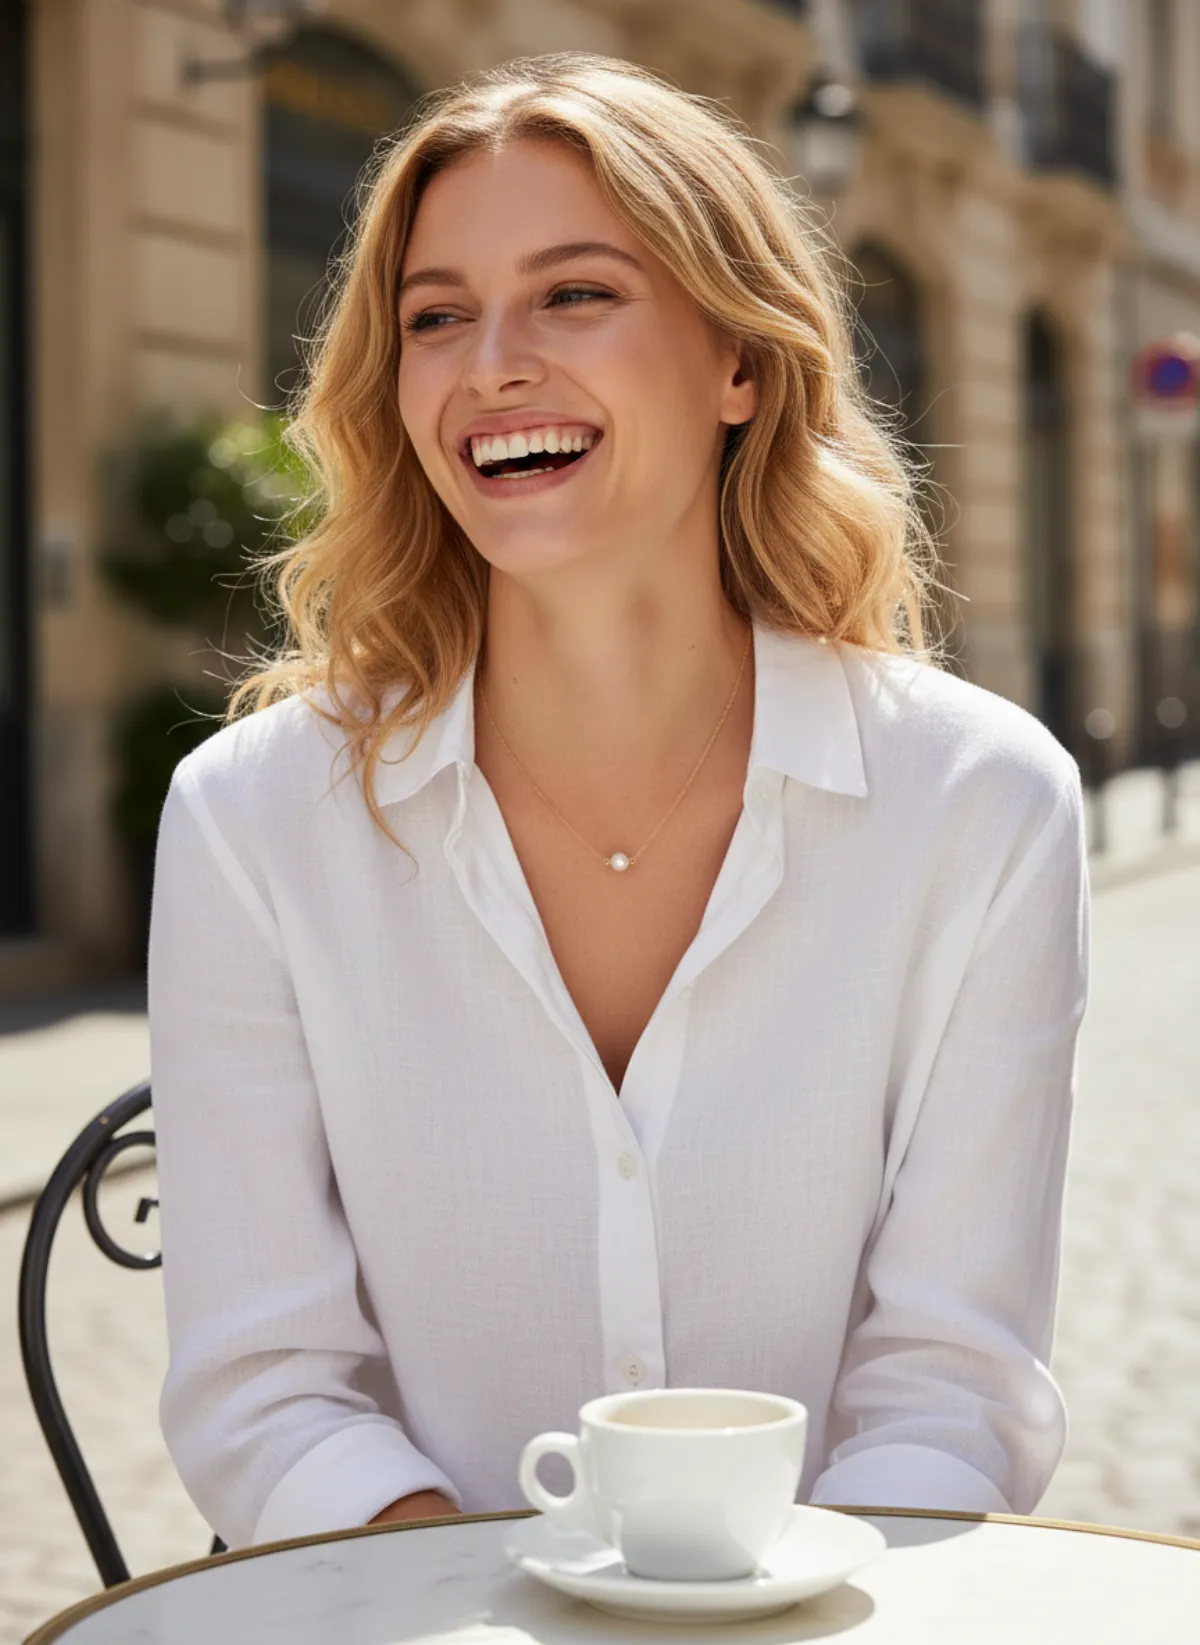
A pearl pendant at a café
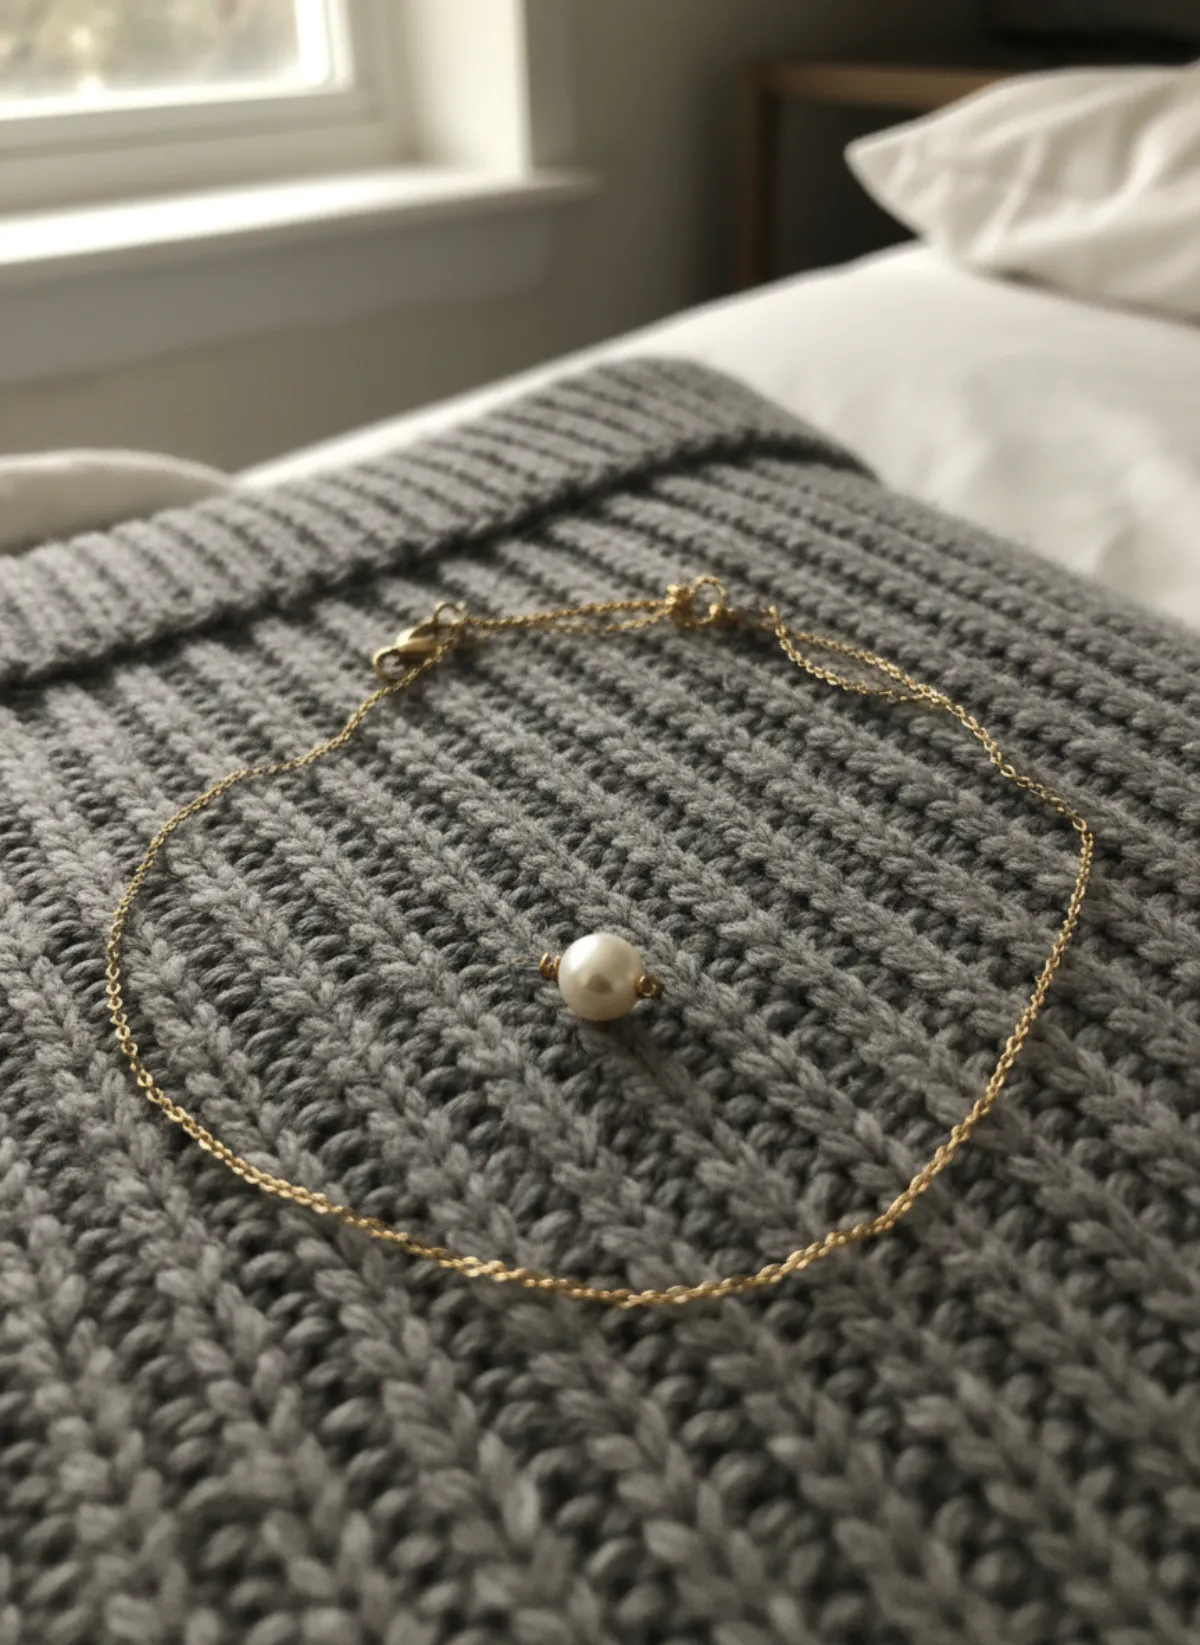
A pendant photographed on a knit sweater became a candid café moment where the necklace is still easy to see.
 Your photo
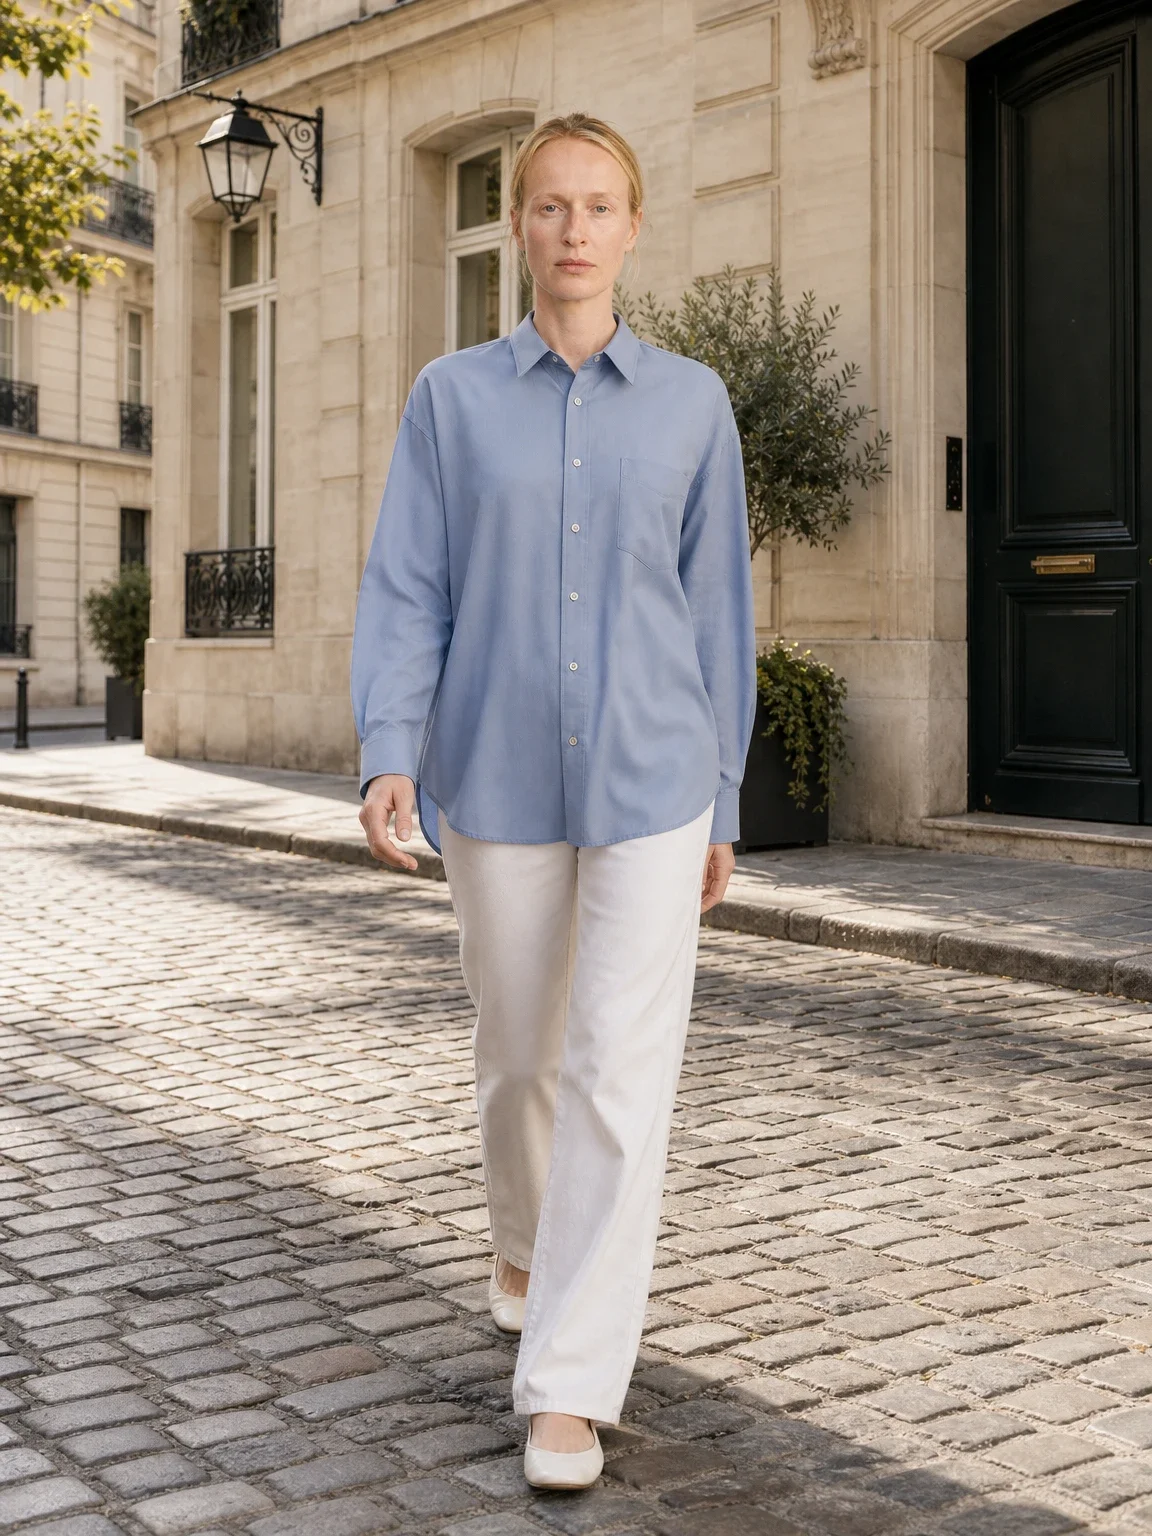
A poplin shirt on a walk
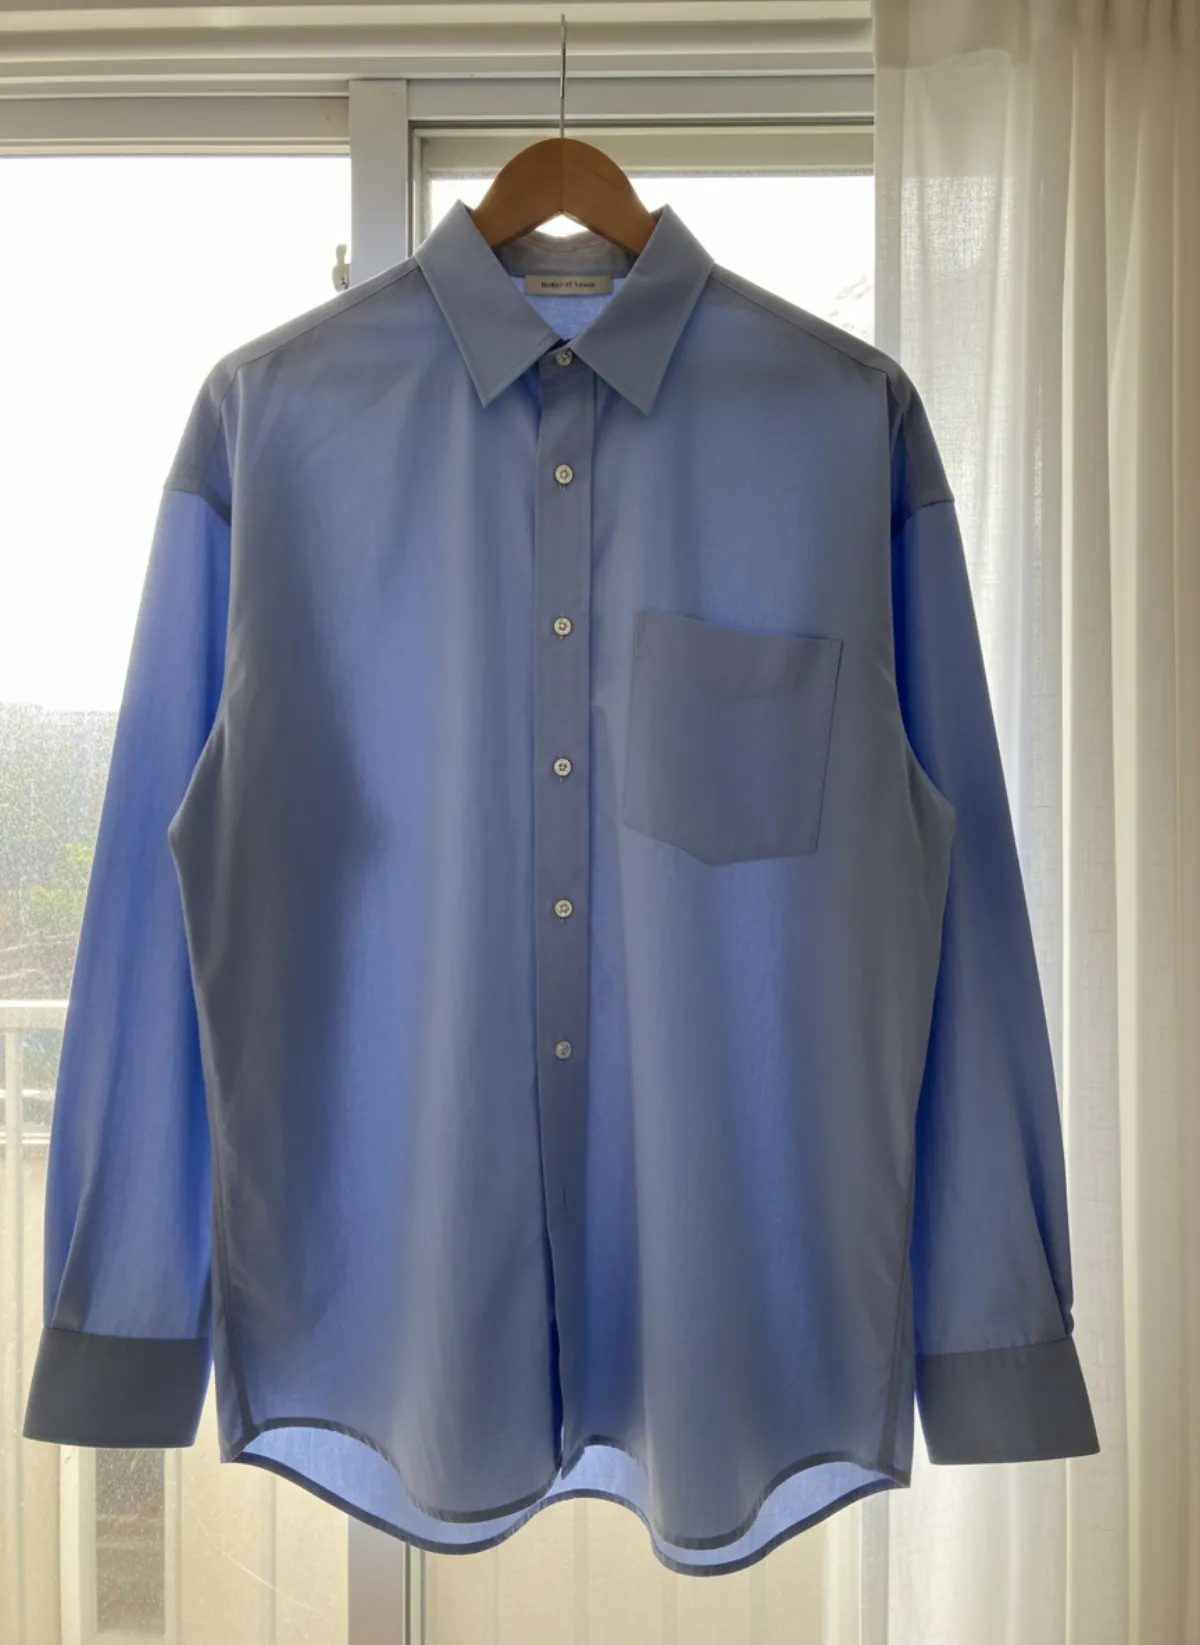
A blue shirt on a curtain rail became a walking street shot that shows the oversized fit in motion.
 Your photo
Lifestyle images without a location shoot
A location shoot adds costs a studio day does not: travel, permits, a stylist for wind and weather, and the risk of losing the light. For a small brand with dozens of SKUs, that often means only the hero products get lifestyle images. The breakdown in product photography cost per image shows where the money goes.
With an AI model photoshoot, one phone photo of the product becomes a set of frames with the same model in studio, street or editorial settings. If none of those fits the collection, you can describe your own scene, such as a terrace, a beach or a café, and reuse it for every product so the whole range shares one location. Clothes photographed on a hanger go through garment to model, dresses through dress on model AI and necklaces or earrings through jewelry on model AI.
The same rules apply as on a real set. Check every result against the original for colour, print, buttons and length. Keep the plain product photo in the gallery so buyers can compare. And choose scenes that match where the product will really be worn; a believable street sells better than a fantasy backdrop.
How many lifestyle images to use
On a product page, one or two lifestyle frames are usually enough: one full-length to show fit, and optionally one closer frame that shows a detail in use. Place them after the clean lead image and before the detail shots. More than that starts to repeat itself and pushes useful information such as the back view or fabric close-up further down.
On social media and in ads, lifestyle images lead. A feed is scrolled, not searched, and a scene stops the thumb faster than a product on white. Crop for the platform: 4:5 or 9:16 for feeds and stories, wider for banners. Keep a vertical master with space around the model so each crop still shows the product.
Measure rather than guess. If you run ads or have shop analytics, test a lifestyle image against the clean image as the first photo for a few products and compare clicks and sales. Some categories, such as jewelry and outerwear, often benefit more from context than basics do. Let your own numbers decide. A lookbook is the natural home for these frames; see how to build one with an AI lookbook generator.
Lifestyle product photography questions
What is the difference between lifestyle and studio product photography?
Studio photography shows the product on a plain, controlled background so details are clear. Lifestyle photography shows it in use in a real setting so the buyer can imagine owning it. Most fashion stores use a studio-style lead image and add lifestyle frames after it.
Can lifestyle images be the main product photo?
On your own site you can test it, but a clean image usually reads better as a thumbnail. Many marketplaces expect a plain lead image, so check each platform's rules before using a lifestyle frame first.
What are good lifestyle product photography ideas for clothing?
A model walking on a sunny street, sitting at a café table, on a terrace or in a simple home interior. Pick a place where your buyer would really wear the piece and keep the background calmer than the product.
How much does lifestyle product photography cost?
Usually more than a studio shoot because of location, travel, permits and weather risk. AI tools can create lifestyle frames from a product photo for a fraction of that, as long as you check every result against the real item.
Do I need a model for lifestyle photos?
Not always. Styled still lifes and detail shots work without a model. For clothing, a person usually shows fit and occasion best, and an AI model can stand in when you cannot book one.
Give small jewelry a human reference
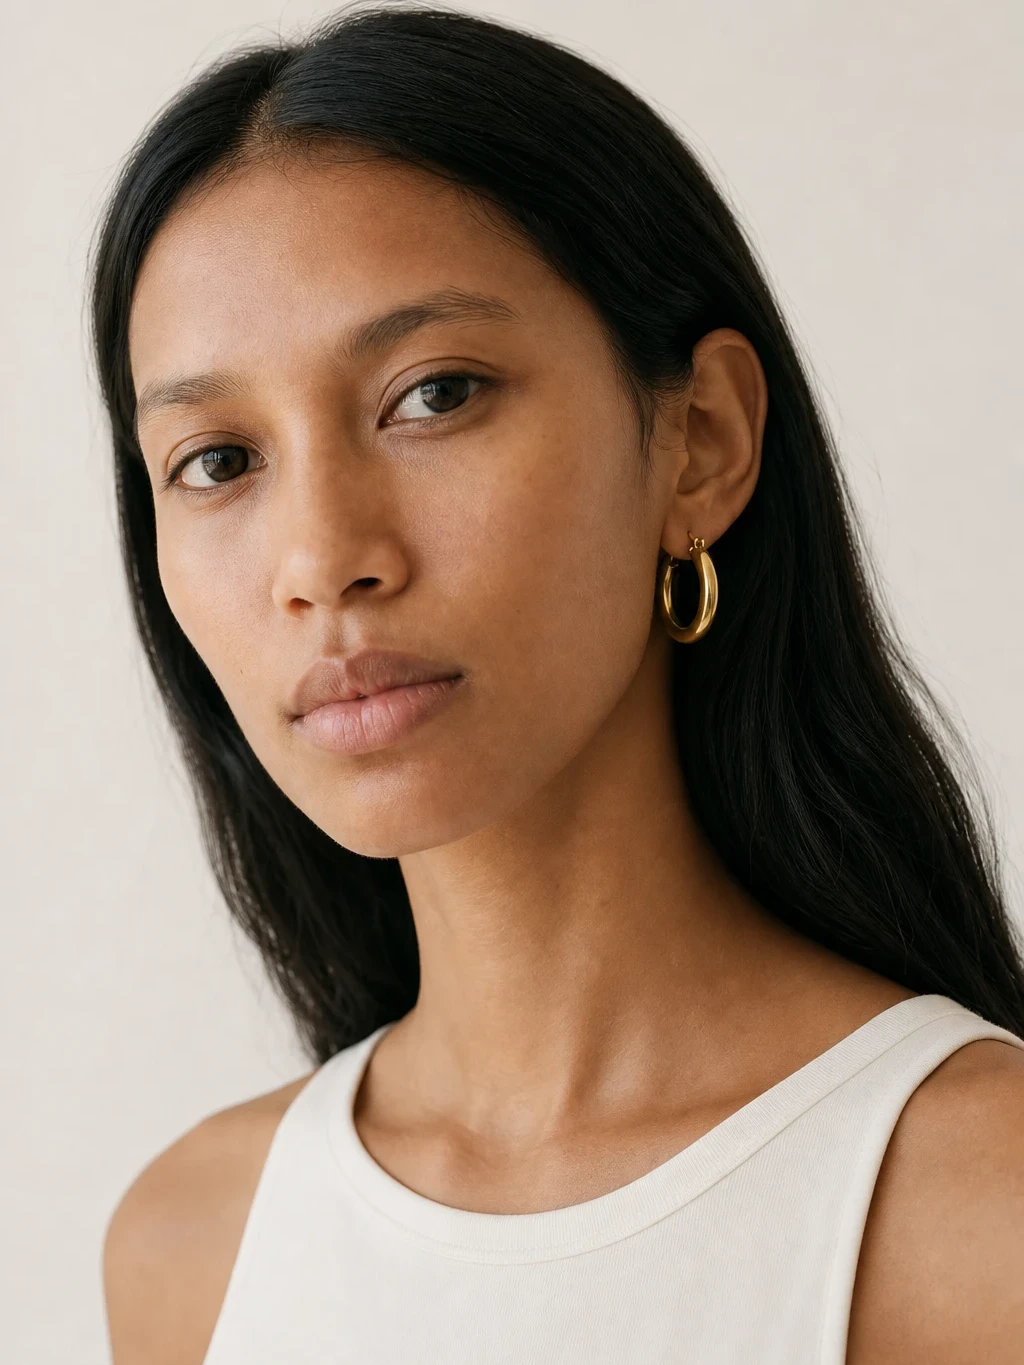
Lifestyle props create mood, but they rarely explain the real size of jewelry. Add a worn view and use the necklace on model AI scale workflow for chains or the earrings on model AI framing workflow for pieces that can disappear beside the face.
Make handbag lifestyle frames explain scale
A beautiful bag scene should still answer a product question. Use the bag on model AI guide to plan top-handle, shoulder and crossbody views with written measurements and a hardware-level accuracy check.