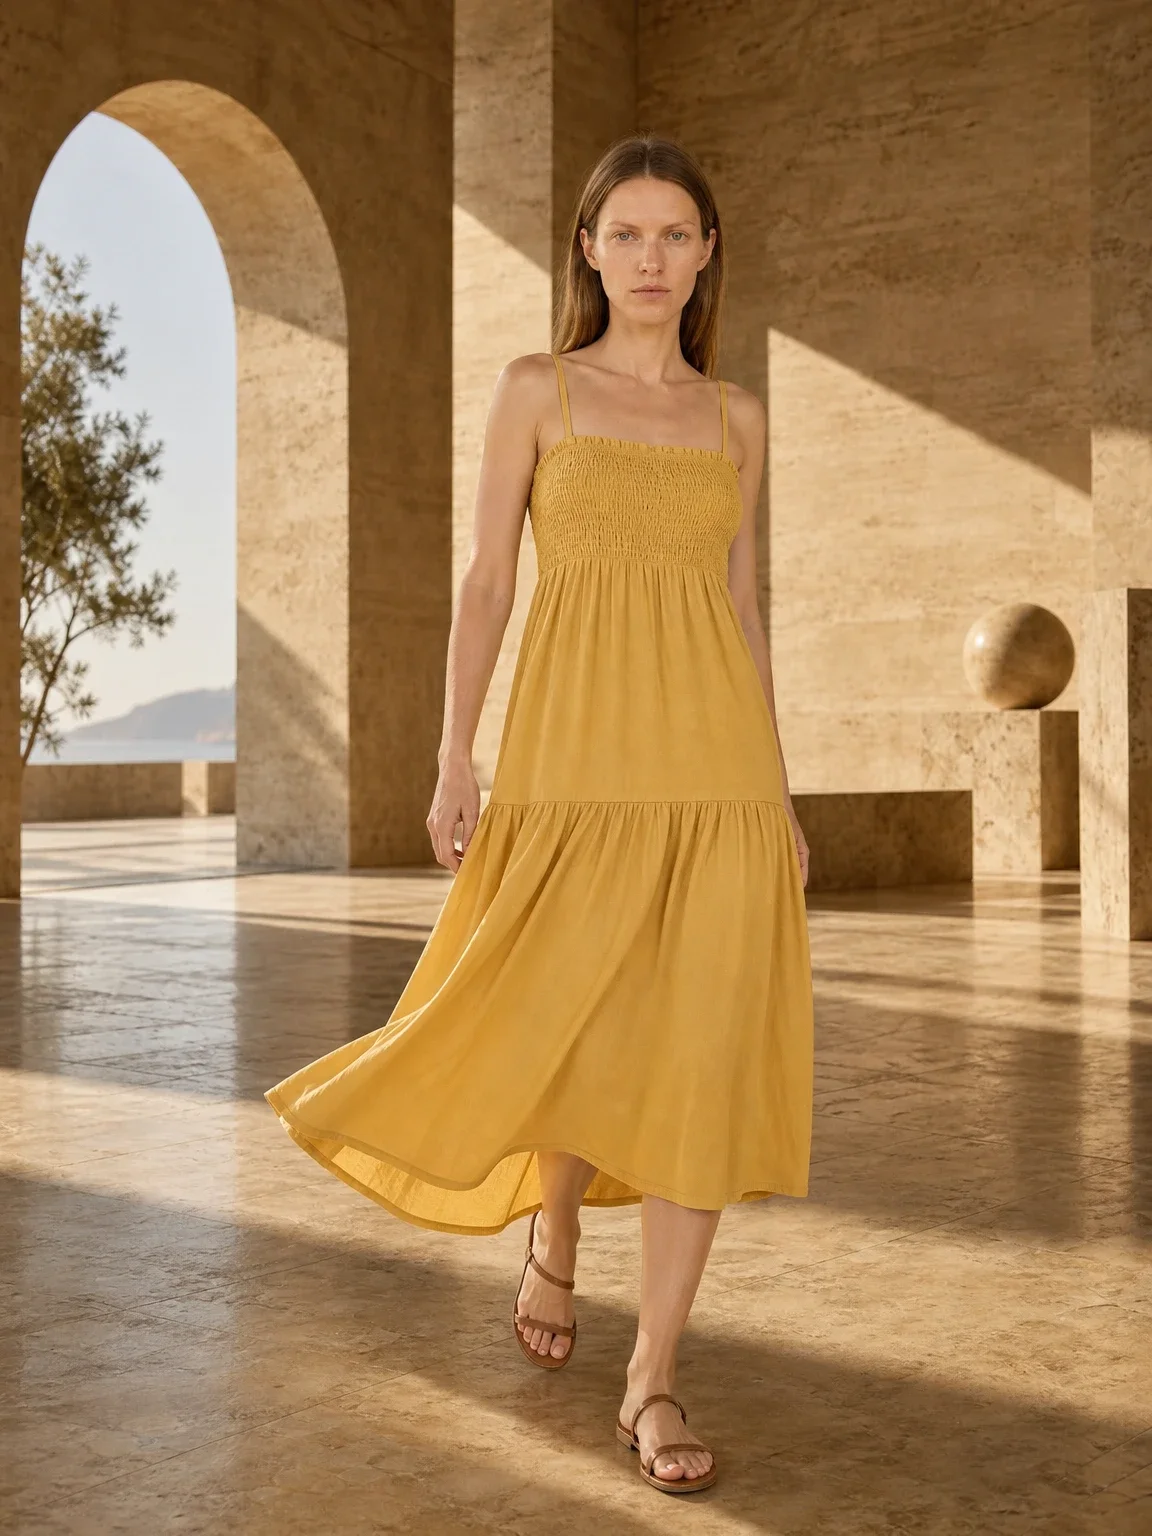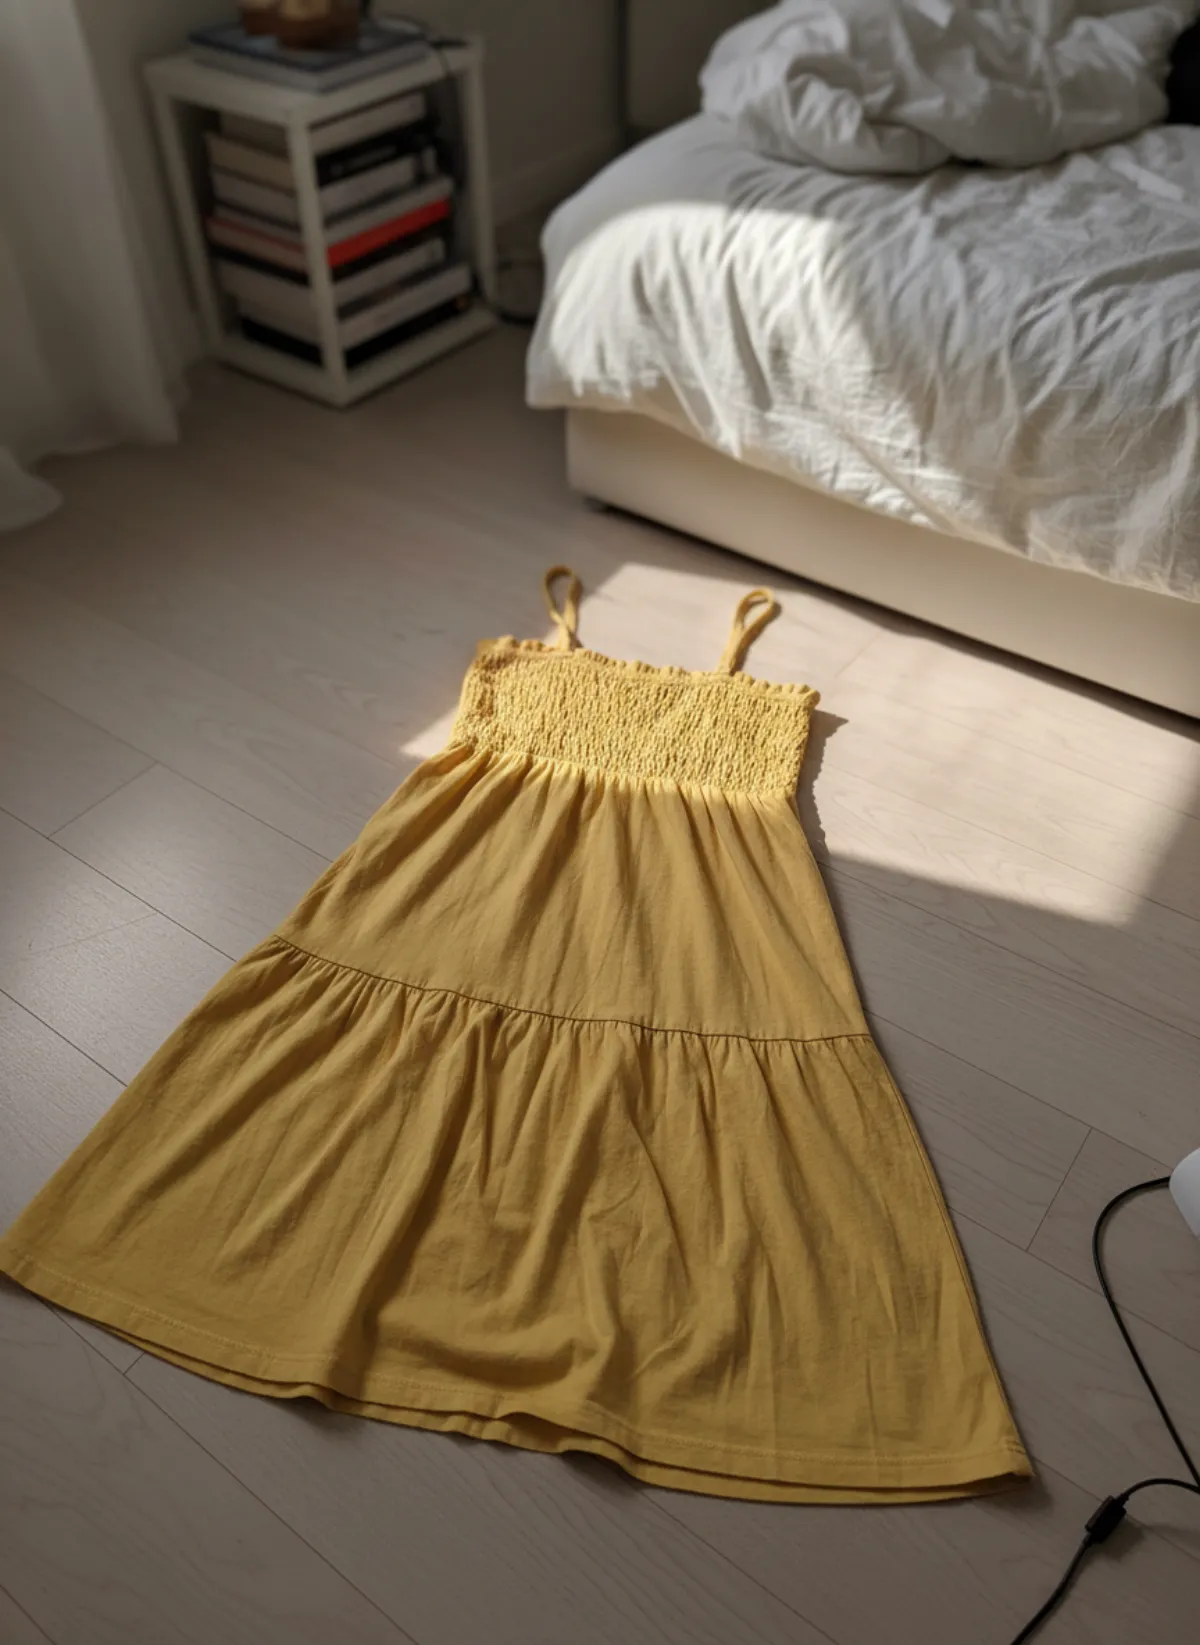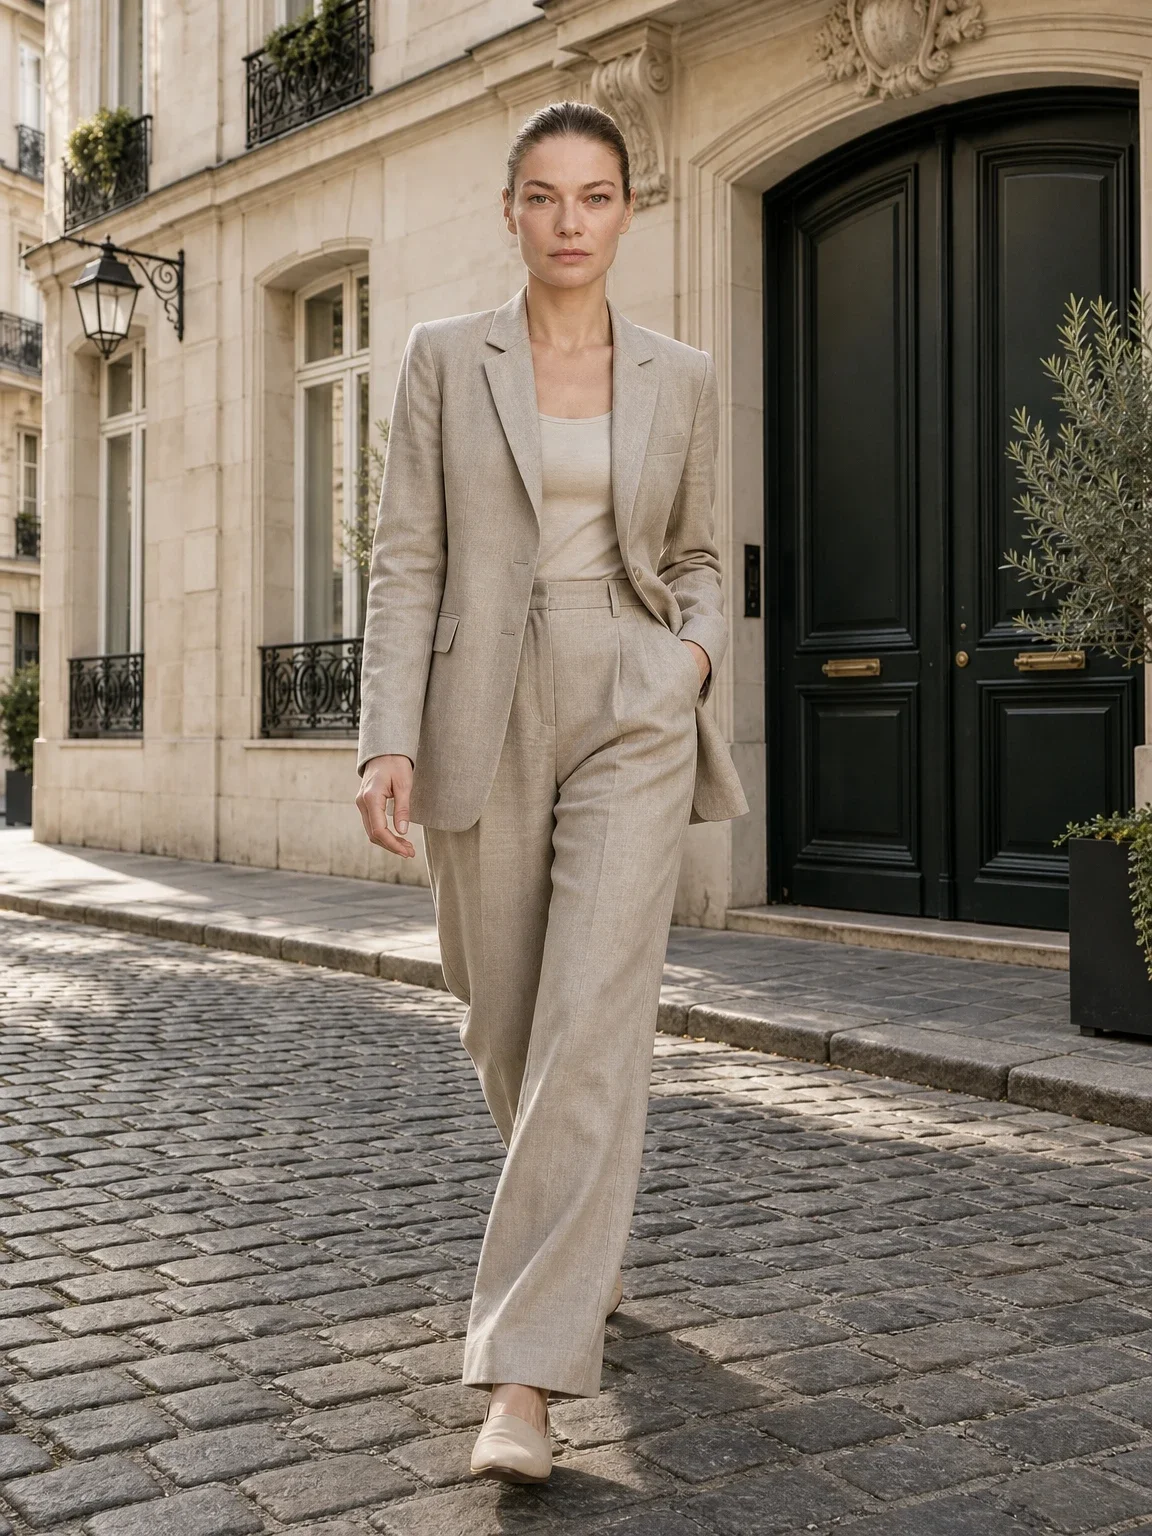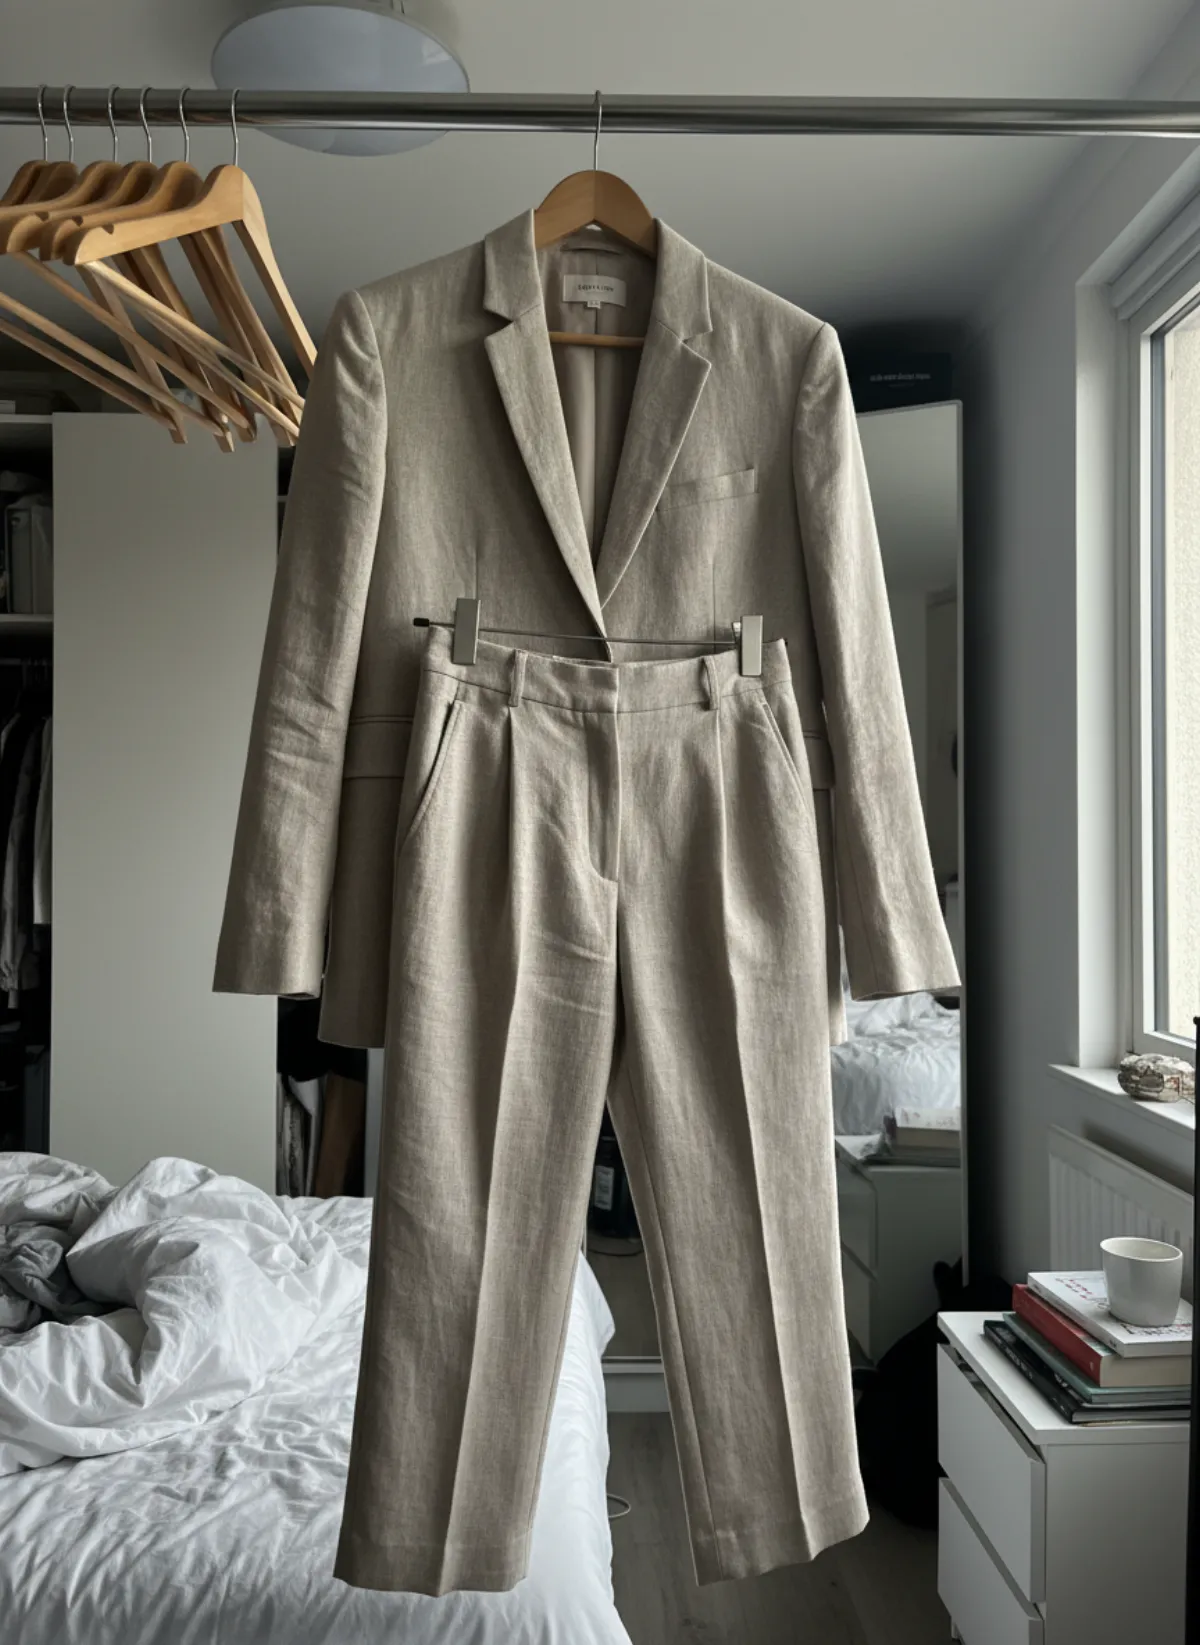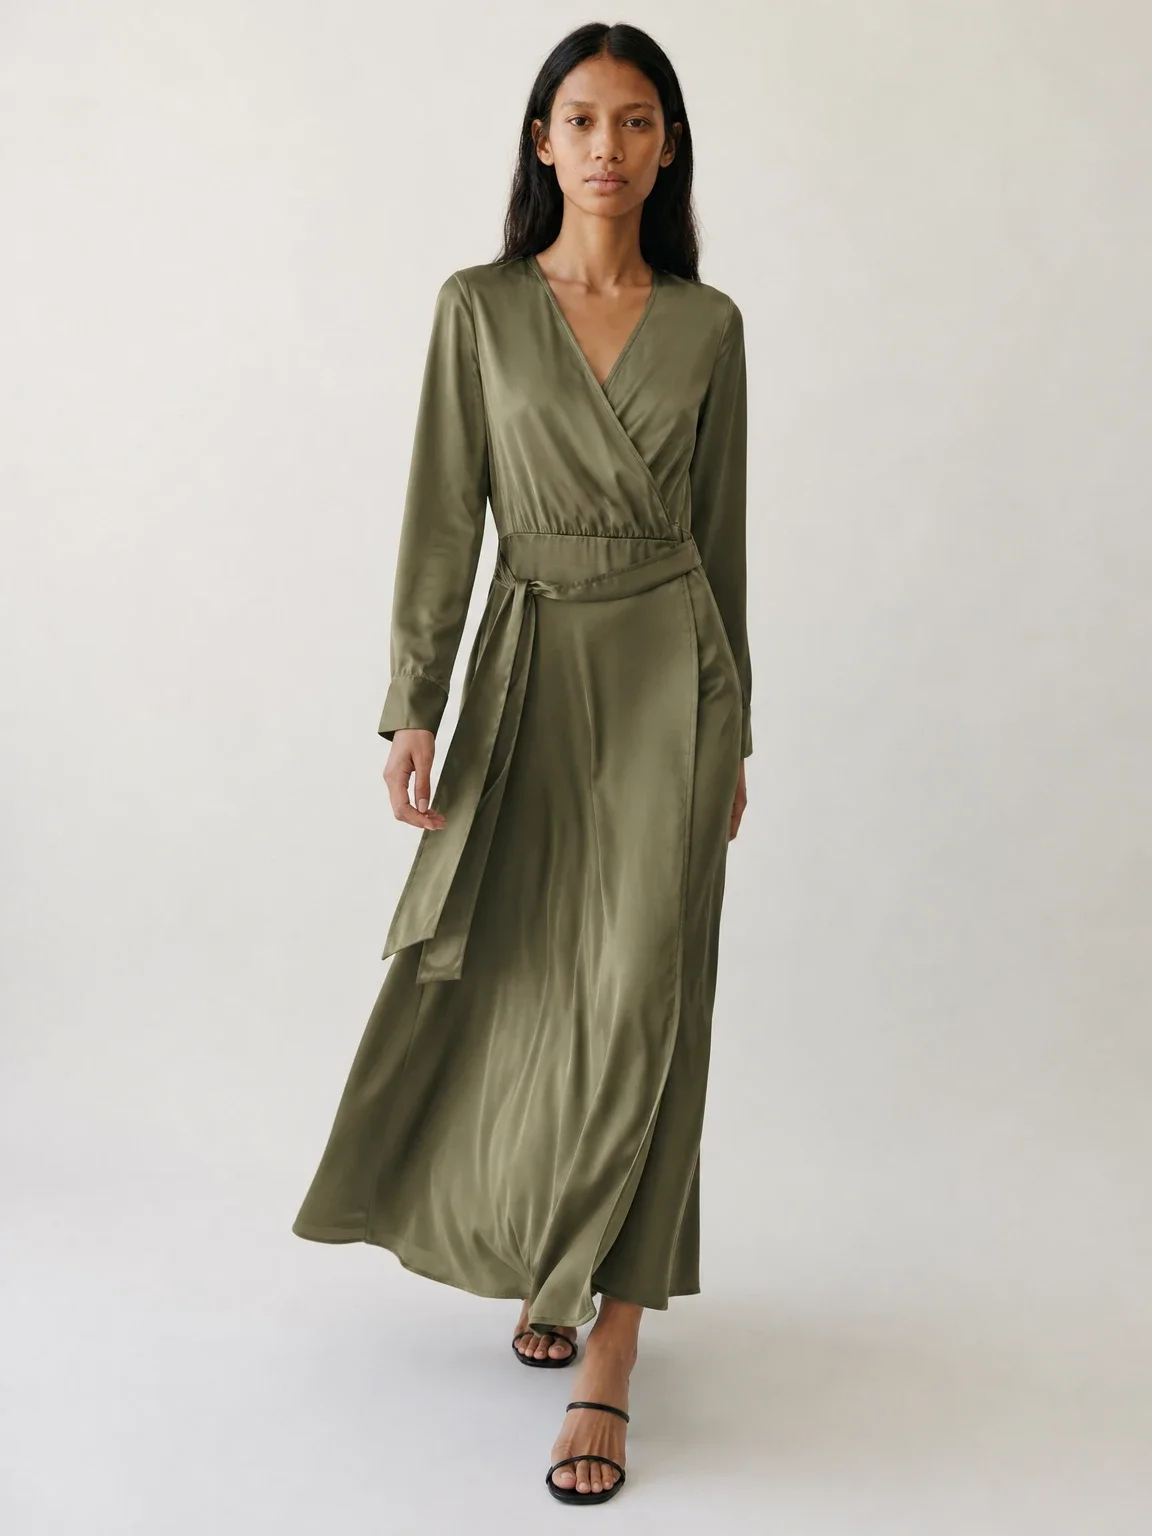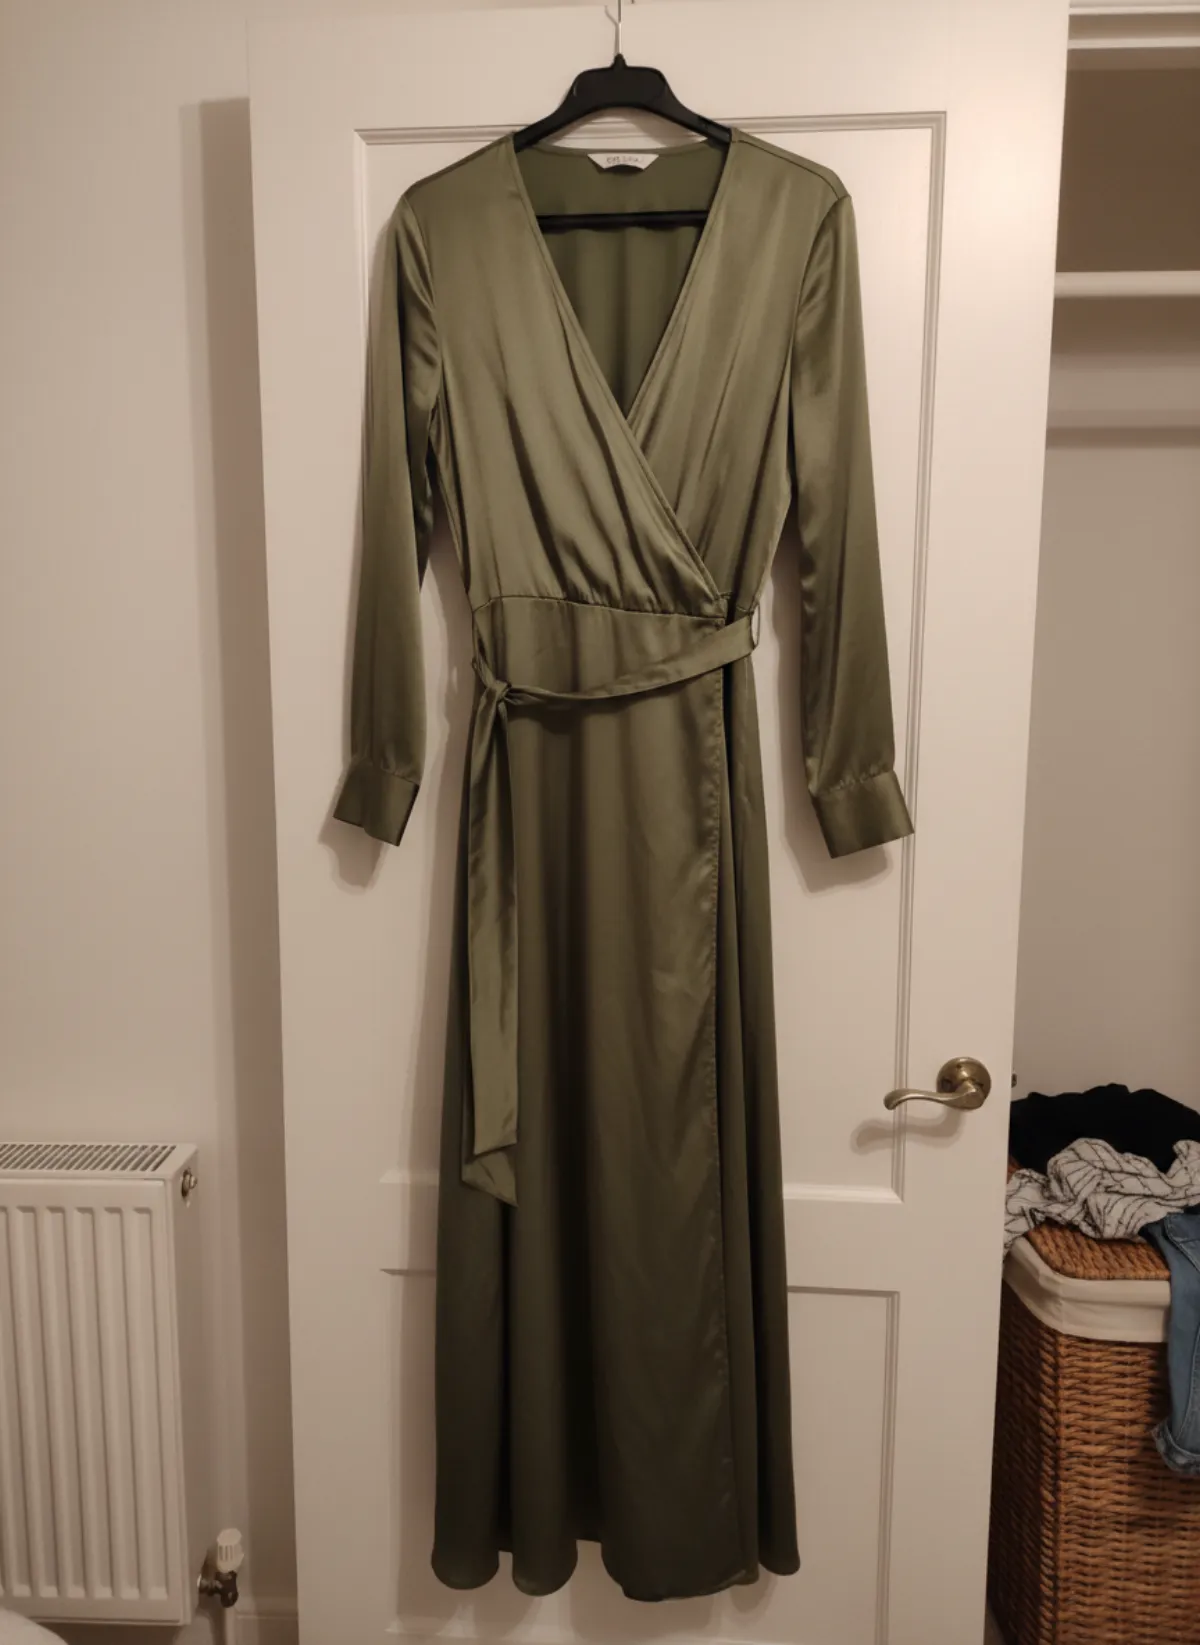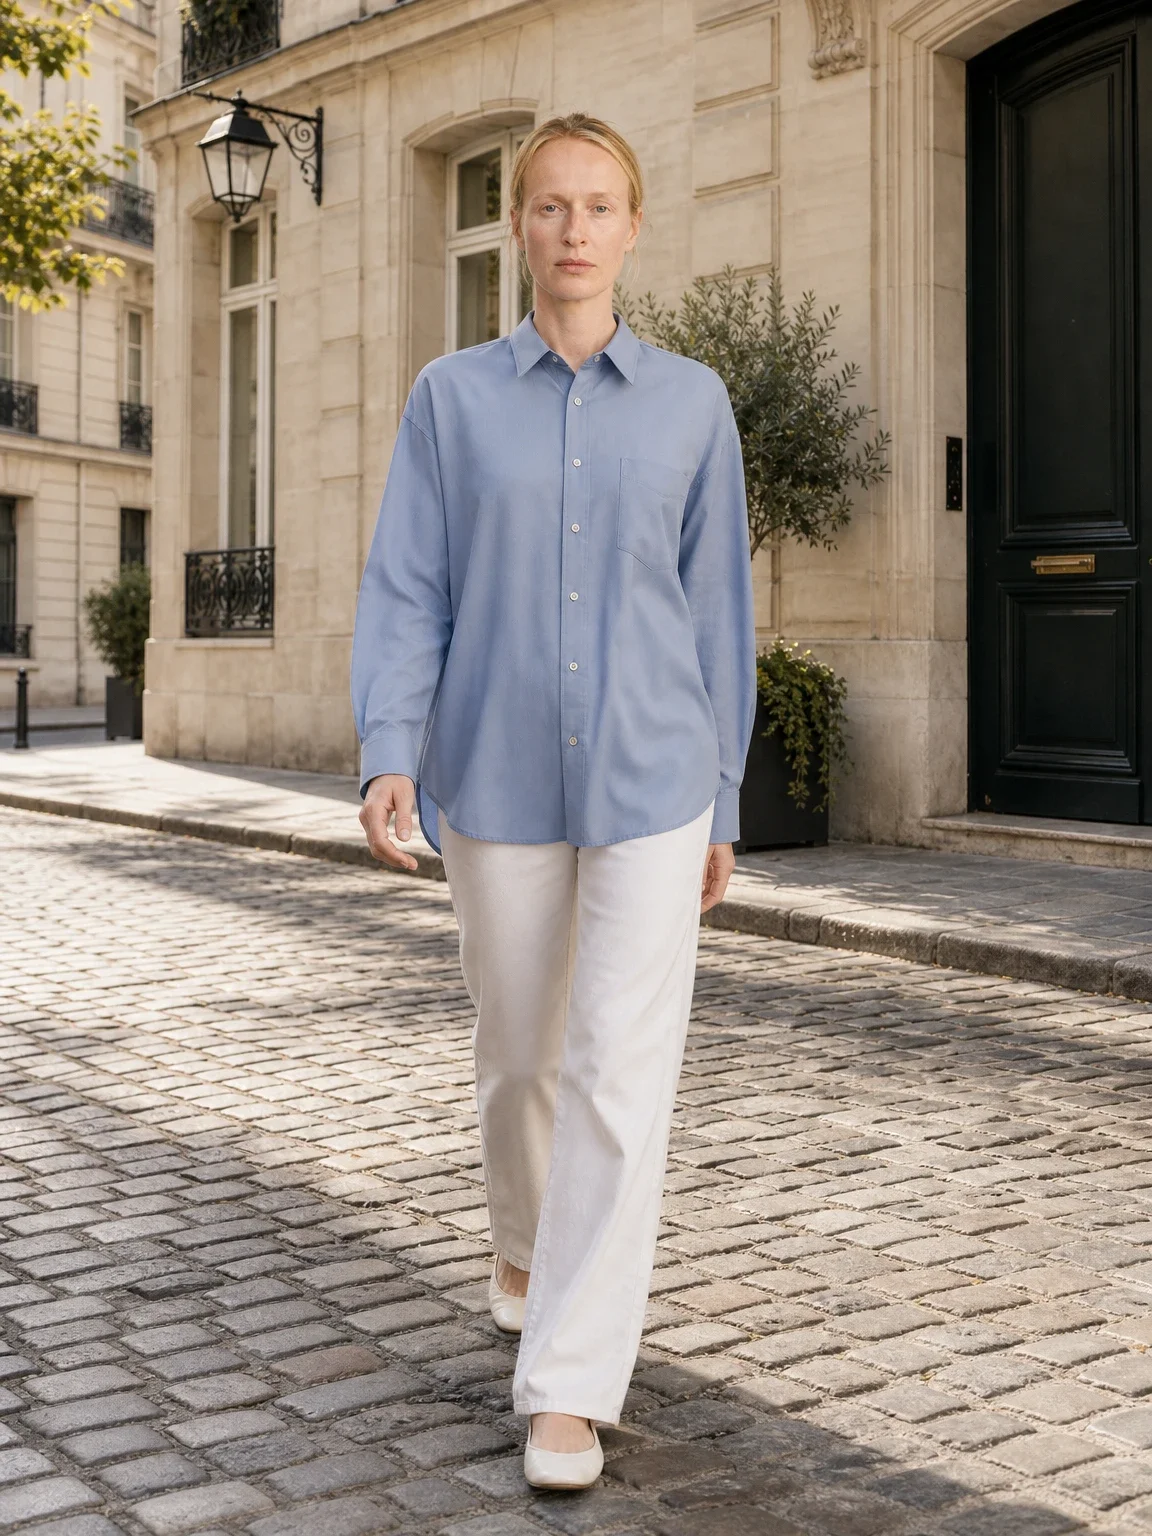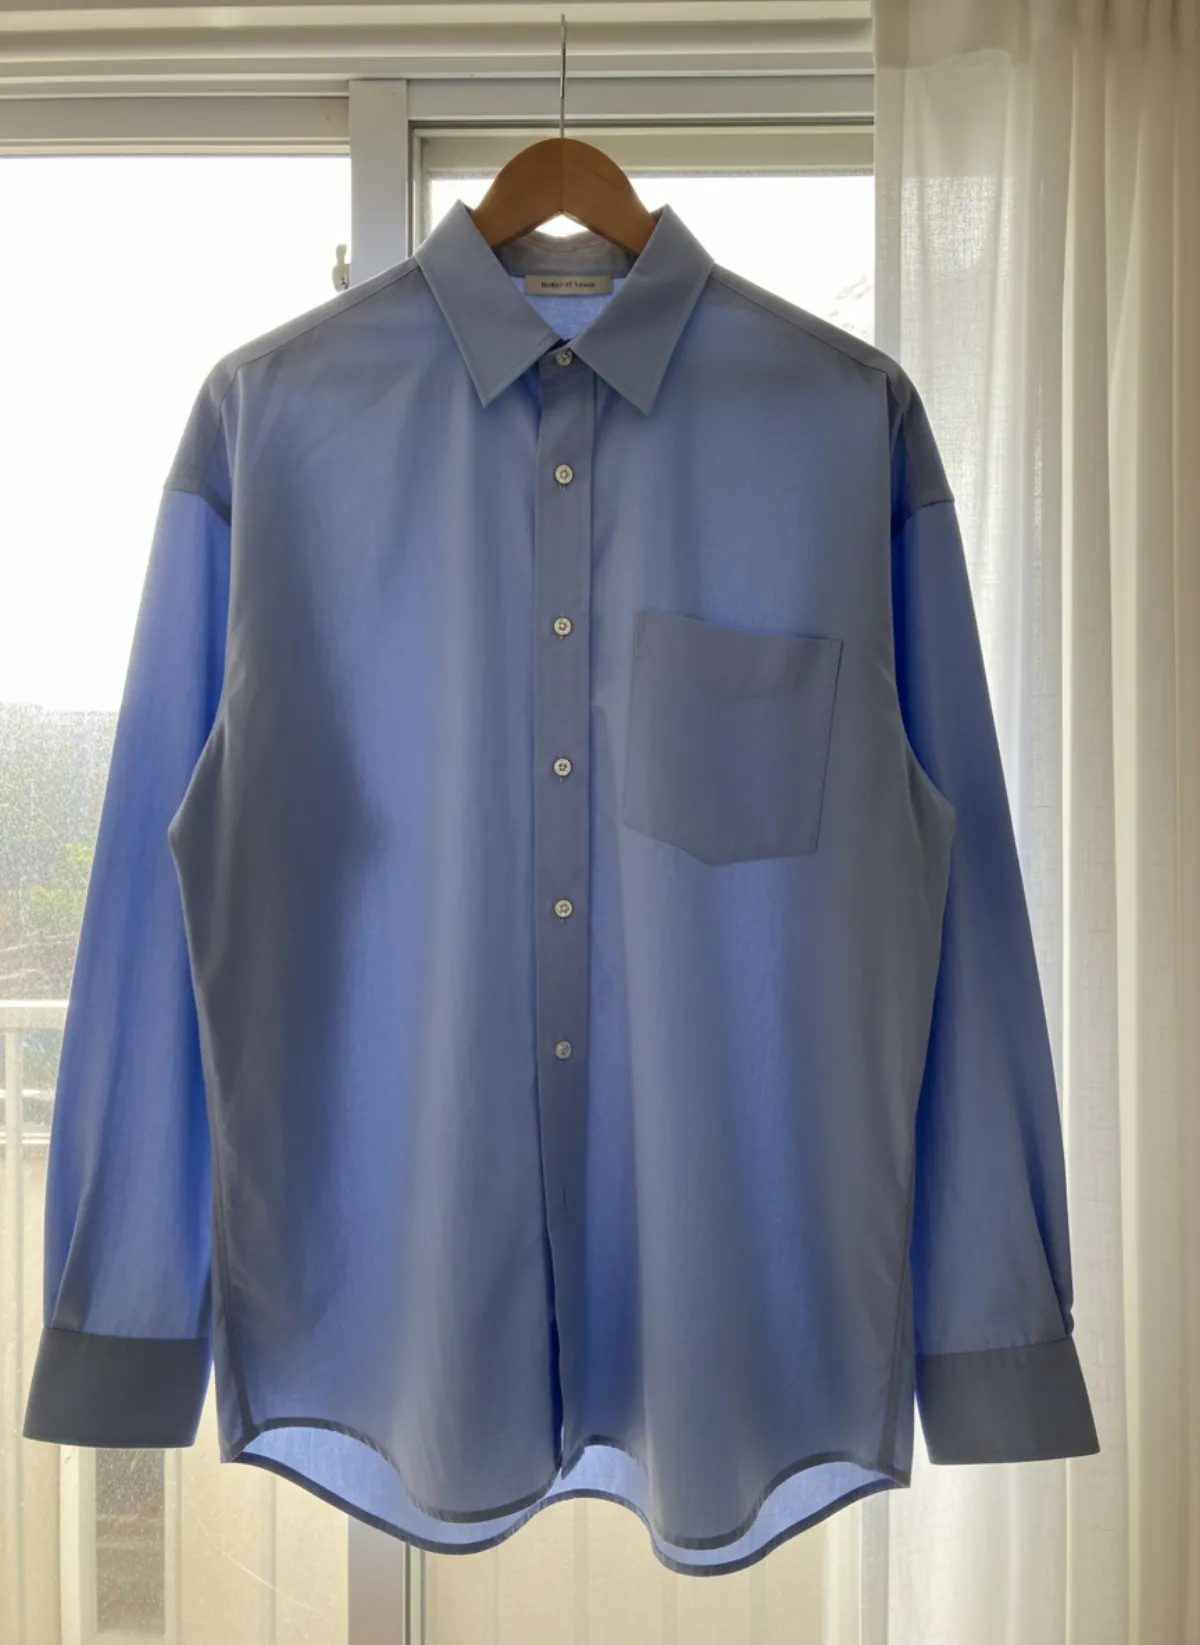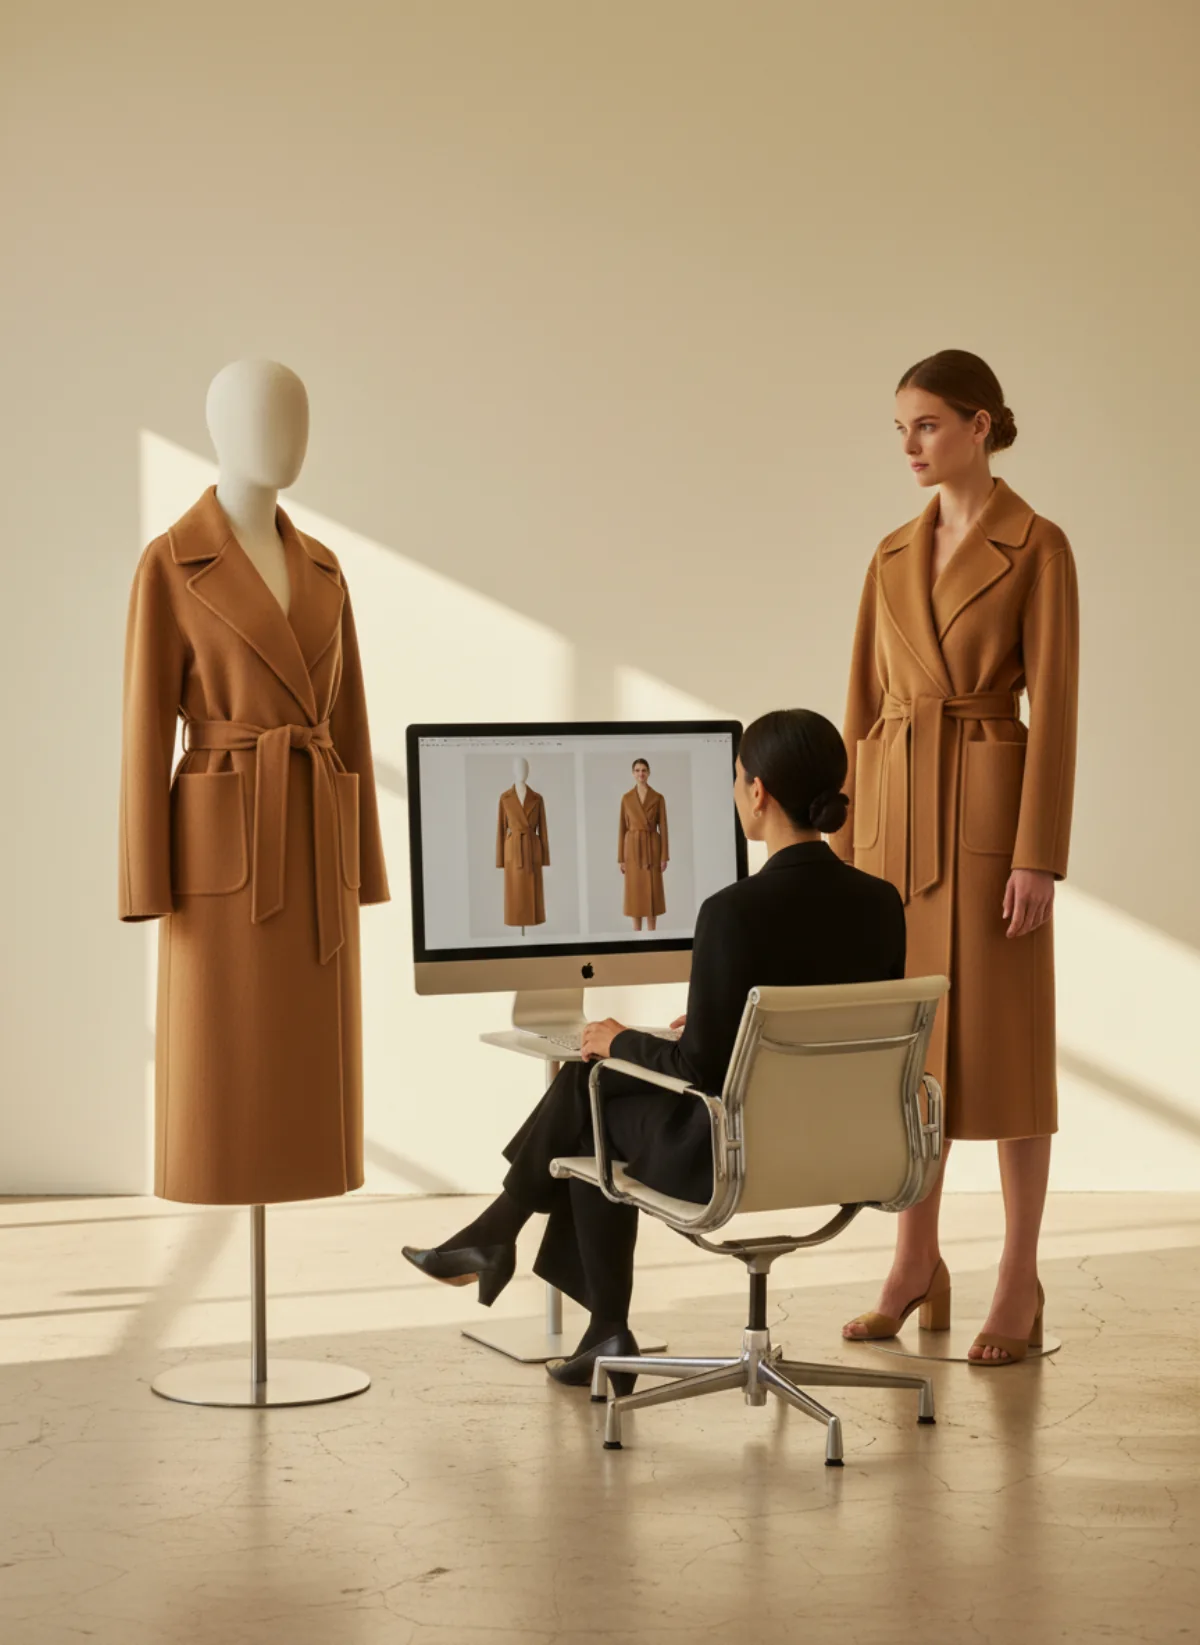
The short answer: replace the limitation, not the evidence
A display mannequin records the actual garment, colour and construction, but the rigid body, visible stand and shop environment can make a listing feel utilitarian. A human-looking model adds posture, scale and an emotional context. The conversion is valuable when it helps a shopper understand the product without changing what the product is.
A mannequin to model AI workflow is especially practical for retailers who already have hundreds of consistent mannequin shots. Those images often contain clearer garment structure than folded photos, so they can be strong sources. The job becomes upgrading presentation rather than planning a shoot from zero.
Do not confuse plausible fit with measured fit. The display form may not match a human body, and the generated body is not a fit test. Keep size charts, measurements and truthful close-ups. If exact drape or performance is the central claim, photograph a real person. No mannequin at home? Our guide on how to take pictures of clothes without a mannequin covers flat, hanger and wall setups.
Where the conversion creates value
Stronger first impression
A coherent model and clean background can make an older catalog feel current and easier to style mentally.
Reuse existing assets
Good mannequin photographs become useful sources instead of a sunk production cost.
More visual context
Front, three-quarter and selected lifestyle views explain silhouette better than a rigid form alone.
Controlled rollout
You can test one category, compare approved images and expand only if the result meets your standard.
When mannequin to model AI is worth it
It is a strong candidate when your current source images are sharp, evenly lit and show the whole garment; when you release products frequently; and when model booking, samples and reshoots delay publication. It also helps when old and new catalog sections use visibly different mannequin types or shop backgrounds. A fixed digital model and crop can unite them.
The financial comparison should use cost per approved image. Include source cleanup, generation, rejected results and internal review—not just the generation price. Compare that with model, photographer, studio, styling, sample transport, retouching and coordination. Our product photography cost guide gives a common framework, while the AI collection cost analysis shows why review time still matters.
Run a representative pilot rather than starting with the easiest product. Include a simple knit, a normal bestseller and a difficult item such as a tailored coat, long patterned dress or layered piece. Approve only results that survive full-resolution product checks and a grid-level consistency review.
When replacement is the wrong goal
Keep a physical shoot when you need verified fit across sizes, real fabric movement, transparency, compression or technical function. Highly reflective materials, intricate lace and products where the mannequin hides major sections may require more evidence than one source can provide.
Replacement is also unnecessary when the mannequin presentation is deliberate brand language. Some archival, tailoring or luxury concepts use a sculptural form effectively. The useful question is not whether model images are universally better, but whether they answer the customer's questions more clearly in your category.
If the source is low resolution, cropped or colour-inaccurate, fix the source first. AI cannot recover reliable product information from blur or hidden construction. The AI image accuracy test offers a checklist for separating an attractive render from a publishable product image.
The best answer is often a hybrid gallery
Lead with an accurate on-model front view if it performs well for your storefront. Follow with the original mannequin or clean product image, back view, construction details and a size guide. Then add one lifestyle frame. This preserves evidence while improving the emotional first impression.
Keep the model identity, camera height, crop and background consistent across the category. You can use an AI fashion model generator to choose the recurring person, then create a controlled AI model photoshoot after the front view is approved. Avoid generating many poses before product accuracy is settled.
Measure the pilot using returns-related feedback, time to approved image, production cost and the percentage of outputs that pass review—not likes alone. If the conversion speeds publishing and produces trustworthy galleries, expand category by category. If difficult products create repeated corrections, keep them in the physical-shoot lane.
Start with a measurable pilot
Choose ten representative SKUs, record the current production time and define the product details that must pass. A small measured pilot gives you a business answer; one striking before-and-after only gives you a creative example.
Mannequin to model AI questions
Should I delete the original mannequin photos?
Usually no. Keep useful originals as product evidence, especially for back, construction and details, and add the checked on-model image.
Does mannequin to model AI show exact fit?
It shows a plausible styled fit, not a measured fitting session. Keep accurate measurements, size information and real detail photos.
Which mannequin photos work best?
Use sharp, evenly lit, full-length images with minimal obstruction, neutral perspective and accurate colour.
Is it cheaper than a model photoshoot?
It can reduce coordination and reshoot costs, but compare cost per approved image including generation, rejects, review and source preparation.
Which garments still need a real model?
Products sold on exact fit, movement, transparency, compression or technical performance benefit most from real-person evidence.
Know which kind of try-on you need
Replacing a display mannequin is a merchant content workflow, not a customer fitting room. The virtual try-on AI store guide explains that boundary and shows when catalog visualization helps without making a size promise.