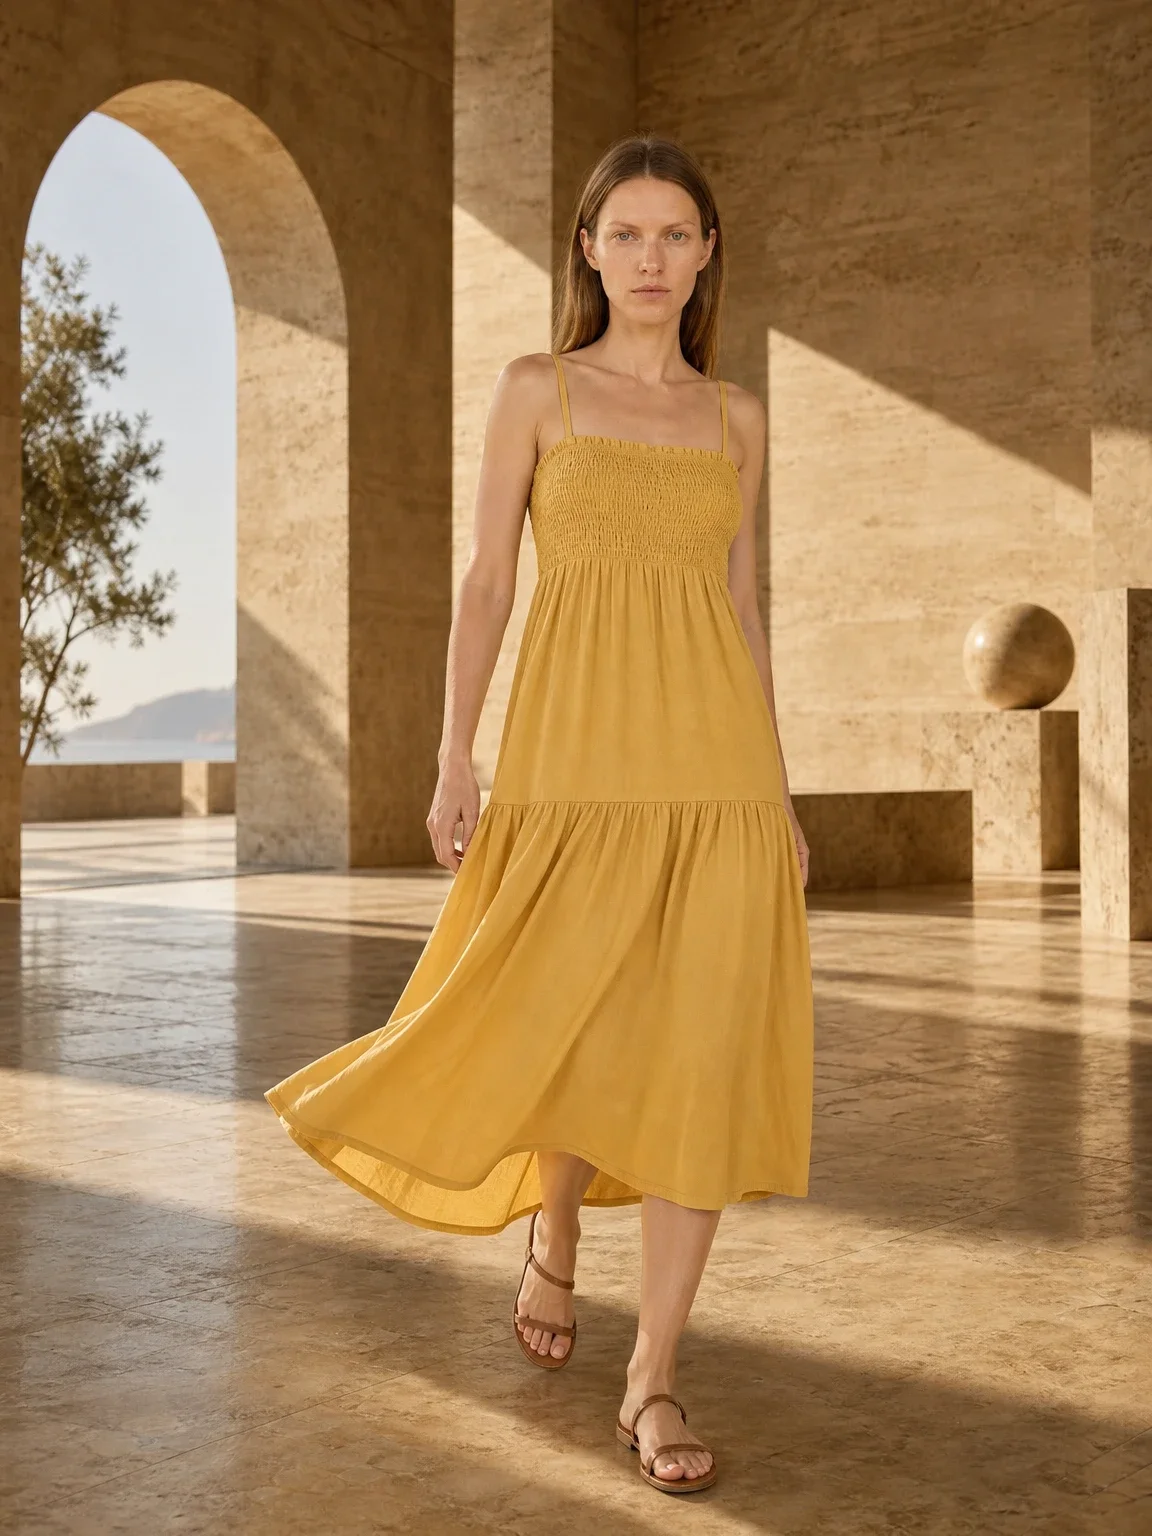
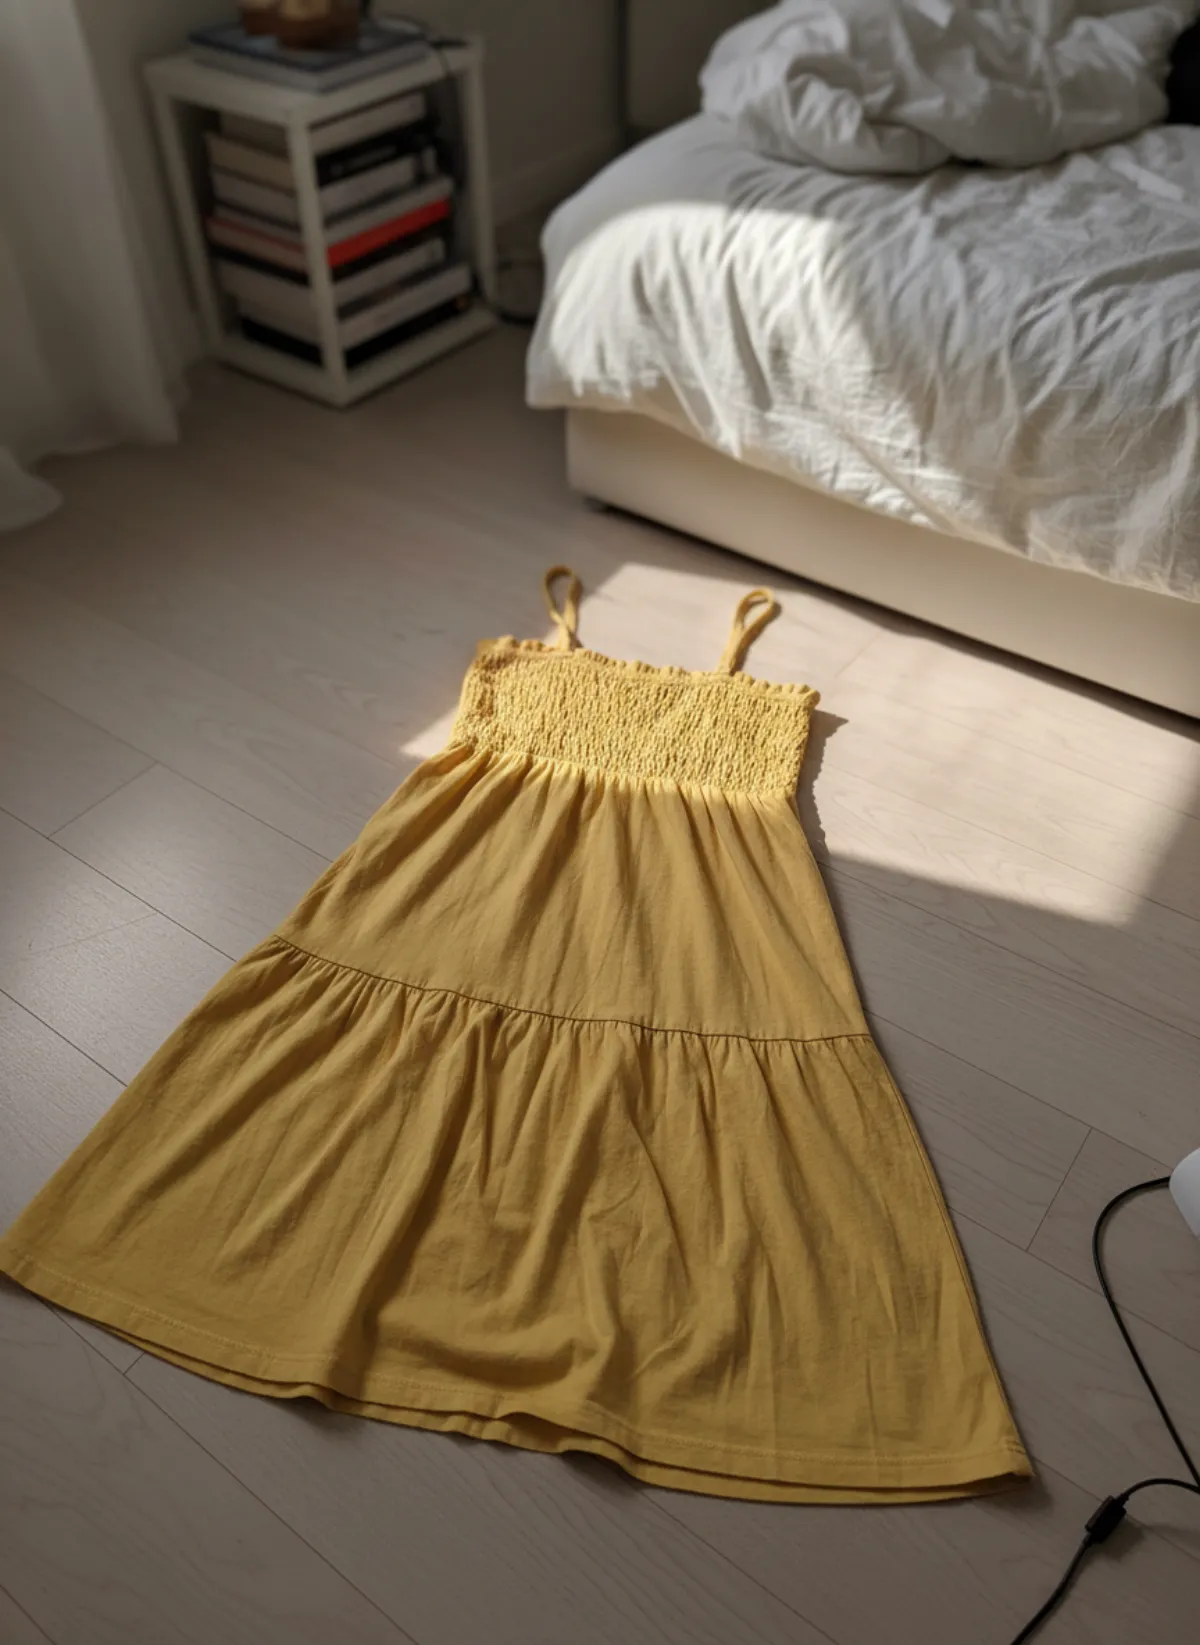
What virtual try-on AI means in retail
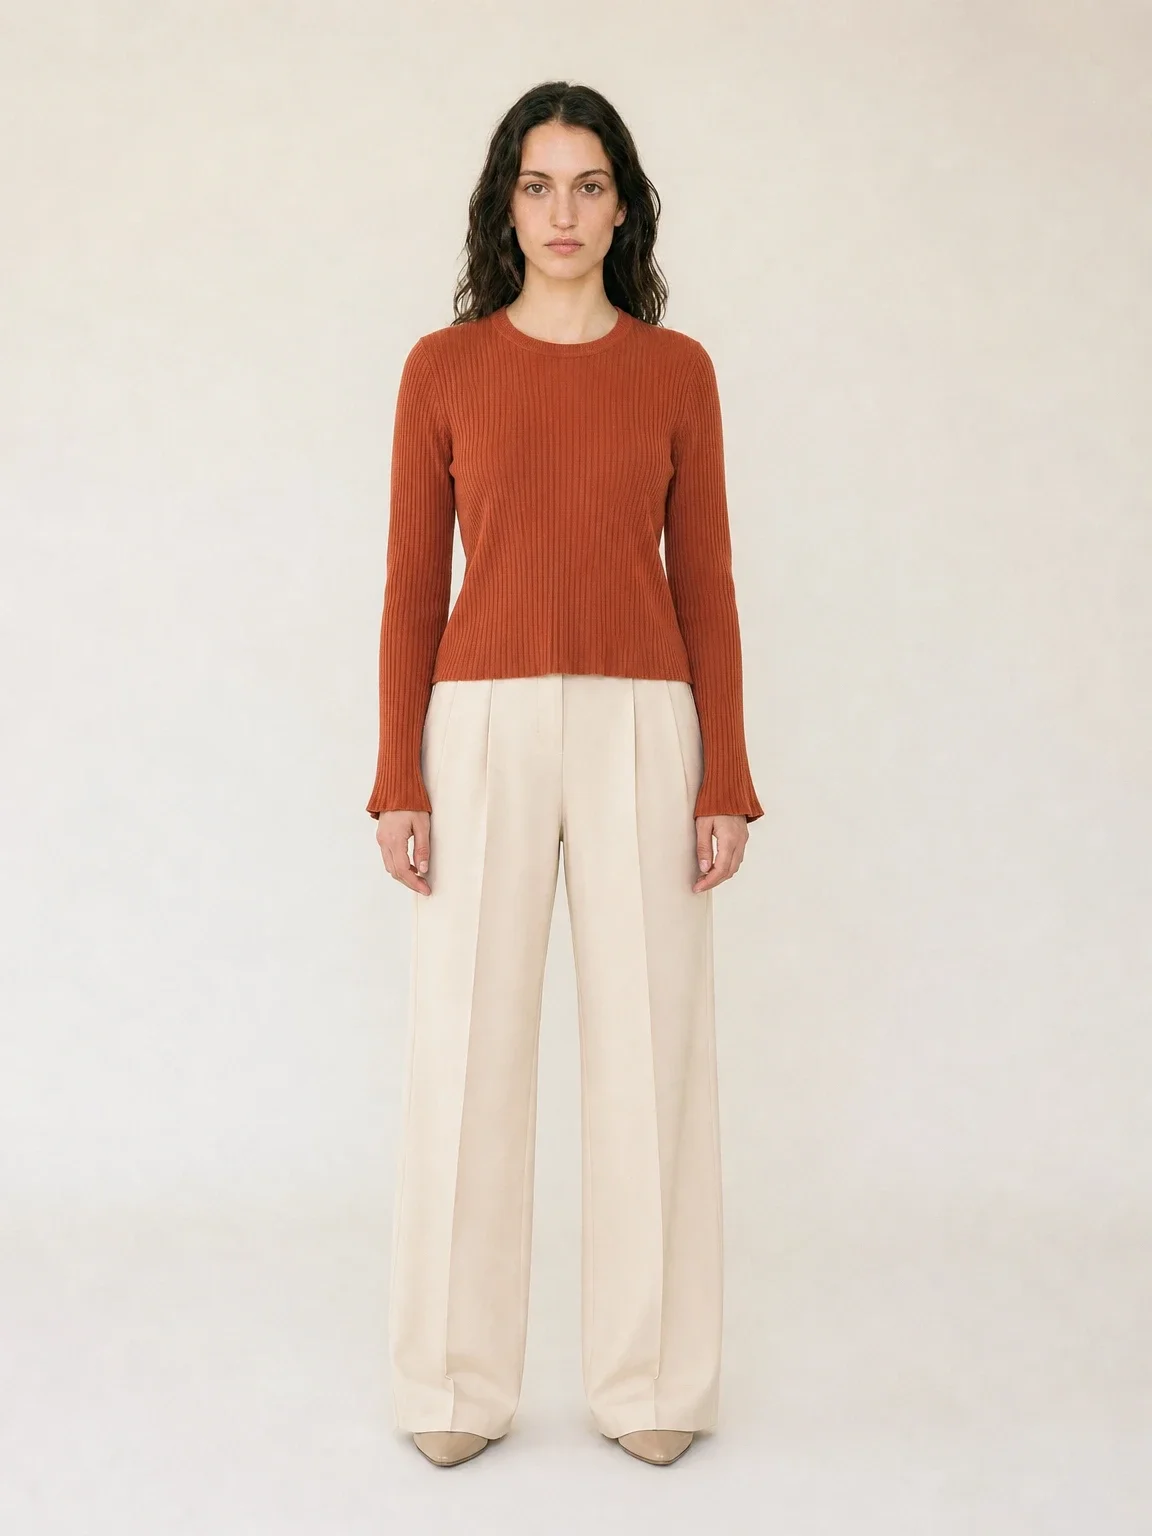
The label covers two different products. Shopper-side try-on asks a customer to upload a selfie and previews a garment on that person, often inside a store or app. Merchant-side generation starts with the store's product photo and creates consistent images on a chosen model. Both visualize clothing, but they solve different moments in the buying journey.
Garmo is a merchant-side production tool. Its garment-to-model AI turns a clear phone photo into model imagery for product pages, campaigns and social posts. It does not appear as a fitting-room widget in a shopper's browser, estimate body measurements or promise how a size will fit. Calling the output a visual preview is accurate; calling it a fit guarantee is not.
That distinction determines your copy. Use generated model images to communicate silhouette, styling and scale. Keep the size chart, garment measurements, fabric composition and real fit notes beside them. A customer can understand the look from an image, while the factual fields answer whether the item will physically fit.
How the catalog workflow works
1. Photograph the real garment
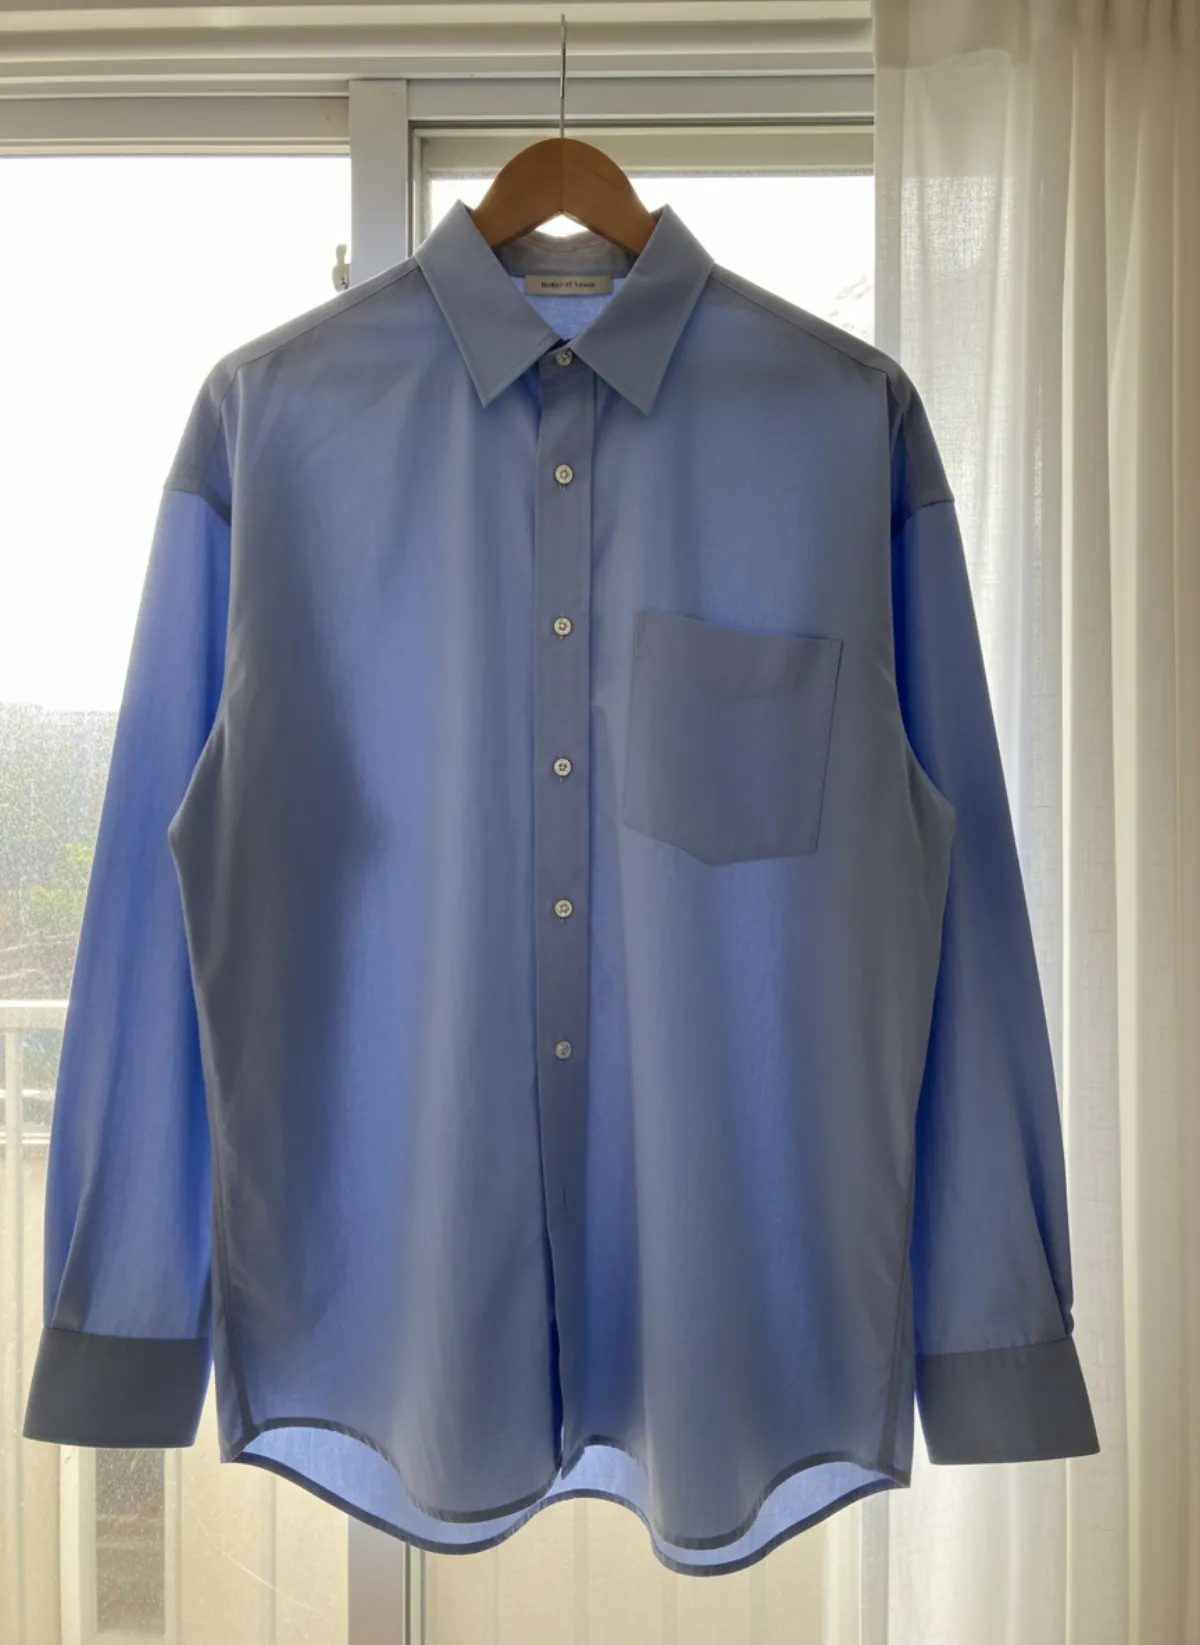
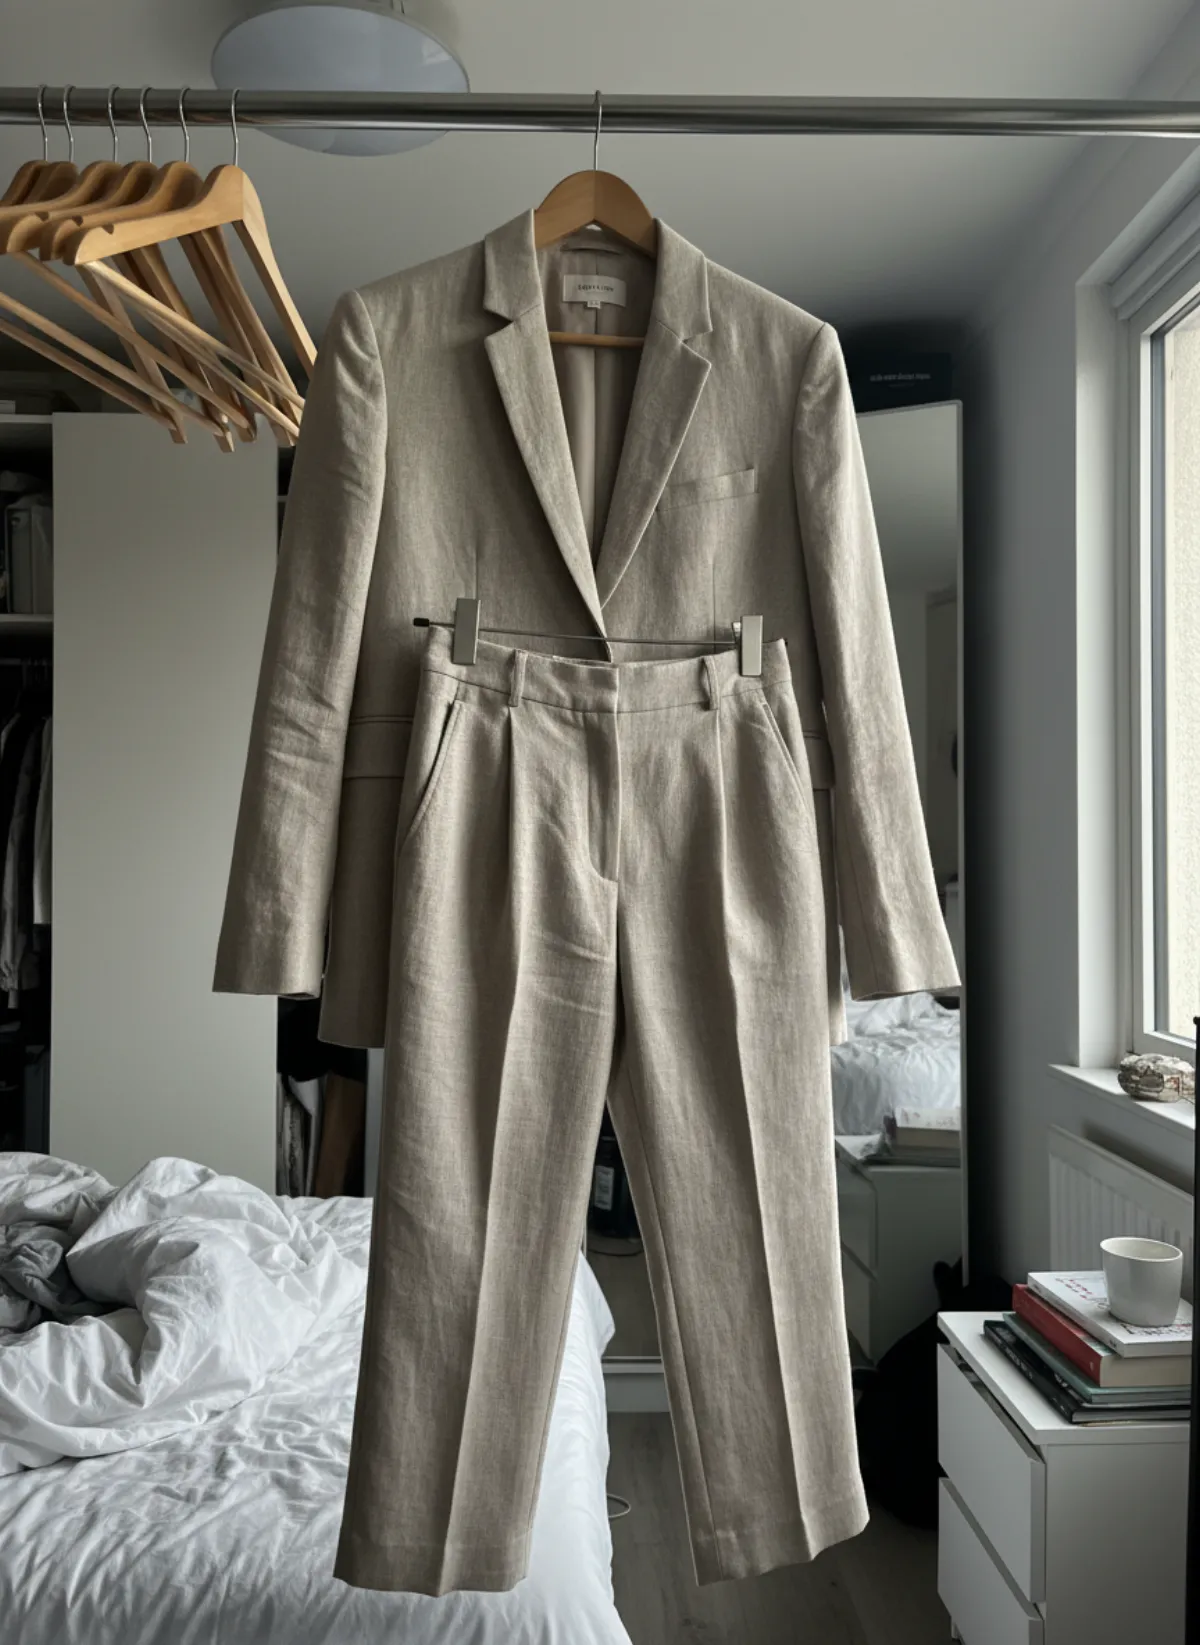
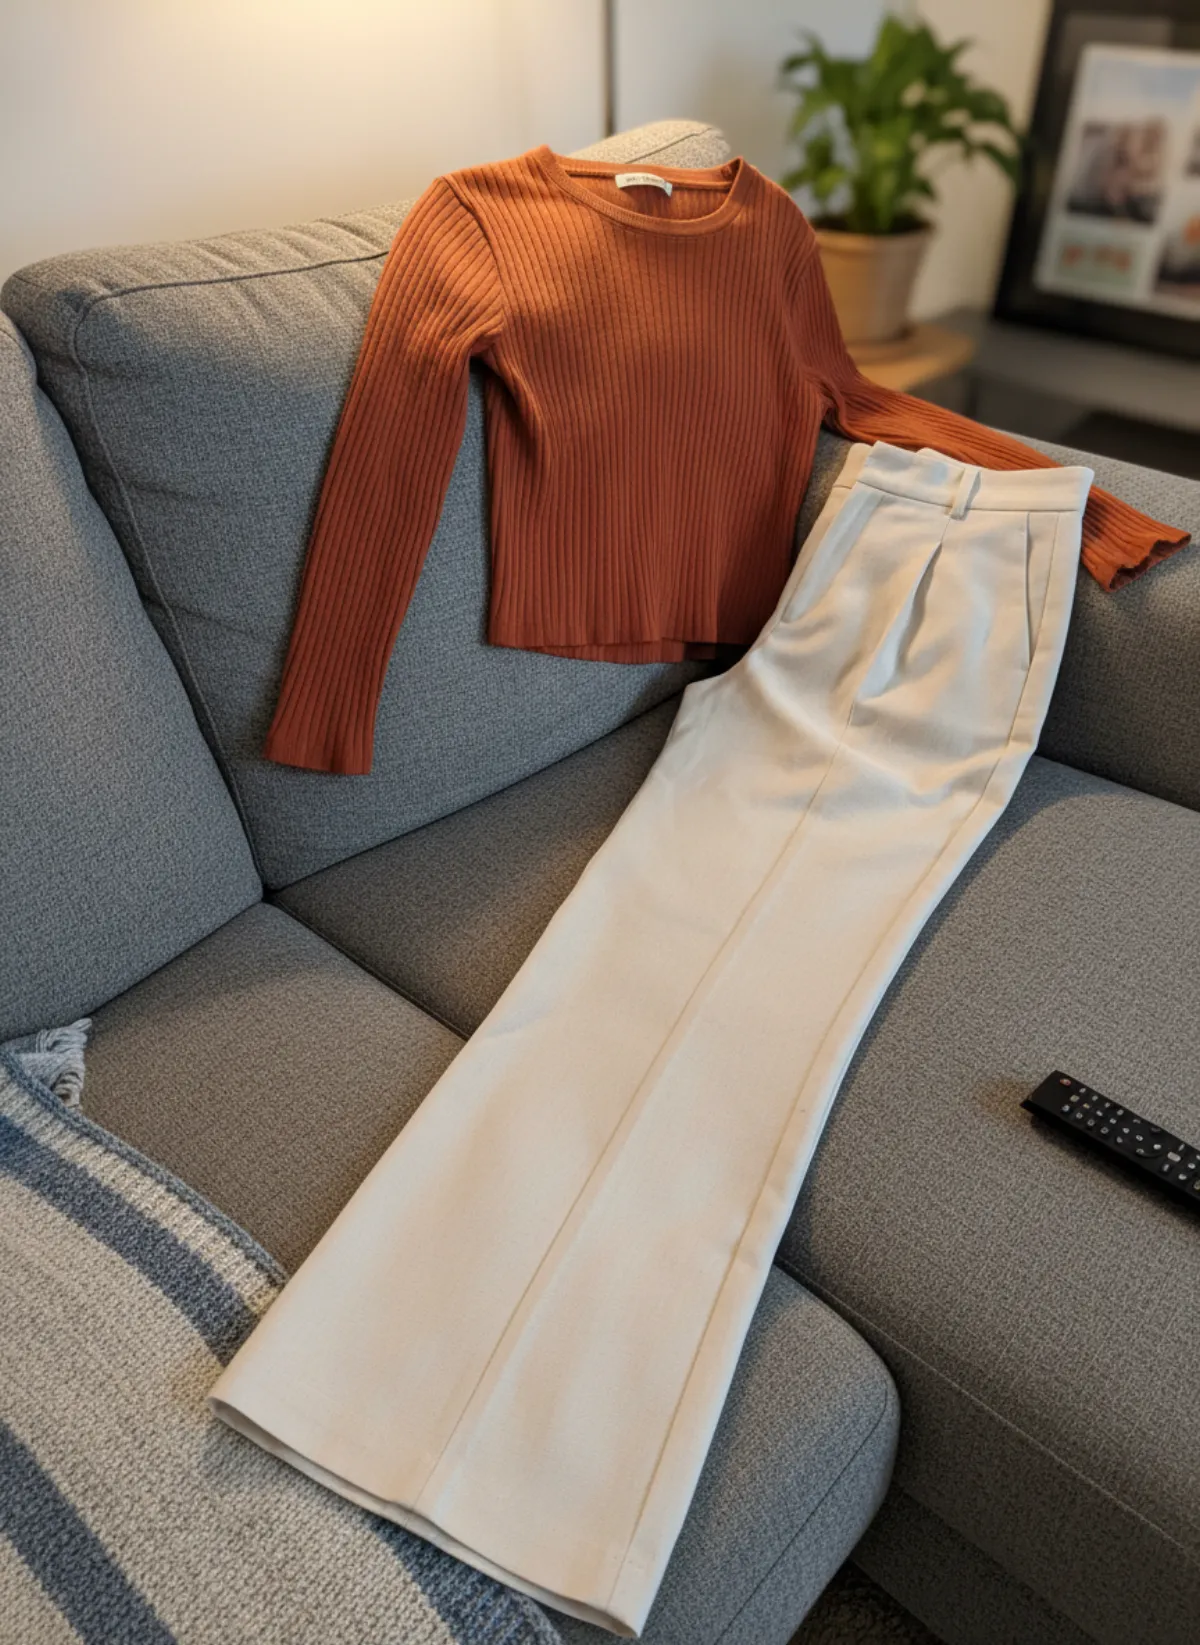
Lay it flat, place it on a hanger or photograph it on a dress form. Use even light, keep the whole hem and sleeves inside the frame, and make colour, closures and texture readable.
2. Choose the model and scene
Pick one of 42 stock models—22 women and 20 men—or create your own adult model. Choose studio, street or editorial according to the destination of the image.
3. Generate a controlled set
Create 1–6 images in one shoot and select one of five ratios: 3:4, 2:3, 1:1, 4:5 or 9:16. A set of three normally renders side by side in under a minute.
4. Compare with the source
Check neckline, sleeve length, buttons, print repeat, seams, pockets and hem against the uploaded garment at full zoom. Regenerate any frame that changes a selling detail.
5. Build the listing gallery
Use the strongest model frame for context, but retain a factual product view, detail crops and measurements. Export crops for the shop, ad and social channel from the approved master.
When virtual try-on AI is useful for a store
Use it when the product exists but the model photography does not. A small label can launch a colourway from a hanger photo, a resale seller can make the silhouette of a one-off piece easier to read, and a catalog team can fill missing on-model slots without reopening a full production day. The value is speed and consistency, especially for products that would otherwise have only a flat lay.
It is also useful for creative testing. Run the same garment through studio, street and editorial scenes, then choose the direction before spending on a campaign. A consistent AI model photoshoot can hold the model and framing steady across a capsule, which makes collection pages calmer than a mix of unrelated supplier images.
The workflow is strongest for visual questions: What is the overall silhouette? Where does a jacket end? How does a print read at body scale? Which background makes the colour stand out? Those are merchandising questions. They do not require the image to infer a shopper's measurements.
When not to use it as the only evidence
Do not use a generated image as proof of exact fit, compression, support, stretch or transparency. Tailored trousers, bras, performance wear and close-fitting technical garments need real fit information. If a millimetre-level construction detail decides the purchase, photograph that detail directly and keep the original product image in the gallery.
Skip an output when the AI changes a logo, invents a button, straightens an asymmetric hem, simplifies lace or alters a pattern. A polished picture is not automatically a truthful one. The store remains responsible for checking every generated frame against the actual SKU and for following each marketplace's current image policy.
If customers need to see themselves personally in an item, you need a shopper-side try-on service and a privacy review; Garmo does not provide that integration. If they need to choose a size, you need measurements, a size chart and preferably fit notes from a real sample. These tools can sit beside merchant imagery, but one cannot replace the other.
From a garment photo to a model set
This real Garmo set begins with the product and adds three useful catalog angles without claiming to predict fit.
Black pleated dress
The source establishes the real colour, pleats and sleeveless cut. Front, three-quarter and walking frames then explain silhouette and movement. Before publishing, compare the neckline, waist seam, pleat count and hem with the source, and keep the original product photograph available to the shopper.
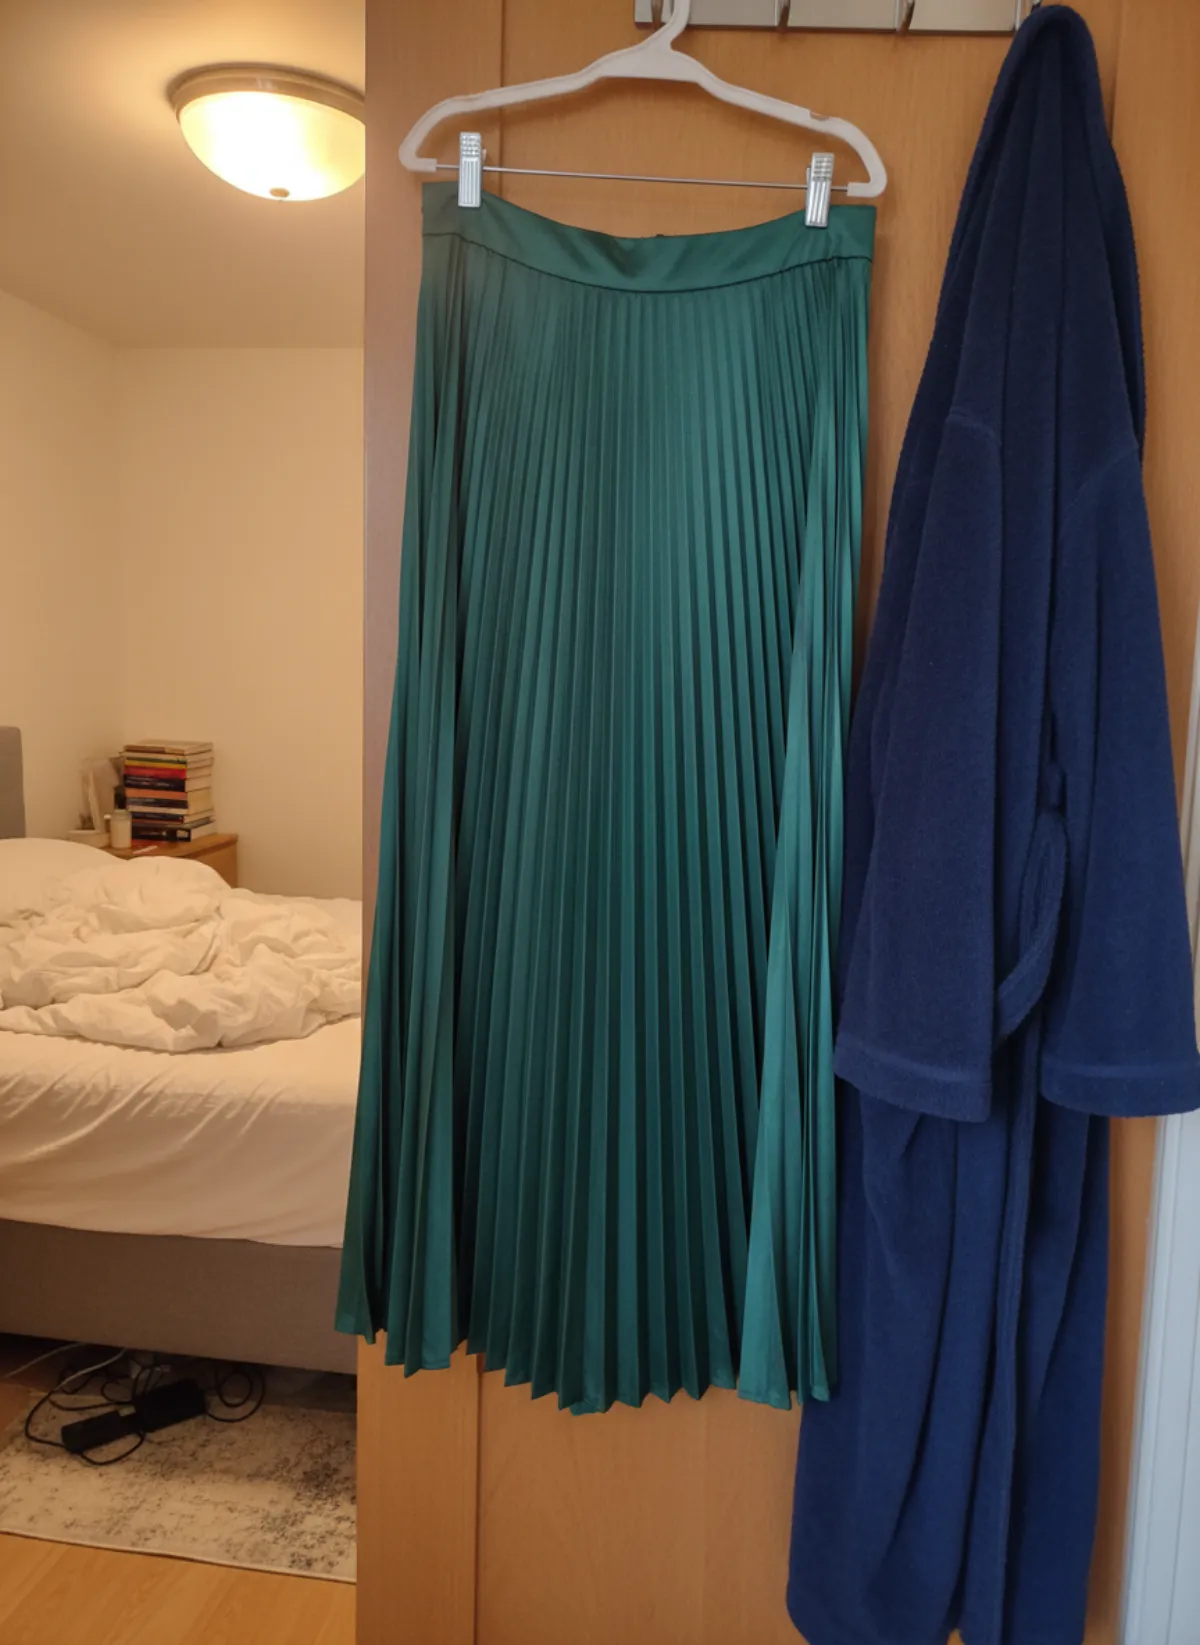 Your photo
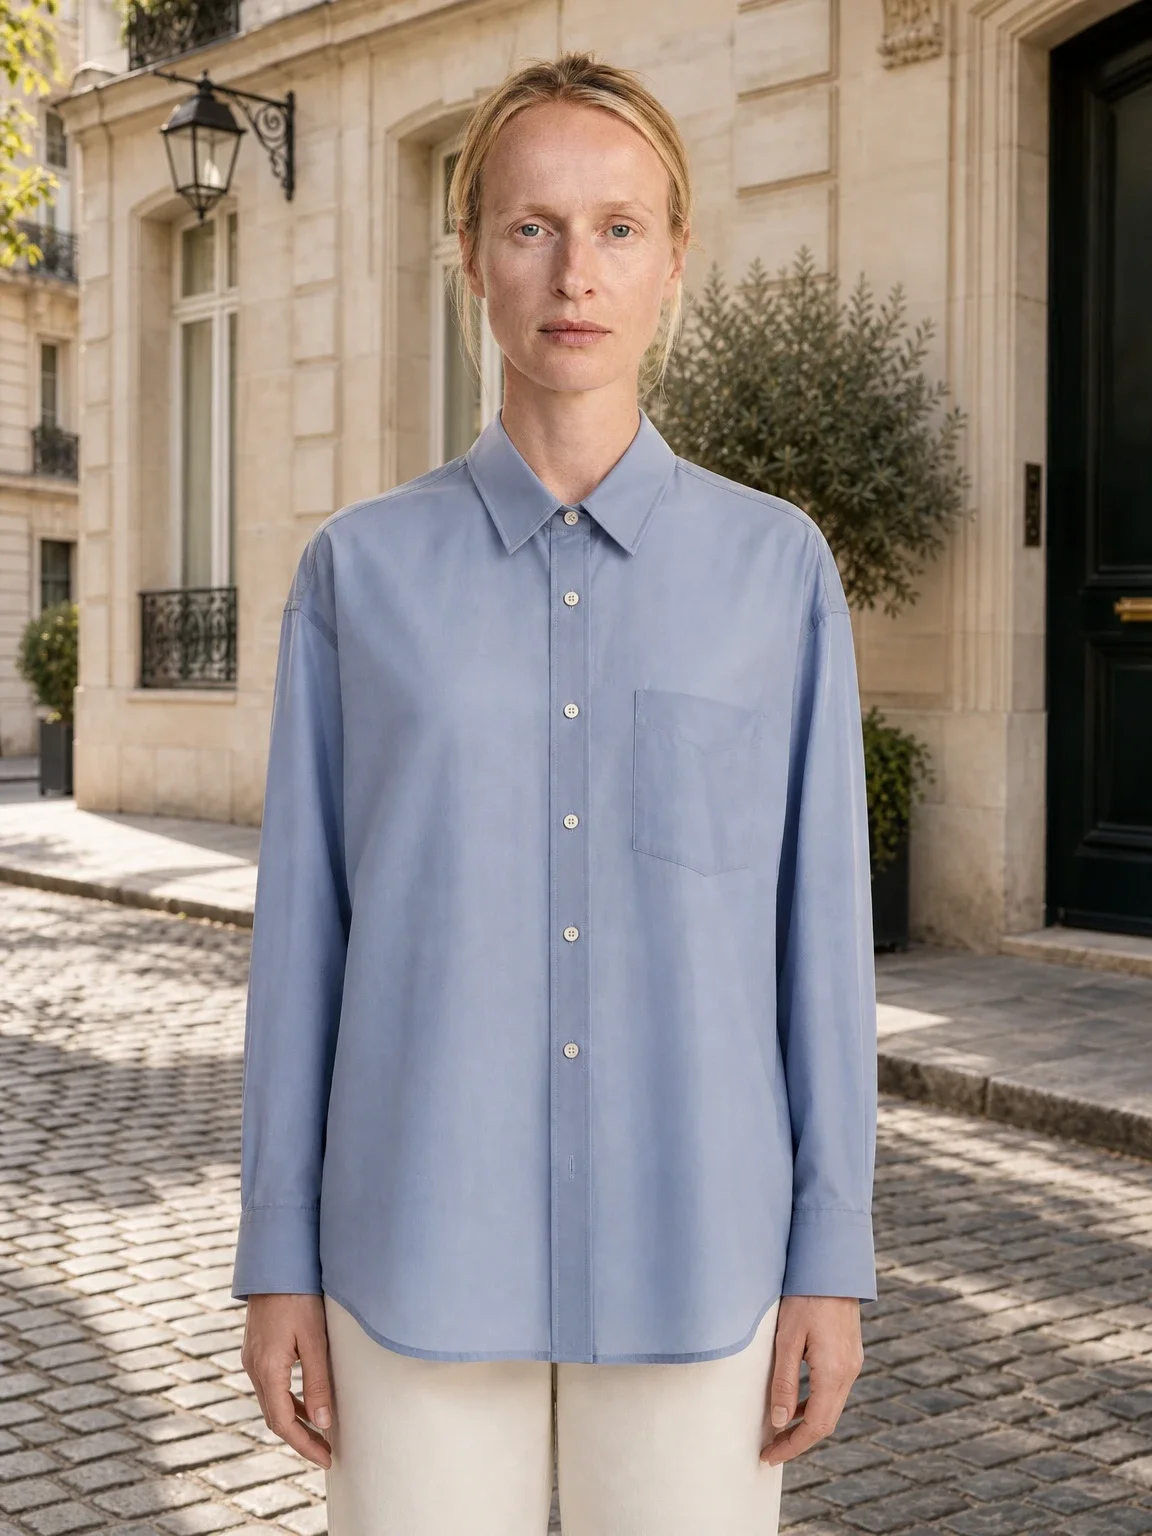
A low-risk pilot for ten products
Start with ten visually simple SKUs: solid colours, readable seams and no tiny text. Use the same source-photo setup, model, ratio and studio scene. Generate three frames per item, then review them with a two-column checklist: product fidelity and merchandising usefulness. Record every failure instead of quietly choosing only the attractive pictures.
Measure production time, approval rate and coverage, not an invented conversion promise. Useful questions are: How many of the 30 frames passed on the first review? How many previously flat-only listings gained an approved model view? How long did capture, generation and checking take compared with your normal process? If you test sales impact, change one image variable at a time and run the test long enough for meaningful traffic.
For flat products, the flat lay to model workflow gives a repeatable starting point. For styling-led slots, put the clothes on an AI model and compare several approved compositions. The first three Garmo images are free, so the pilot can begin with one carefully selected SKU.
The approval checklist
Product identity
Colour, pattern, logo, closures, pockets and trim match the real SKU rather than a generic approximation.
Construction
Neckline, sleeve, waist, rise, hem and seam positions remain consistent across every generated angle.
Human anatomy
Hands, feet, face, hair and contact points look natural, with no fused fingers, broken edges or cloth passing through the body.
Gallery role
Each frame answers a different question—front, silhouette, movement or styling—instead of repeating the same pose.
Claims
Captions describe a visualization and never promise precise size, drape or fit that the generated image cannot verify.
Source retained
The original product photograph and measurement data remain available as the factual reference for customers and reviewers.
Virtual try-on AI questions
What is virtual try-on AI for an online store?
It is AI that visualizes a fashion product on a person. Some systems work on a shopper's own photo; Garmo instead creates merchant-owned catalog images on a chosen model from the store's garment photo.
Does Garmo let shoppers try products on themselves?
No. Garmo is not a live storefront widget or customer-selfie fitting room. It produces images for the merchant to review and publish in listings, campaigns and social content.
Can virtual try-on AI choose the correct size?
No. A generated image should not replace garment measurements, a size chart or real fit notes. Use it to explain appearance and styling, not to guarantee physical fit.
Which source photo works best?
Use a sharp, evenly lit photo that shows the entire garment, its true colour and all important edges. Flat lays, hangers and dress forms work; avoid cropped sleeves, deep shadows and hidden closures.
How many images should a store generate first?
Begin with three for one SKU: front, three-quarter and movement or detail. Review all three against the source before scaling the workflow to a collection.