Set up light and background first
Put a table or a clean floor next to a window and shoot during the day. Soft daylight from the side shows the shape of a shoe: the curve of the toe, the height of the heel, the stitching on the upper. Avoid direct sun, which throws hard shadows inside the shoe and burns out white soles, and switch off ceiling lights, because mixed warm and cool light turns tan leather orange and black suede grey.
For the background, a sheet of white or light grey card curved from the wall down onto the table works best. The curve hides the line where the wall meets the surface, so the shoe seems to float on a clean backdrop. A plain wooden floor or a light rug is fine for a second-hand listing, but keep the same background for every pair you sell; a feed of matching photos looks like a real shop.
Hold a sheet of white card or a folded towel on the side away from the window. It fills the shadow side of the shoe so dark leather keeps its detail. If you shoot a lot of pairs, a cheap phone tripod pays for itself: the framing stays the same from shoe to shoe and close-ups stay sharp.
The seven shots every shoe listing needs
Buyers look for the same views on every listing. Shoot them in the same order each time so you never miss one.
Outer side profile
One shoe, toe pointing left, camera at sole height. This is the classic cover photo and shows the whole silhouette.
Front three-quarter
Both shoes angled about 45 degrees towards the camera, one slightly ahead of the other. It shows depth and the pair at once.
Back and heel
Straight from behind at heel height. Buyers check the heel counter, pull tabs and how the heel is worn.
Top-down
From directly above, both shoes side by side. Shows the toe shape, the lacing and the width.
Soles
Both soles facing the camera. For used shoes this is the honest condition shot buyers trust most.
Details and size label
Close-ups of the logo, stitching, buckle and the size label inside the tongue or on the insole.
On the foot
At least one worn photo, so buyers see the fit, the shaft height of a boot or how high a heel really sits.
Camera height and lens: where most shoe photos go wrong
The most common mistake is shooting down from standing height. From above, every shoe looks short and flat and the heel disappears. Crouch down so the phone is level with the sole for the side profile, and at about the height of the laces for the three-quarter view. Shoes look the way buyers see them in a shop window.
Do not get too close with the main wide lens either. Up close it stretches whatever is nearest to the camera, so the toe looks huge and the heel tiny. Step back and use the 2x lens if your phone has one, then crop. Tap on the shoe to focus and slide the exposure down a little if a white sole looks blown out.
Leave space around the pair in every frame. Marketplaces and shop themes crop thumbnails to squares or portrait rectangles, and a shoe that fills the frame edge to edge loses its toe. If you also sell clothes, the same rules apply; the phone product photo guide covers the settings in more detail.
Prep the pair before you shoot
Clean the shoes more than you think you need to. Dust, dog hair and scuffs show up sharply in a close-up. Wipe leather with a damp cloth, brush suede in one direction, clean white midsoles with a magic eraser and wash or replace grey laces. Ten minutes of cleaning does more for the price than any edit.
Stuff the shoes with tissue or paper so the upper keeps its shape, and lace sneakers neatly with the ends tucked in. Boots stand better with a rolled magazine inside the shaft. Remove price stickers and store tags unless you are selling new with tags, in which case photograph the tags on purpose as a separate shot.
For used shoes, show wear honestly: creasing across the toe, worn heels, marks on the lining. A clear photo of a flaw builds more trust than a description alone, and it protects you from returns and disputes. Boots add the shaft and the sole to the list; see how to photograph boots for sale.
On-foot photos without a model
A worn photo answers the questions a flat shot cannot: how chunky is the sole, where does the boot shaft end, how high does the heel lift the foot. Shooting your own feet works for a casual resale listing, but it rarely matches your sizes, your styling or your other photos, and you need a pair in every size you photograph. If you do shoot them yourself, see how to take pictures of shoes on feet for angles and styling.
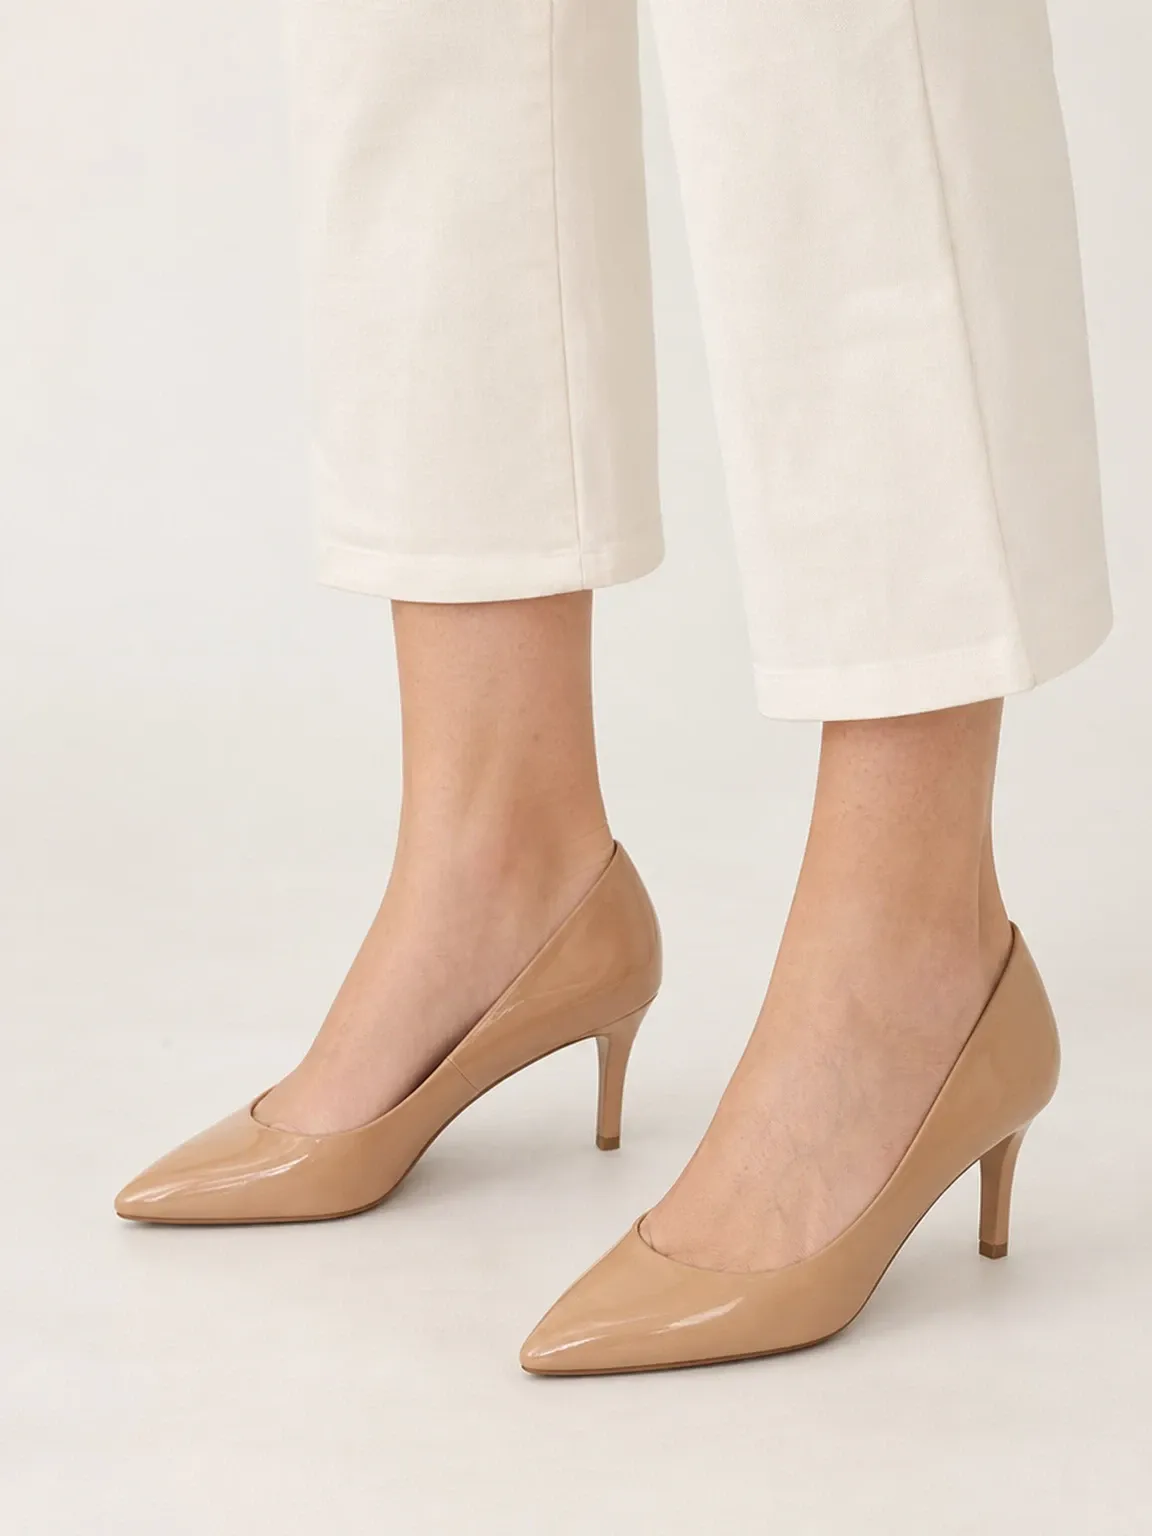
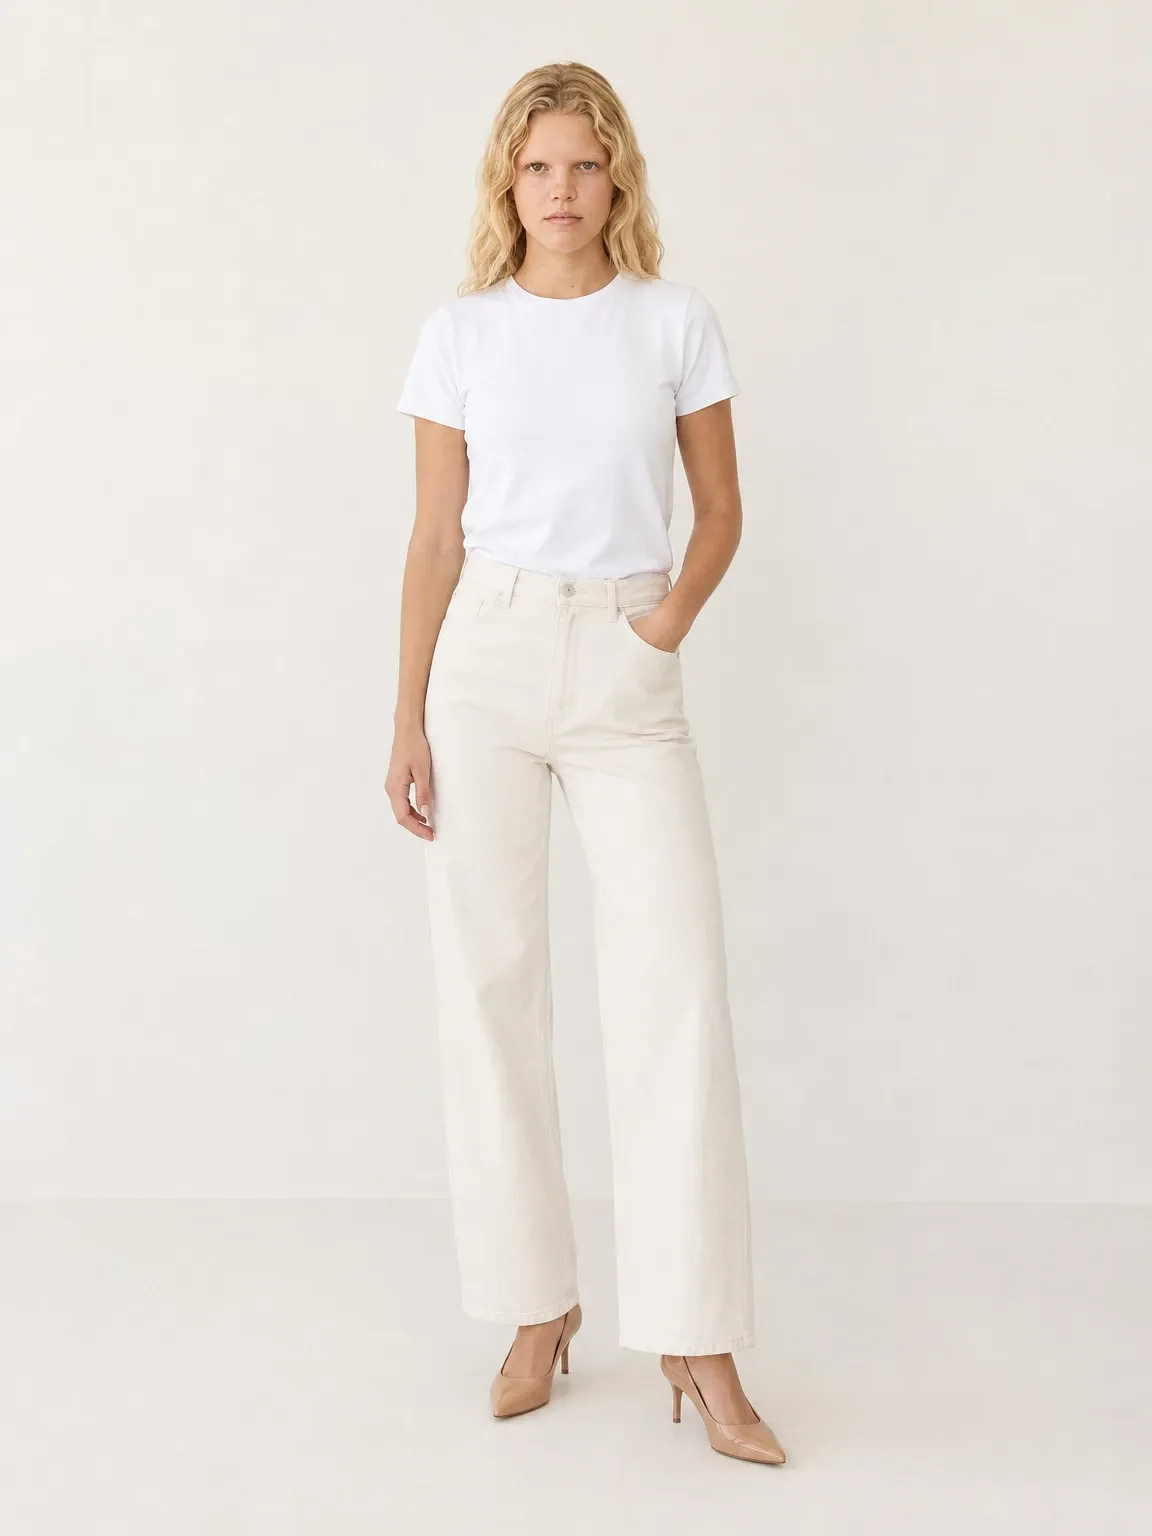
This is where AI shoe photography helps. You upload one clear photo of the pair and Garmo puts it on feet, with matching trousers or a dress, in a studio, on a street or in an editorial setting. There are pages for each type: sneakers on feet, heels on feet and boots on feet. The input photo does not need to be perfect, but it must show the whole shoe clearly from the side or at a three-quarter angle.
Keep the real photos too. AI worn images show fit and style; your own close-ups show the actual condition and details of the pair you are shipping. Together they make a listing that sells and avoids returns.
From a hallway photo to a worn shot
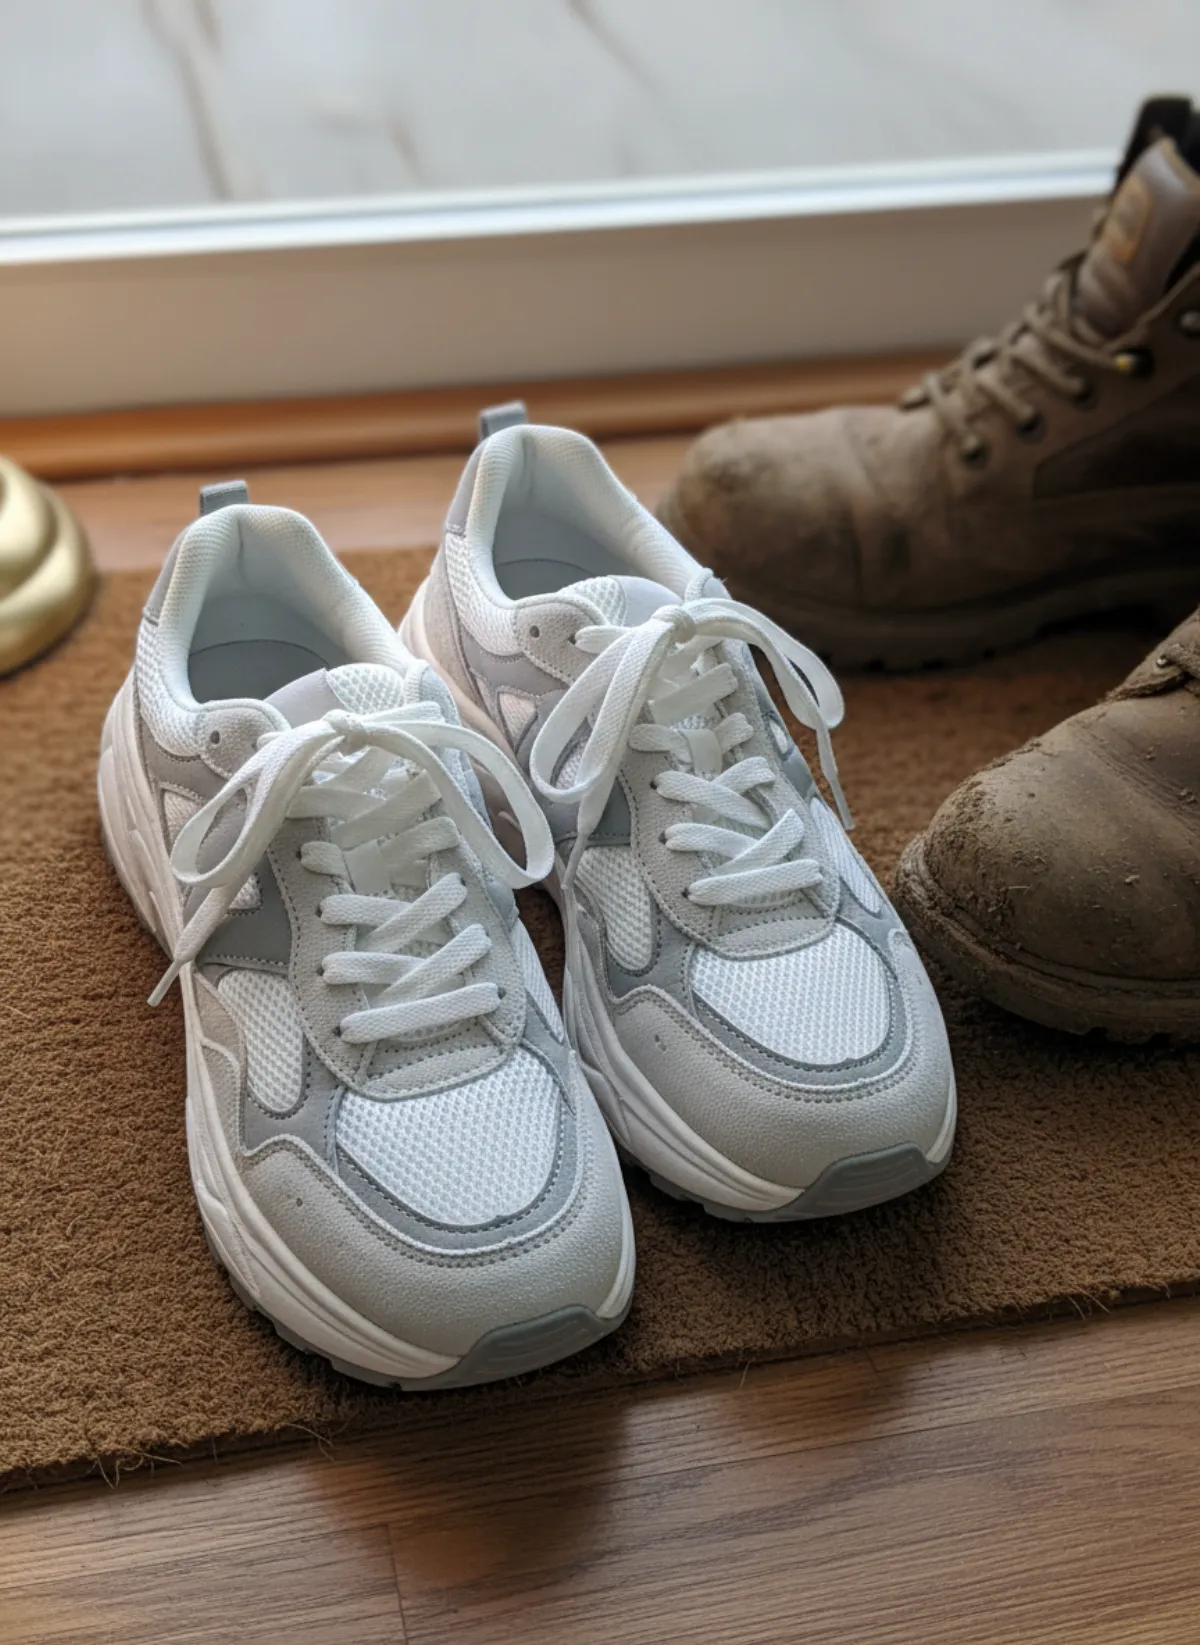
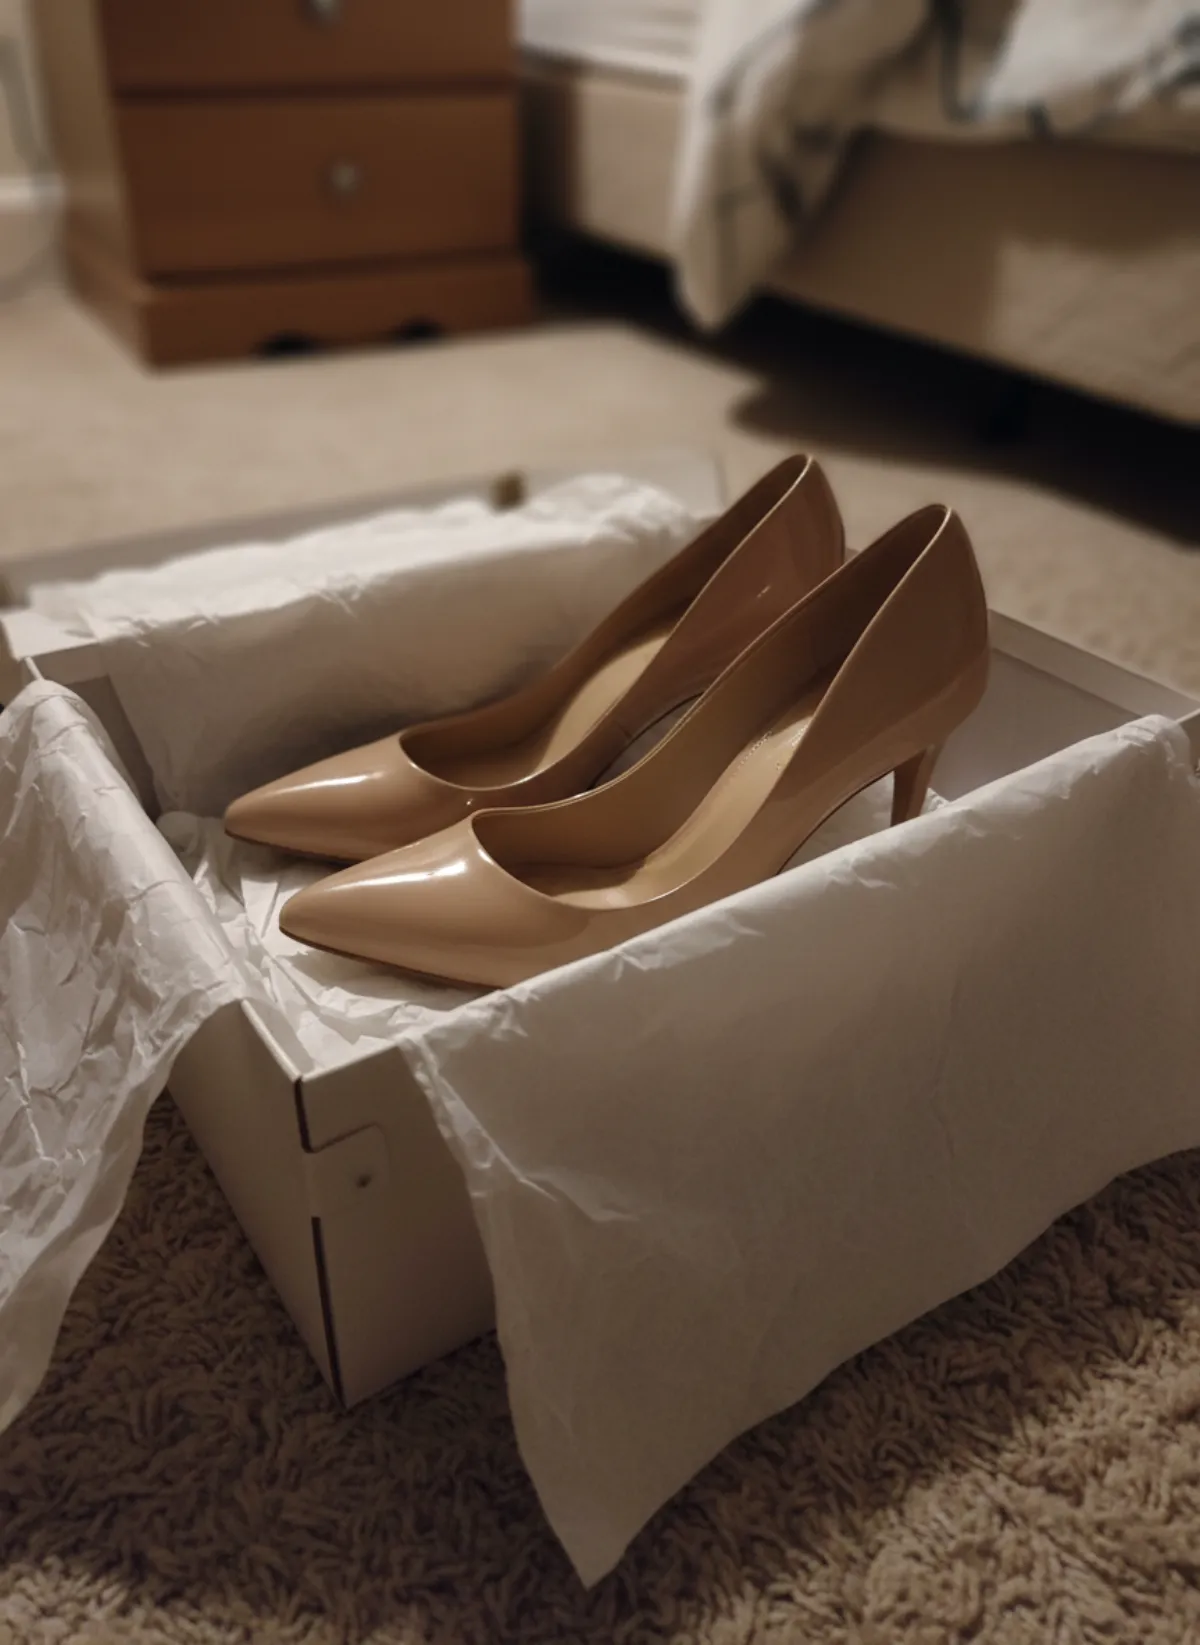
Each pair below was photographed with a phone where it happened to be. Garmo built the worn images from that one photo.
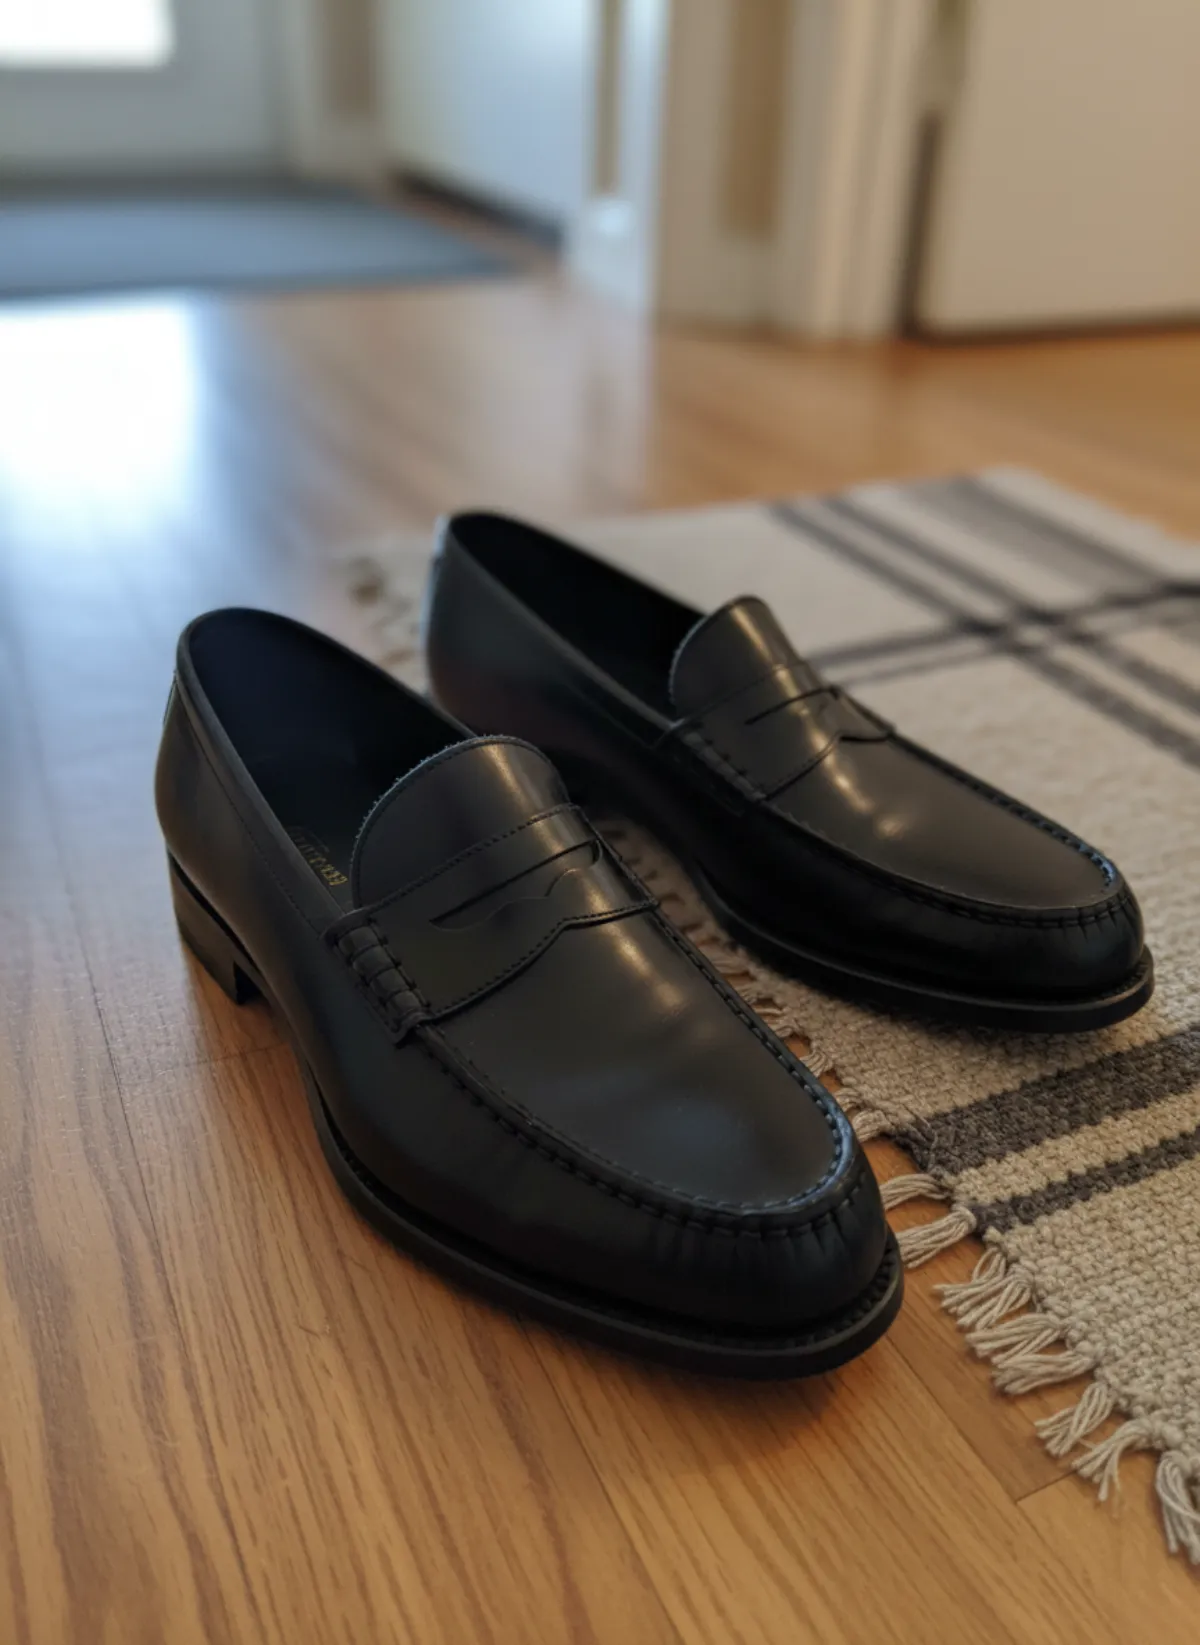
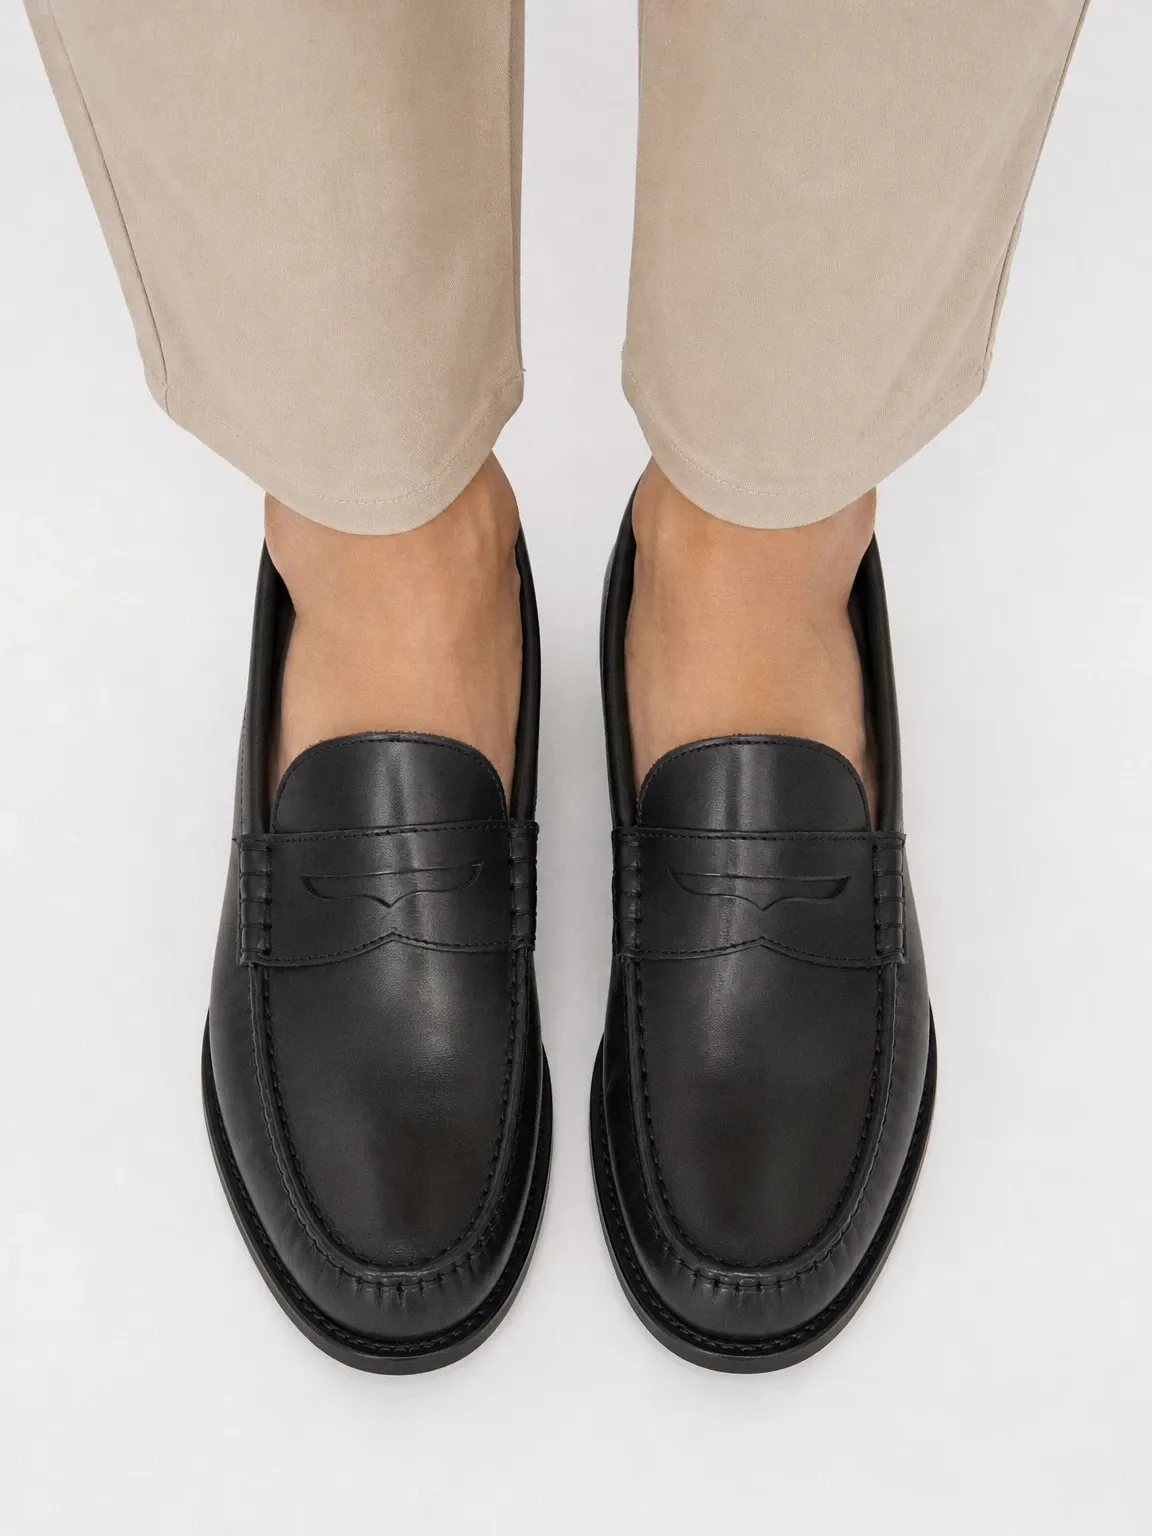
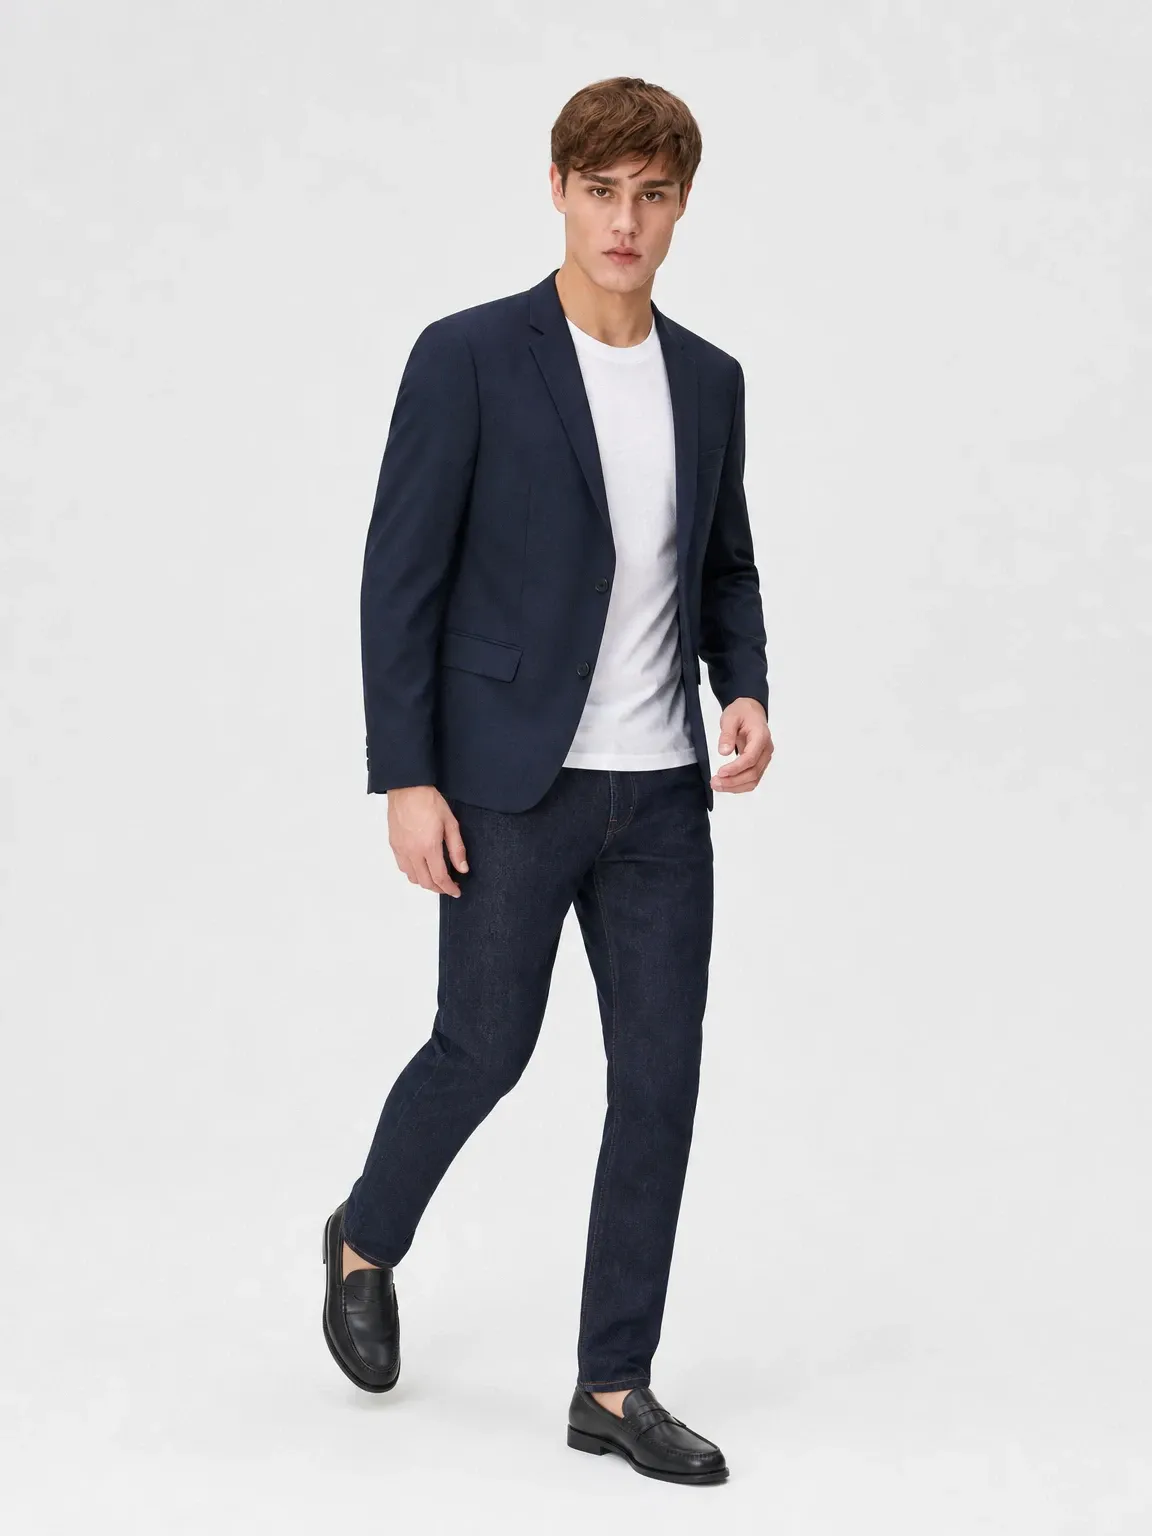
Black penny loafers
A quick photo on a hallway floor next to a doormat. Garmo put the loafers on feet under charcoal trousers and on a model, full length.
 Your photo
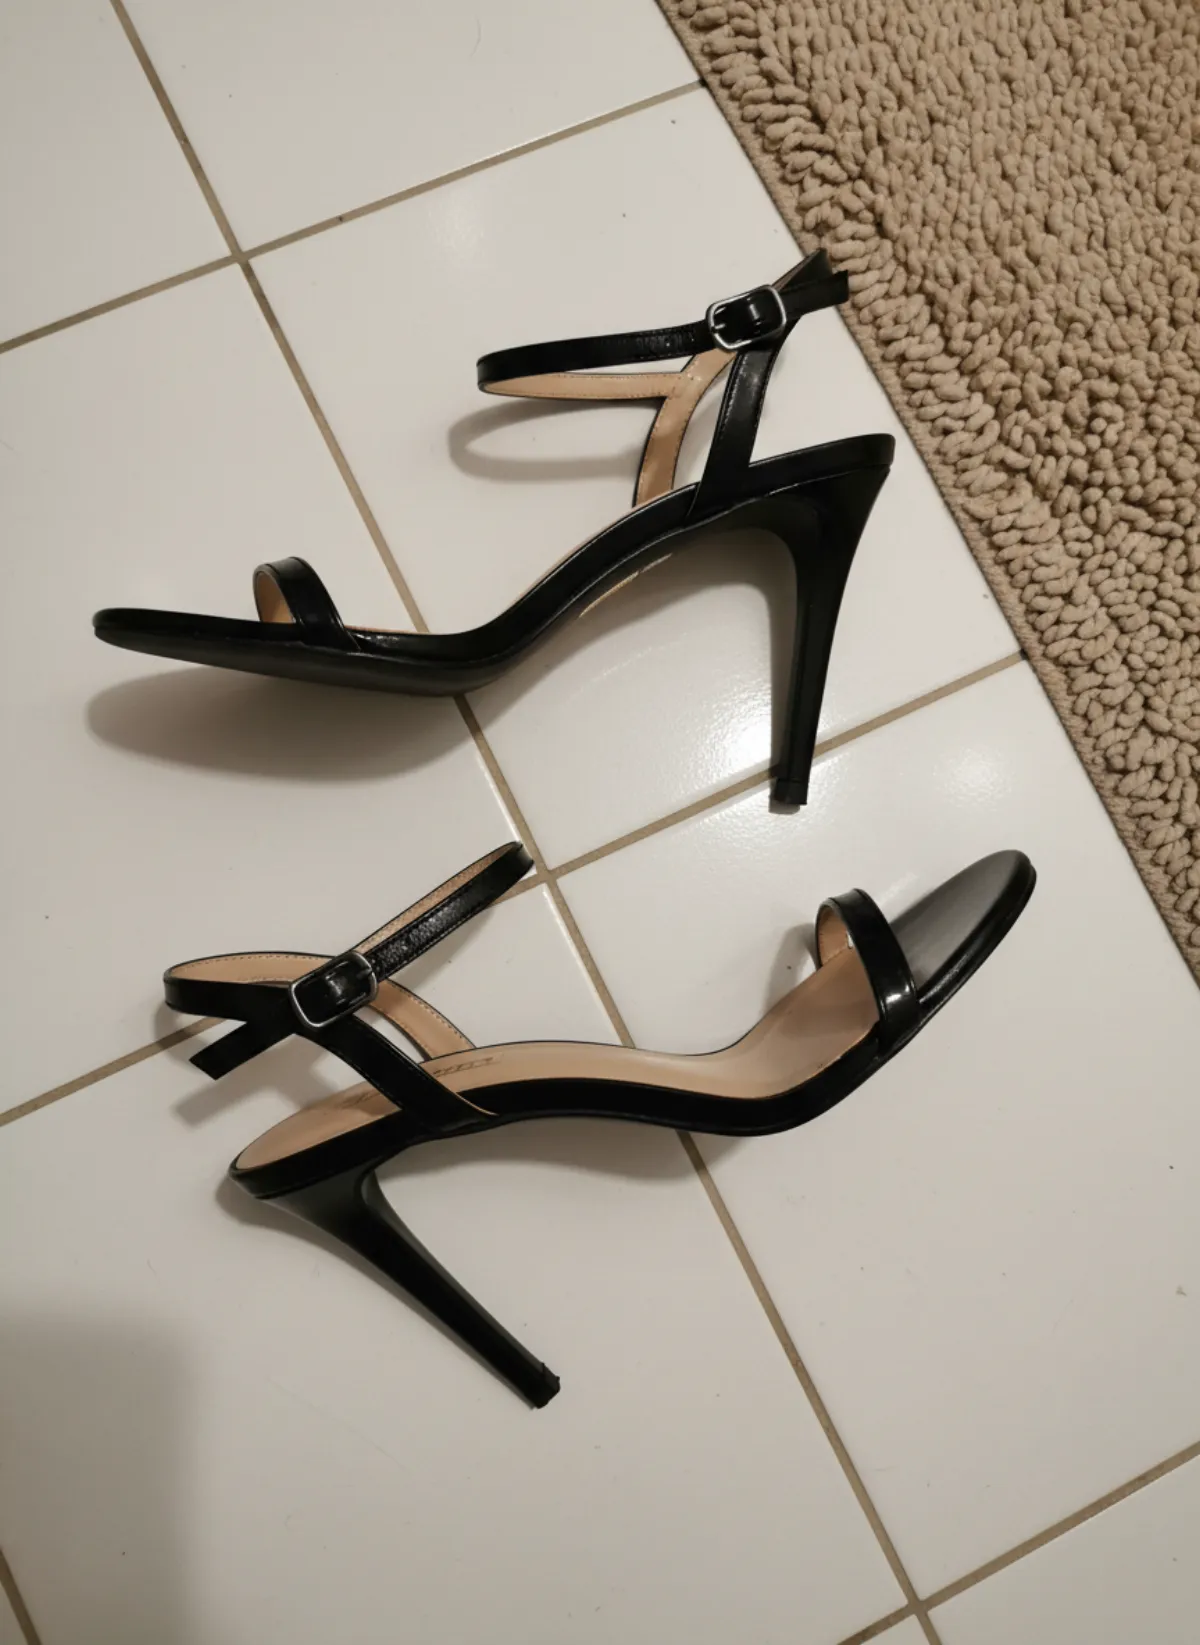
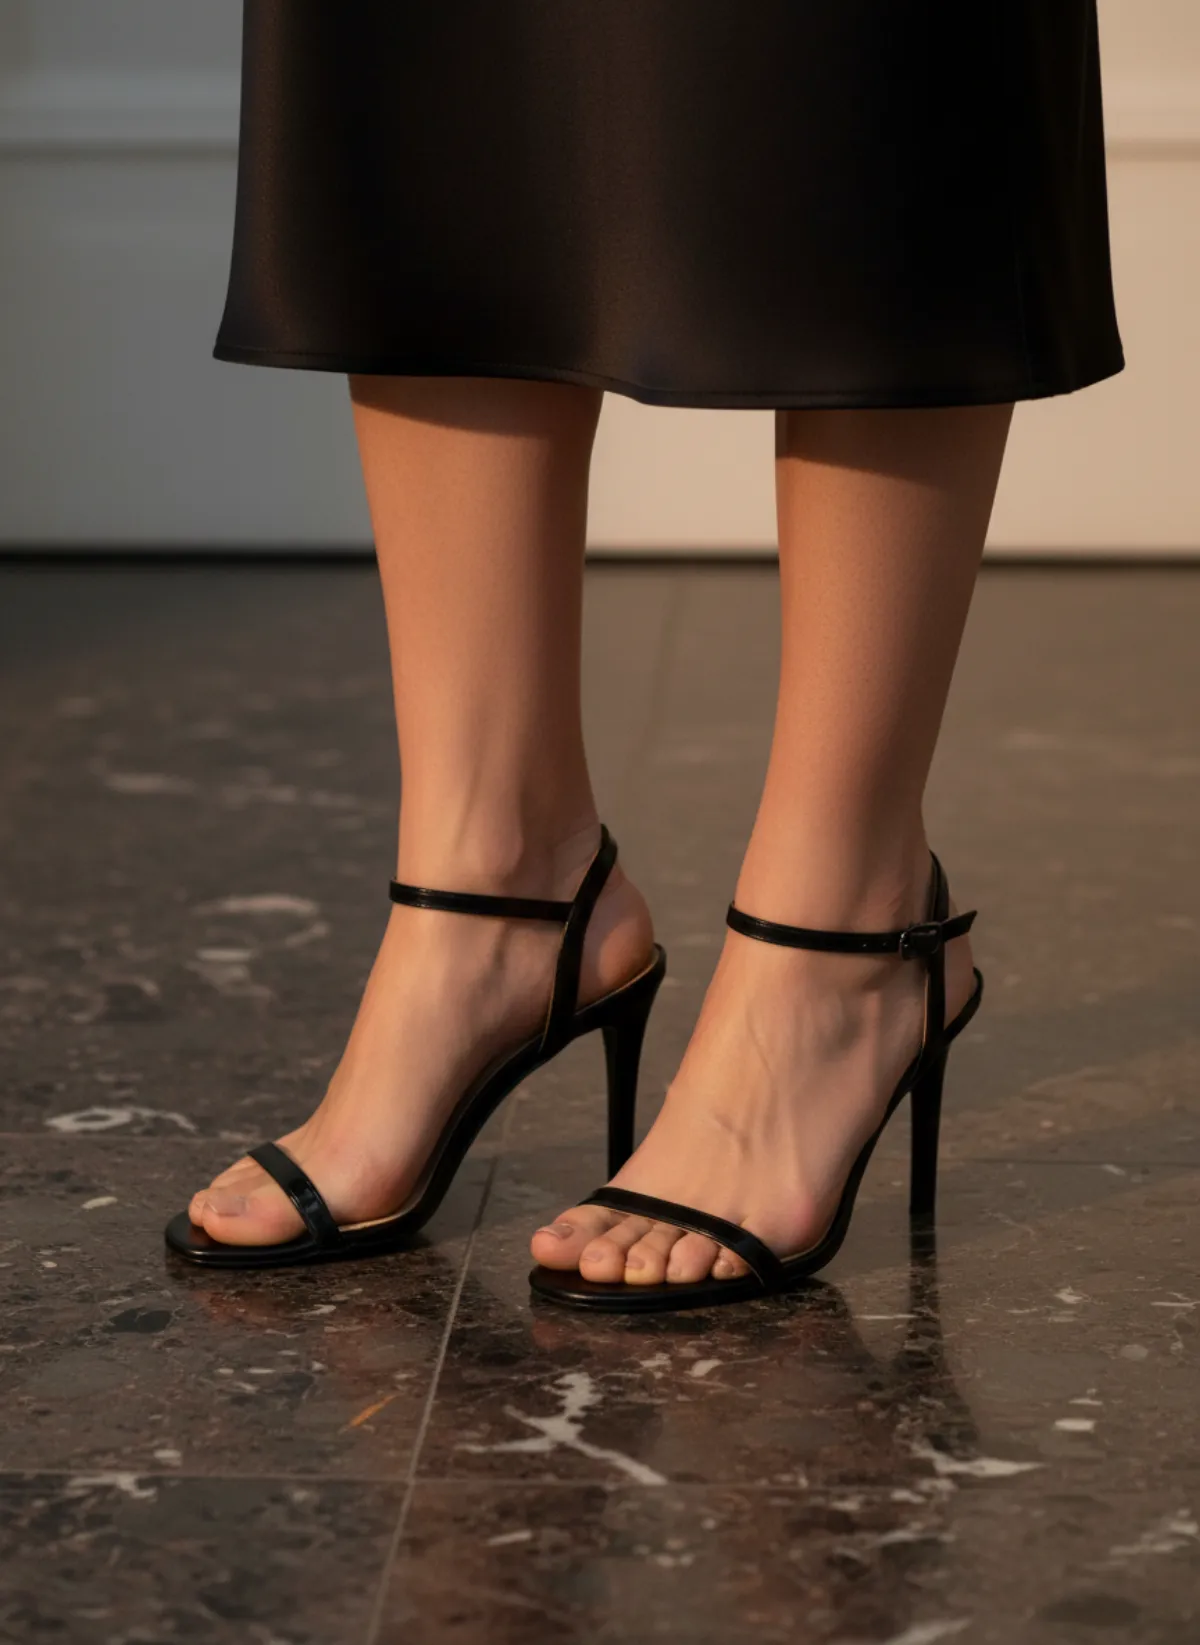
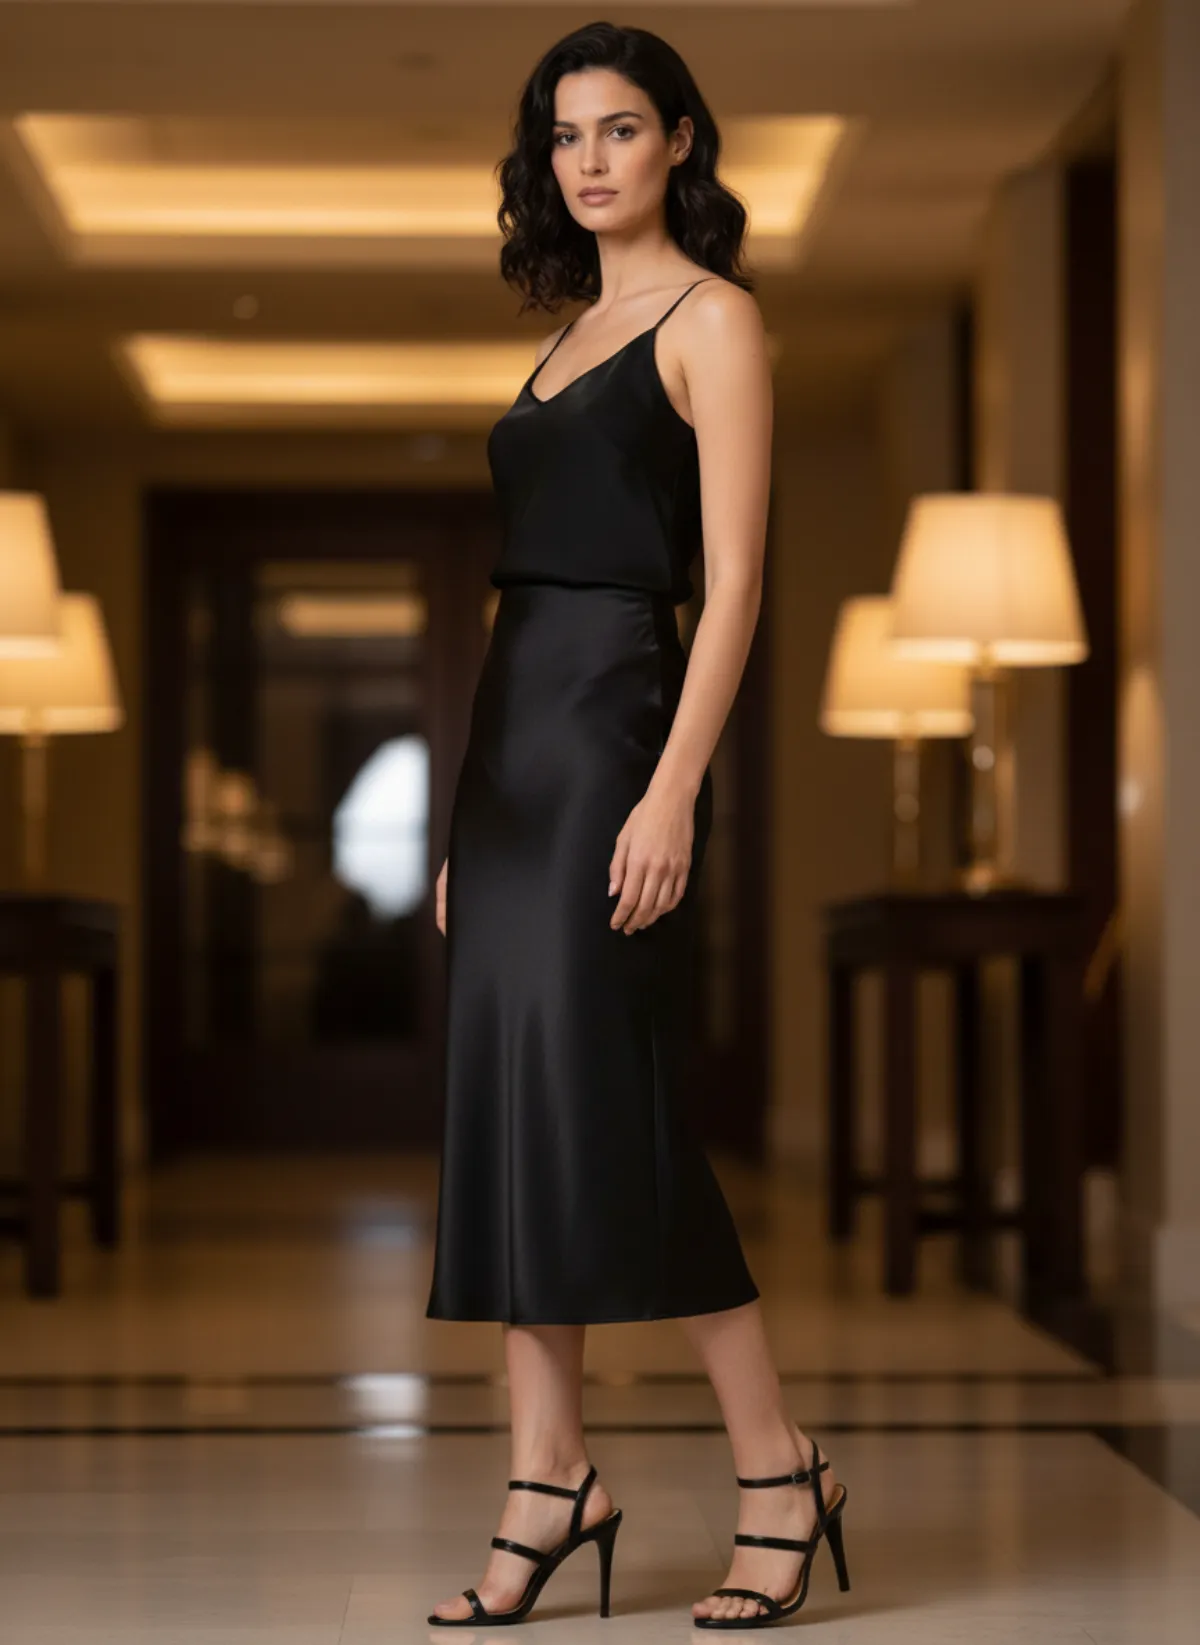
Black strappy heels
Lying on a white bathroom floor. The results show the strap placement and heel height on a foot and a full evening look.
 Your photo
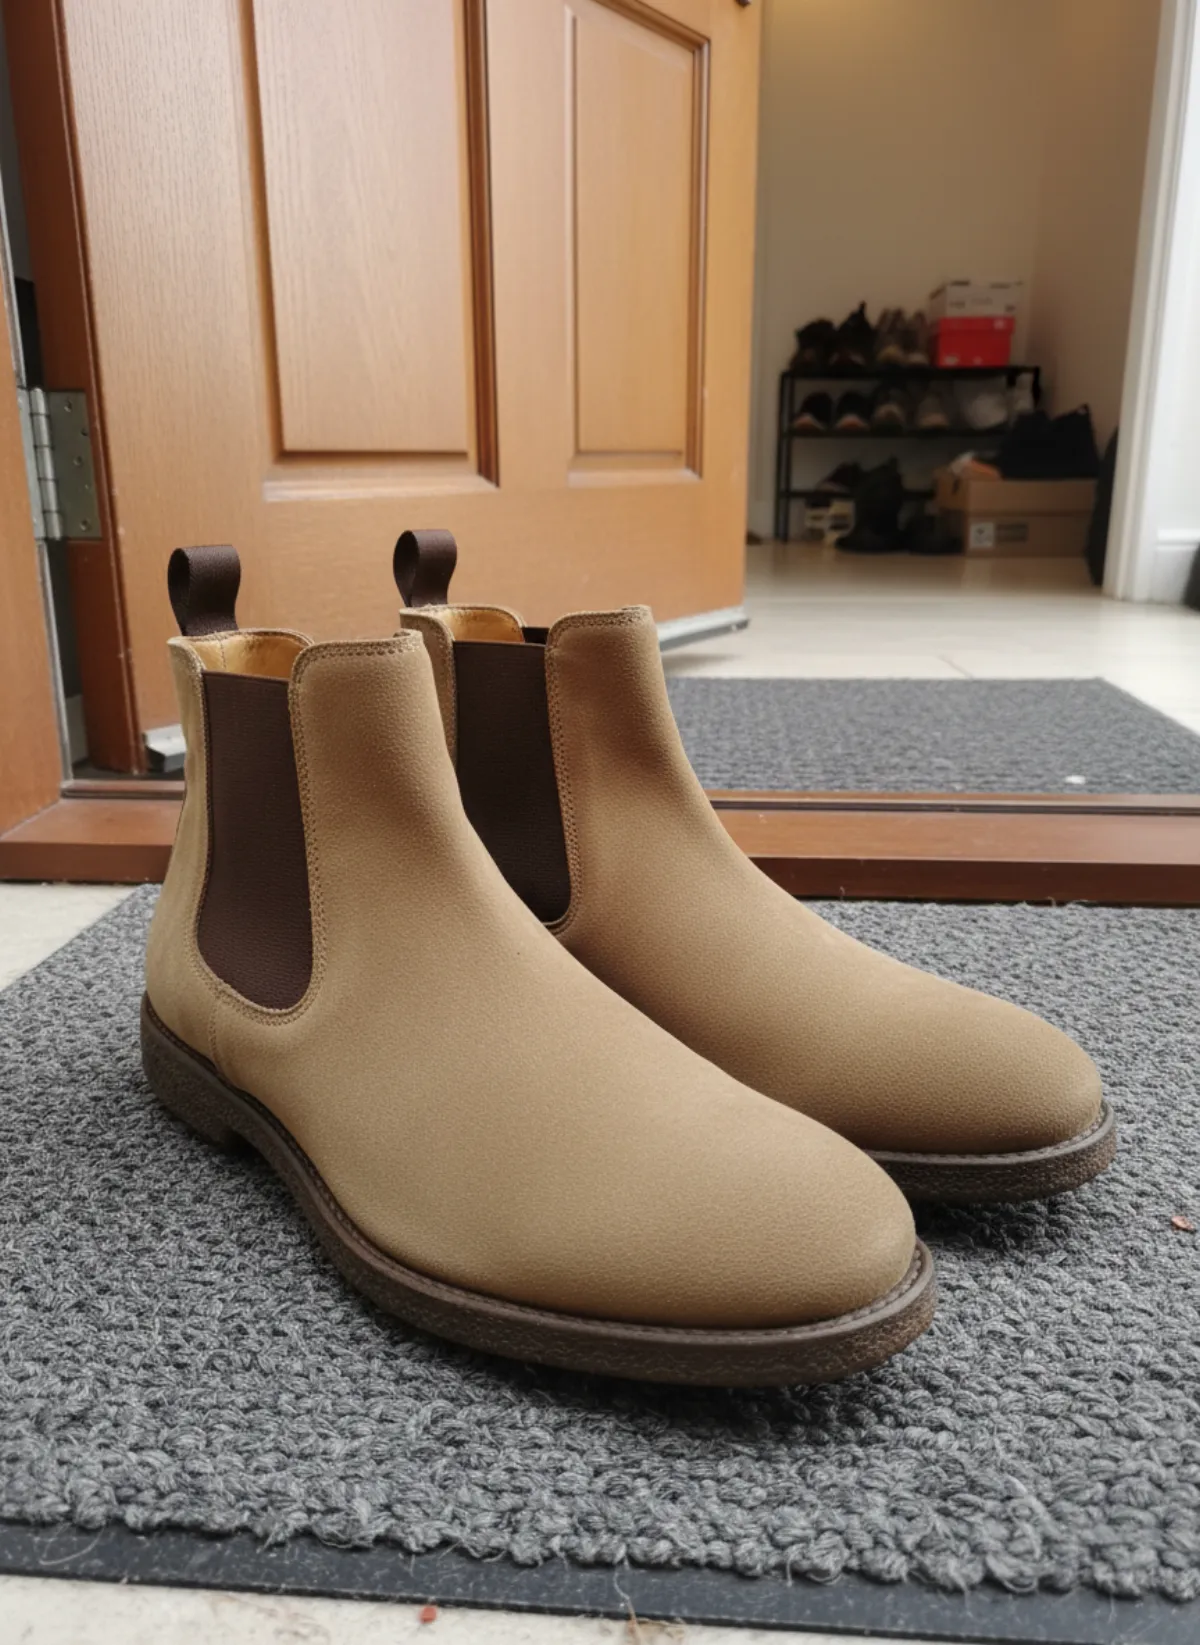
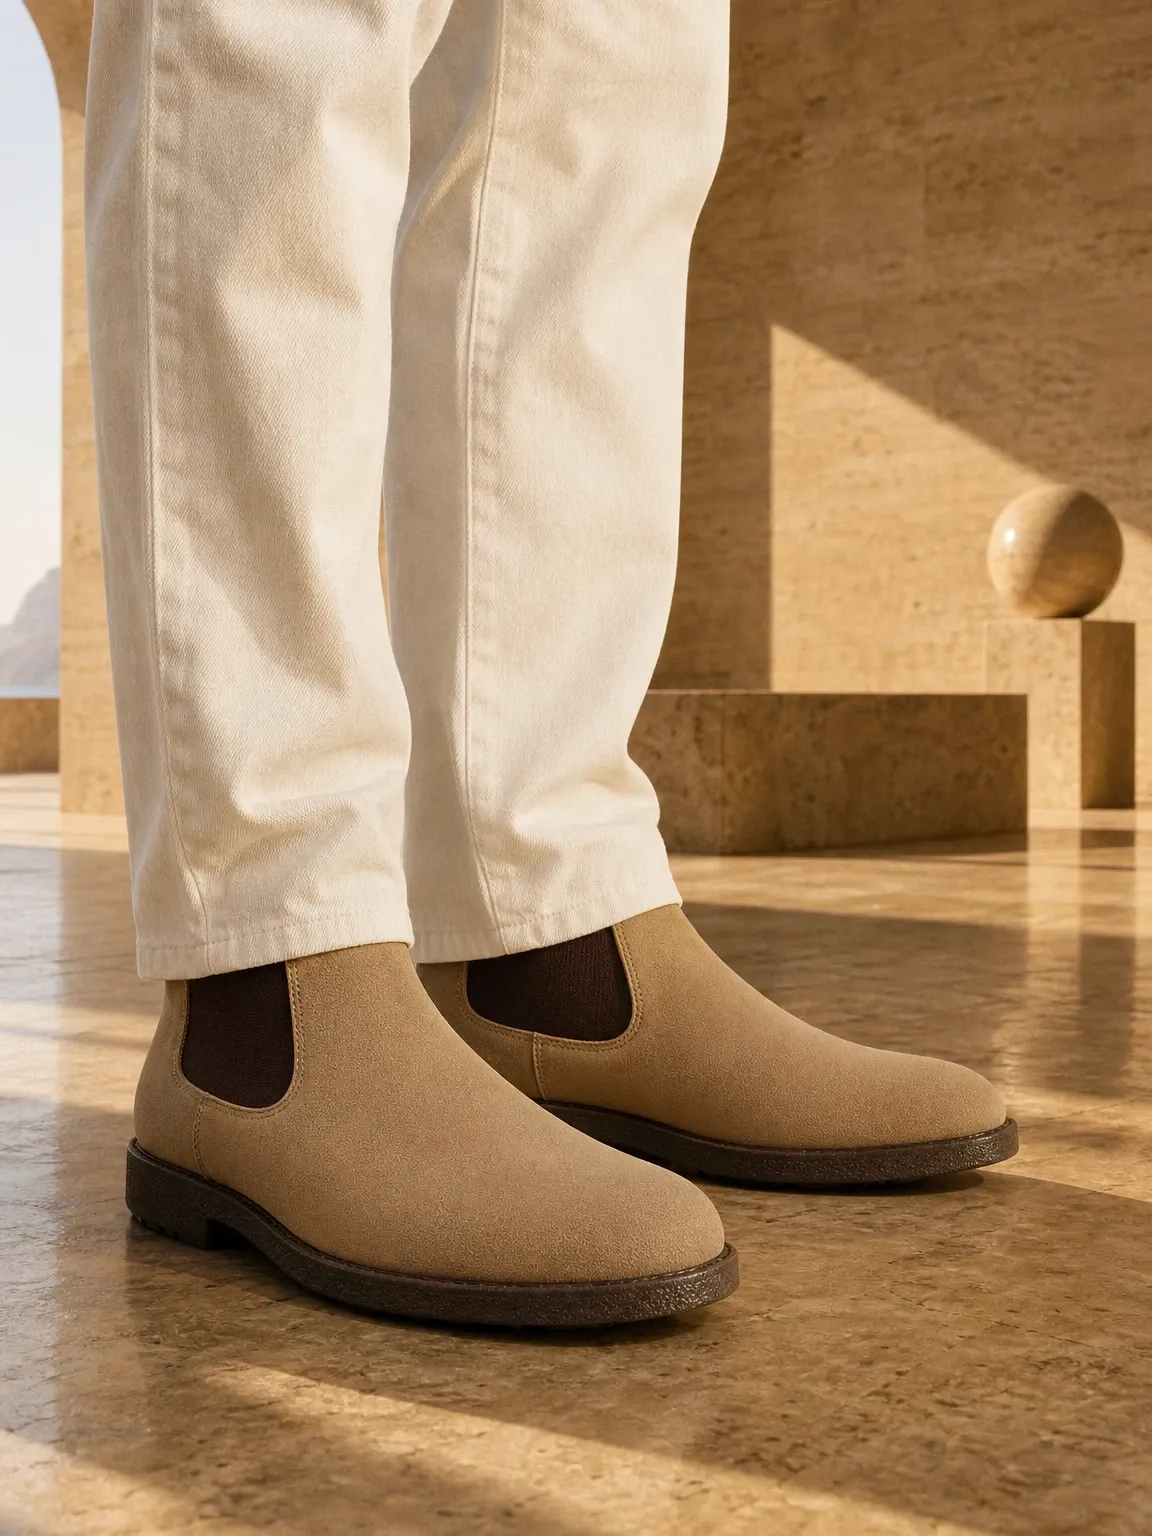
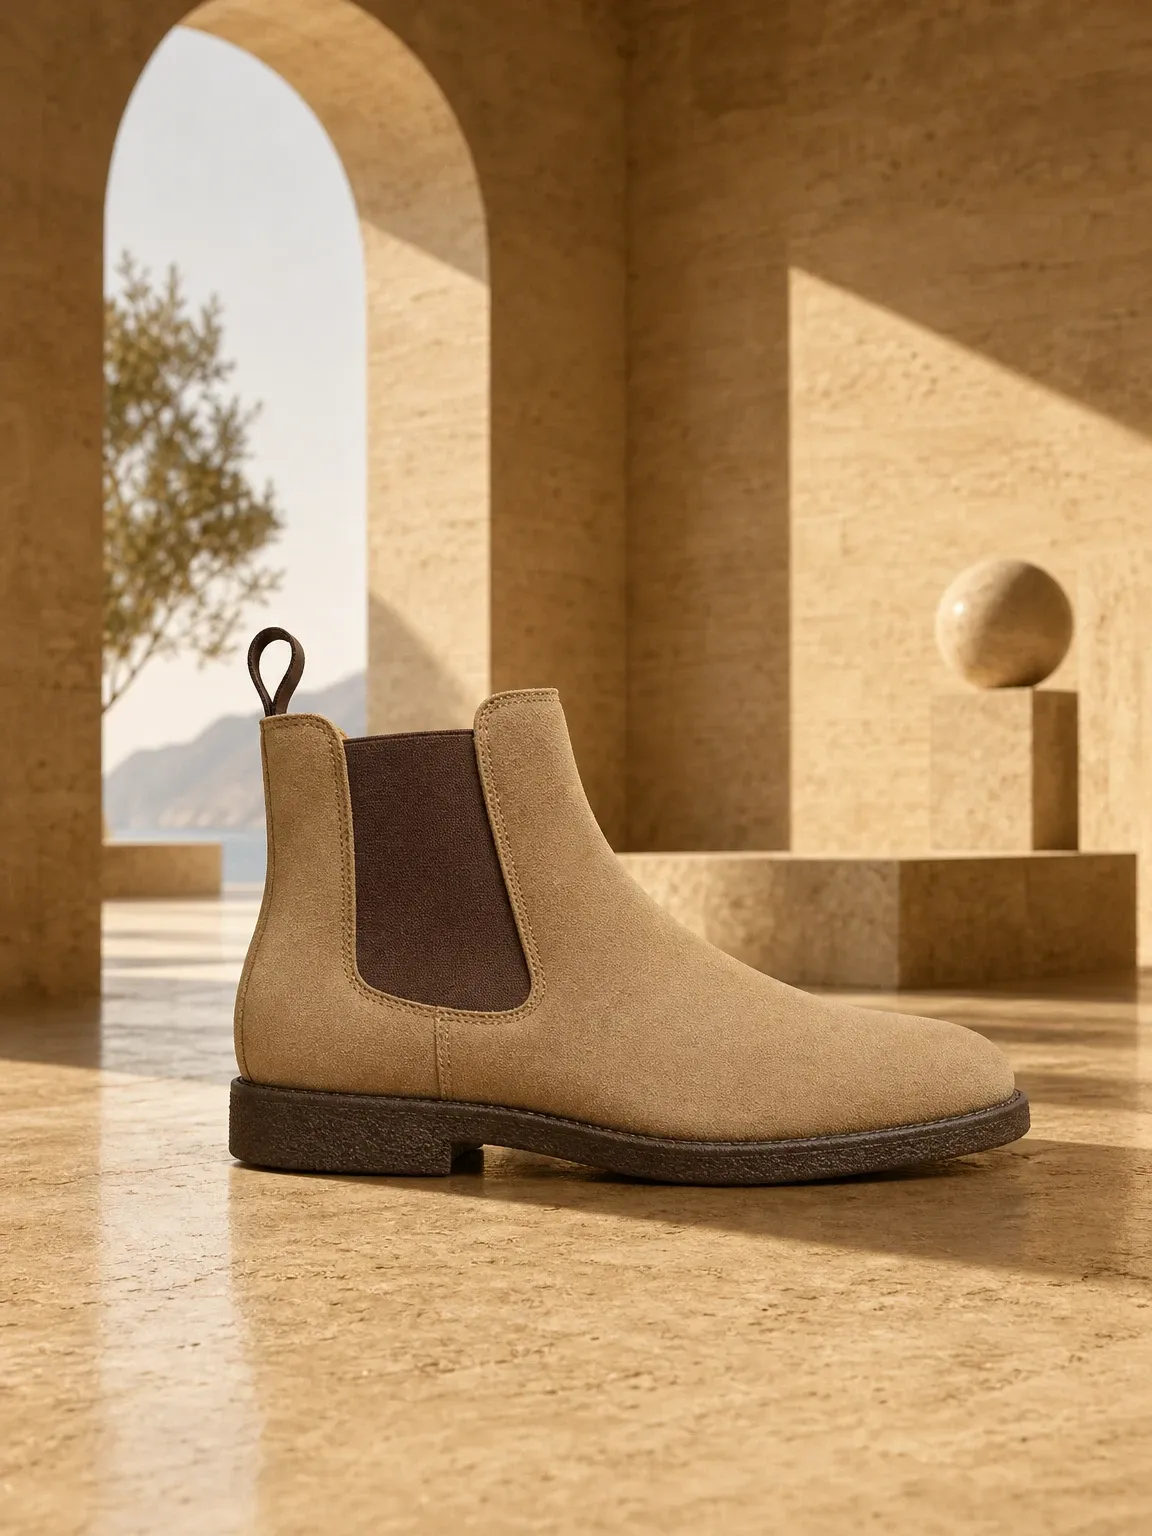
Tan suede Chelsea boots
Standing on a grey doormat by the front door. Garmo made a worn shot and a clean side profile for the cover photo.
 Your photo
Edit lightly and keep the colour true
Crop and straighten every photo the same way, lift the brightness until the background reads as white or light grey, and check the colour against the real shoe in daylight. Colour is the most common reason shoes come back, so never push saturation to make a red look redder.
Export JPGs at around 2000 pixels on the long side and keep the originals. Each marketplace sets its own size and format limits, and they change, so check the seller help page of the platform you list on before you batch-export. For Etsy, see Etsy photo requirements.
Shoe photography questions
What is the best angle to photograph shoes?
The outer side profile with the camera at sole height is the best cover photo, followed by a front three-quarter view of the pair. Avoid shooting from standing height; it makes shoes look short and flat.
How many photos should a shoe listing have?
Seven is a good standard: side profile, three-quarter, back, top-down, soles, details with the size label, and one on-foot photo. For used shoes add a close-up of any wear.
What background is best for shoe photos?
A plain white or light grey card curved from the wall onto the table. It gives a seamless background and soft shadows. Keep the same background for every pair so your shop looks consistent.
How do I photograph shoes for resale with a phone?
Clean the pair, stuff them with paper, shoot next to a window in daylight, crouch to shoe height and use the 2x lens. Photograph the soles and any flaws clearly; resale buyers look at condition first.
Can I get on-foot shoe photos without a model?
Yes. Upload one clear photo of the pair to Garmo and it puts the shoes on feet in about a minute, in a studio, street or editorial setting. The first 3 images are free.
Turn the source into a complete sneaker gallery
Once the real product angles are covered, use the sneakers on feet AI conversion guide to plan the on-foot side view, full look, sole and mobile image order without losing product accuracy.