What a shoe photo must do to support conversion
“Convert” does not mean an image guarantees a sale. It means the gallery removes avoidable uncertainty. A shopper should quickly understand colour, silhouette, sole thickness, toe shape, collar height and how the pair sits under a trouser hem. When those answers are split across purposeful frames, the listing becomes easier to evaluate on a phone.
A single dramatic lifestyle image can earn attention but often hides the product. Start with a clean product view, then add the on-foot side angle and full look. Detail frames for tread, heel and material come after those essentials. This order gives both fast scanners and careful buyers the information they need.
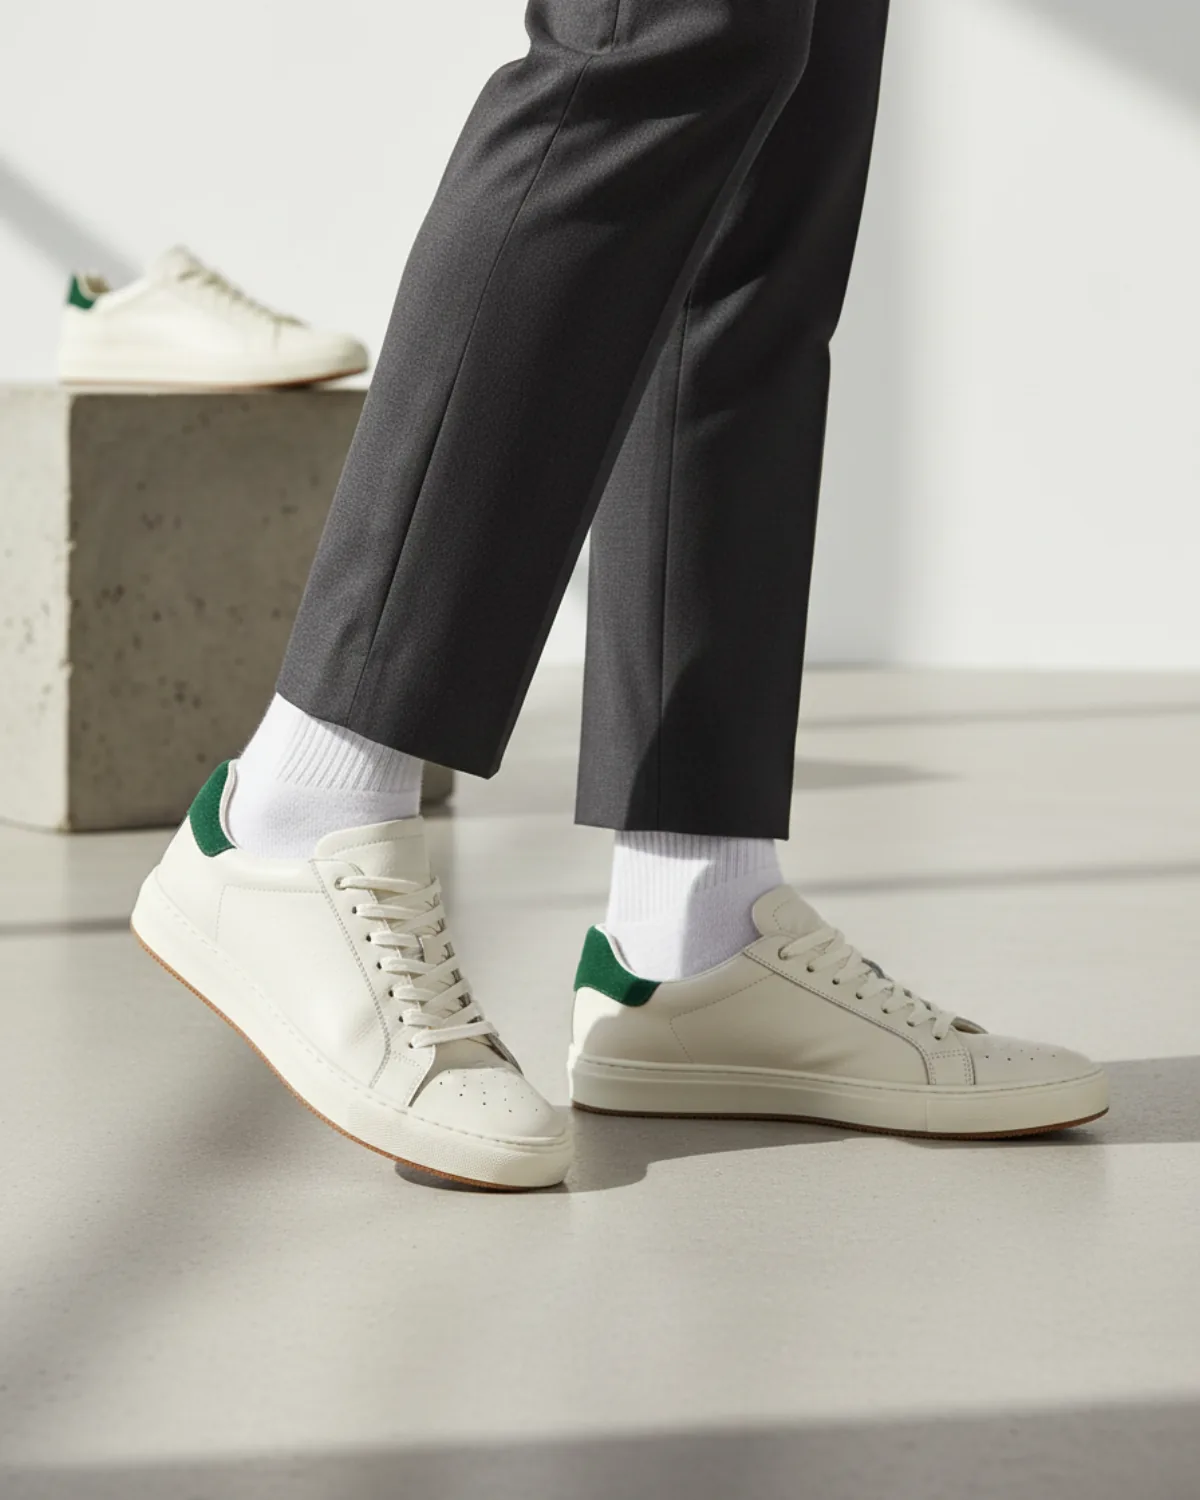
The sneakers on feet AI tool can build on-foot close-ups, full looks and clean profiles from a source photo. Treat generated images as contextual assets, not automatic evidence. Keep real product photos for exact condition, labels, logos and construction.
Start with a source photo the model can read
1. Clean and lace the pair
Wipe midsoles, remove lint and lace both shoes as a customer would wear them. Asymmetry in the source can be repeated or exaggerated.
2. Show both shoes
Place the pair at a slight angle so toe, side, tongue, collar and heel are visible. Do not let one shoe hide the other.
3. Use soft daylight
Diffuse window light protects white uppers and dark panels from clipped highlights or blocked shadows. Avoid coloured room light.
4. Send the original file
Use JPG, PNG or WebP up to 12 MB rather than a screenshot or marketplace thumbnail. More real pixels preserve eyelets and stitching.
5. Add special references
If tread, heel branding or the inner side matters, photograph it separately and use it during your final accuracy review.
Three frames with three different jobs
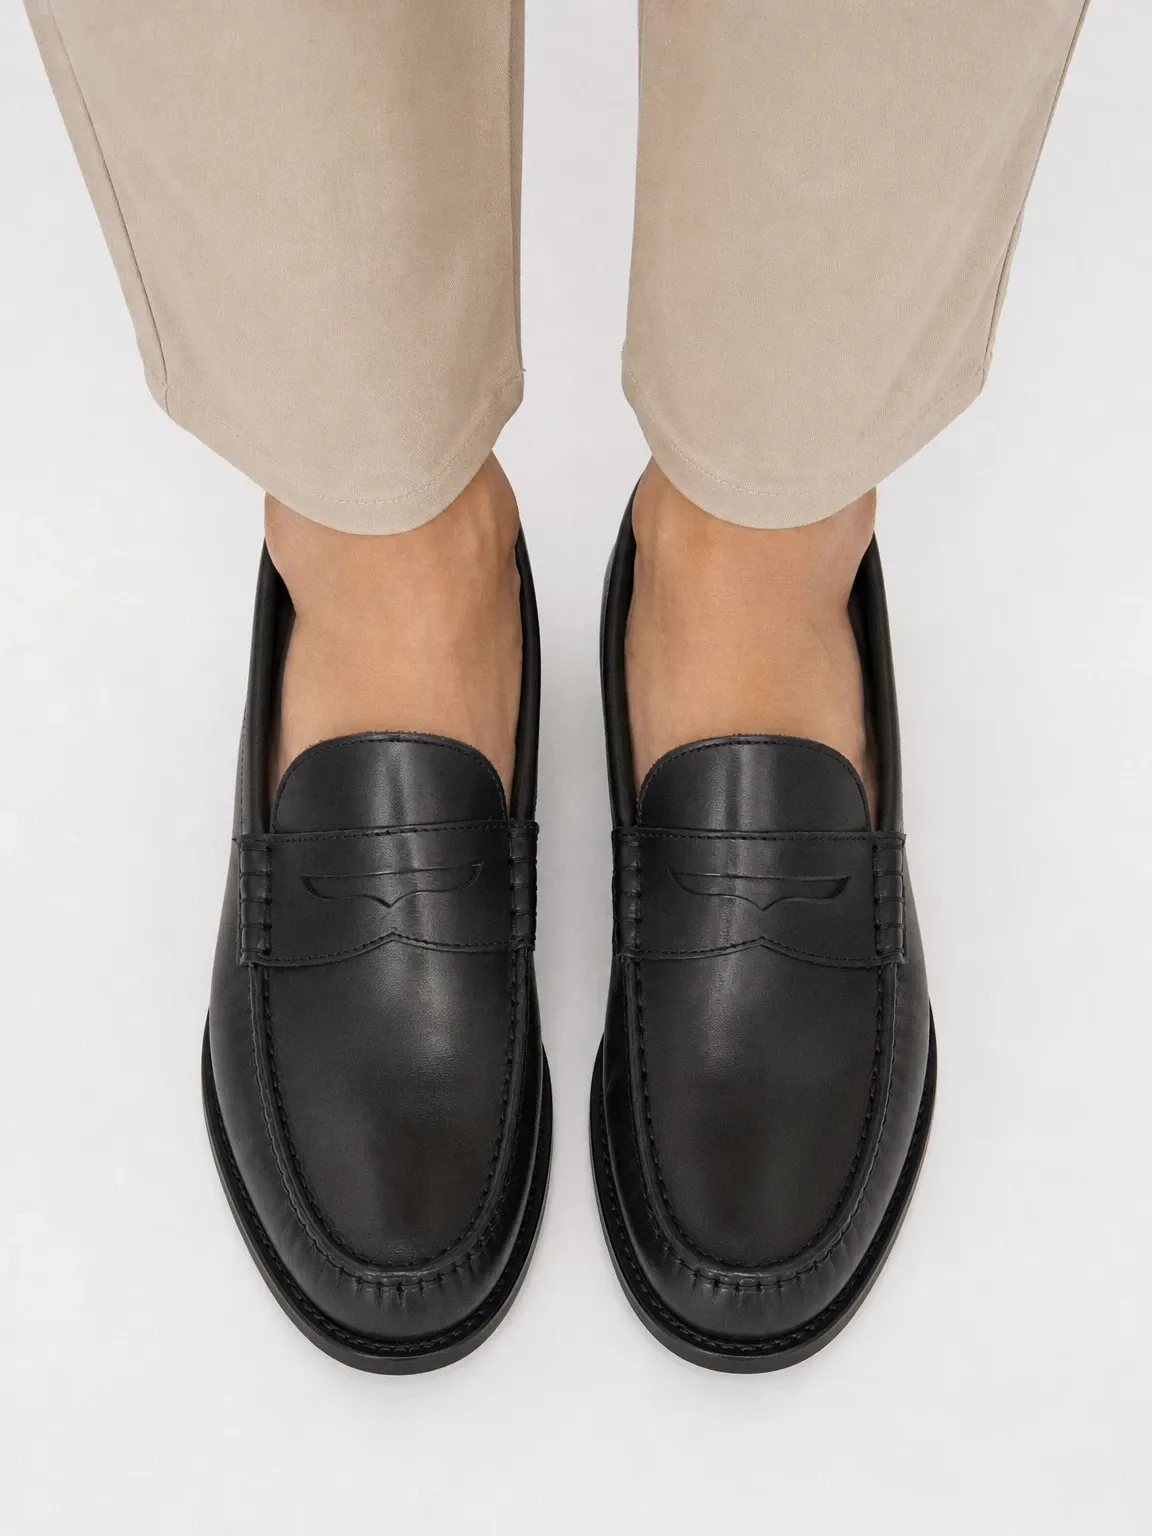
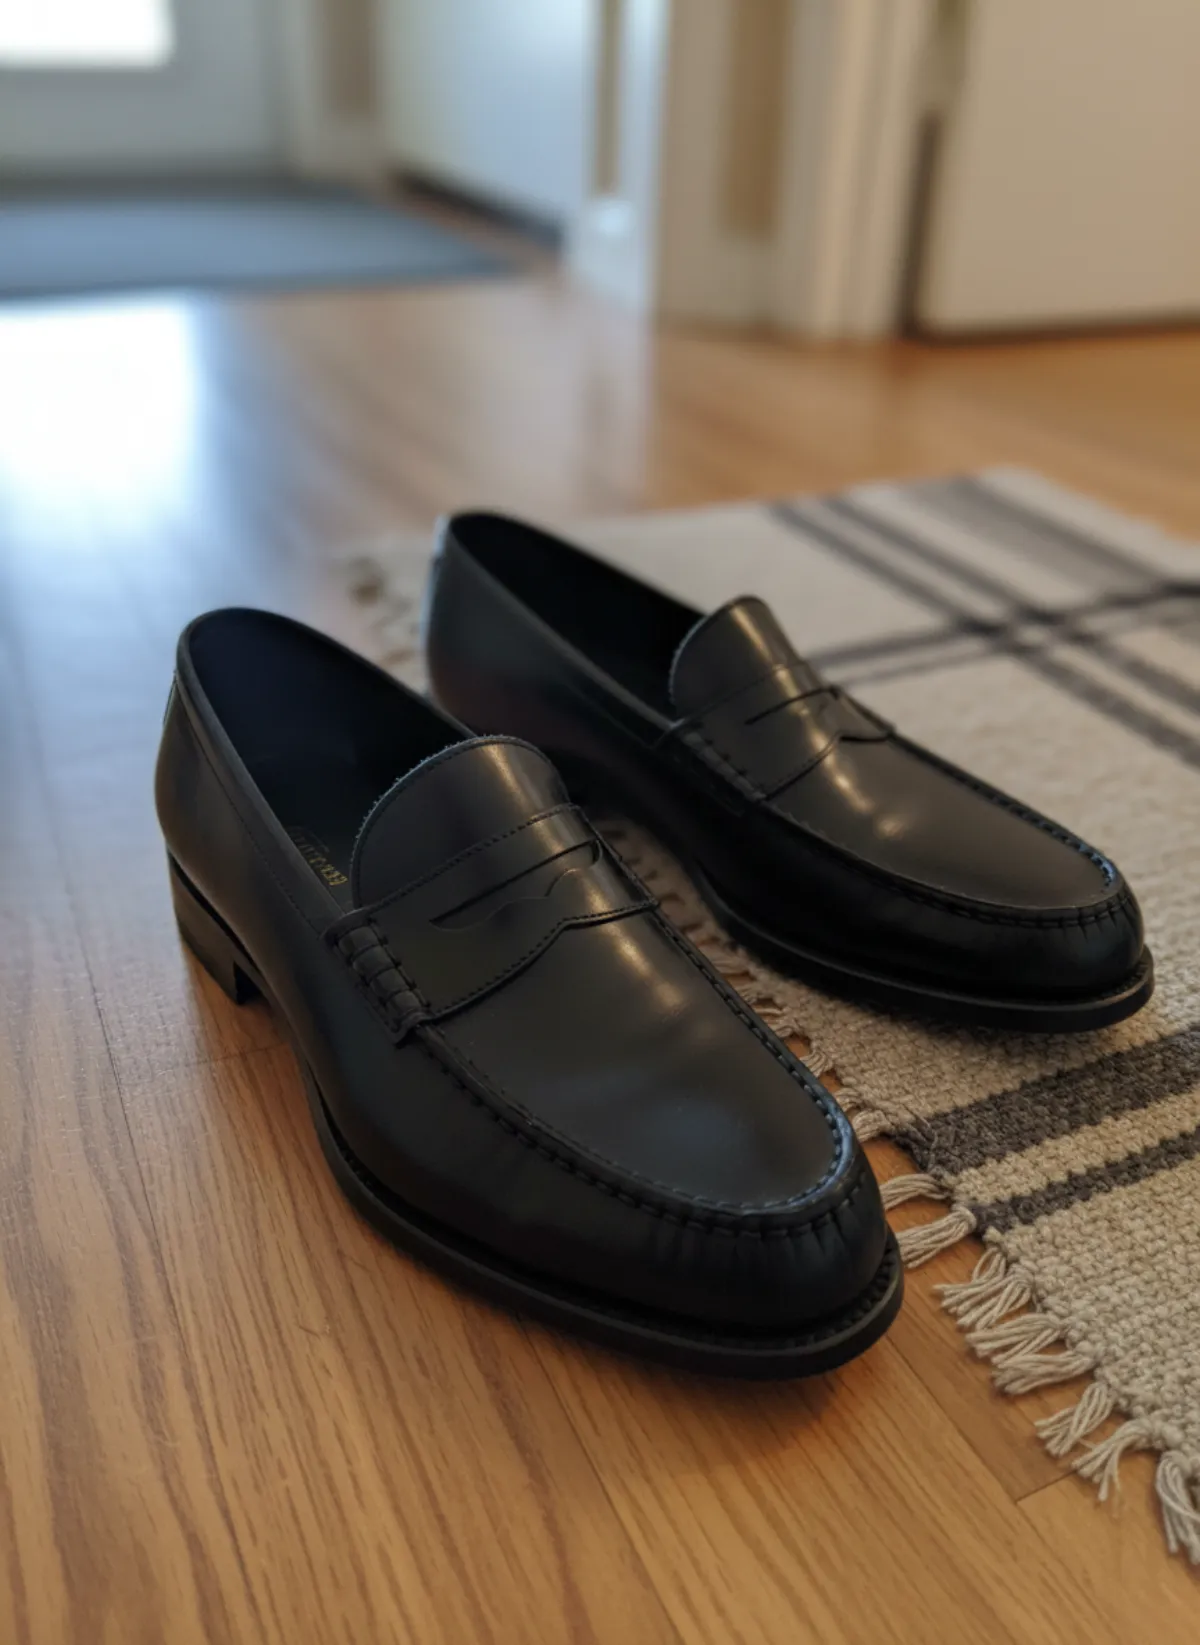
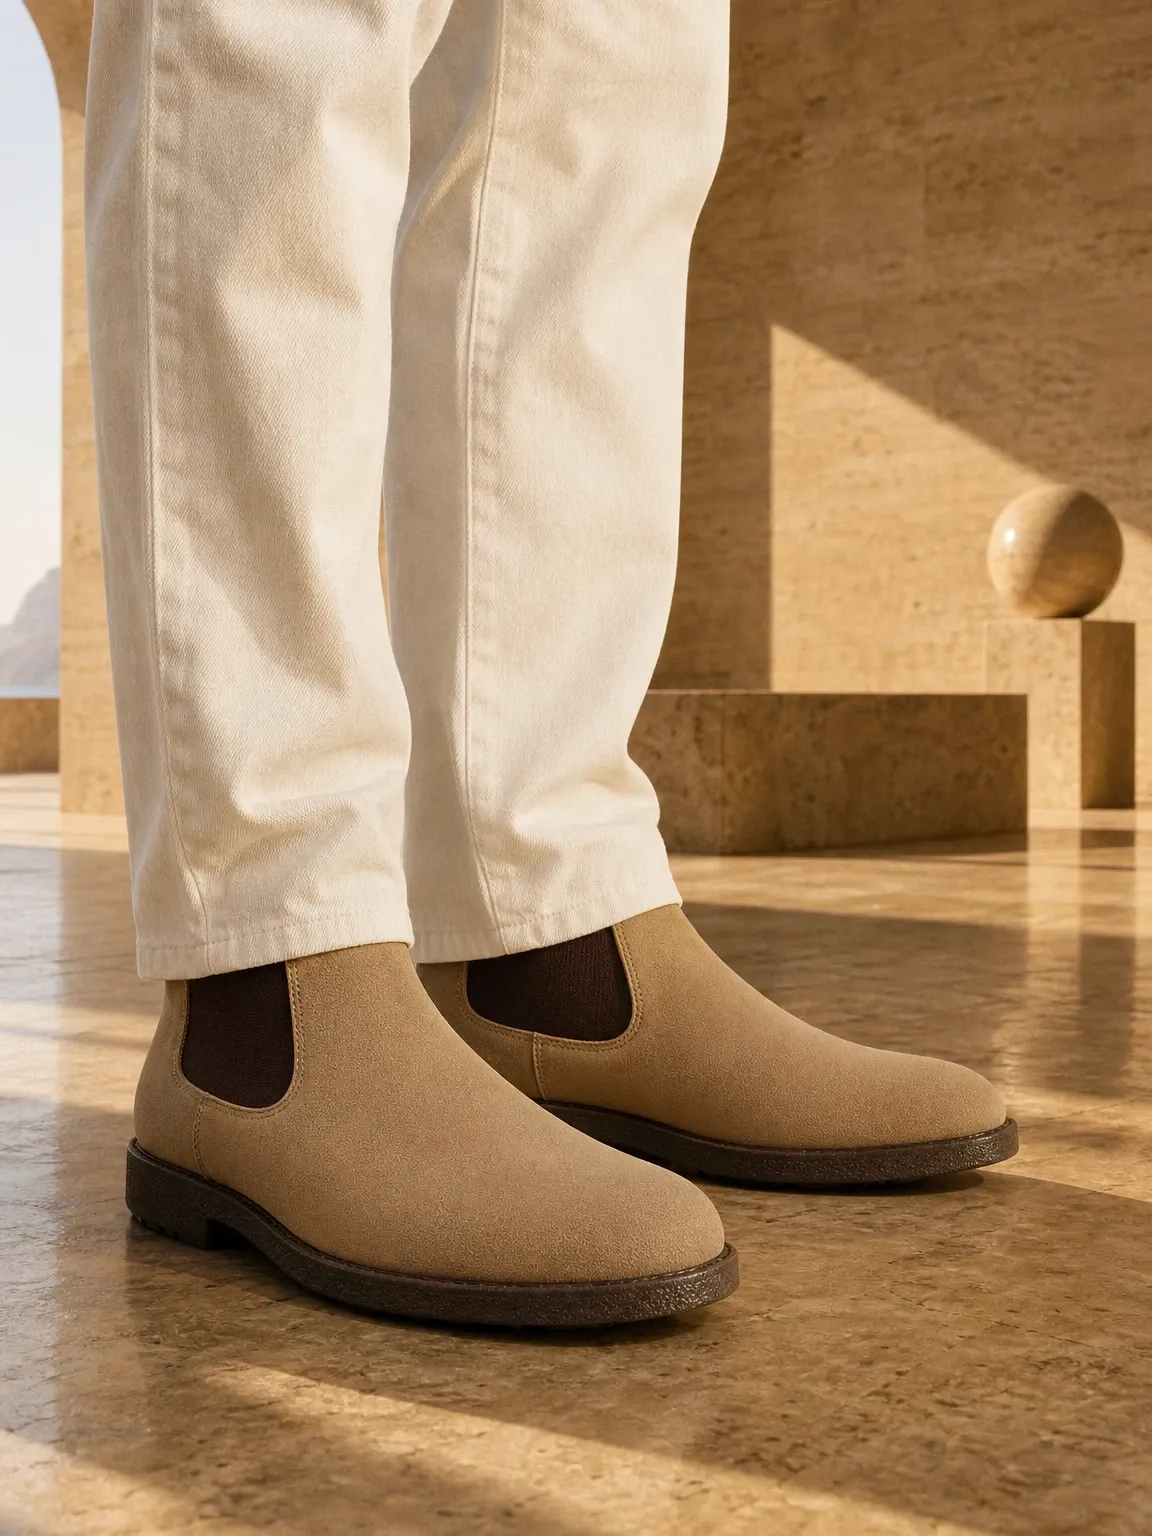
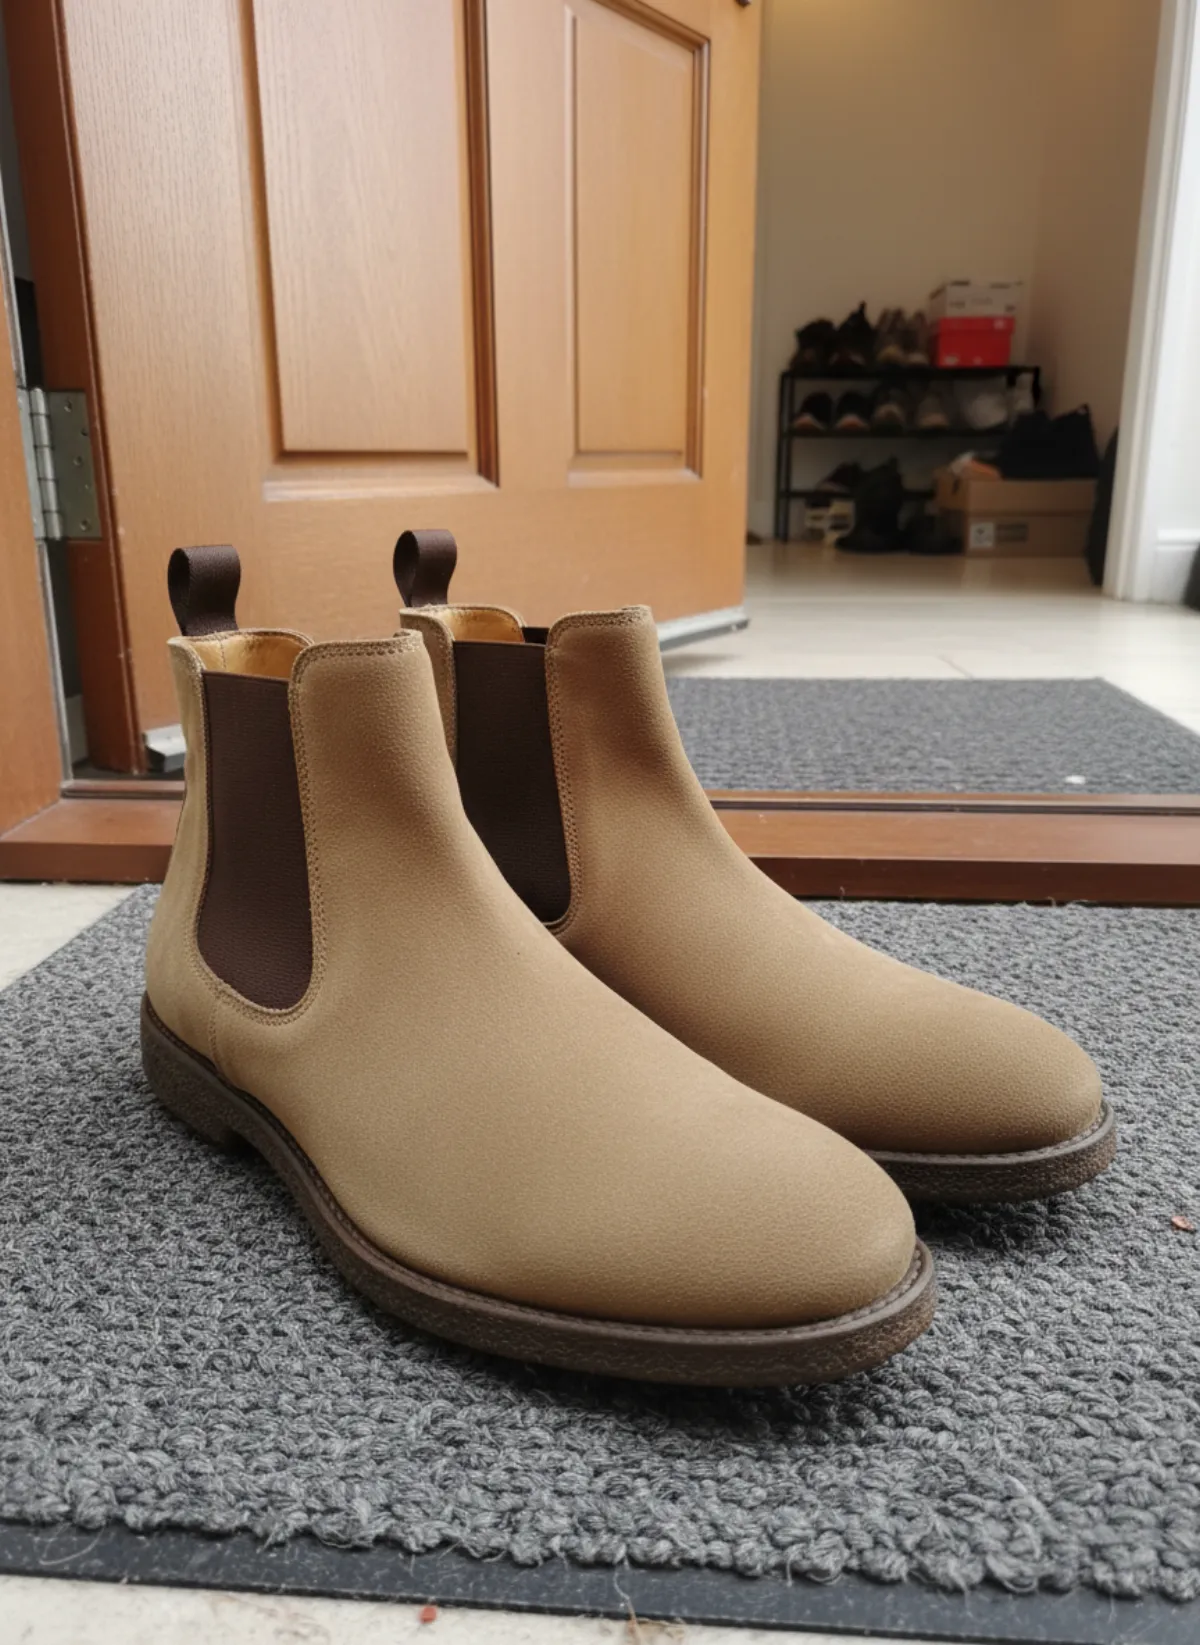
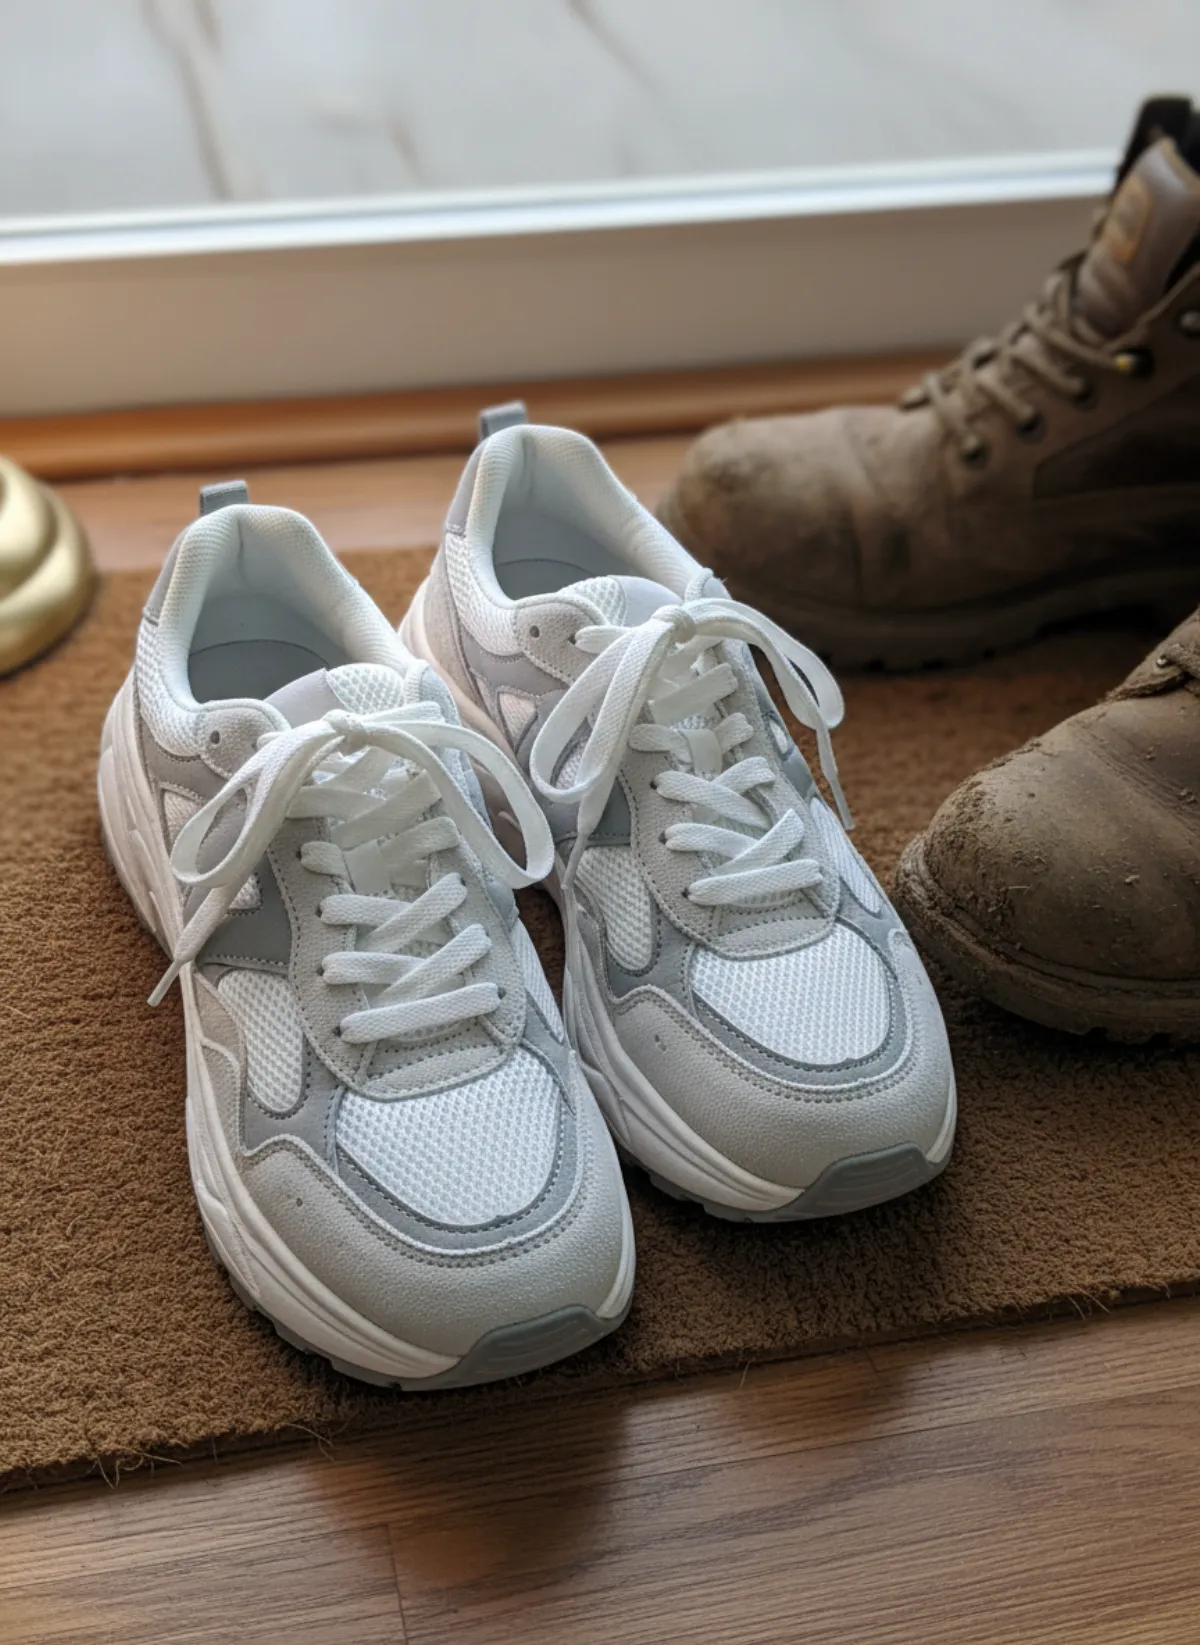
This example starts with a real phone photo and separates scale, styling and product inspection instead of asking one image to do everything.
Chunky retro runners
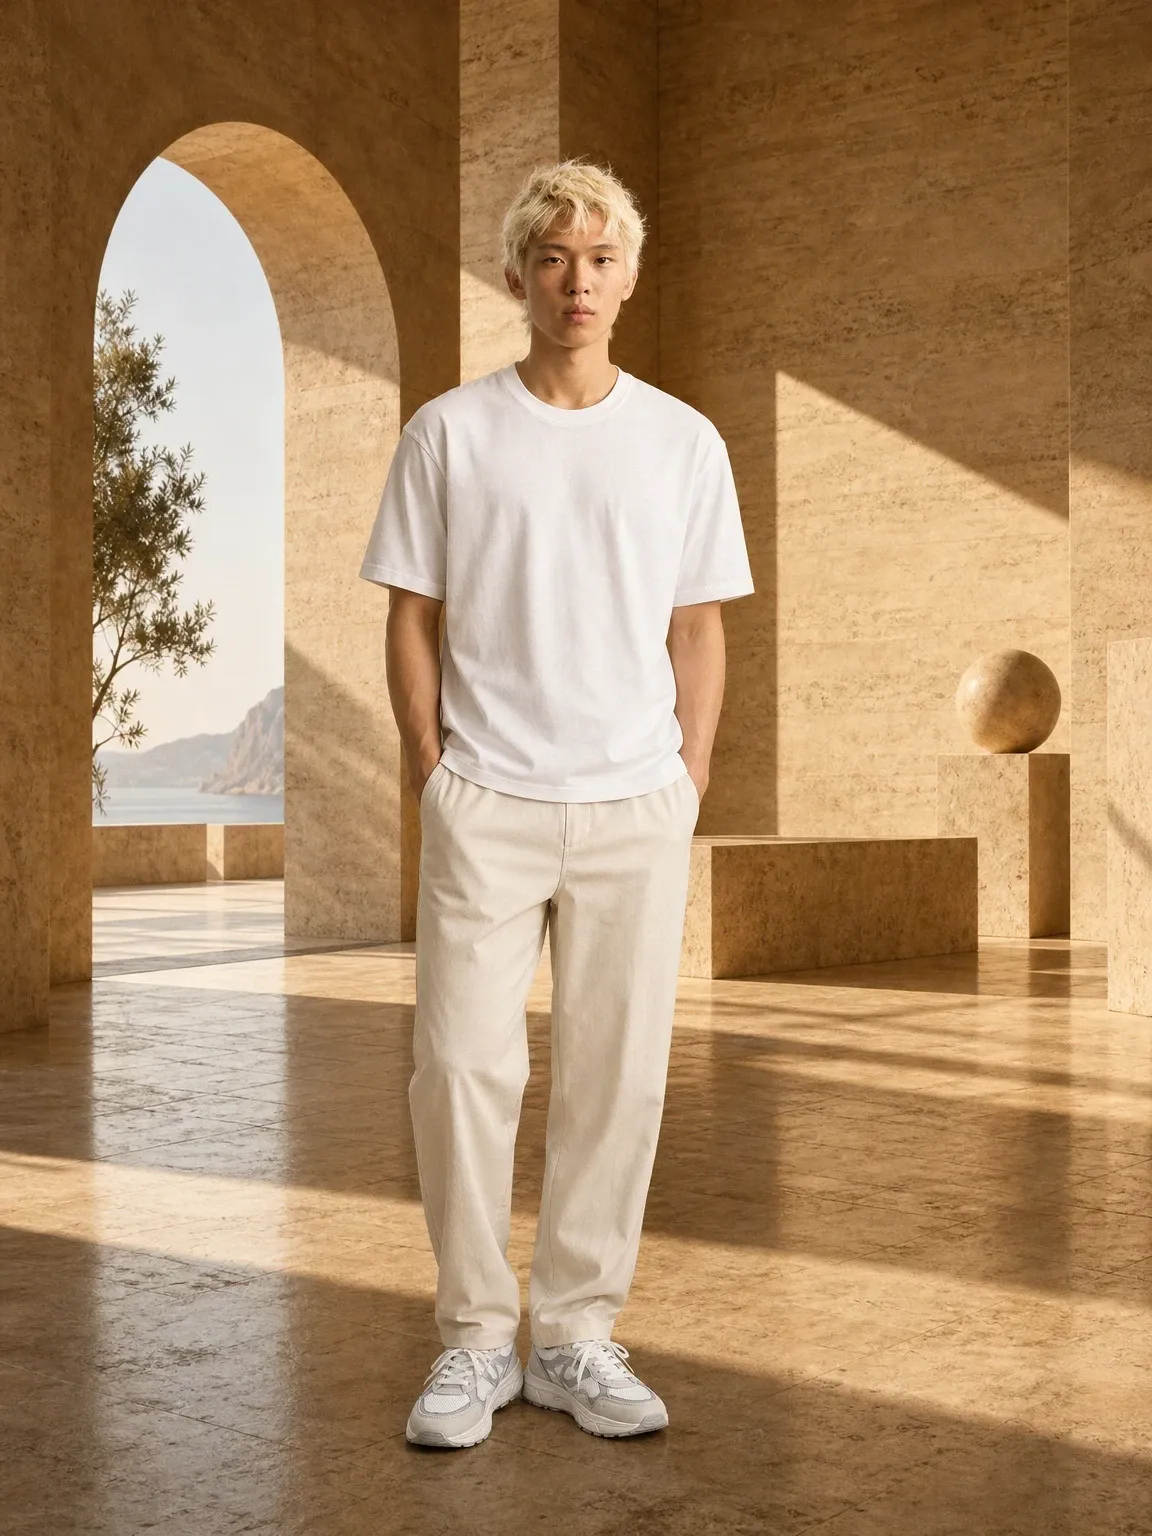
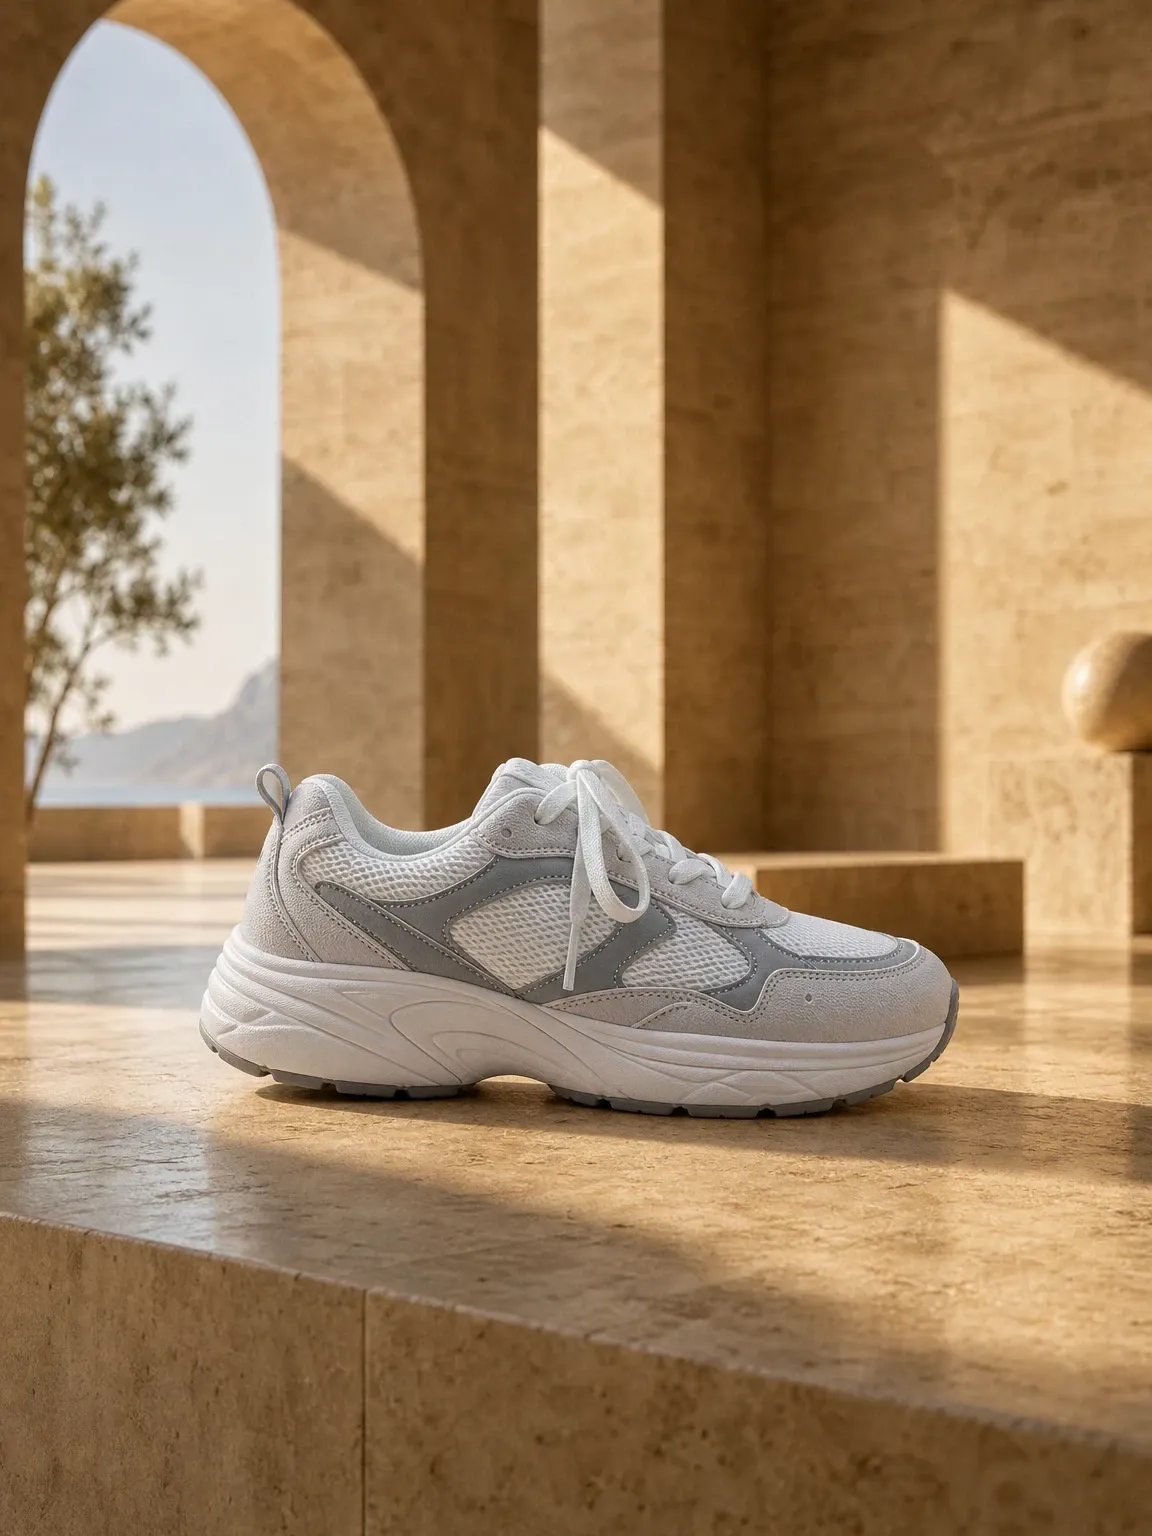
The source locks the white-and-grey colour blocking. The low on-foot frame shows sole volume and how the collar sits at the ankle. The full look explains styling, while the isolated side profile makes overlays and midsole shape easier to compare.
 Your photo

A six-image order that works on a small screen
Slot one should identify the product immediately: a clean three-quarter product frame on a quiet background. Slot two is the low on-foot side view, because it answers the main contextual question without forcing the shopper to swipe far. Slot three can show the complete outfit and the intended audience.
Use slot four for the opposite or inner side when construction differs. Put the outsole in slot five and reserve slot six for heel, tongue, material or a second colour story. If a marketplace limits images, keep identity, on-foot scale, side profile and sole before adding broad lifestyle scenery.
Check every thumbnail at the size it will actually appear. Fine stitching that looks sharp on a desktop may vanish in a mobile card. Increase crop tightness rather than adding artificial sharpness, and keep enough space around the toe and heel that responsive crops do not cut the shoe.
The product-fidelity check buyers never see
Compare generated and real pairs side by side at 100 percent. Count eyelets, trace panel seams and inspect lace path, tongue height, toe perforation, collar curve, heel tab and sole layers. A correct overall colour is not enough when a distinctive overlay has moved.
Look at the pair as a pair. Left and right shoes must match, but they should not become impossible mirror copies. Check that feet sit inside the uppers, soles contact the floor and laces do not melt into trousers. Reject extra feet, doubled tongues and floating shadows even if the scene feels attractive.
Small logos and text are especially fragile. Keep a real detail photograph for them and avoid presenting altered marks as factual. The broader AI shoe photography workflow helps plan product angles, but the seller remains responsible for SKU-level review.
Choose styling that explains the sneaker
Cropped straight trousers reveal the collar and work for most low-tops. Wide trousers communicate fashion volume but can cover the tongue; shorts reveal the whole ankle but change the seasonal story. Pick one outfit that matches the customer rather than chasing a generic campaign look. The same styling rules apply when you learn how to take pictures of shoes on feet yourself.
Use a low camera for sole volume and a knee-height camera for a neutral product read. Extreme wide angles enlarge the nearest shoe and can imply the wrong shape. Keep one conservative side view in every gallery, then use motion or a stronger perspective in a secondary editorial frame.
High-tops need ankle clearance, while slim canvas shoes benefit from lighter styling. For category-specific alternatives, compare boots on feet AI and flats on feet AI; each silhouette needs a different crop even when the publishing logic stays the same.
Publish only when these six checks pass
Shape is unchanged
Toe, sidewall, collar, heel and sole thickness match the source pair.
Construction is intact
Eyelets, panels, seams, tread and lace path remain plausible and consistent.
Crop has a purpose
The shoe dominates on-foot views and stays safely inside mobile crops.
Colour is believable
White balance, material and colour blocking agree with real product photos.
Facts stay in copy
Material, sizing, fit notes and condition are written, not inferred from AI.
Real views remain
Original product, sole and label photos stay available as factual references.
Sneakers on feet AI questions
Do on-foot sneaker photos guarantee more sales?
No image guarantees conversion. Useful on-foot views can reduce uncertainty about scale and styling when they sit beside accurate product, detail and sizing information.
What should the first listing image be?
Usually a clean, product-led three-quarter view. Put the on-foot side frame next so mobile shoppers reach scale context quickly.
Can AI preserve logos and small text?
Small marks can shift. Keep real close-ups for logos, labels and serial details, and inspect every generated frame before publishing.
How many sneaker images do I need?
A compact set can use clean product, on-foot side, full look, outsole and one construction detail. Add more only when each frame answers a new question.
Which ratio suits ecommerce?
A vertical 4:5 frame uses mobile space well for on-foot and full-look images. Keep important shoe edges away from the crop boundary.