Five useful tool categories
Background editors
Best for clean cutouts, colour backdrops and simple scene changes when the product itself is already photographed well.
General generators
Best for campaign concepts and exploratory scenes; weaker when exact product construction must stay fixed.
Fashion on-model tools
Best for converting real garment references into controlled model, pose and setting variations.
Traditional editors
Best for precise masks, colour correction, dust removal, compositing and final pixel-level repair.
Marketplace-native tools
Best for convenient edits inside a store workflow, but still subject to each marketplace's image policies.
Choose by the job, not the label
If the source is strong and only the background is untidy, use a background editor. It minimizes the number of variables that can drift. If you need a conceptual campaign before products are final, a general generator is useful for mood exploration—but do not treat an invented sample as ecommerce evidence.
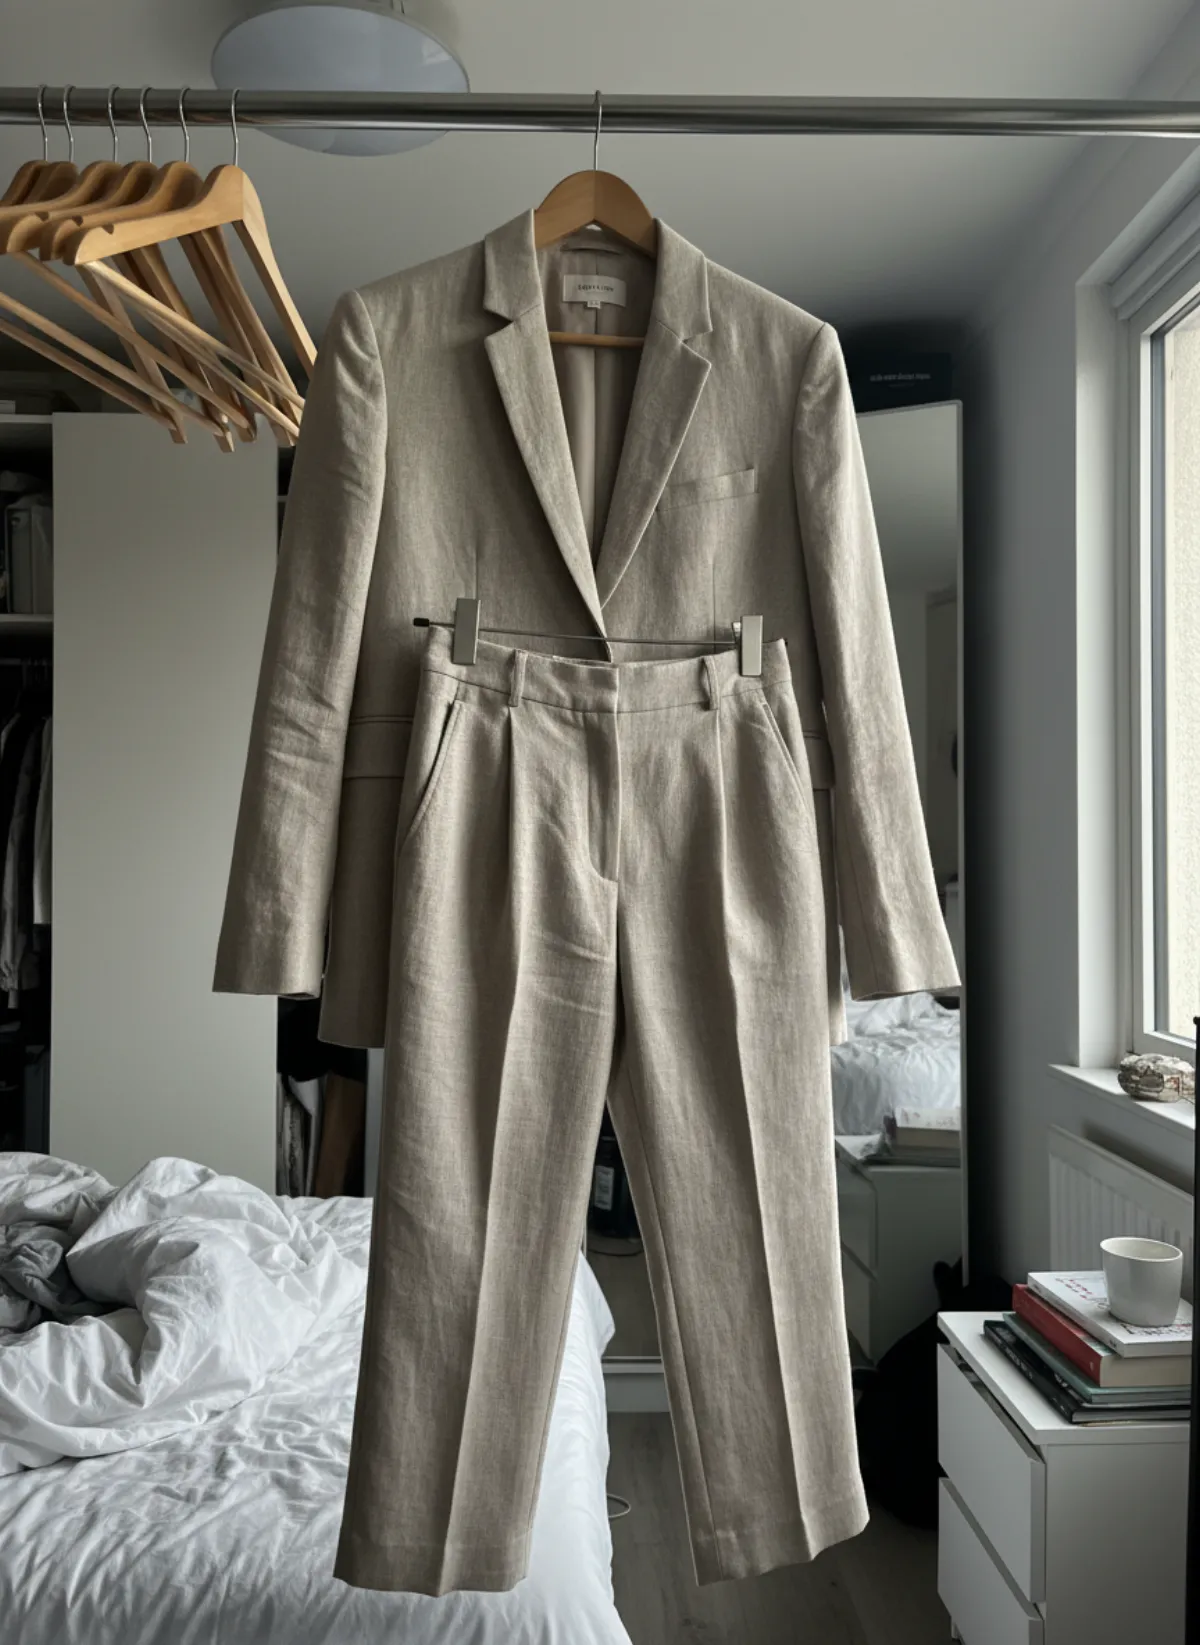
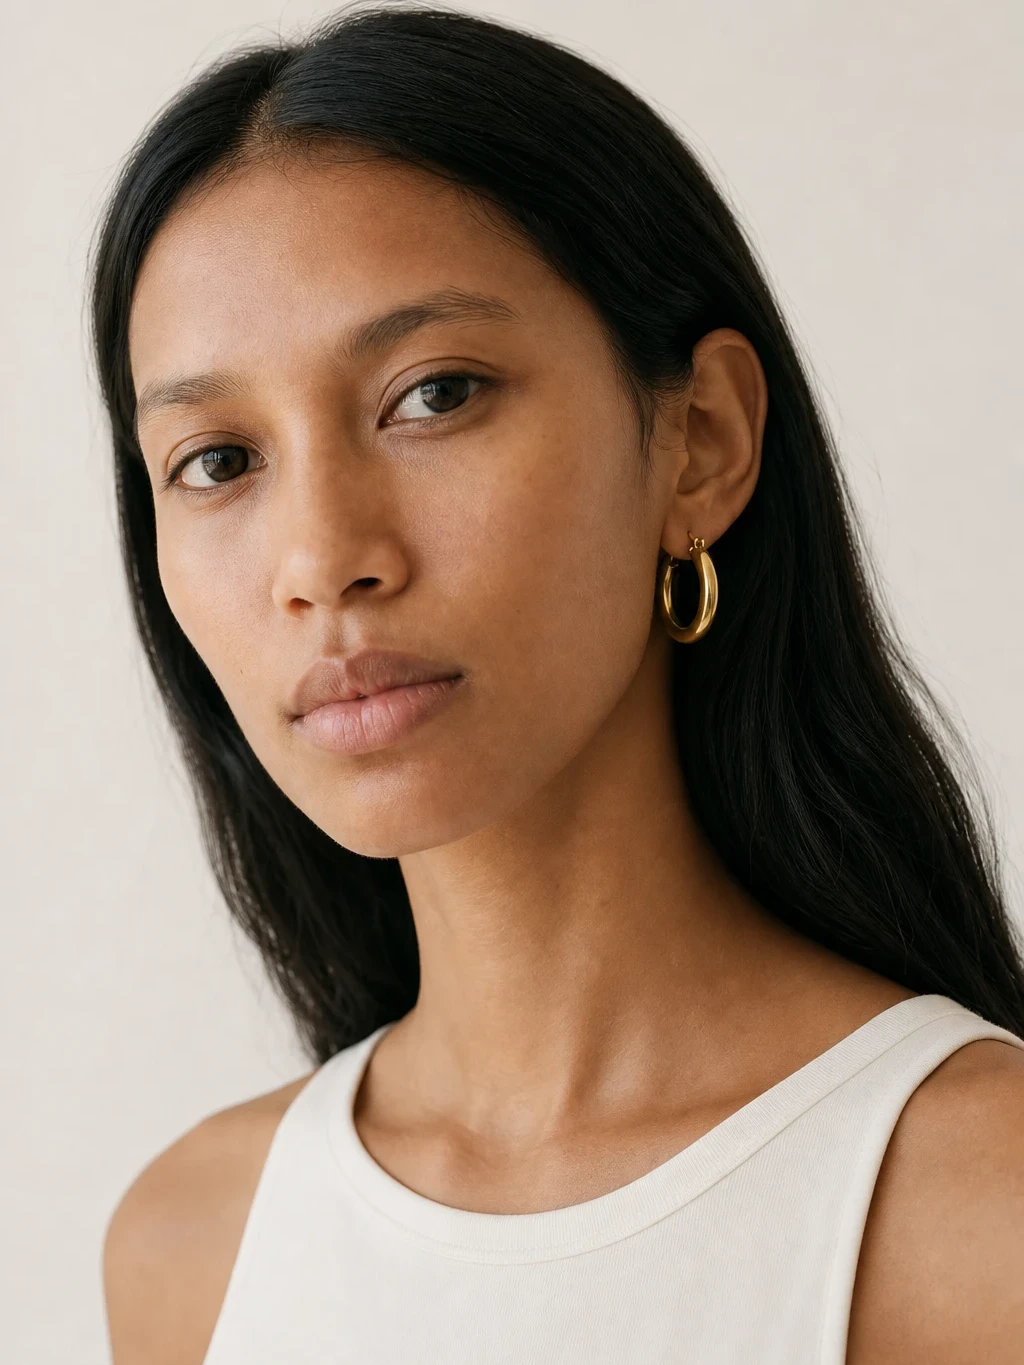
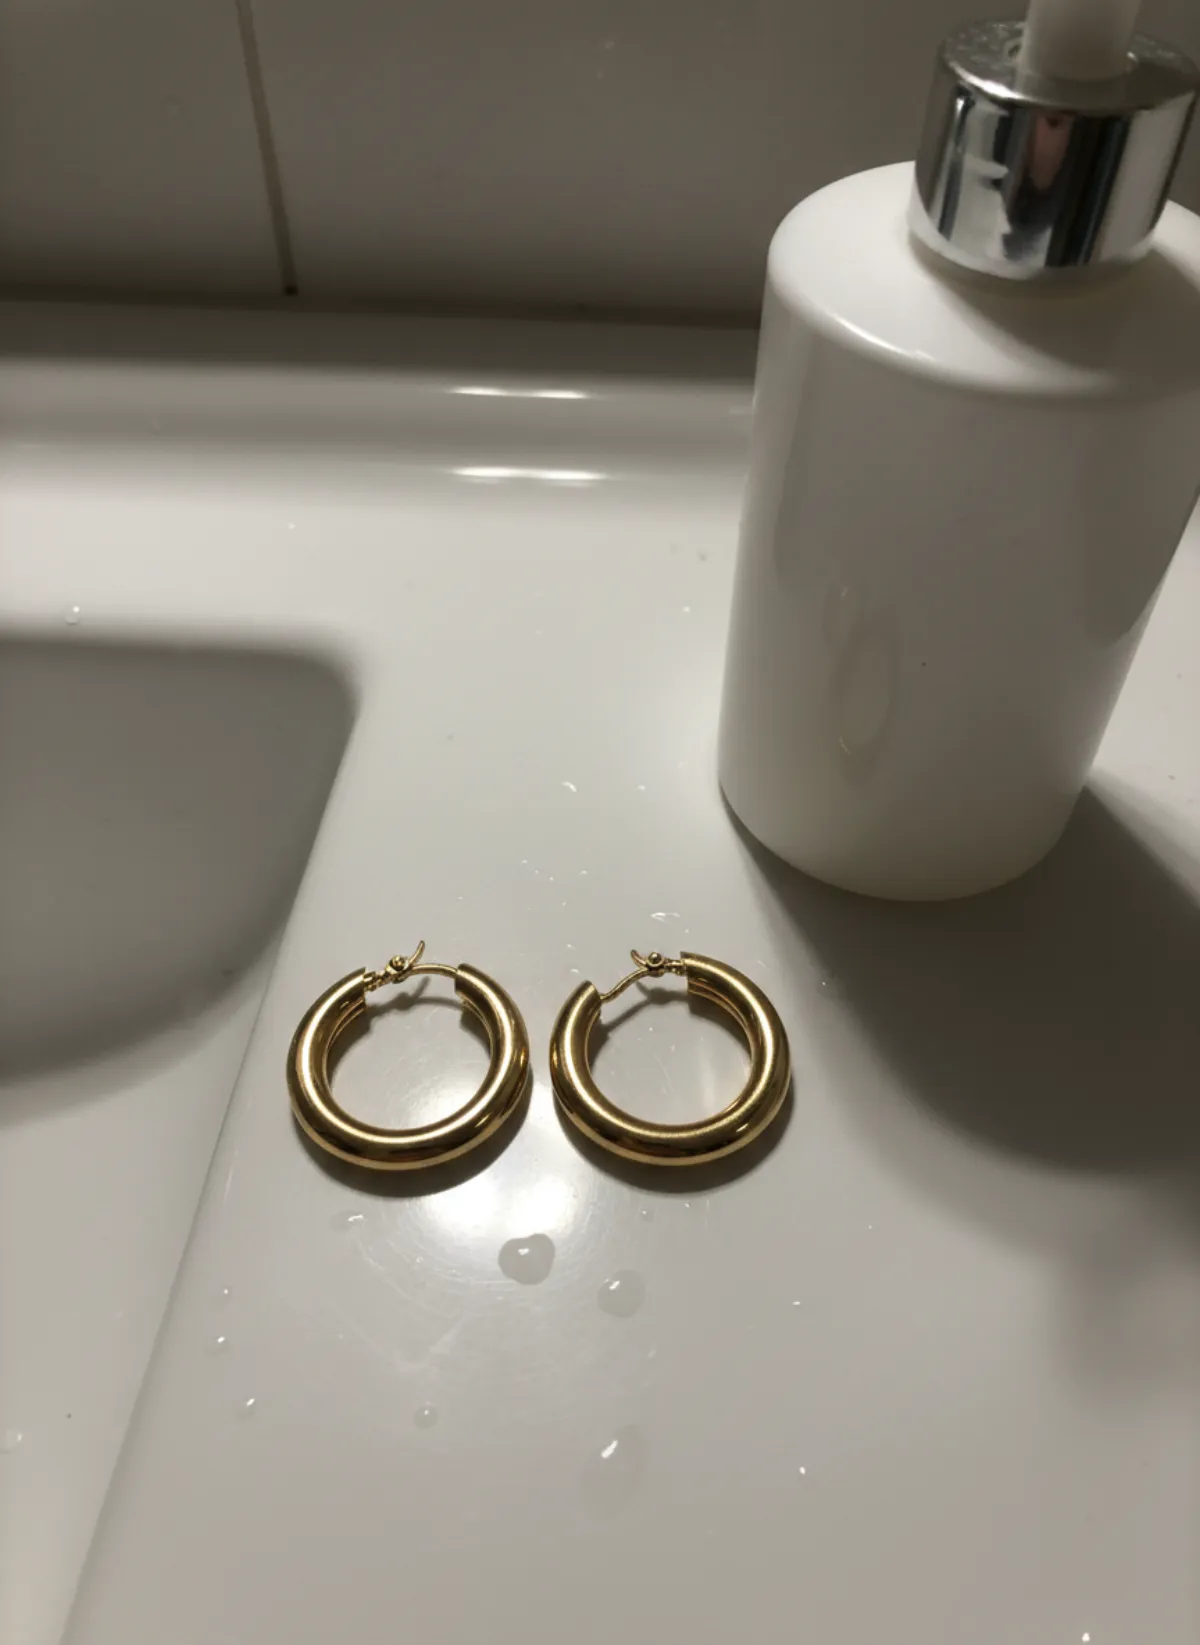
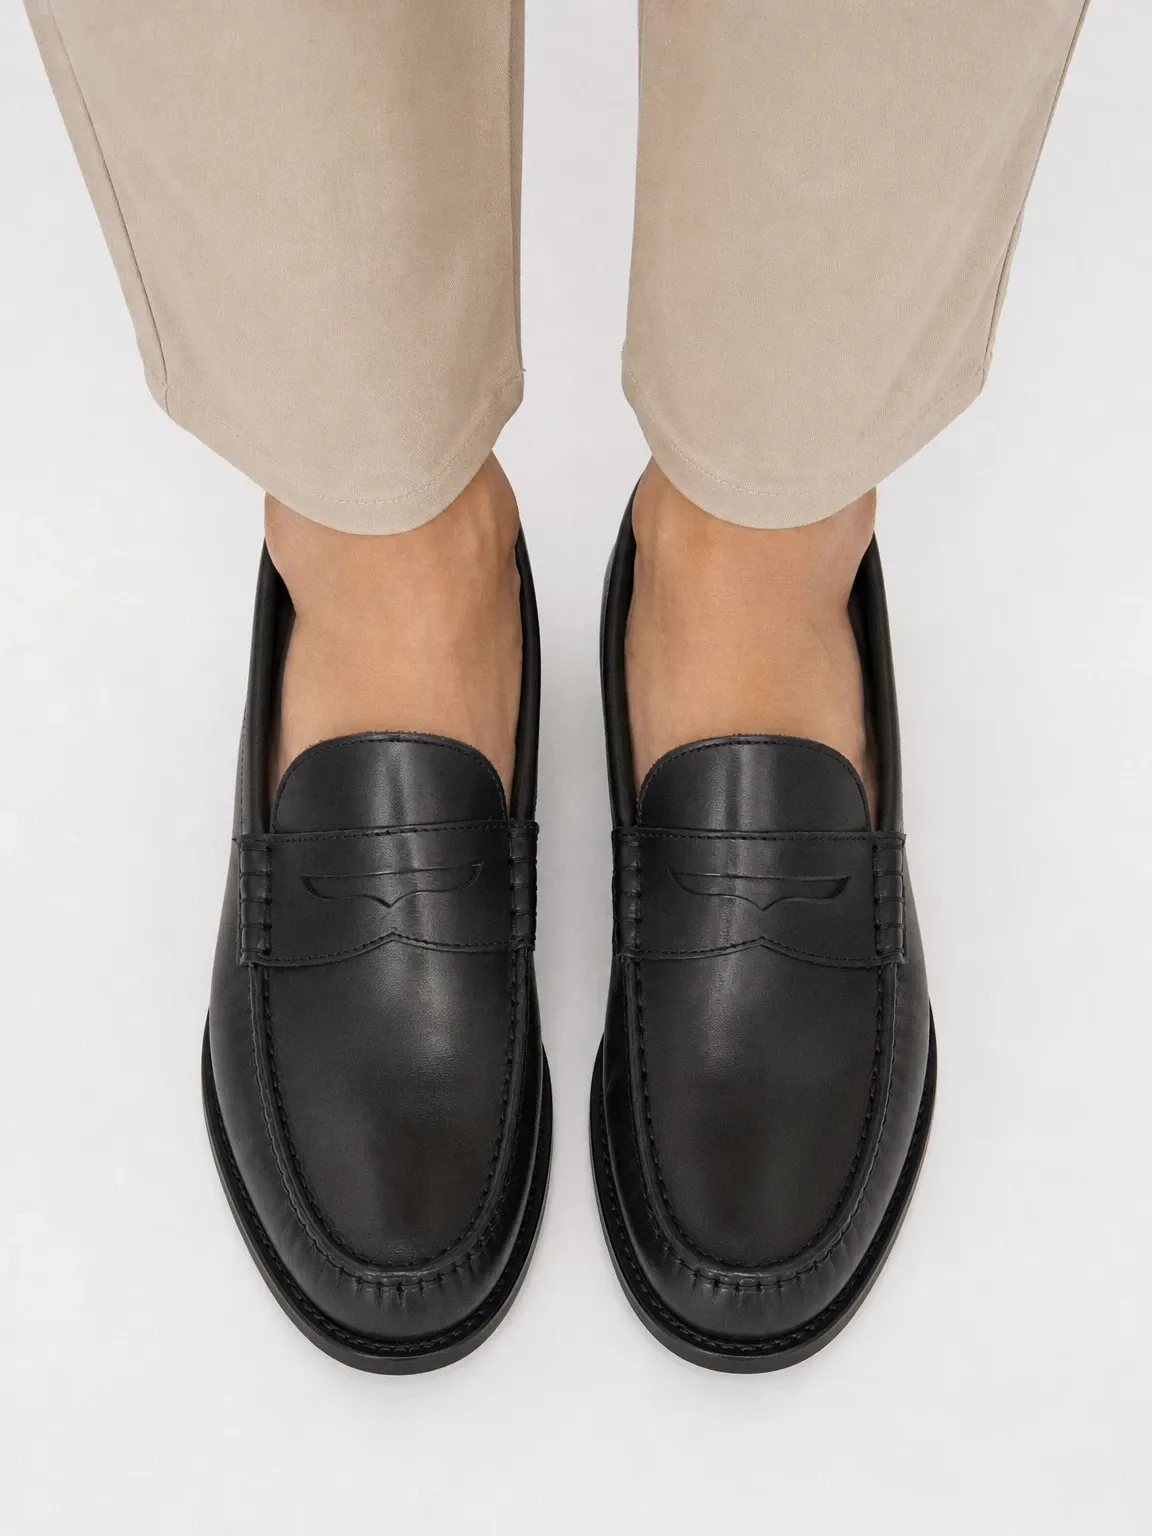
For clothing, jewellery or shoes that need a person, choose a specialist workflow. AI product photography with models is designed around a product reference rather than an open prompt. Use jewellery on a model for scale and placement, and AI shoe photography where foot position and pair consistency matter.
Traditional editing still belongs at the end. A generator may create the scene, while a controlled editor checks crop, colour profile, background value, metadata and export. The best stack is often two focused tools with a clear handoff rather than one tool expected to do everything.
Compare tools with seven practical criteria
Start with fidelity: does the output preserve shape, colour, print, hardware and quantity? Then test control: can you keep model identity, crop, background and pose across a batch? Review input requirements, because a tool that accepts a weak photo may compensate by inventing more information.
Measure cost per approved image, not the advertised generation. Include failed attempts, source preparation, review and repair. Speed should also mean time to an accepted gallery, not seconds to the first preview. Our AI collection cost guide provides a fuller calculation.
Finally assess rights, privacy and export. Confirm you can use the output commercially, understand how uploaded product images are handled and can download enough resolution and metadata for the destination. Policy fit matters: a beautiful lifestyle image may be useless as an Amazon MAIN frame or insufficient as Etsy's required unedited proof.
Run a fair ten-product test
Choose ten items that represent your real catalog: light and dark colours, a print, a reflective detail, a structured product, a soft product and one difficult SKU. Give every tool the best source it recommends and ask for the same deliverables. Comparing a specialist with a poor input against a general tool with a perfect studio photo is not useful.
Score product fidelity, model or scene consistency, usable resolution, time to approval and rejection reason. Do not average away a serious error. A changed logo, clasp or item count should fail even if the image looks premium. The ten-product accuracy method gives a ready audit.
Keep the winning source, prompt or settings and repeat one week later. A production tool must be repeatable, not merely capable of one impressive demo. Ask another reviewer to inspect the images without knowing which tool made them.
When a fashion-specific workflow makes sense
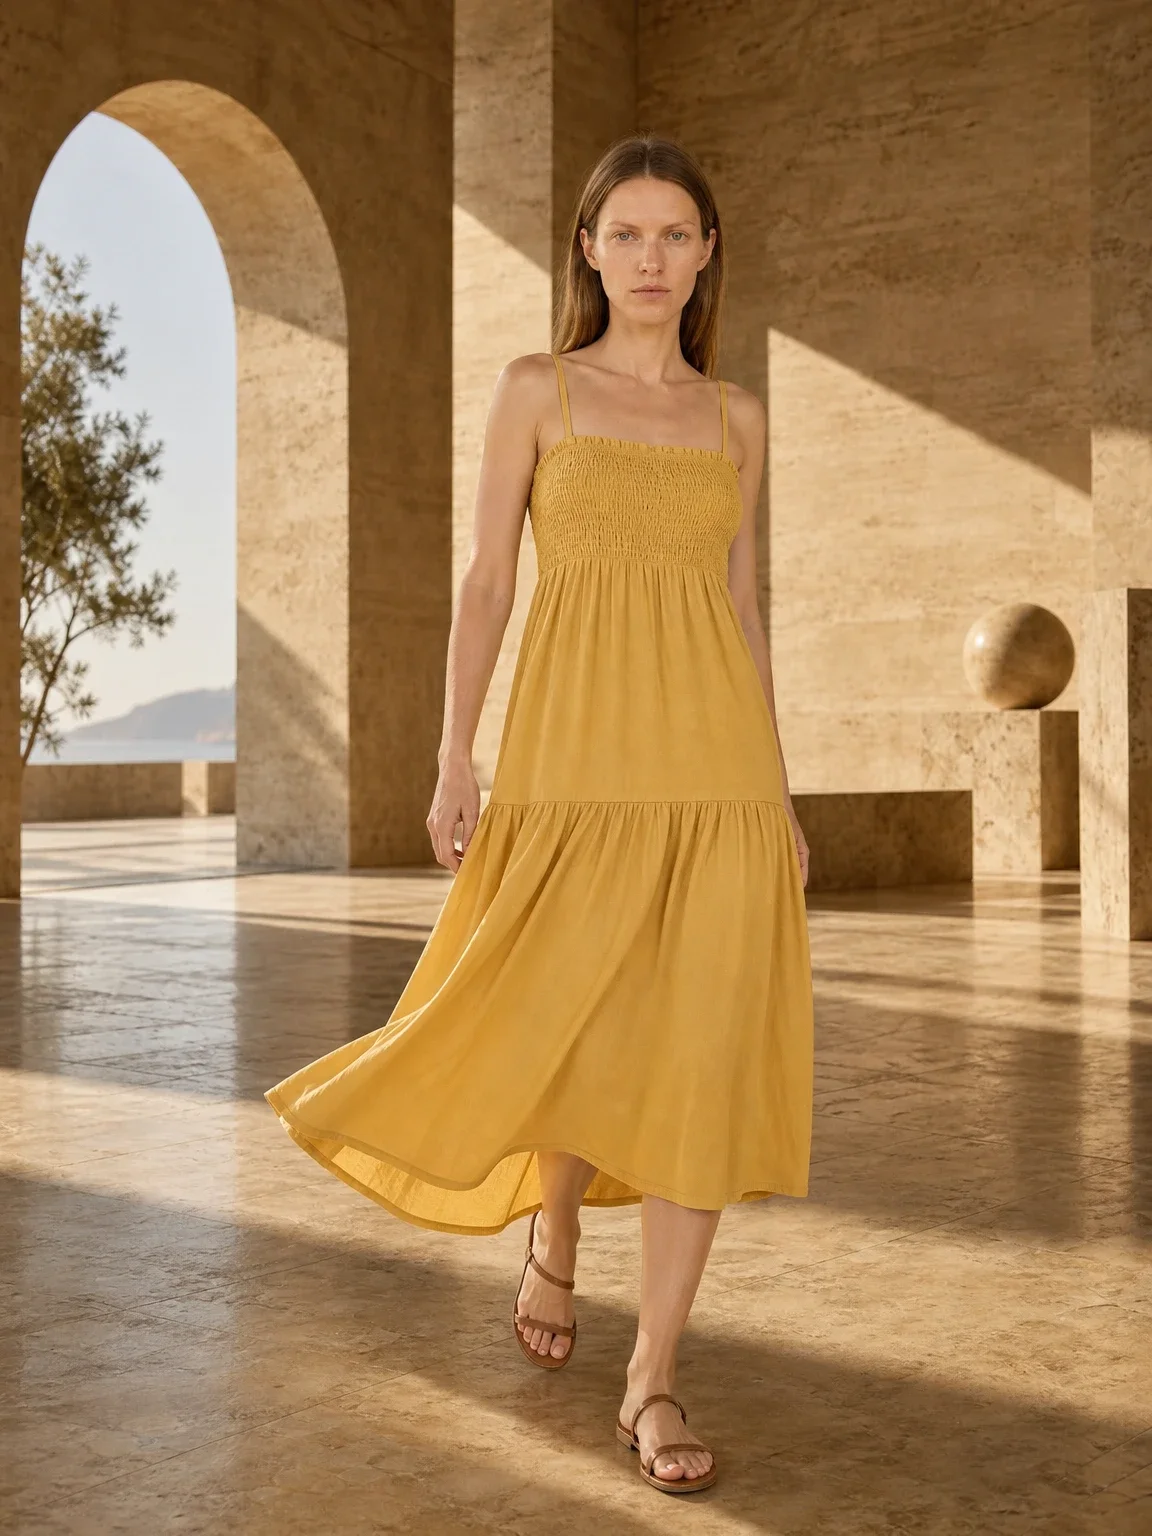
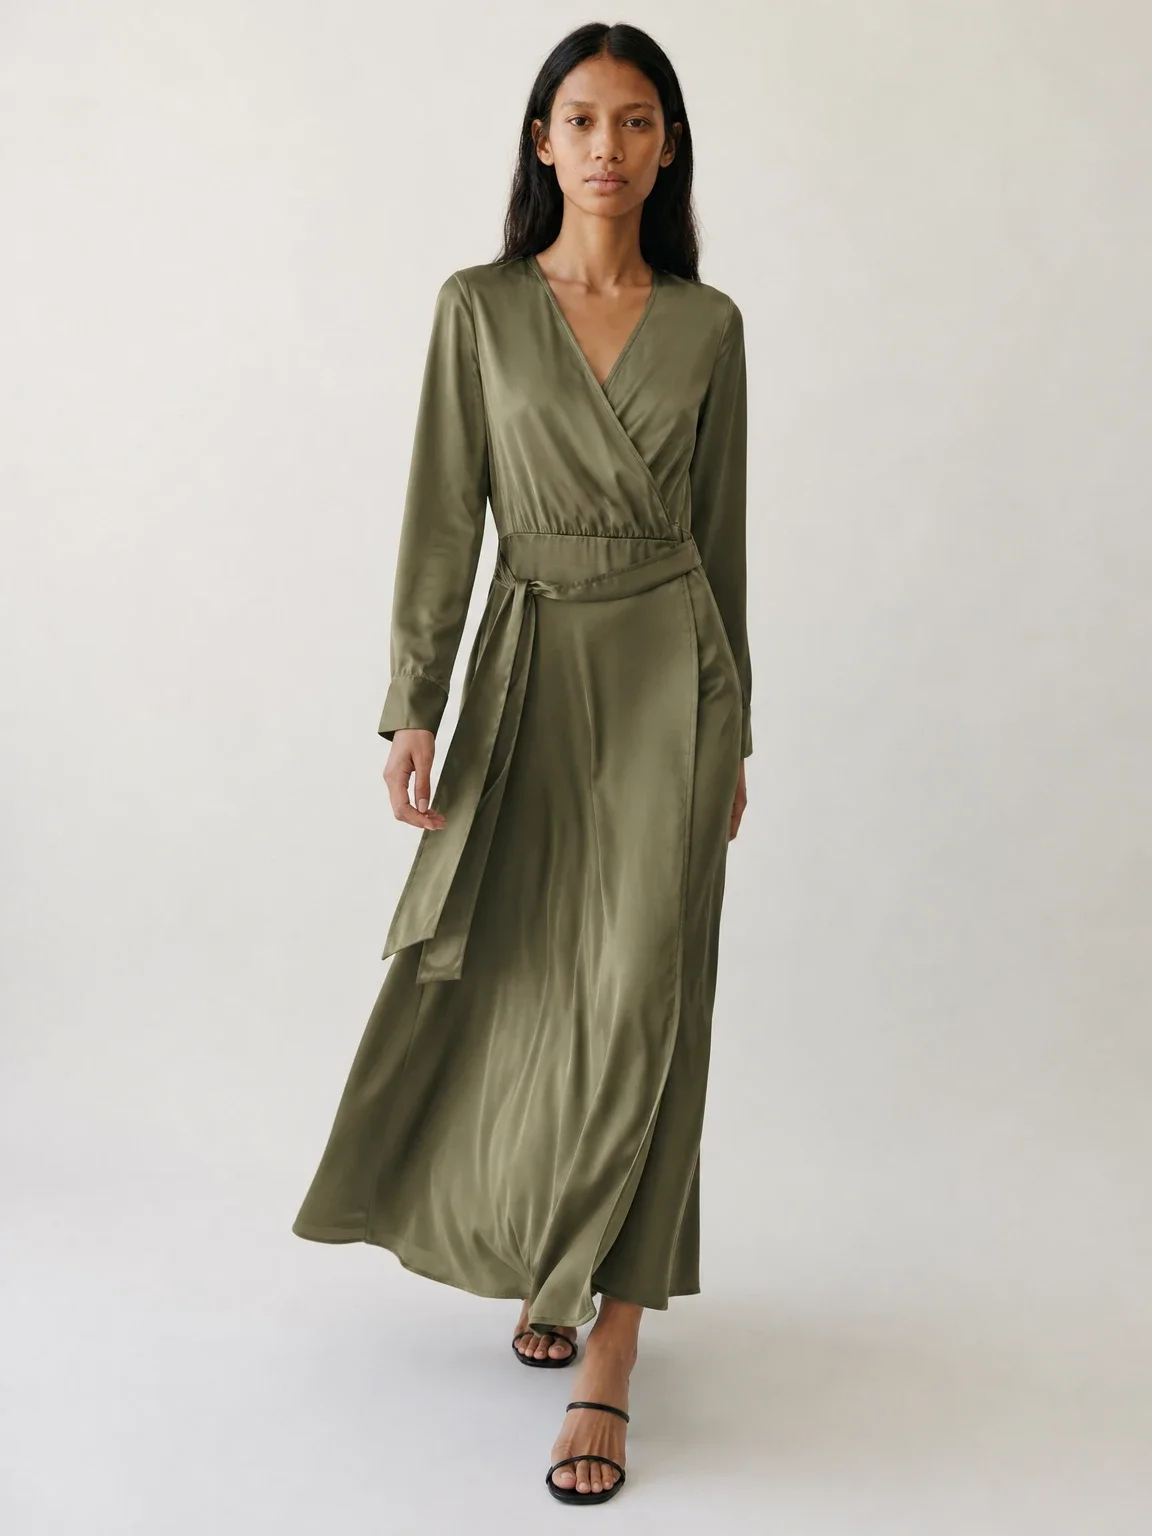
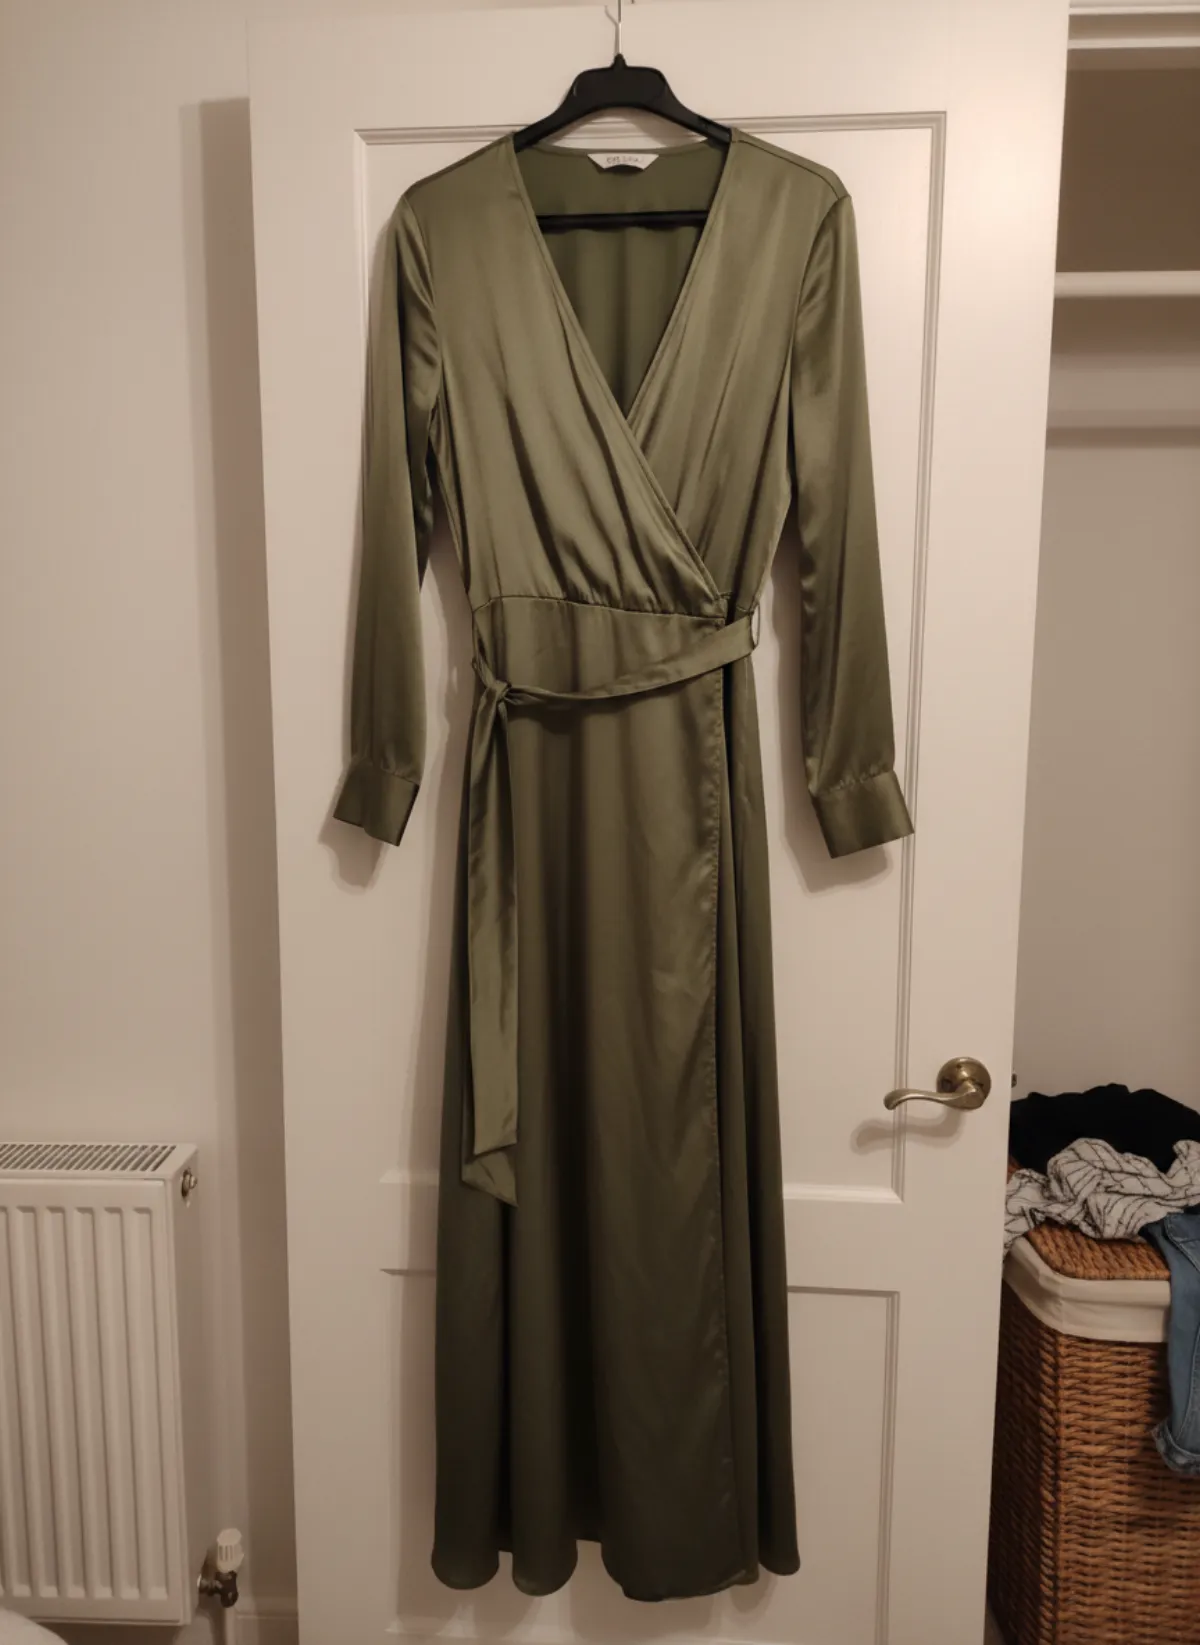
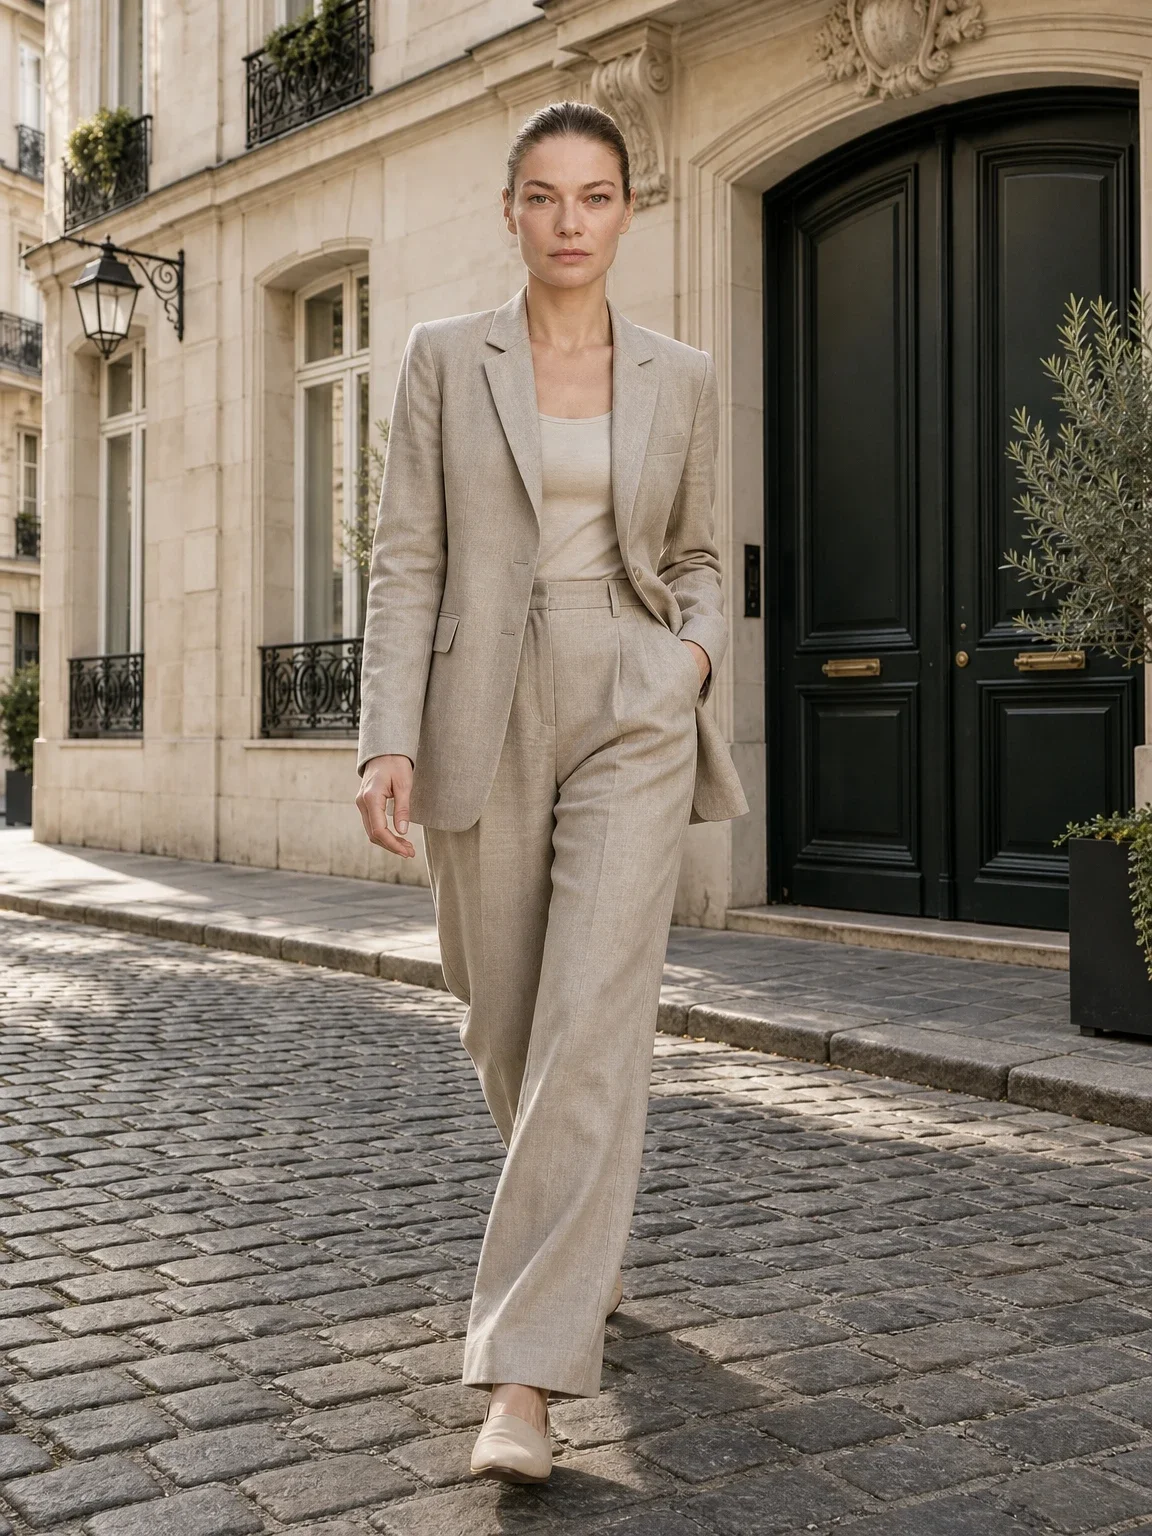
Use Garmo when the job begins with a real fashion product and ends with on-model catalog or campaign frames. The flat lay to model workflow handles an unfolded garment source; the AI model generator helps establish a recurring person; and an AI model photoshoot adds controlled poses after the master view is approved.
Do not use an on-model tool as a substitute for every studio task. Exact packshot extraction, complex graphic layout, measured fit evidence and technical product performance may need a dedicated editor, photographer or real model. A clear boundary is a strength: it protects the product and makes the workflow easier to train.
Create a routing rule for the team: background-only edit, on-model conversion, creative concept, precision retouch or physical shoot. Once each SKU enters the right lane, comparison becomes about approved output rather than marketing claims.
Write the decision down
Record which tool owns each step, what passes review and when a product moves to a physical shoot. A short routing document prevents tool choice from changing with every operator or new feature launch.
AI product photography tools FAQ
What is the best AI product photography tool?
The best tool is the one that preserves the required product evidence for your specific job and produces repeatable approved images at an acceptable total cost.
Are general AI image generators good for ecommerce?
They are useful for concepts and scenes, but specialist or controlled editing workflows are safer when exact product details must remain fixed.
How should I compare AI photography prices?
Calculate cost per approved image, including preparation, failed generations, review, repair and export—not only subscription or credit price.
Do I still need photo editing software?
Often yes. Precise colour, masks, metadata, crops and final marketplace exports benefit from a controlled traditional editor.
Can one AI tool create images for every marketplace?
It can create assets, but each destination has different evidence and policy requirements. Prepare destination-specific exports and galleries.