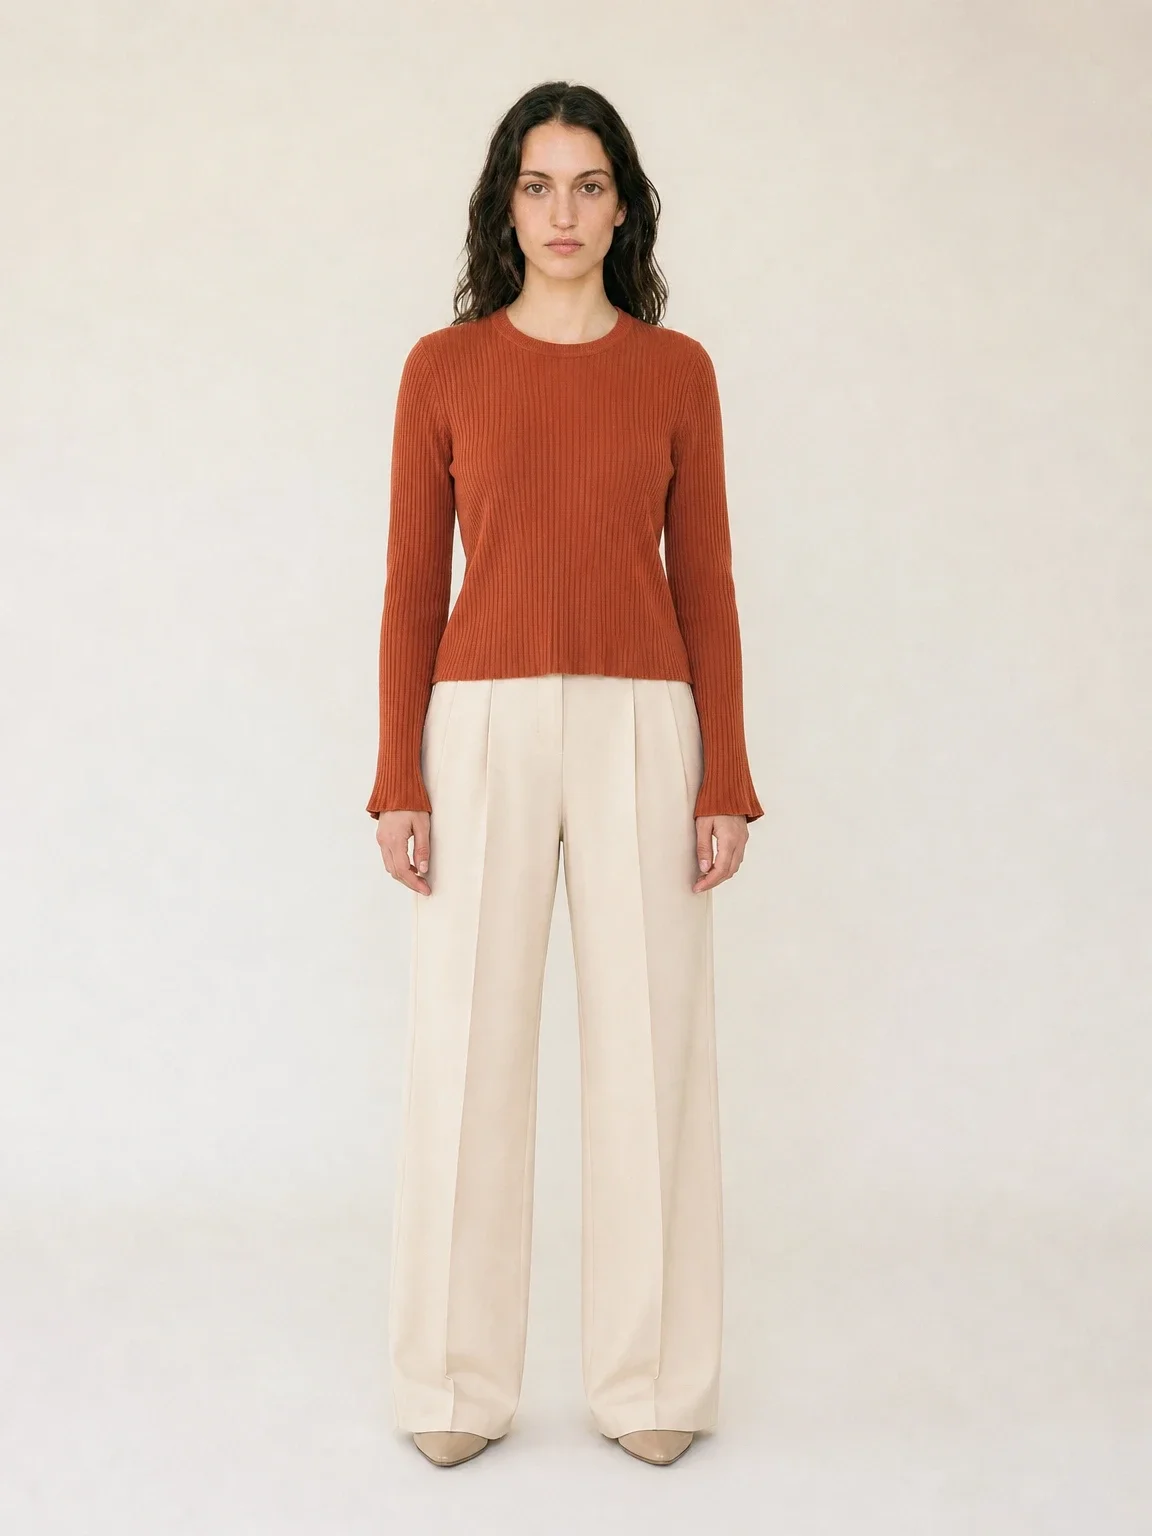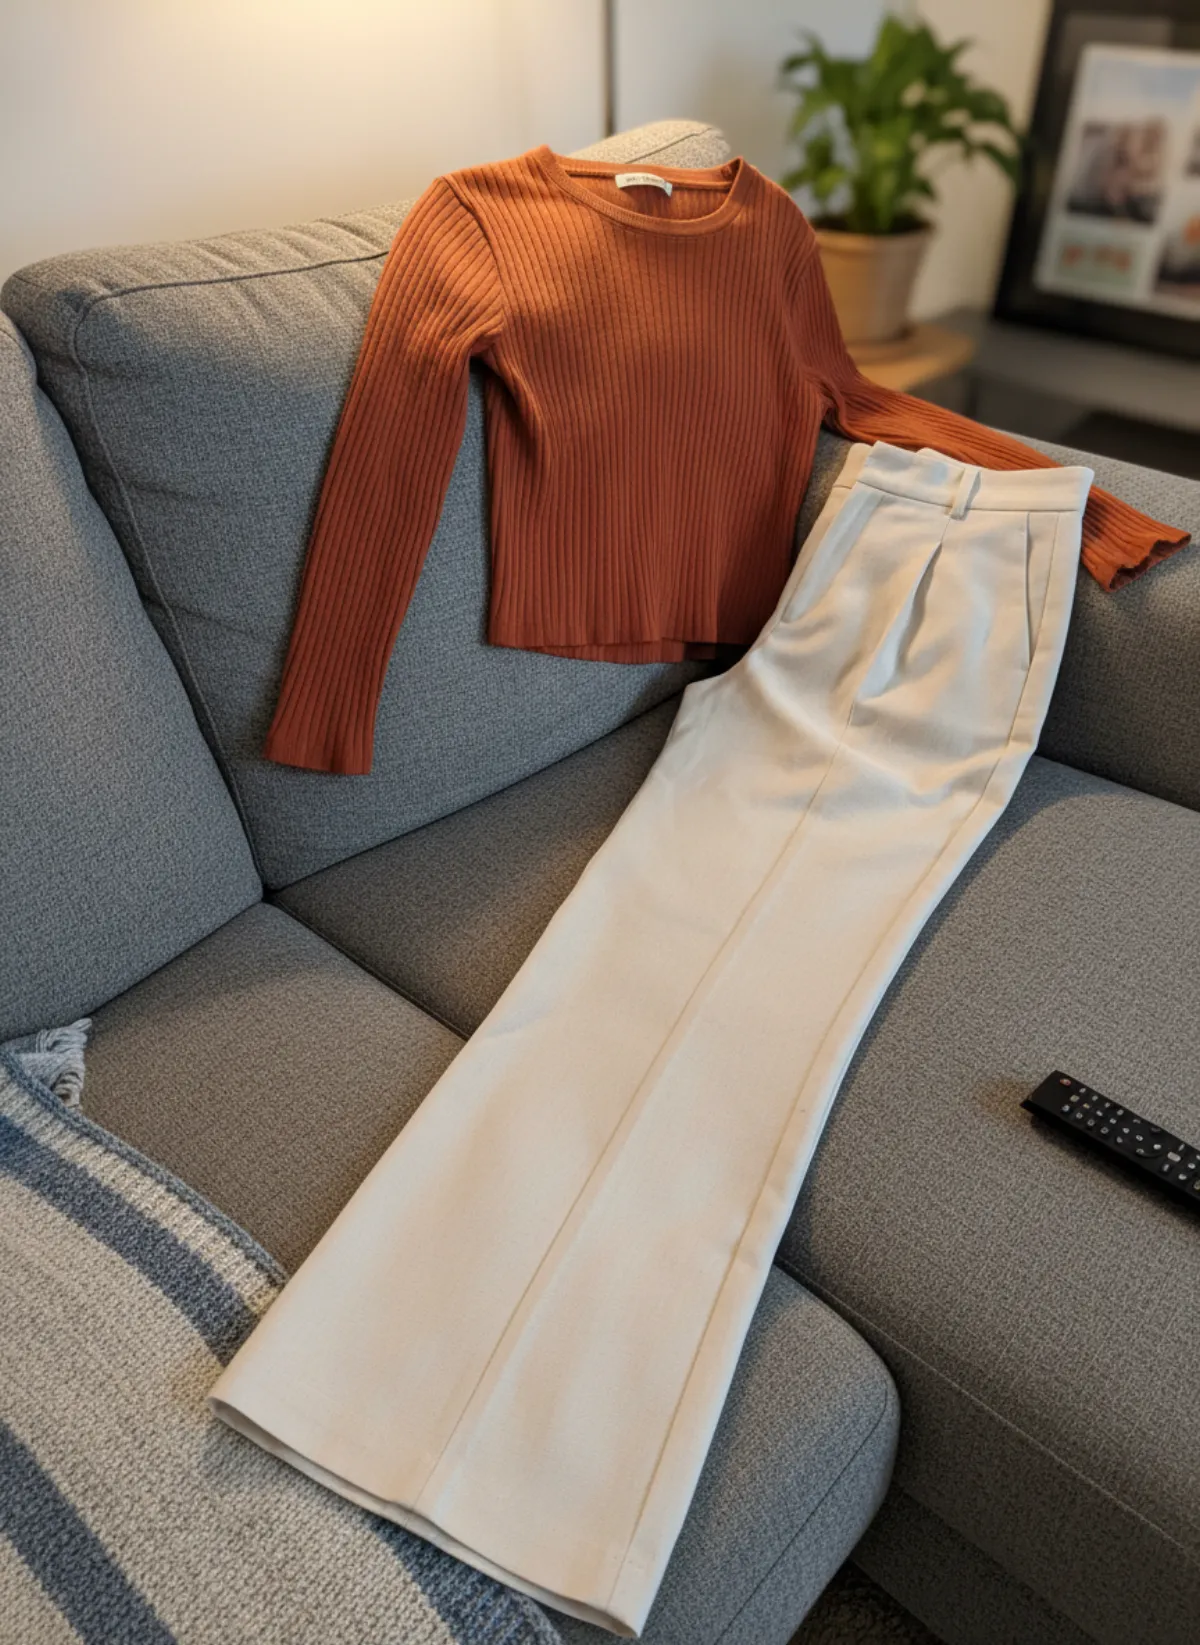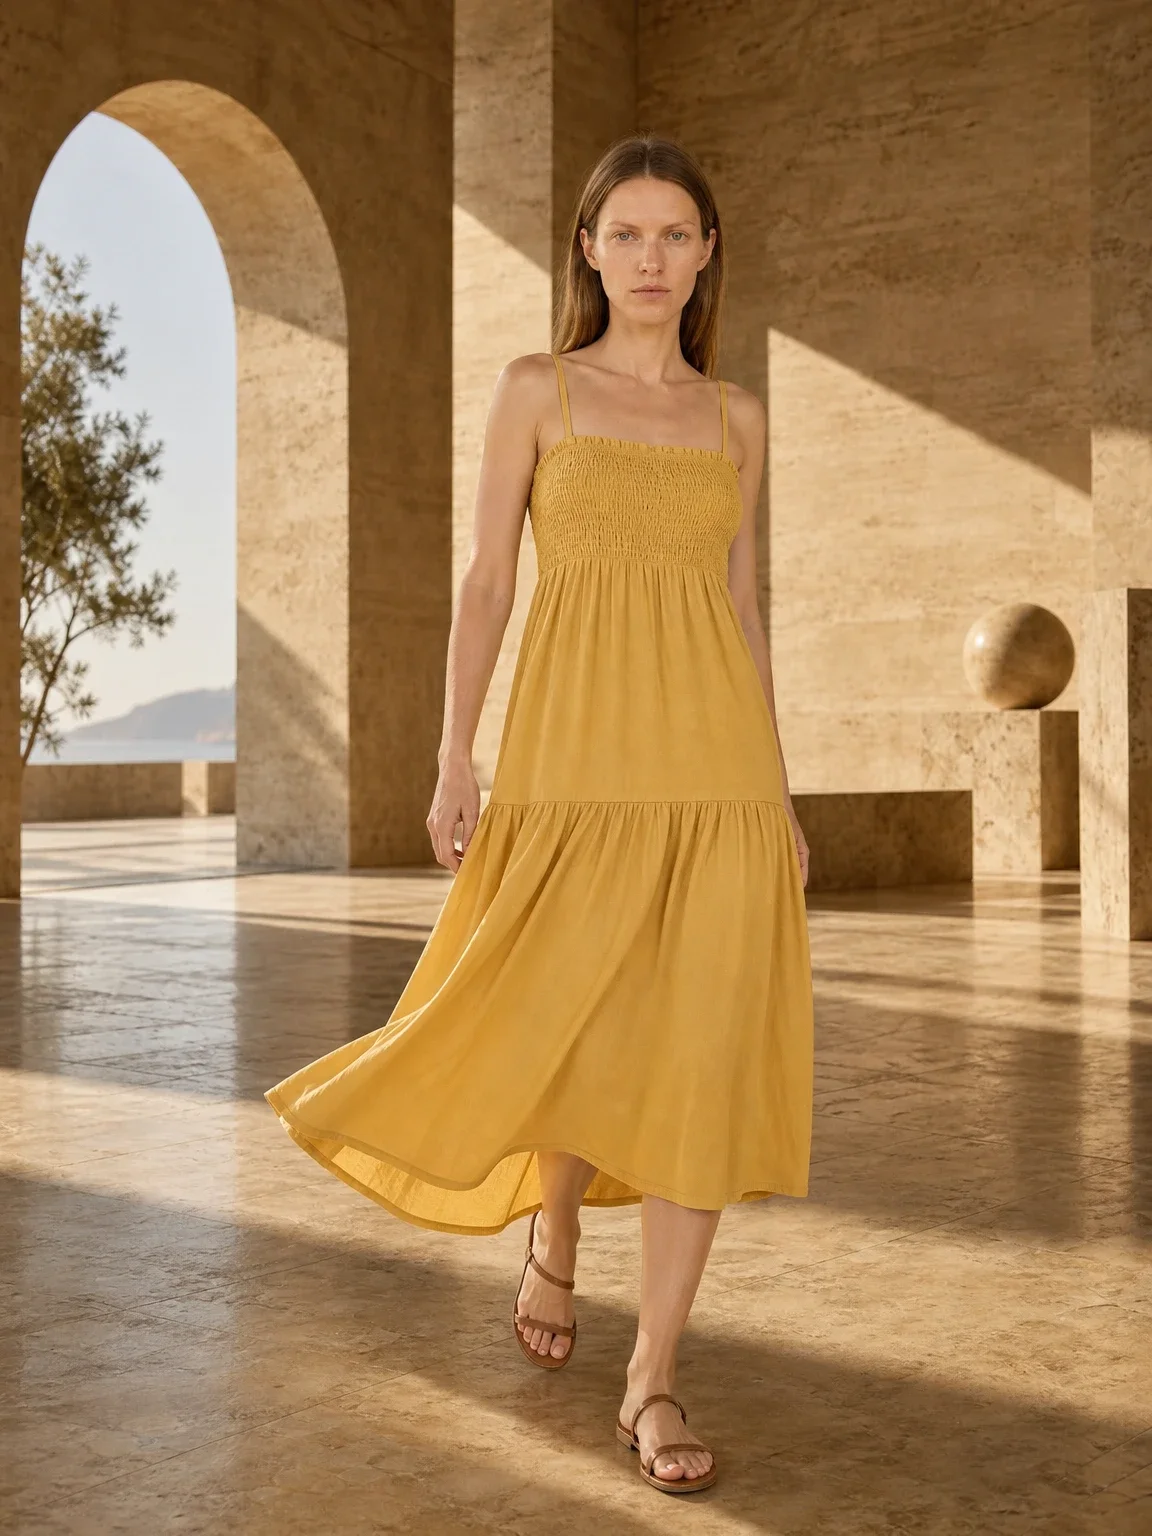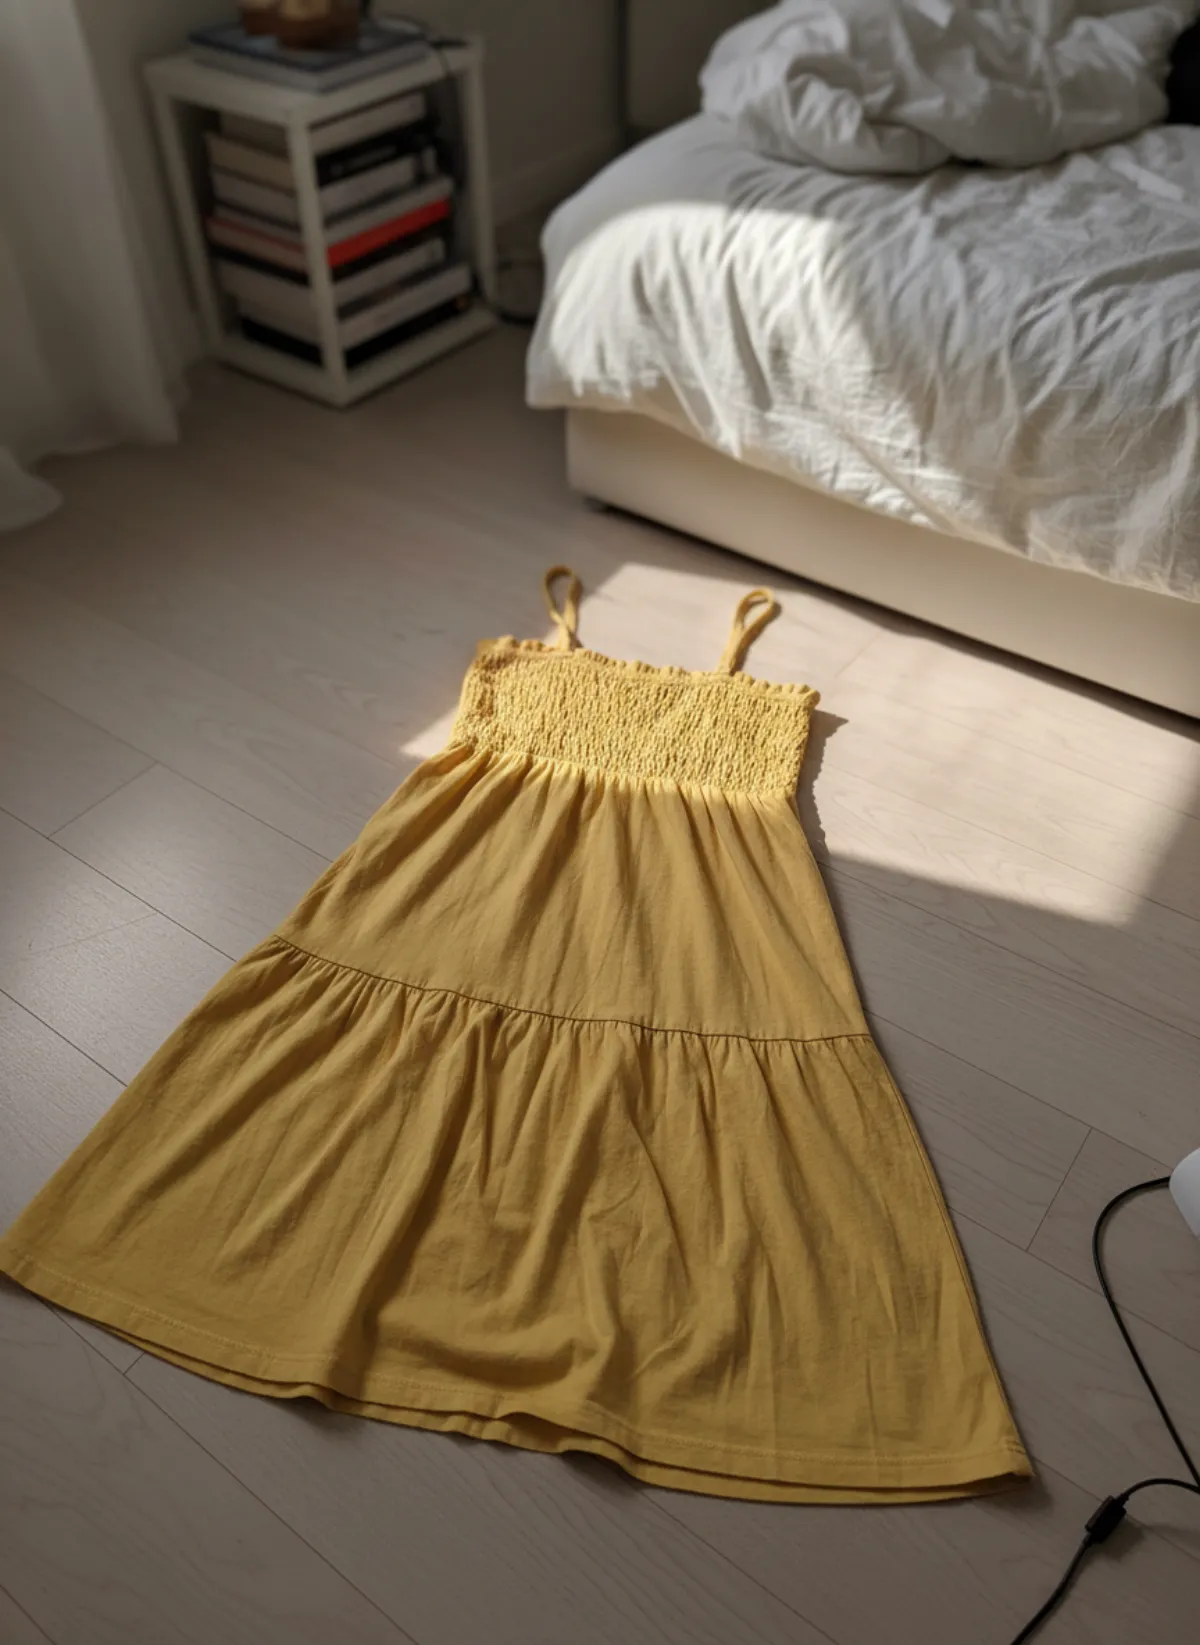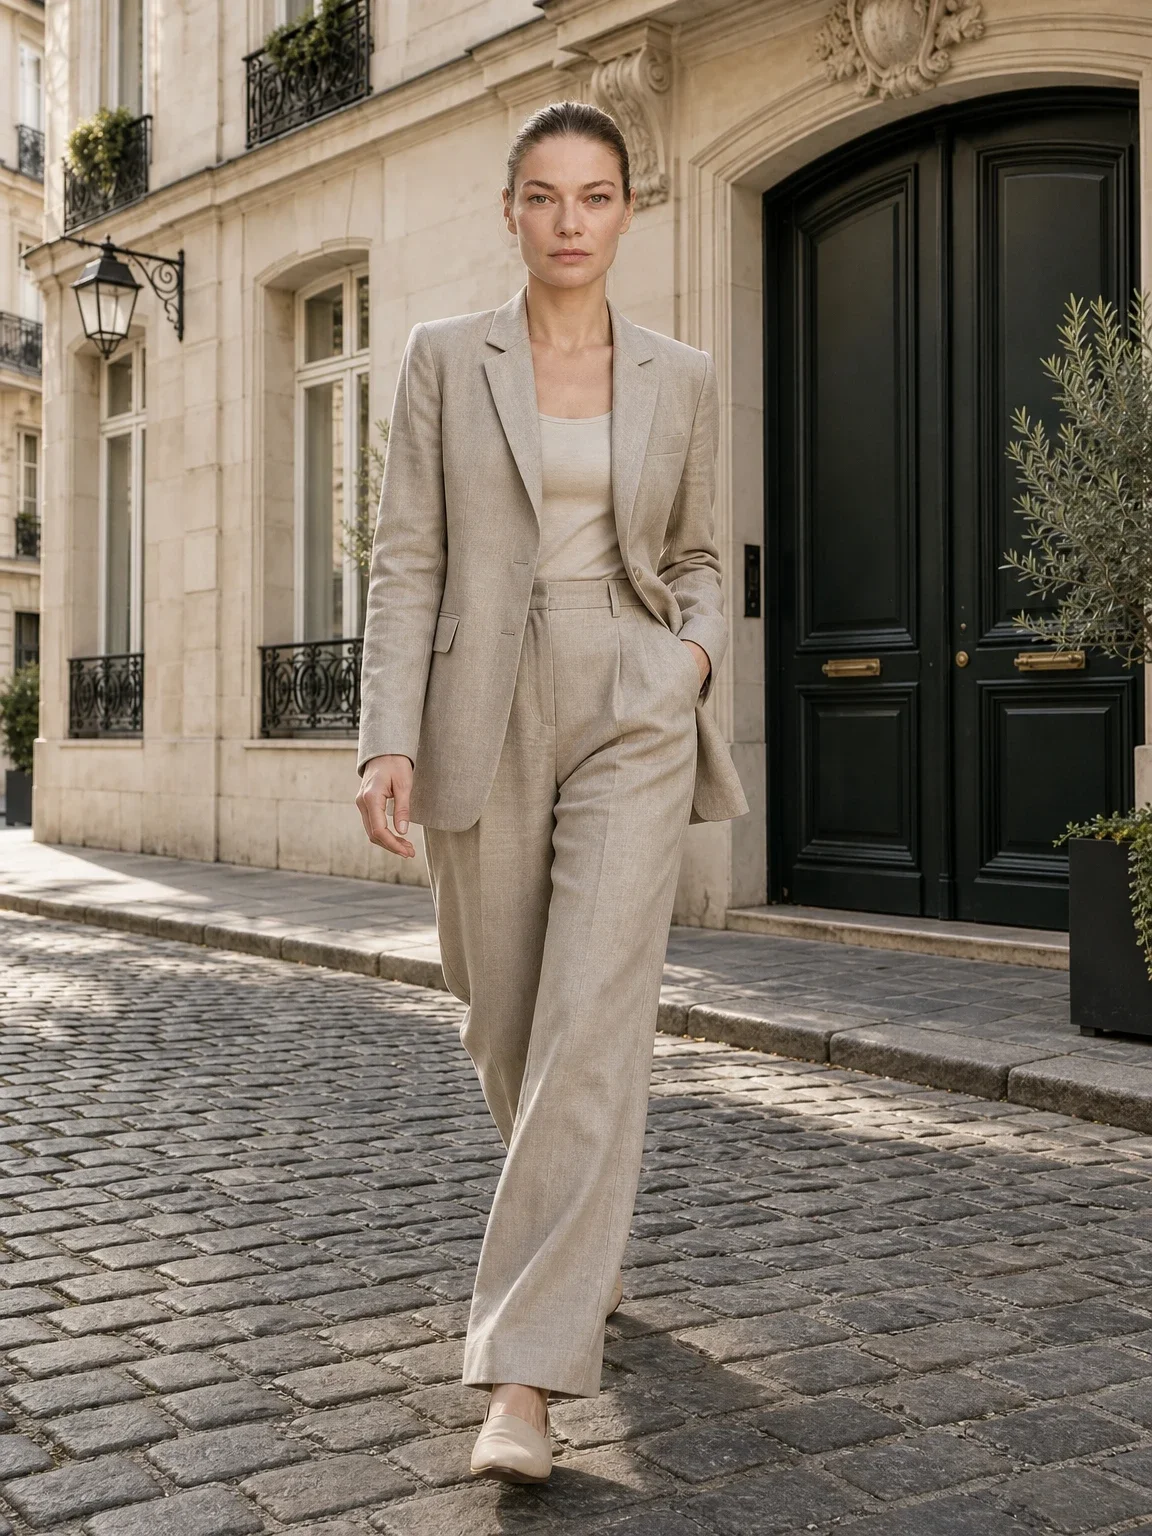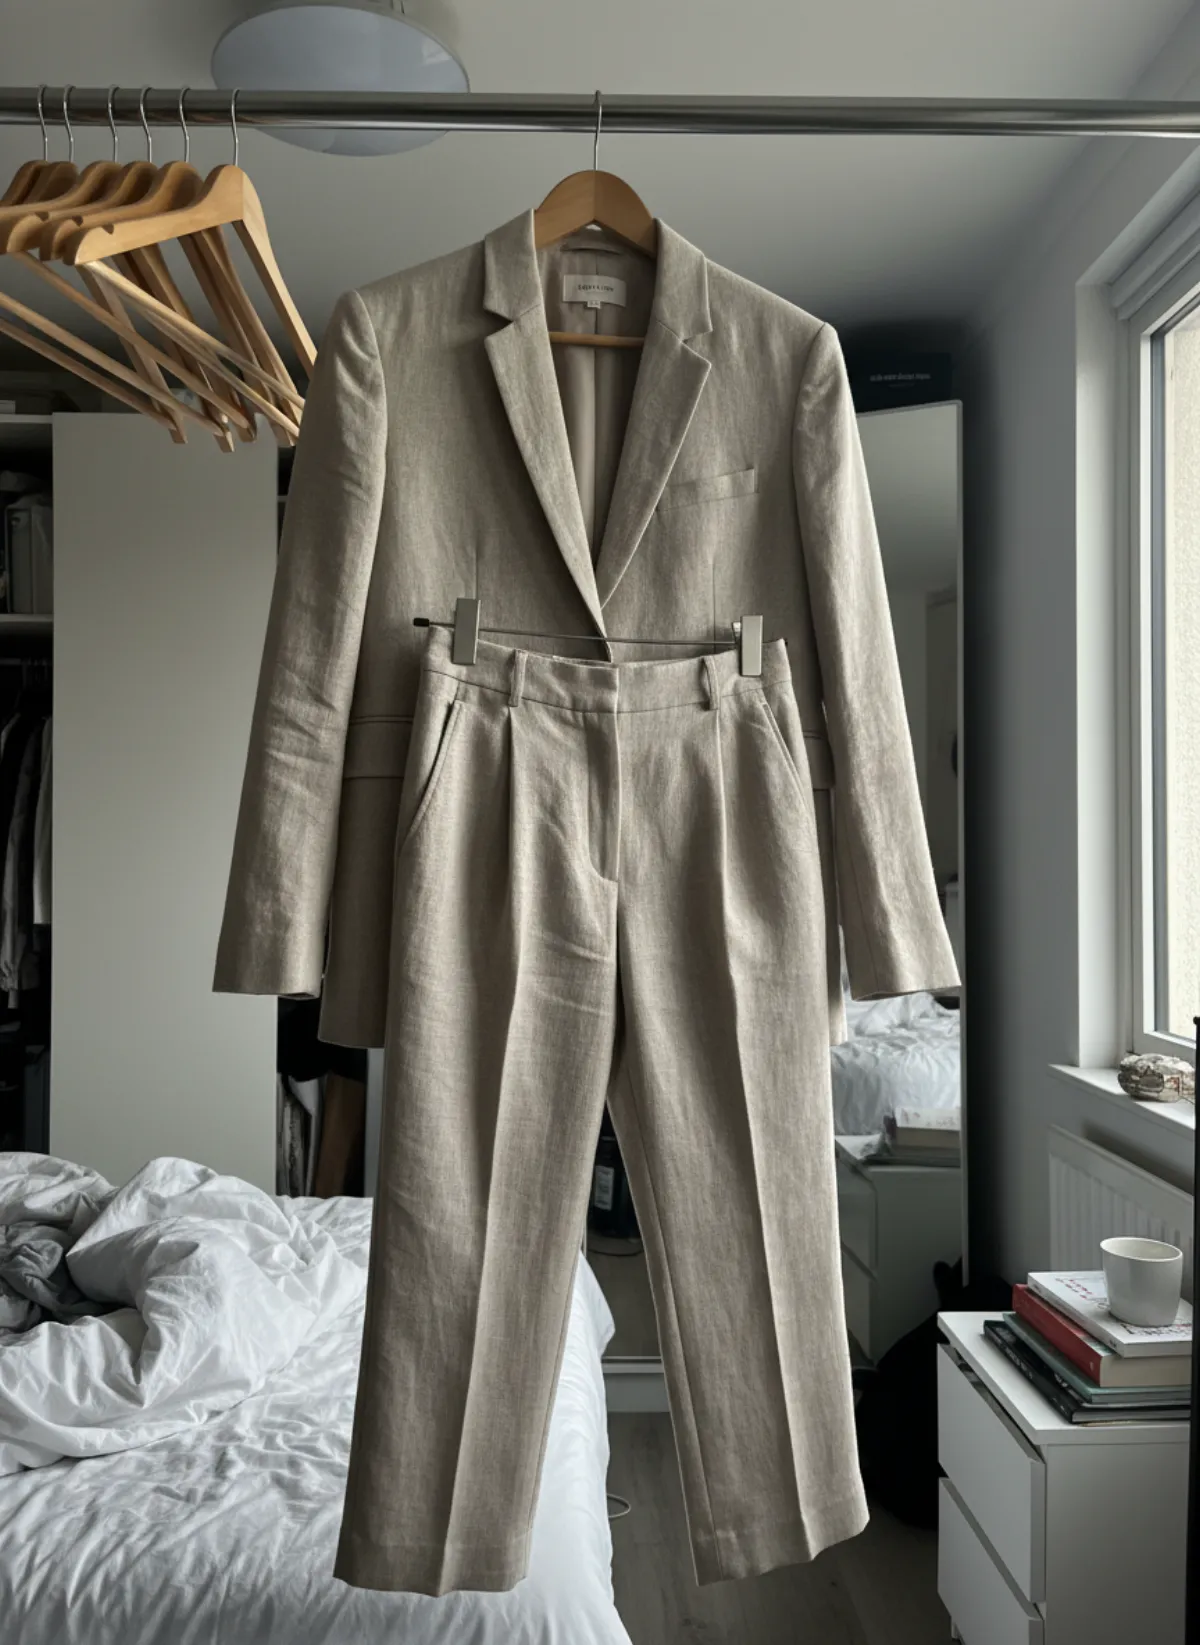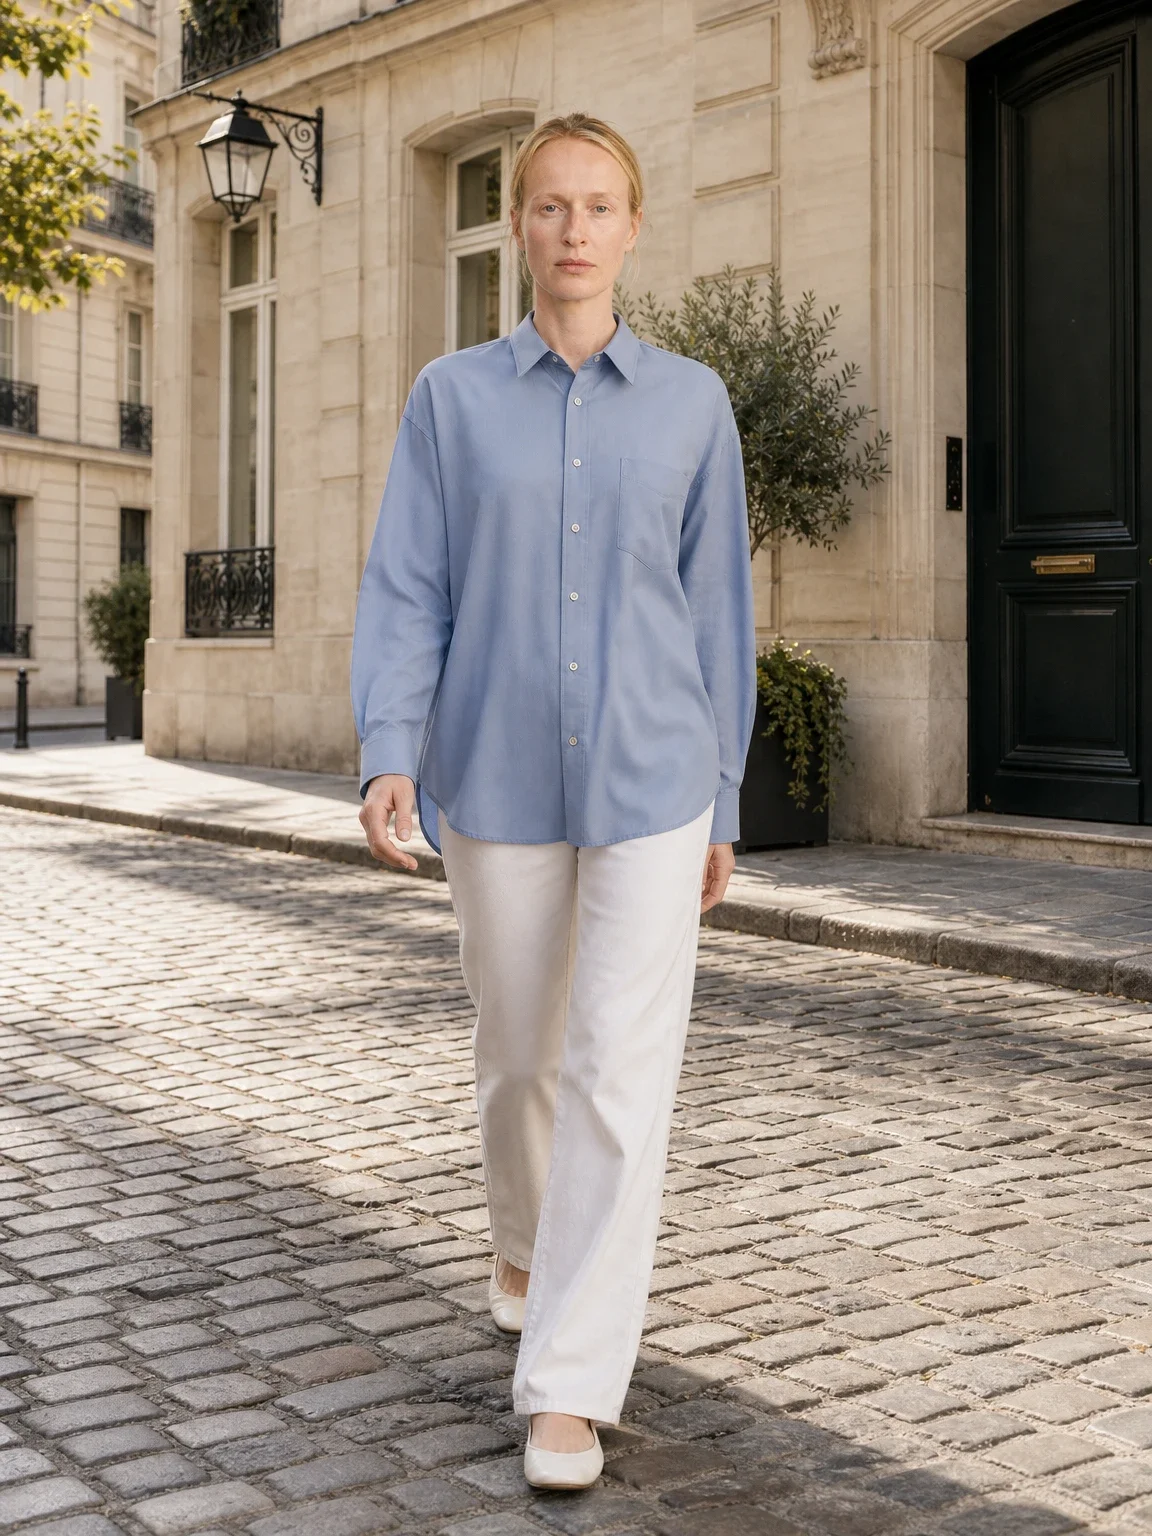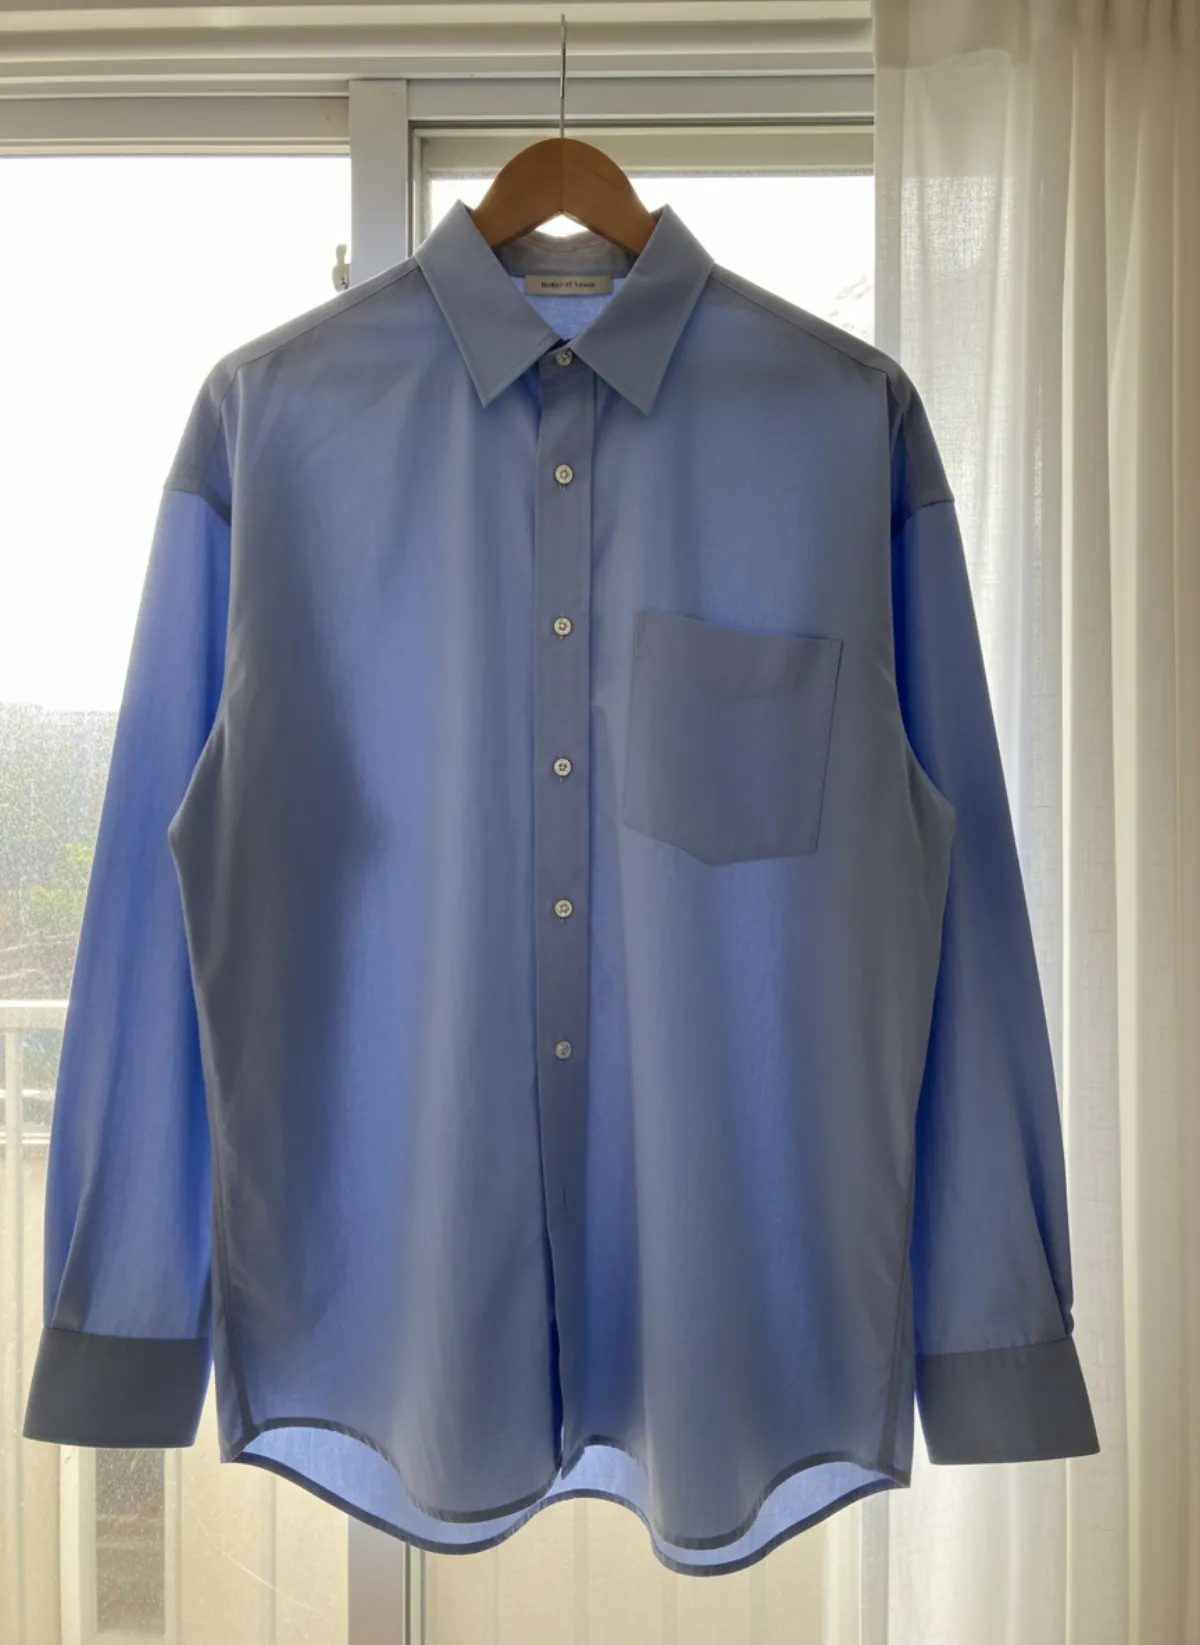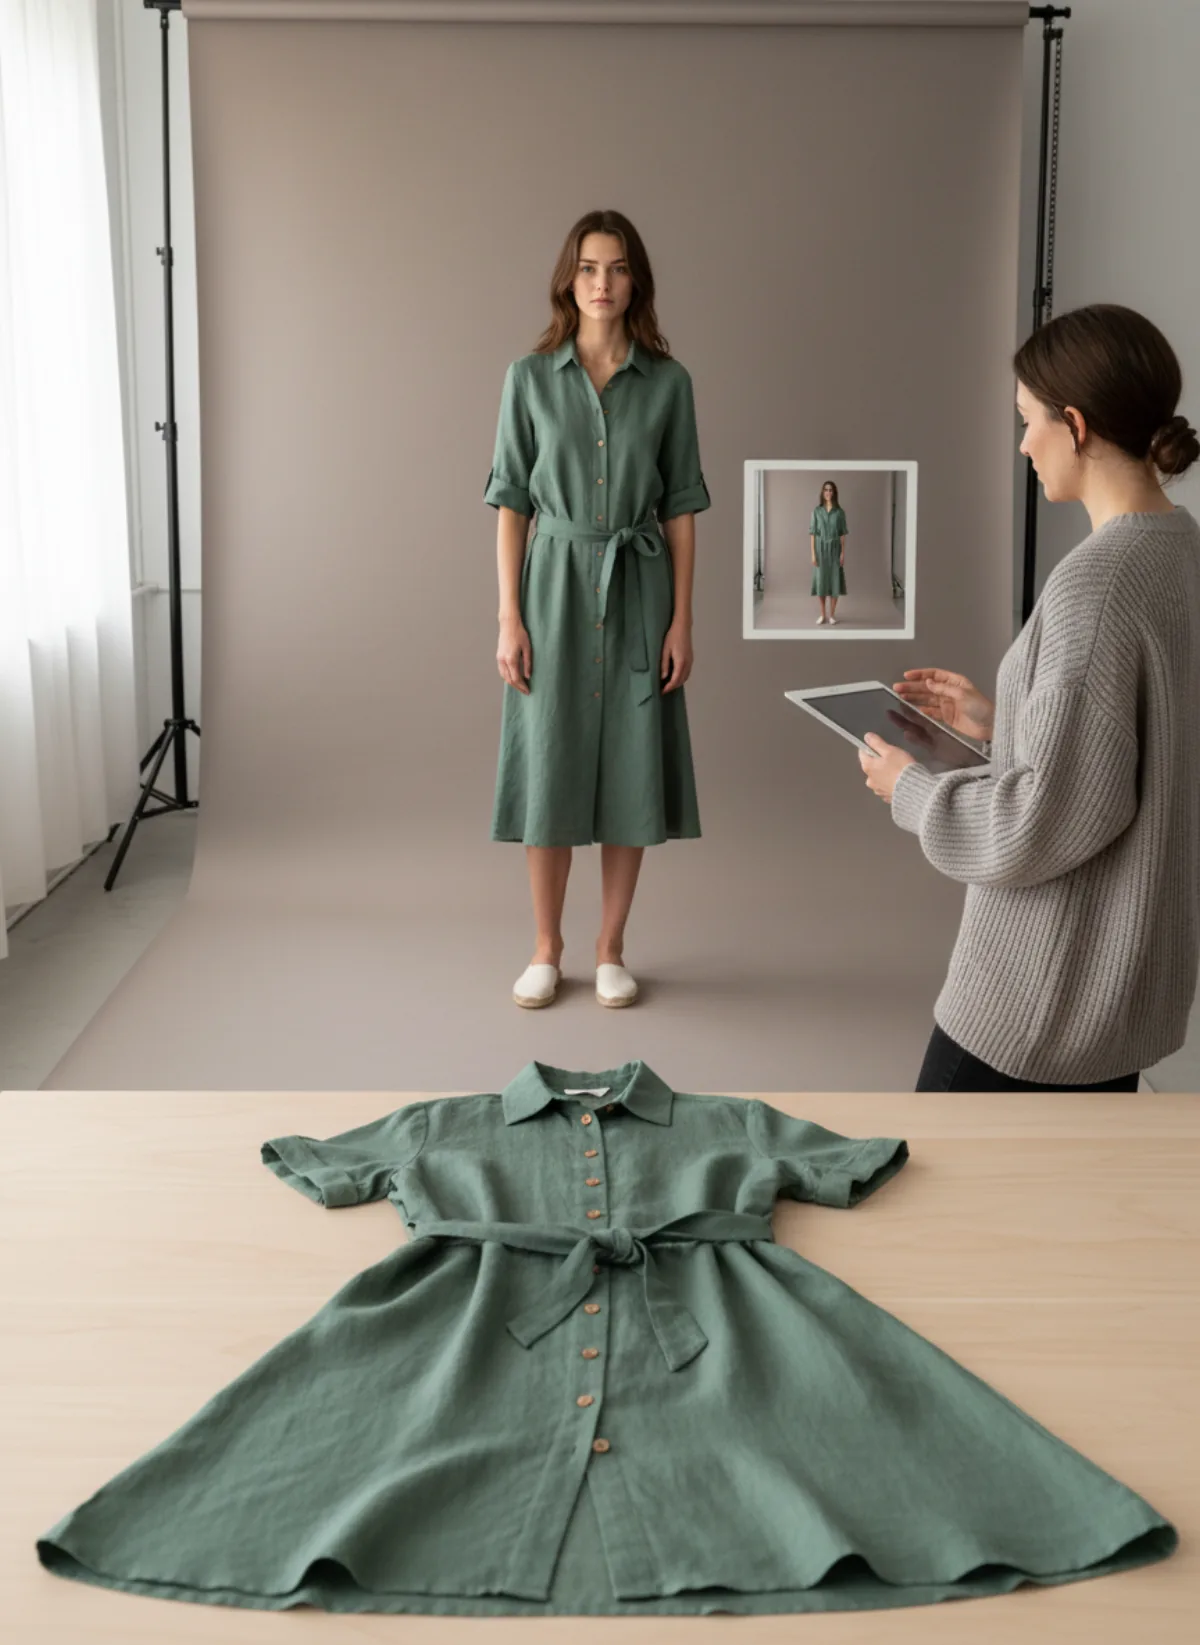
Can a folded photo really become an on-model image?
Yes, if the photograph contains enough evidence. A neatly folded T-shirt may show colour, neckline and print but hide body length, side seams and sleeve shape. A pair of trousers folded in half may hide leg width and rise. Generation can propose the missing areas, but a proposal is not product truth. The less the source shows, the more carefully you must verify the result.
For the best flat lay to model conversion, unfold the garment and photograph it from directly above. Keep every edge in frame and let the fabric rest in its natural shape. If you only have an old folded marketplace photo, use it for a draft, then compare the generated silhouette with the physical product before publishing.
This distinction matters because an on-model photo communicates fit. A beautiful image with the wrong sleeve length or trouser width can create the wrong purchase expectation. The output is useful when it explains the real item, not merely when it looks plausible.
The source photo checklist
Show the whole item
Include neckline, sleeves, waist, hem and every outer edge; avoid tight crops.
Use soft, even light
Window light or a diffused lamp reveals colour and texture without deep creases or glare.
Straighten, do not distort
Shoot from overhead with the phone parallel to the garment so proportions remain readable.
Add detail references
Provide close views of labels, fastenings, fabric, prints and any construction hidden by the fold.
A reliable flat lay to model workflow
Begin by steaming the garment lightly and placing it on a plain surface that contrasts with its edges. Arrange sleeves and straps separately rather than overlapping them. Photograph from above at the highest practical resolution, then add a detail frame for any feature that affects the buying decision.
Choose a model and one simple front pose. A front view is easier to compare with the product than a walking pose and exposes most construction errors. Use the put clothes on an AI model workflow when you want a fixed model identity across several items. Generate a small set, reject outputs with altered construction and approve one master direction before asking for more poses.
Compare the result with the physical garment, not with your memory. Check colour, neckline, shoulder, sleeve end, waist placement, hem, pockets, fastenings and print scale. If the fit differs, ask whether the source concealed the missing information. A new source photo often solves the issue faster than repeated generations.
Once the front view is accurate, create a three-quarter or lifestyle image with AI product photography with models. Keep the accurate front frame in the product gallery; it provides a stable reference while the more expressive view adds context.
When a folded photo is enough—and when it is not
A folded source can be adequate for simple, symmetrical basics when you also know the measurements and can inspect the finished image against the item. It is weaker for tailored jackets, asymmetric dresses, wide-leg trousers, layered pieces, open backs and garments whose value lies in drape. Those categories need an unfolded image, extra angles or a physical shoot.
If you sell one-off pieces on Etsy, Vinted or a resale marketplace, the original folded photo still has value as evidence of the actual item. Pair it with the on-model visual rather than replacing it. For a repeatable retail catalog, spend a few minutes creating a clean master flat lay; that investment reduces corrections across every later output.
Our flat lay clothing photography guide covers surface, light and arrangement in greater detail. If you are deciding whether AI or a studio is the better production route, see the AI versus traditional photoshoot comparison.
Publish a gallery that answers shopper questions
Use the on-model front view to explain silhouette, then include the original product photograph, a fabric close-up and any important back or fastening detail. Add a lifestyle image only after these evidence frames are covered. This sequence is more useful than filling the gallery with five attractive poses that all hide the same feature.
Review the gallery on a phone. A tiny print, altered button or cropped hem may be obvious on a desktop but invisible in the store grid. Zoom into the generated file before upload, then inspect the compressed storefront version as a shopper would.
Finally, keep the source and approved result together. When a similar SKU arrives, you can repeat the lighting, camera height, model and crop. Consistency comes from a reusable capture and review process, not from hoping each generation will match the last.
Flat lay to model questions
Can I use a photo of clothes that are still folded?
Yes for a draft or a simple item, but unfolding gives the system far more reliable information about length, sleeves and silhouette.
What background is best for the source photo?
Use a plain matte surface that contrasts with the garment. Avoid patterned bedding, hard shadows and backgrounds close to the product colour.
Will the generated image show the exact fit?
It shows a plausible fit based on visible information, not measured proof. Verify against the real garment and keep measurements and original photos on the listing.
Which clothes are hardest to convert from a flat lay?
Transparent, reflective, heavily layered, asymmetric and highly structured pieces require more references and may be better suited to a real shoot.
Should I remove the original flat lay after creating a model photo?
No. The original is useful product evidence; combine it with the on-model image, details and measurements.