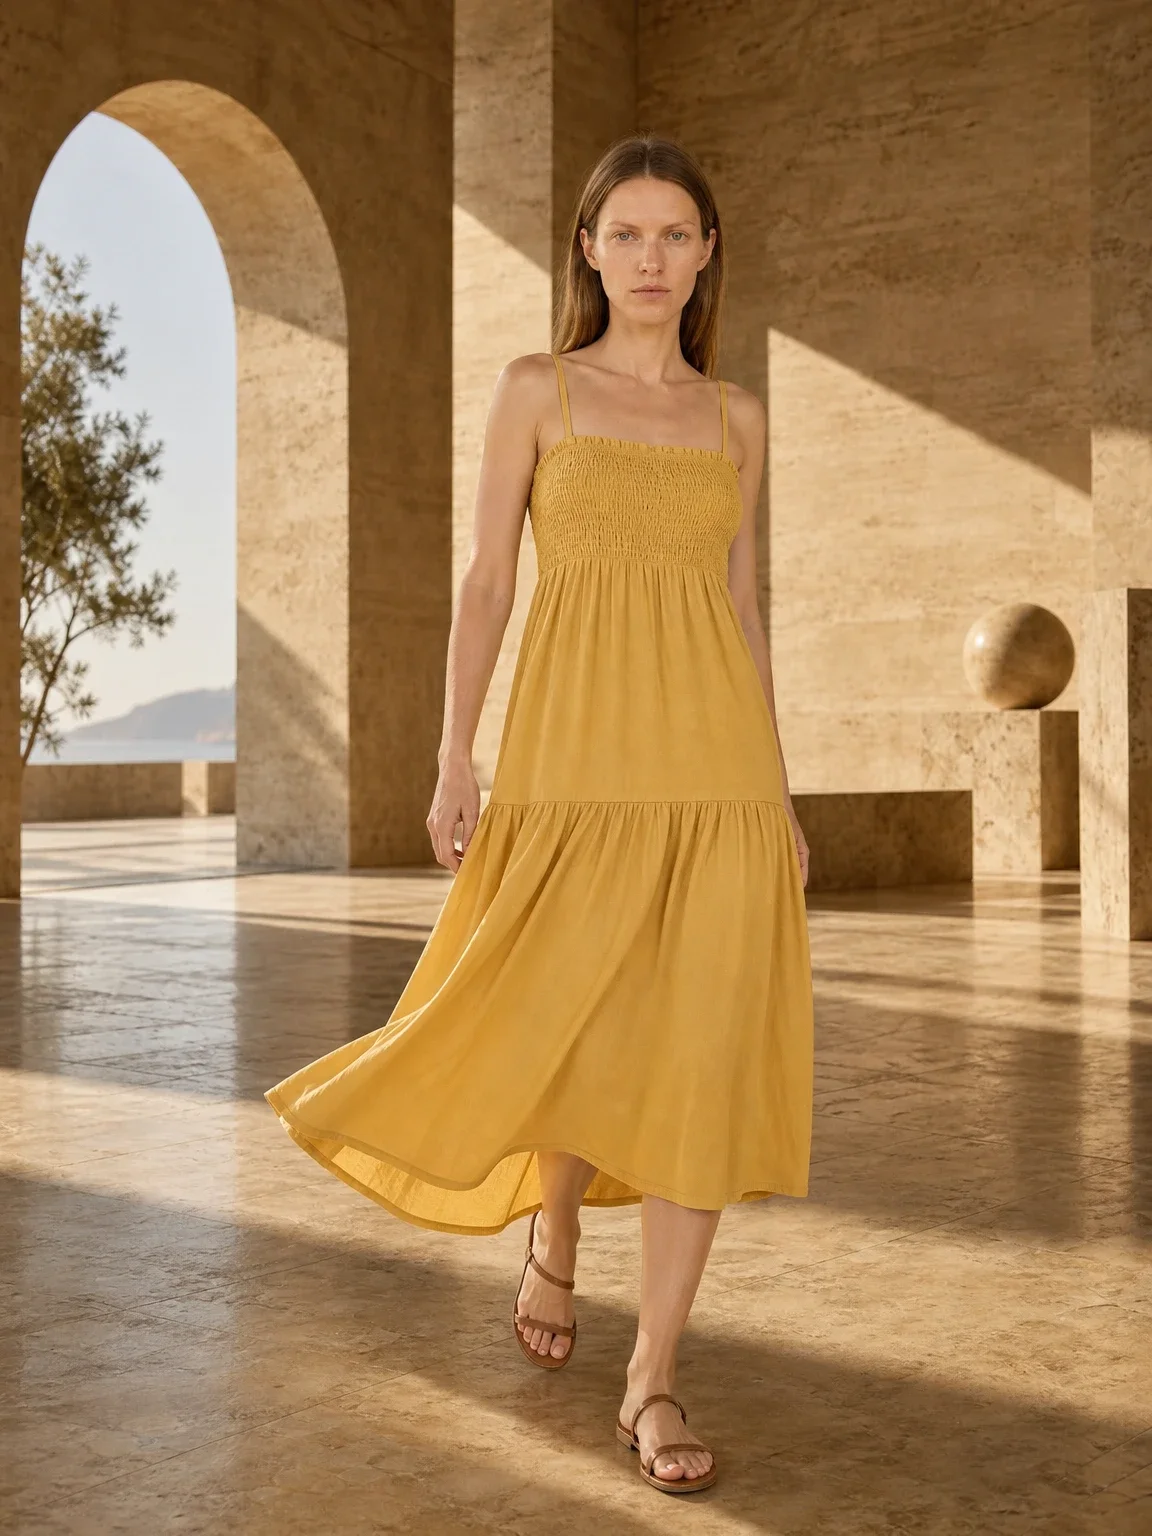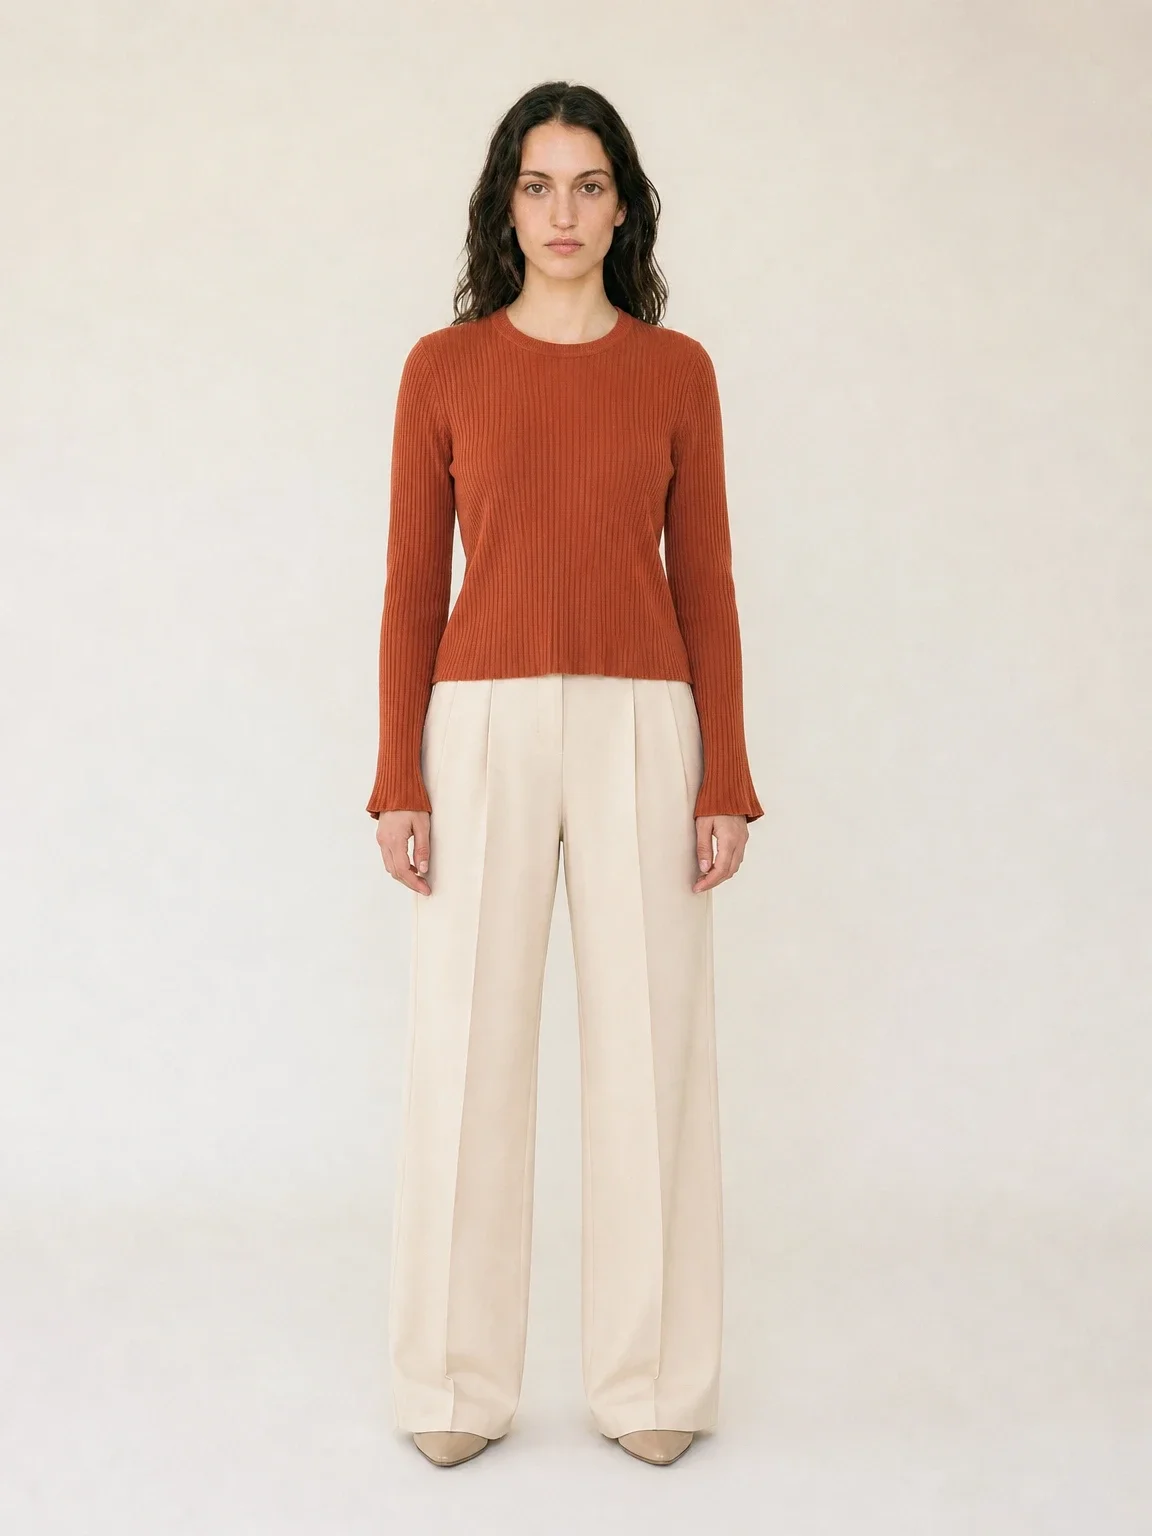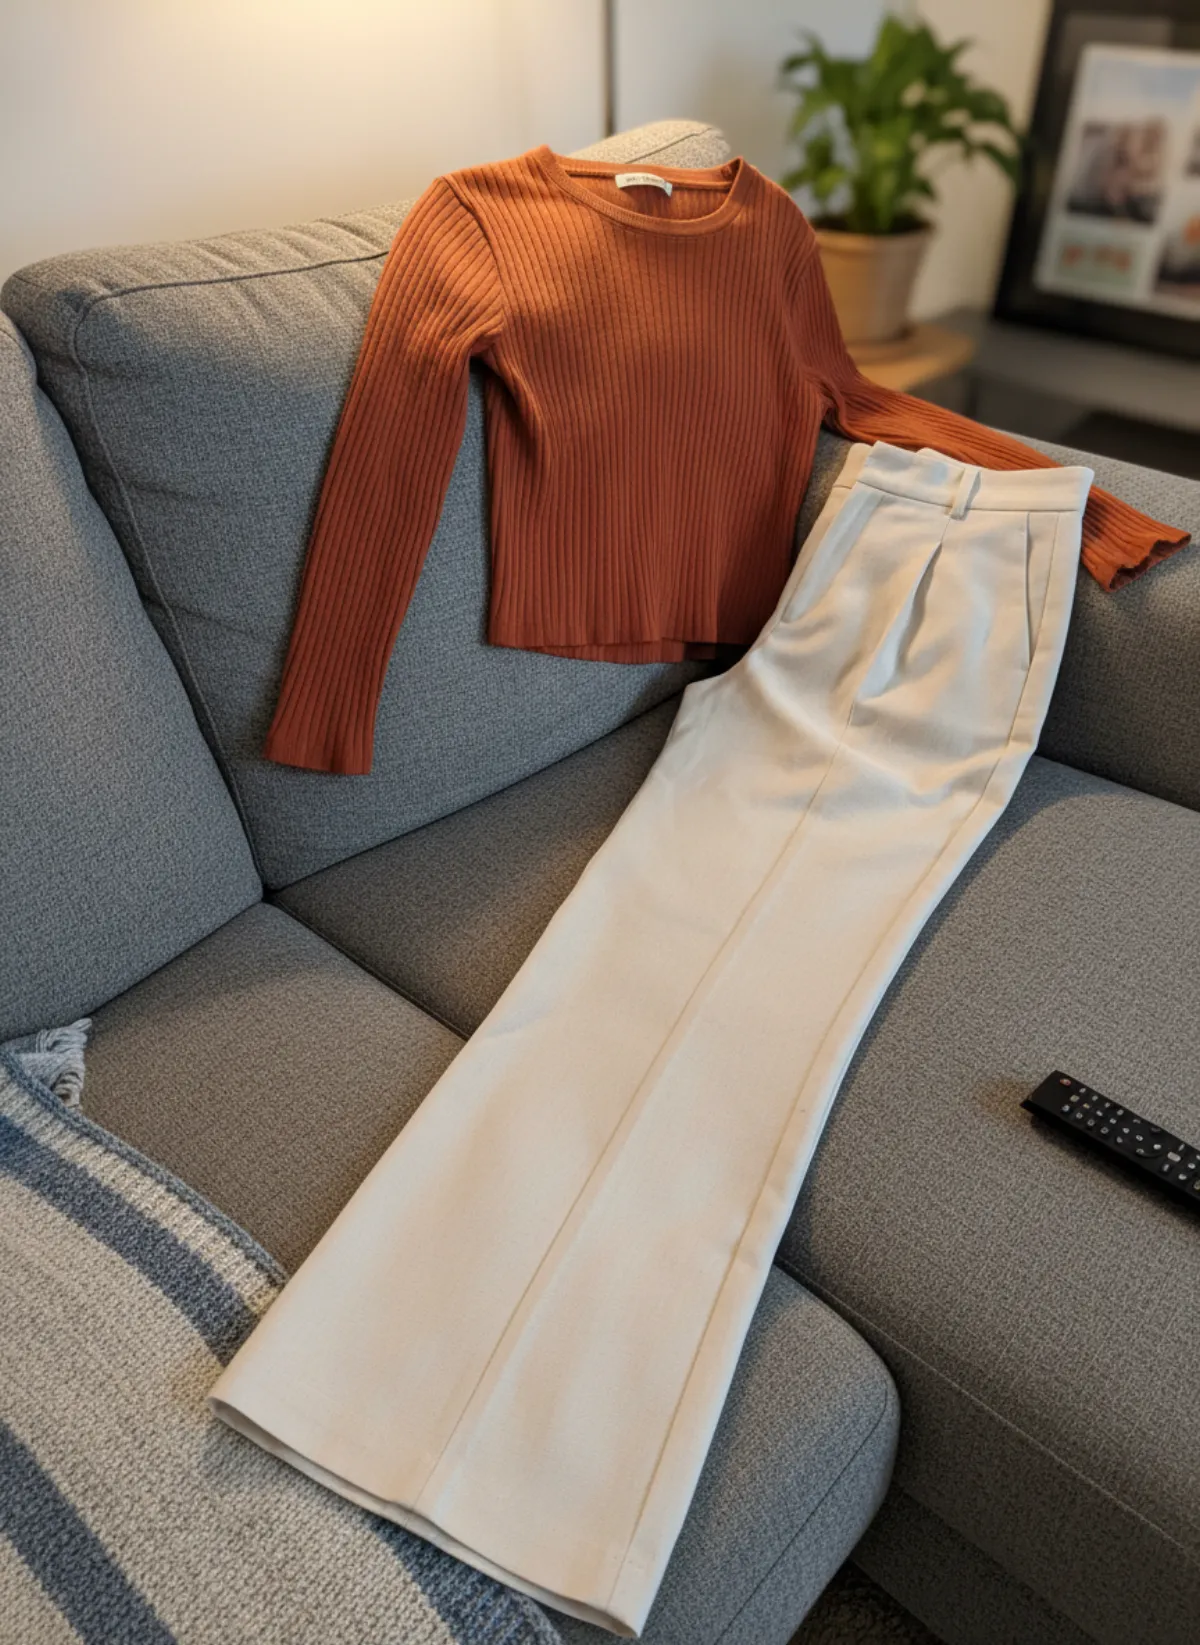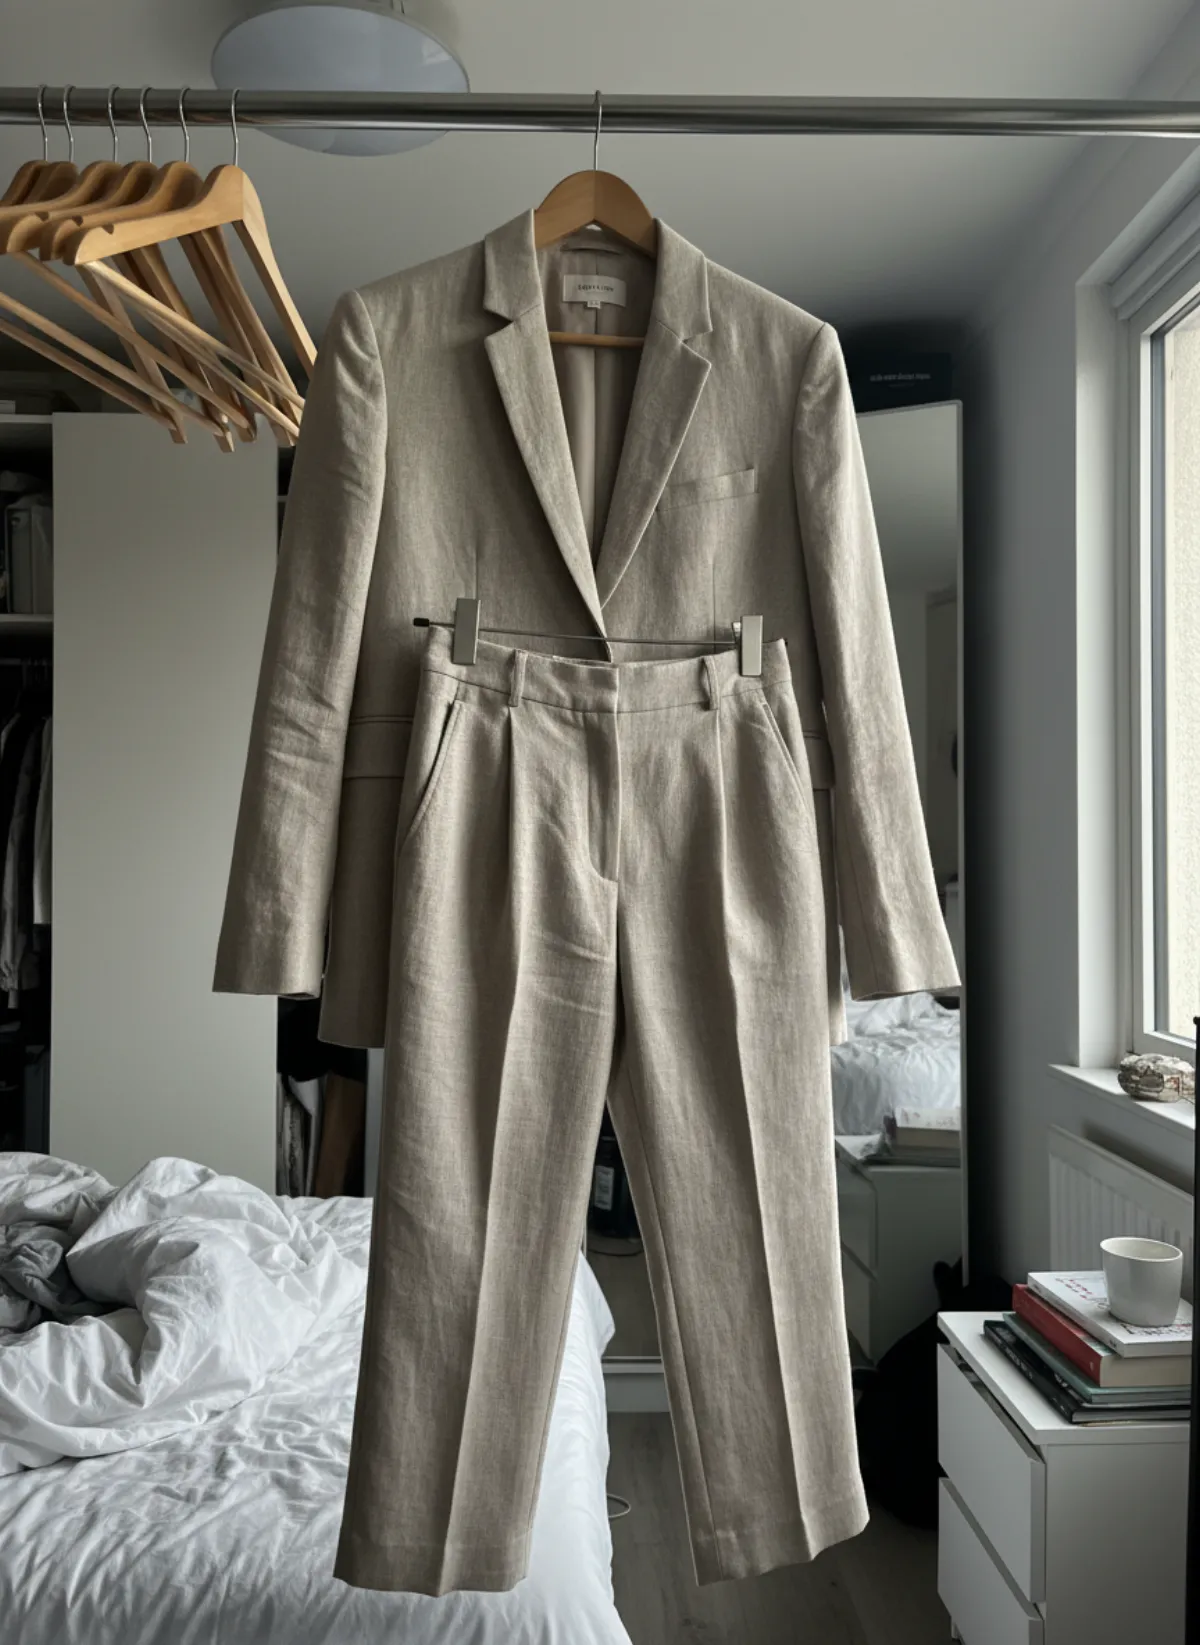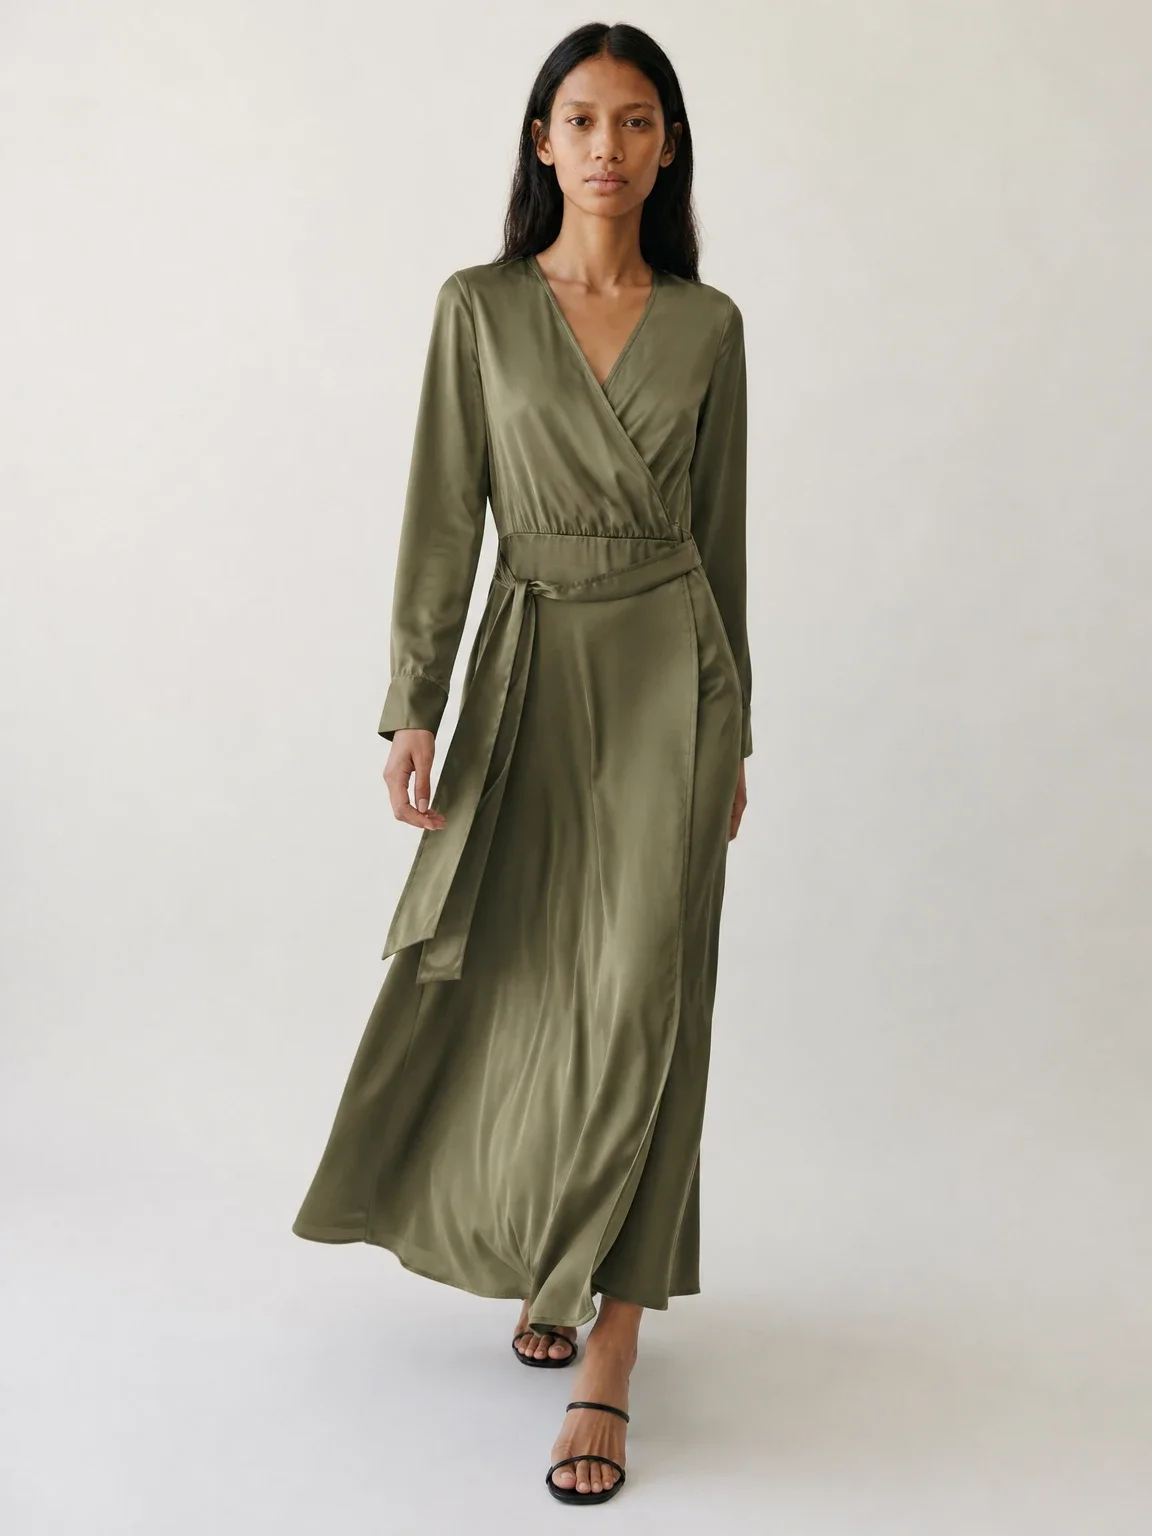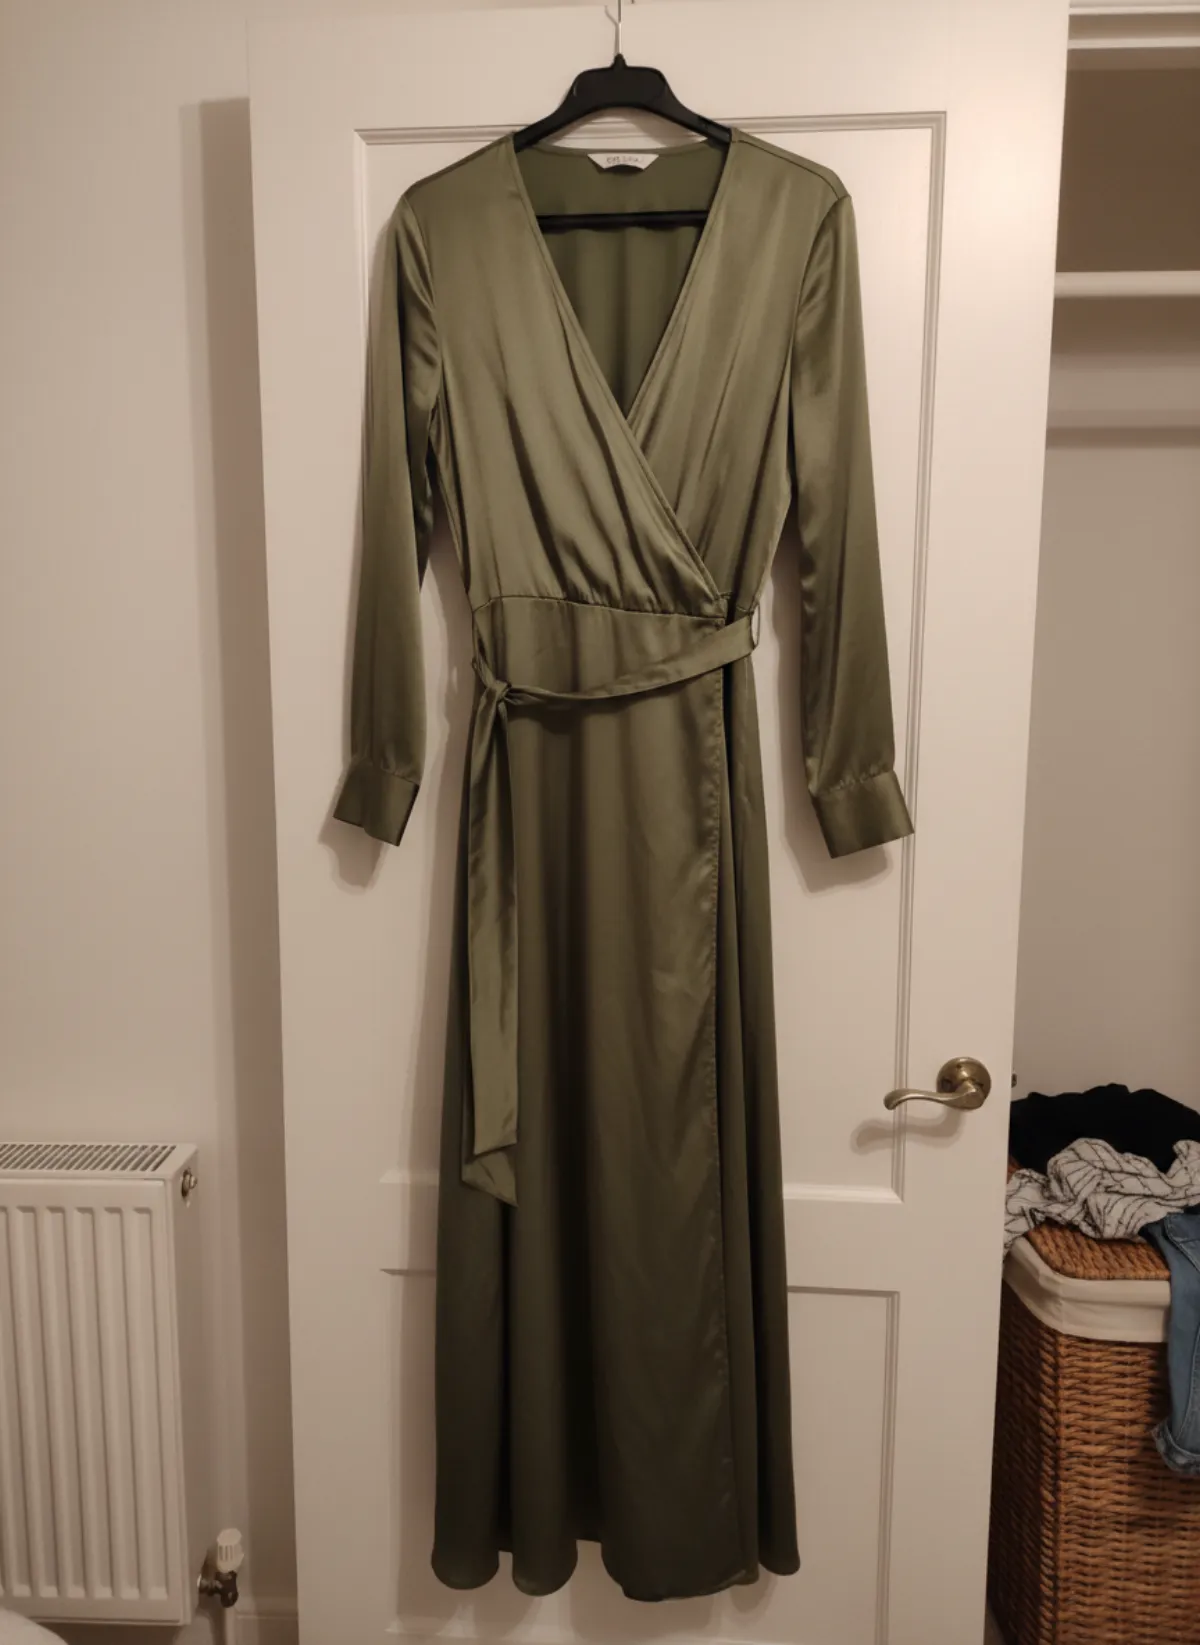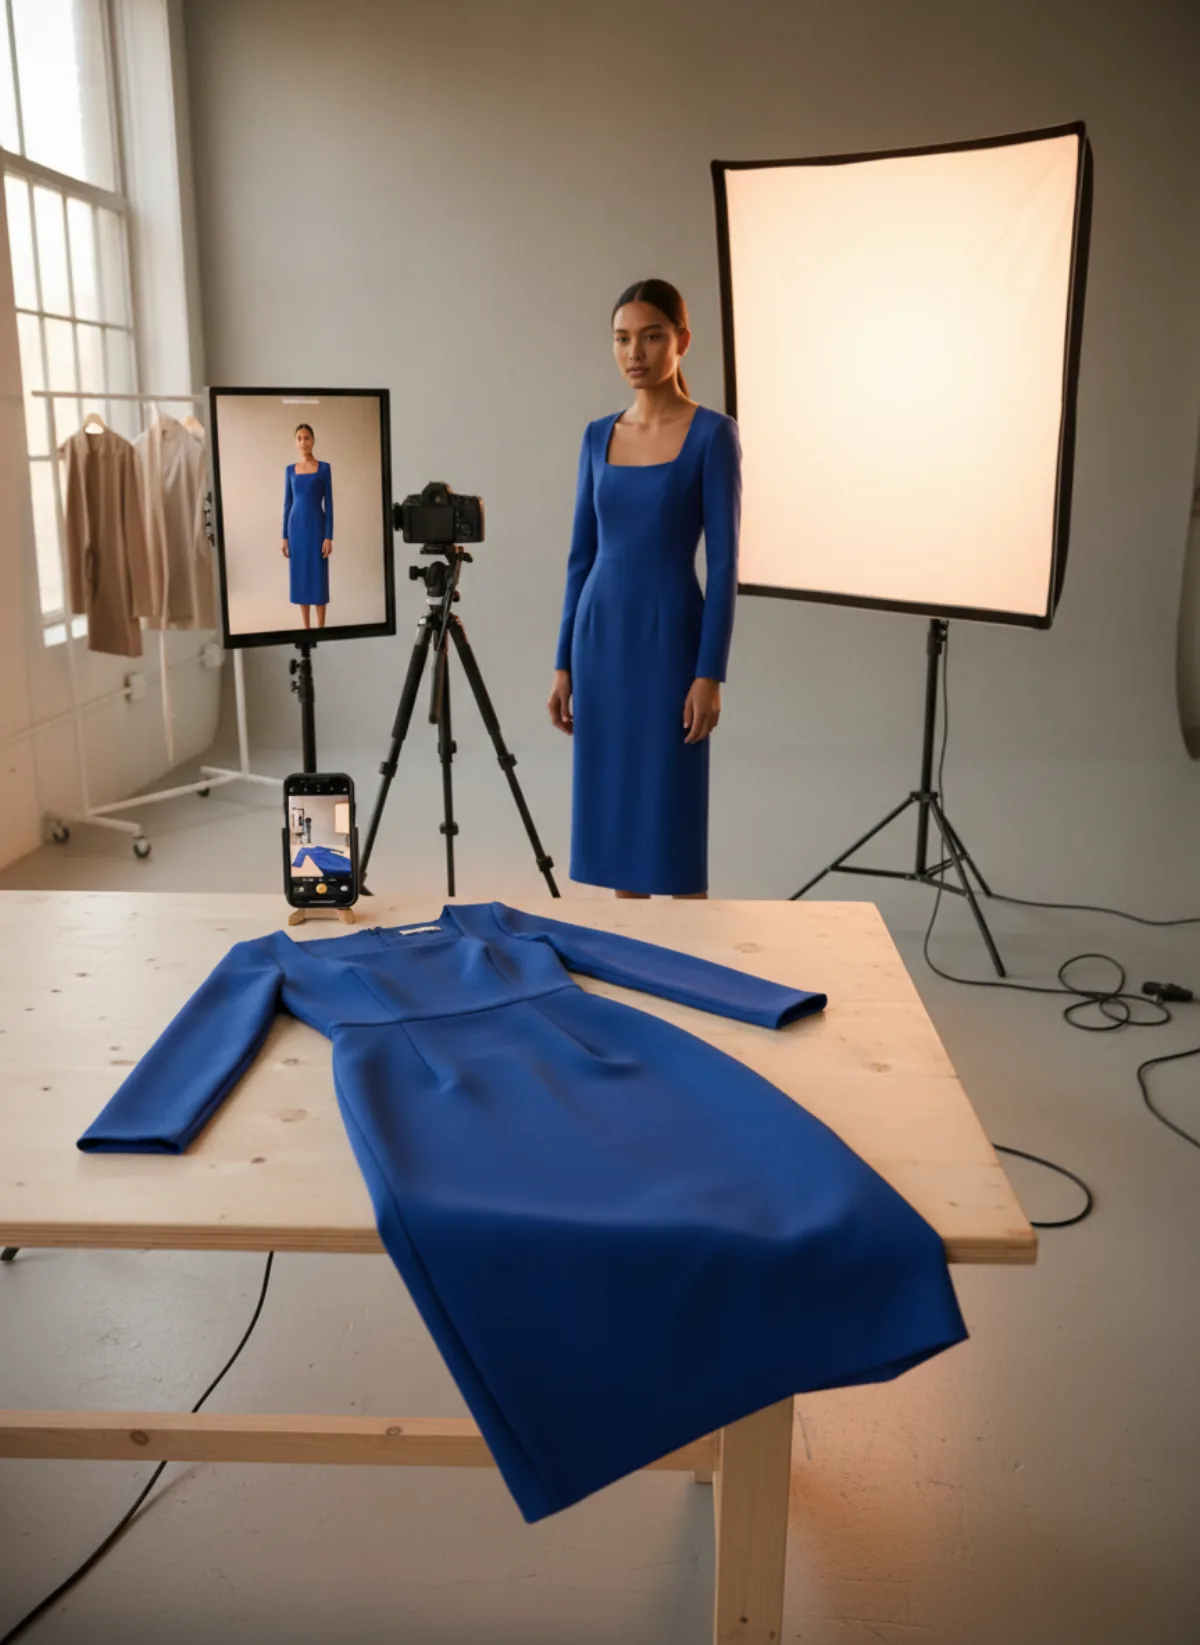
What AI product photography changes
Traditional clothing photography begins with a sample, a model, a photographer, a set and a fixed day when all of them are available. AI product photography moves part of that work after the sample photo. You still need a real garment and an honest reference image, but the model, pose and setting can be created later. That makes it useful when samples arrive in small batches, when colourways are approved on different days, or when a small shop cannot book a new shoot for every drop.
The important distinction is between inventing a garment and presenting one. For ecommerce, the source of truth is the physical item. A good workflow uses AI product photography with models to place that item in a believable context without casually changing its neckline, print, length or hardware. If the result makes the product look better but less accurate, it is not a successful listing image.
AI is strongest at repetitive catalog work: producing a front view, a three-quarter view and a walking frame with the same visual direction; testing a studio and a street setting; or converting a clean flat photograph into a worn image. It is less reliable when the reference hides construction, when reflective fabric changes with every angle, or when the product depends on an exact fit claim. Treat it as a production tool with an approval step, not as an automatic publishing button.
There is also a search-intent difference worth keeping clear. A virtual try-on asks how a garment might look on a particular shopper. Product photography asks how the actual garment should be presented for many shoppers. A clothing brand normally needs the second: controlled images, consistent crops and a model who supports the brand rather than a one-off personal preview.
Prepare a source photo the model can read
Generation quality is capped by the evidence in the upload. Give the system a complete, neutral view before asking it to create a campaign.
Show the whole garment
Keep the collar, cuffs, hem and both sides inside the frame. A crop at the wrist or hem forces the missing construction to be guessed.
Use soft, honest light
Window light through a curtain reveals texture without turning black into grey or making satin highlights look like a different fabric.
Lay it straight
Smooth twists but do not pull the garment out of shape. Align seams, spread sleeves and fasten the closures as they are meant to sit.
Add another view when needed
Back details, side slits, unusual straps and hidden fastenings deserve a second reference. One front photo cannot prove what is behind it.
A six-step catalog workflow
First, write the shot list before generating anything. A useful product page usually needs a clean front, a second angle, one movement or lifestyle frame, a detail and a truthful flat or hanger image. Do not create ten attractive portraits and discover later that none shows the back. The same discipline used in a conventional catalog shoot still applies; the medium has changed, not the buyer's questions.
Second, choose one route for the source. A garment photographed flat can go through flat lay to model; an item already on a display form can use mannequin to model; and a hanger photo can be handled by the garment workflow. Match the route to the evidence you have rather than forcing every input through the same prompt.
Third, lock the model and art direction for the collection. Decide age range, overall look, studio background, lens feel, crop and footwear before producing all SKUs. A consistent model does more than make the grid look polished: it gives shoppers a stable visual reference for length and proportion. If your collection needs a particular face or brand ambassador, create that identity once and reuse it instead of asking for a new person in every frame.
Fourth, generate a small proof set. Begin with one representative SKU that includes the difficult parts of the collection: a print, a shiny fastening, a layered collar or a long hem. Approve the front and three-quarter view before scaling. Fifth, compare the output at 100 percent with the source. Sixth, export the approved ratios and keep the original product photo next to the generated files in your asset library. That audit trail makes later corrections much easier.
One real product, several useful frames
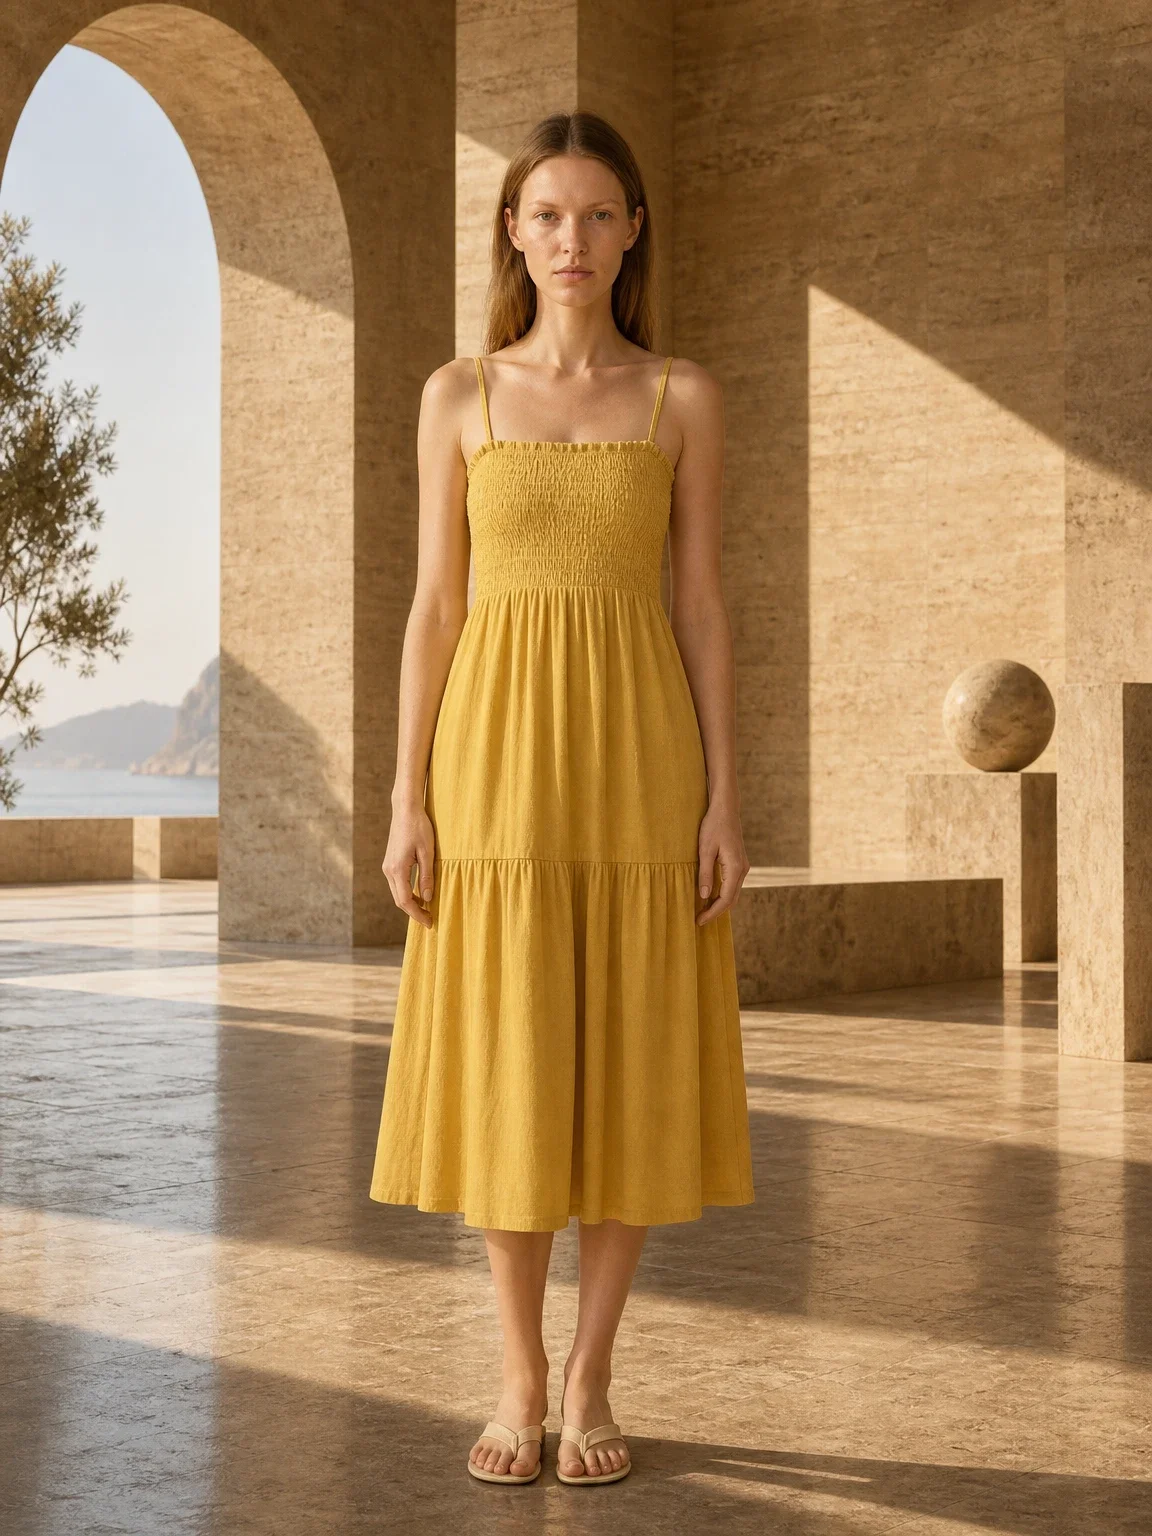
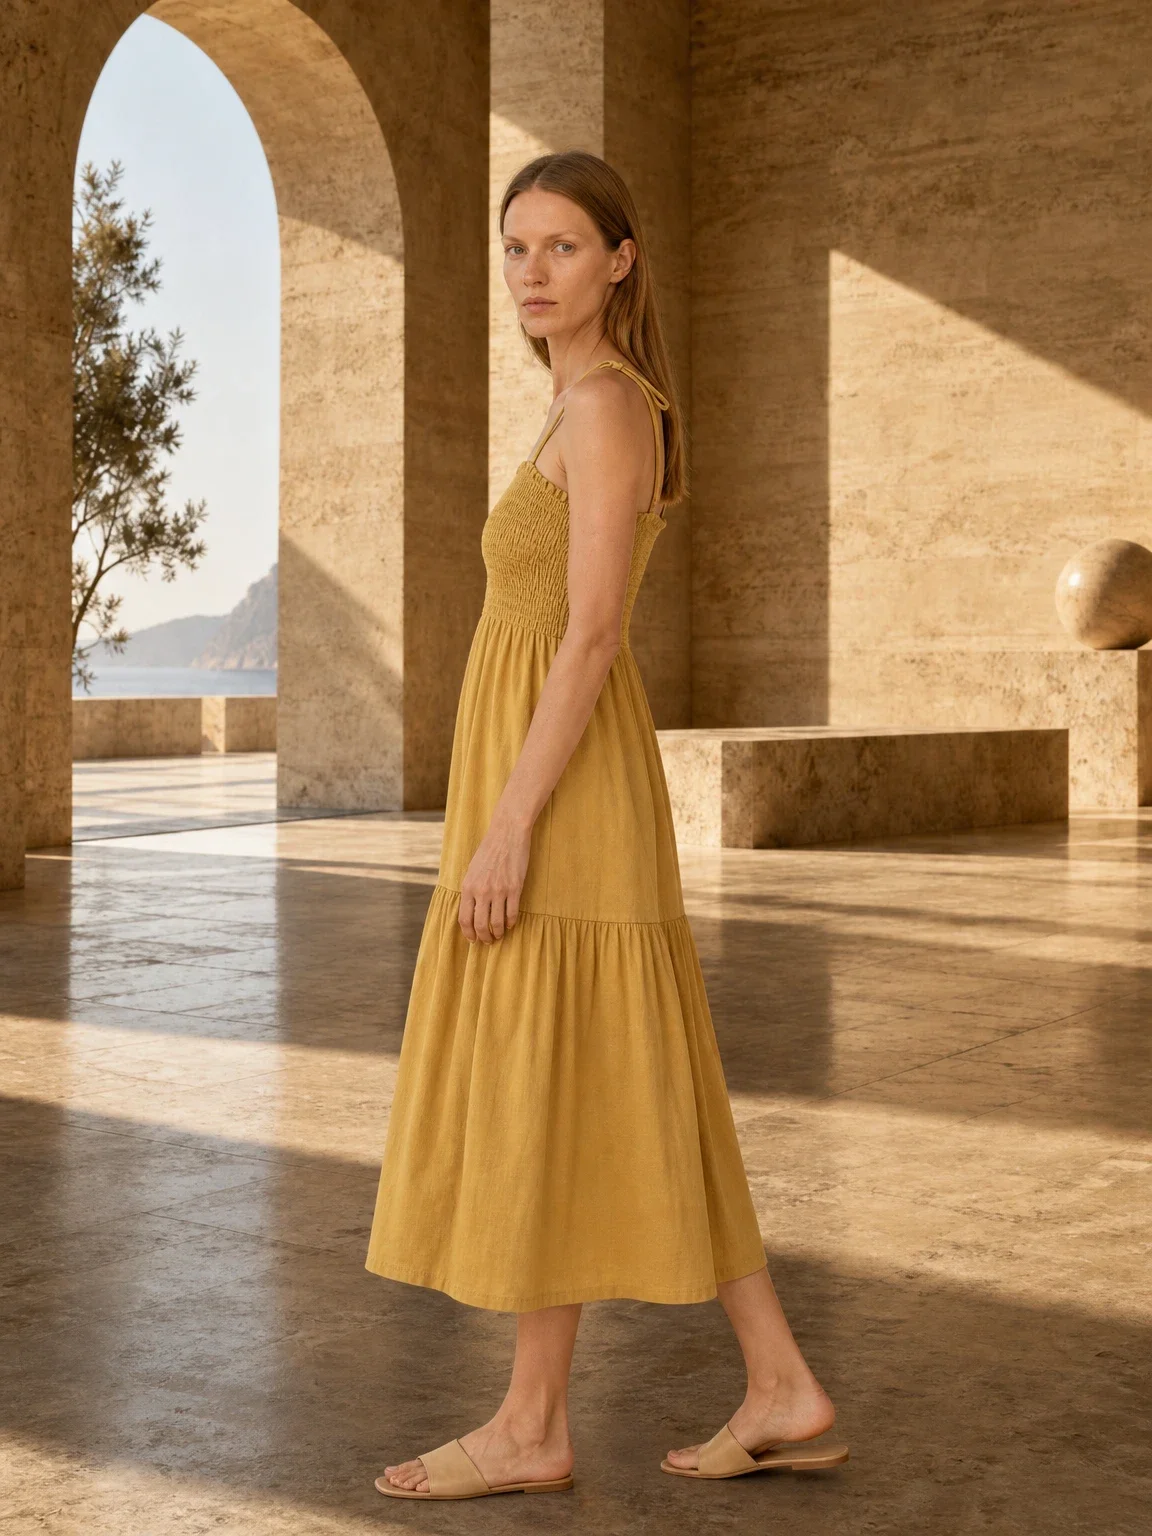
The value is not a single dramatic image. It is a set in which the garment remains recognisable while each frame answers a different merchandising need.
From a simple dress photo to a model set
The source records the colour, straps, bodice and hem. The front image gives the product-page anchor; the three-quarter frame adds shape without replacing the factual reference.
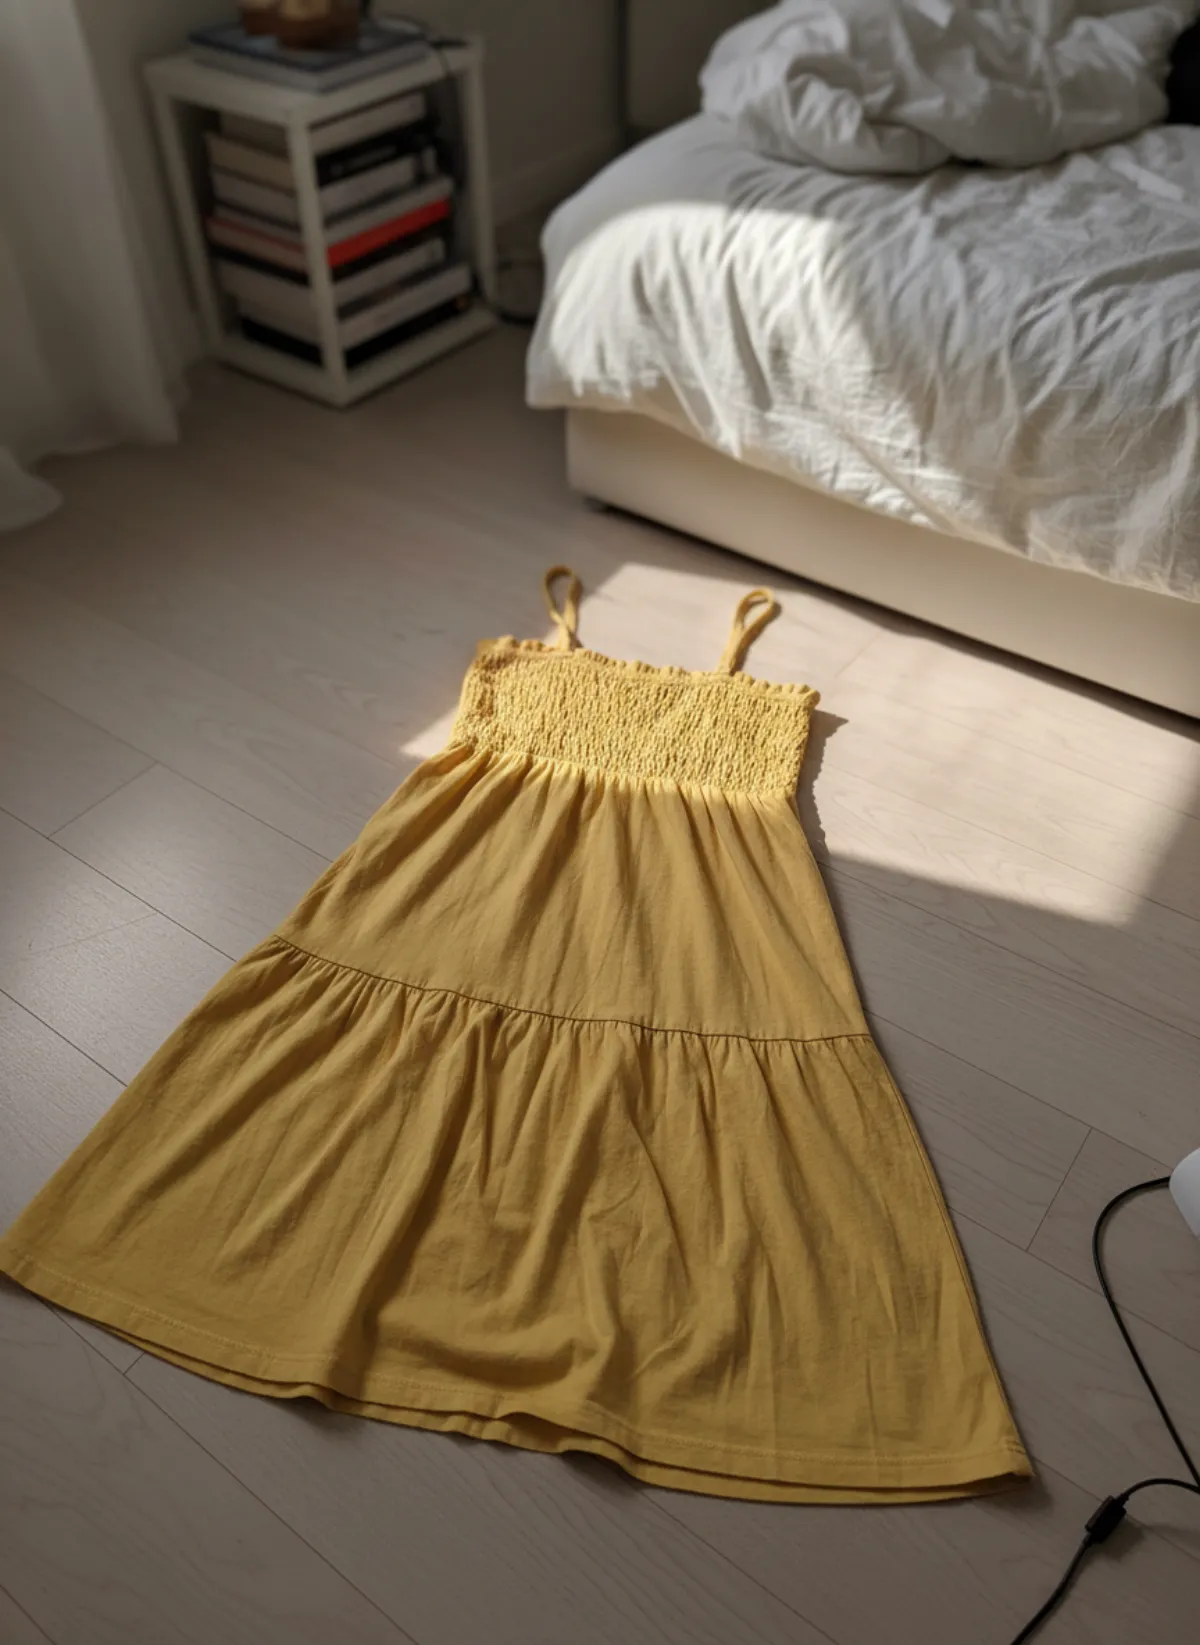 Your photo
The accuracy check before you publish
Check silhouette first: shoulder width, sleeve volume, waist position and hem length should agree with the source. Then inspect construction in a fixed order: neckline, buttons or zip, pockets, seams, print repeat, logo, labels and hardware. Finally look at human anatomy and contact points. Hands should not melt into pockets, straps should rest on the correct shoulder and a necklace should not pass through fabric. A repeatable checklist catches more than a general feeling that the image looks good.
Colour needs its own check on a calibrated or at least familiar screen. Warm scene light can make cream look beige and burgundy look brown even when the file is technically attractive. Keep one neutral studio image as the colour reference, then use the editorial frames for mood. For patterned products, zoom into the repeat at seams and folds; invented motifs are a clear reason to reject a frame.
Do not ask AI to prove information the source does not contain. It cannot establish exact fit, fabric weight, stretch or how a hidden closure works. Write those facts from the product specification, photograph key details separately and keep a real product image in the gallery. On marketplaces, check the current image and AI-disclosure rules before publishing because platform policies can change.
For a full collection, sample the first output of every SKU and every new scene. Once a scene is stable, quality control can focus on product fidelity rather than rediscovering the art direction. The AI model photoshoot workflow is most efficient when these decisions are made once and reused.
What the Garmo workflow supports
- stock models, 22 women and 20 men
- 42
- images per shoot
- 1–6
- for a set of three; frames render side by side
- <1 min
- settings: studio, street, editorial
- 3
- ratios: 3:4, 2:3, 1:1, 4:5, 9:16
- 5
- max upload, JPG, PNG or WebP
- 12 MB
AI clothing photography questions
Can AI product photography replace every clothing shoot?
No. It can replace or extend many repeatable on-model catalog frames, but exact fit claims, complex reflective materials, hidden construction and high-stakes campaign work may still need a physical shoot. Use a test SKU and compare every output with the real garment.
What is the best photo to upload?
Use a sharp, evenly lit image that shows the entire product with space around it. Lay flat, hanger and mannequin photos can all work. Add another reference when the back, fastening or side construction is important.
How do I keep one model across a collection?
Choose the model before scaling, approve a representative garment, then reuse the same identity, art direction and crop rules. Garmo also lets you create a custom model when the stock line-up is not the right fit.
Should I remove the original product photo from the listing?
No. Keep at least one clear photo of the real product and use generated model images to add context. The real photo is the buyer's factual reference and may also be required by a marketplace.
Which image ratios should a clothing brand export?
Use the ratio required by your shop theme and sales channels. A consistent 3:4 or 4:5 grid works well for fashion, while a square version is useful for many marketplace thumbnails. Leave crop-safe space around the model.
Separate catalog imagery from customer fitting
Generated model photos explain styling and silhouette; they do not choose a shopper's size. The virtual try-on AI guide for stores explains the merchant workflow, the customer-side meaning and the cases where real fit evidence remains essential.